Today I wanted to show you a little gift box I made for a present. Anyone who has been reading this blog lately would know we recently had a Christmas in July (in August!) party at our house. We had a Secret Santa and one of the recipients loves orange (he says it’s his signature colour!). I found some orange travel toiletries and wanted to make a little box to present them in.
I made this little box using the Stampin’ Up! scallop envelope die.

You will need 4 pieces cut from the scallop envelope die to make the box. You will also need one piece of card stock for the base of the box measuring 8 cm x 8 cm.
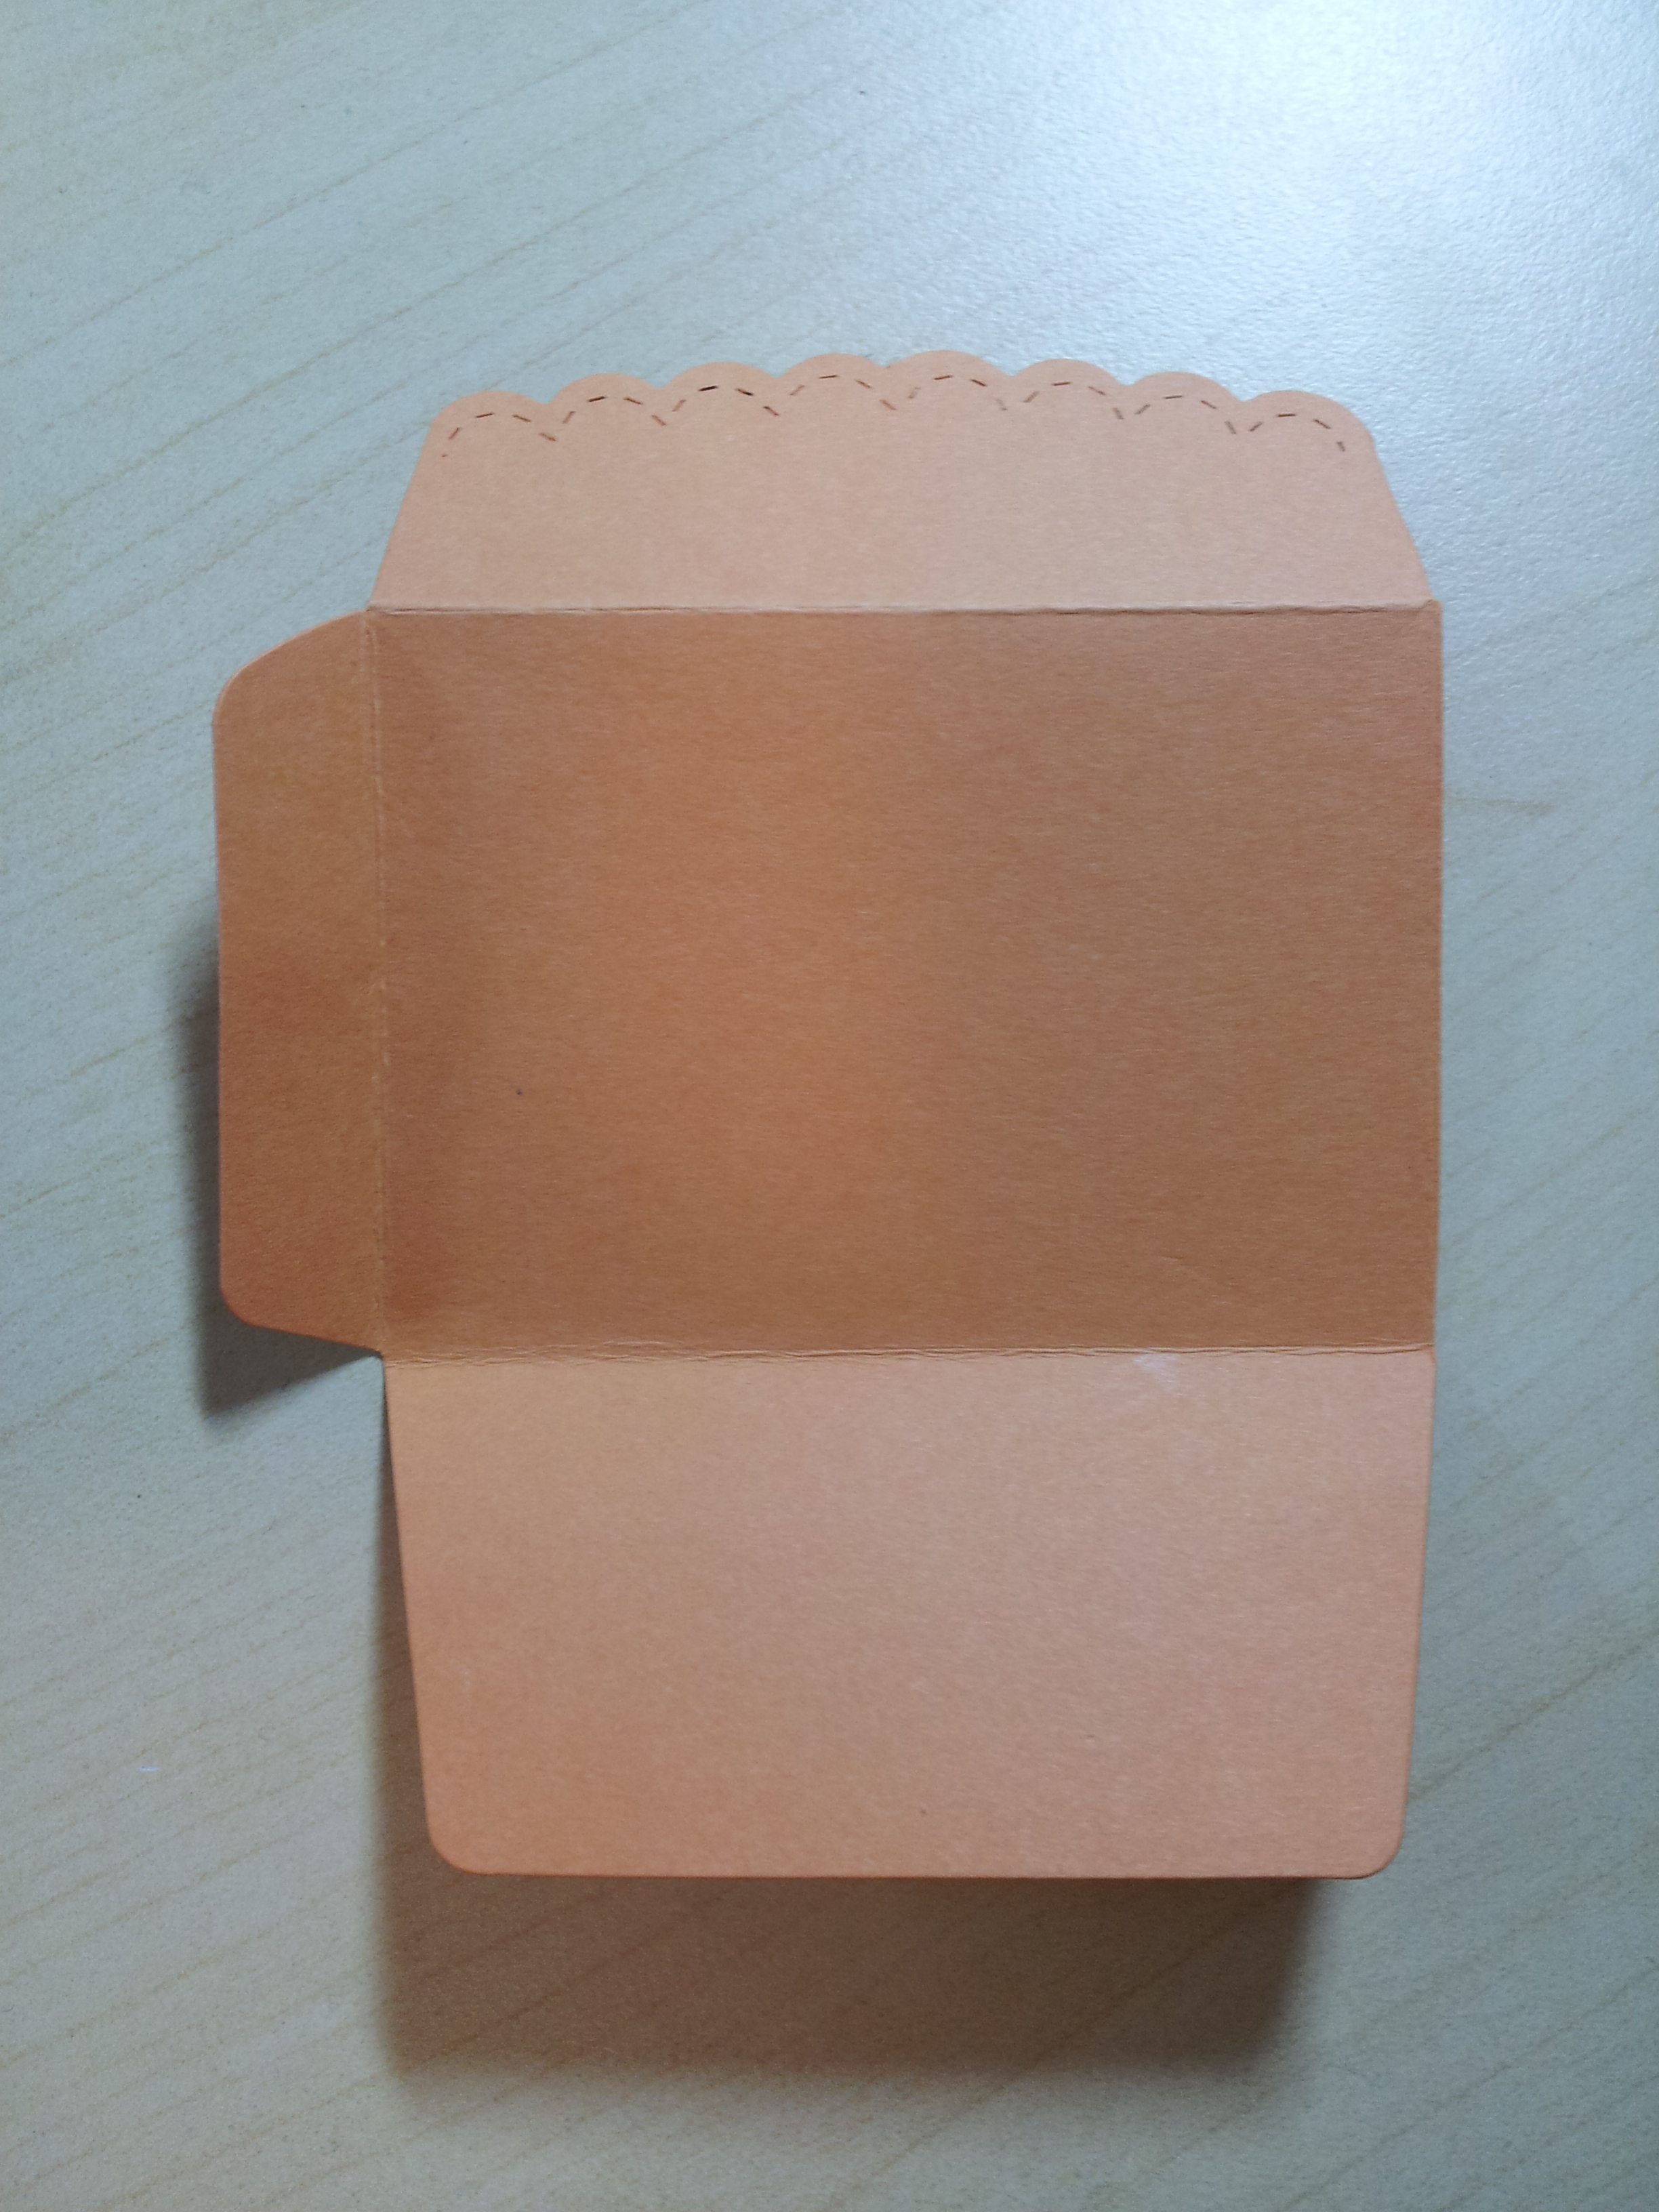
Step 1: identify the ‘outside’ and ‘inside’ of your box. I like to use the scalloped edge on the outside. If you’d like to do the same, fold each piece at the score lines like this:

Step 2: cut one side flap from each envelope. It doesn’t matter which side you choose – just make sure that you choose the same side on each piece!
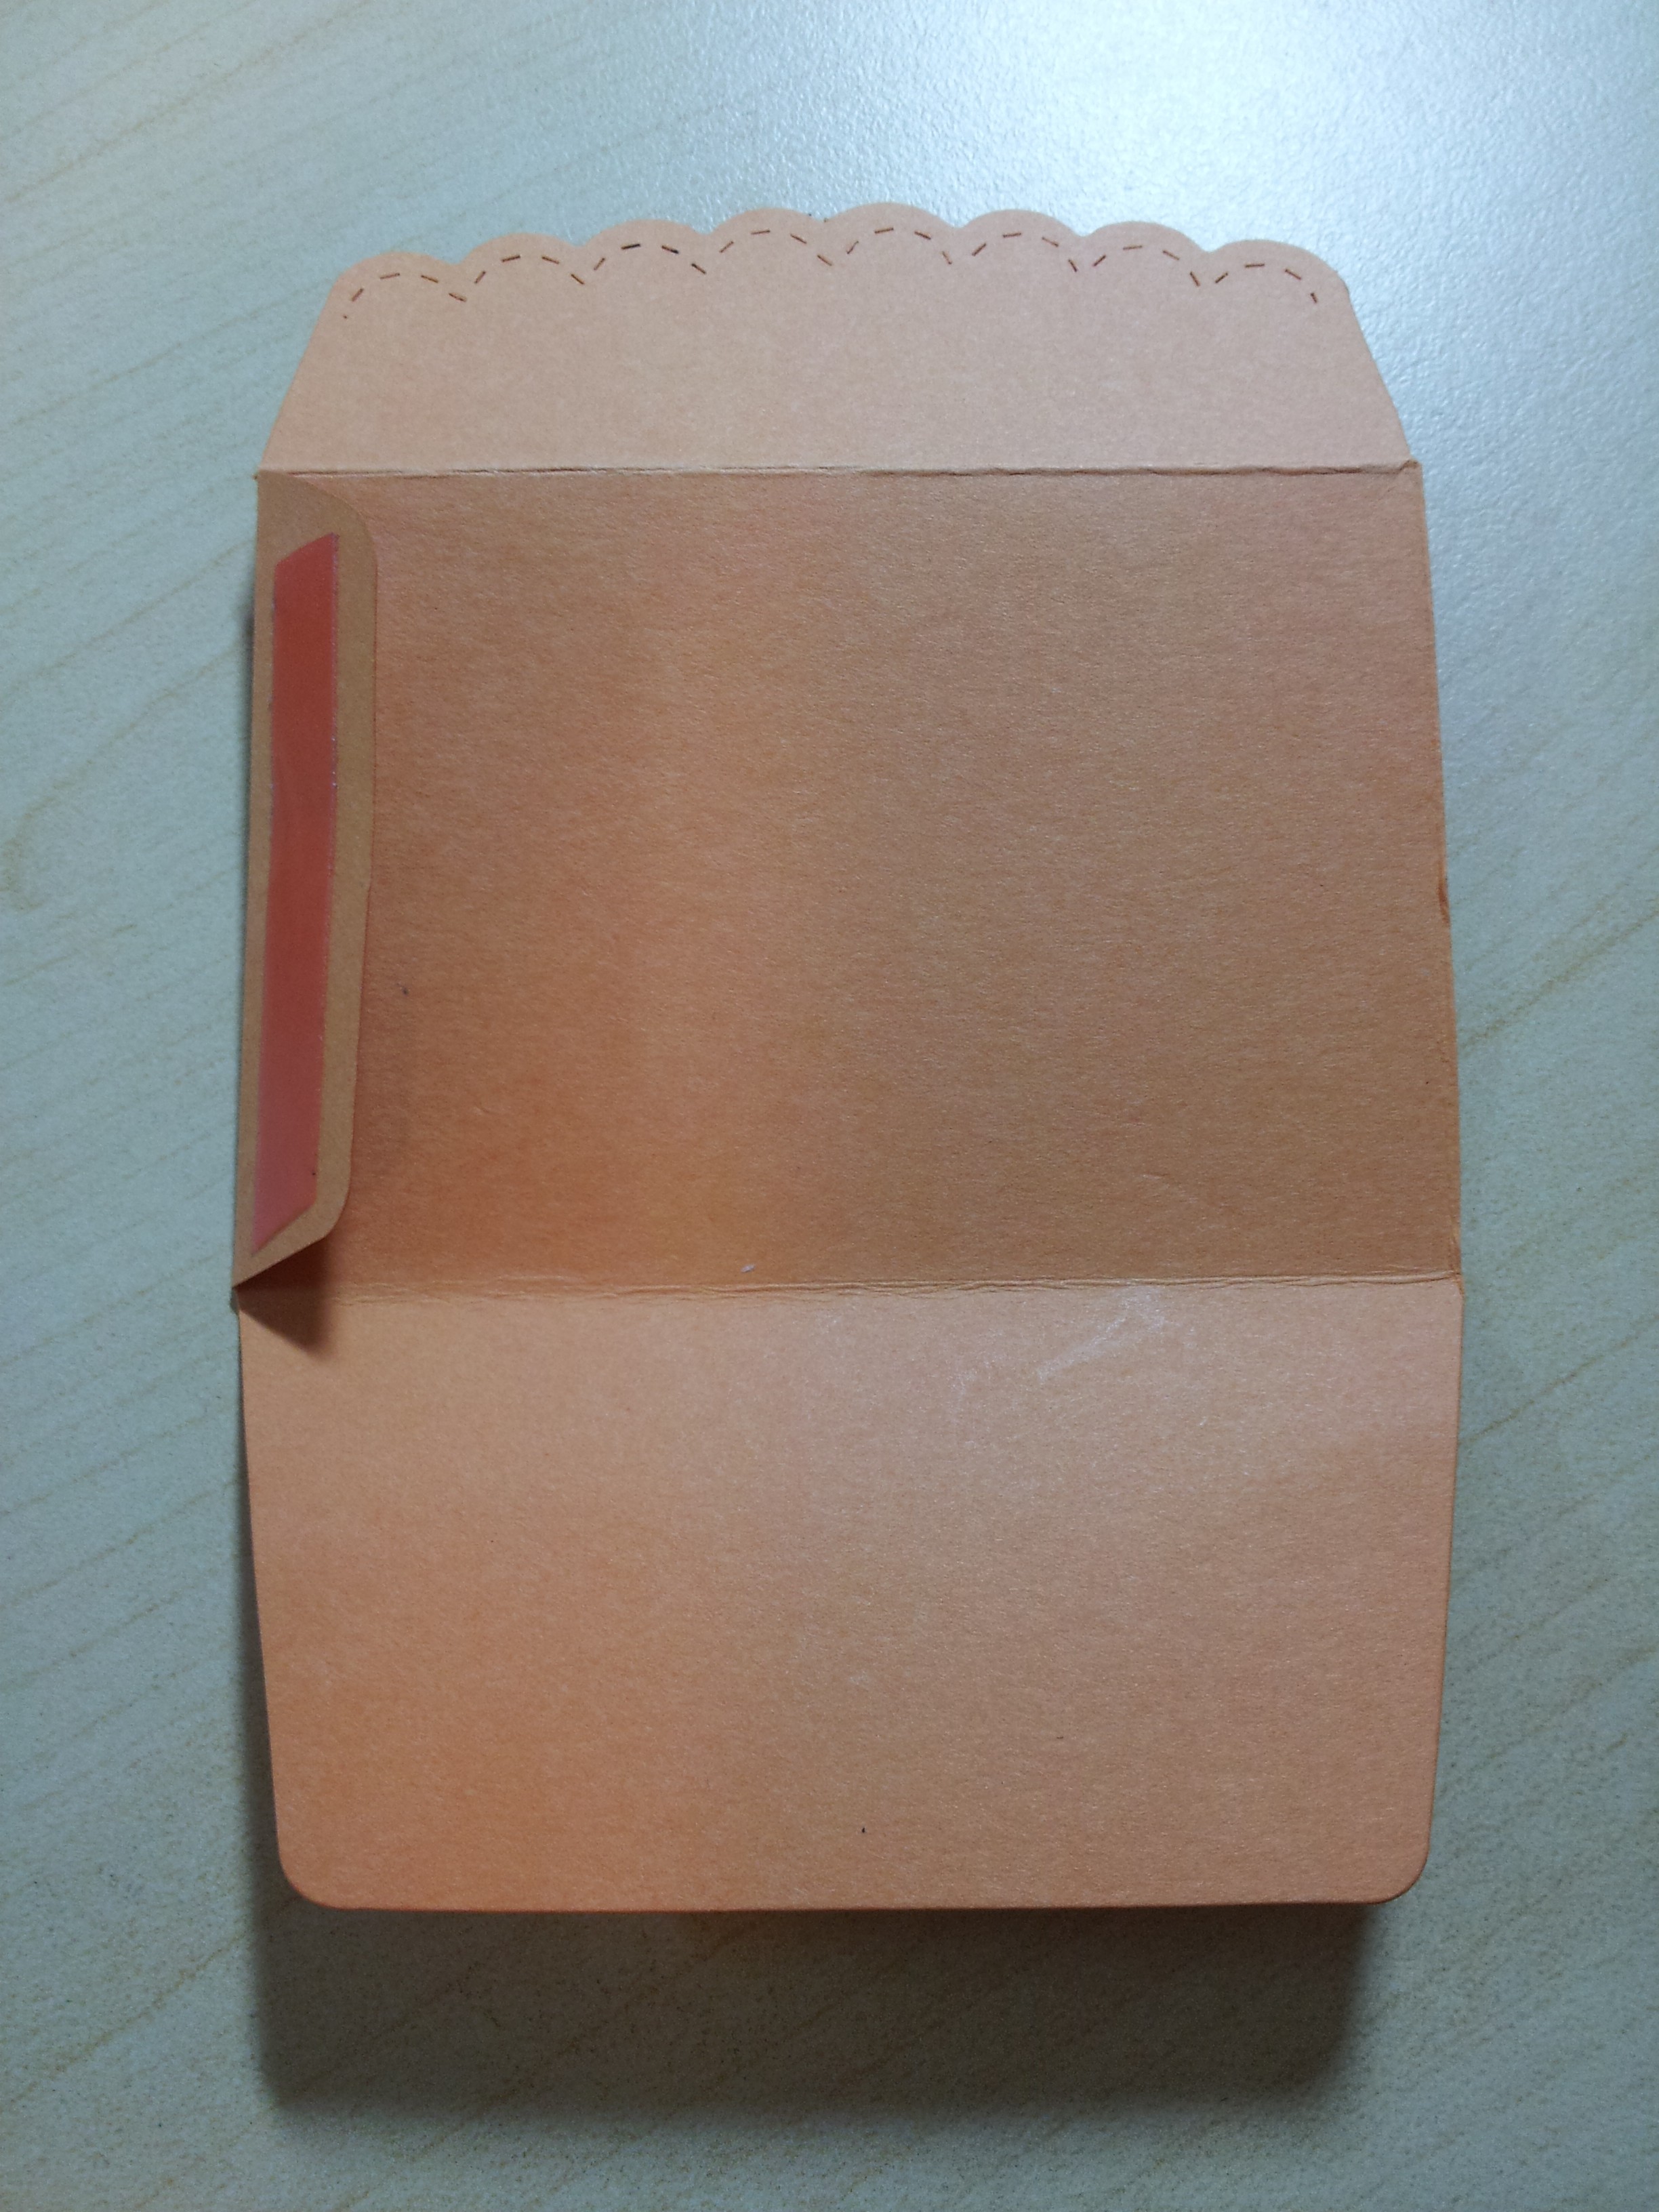
Step 3: stick a row of sticky strip (double sided tape) along the outside of the remaining flaps, like this:
Step 4: stick the 4 pieces together to make a long row, as shown. I could only fit 3 in the picture but you need to stick all 4 together in a row. I also like to glue down the scallop edges, but I have also made the box leaving them as ‘flaps’.

Step 5: fold in the base flaps to make the bottom of the box and stick the remaining sides together. Glue the square of card stock to the base for extra strength. I also glued some ribbon around the top for extra decoration.

This is also a great sized box for storing things on your desk. Post it notes fit really well!
If you don’t have the scallop envelope die you could try making a box using 4 of a normal envelope template. There are lots of printable templates available on the web.
Thanks for reading!
Caro
PS: I know I have seen tutorials on the web for this box but I can’t recall where I saw them first so apologies for not crediting (please ping me if you know and I’ll happily edit this post!)
