Hi.
On the weekend I made a card for a friend with a matching home made envelope. I happened to have a die cut butterfly lying around (as you do!!) – which matched perfectly.
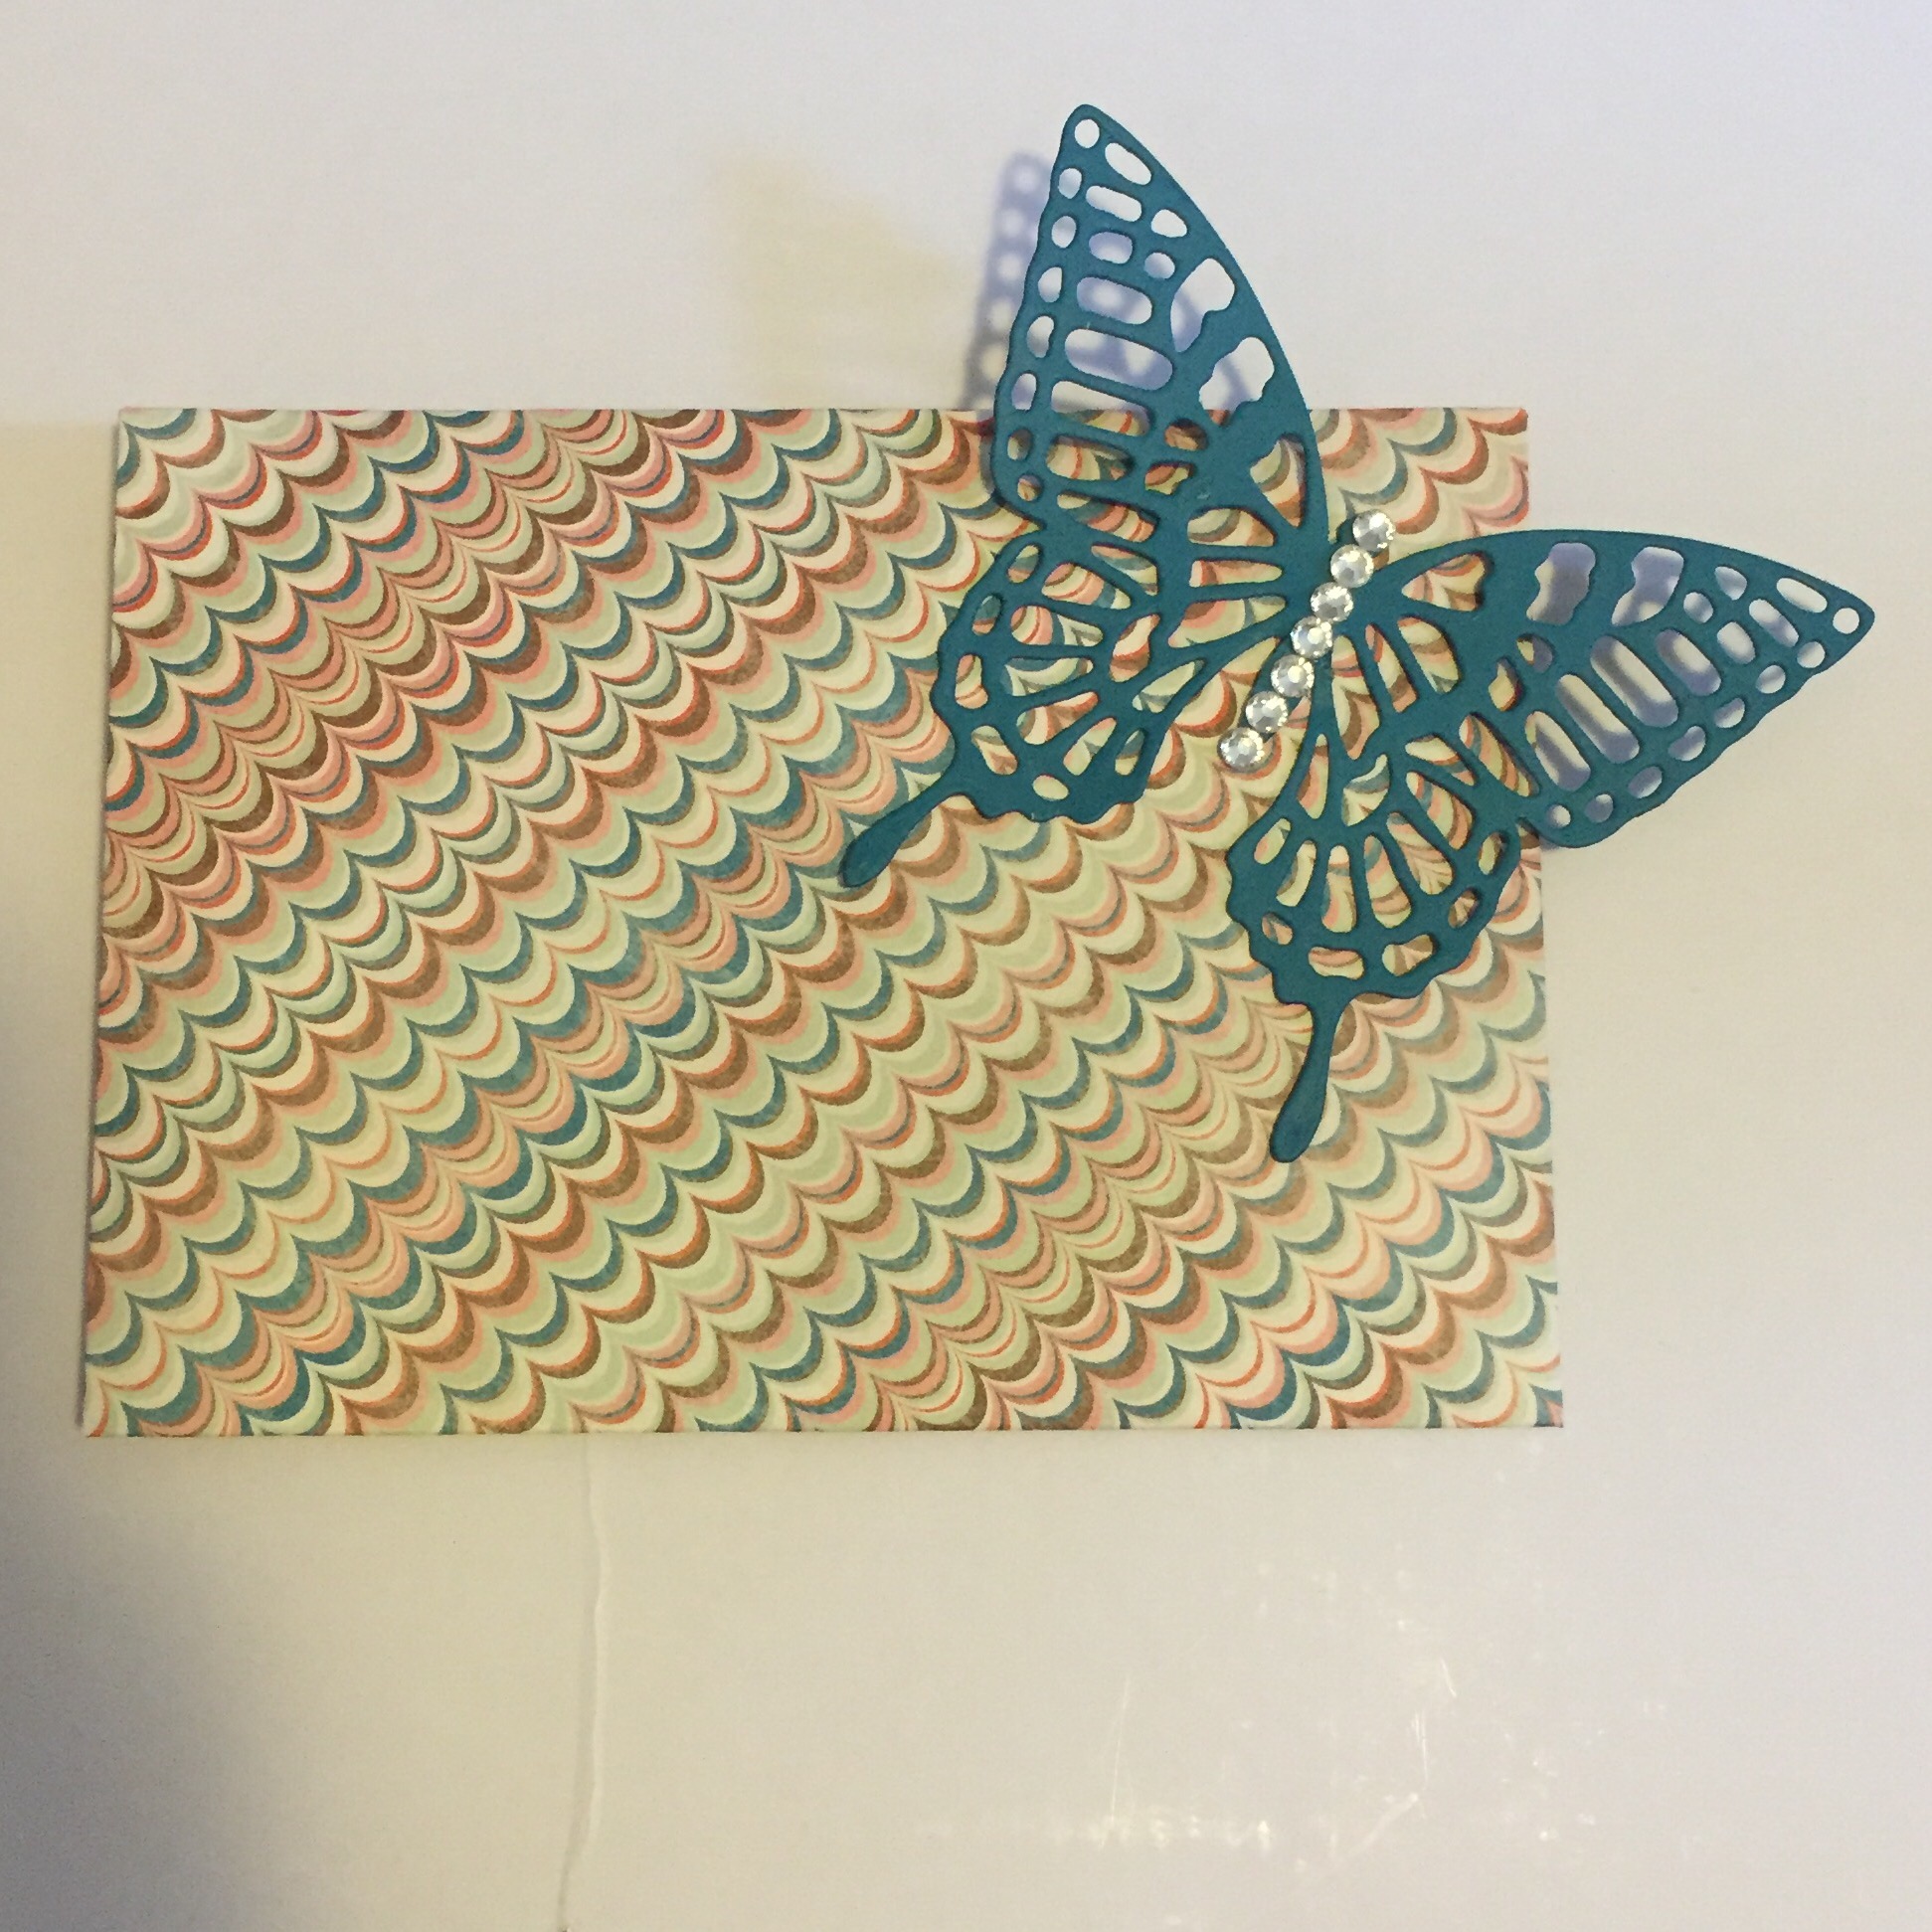
Too cute! 🙂
Thanks for reading
Caro
09 Wednesday Mar 2016
Posted in Envelopes, Gift bags, Using up scraps
Hi.
On the weekend I made a card for a friend with a matching home made envelope. I happened to have a die cut butterfly lying around (as you do!!) – which matched perfectly.
Too cute! 🙂
Thanks for reading
Caro
11 Thursday Feb 2016
Posted in Cards, Kids cards, Kids craft ideas, Using up scraps
As part of last weekend’s card making festivities I needed to make a card for a little boy called Oliver who is turning six.
I had some spotty paper and some spotty stickers in my “I need to use this or else” spare paper pile 😉 Five mins later I had a personalised card for the birthday boy.


Here’s hoping he’ll like to see his name in lights (well, spots!)
Thanks for reading.
Caro x
09 Tuesday Feb 2016
Posted in Thoughts and comments, Using up scraps
Not sure what to do with those left over strips of paper?
 What about folding them in half and using them as little hello love notes in your child’s lunch box?
I’ve started popping little hellos in my son’s lunch and he LOVES it. I don’t do it every day, just now and again, but the hug I get at the school gate shows me how much he loved it 🙂
Thanks for reading
Caro x
08 Monday Feb 2016
Posted in Birthday, Cards, General occasion, Gift bow, Kids cards, Punches, Using up scraps
Hi
On the weekend I found a bit of time to make some cards. I pulled out my gift bow punch and decided to make some cards using up my scrap stash. Here is one with a plain bow:

Cute, but I decided it wasn’t quite pretty enough, so back to the stash for some “bling” and voila!
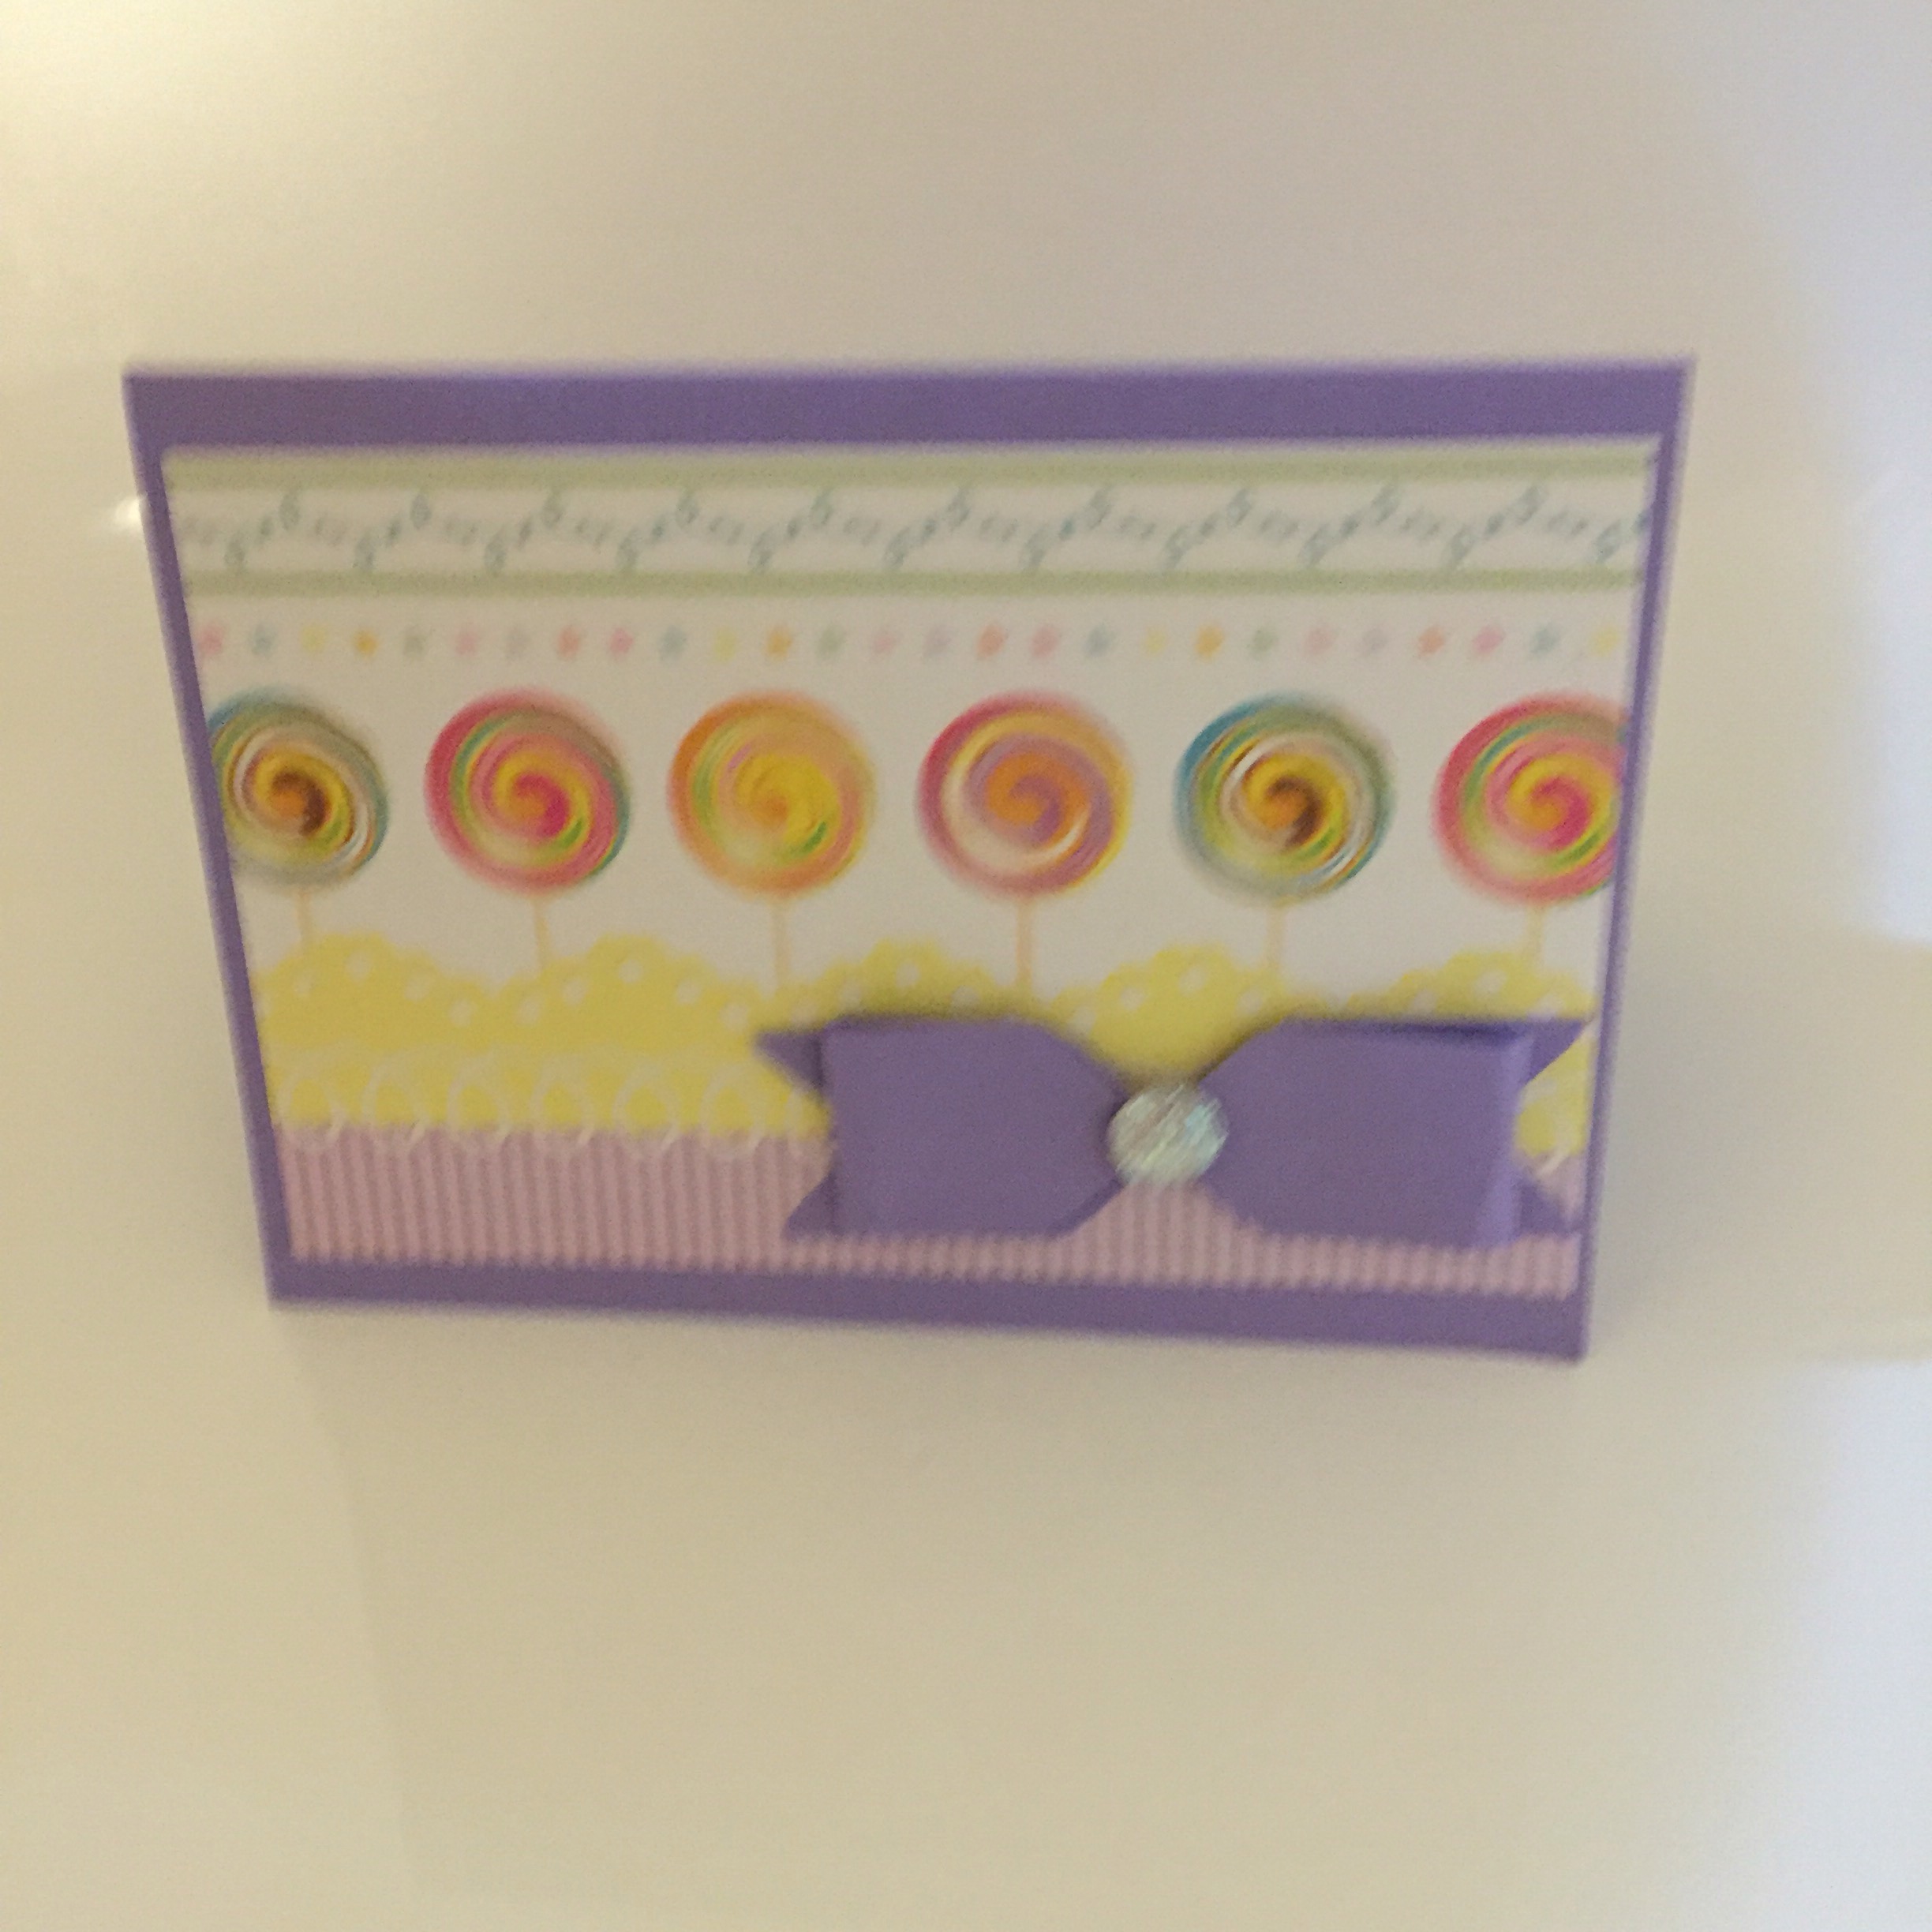


Cute quick cards that took about 5 mins each to put together.
Thanks for reading 🙂
Caro x
28 Thursday Jan 2016
Hi
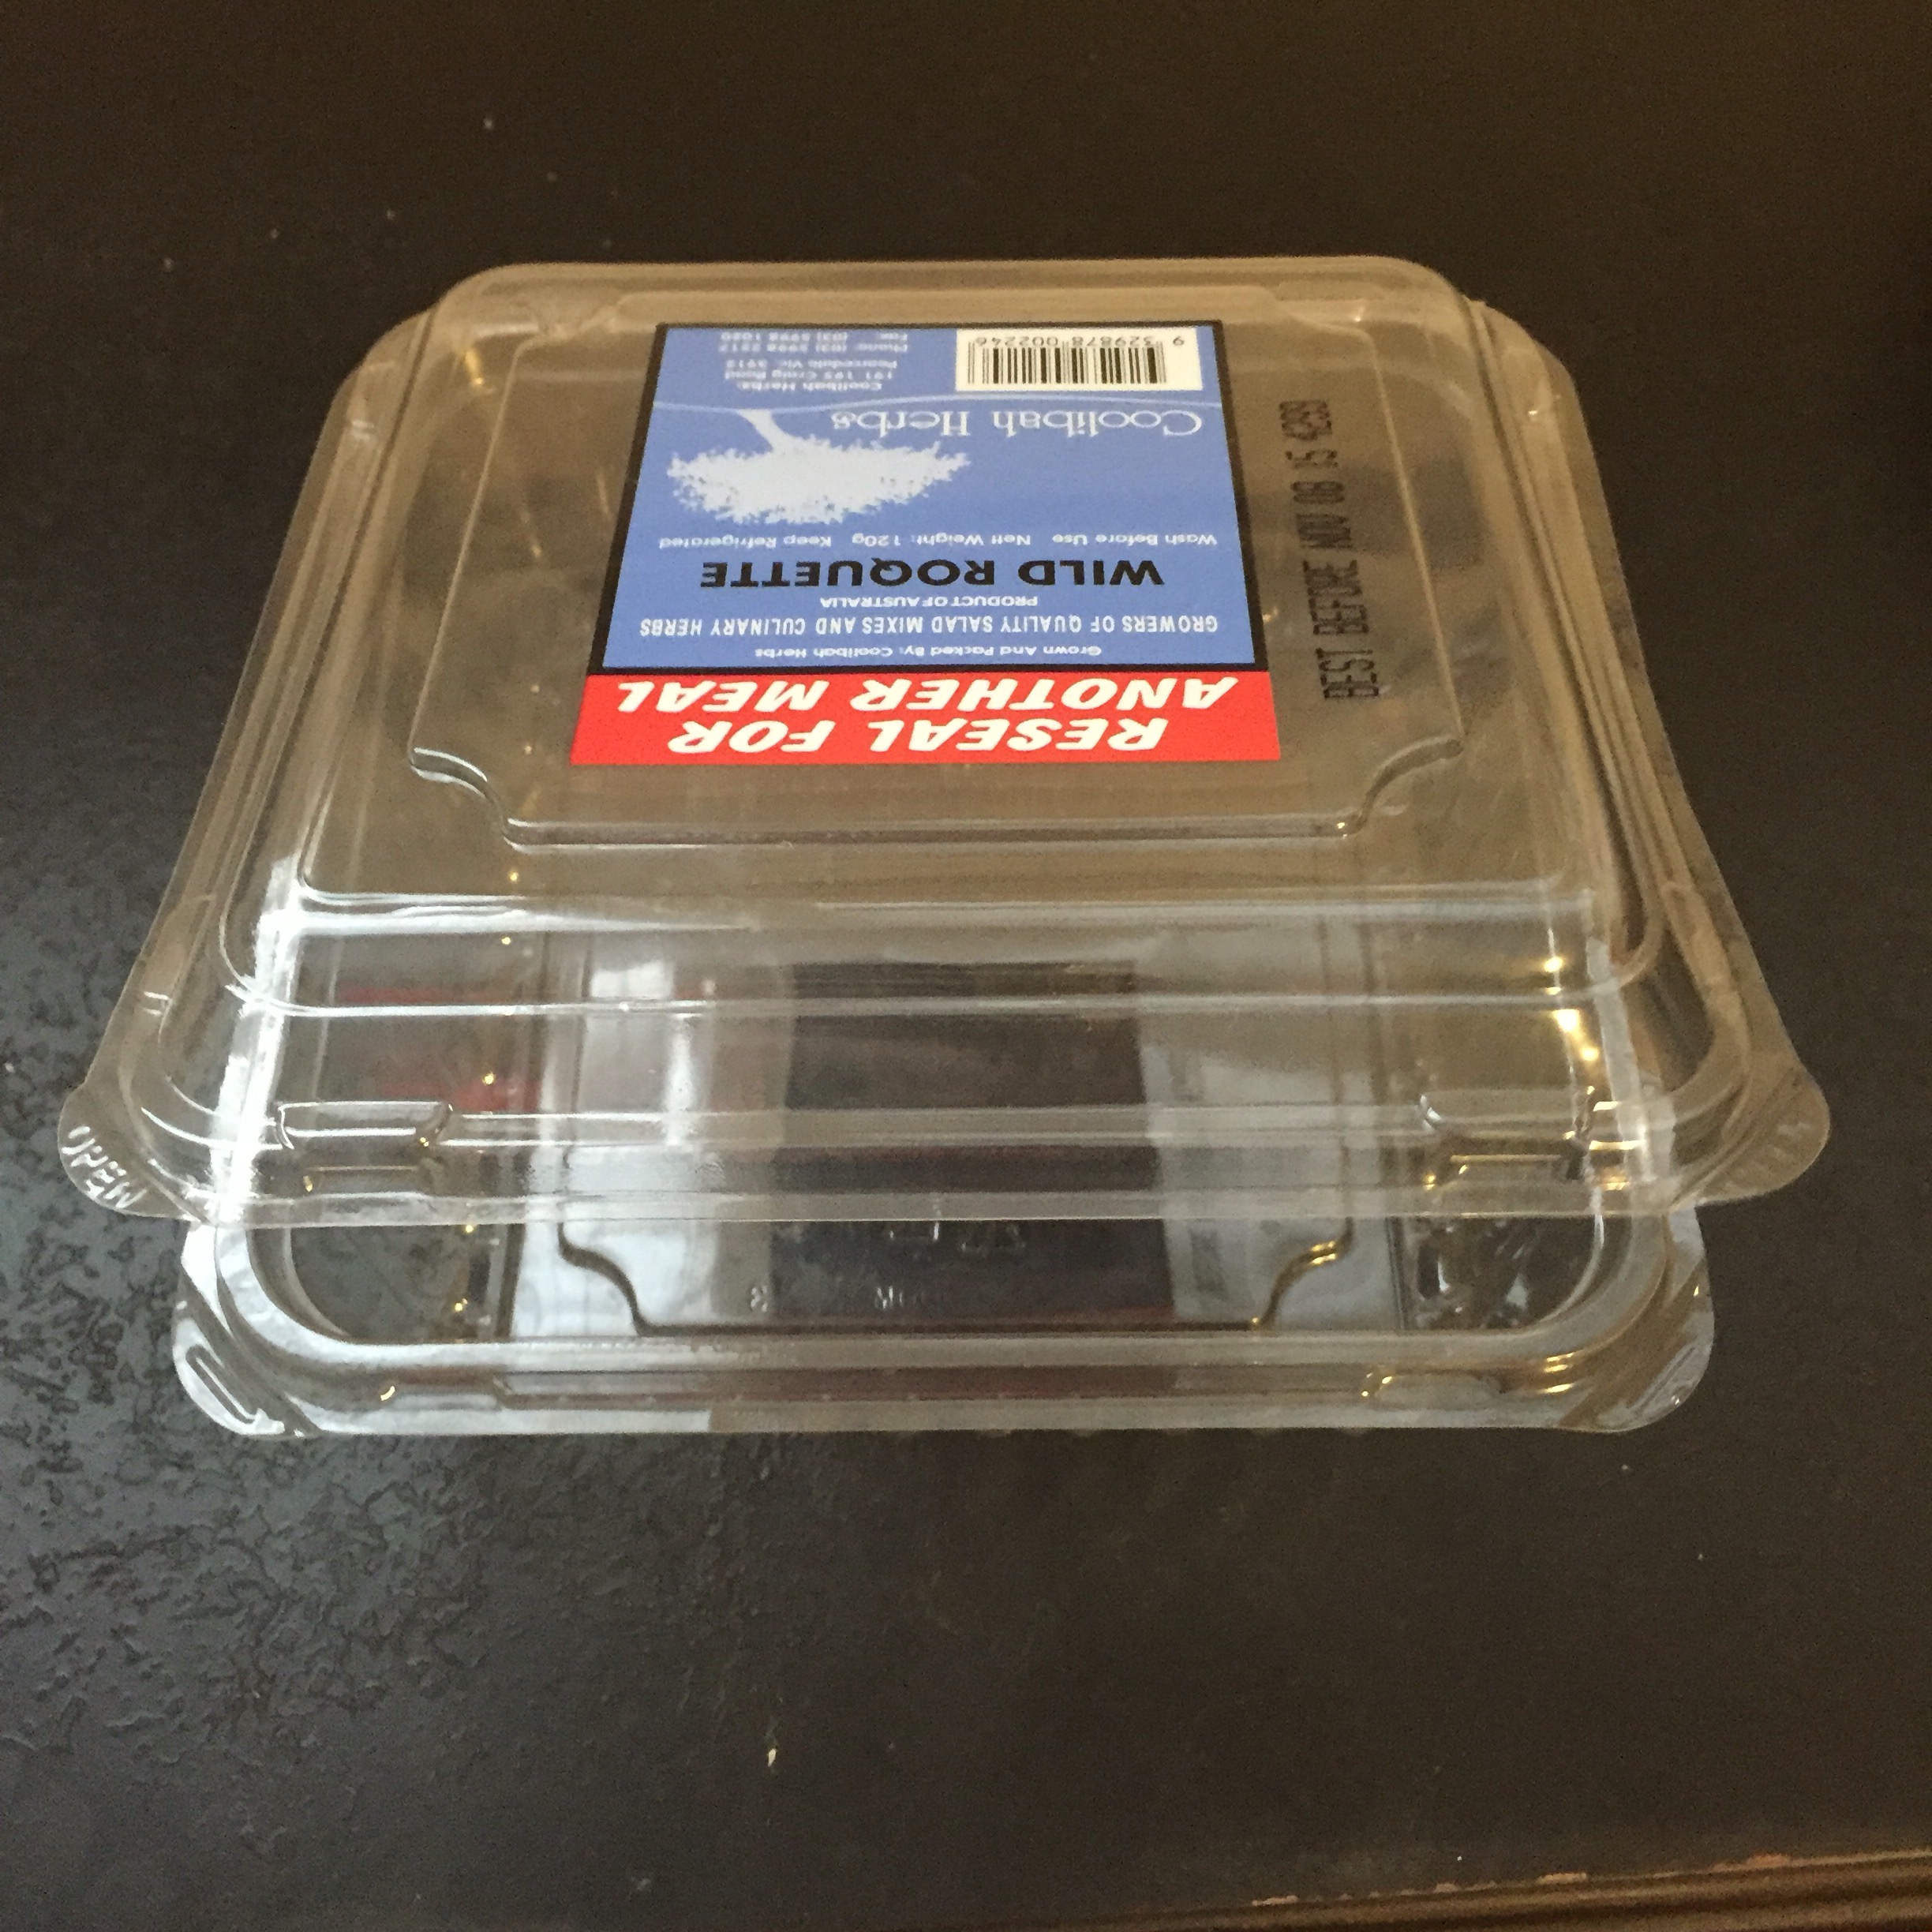
Today I want to show you an idea I had for making a gift boxed set of cards using a plastic container that some salad leaves came in.

When I was getting my rocket leaves out of the fridge a few days ago, I thought that the container would be just right to hold some square cards.
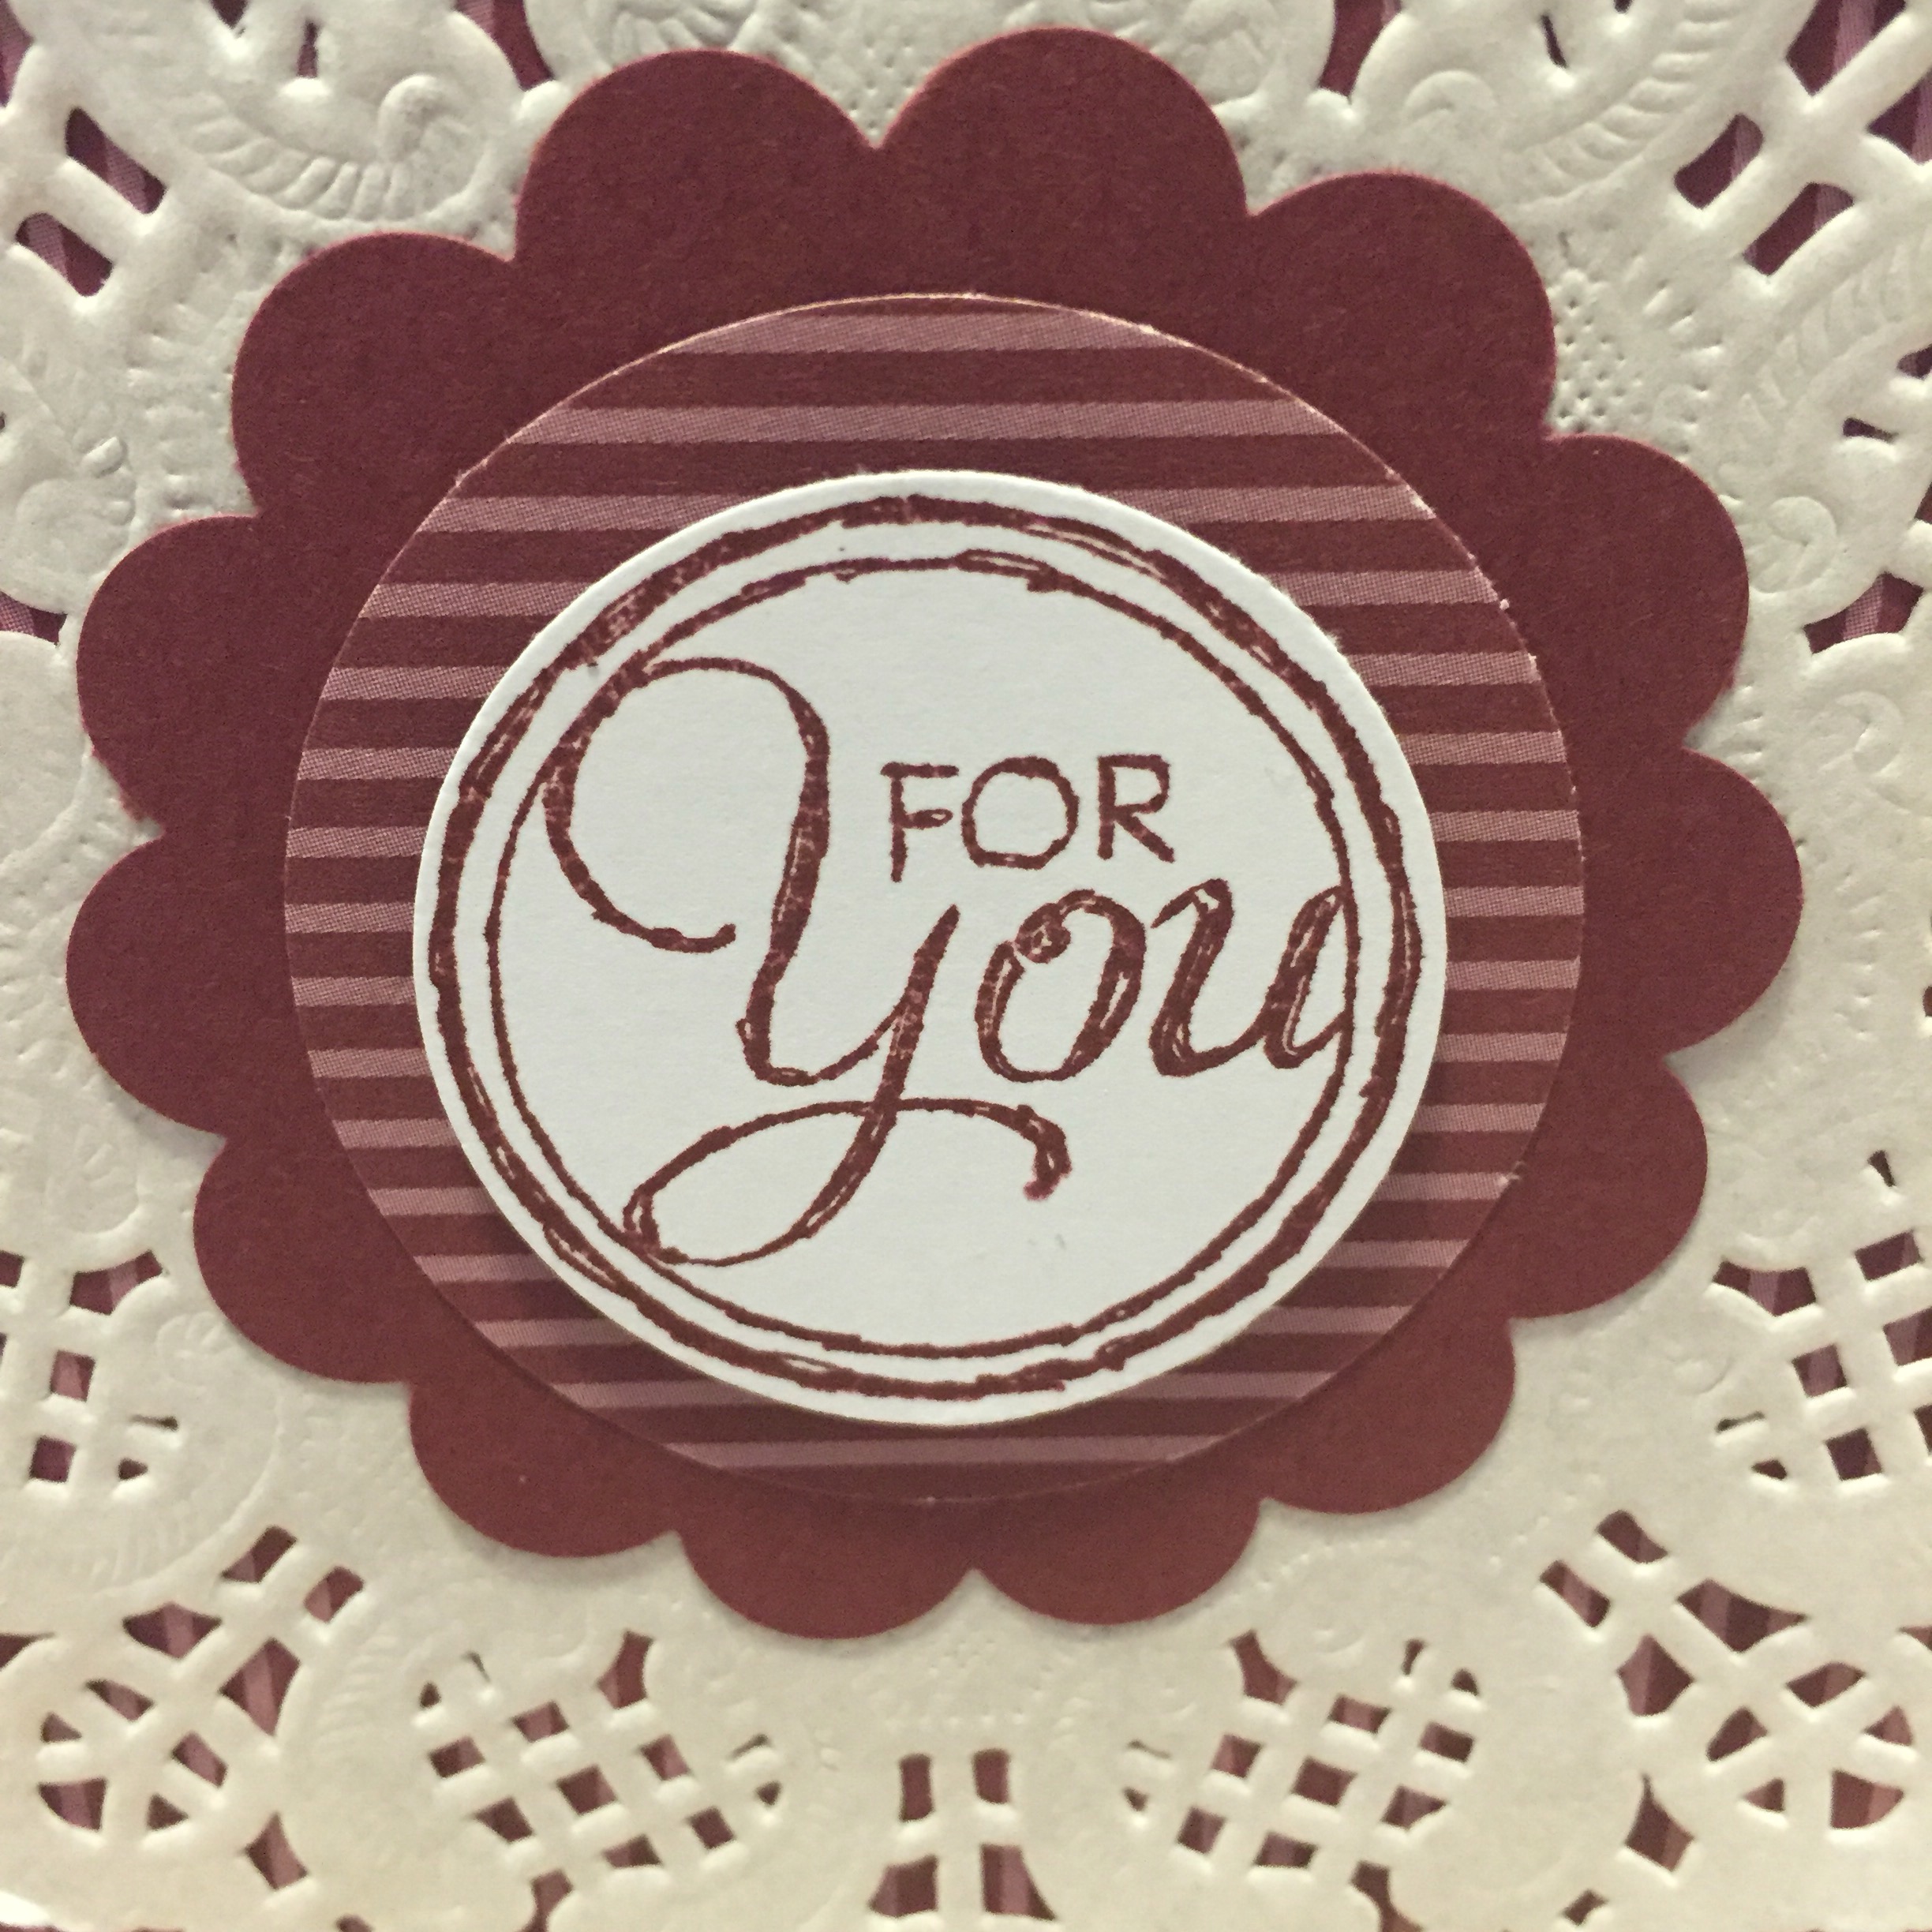
I thought while I was in the upcycling/recycling mood, I should also use up some of my spare paper stash. So I grabbed some old Bravo Burgundy (Stampin’ Up!) card stock and matching designer series paper, some punches and a pile of paper doilies I had in my “random craft stuff” box, and here’s what I came up with:
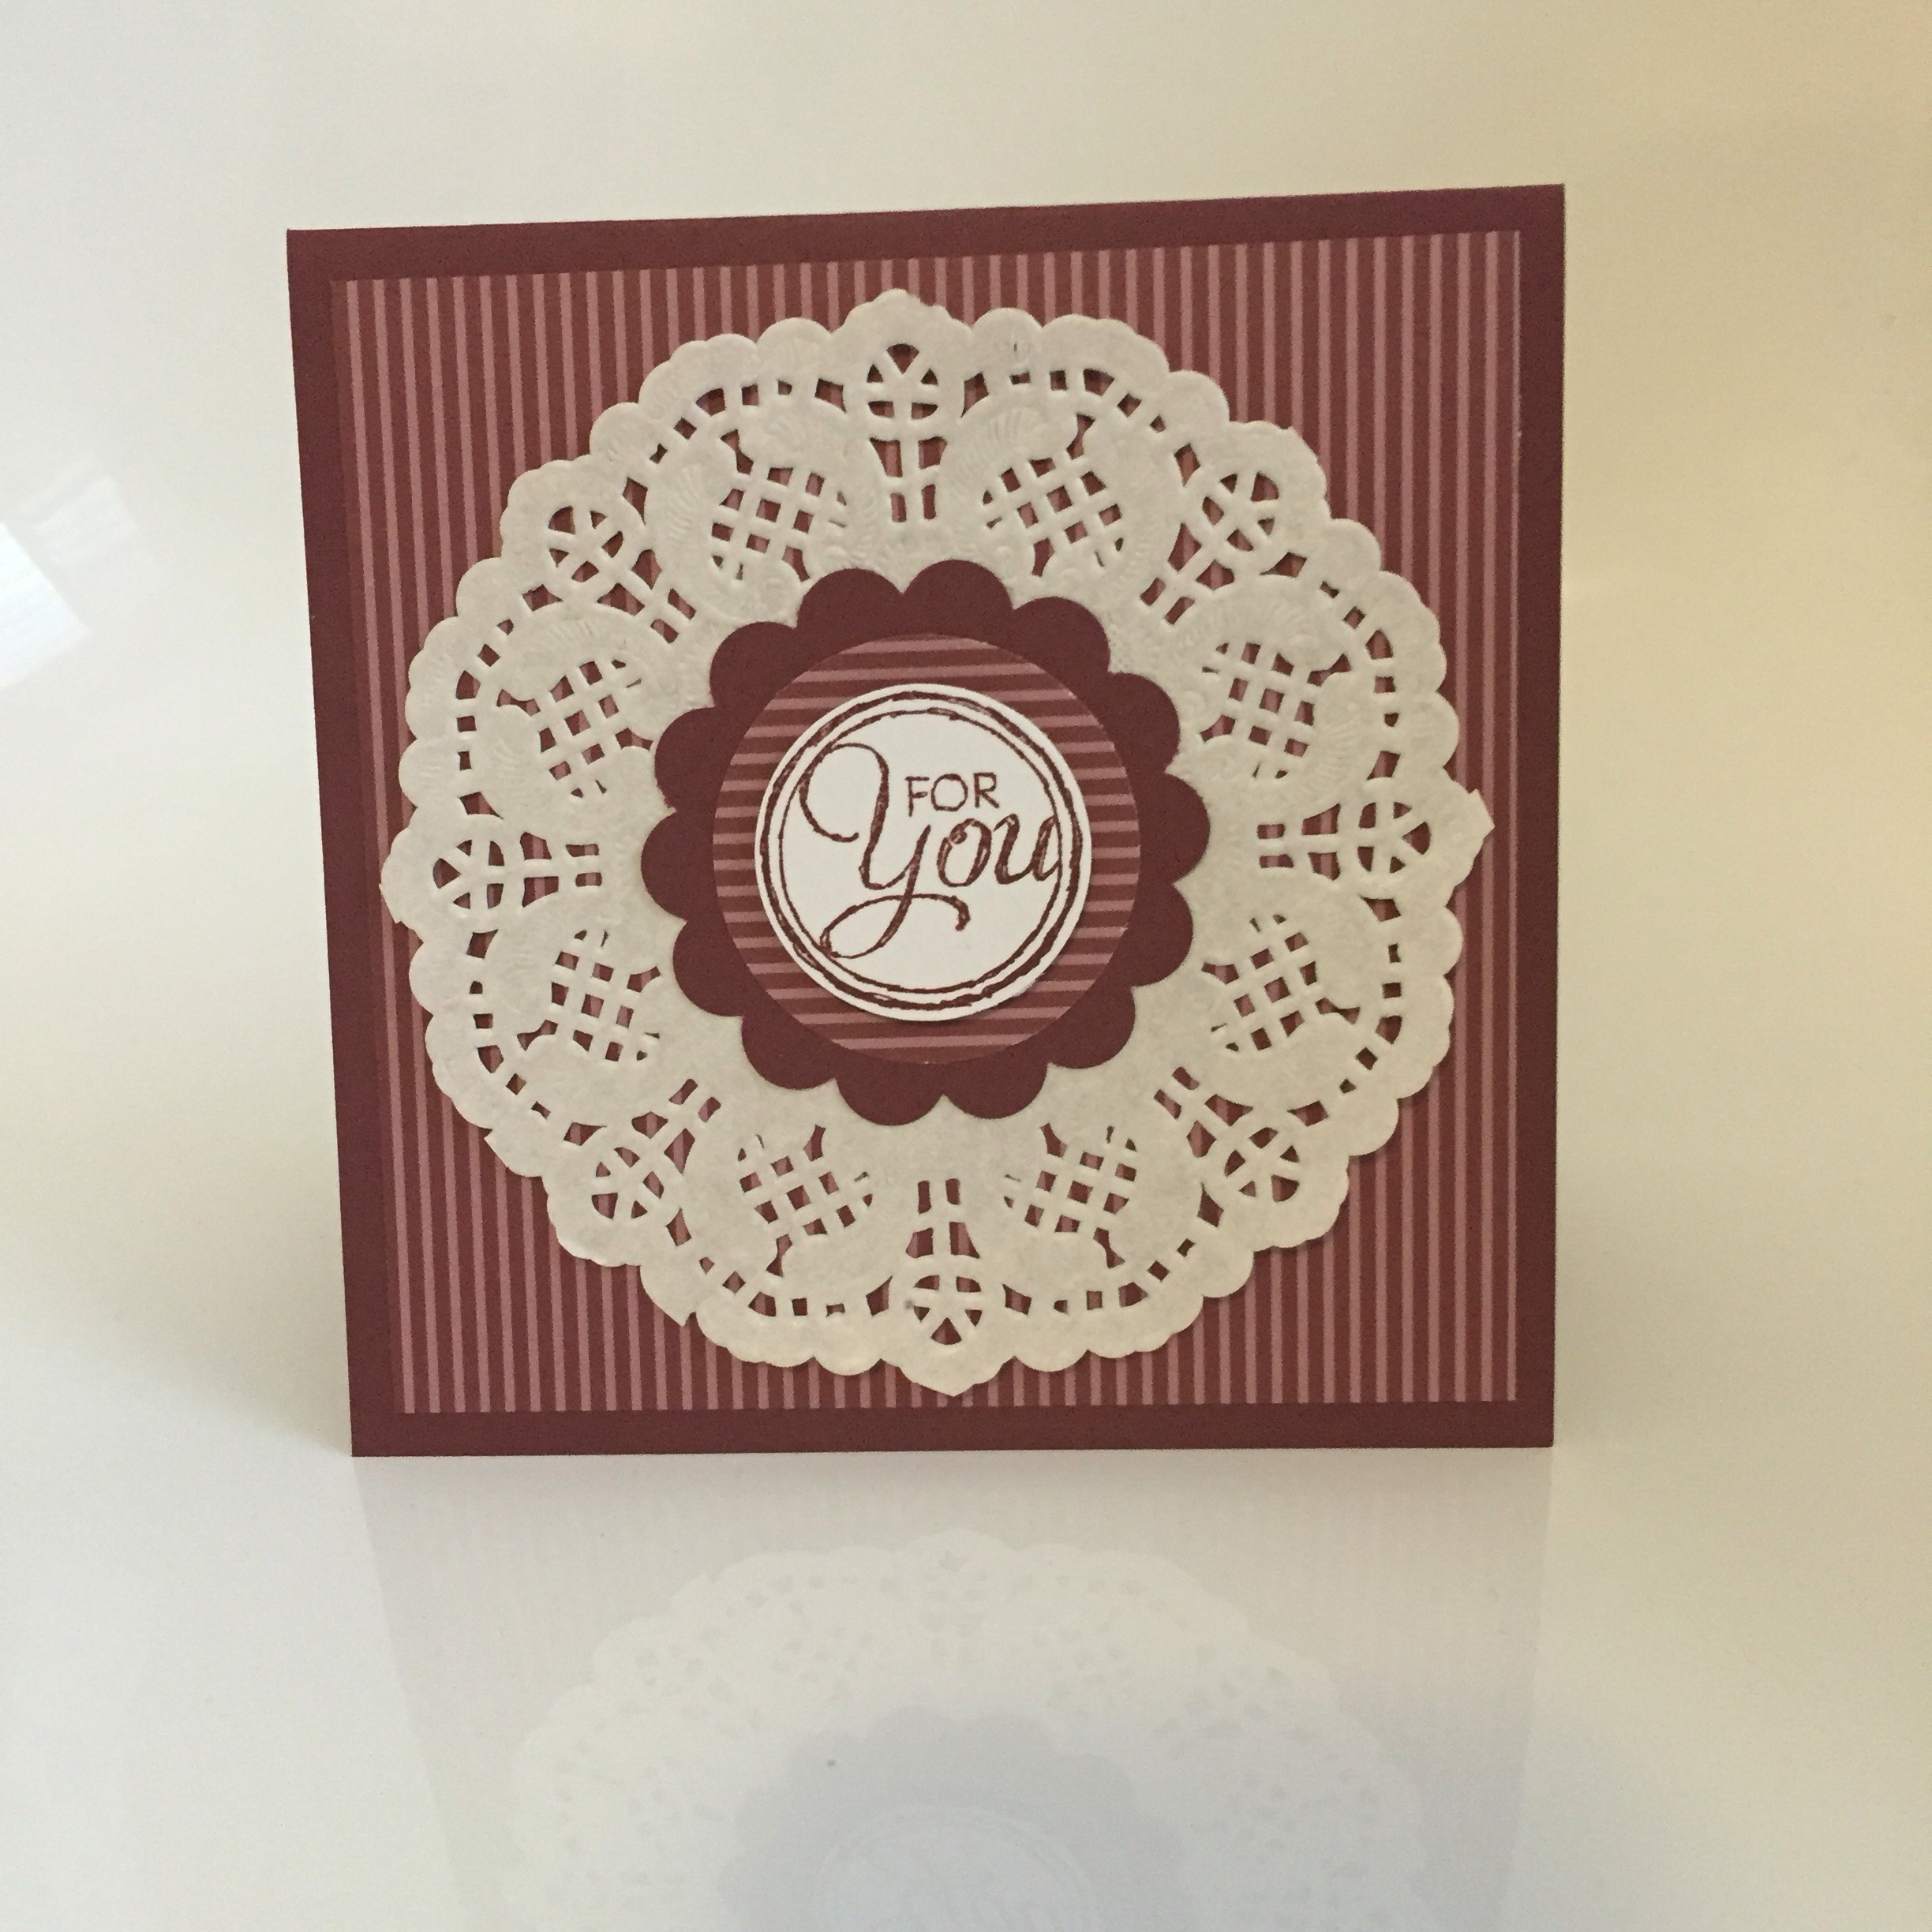
It was a layering job of DSP and card stock. I used my 2 3/8 inch scallop circle punch and the 1 3/4 and 1 3/8 inch circle punches. The “For You” sentiment is from the Chalk Talk stamp set.


I then decorated the plastic container to match the cards.

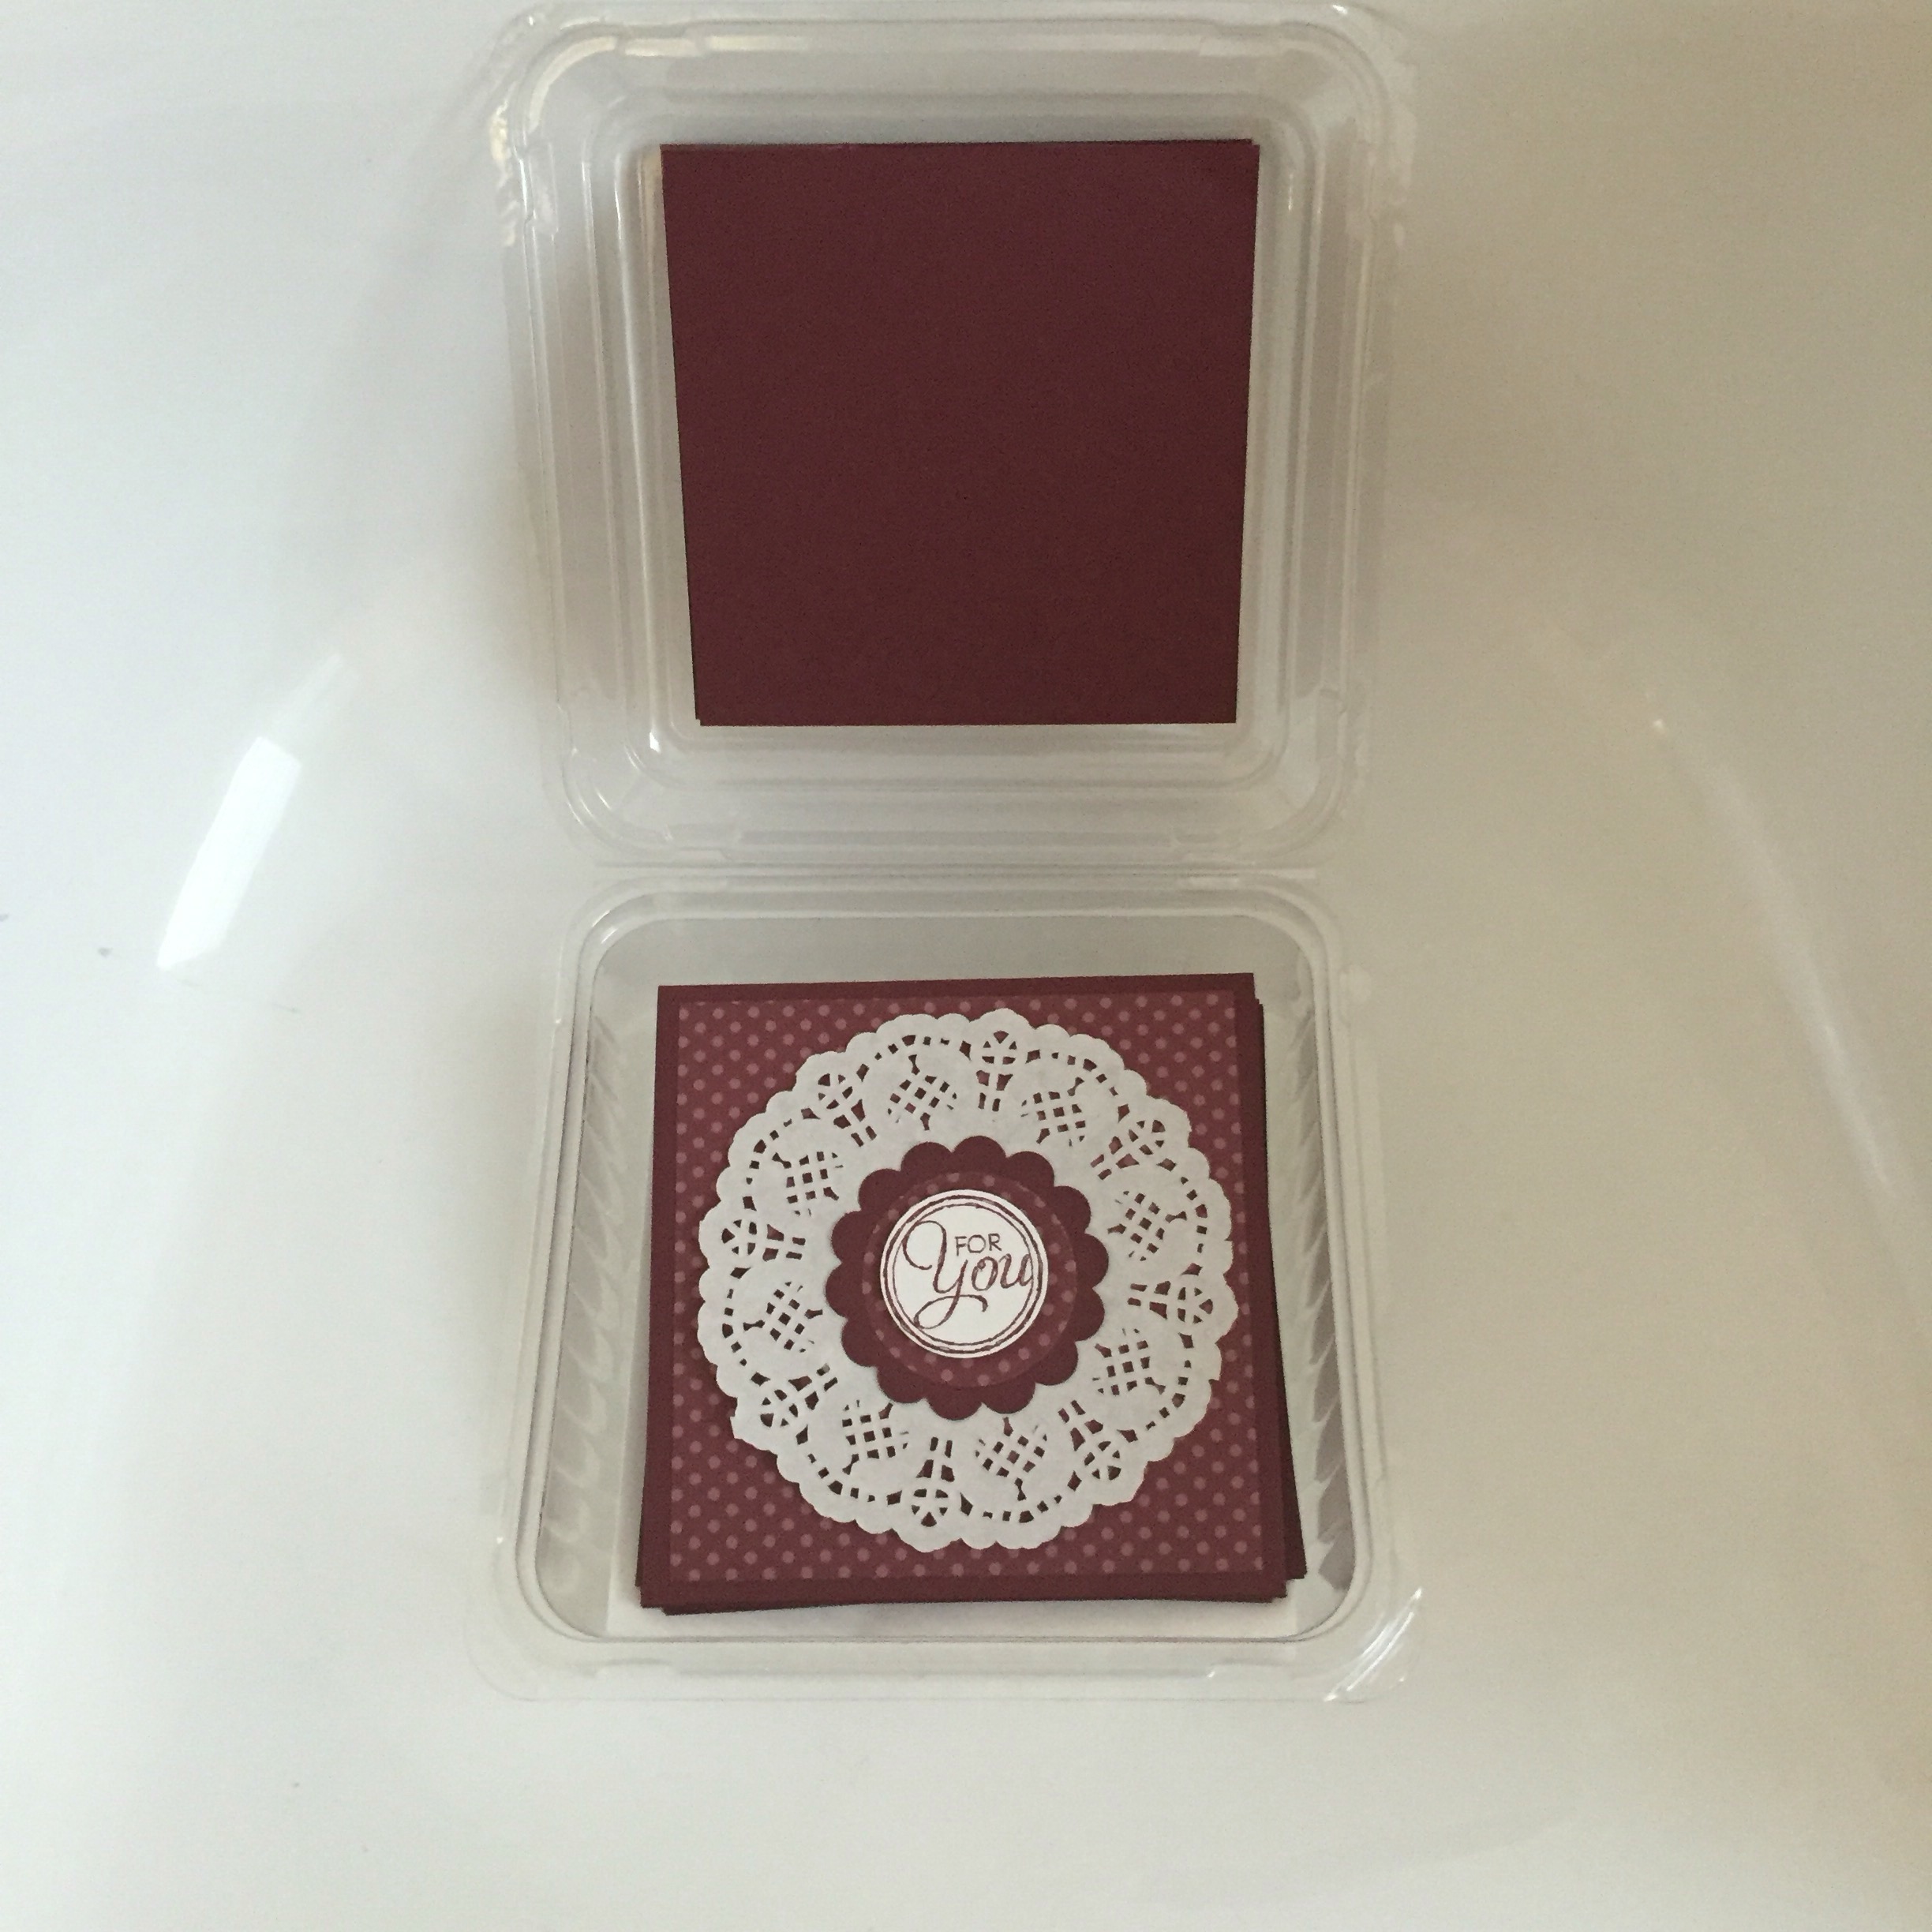
A quick tag using the scallop tag topper punch, some matching ribbon and voila!


I made this for someone very special to me who is forever sending cards to other people, so hopefully she enjoyed receiving some cards of her own.
Thanks for reading.
Caro x
16 Saturday Jan 2016
Posted in Baby cards, Cards, Curly label, Perfect Polka Dots, Using up scraps, Word Window
Happy New Year!
I’m back at my craft desk today after a nice break over Christmas and New Years. I am visiting a close friend who has had a new baby next week so wanted to make a special card.
I have seen punch out baby drawer cards all over the Internet and have been itching to make one. So here’s my version:
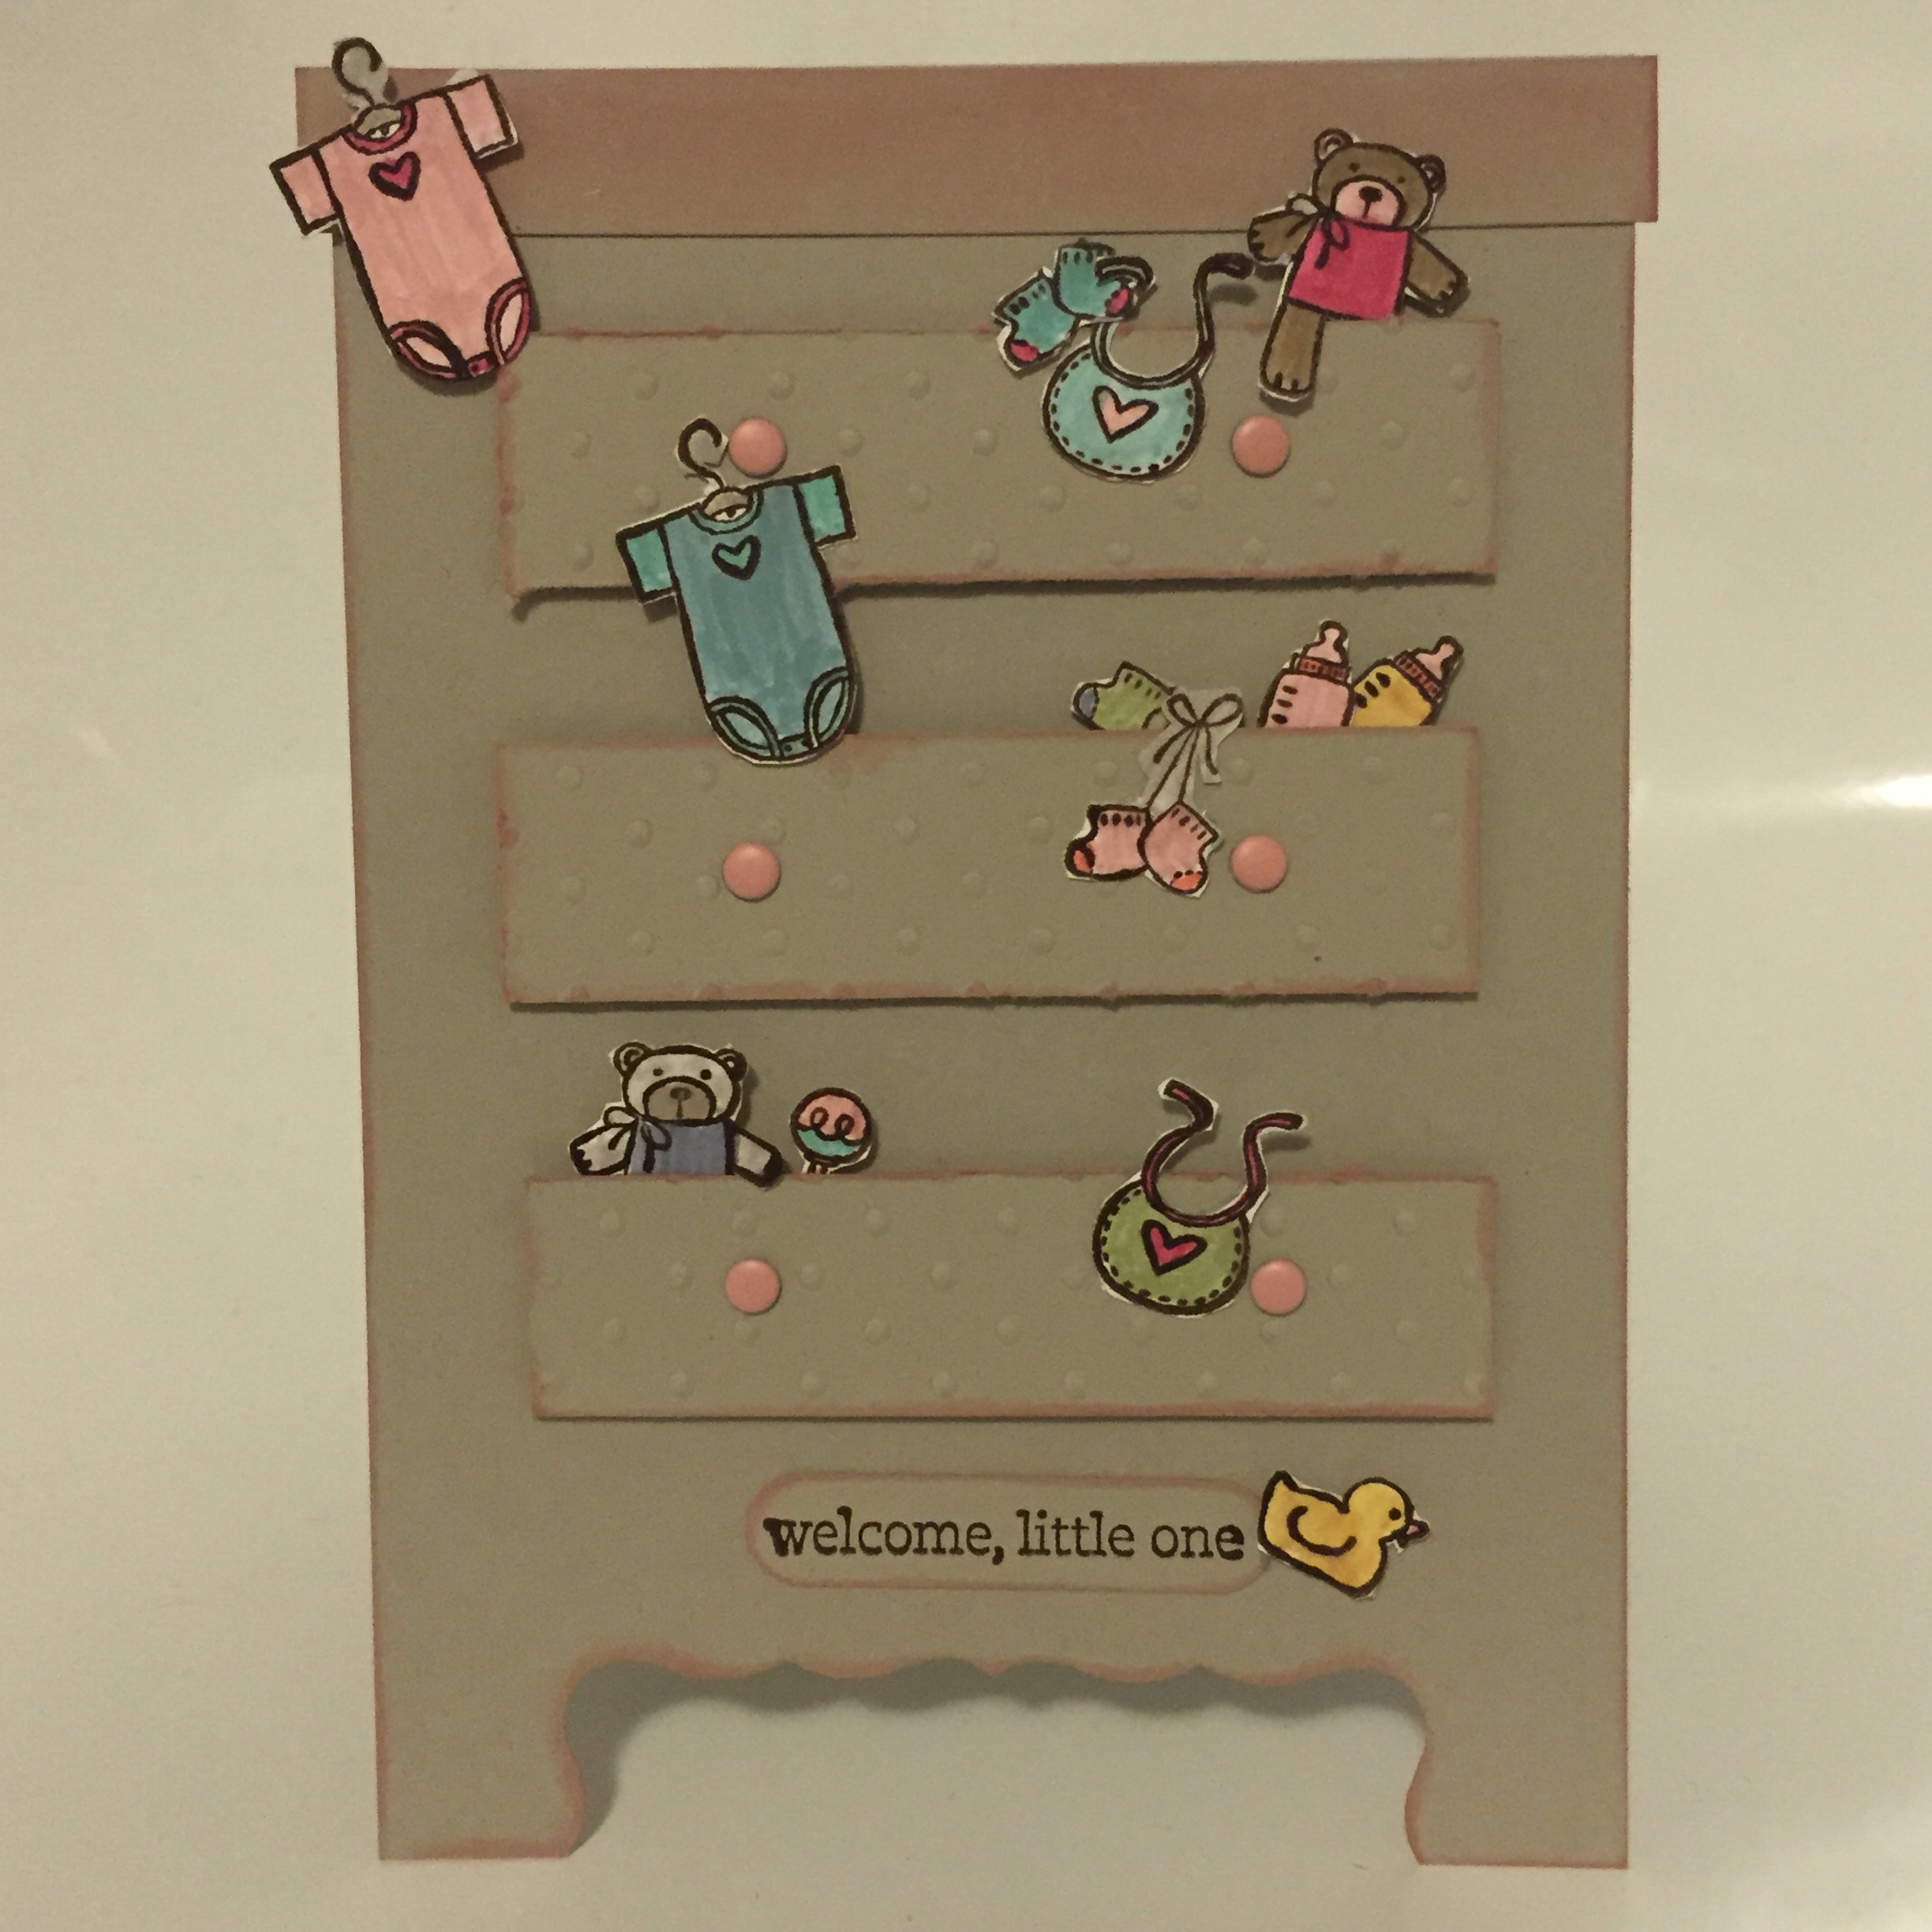
I used a top gold card blank (cut an A4 sheet in half vertically at 10.5cm) and then cut the shape from the bottom with 2 cuts of the curly label punch. The drawers are 8cm x 2cm and embossed with my spotty folder for added texture. The top of the drawers is 11cm x roughly 1.5cm (I just used up a scrap).
I used Sahara Sand card stock and sponged the edges with Blushing Bride.
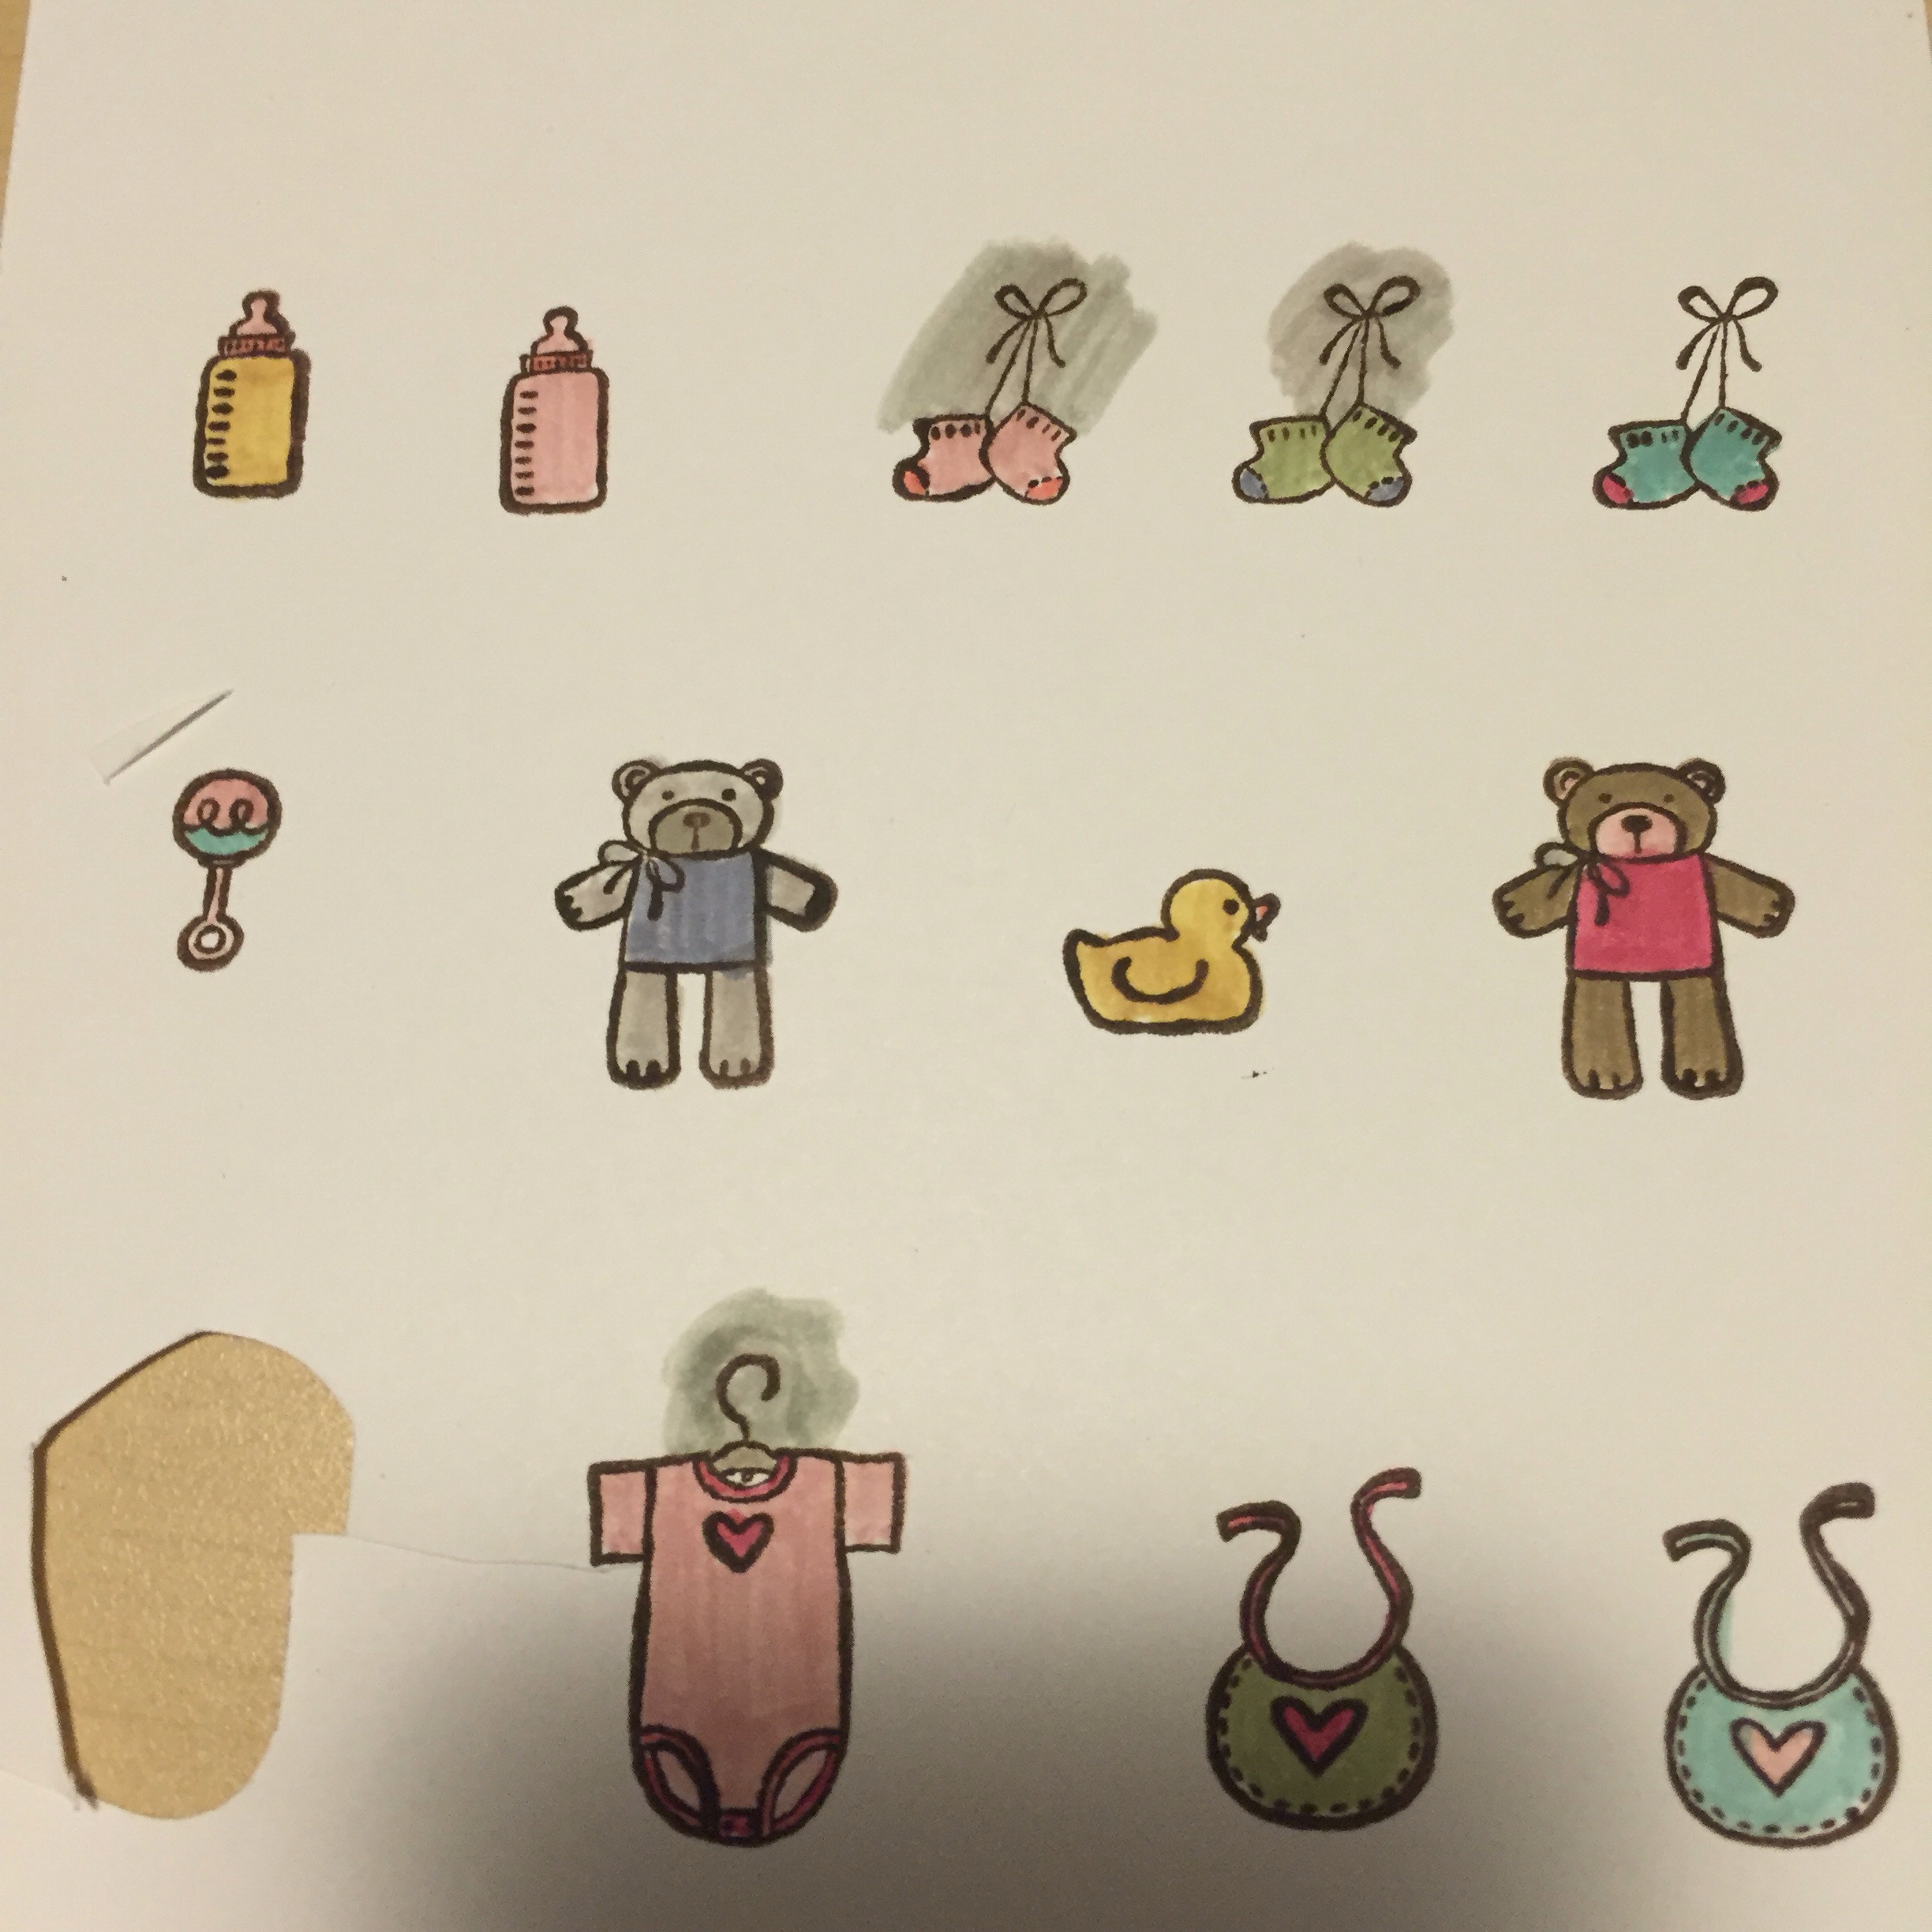
The images are from the Baby Bundle set and the sentiment is from Nursery Necessities (both retired Stampin’ Up! but there are lots of cute baby sets in the current catalogue that would work just as well).
I cut out all the shapes. One tip for cutting really tiny shapes like the curve of the coat hanger – if you have a marker the same colour as your card stock just colour around so it’s not obvious if you leave a bit for added strength:
It’s a good idea to position the clothes etc before you stick down the drawers – I stuck a few behind the drawers:

(I used dimensionals to stick on the drawers and mini glue dots for the fiddly little cut outs).
I hope you enjoyed that card – and hopefully my friend will too!!!
Thanks for reading.
Caro
16 Saturday Jan 2016
Posted in Baby cards, Cards, Curly label, Perfect Polka Dots, Using up scraps, Word Window
Happy New Year!
I’m back at my craft desk today after a nice break over Christmas and New Years. I am visiting a close friend who has had a new baby next week so wanted to make a special card.
I have seen punch out baby drawer cards all over the Internet and have been itching to make one. So here’s my version:
I used a top gold card blank (cut an A4 sheet in half vertically at 10.5cm) and then cut the shape from the bottom with 2 cuts of the curly label punch. The drawers are 8cm x 2cm and embossed with my spotty folder for added texture. The top of the drawers is 11cm x roughly 1.5cm (I just used up a scrap).
I used Sahara Sand card stock and sponged the edges with Blushing Bride.
The images are from the Baby Bundle set and the sentiment is from Nursery Necessities (both retired Stampin’ Up! but there are lots of cute baby sets in the current catalogue that would work just as well).
I cut out all the shapes. One tip for cutting really tiny shapes like the curve of the coat hanger – if you have a marker the same colour as your card stock just colour around so it’s not obvious if you leave a bit for added strength:
It’s a good idea to position the clothes etc before you stick down the drawers – I stuck a few behind the drawers:
(I used dimensionals to stick on the drawers and mini glue dots for the fiddly little cut outs).
I hope you enjoyed that card – and hopefully my friend will too!!!
Thanks for reading.
Caro
16 Monday Nov 2015
Posted in Home decorating, Notebooks, Using up scraps
I play the piano, and have lots of music in those cheap plastic insert display/sleeve folders. Each time I play, I think they are very ugly and definitely could do with some “prettying up”.
A quick trip to office works and raiding my paper stash later, and look at the collection of pretty music books I now have!


Most of the papers come from The Sweet Stack paper stack I bought at Big W (I think!).
They were just very cheap notebooks, but ended up looking rather lovely!


Thanks for reading.
Caro
03 Tuesday Nov 2015
Posted in Home decorating, Notebooks, Using up scraps
Tags
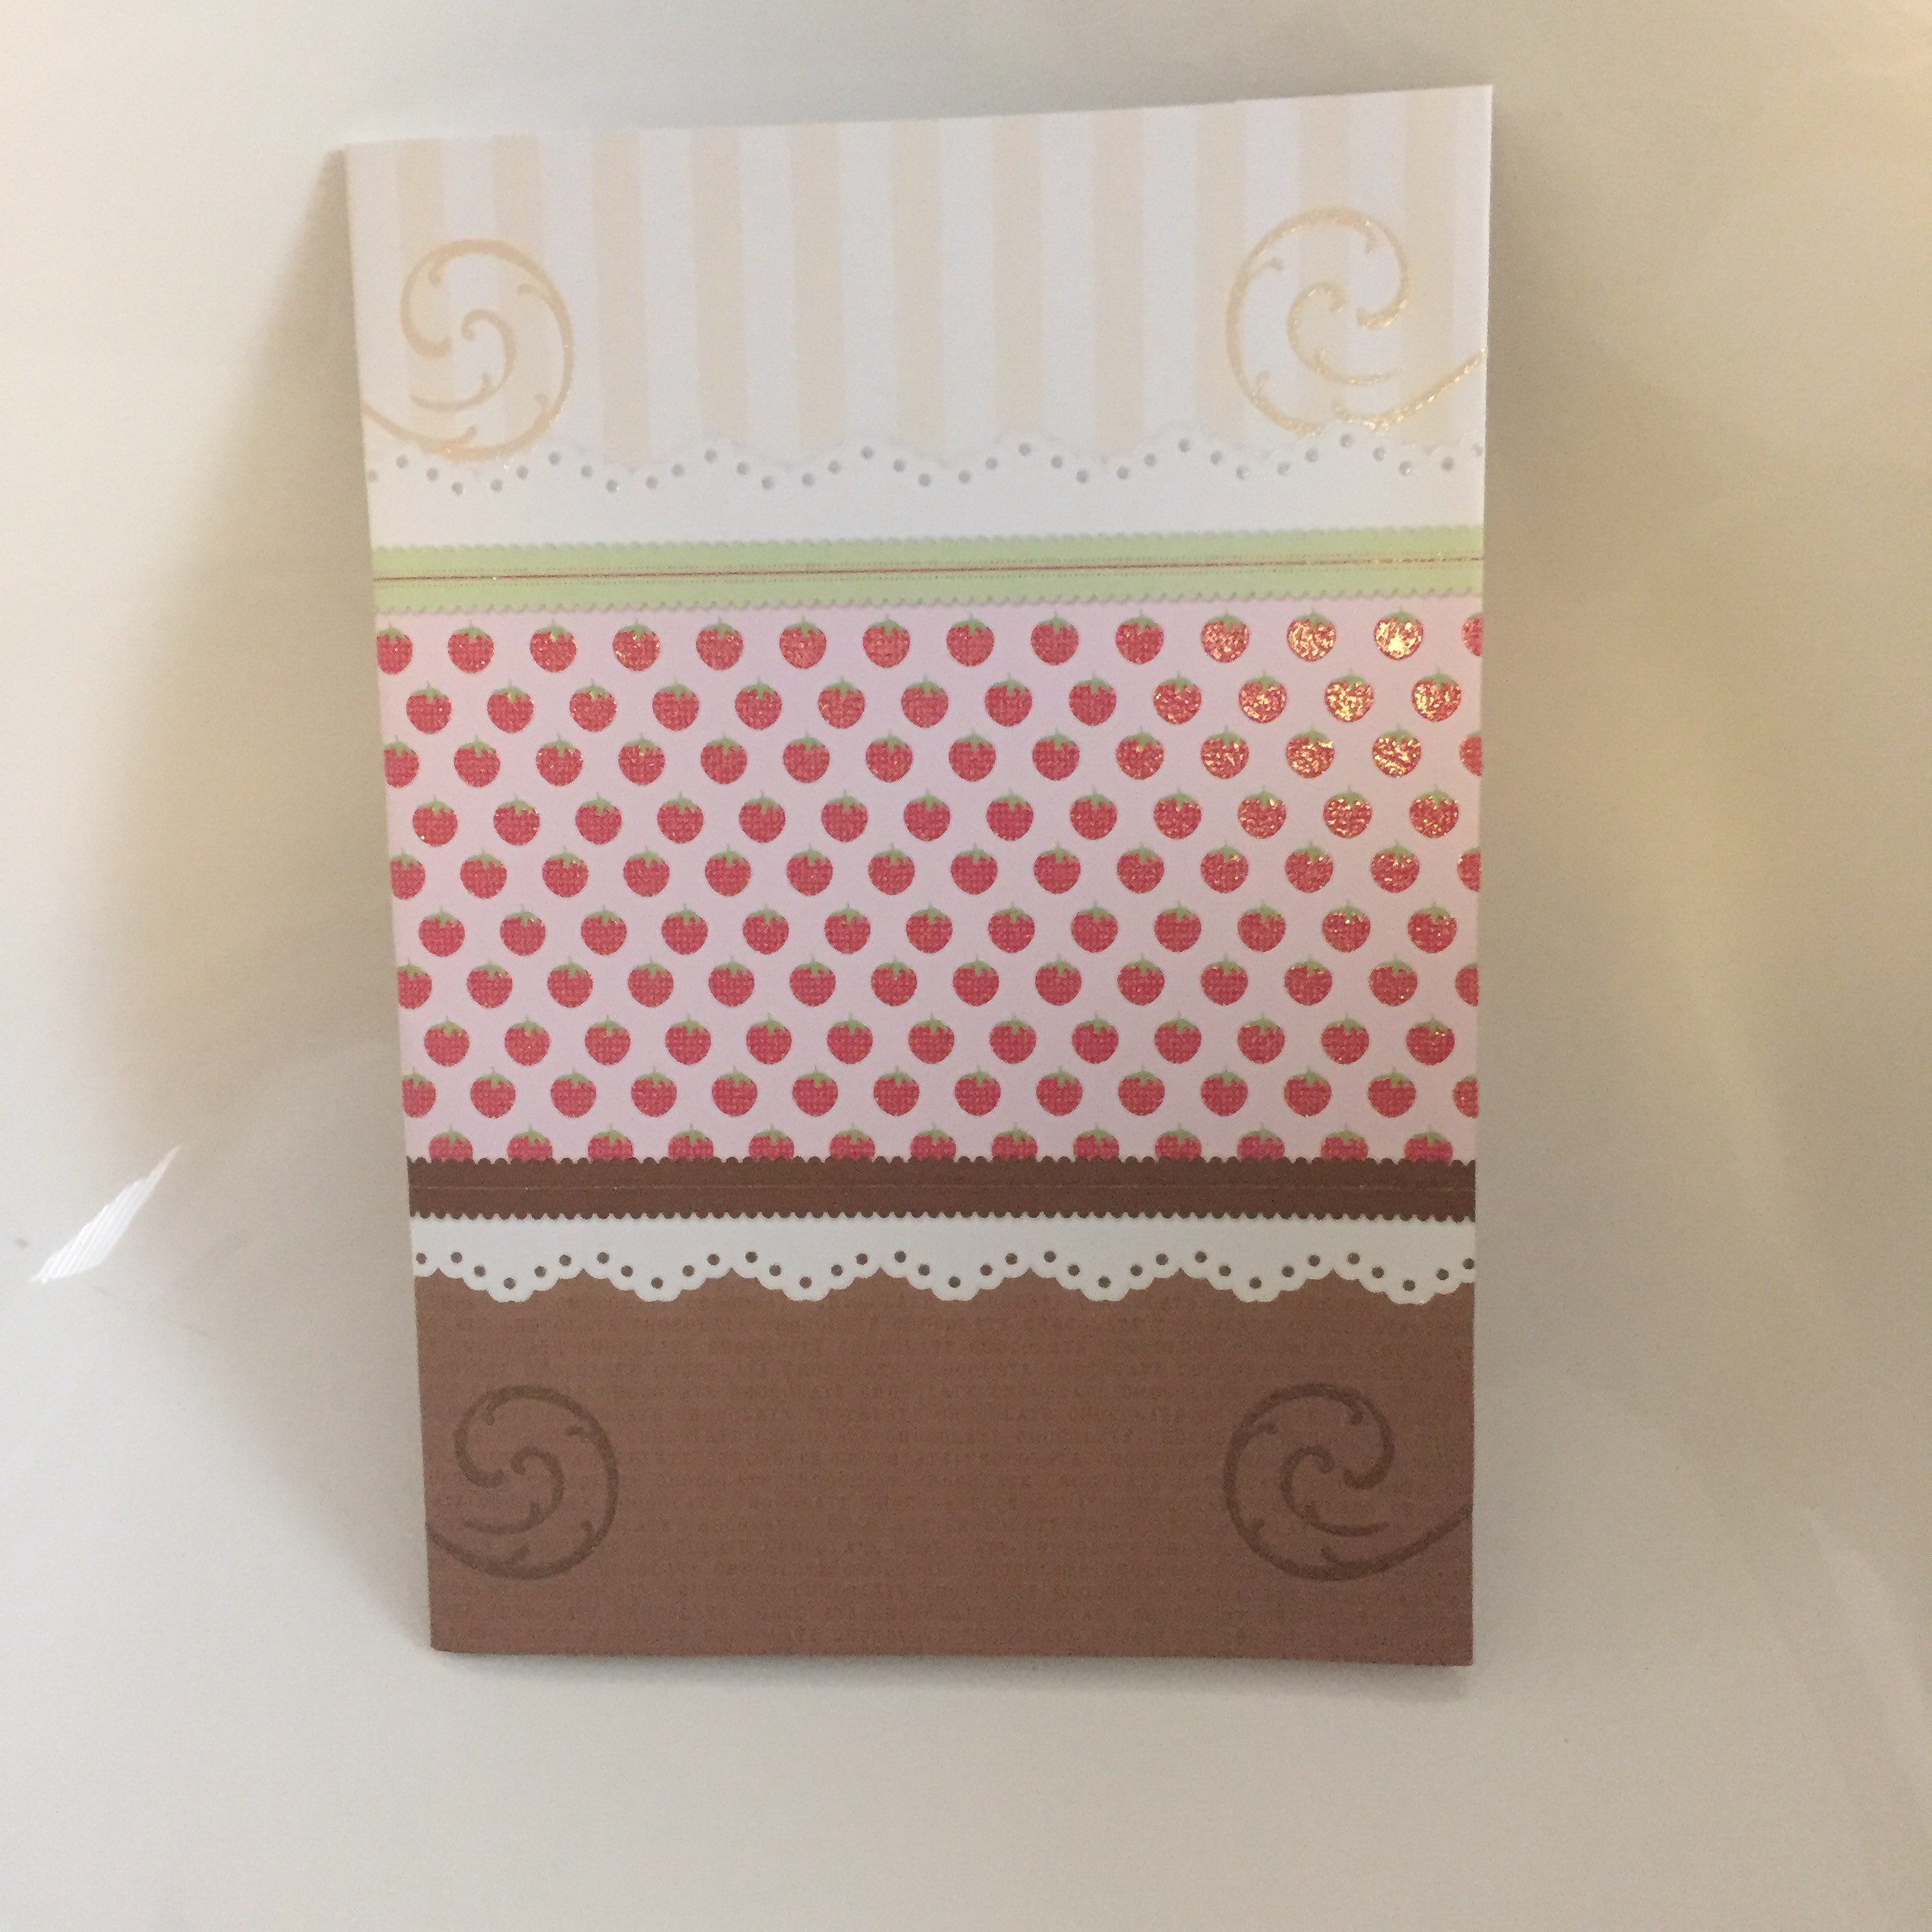
See this cute little notebook?
Five minutes ago it looked like this:

I was making some notes on a boring old regular, cheap, plain writing pad then decided to pretty it up.
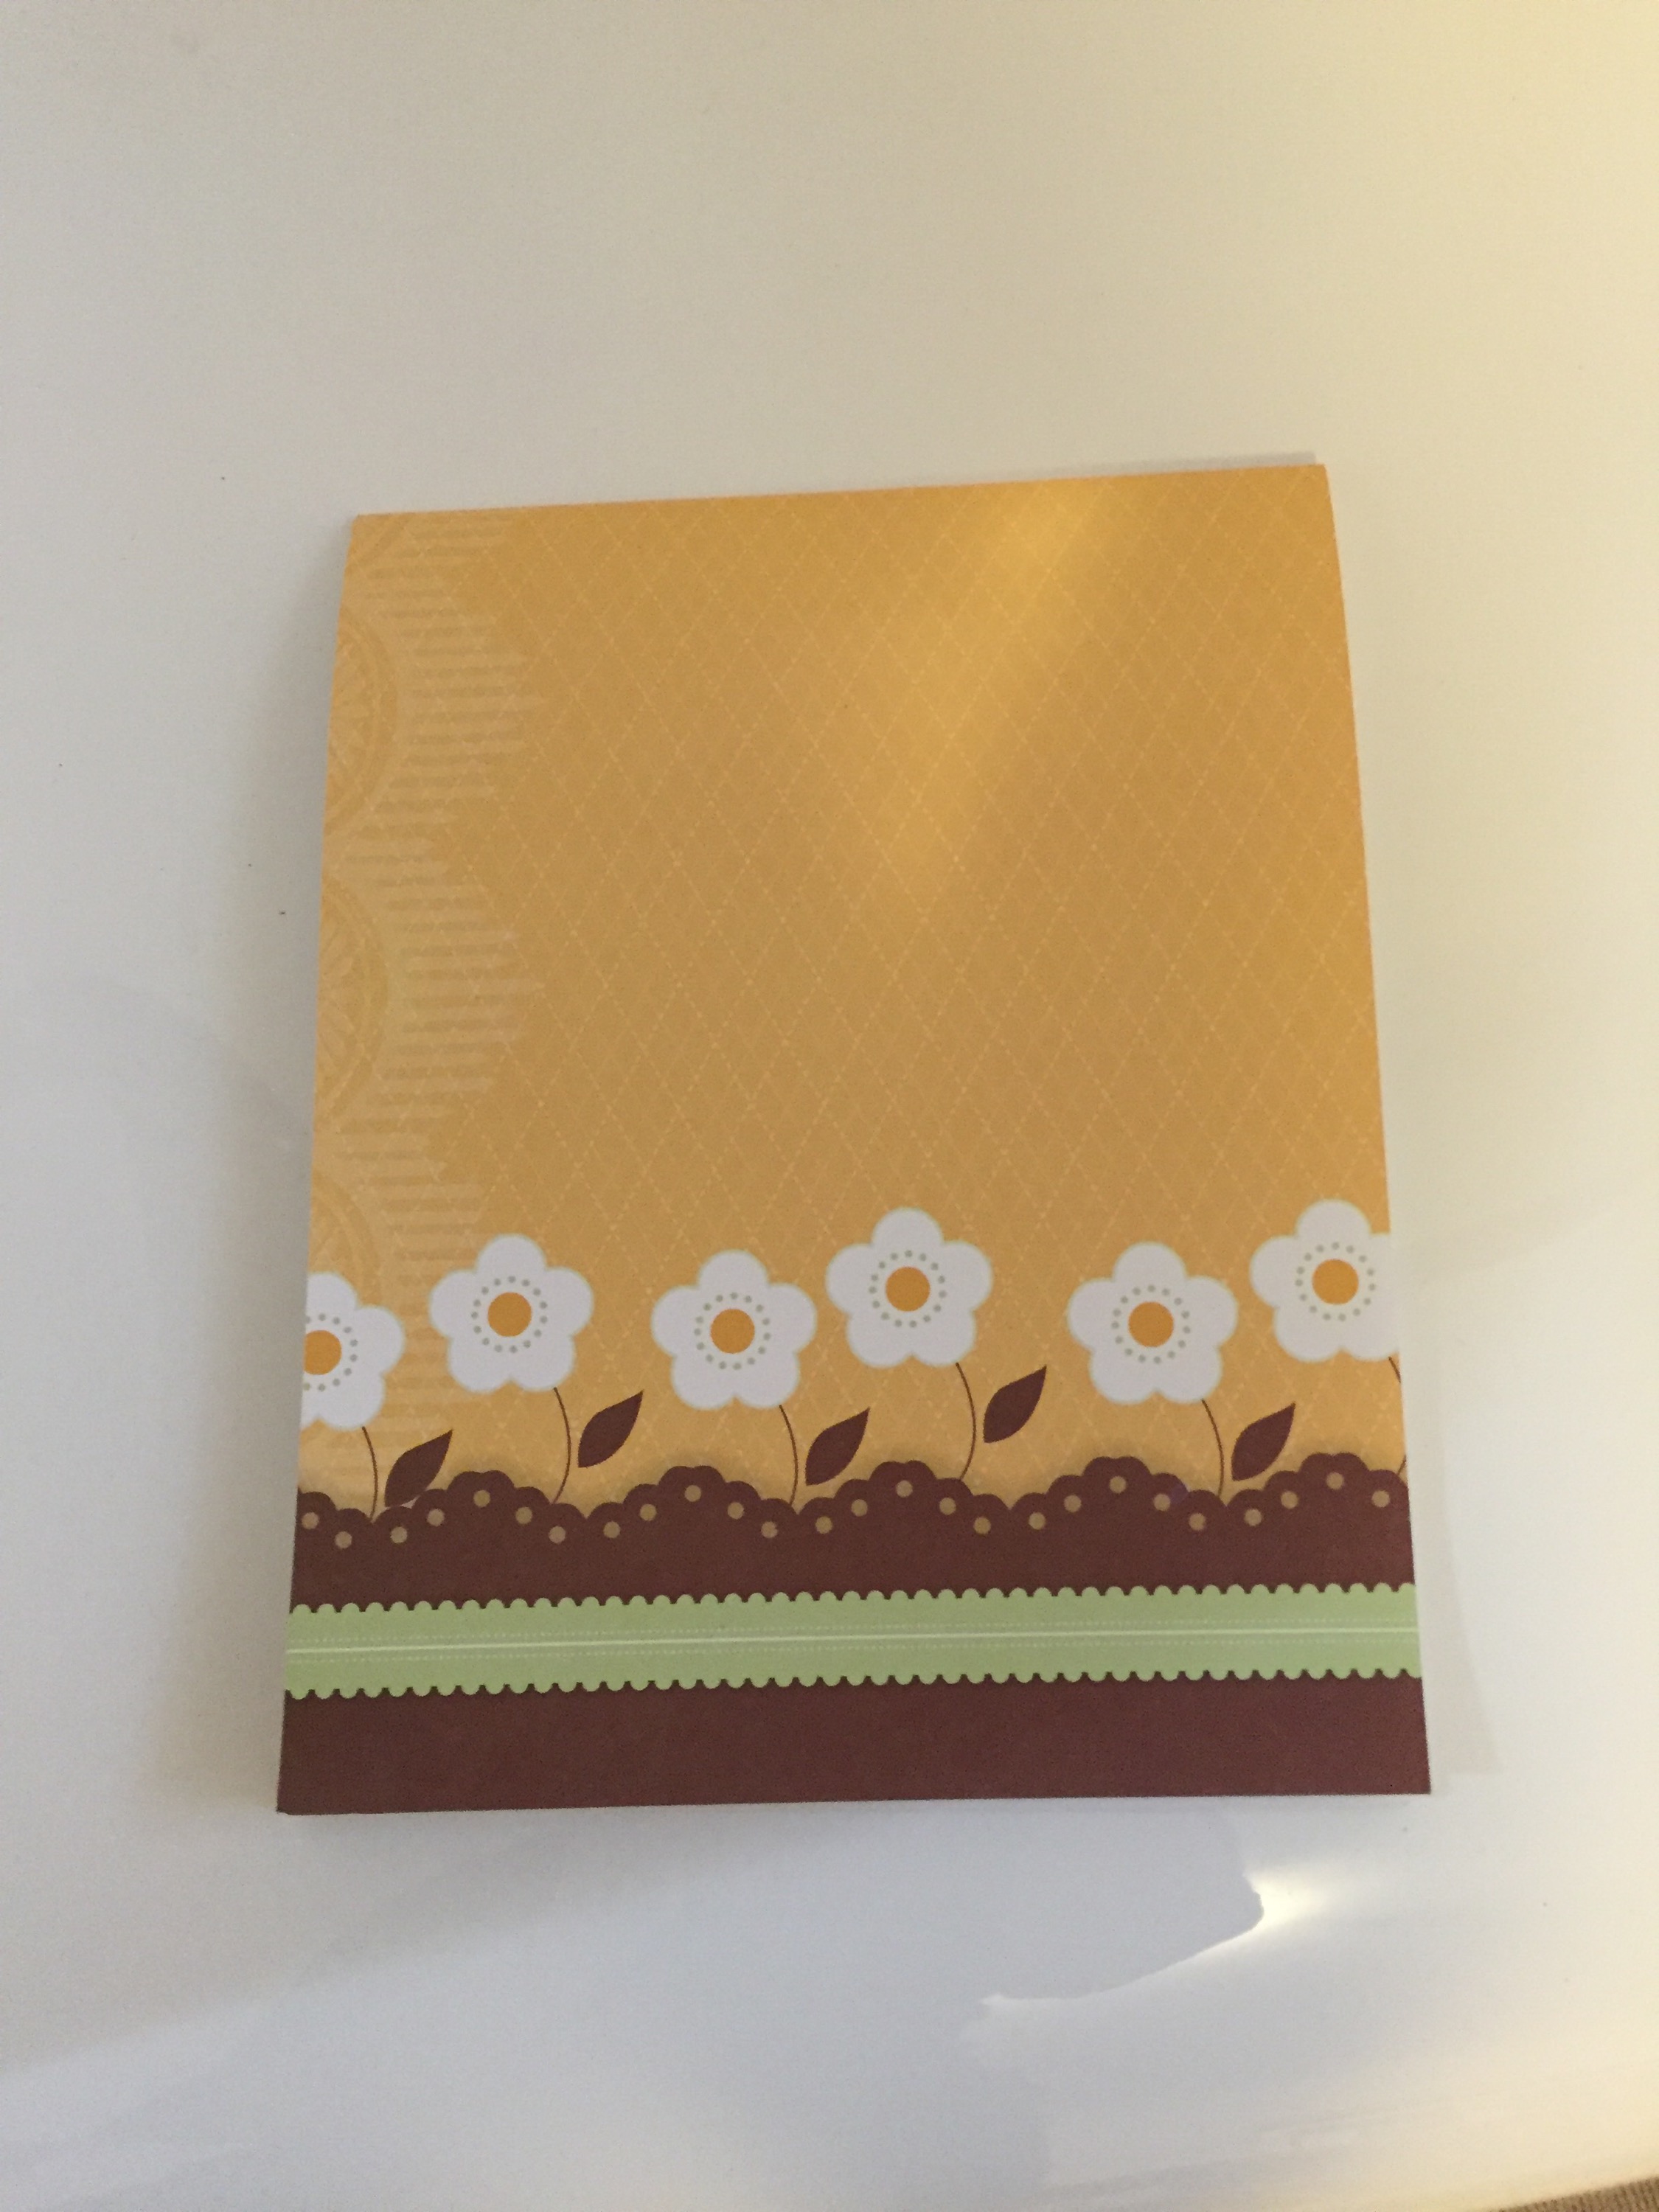
Five minutes with some scrap paper, a ruler, a paper cutter and some glue and my boring note pad was magically transformed into a cute notebook for my desk.

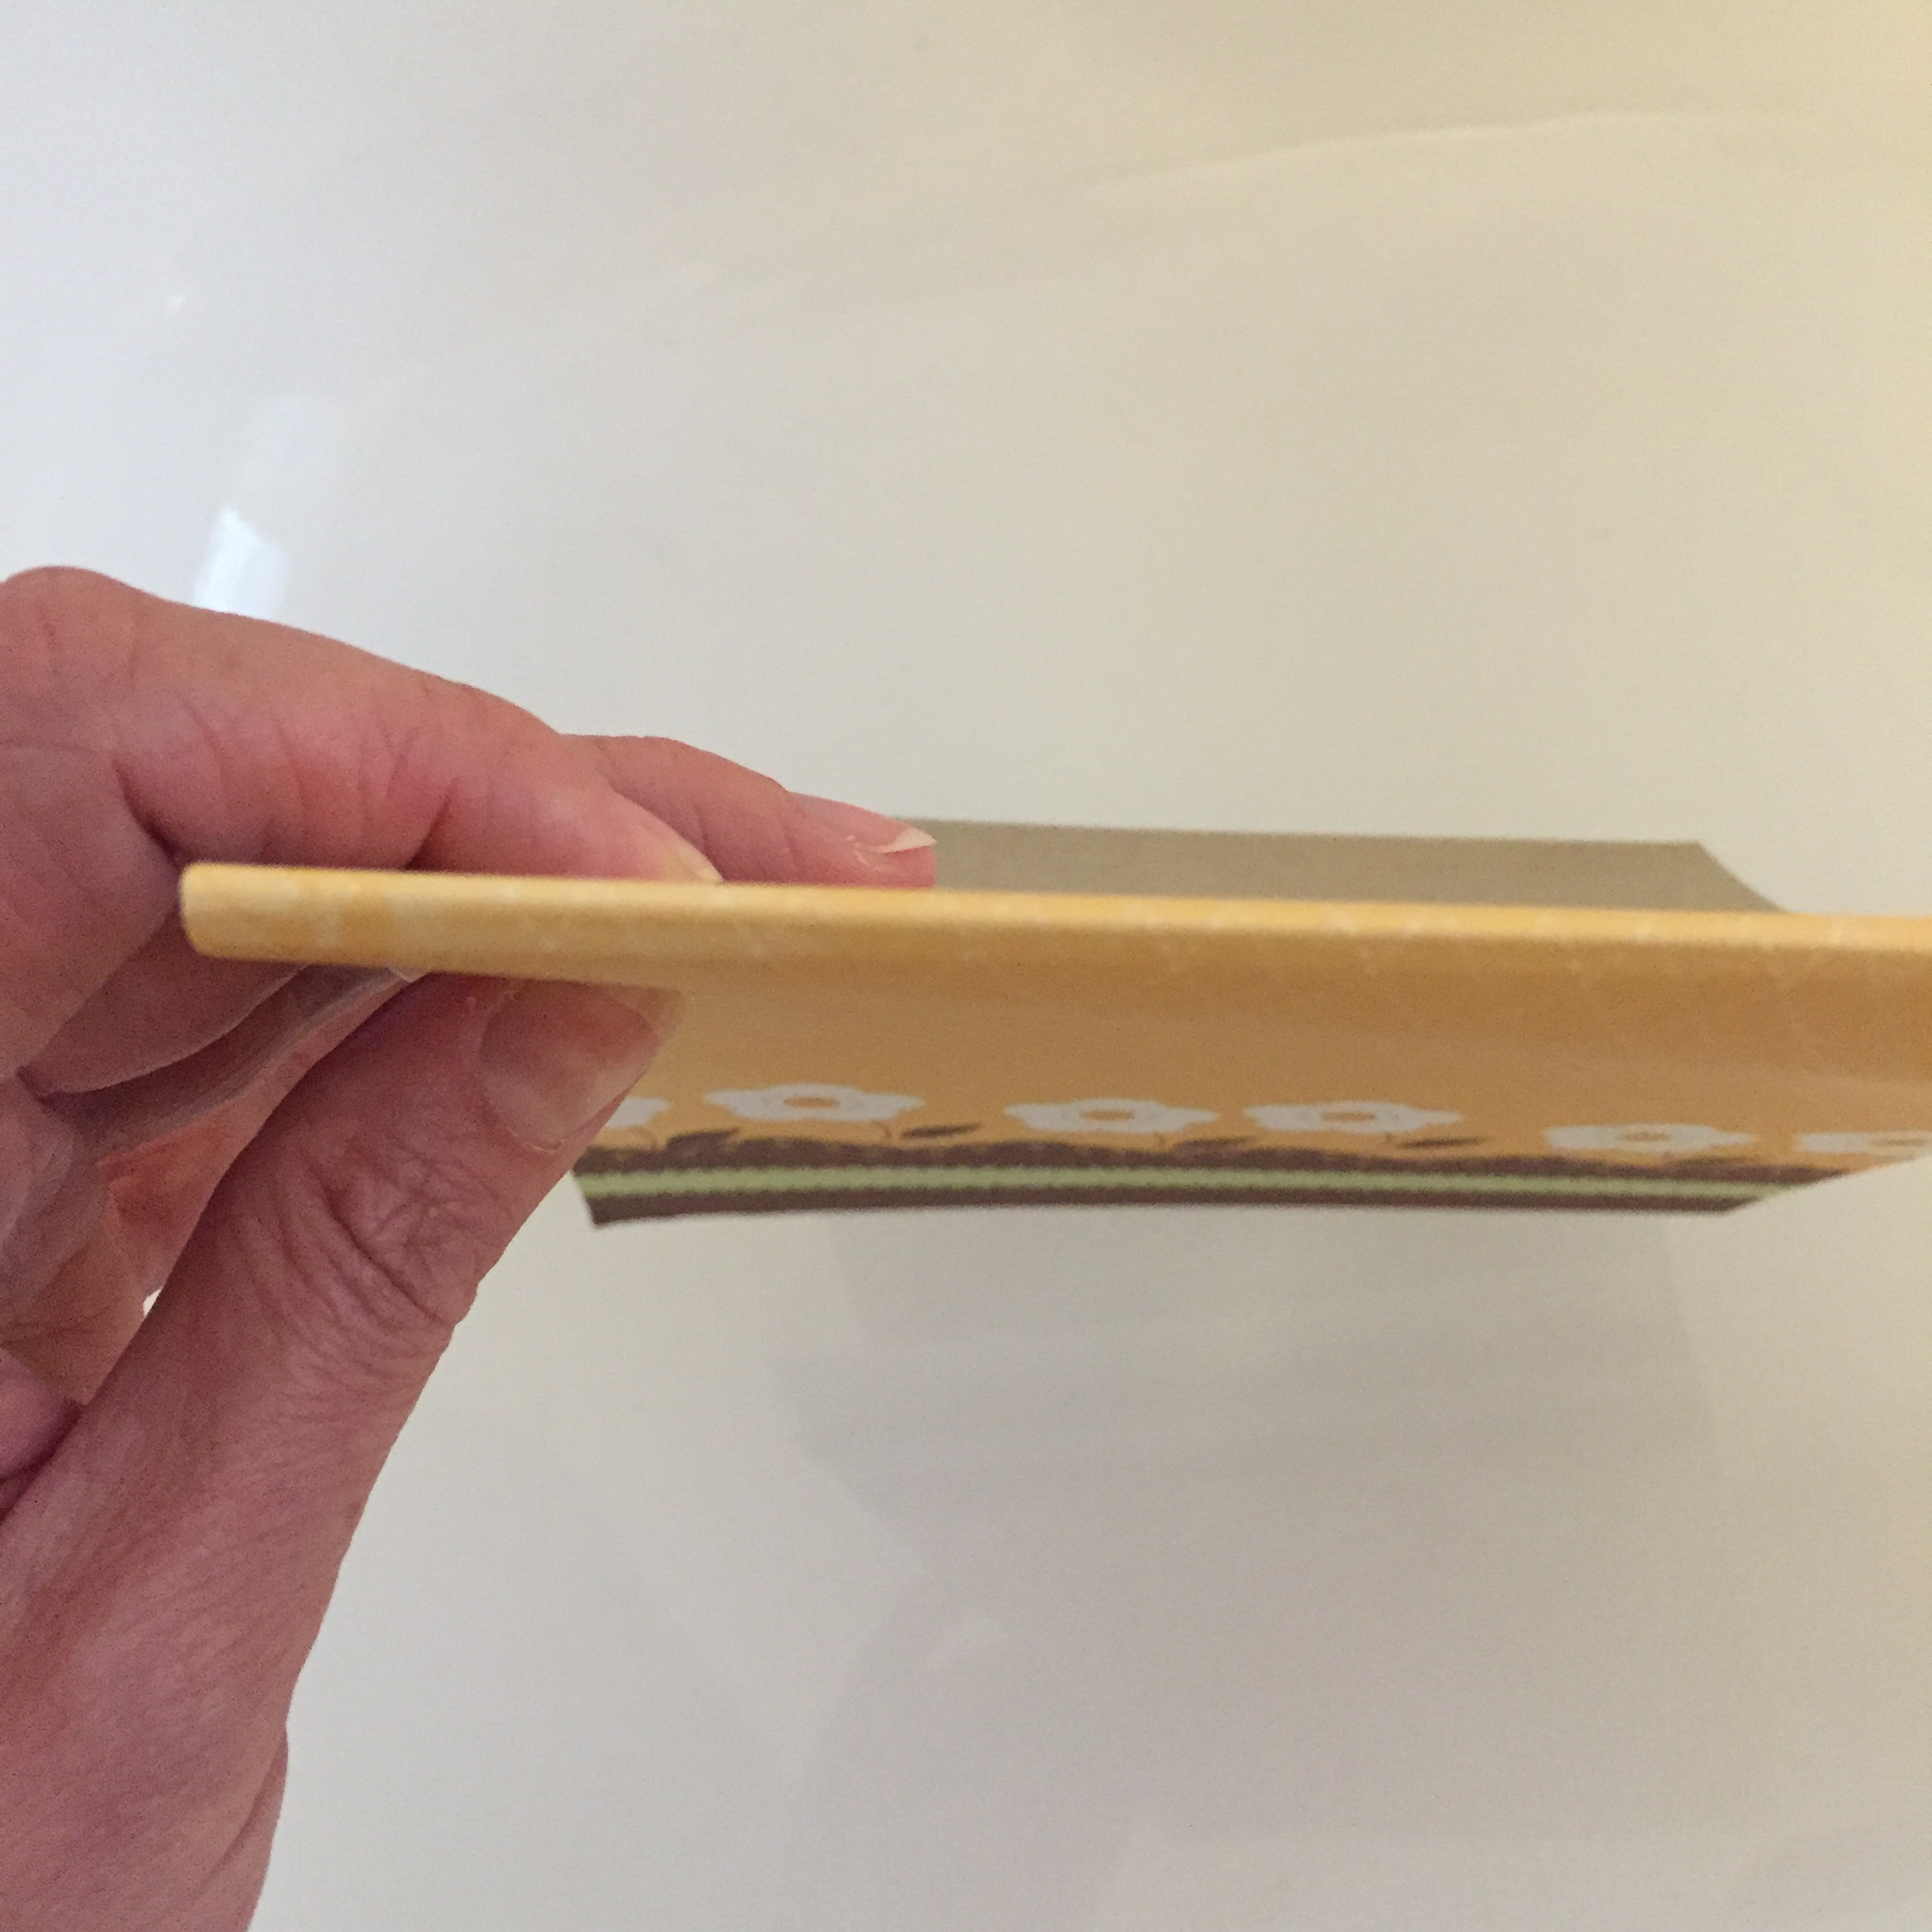
Just measure the width of the writing pad and cut the paper to size, then fold and glue excess paper at the back. It works better if you score the fold line and score another half cm further along for where it needs to create a spine, but a simple fold works fine too. This picture hopefully explains what I mean about the two scores half a can apart helping to create a “spine”
Now I can get back to work! (The joys of working from home!)
Thanks for reading
Caro
25 Sunday Oct 2015
Posted in Birthday, Gift tags & wrapping, Kids cards, Using up scraps
Tags
Another day, another kids birthday present to wrap/card to make.
I found some spotty paper and alphabet colours in my scrap paper stash and voila:
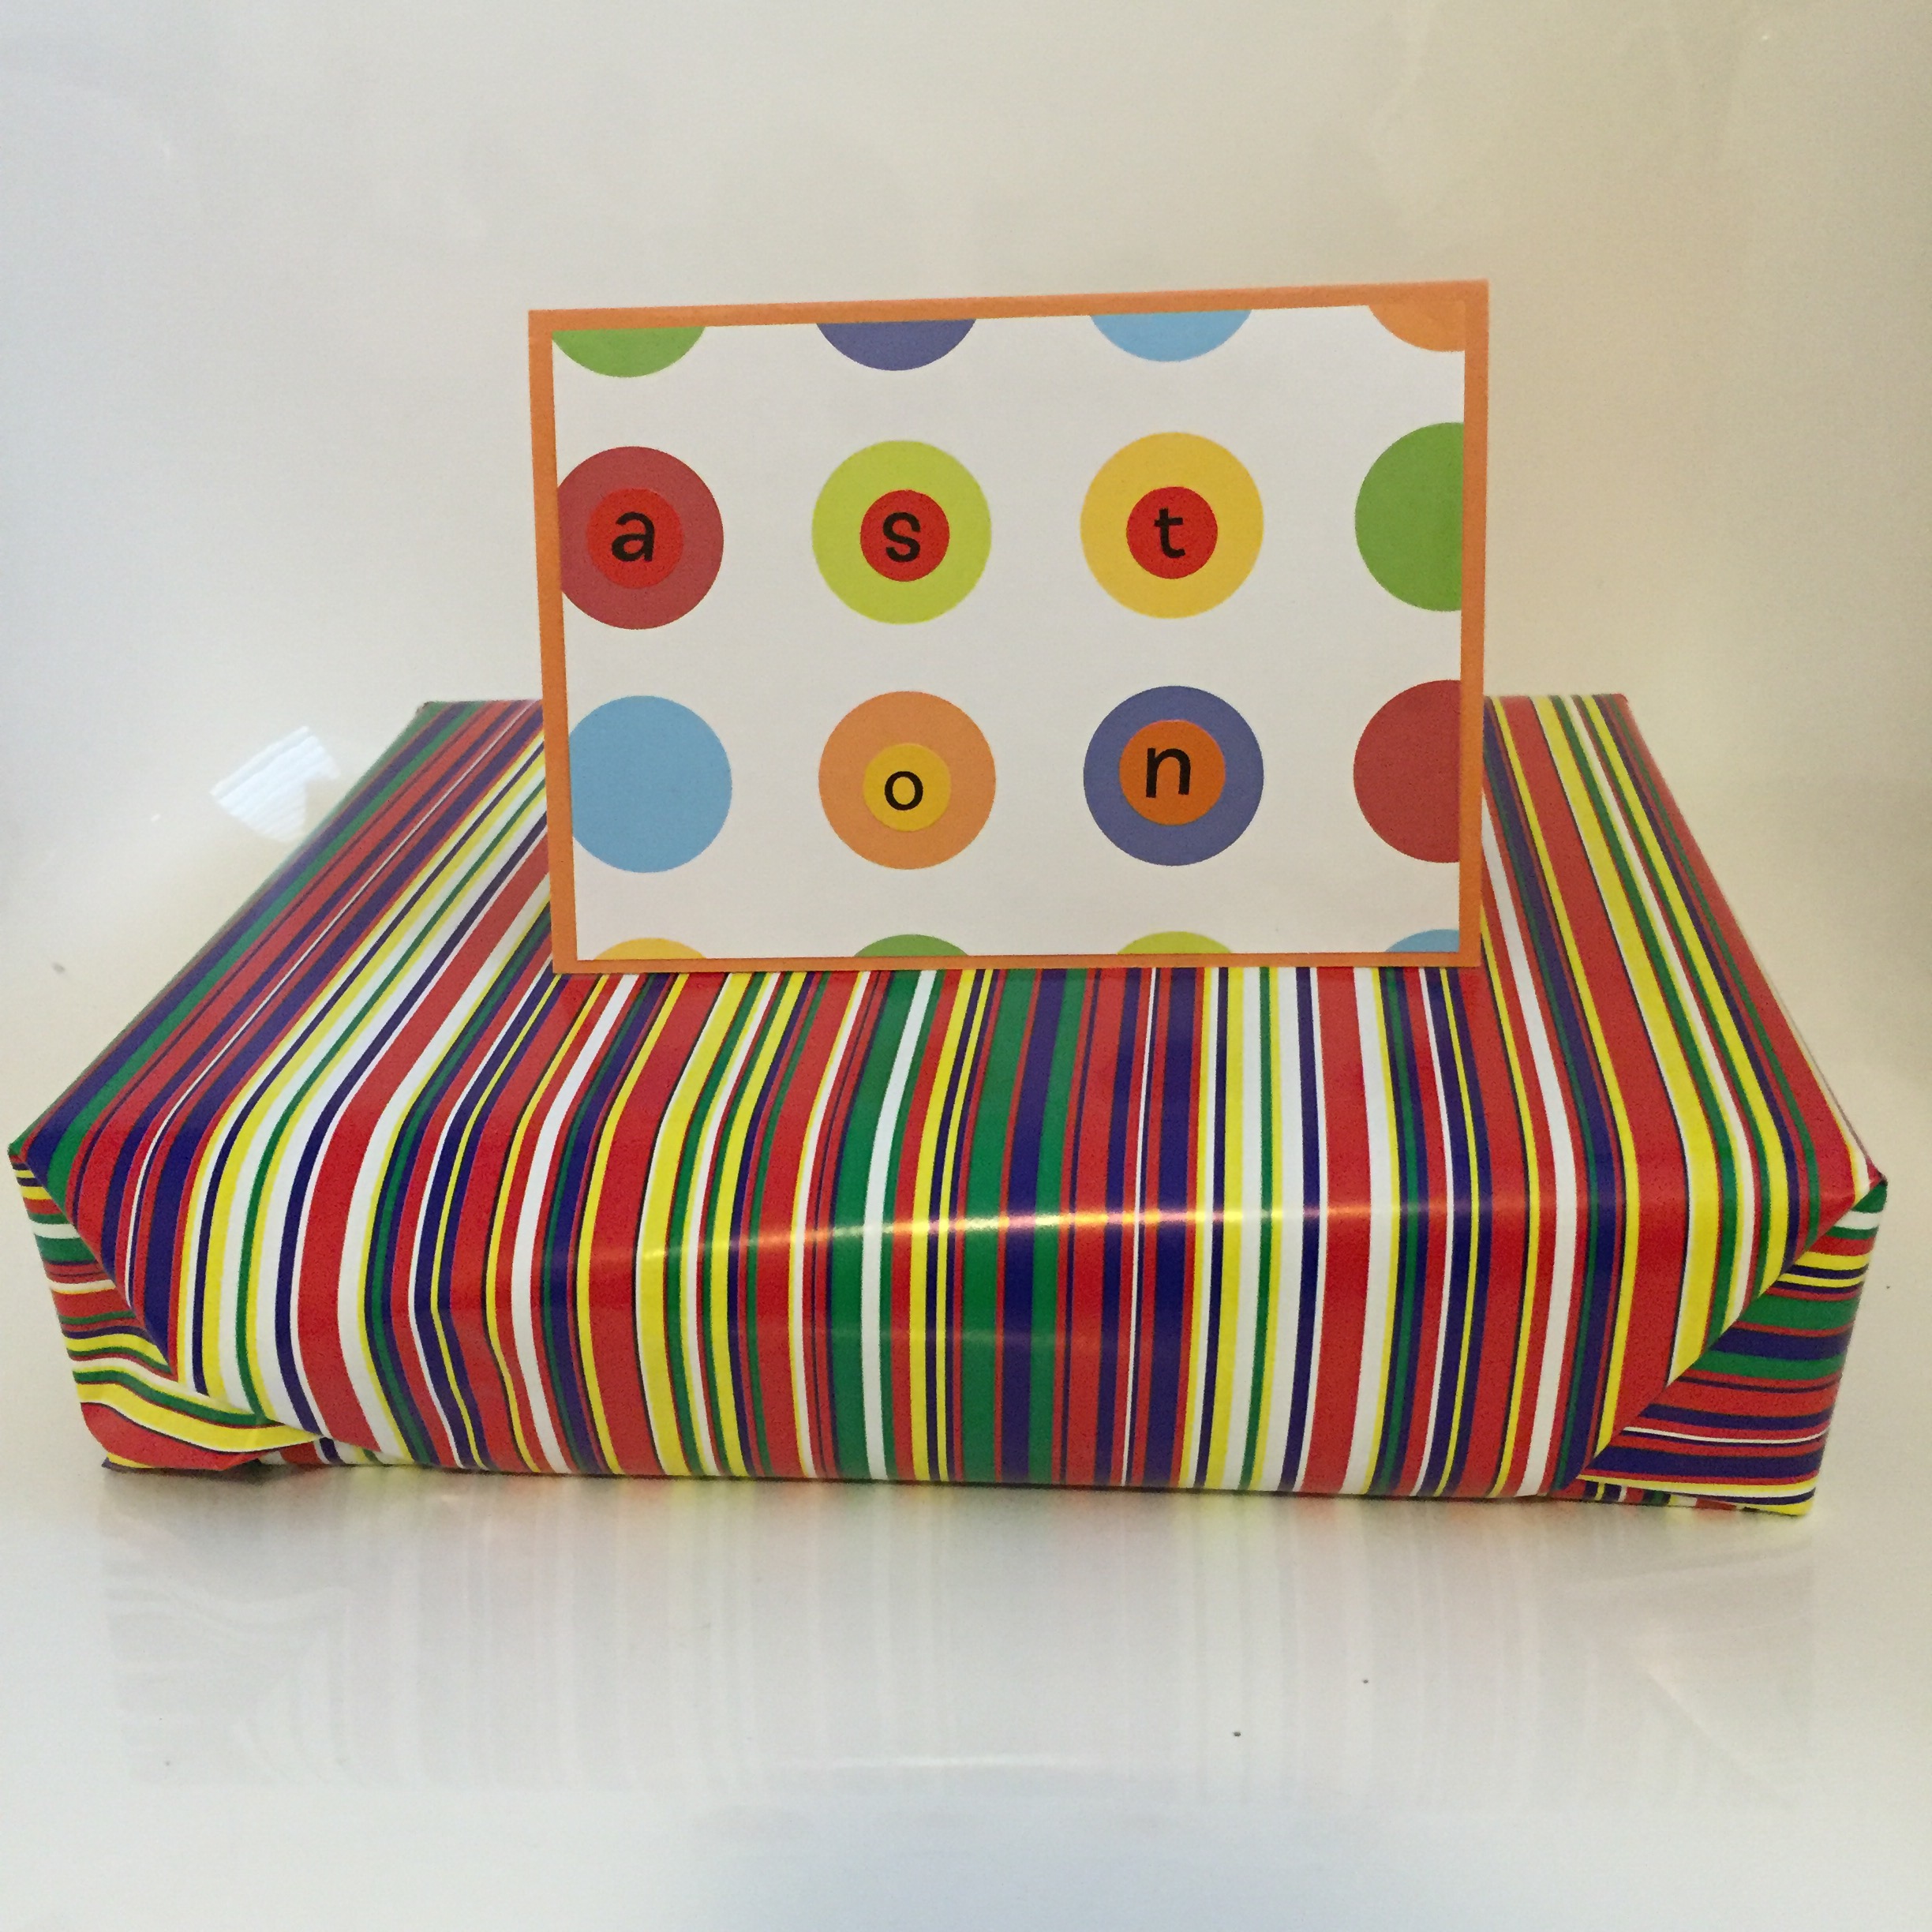
All those colours make my eyes hurt, but hopefully Aston likes a card with his name on it.
I hope you’re enjoying your weekend!
Caro
