Tags
Hi
Just popping by for a quick post to show you another one of my favourite card layouts. This one is also really simple – but because it’s a little different to the cards you usually see in the shops it can have a bit of a ‘wow’ factor. But check out how easy it is to make!

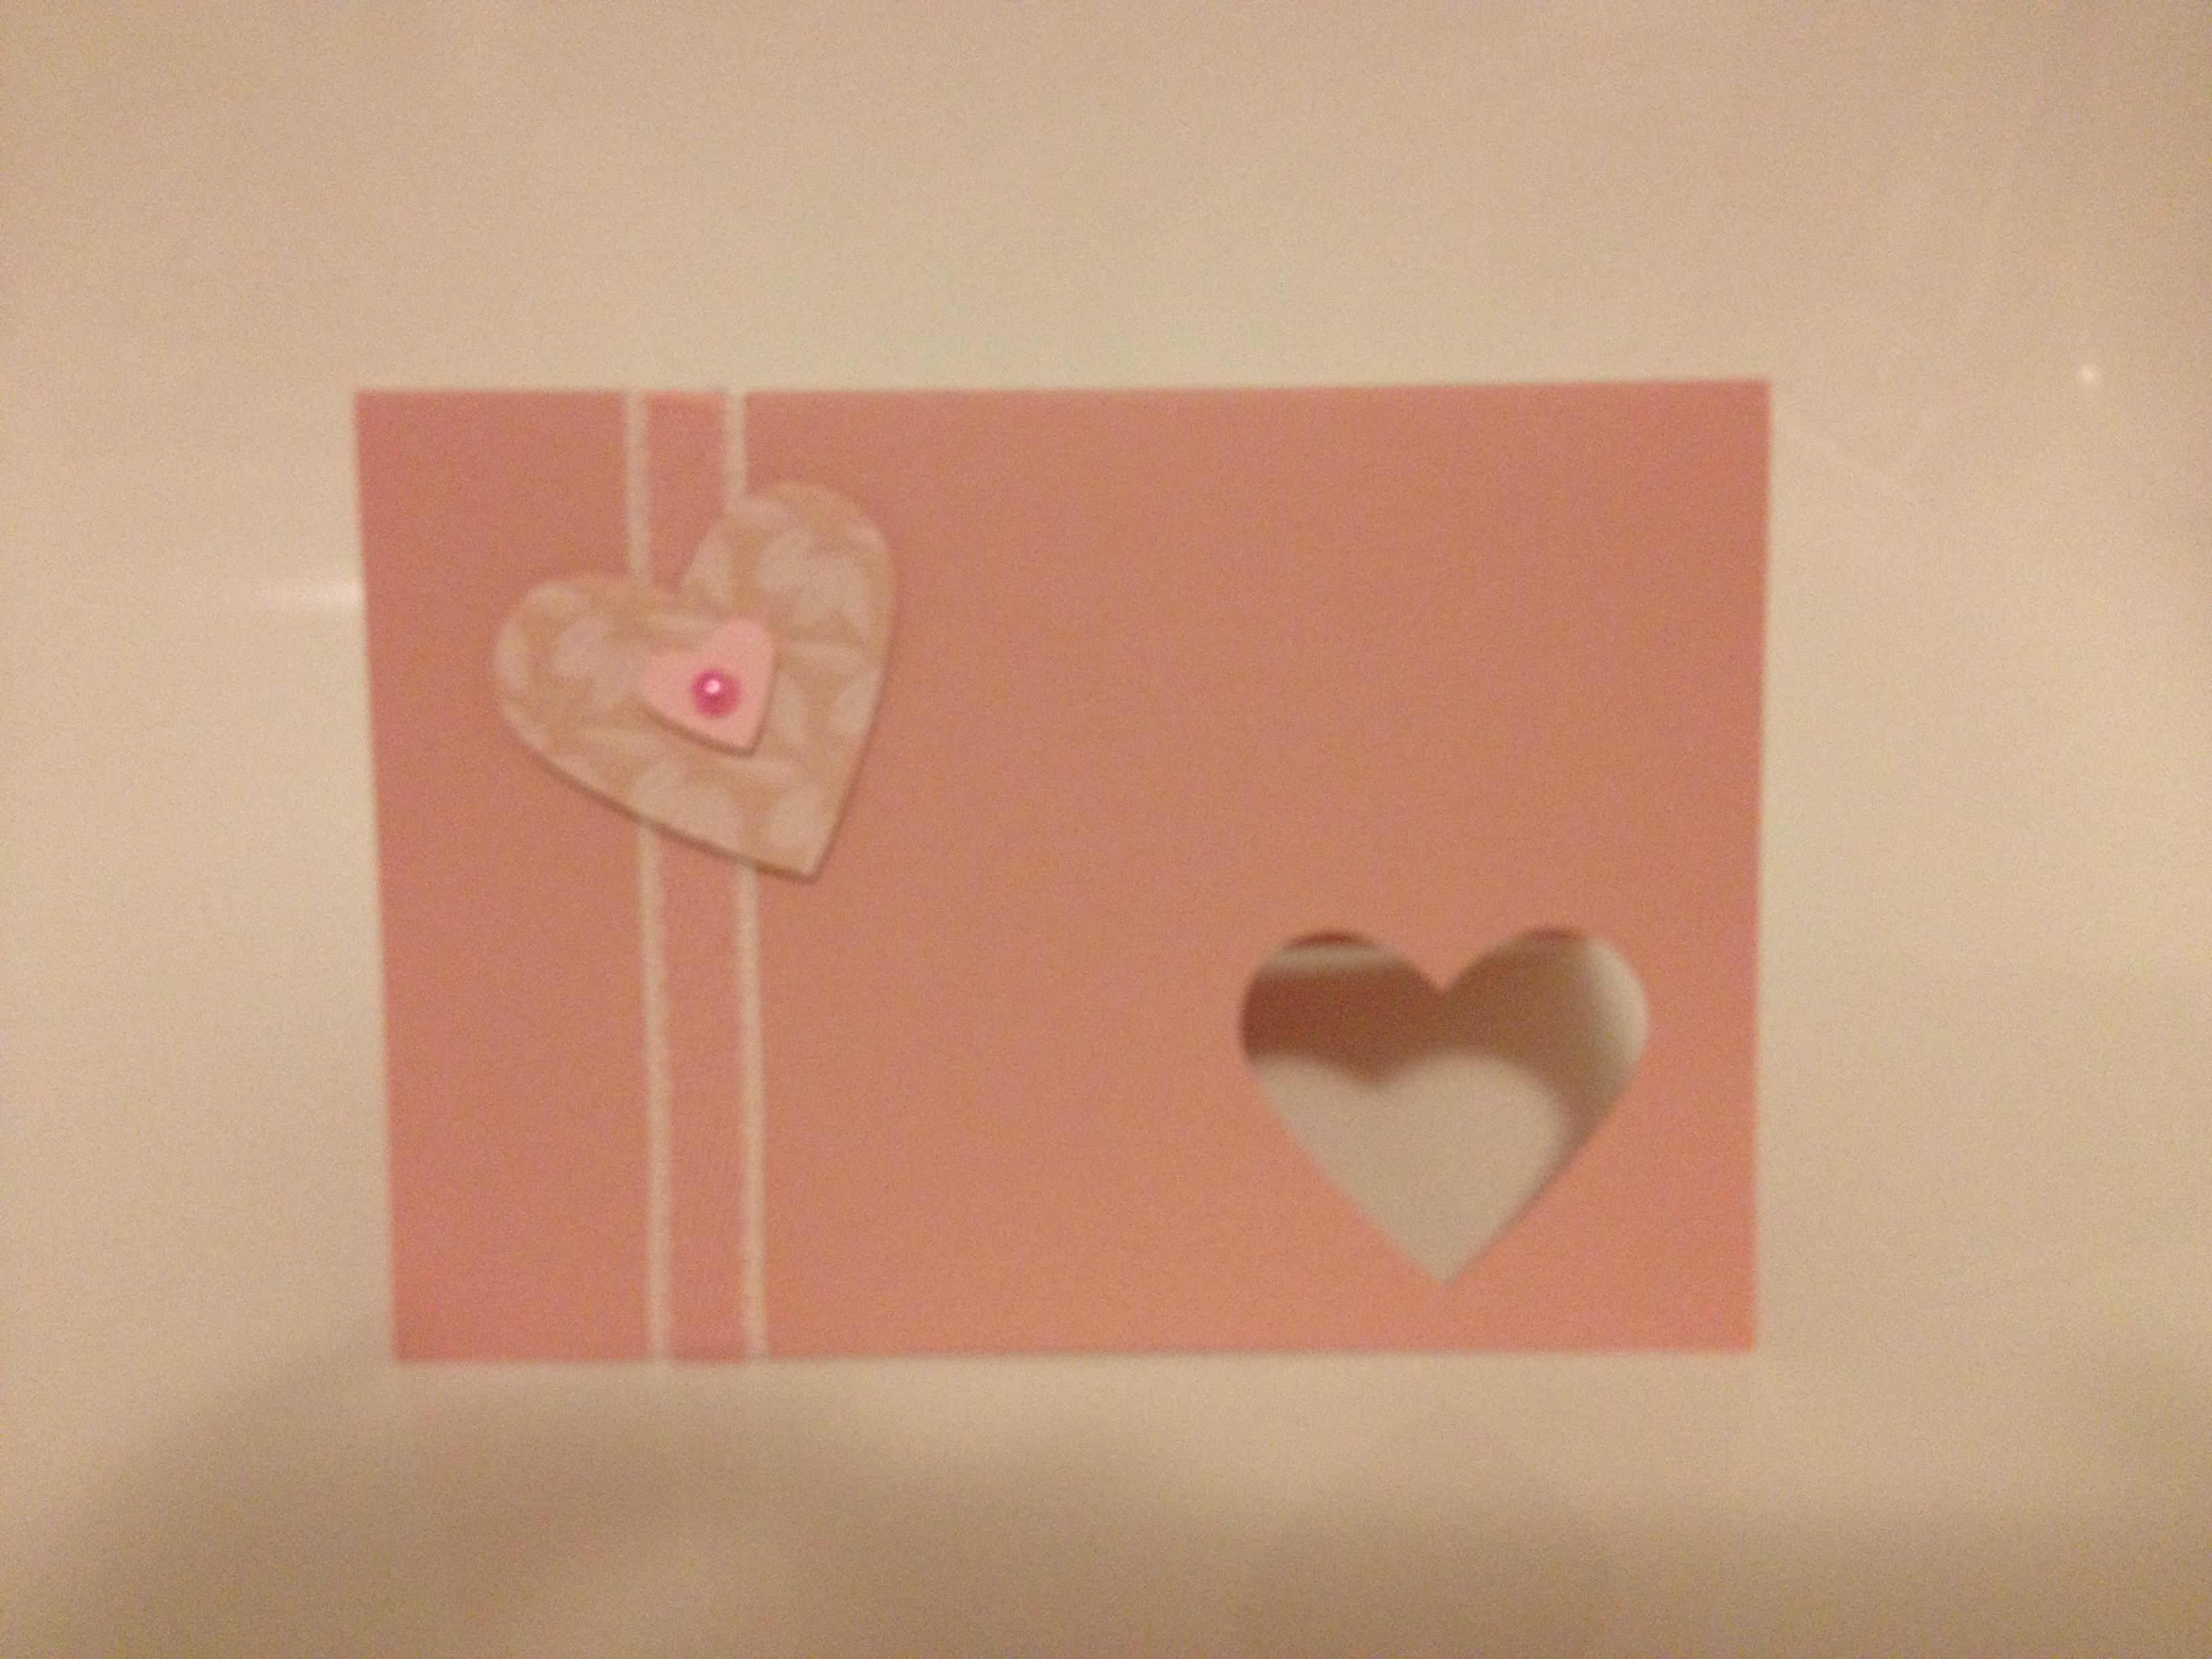
This is a gatefold card. So when you untie the ribbon you get to open up the card to see the message inside.

The dimensions will depend a bit on the size of your envelope! My square envelope for this card was 14 cm square. So I wanted to make a 13cm square card to fit inside.
This means I cut a piece of cardstock 26cm x 13cm.
To make a square card that opens the normal way you would just score and fold the long side at 13cm to make a 13cm square card. To make a gate fold card you need to fold in from either side to make the ‘gates’. So you score and fold at 6.5cm in from either end of the long side.
Here’s a little sketch to show you what I mean:

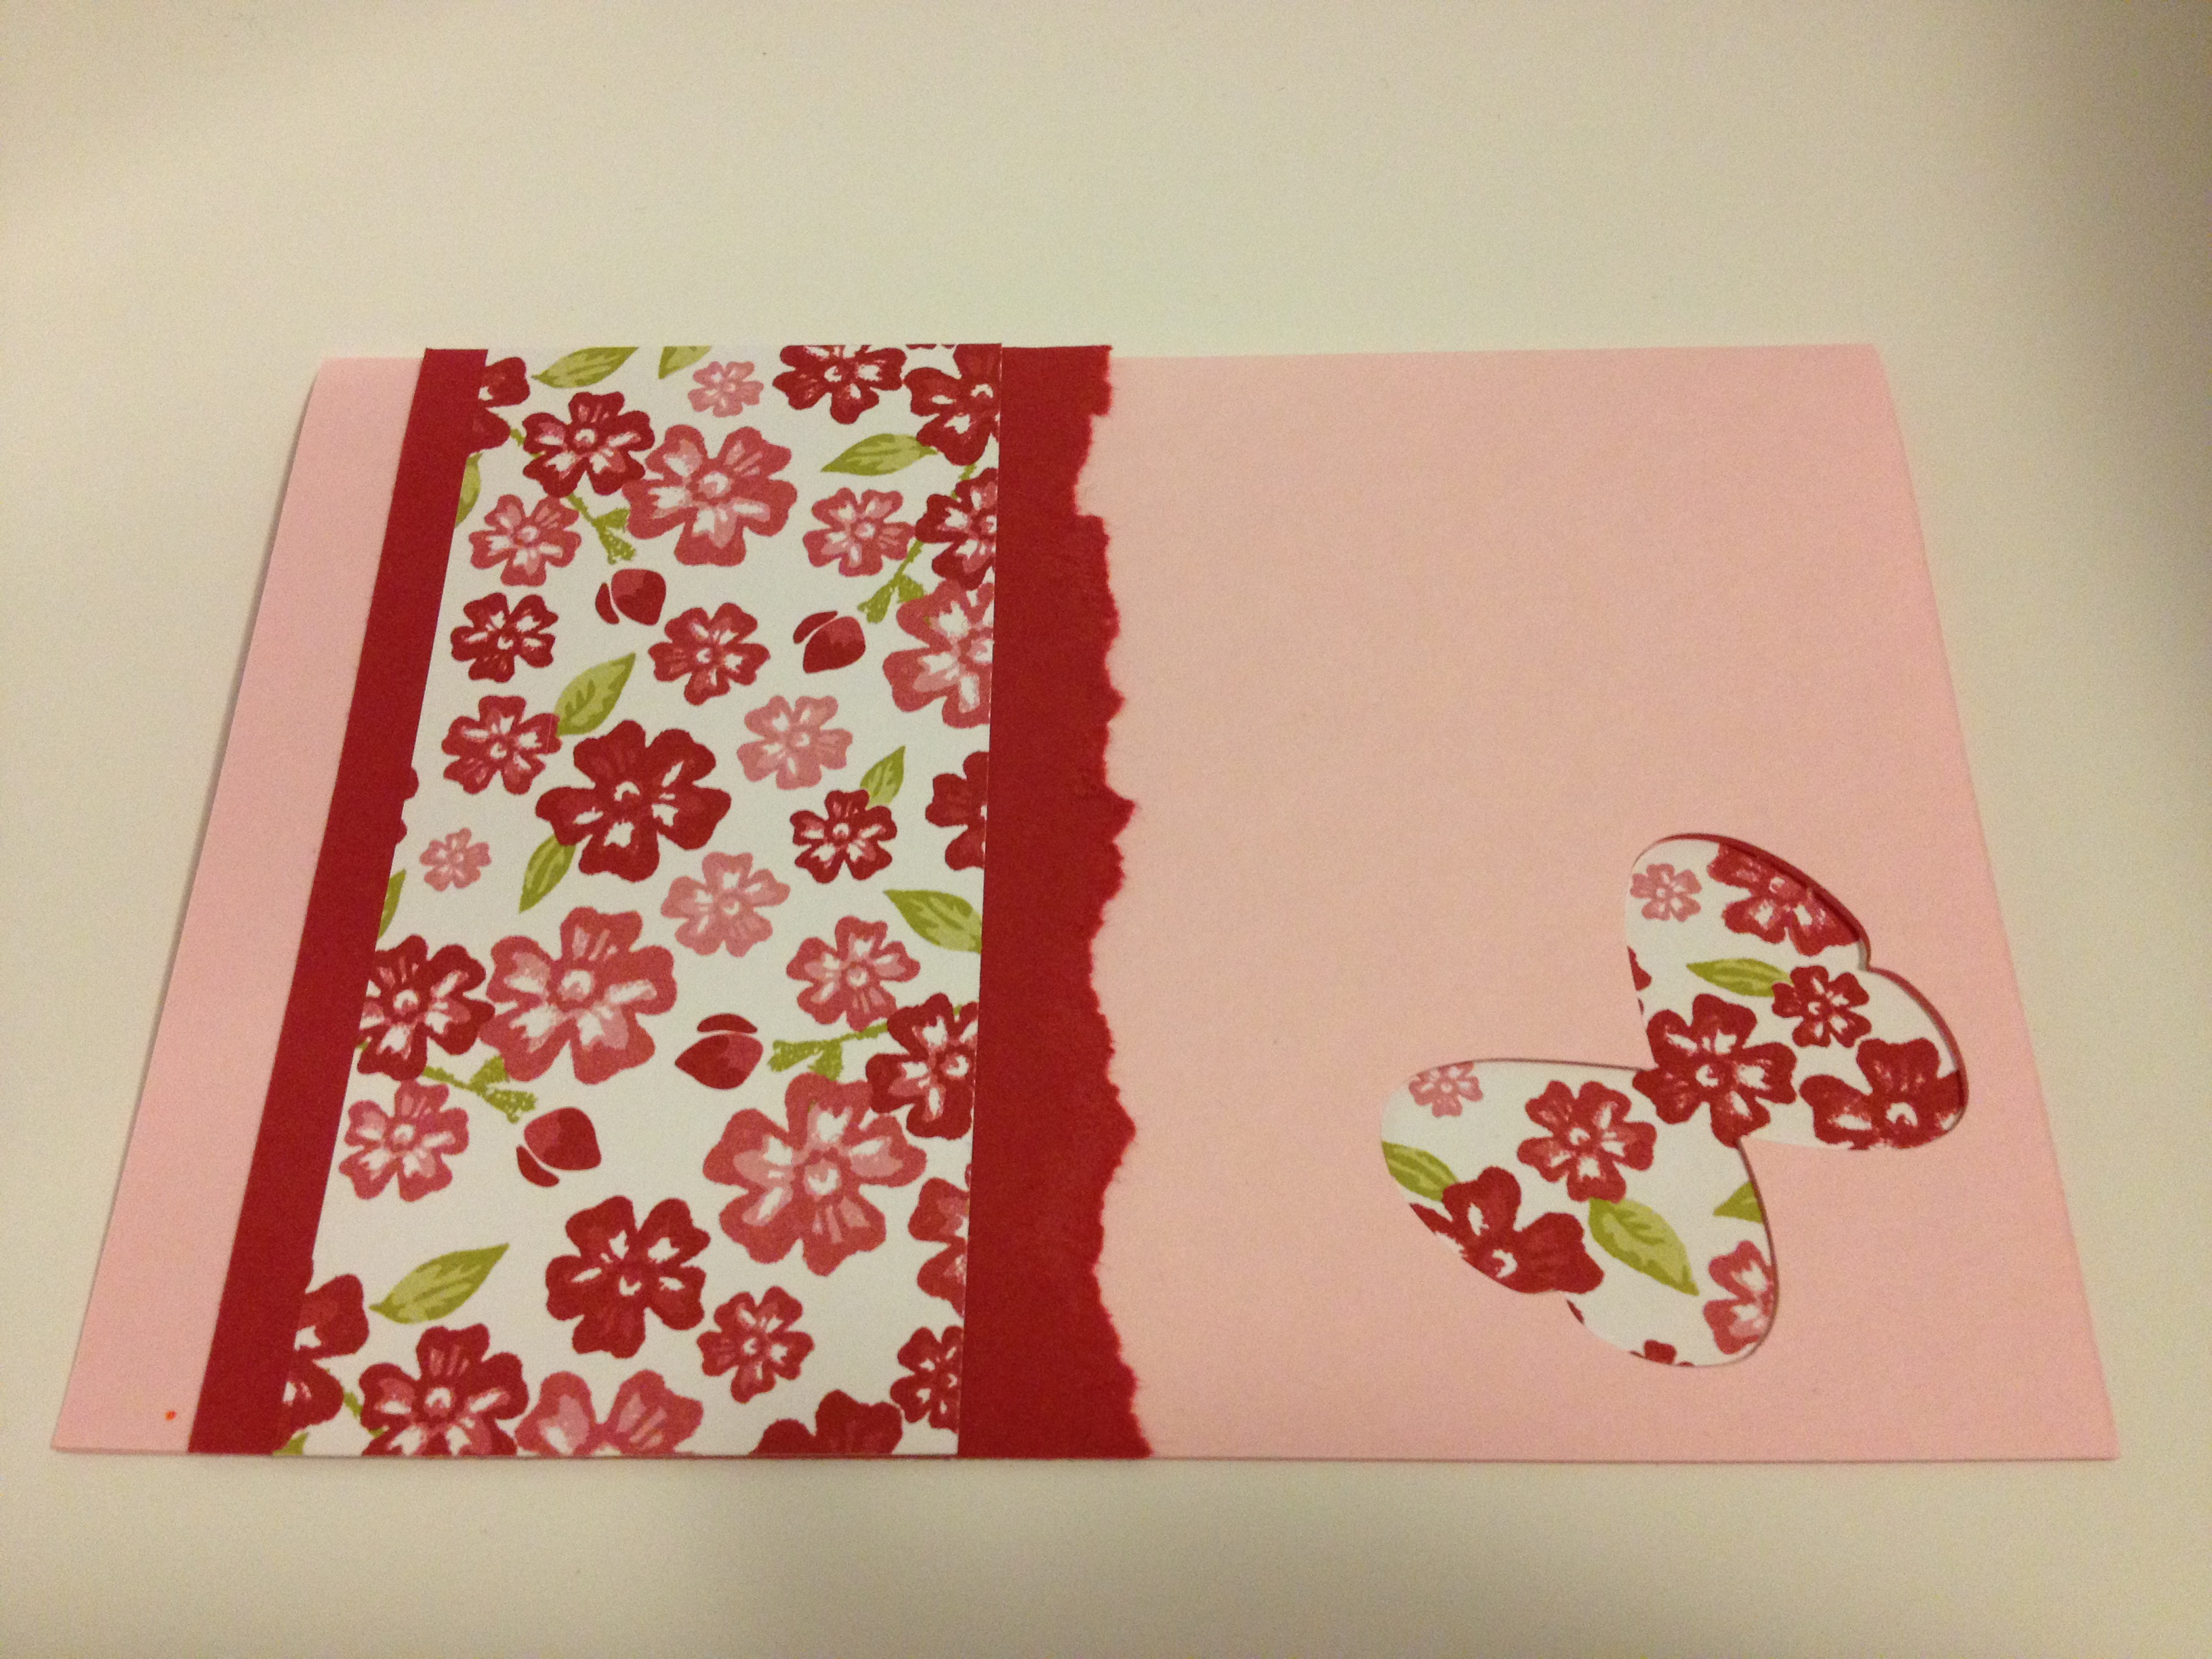
And here’s another picture of the card showing a little more of the inside. I’ve used some butterflies cut out with my Beautiful Butterflies die to decorate it.

The strips of paper on the front are 12.5 cm x 6 cm. And the strip at the bottom is 13cm wide – I can’t remember how high but it really doesn’t matter. This layout is another good way to use up those little scraps of paper you can’t quite bring yourself to throw out because they are so pretty!
You can add the ribbon in a couple of different ways. For this card I’ve just glued the ribbon across the back of the card. You can also punch holes in the front of the card and thread ribbon through and tie a bow.
You can use this layout in so many ways. I will try and post some more examples of cards I’ve made using this layout soon.
Thanks for reading!
Caro x