• About

Caro's Pretty Things

~ My papercraft blog

Category Archives: Top Note

Simple thank you cards

04 Tuesday Aug 2015

Posted by Carolyn in Dies, Kids cards, Kids party, Thank you, Top Note

≈ Leave a comment

Tags

birthday thankyou, Stampin Up, thankyou cards, top note die

I needed to whip up some simple thank you cards for all the generous people who gave my son such amazing birthday presents. And they needed to be very simple and quick to make!

Voila!

  
The backing is an A4 sheet cut into fours, with some white shapes cut from the top note die. Simple stamping of an owl stamp and a thank you greeting and we’re done! 

Now to get organised enough to write them!

Thanks for dropping by. 

Caro x

Share this:

  • Pinterest
  • Twitter
  • Facebook
  • Email
  • More
  • Reddit
  • Tumblr

Like this:

Like Loading...

Rudolph sweet treats

22 Thursday Aug 2013

Posted by Carolyn in 1 3/4 circle, Big Shot, Dies, Sweet treat cups, Tasteful Trim, Top Note, Tutorial

≈ 2 Comments

Tags

Christmas in July, Rudolph the Red Nosed Reindeer, sweet treat cups

You’ll have seen from my last few posts I may have gone a little overboard on the decorations for our Christmas in July (in August) weekend?     I have another type to share with you today!

As part of my “research” I came across this  Rudolph ornament by Marie Shaughnessy using Stampin’ Up’s sweet treat cups.   My husband also bought me some red heart shaped lollies during the week, which got me thinking of red noses and Rudolph and what I could do.

I ended up making a table centre piece of Rudolph’s in a vase, with lollies for each guest to eat:

photo-4Here’s a closer look:

photo-1

The faces were made of a Top Note die cut out of Soft Suede card stock.  I cut 2 for each Rudolph.

I was hunting around for things that could work as antlers and thought about using my Tasteful Trim die.   When I cut it out however, I actually thought that the spaces between the cut out trim might actually work better as reindeer antlers than the trim itself!

20130815_173041

I cut up little bits of the trim and stuck them to the back of the card piece I was using for the front of the face:

20130815_181941

They all looked a little different.  I think the one on the bottom left probably looked the closest to real antlers?

20130815_173150

I then stuck on eyes* and cut a hole with my 1 3/4 inch circle punch (which is the size that perfectly matches the sweet treat cups)

20130815_182033

Next step was to stick the sweet treat cup on the front and then turn it over and fill up with lollies.   (Tip: make sure you stick the cup on really well.  Run your fingers around it a few times sticking it down.  I let my little boy stick a couple on and they needed to be restuck later!)

20130815_182153

I then stuck another top note on the back of the first one to hold the lollies in – and ta da, some Rudolph the Red Nosed Reindeers!

20130815_182533

Please contact me if you’d like to get your hands on some sweet treat cups and try some of these for yourselves 🙂

Caro

* I will show you how to make the eyes in a separate post.   I played around with a few different methods so I’ll save you the time 🙂

Share this:

  • Pinterest
  • Twitter
  • Facebook
  • Email
  • More
  • Reddit
  • Tumblr

Like this:

Like Loading...

Birthday thank you card

15 Thursday Aug 2013

Posted by Carolyn in Big Shot, Dies, Kids party, Thank you, Top Note

≈ Leave a comment

Tags

simple cards, thank you, top note

Hello!

The other day I showed you a simple layout for a quick thank you card.    I needed to make some thank you cards for my little boy’s recent birthday party so we made some together on the weekend.

photo-1

As it was a rugby themed party of course we had to have rugby themed thank you notes – which means we definitely needed to use Wallabies colours!

These cards are so easy to make – cut an A4 piece of yellow card in 4 pieces to make the card backs.   Fold a white A4 piece of card into 4 pieces then run it through the Big Shot with the Top Note die.  Hey presto – 4 lovely white shapes for a message.    A thank you stamp and you’re done.

Although in this case we weren’t quite done.   Mr 4 wanted them to match his rugby party so we had to find a picture of a rugby ball!  I cut and pasted from a web photo into a word document.  I made the image the same size as the large oval punch so we could punch out the balls.  Then a whole bunch of “copy and paste” and we had enough balls for all the cards.      [Actually, most of the cards.  We didn’t make quite enough so we had to decide which people weren’t big rugby fans to not get a ball!  I didn’t have the heart to break it to him that most people would probably fall into that category!]

Anyway, about an hour and we were done.  Perfect for a 4 year old attention span as well 🙂


Share this:

  • Pinterest
  • Twitter
  • Facebook
  • Email
  • More
  • Reddit
  • Tumblr

Like this:

Like Loading...

A simple thank you card

09 Friday Aug 2013

Posted by Carolyn in Big Shot, Bird Builder, Dies, Kids party, Thank you, Top Note

≈ 1 Comment

You may have noticed a recurring theme on my blog is ‘simple’?  Simple cards, simple layouts, simple tricks.    As someone who works and looks after a family, I am usually pretty time poor.  So simple is good.  Simple works!

Here’s another idea for a simple thank you card.

IMG_1422

I made these a couple of years ago as thank you cards for my son’s birthday party.    I divided an A4 piece of card stock into 4 pieces (this is Pacific Point).  I then ran some white card stock through the BigShot using my TopNote die.  You can cut 3-4 at a time so it’s really fast.

I decorated this with the branch from the Bird Builder punch and a bird and thank you message from the Cheap Talk stamp set.    But pretty much any thank you stamp and decoration would work.

I need to come up with some thank you cards for my son’s birthday party this year (I’m running just a little late …)  I might use this idea again as it’s so simple.  I’ll show you what I come up with!

Thanks for dropping by 🙂

PS Most of my posts so far have been the result of me going through photos I’ve taken of cards I’ve made over the past few years.  I’ve been so busy lately I haven’t had much of a chance to do anything new – other than kids birthday cards!   I can’t wait to have some spare time and create some new stuff.   One day!

Share this:

  • Pinterest
  • Twitter
  • Facebook
  • Email
  • More
  • Reddit
  • Tumblr

Like this:

Like Loading...

Pirate birthday party card

05 Monday Aug 2013

Posted by Carolyn in Big Shot, Cards, Cupcake Builder, Decorative Label, Dies, Kids cards, Kids party, Modern Label, Owl, Punches, Top Note, Using up scraps, Word Window

≈ Leave a comment

Hi

It seems that lately the only crafting I get to do is with a 4 year old sitting on my lap being the artistic director!  (I’m not complaining, I love it!)  It does mean though that most of my craft time is spent thinking up fun ideas for cards for kid’s birthday parties! This past weekend’s challenge was a card for a pirate themed birthday party.

So off to my office/craft room we went and did a little Google searching for inspiration.   Mr 4 was most impressed by the idea of an owl pirate – and he thought we should make a pirate like this one on Lynn Starzi’s blog.

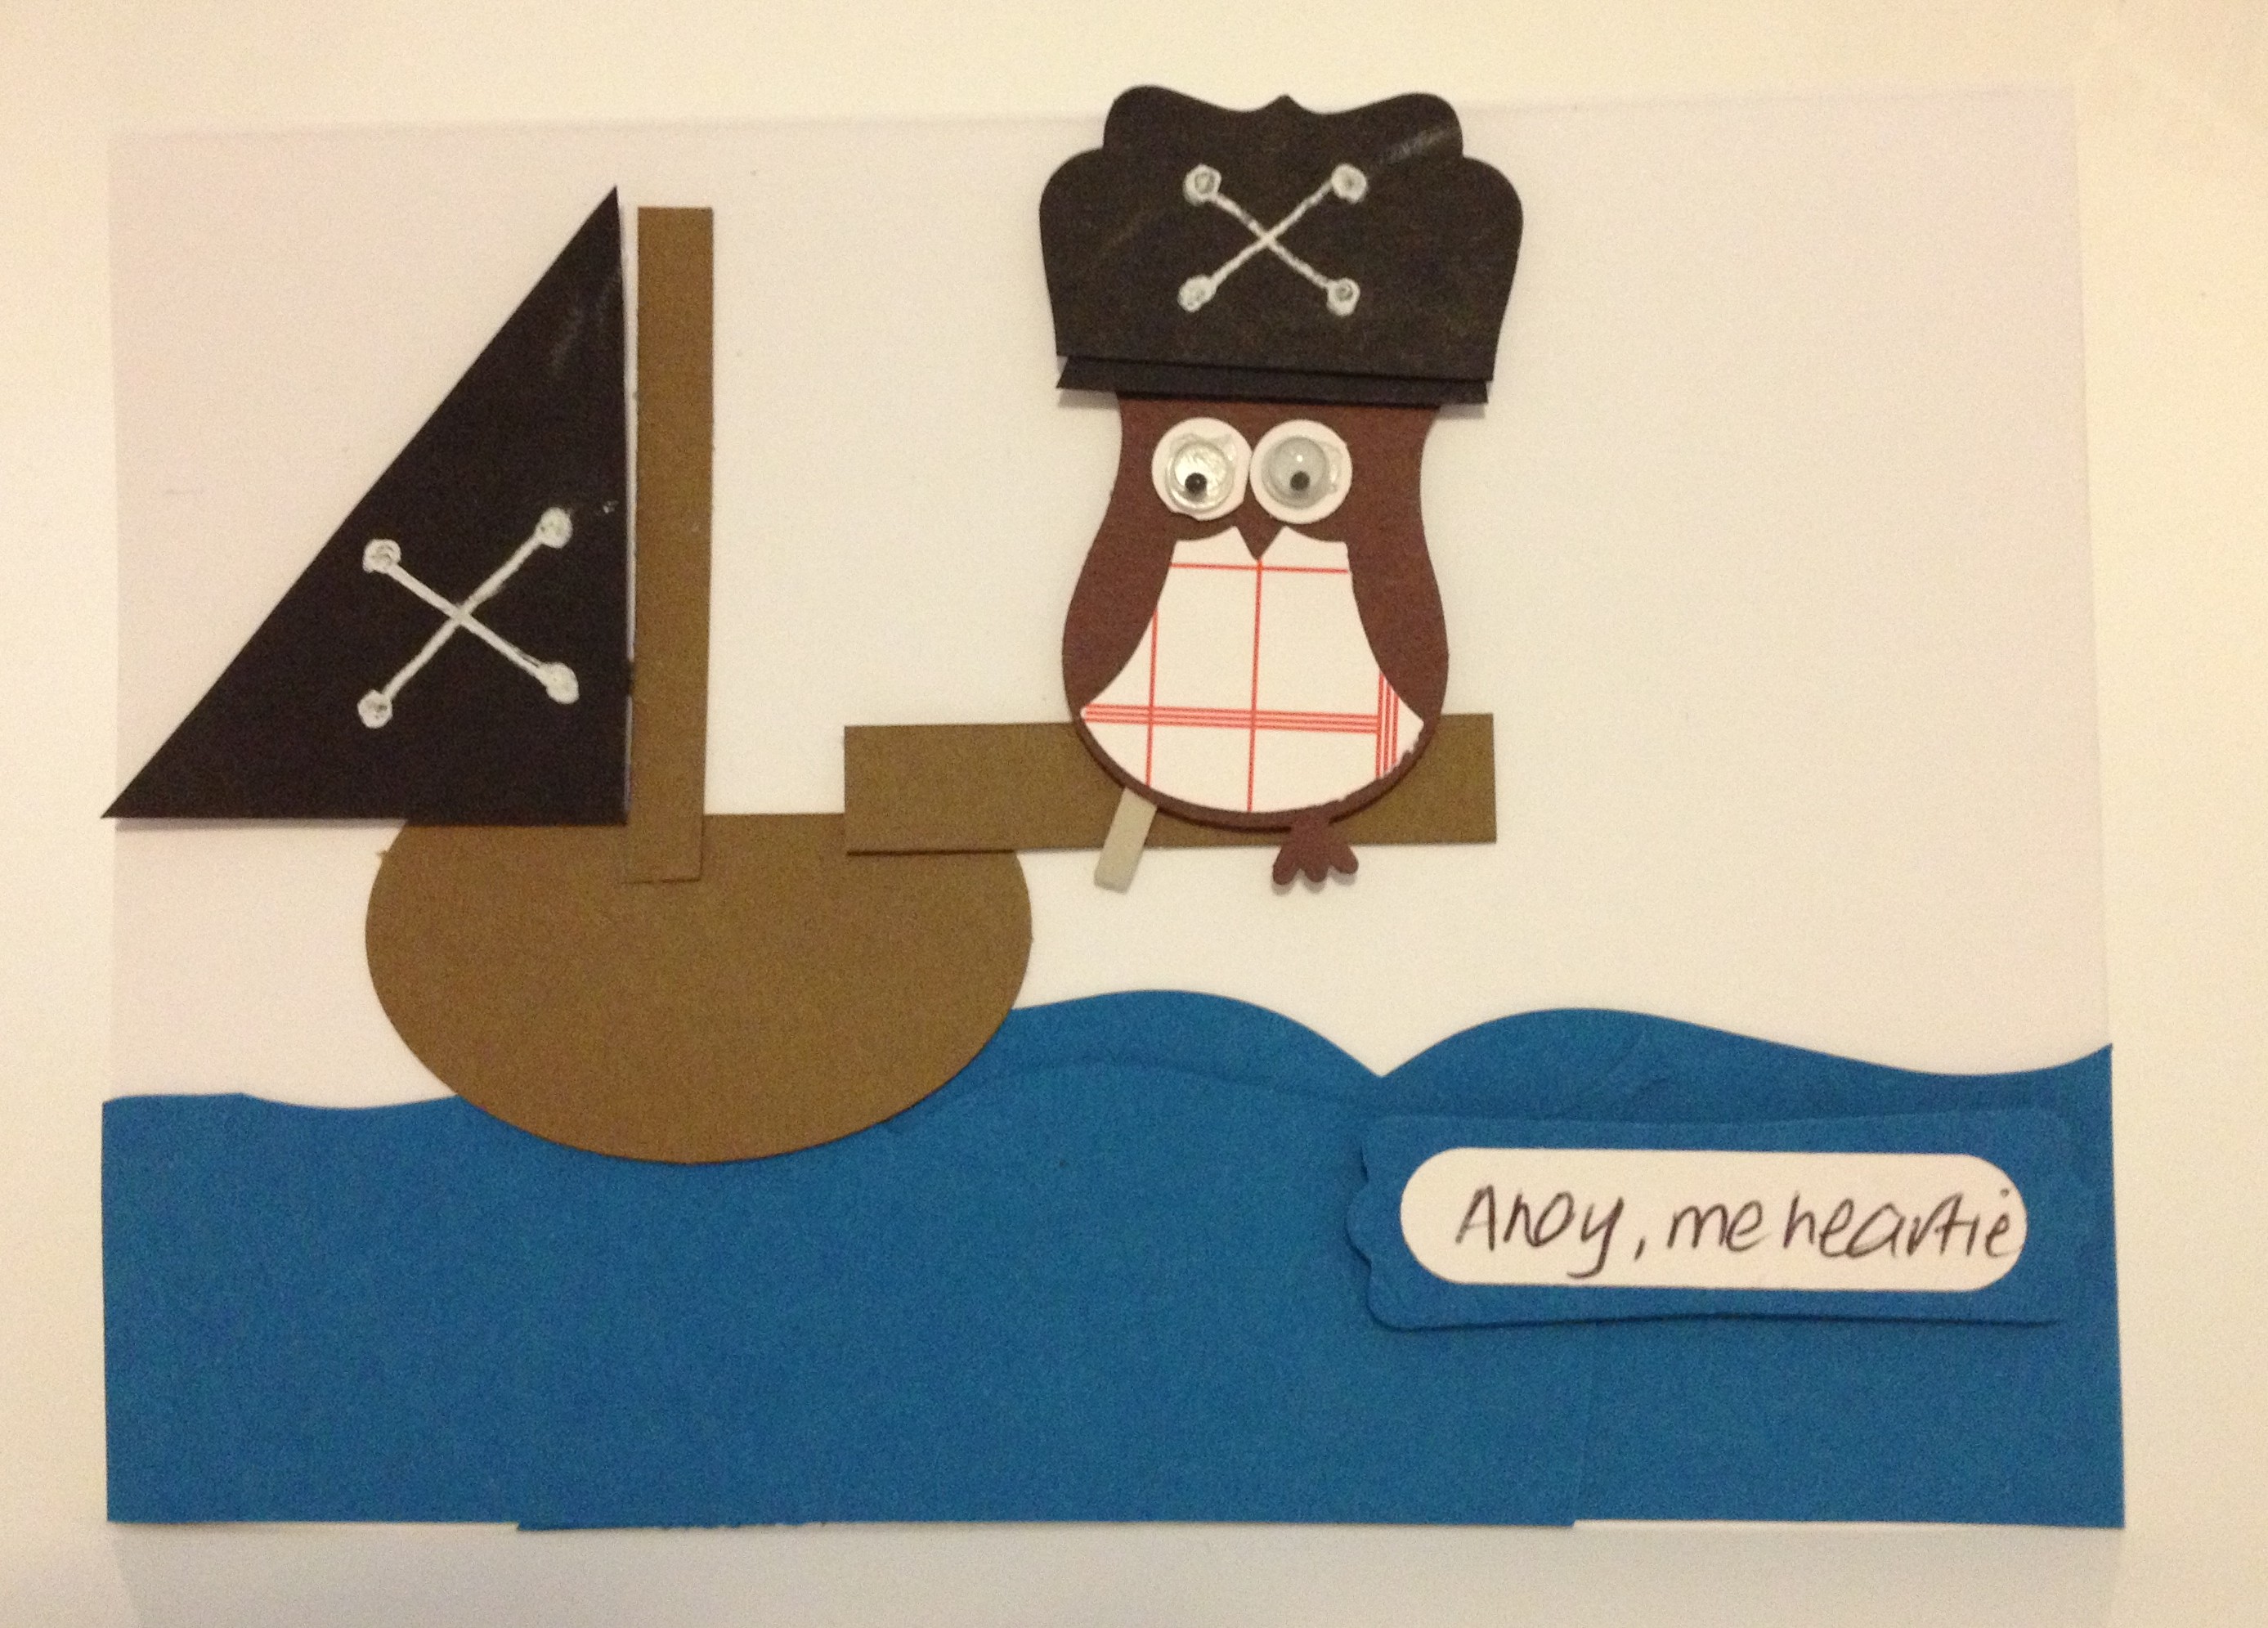
I’m not too sure about this card (remember Mr 4 was the artistic director!) but here it is:

photo


Most importantly, both my munchkin and the lucky recipient thought it was great – so I guess that’s what matters!

The waves were made from some scraps of Pacific Point.  I’d saved some off cuts from cutting out some Top Note shapes, and the edges of where I’d cut out the Top Note actually worked quite well as waves!

The rest was the card was a mix of free hand cutting and Stampin’ Up! punches.

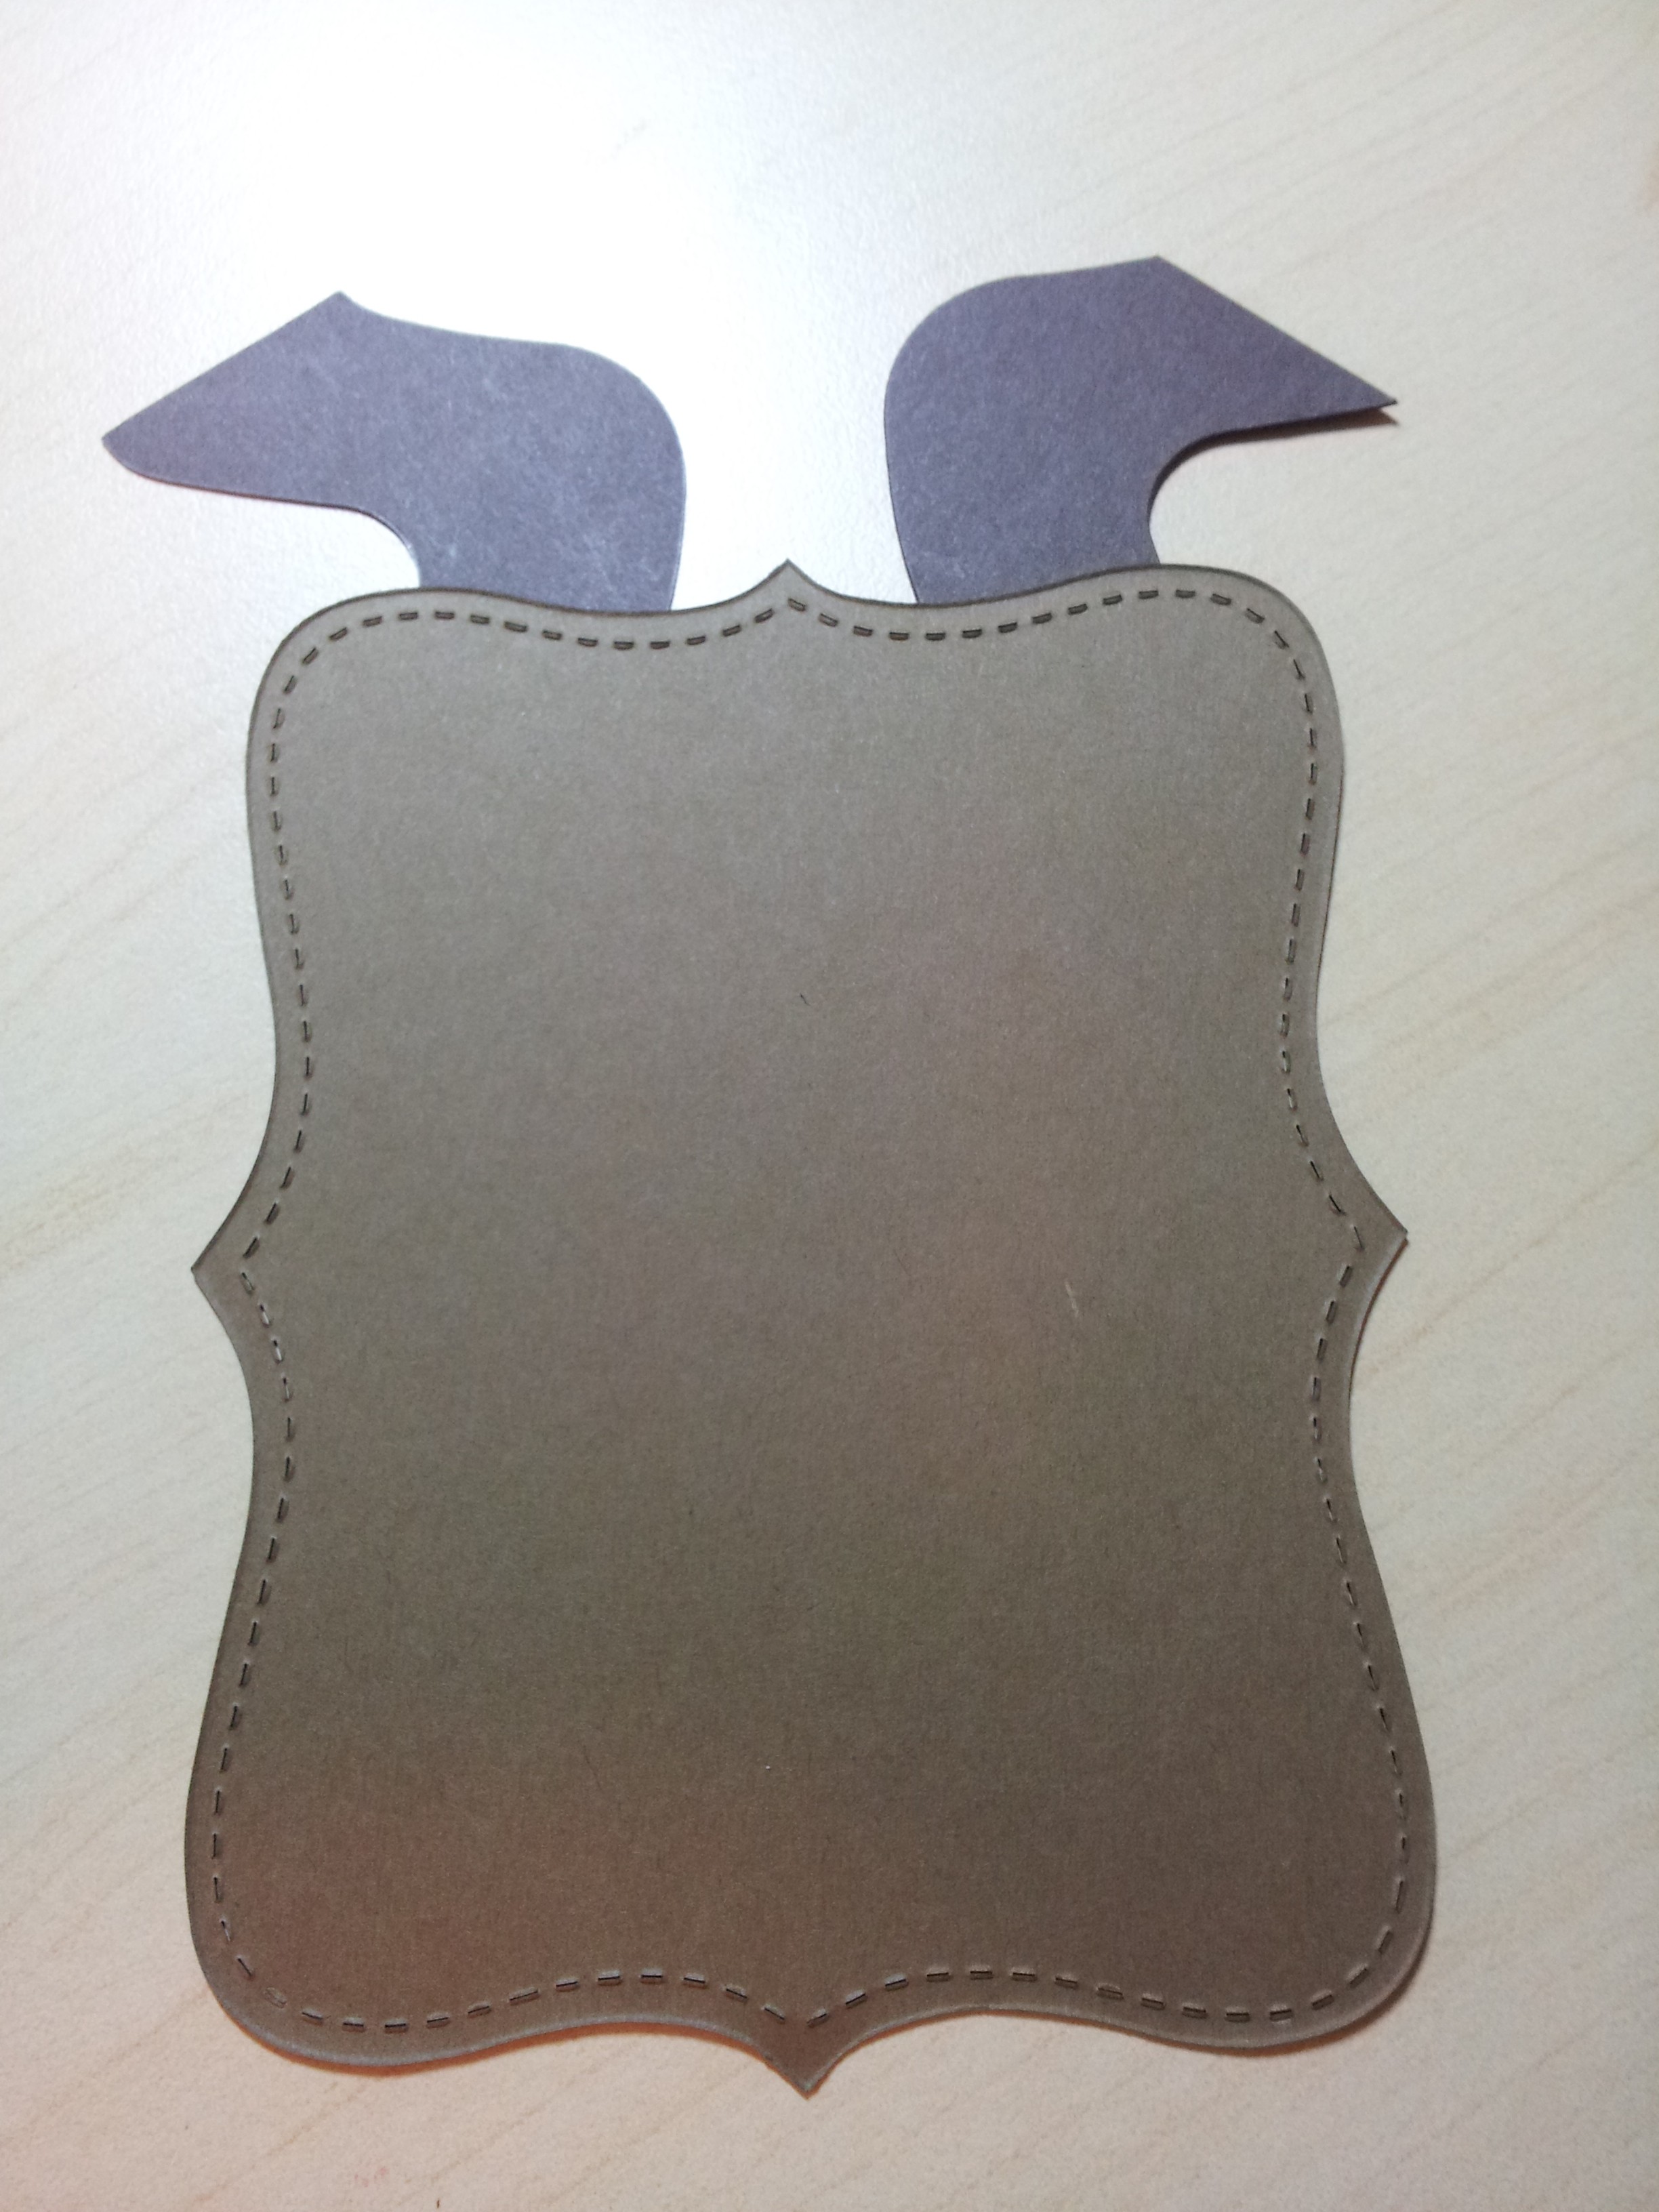
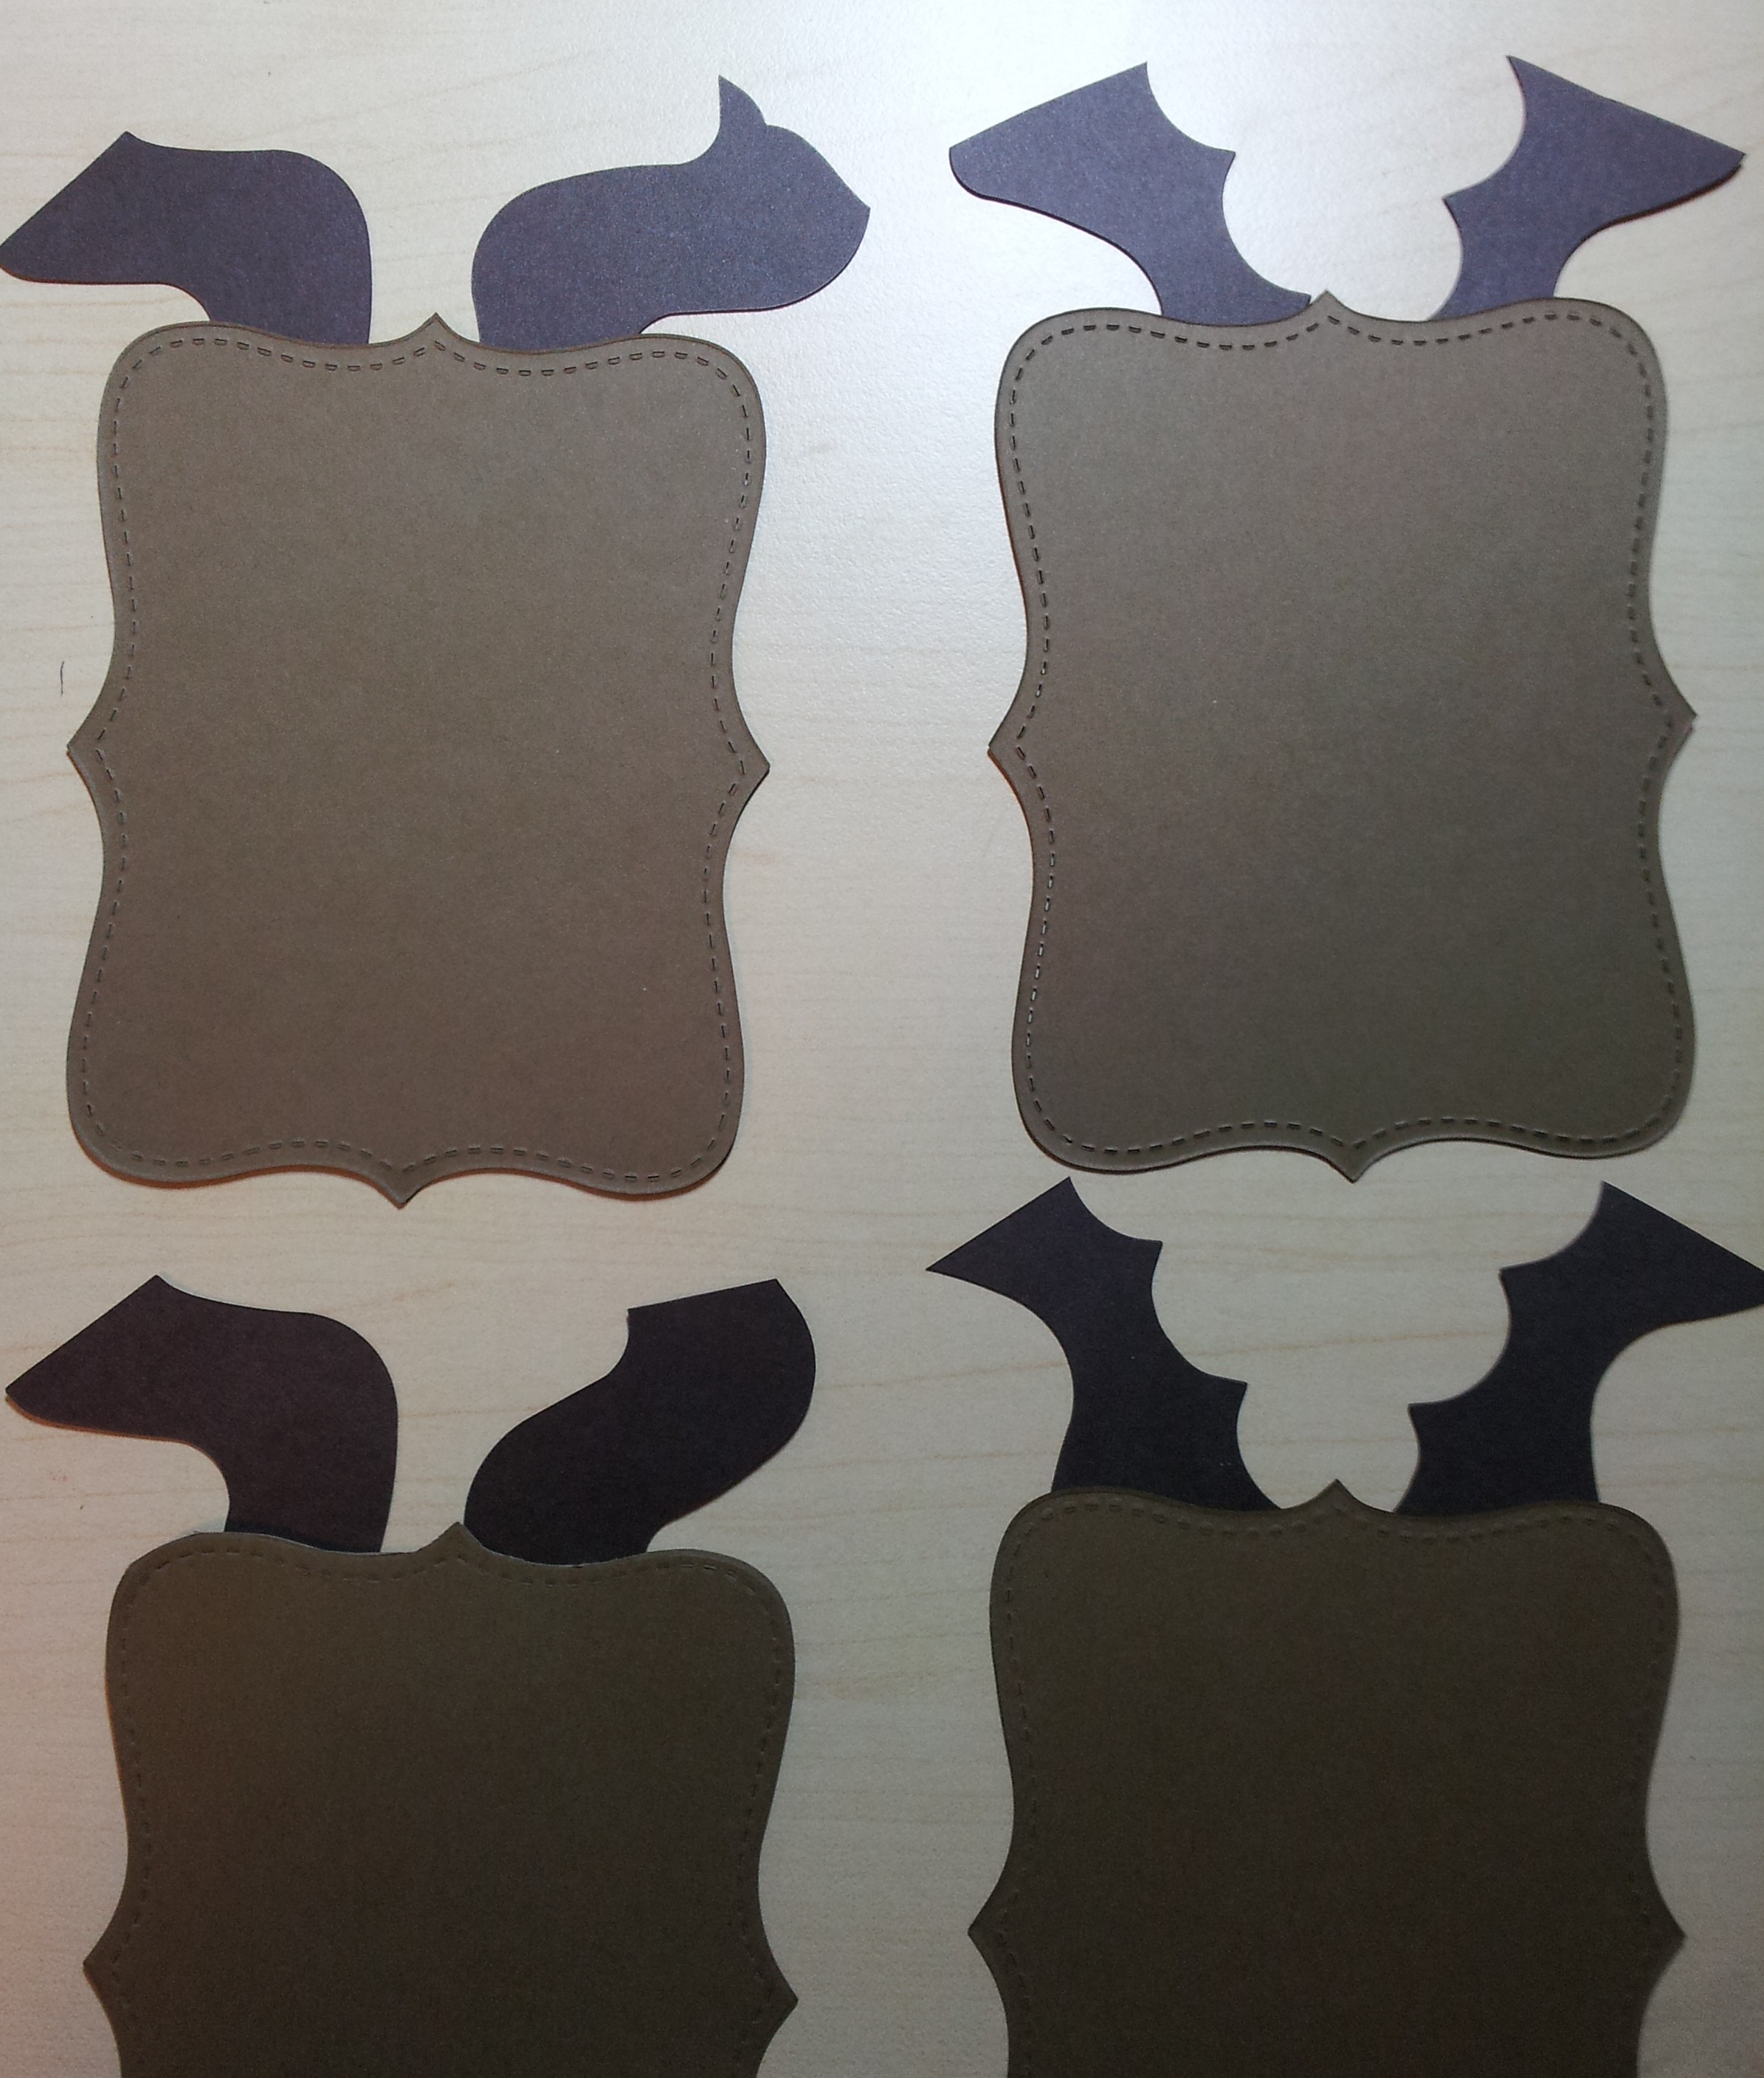
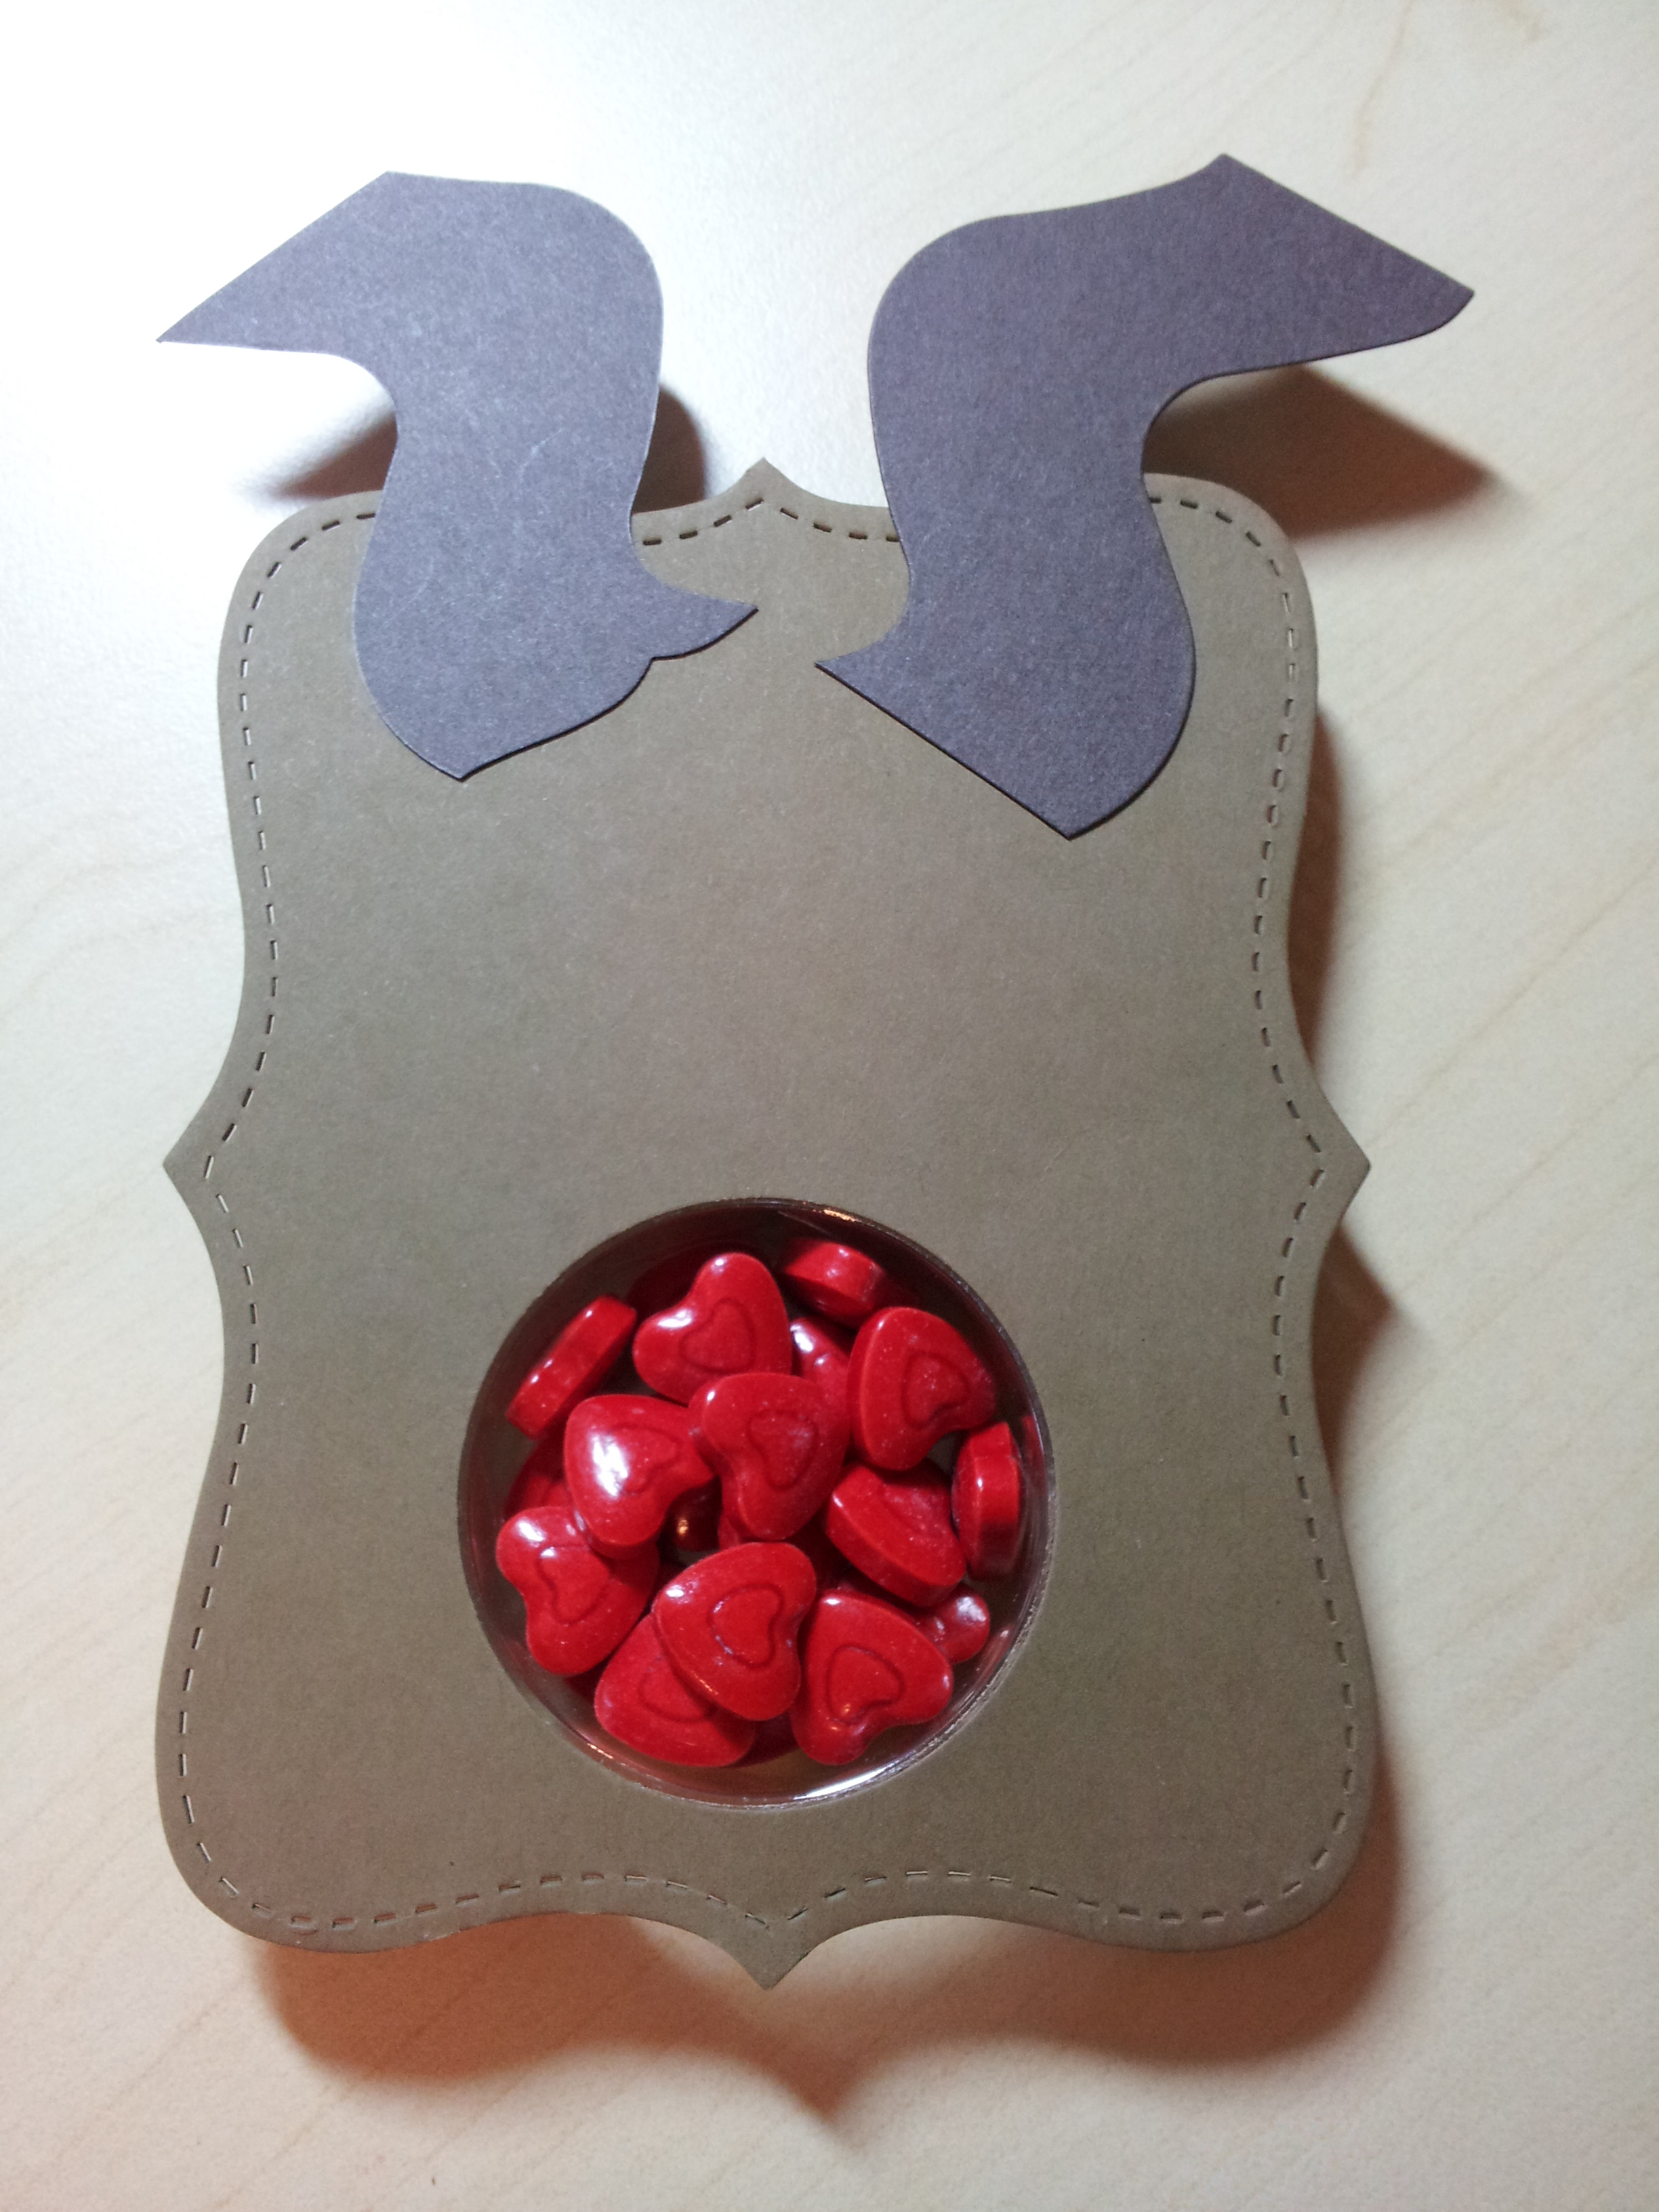
The pirate was made from the owl punch.   The pirate’s shirt had to be “red and stripey” apparently, so I found an old bit of Poppy Parade DSP (now retired).   Please note the peg leg!   Made from the candle from the cupcake builder punch.  The eyes were cut from the owl punch with “goggly eyes” stuck on top with mini glue dots.

The pirate’s hat was the side of the decorative label punch, flipped horizontally.

The boat was a large oval punch cut off across the top (Soft Suede card stock).  I cut the mast, the sail and ‘the plank’ freehand.   And a white Signo pen was perfect for drawing on the crossbones (no skulls for me).

Mr Artistic Controller was most insistent that the card had to say “Ahoy, me heartie!”, not “Happy Birthday”.    Given that my stamp collection doesn’t quite stretch to pirate messages, I wrote in on in pen.  (I’m still not convinced I spelled ‘heartie’ correctly but what can you do?!?)

The frame for the message is a modern label punch and the white is a word window punch.

There you go – our owl pirate card!

Caro x


Share this:

  • Pinterest
  • Twitter
  • Facebook
  • Email
  • More
  • Reddit
  • Tumblr

Like this:

Like Loading...

Carolyn Dalton

Independent Stampin Up! Demonstrator

Recent Posts

  • Pretty butterfly birthday card 
  • Adding an extra touch to a homemade envelope
  • Quick and easy masculine card 
  • Quick and easy kids card
  • Butterfly soap card

Archives

  • March 2016
  • February 2016
  • January 2016
  • December 2015
  • November 2015
  • October 2015
  • September 2015
  • August 2015
  • July 2015
  • June 2015
  • May 2015
  • April 2015
  • September 2014
  • July 2014
  • April 2014
  • March 2014
  • February 2014
  • November 2013
  • October 2013
  • September 2013
  • August 2013
  • July 2013
  • June 2013
  • May 2013
  • May 2012

Categories

  • 1 1/4 inch circle
  • 1 3/4 circle
  • 1 3/4 inch scallop circle
  • 1 3/8 circle
  • 1 inch circle
  • 1 inch square
  • 2 3/8 inch scallop punch
  • 3/4 inch circle
  • 3D / pop up
  • 3D projects
  • Anniversary
  • Baby cards
  • Beautiful Butterflies
  • Big Shot
  • Bird Builder
  • Birthday
  • Bitty Butterfly
  • Blossom
  • Blossom Builder
  • Boho Blossoms
  • Boxes
  • Butterfly (retired)
  • Candy Wrapper
  • Card sets
  • Cards
  • Chalk Talk
  • Christmas
  • Circle Thinlits
  • Circle treat cups
  • Circles #2
  • Corner rounder
  • Cupcake Builder
  • Cupcakes and other tasty treats
  • Curly label
  • Decorative Label
  • Dies
  • Elegant Butterly
  • Embossing folders
  • Envelopes
  • Extra Large Oval
  • Fancy Flower
  • Framelits
  • Full heart
  • General occasion
  • Gift bags
  • Gift bow
  • Gift card holders
  • Gift tags & wrapping
  • Home decorating
  • Horizontal Slot
  • Invitations
  • Jewellery tag
  • Kids cards
  • Kids craft ideas
  • Kids party
  • Labels collection
  • Large Oval
  • Love notes
  • Masculine
  • Mini scallop
  • Modern Label
  • Music Notes
  • Notebooks
  • Owl
  • Perfect Polka Dots
  • Petite curly label
  • Pinwheel die
  • Punches
  • Scallop circle
  • Scallop edge
  • Scallop envelope
  • Scallop oval
  • Scallop Tag Topper
  • Small Heart
  • Square Lattice
  • Star
  • Sweet treat cups
  • Tag
  • Tasteful Trim
  • Thank you
  • Thoughts and comments
  • Top Note
  • Tutorial
  • Uncategorized
  • Using up scraps
  • Washi tape
  • Wedding cards
  • Wheels
  • Wildflower Meadow
  • Word Window

Pinterest

Follow Me on Pinterest

Follow me on Twitter

My Tweets

Enter your email address to follow this blog and receive notifications of new posts by email.

Join 37 other subscribers

Blog at WordPress.com.

Privacy & Cookies: This site uses cookies. By continuing to use this website, you agree to their use.
To find out more, including how to control cookies, see here: Cookie Policy
  • Follow Following
    • Caro's Pretty Things
    • Join 26 other followers
    • Already have a WordPress.com account? Log in now.
    • Caro's Pretty Things
    • Customize
    • Follow Following
    • Sign up
    • Log in
    • Report this content
    • View site in Reader
    • Manage subscriptions
    • Collapse this bar
 

Loading Comments...
 

    %d bloggers like this: