• About

Caro's Pretty Things

~ My papercraft blog

Category Archives: Decorative Label

Cut out cards with the decorative label punch

06 Sunday Oct 2013

Posted by Carolyn in Birthday, Cards, Decorative Label, General occasion, Punches, Thank you

≈ Leave a comment

Tags

cards, clever ideas with punches

Hello

Just a quick post today. Yesterday I showed you how to make a cut out card with a circle punch. Today I want to show you 2 cards I’ve made using the same technique but using the Stampin’ Up! decorative label punch instead. The stamped images are from the Stampin’ Up! Fancy Frames set. This is a really versatile set – if you are looking for ways to add sentiments to cards I’d really encourage you to think about this set with the matching punch. The ‘happy birthday’ and ‘thank you’ come from the Teeny Tiny Sentiments set. Another indispensable one for your collection.

Decorative label punch out card


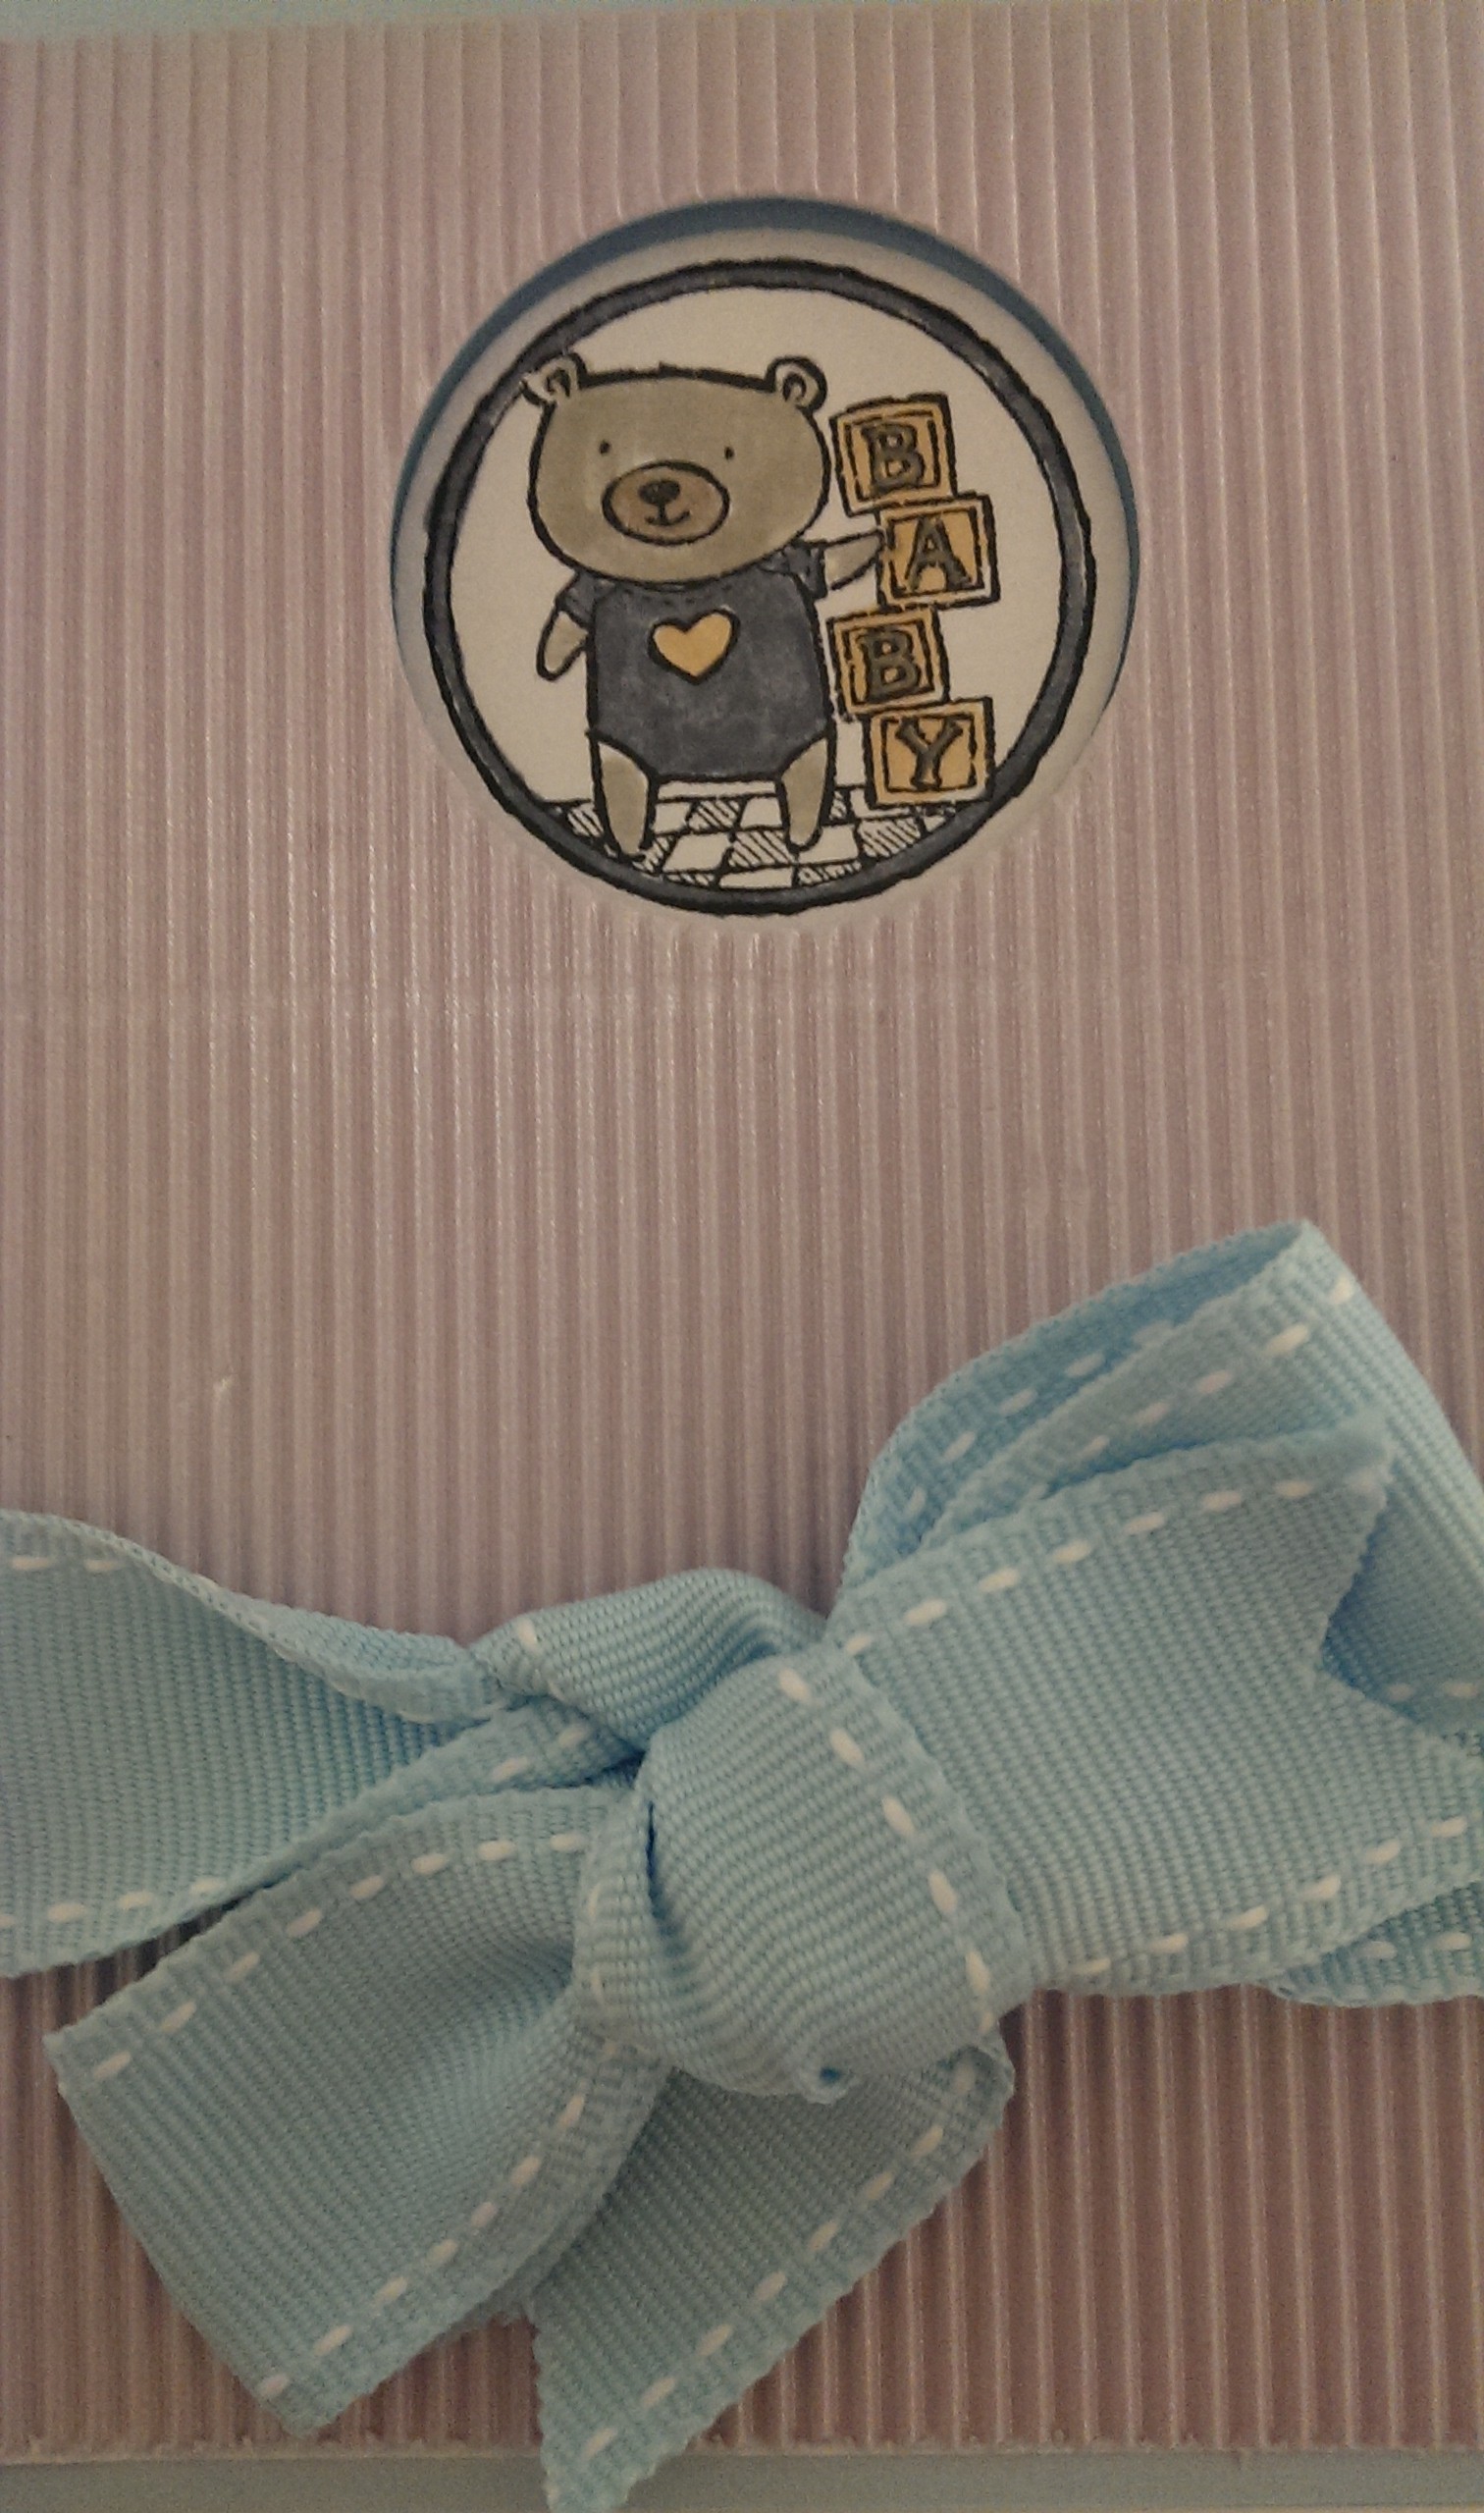
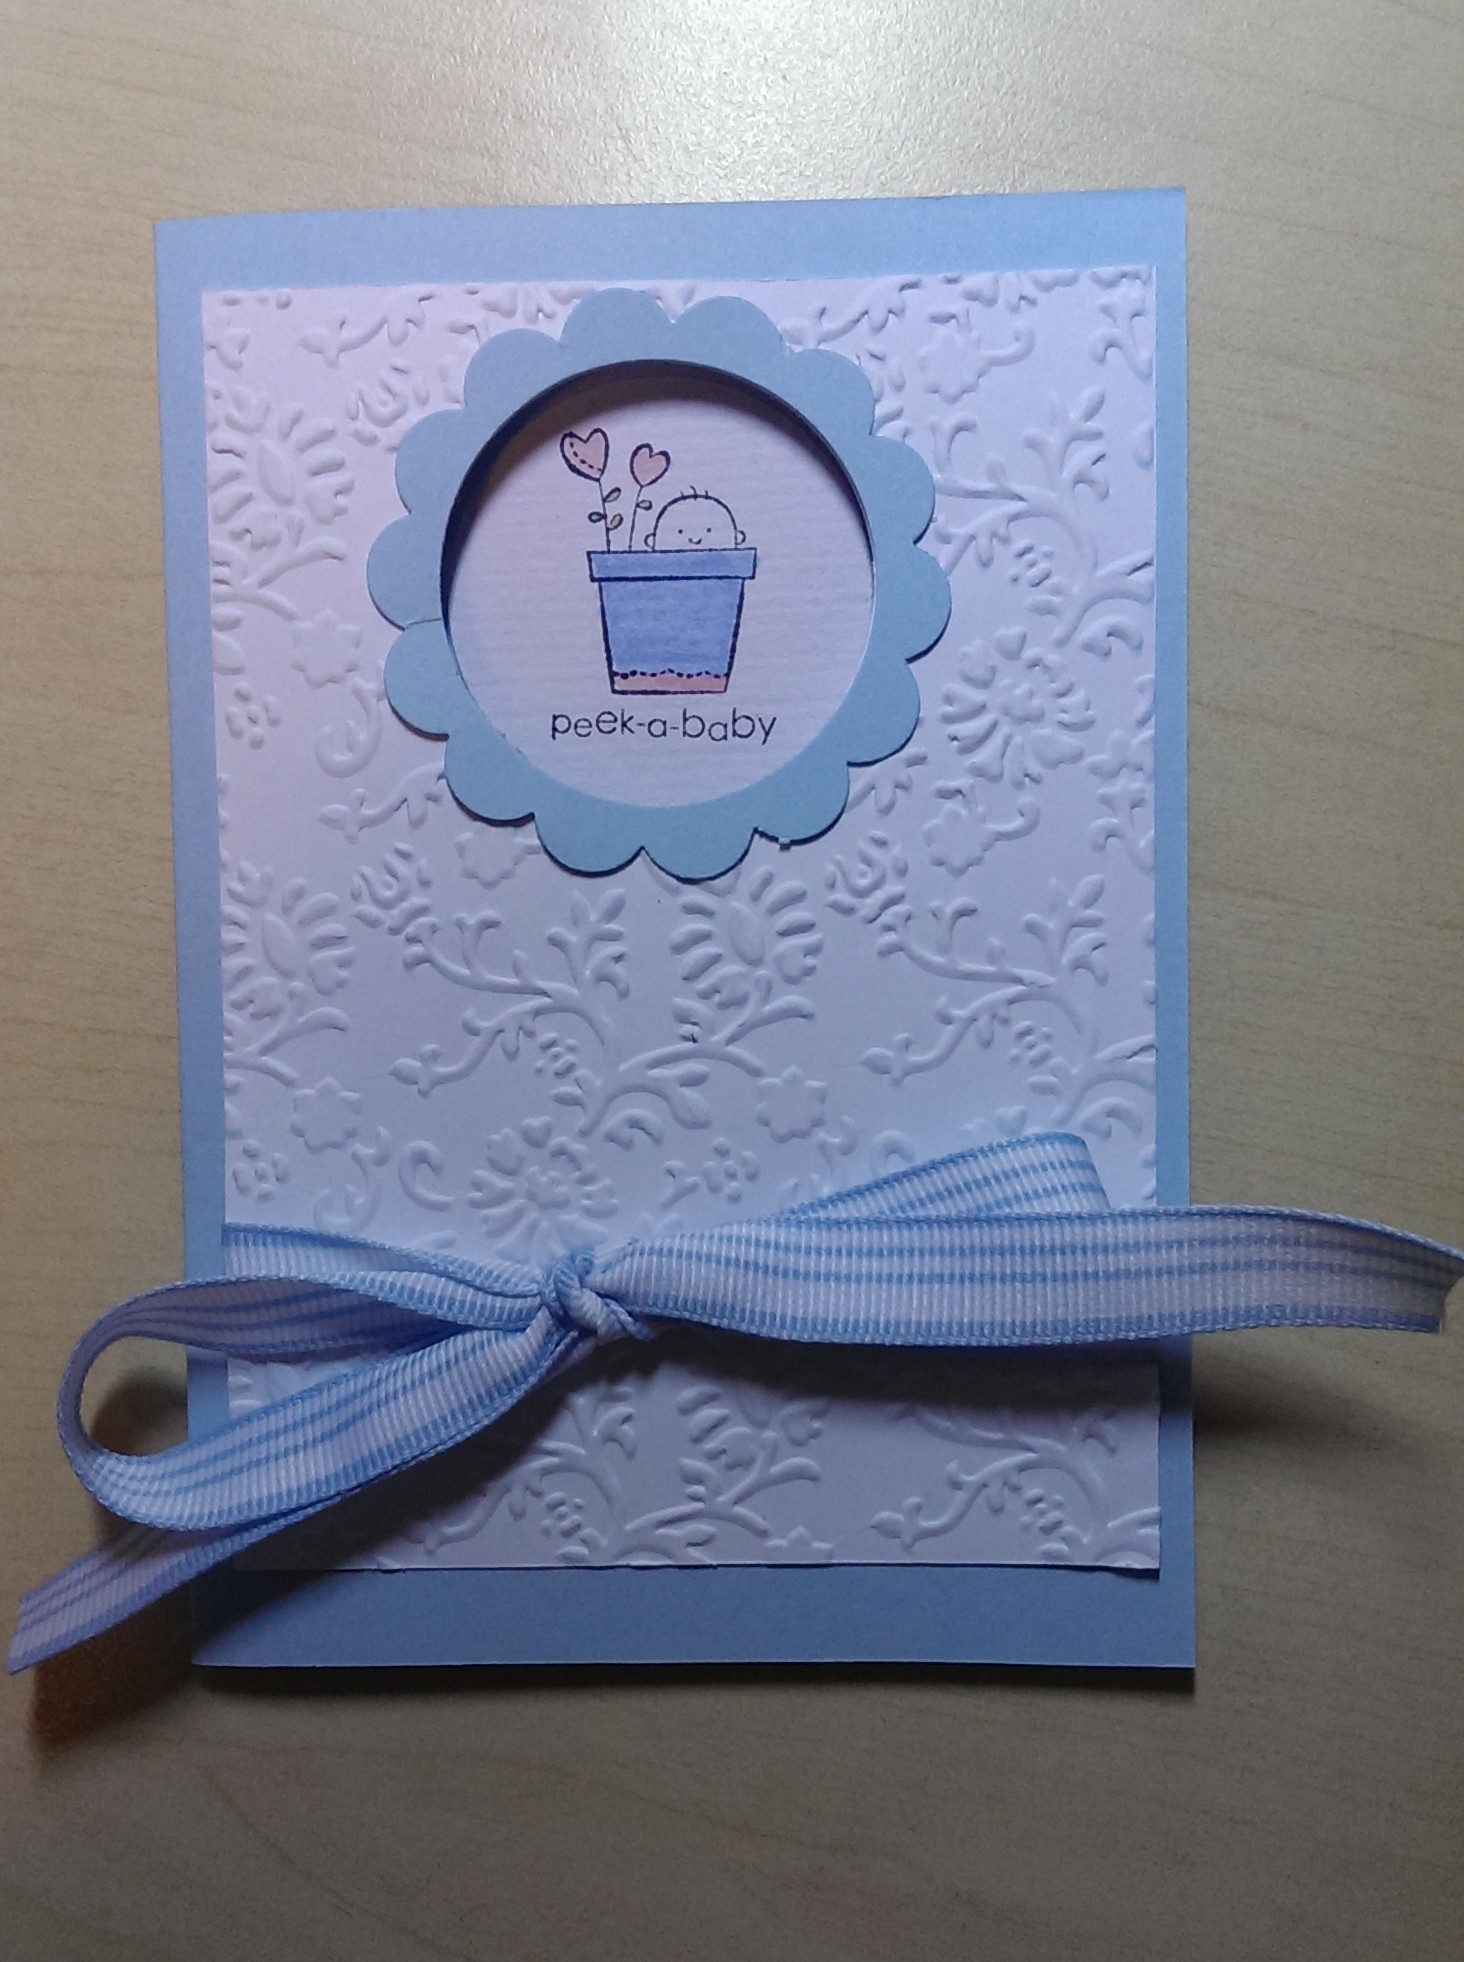
This card is made with Island Indigo and Whisper White (embossed with the square lattice embossing folder). I’ve used matching Island Indigo ribbon and sponged in ink around the white layer for extra depth.

Decorative label cut out thank you card

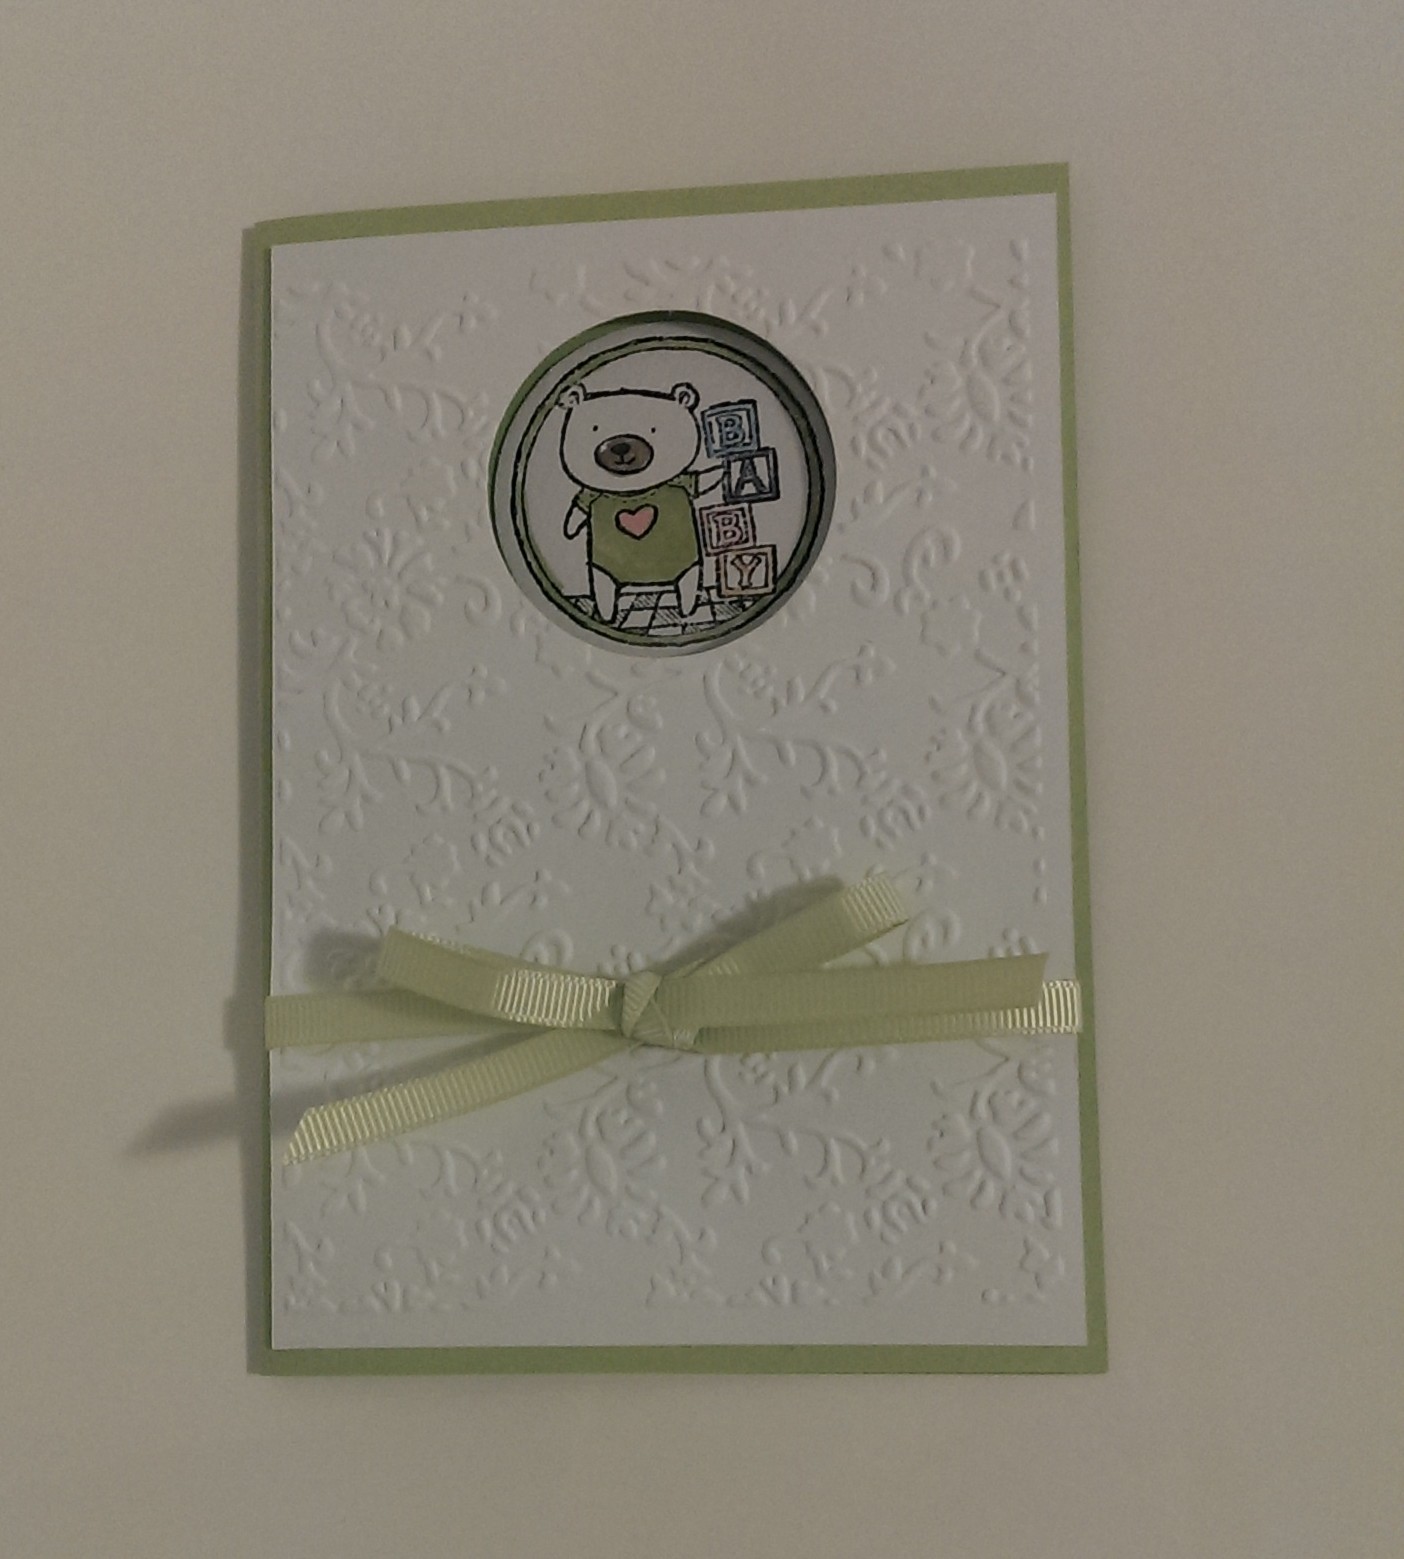
This one is made with Pear Pizzazz, Whisper White and Perfect Plum with the Perfect Polka Dot embossing folder.

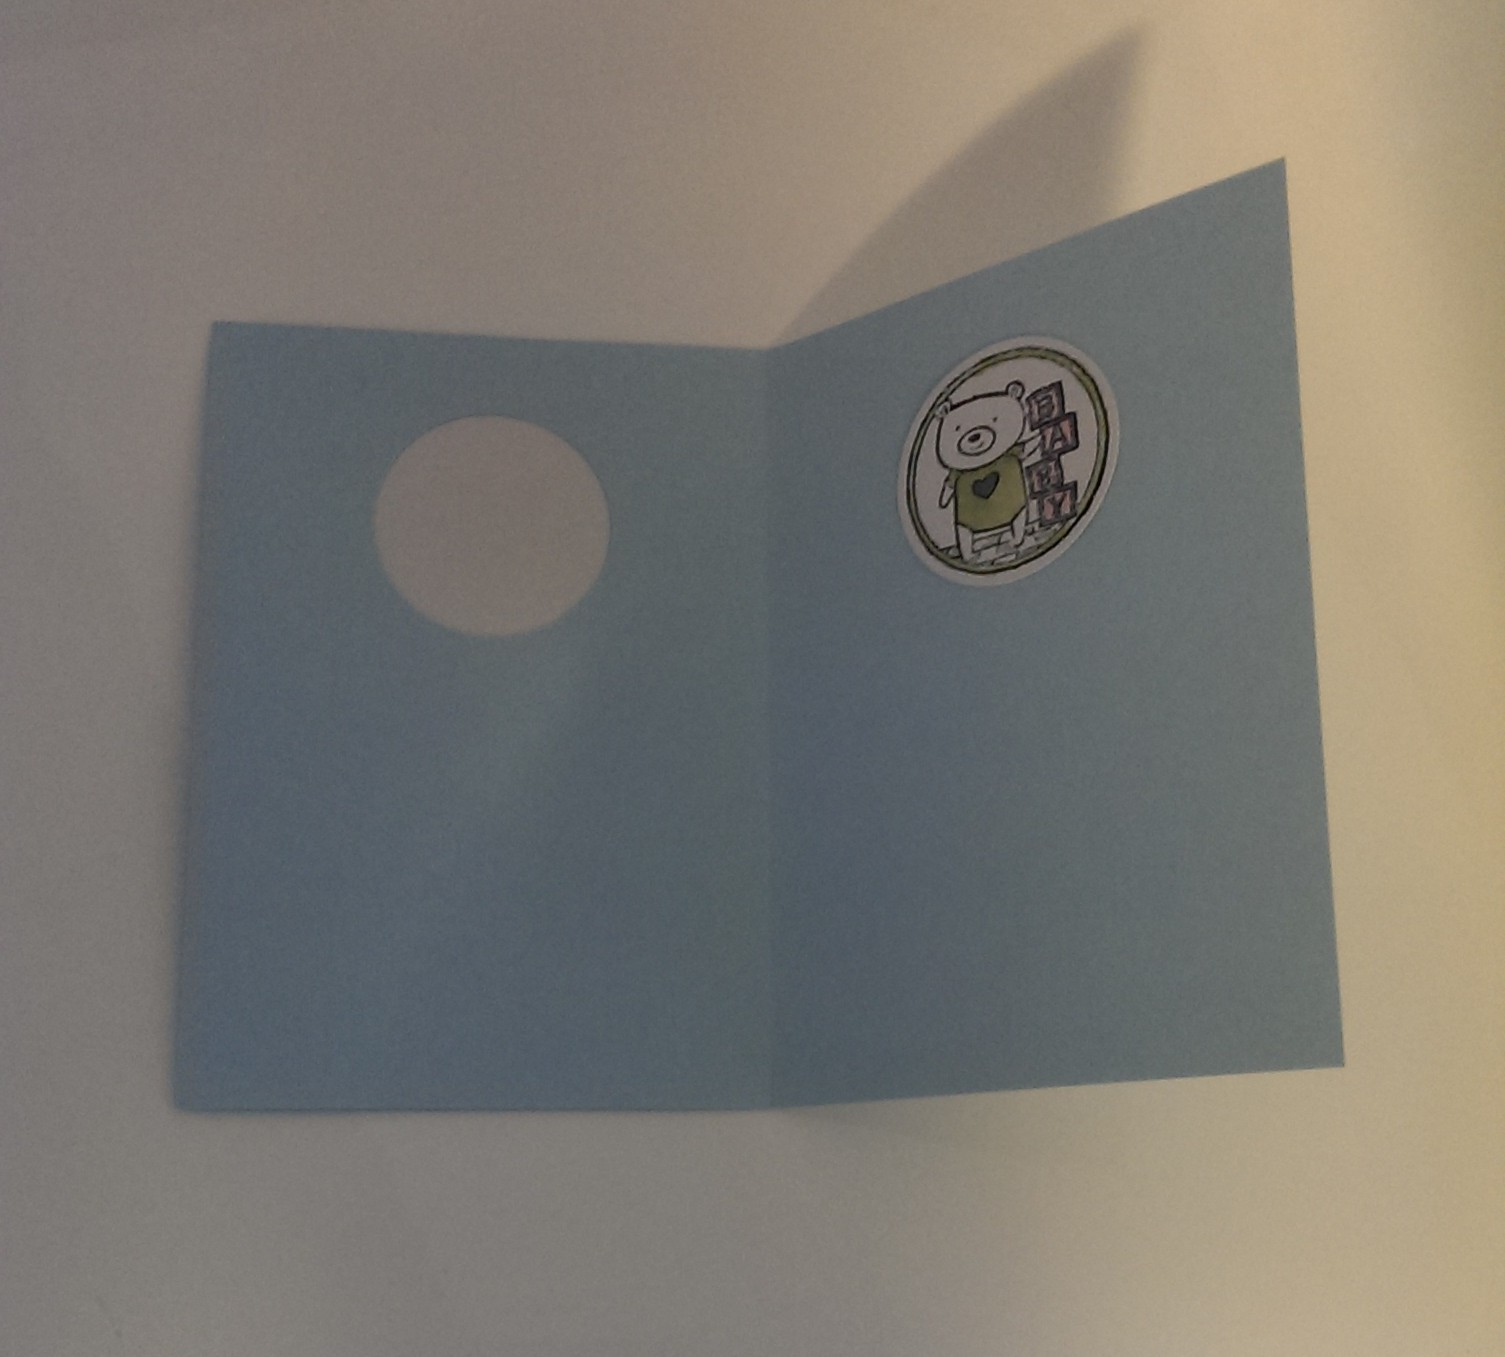
Here are close ups of the cut outs:

IMAG0221


You can see I’ve used the reverse side of the polka dot embossing for something different. I used my Stampin’ Write markers to get the multicoloured image on the stamp.

Decorative label and fancy frames
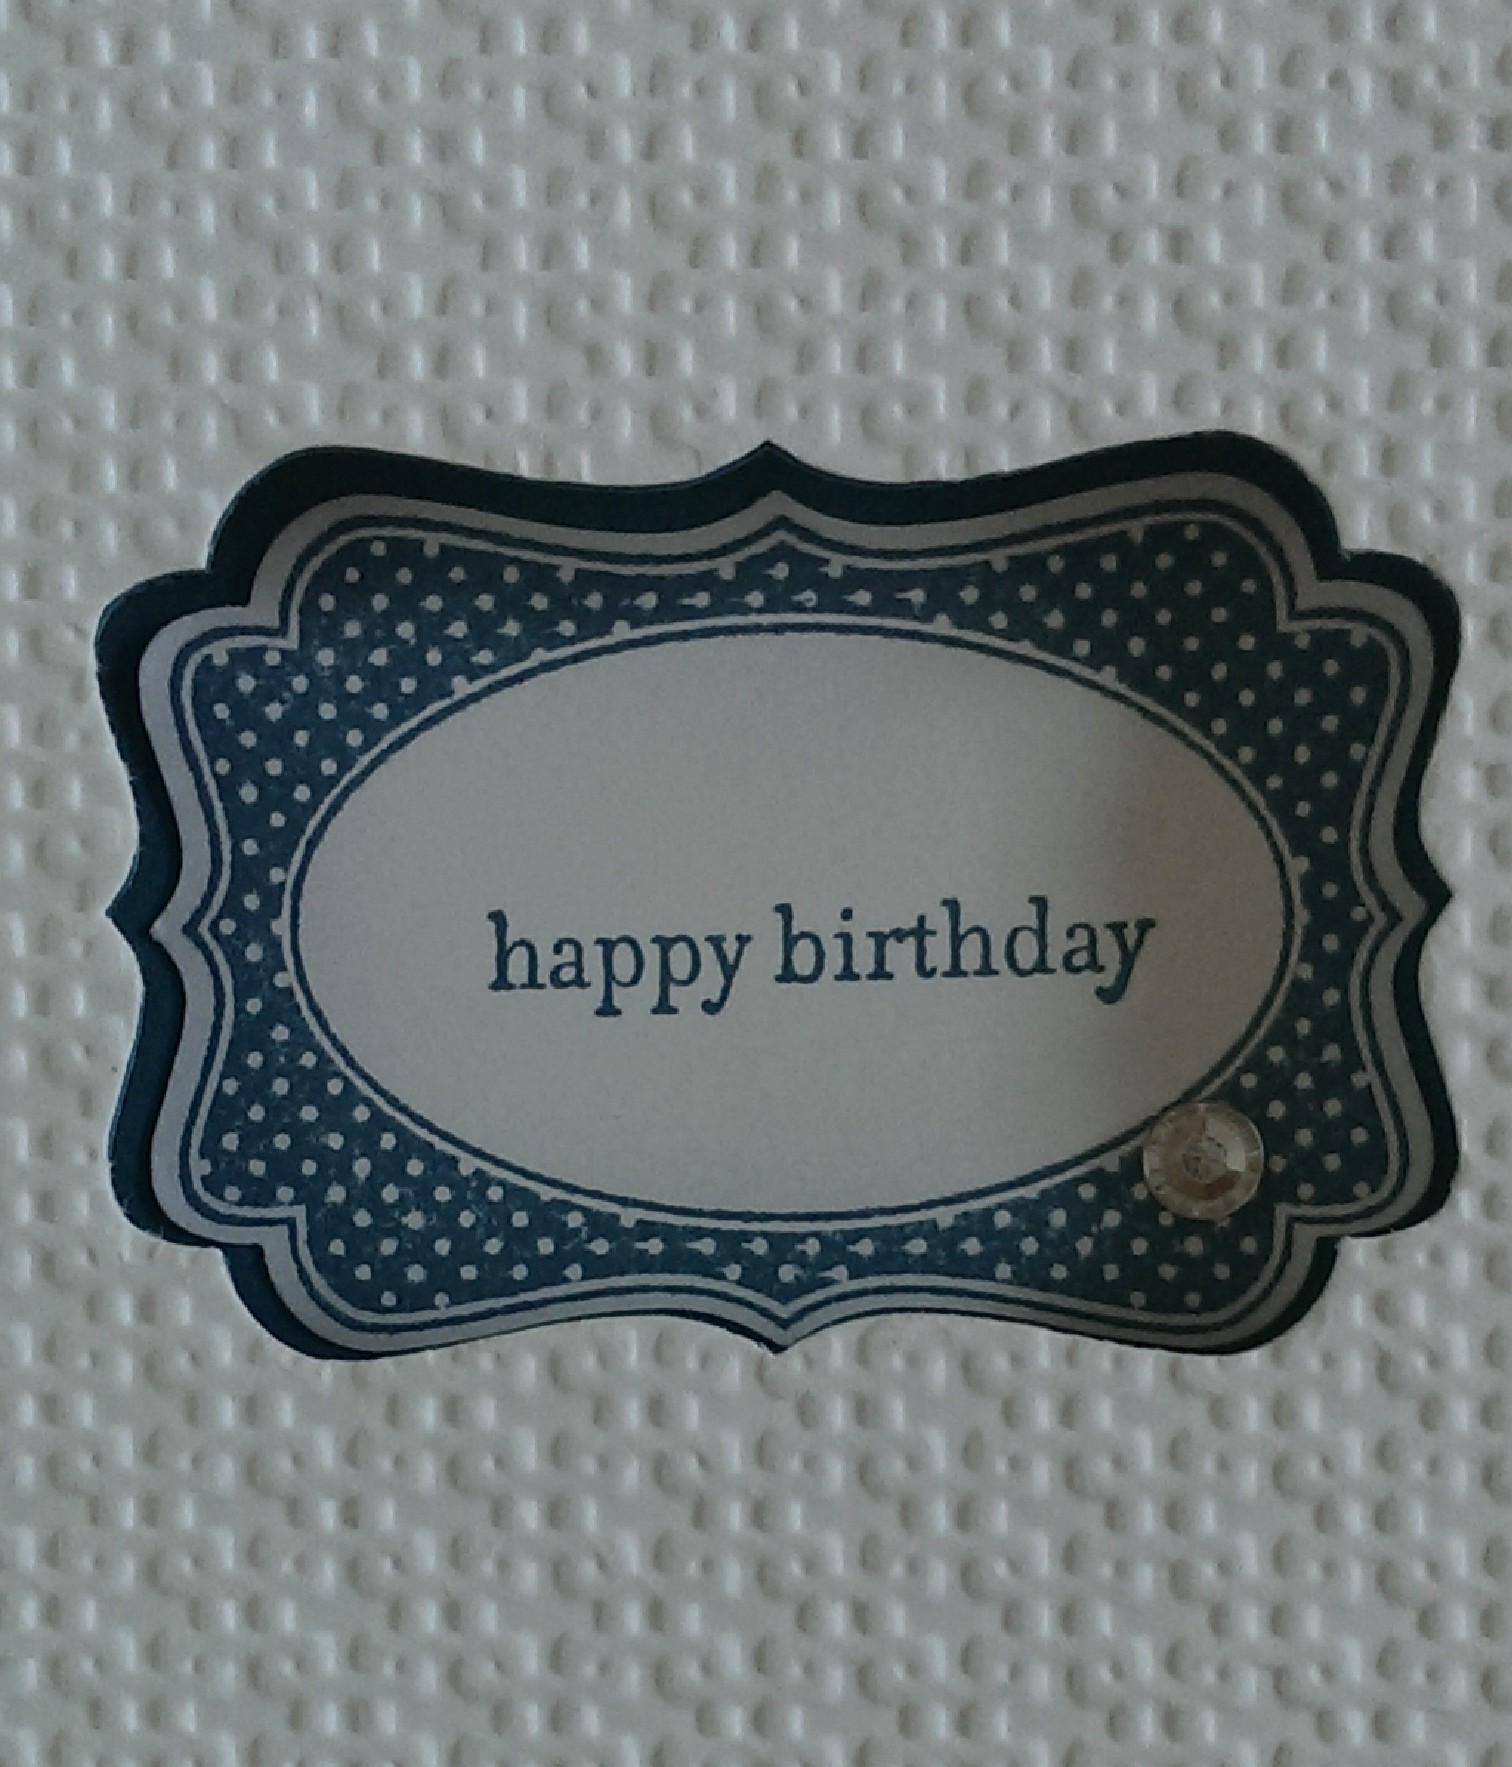
I’ll let you in on a little secret with this one. See the rhinestone? It is actually covering up a small smudge in the stamped image, but I actually think it works! Someone once told me that “A mistake is just an excuse for an embellishment”. In this case, they might be right!

Enjoy

Caro x


Share this:

  • Pinterest
  • Twitter
  • Facebook
  • Email
  • More
  • Reddit
  • Tumblr

Like this:

Like Loading...

Cut out card technique

05 Saturday Oct 2013

Posted by Carolyn in 1 3/4 circle, Baby cards, Birthday, Cards, Decorative Label, General occasion, Punches, Tutorial

≈ Leave a comment

Tags

card making technique, cards, Punches, tutorial

Yesterday I showed you a card I made with a cut out image in it.   I think of this as a peek-a-boo card!

Baby punch out card

Today I wanted to show you how to make it.

Step 1:  fold a card blank.   I used my 1 3/4 inch circle punch, but you could use any shape you like.     Centre the punch at the top of the front of the card and punch out an image.

IMAG0168Step 2:  stick the image on the inside of the card so you can see it through the open circle on the front.  Tip!  Do not try and glue this from the inside.  Close the card and stick the image to the inside of the card through the hole on the front.   This will make sure you get a perfect alignment.

IMAG0172

IMAG0170

Step 3: decorate the front of the card however you like.  This will probably mean covering over the circle you’ve cut out, but this doesn’t matter.  We’ll fix that later.   I’ve kept this card front really simple:

IMAG0171

The hole is hiding there under the purple card stock.

Step 4: Once you’ve decorated the card, open it, and cut a circle on the inside from the same hole as the first one you cut.

IMAG0173

(Note: this picture is upside down from how you’d see it if you were punching yourself!)

This is how it will look like when finished:

IMAG0180

And you’re done!  A very simple card but pretty effective I think?

My mother is sitting here while I’m typing this and she says to say it’s so simple even your mother could make it! Here’s a picture of a card we made together this afternoon using the same technique:

IMAG0209


This technique also works with other punches.  Tomorrow I will show you a couple of cards I’ve made using the same technique but a different punch.

I hope you enjoy making some of these.

Caro x

Share this:

  • Pinterest
  • Twitter
  • Facebook
  • Email
  • More
  • Reddit
  • Tumblr

Like this:

Like Loading...

Pirate birthday party card

05 Monday Aug 2013

Posted by Carolyn in Big Shot, Cards, Cupcake Builder, Decorative Label, Dies, Kids cards, Kids party, Modern Label, Owl, Punches, Top Note, Using up scraps, Word Window

≈ Leave a comment

Hi

It seems that lately the only crafting I get to do is with a 4 year old sitting on my lap being the artistic director!  (I’m not complaining, I love it!)  It does mean though that most of my craft time is spent thinking up fun ideas for cards for kid’s birthday parties! This past weekend’s challenge was a card for a pirate themed birthday party.

So off to my office/craft room we went and did a little Google searching for inspiration.   Mr 4 was most impressed by the idea of an owl pirate – and he thought we should make a pirate like this one on Lynn Starzi’s blog.

I’m not too sure about this card (remember Mr 4 was the artistic director!) but here it is:

photo


Most importantly, both my munchkin and the lucky recipient thought it was great – so I guess that’s what matters!

The waves were made from some scraps of Pacific Point.  I’d saved some off cuts from cutting out some Top Note shapes, and the edges of where I’d cut out the Top Note actually worked quite well as waves!

The rest was the card was a mix of free hand cutting and Stampin’ Up! punches.

The pirate was made from the owl punch.   The pirate’s shirt had to be “red and stripey” apparently, so I found an old bit of Poppy Parade DSP (now retired).   Please note the peg leg!   Made from the candle from the cupcake builder punch.  The eyes were cut from the owl punch with “goggly eyes” stuck on top with mini glue dots.

The pirate’s hat was the side of the decorative label punch, flipped horizontally.

The boat was a large oval punch cut off across the top (Soft Suede card stock).  I cut the mast, the sail and ‘the plank’ freehand.   And a white Signo pen was perfect for drawing on the crossbones (no skulls for me).

Mr Artistic Controller was most insistent that the card had to say “Ahoy, me heartie!”, not “Happy Birthday”.    Given that my stamp collection doesn’t quite stretch to pirate messages, I wrote in on in pen.  (I’m still not convinced I spelled ‘heartie’ correctly but what can you do?!?)

The frame for the message is a modern label punch and the white is a word window punch.

There you go – our owl pirate card!

Caro x


Share this:

  • Pinterest
  • Twitter
  • Facebook
  • Email
  • More
  • Reddit
  • Tumblr

Like this:

Like Loading...

Kids robot cards

31 Friday May 2013

Posted by Carolyn in Cards, Decorative Label, Horizontal Slot, Kids cards, Modern Label, Owl, Punches, Small Heart, Tag, Uncategorized, Word Window

≈ Leave a comment

Tags

cards, Kids, punch art, Punches

I while ago my little boy was invited to his friend’s robot birthday party.  So of course me being me, I had to think of a cute little robot card I could make for him.     After a bit of hunting around on Google, I saw this cute little card by Teneale Williams (someone else who’s blog gives me lots of great inspiration).

Modifying Teneale’s idea a bit, here is what I came up with:

20120713_122609

20120713_123506

20120713_122014

20120713_121956

I used some corrugated paper I found at a $2 shop as it seemed to be very ‘robot-ey’, but normal card stock would work too.

My little robots are put together out of Stampin’ Up! punches:

Head – Tag punch

Body – Decorative Label punch

Arms and ears – Word Window punch (Tip: glue a word window on the reverse side of the head to make the ears)

Legs – Modern Label punch or Word Window punch

Mouth – Horizontal Slot punch (this is retired now but you could use a smaller circle (eg the eyes from the owl punch), the candles from the cupcake punch, or cut down the word window punch or draw on a mouth)

Eyes – I used the eyes from the Owl punch with some googly eyes stuck on, but any small circles would work.

For decorations I used the Small Heart punch, the heart and waistcoat from the Owl Builder punch.   One one of them I stuck lollies on the body.

These were so fun to make I soon had a little robot army!

20120713_122033

Share this:

  • Pinterest
  • Twitter
  • Facebook
  • Email
  • More
  • Reddit
  • Tumblr

Like this:

Like Loading...

Covered notebooks and matching pencils

28 Tuesday May 2013

Posted by Carolyn in 3D projects, Decorative Label, Gift tags & wrapping, Modern Label, Notebooks, Using up scraps

≈ 1 Comment

Tags

3D, covered pencil, DSP, gifts, Notebook

The other day I showed you how to make mini notebooks covered with DSP.  Today I wanted to show you how effective it can be to take ordinary A4 exercise books and decorate them with DSP.

20121207_140453

This was a little present we gave to a family friend who was starting university.   I covered a bundle of A4 exercise books in coordinating DSP and covered some matching pencils.

20121207_140522

I made a label where she could write her name or a subject name for each book.  The larger pink label is punched out in melon mambo using the Stampin’ Up! Decorative Label punch, and the smaller white label is punched out using the Stampin’ Up! Modern Label punch.

20121207_140528

To make the covered pencils, measure the distance between the end of the eraser and the beginning of the wood at the bottom.  Cut a piece of DSP to that width, with enough length to wrap around the pencil 2 or 3 times.    I’ve found it’s easier if you wrap the paper around the pencil a few times before trying to glue it on – it just works a bit better when you come to stick it down if it’s already a little bit “bendy”.    I run a line of Sticky Strip (double sided tape) along the edge of the paper which will be the last to stick down and use Snail adhesive to cover the rest of the DSP and stick it as I wrap around the pencil.

This is a really nice idea for a simple gift for someone – particularly someone like me who loves their stationery!

Thanks for reading 🙂

Share this:

  • Pinterest
  • Twitter
  • Facebook
  • Email
  • More
  • Reddit
  • Tumblr

Like this:

Like Loading...

Carolyn Dalton

Independent Stampin Up! Demonstrator

Recent Posts

  • Pretty butterfly birthday card 
  • Adding an extra touch to a homemade envelope
  • Quick and easy masculine card 
  • Quick and easy kids card
  • Butterfly soap card

Archives

  • March 2016
  • February 2016
  • January 2016
  • December 2015
  • November 2015
  • October 2015
  • September 2015
  • August 2015
  • July 2015
  • June 2015
  • May 2015
  • April 2015
  • September 2014
  • July 2014
  • April 2014
  • March 2014
  • February 2014
  • November 2013
  • October 2013
  • September 2013
  • August 2013
  • July 2013
  • June 2013
  • May 2013
  • May 2012

Categories

  • 1 1/4 inch circle
  • 1 3/4 circle
  • 1 3/4 inch scallop circle
  • 1 3/8 circle
  • 1 inch circle
  • 1 inch square
  • 2 3/8 inch scallop punch
  • 3/4 inch circle
  • 3D / pop up
  • 3D projects
  • Anniversary
  • Baby cards
  • Beautiful Butterflies
  • Big Shot
  • Bird Builder
  • Birthday
  • Bitty Butterfly
  • Blossom
  • Blossom Builder
  • Boho Blossoms
  • Boxes
  • Butterfly (retired)
  • Candy Wrapper
  • Card sets
  • Cards
  • Chalk Talk
  • Christmas
  • Circle Thinlits
  • Circle treat cups
  • Circles #2
  • Corner rounder
  • Cupcake Builder
  • Cupcakes and other tasty treats
  • Curly label
  • Decorative Label
  • Dies
  • Elegant Butterly
  • Embossing folders
  • Envelopes
  • Extra Large Oval
  • Fancy Flower
  • Framelits
  • Full heart
  • General occasion
  • Gift bags
  • Gift bow
  • Gift card holders
  • Gift tags & wrapping
  • Home decorating
  • Horizontal Slot
  • Invitations
  • Jewellery tag
  • Kids cards
  • Kids craft ideas
  • Kids party
  • Labels collection
  • Large Oval
  • Love notes
  • Masculine
  • Mini scallop
  • Modern Label
  • Music Notes
  • Notebooks
  • Owl
  • Perfect Polka Dots
  • Petite curly label
  • Pinwheel die
  • Punches
  • Scallop circle
  • Scallop edge
  • Scallop envelope
  • Scallop oval
  • Scallop Tag Topper
  • Small Heart
  • Square Lattice
  • Star
  • Sweet treat cups
  • Tag
  • Tasteful Trim
  • Thank you
  • Thoughts and comments
  • Top Note
  • Tutorial
  • Uncategorized
  • Using up scraps
  • Washi tape
  • Wedding cards
  • Wheels
  • Wildflower Meadow
  • Word Window

Pinterest

Follow Me on Pinterest

Follow me on Twitter

My Tweets

Enter your email address to follow this blog and receive notifications of new posts by email.

Join 37 other subscribers

Blog at WordPress.com.

Privacy & Cookies: This site uses cookies. By continuing to use this website, you agree to their use.
To find out more, including how to control cookies, see here: Cookie Policy
  • Follow Following
    • Caro's Pretty Things
    • Join 26 other followers
    • Already have a WordPress.com account? Log in now.
    • Caro's Pretty Things
    • Customize
    • Follow Following
    • Sign up
    • Log in
    • Report this content
    • View site in Reader
    • Manage subscriptions
    • Collapse this bar
 

Loading Comments...
 

    %d bloggers like this: