I know, Fathers’ Day was over a month ago now, but I just realised that I never posted a picture of the card I made for Dad this year. This only makes sense if you’re a Star Wars fan!
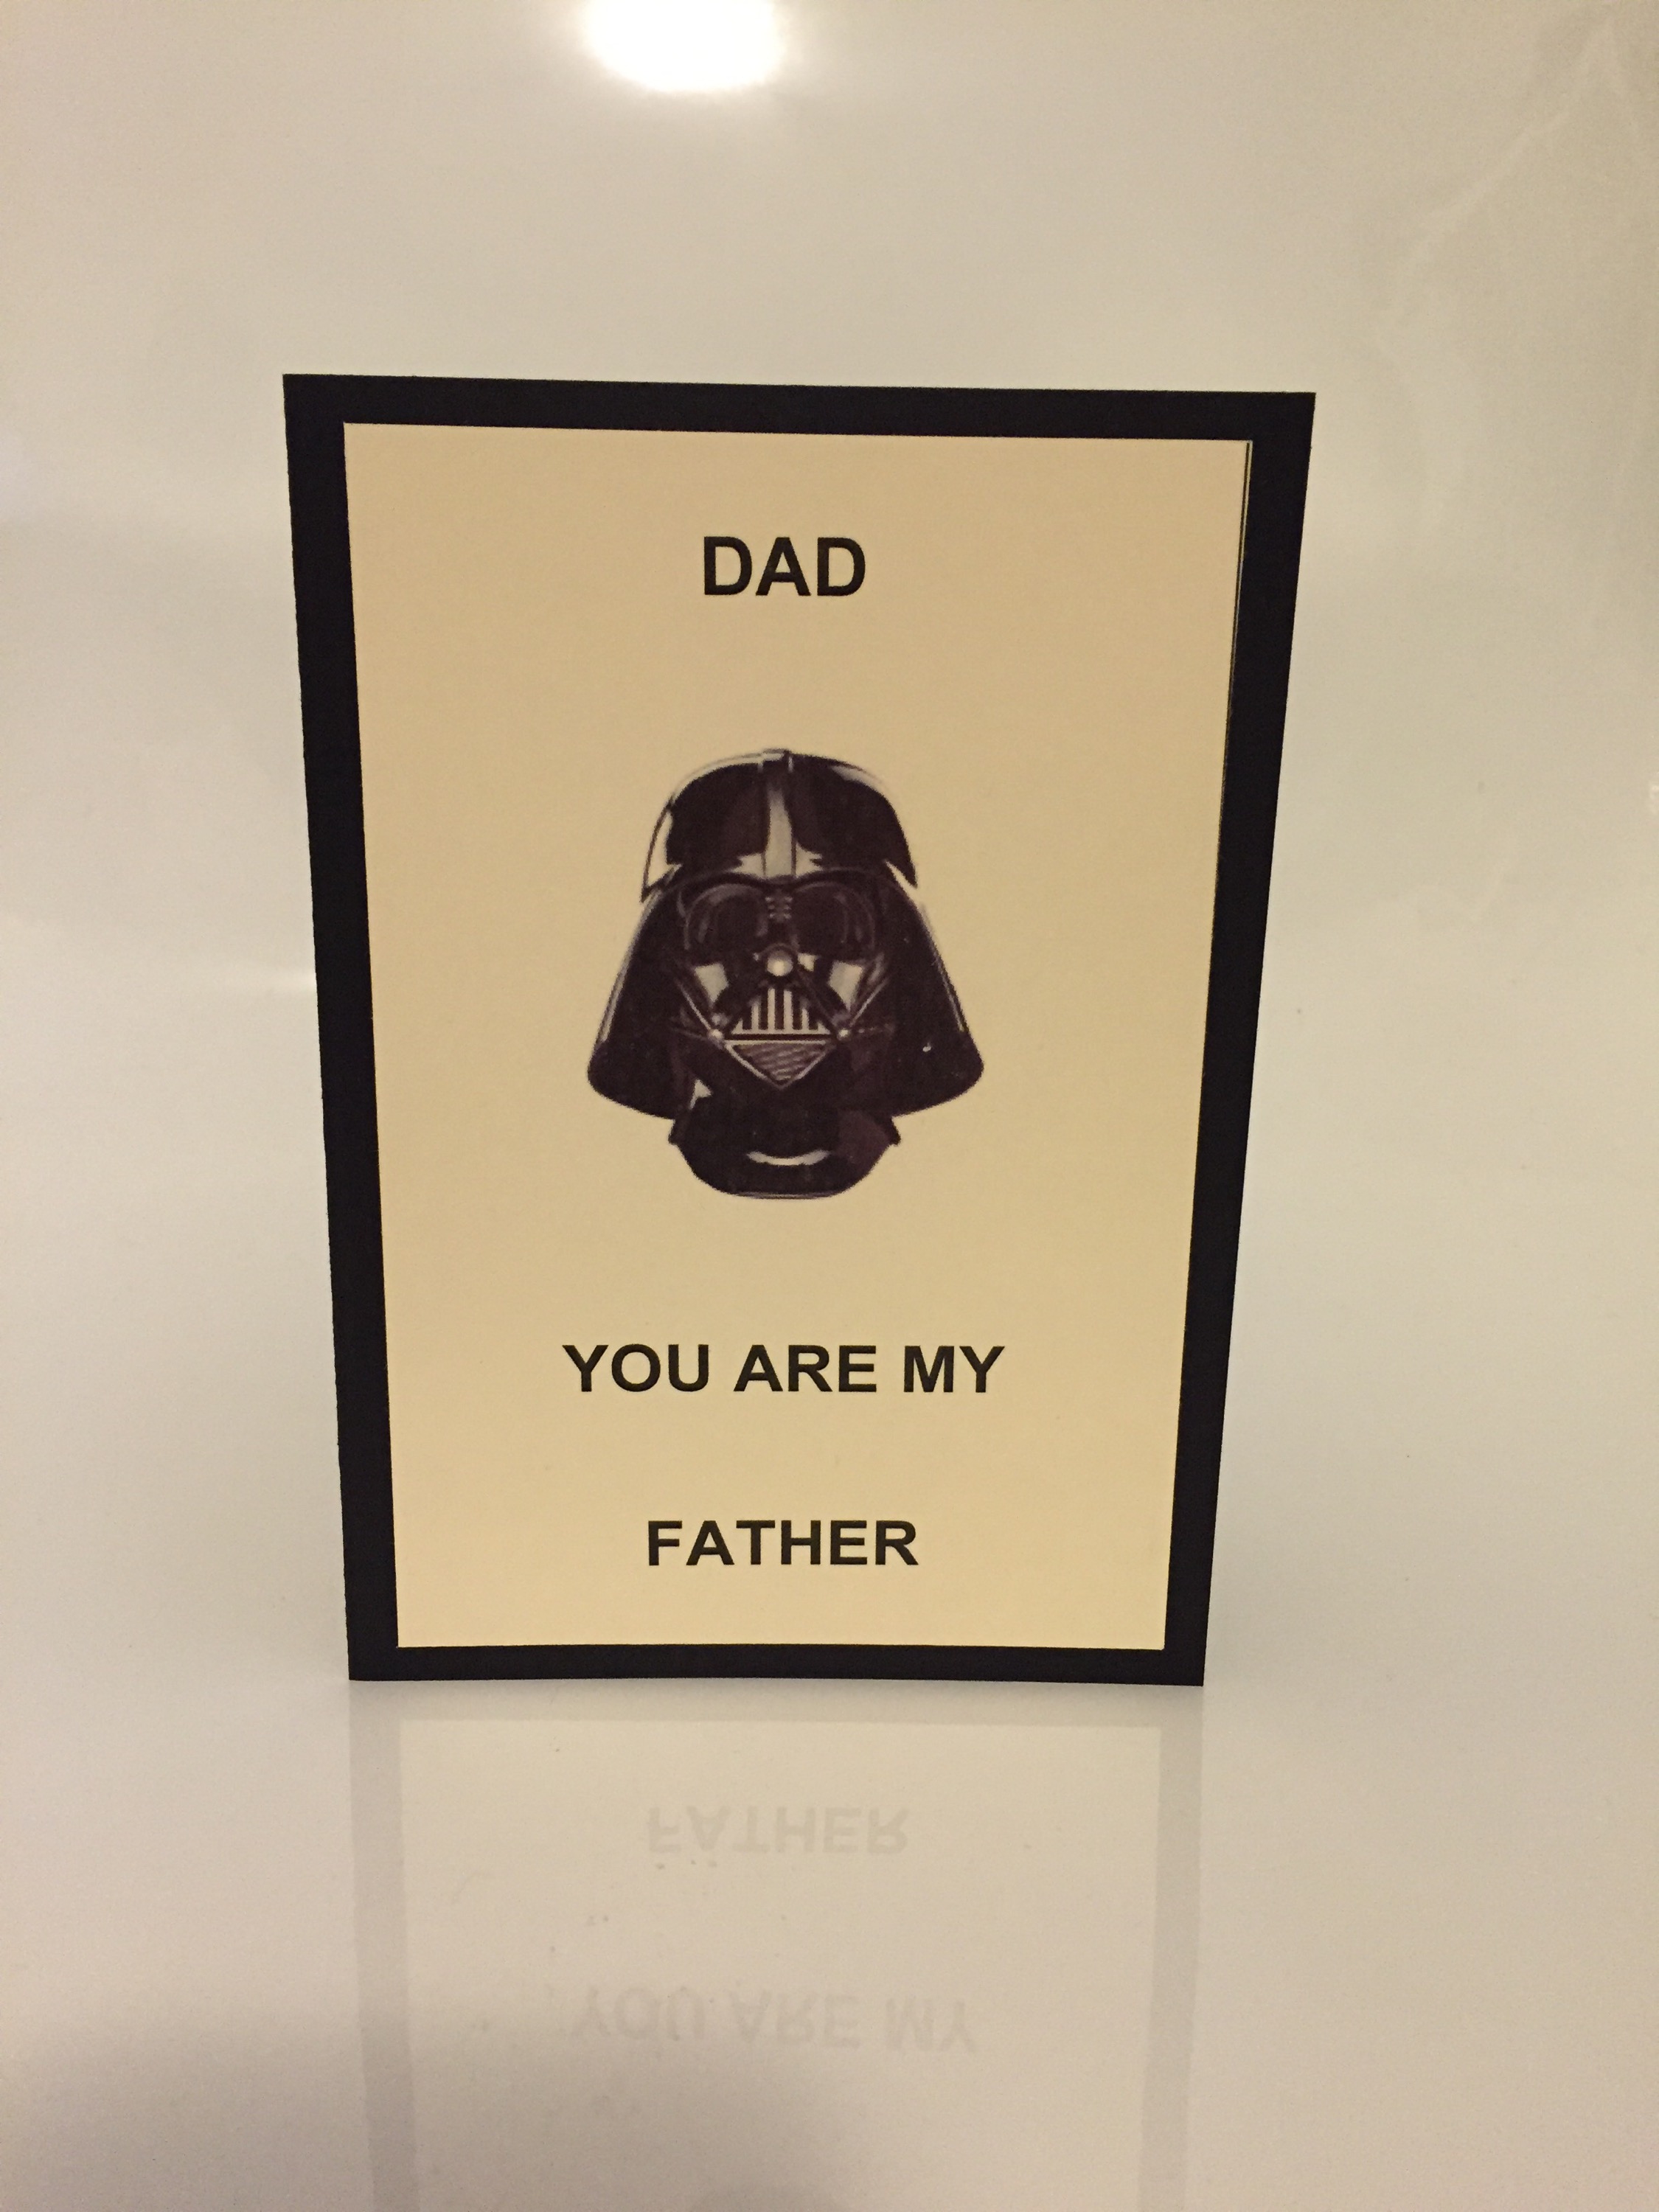
Thanks for reading.
Caro
16 Friday Oct 2015
Posted in General occasion, Masculine, Uncategorized
I know, Fathers’ Day was over a month ago now, but I just realised that I never posted a picture of the card I made for Dad this year. This only makes sense if you’re a Star Wars fan!
Thanks for reading.
Caro
30 Wednesday Apr 2014
Posted in Cards, Kids cards, Kids craft ideas, Uncategorized, Using up scraps
Hello
If you have been reading my blog for a while, you know that I go for long stretches where the only crafting I get to do is making cards for the various birthday parties my 4 year old son is invited to. Today’s post is to show you another effort we made approximately 10 minutes before leaving for the party!

The body of the princess is made from a punch of folding dolls I bought to make rugby players a while back. I traced the doll onto the back of some scrap paper to cut out the dress, and we cut the neckline free hand. James decided the bottom of the Stampin’ Up! cupcake punch looked like a crown, which we cut out of glitter paper. He cut the sparkly shoes free hand. Mummy drew the hair, mouth and eyes – James drew the cheeks and chin. And there you have it – Princess Jemima!
I didn’t use to put these sorts of cards on my blog, but now I love showing you as spending time with him making little cards for his friends is one of my favourite things to do with him. And it shows you even little people can make cute cards!
Thanks for reading
Caro x
24 Saturday Aug 2013
Posted in Cupcakes and other tasty treats, Uncategorized
Hello!
This is my last post showing you things I made for our recent Christmas in July in August party. I promise! Today I’m going to show you cute stuff we made to eat.
First up – some Christmas themed cupcakes! My son and I had a ball decorating these. He made all the red berries and painted on the water to glue the decorations to the top of the cupcakes.
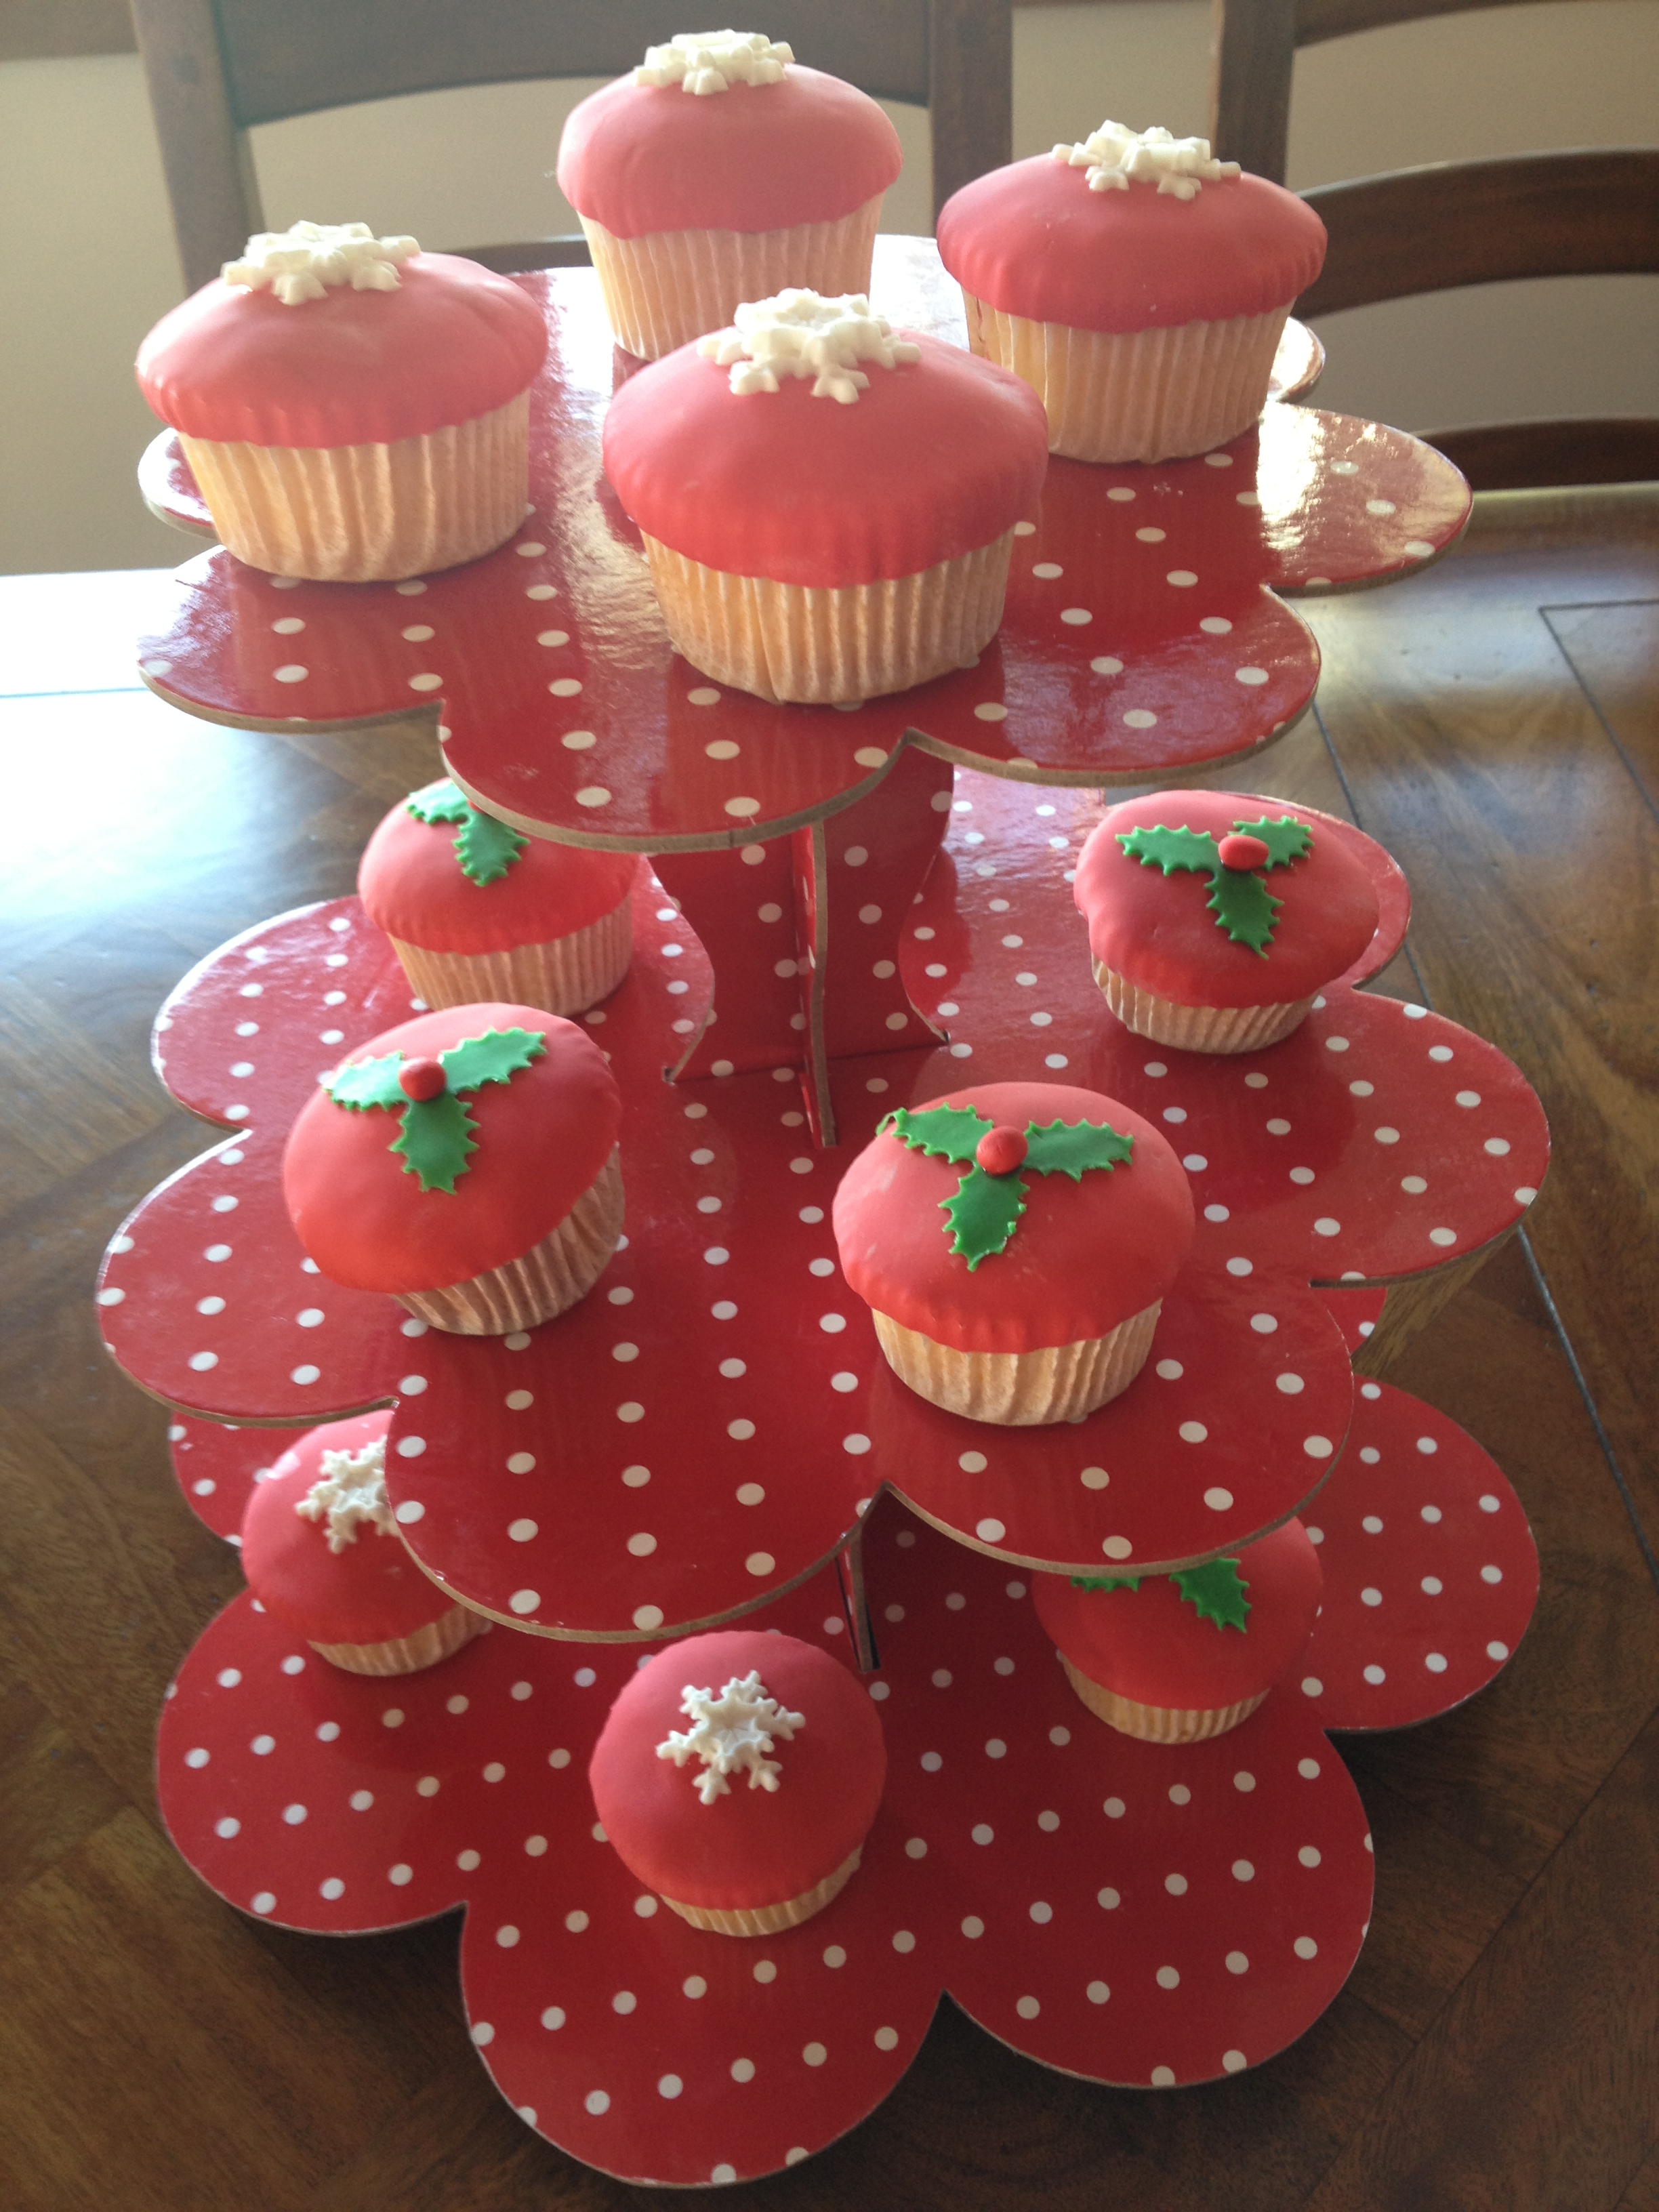
Here are our holly cupcakes:

And one of our snowflake cupcakes:

Next up – some paper wrapped chocolates!
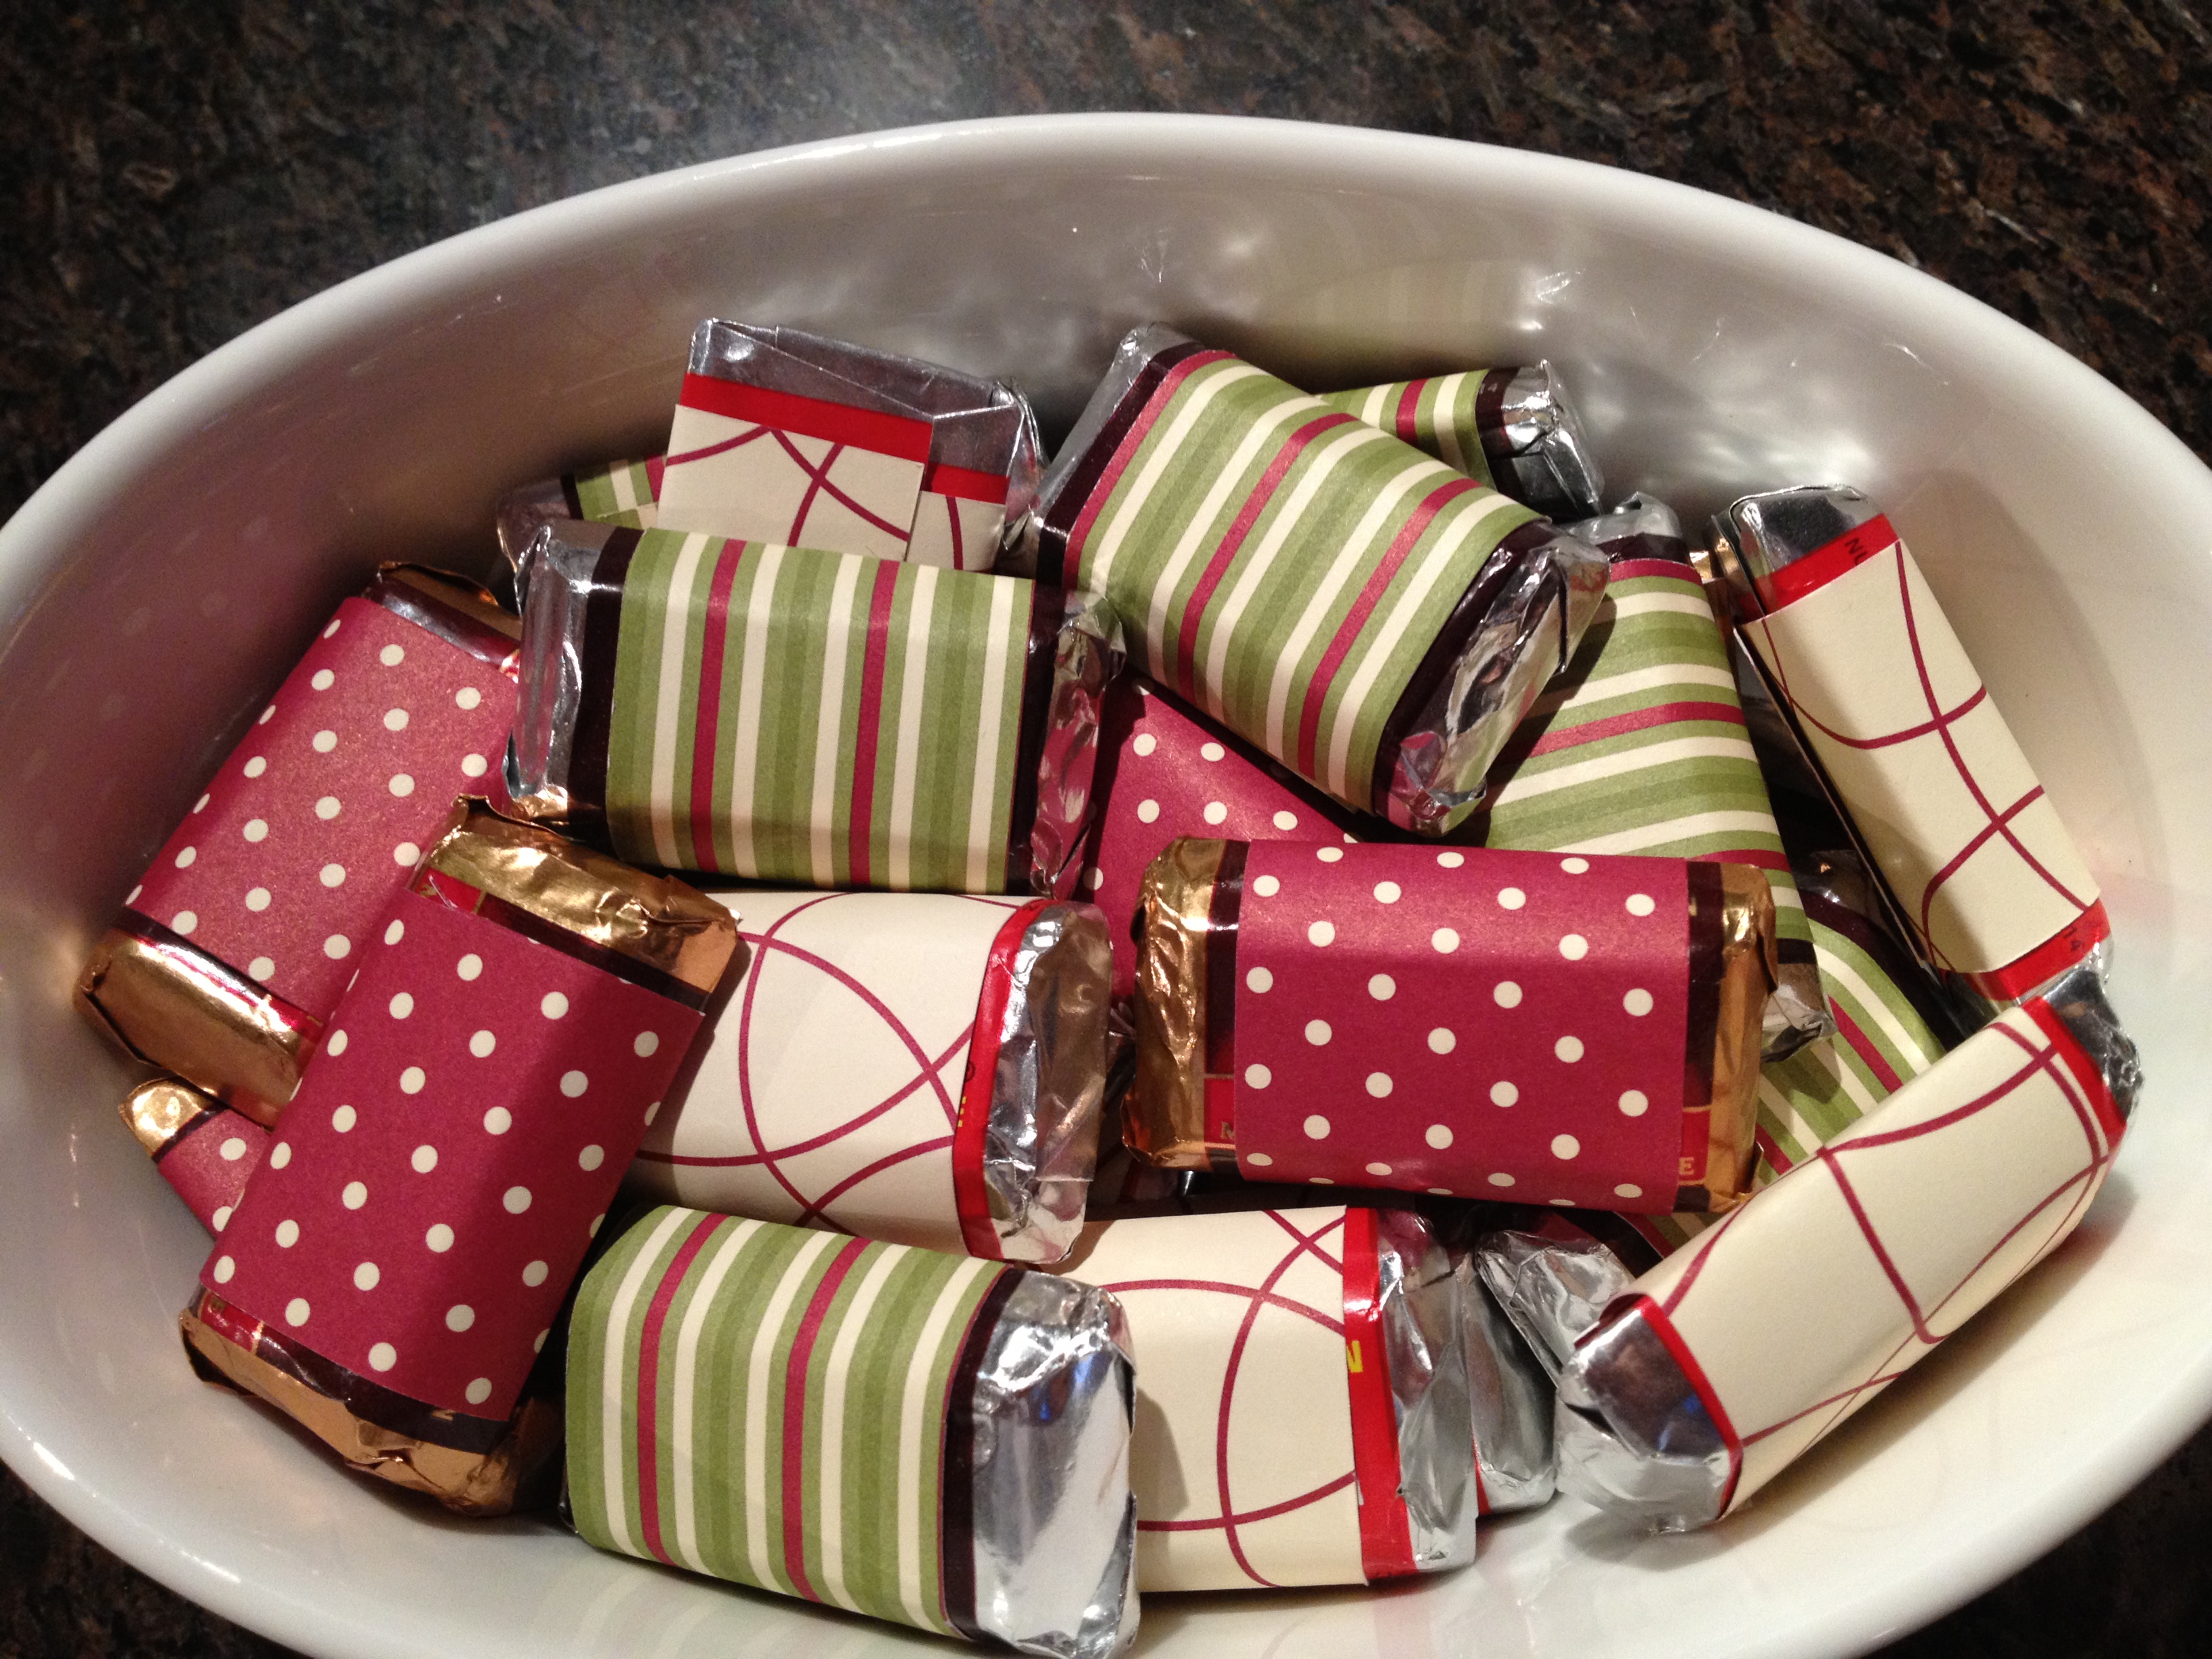 I have seen so many blogs from the US showing papercraft ideas and presents with Hershey’s chocolates wrapped in DSP – and I’ve always wanted to try my hand at making some of those beautiful creations. And I don’t even like chocolate! I was standing in line at the Reject Shop the other day – and what did I spy but some Hershey’s chocolates. That was the first time I’ve seen them in Australia.
I ran out of time to do anything too fancy with them, but I did use up some scraps of old Jolly Holly DSP I had lying around to make them pretty Christmas chocolates. I cut strips 3cm x 7.5cm. This meant you could still see the foil and a little of the wrapper. Next time I’d probably do 3.5 x 7.5cm. 7.5 cm is a really handy length as you can cut four pieces from a single strip from a 12 x 12 ” sheet of DSP.
Now that I know you can get these in Australia I might have to revisit some of those blog posts!
Thanks for reading this one 🙂
Caro
23 Friday Aug 2013
Posted in Uncategorized
Yesterday I showed you the Rudolph decorations I made for our recent winter Christmas weekend.

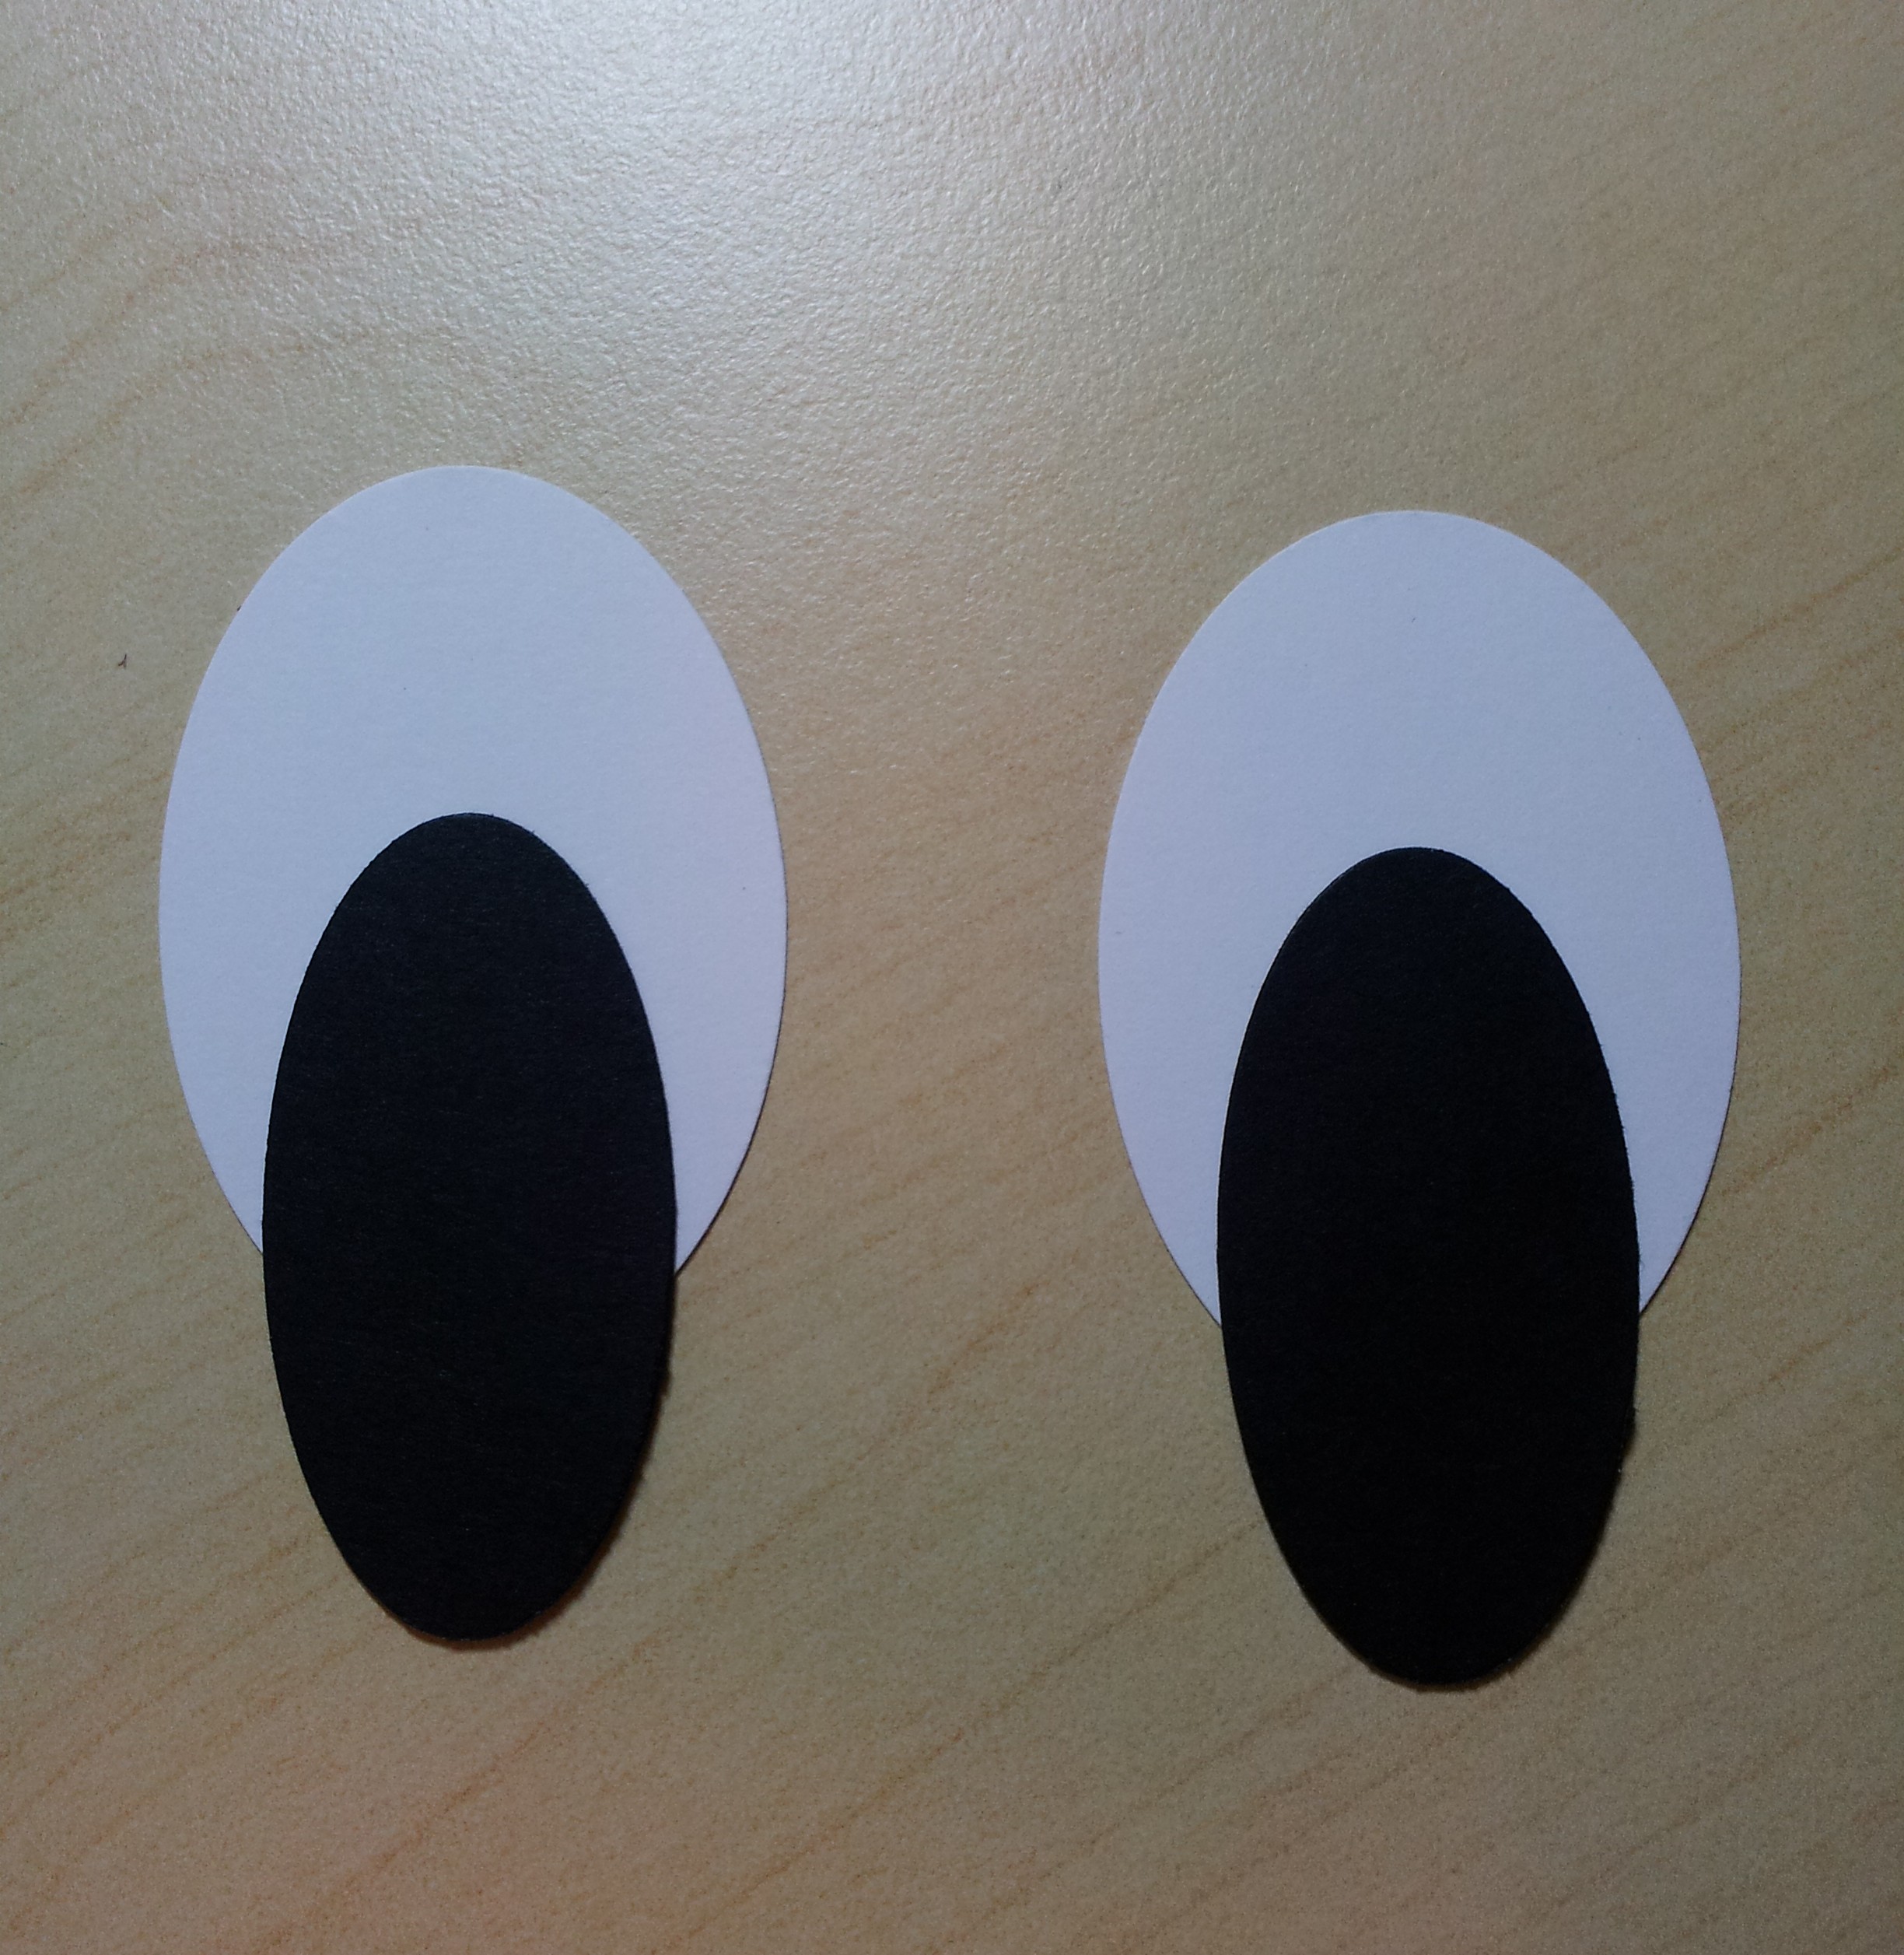
Today I wanted to show you how I made the eyes.
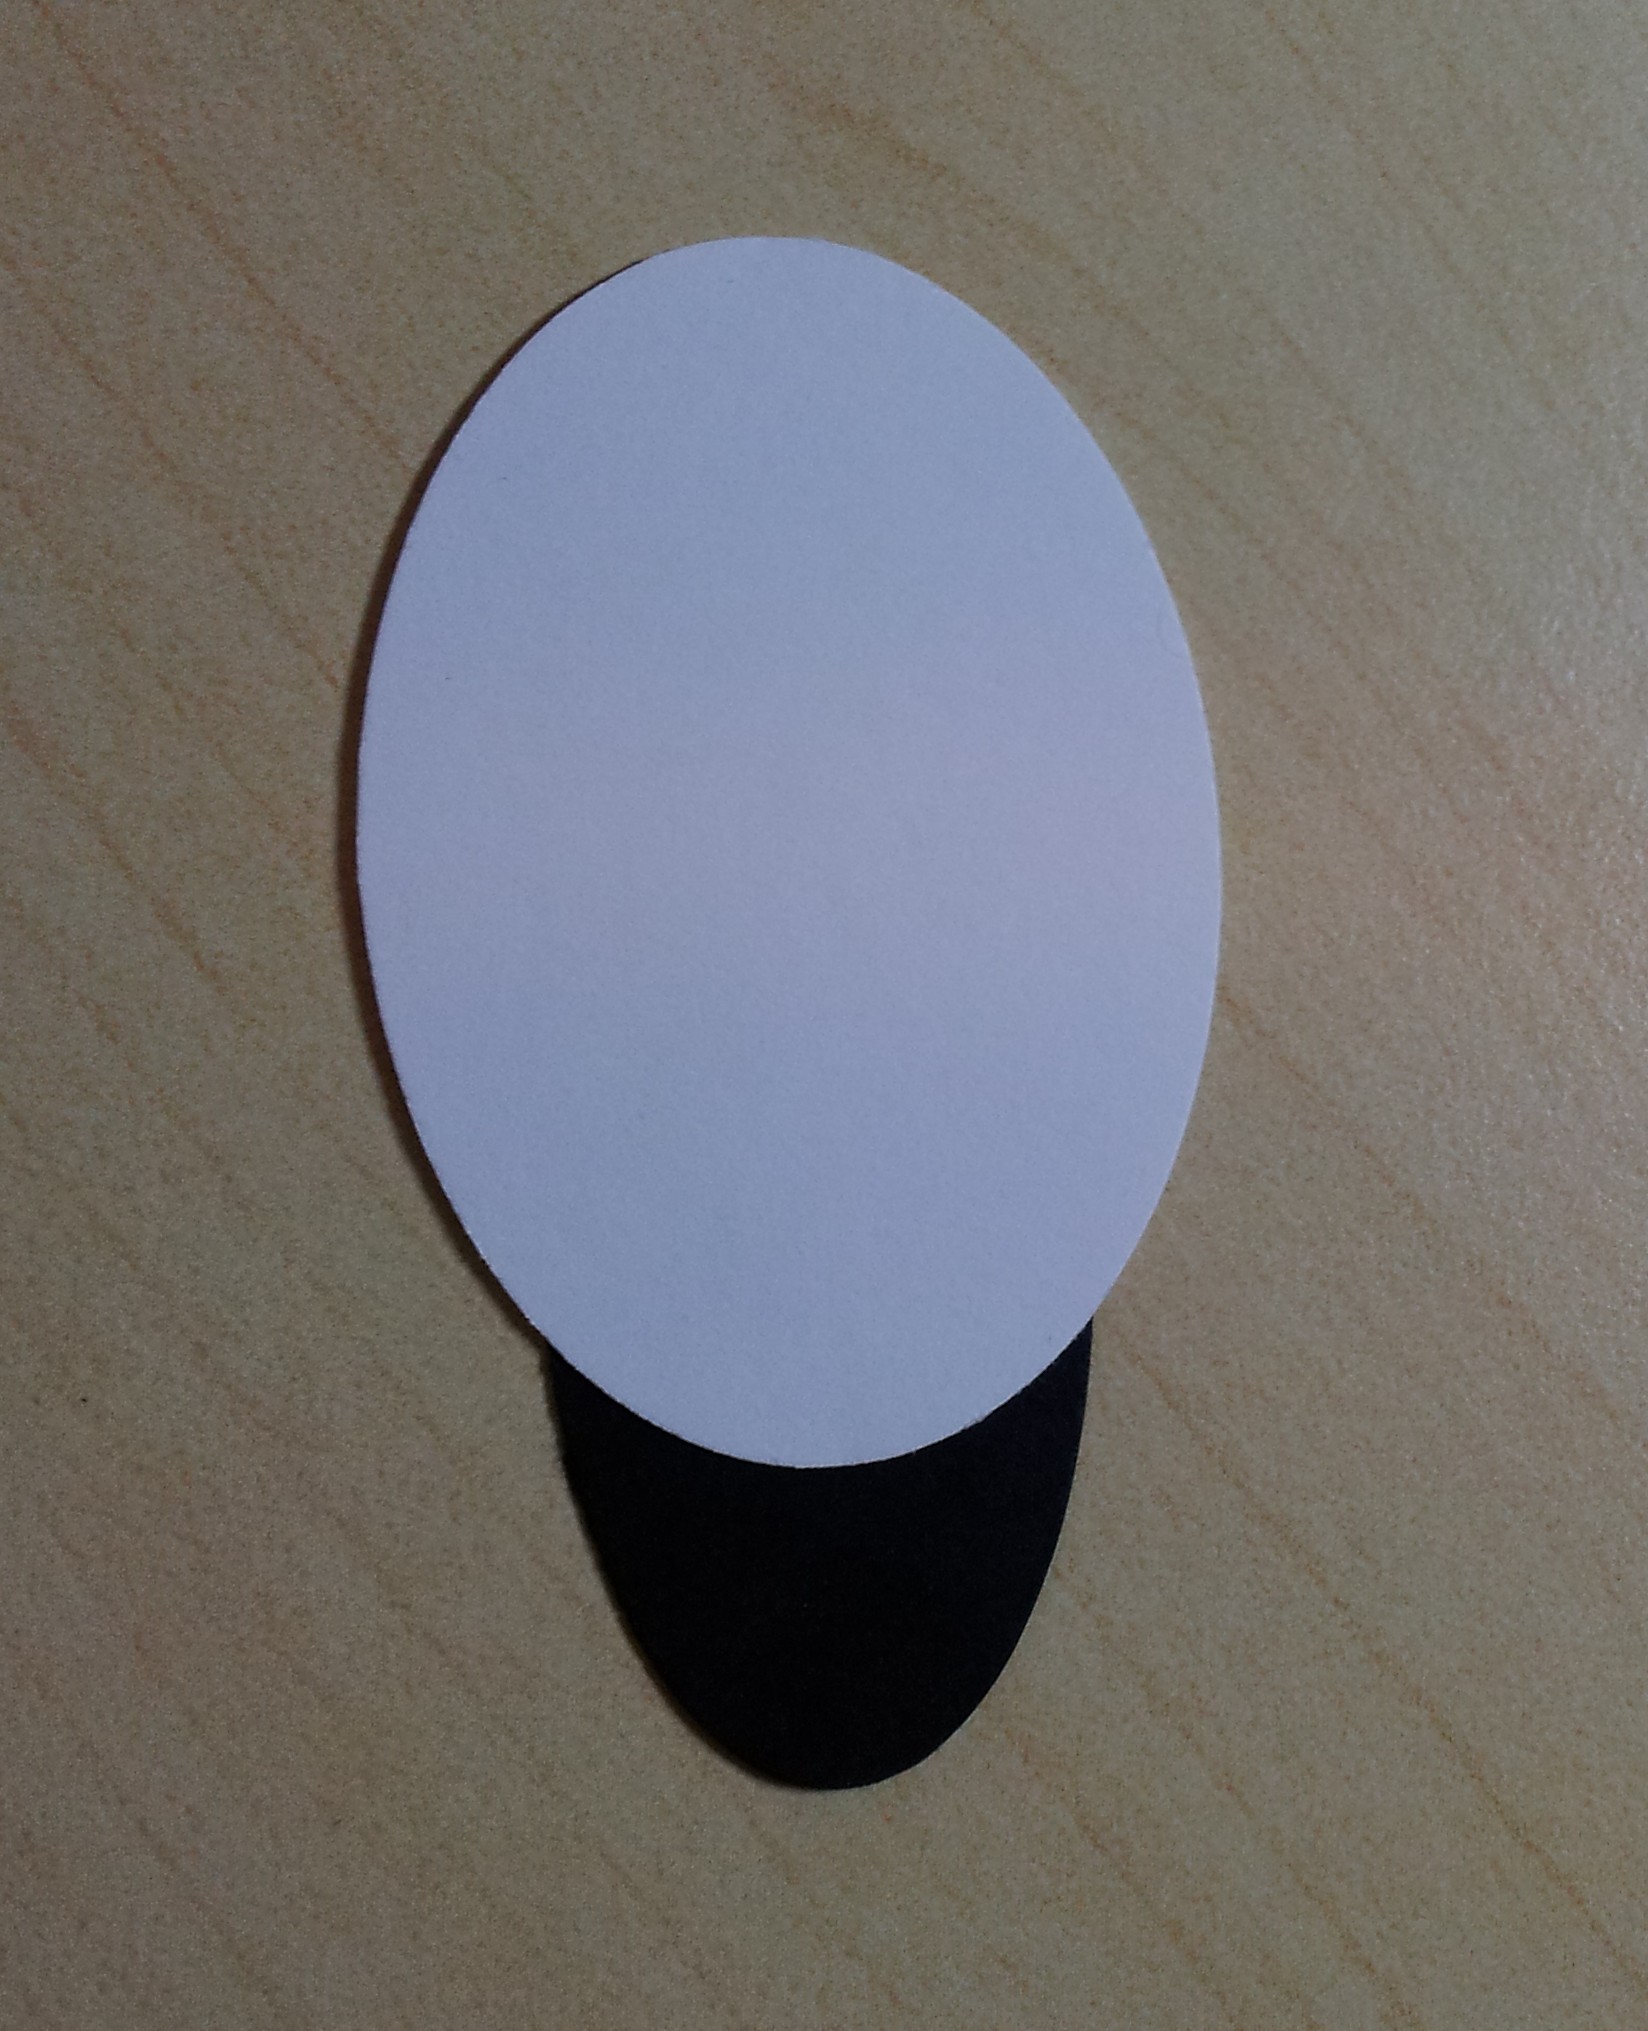
At first I used my large oval punch, cut 2 white ovals and 1 black oval, cut the black oval in half and stuck the black bits over the white bit. These looked quite fine, but a little too small in proportion to the face (made from a top note die). So I used my extra large oval punch to cut the white and the large oval to cut the black, and trimmed down the black section.
Step one: Cut 2 white extra large ovals and 2 black large ovals. Place the black ovals over the white until the proportions look right. Stick the black down with the rest of the oval hanging over the bottom.
 Step 2: Flip the eyes over so you can see where to trim the black.
 Step 3: Turn back over and voila – eyes!

At this point I also use a white pencil or Signo pen to add a little white line in the black. I forgot to take a photo of that step, but you can see this detail in the photo above.
Anyway, I hope that gives you some ideas as I found working out the eyes a little more ‘fiddly’ than I’d expected!
Thanks for reading
Caro
21 Wednesday Aug 2013
Posted in 3D projects, Home decorating, Uncategorized
The last few days I’ve shown you some of the decorations I made for our recent Christmas in July (in August!) celebration with some friends. Today I wanted to show you some place mats I made:
(sorry, the photo is a little crooked)
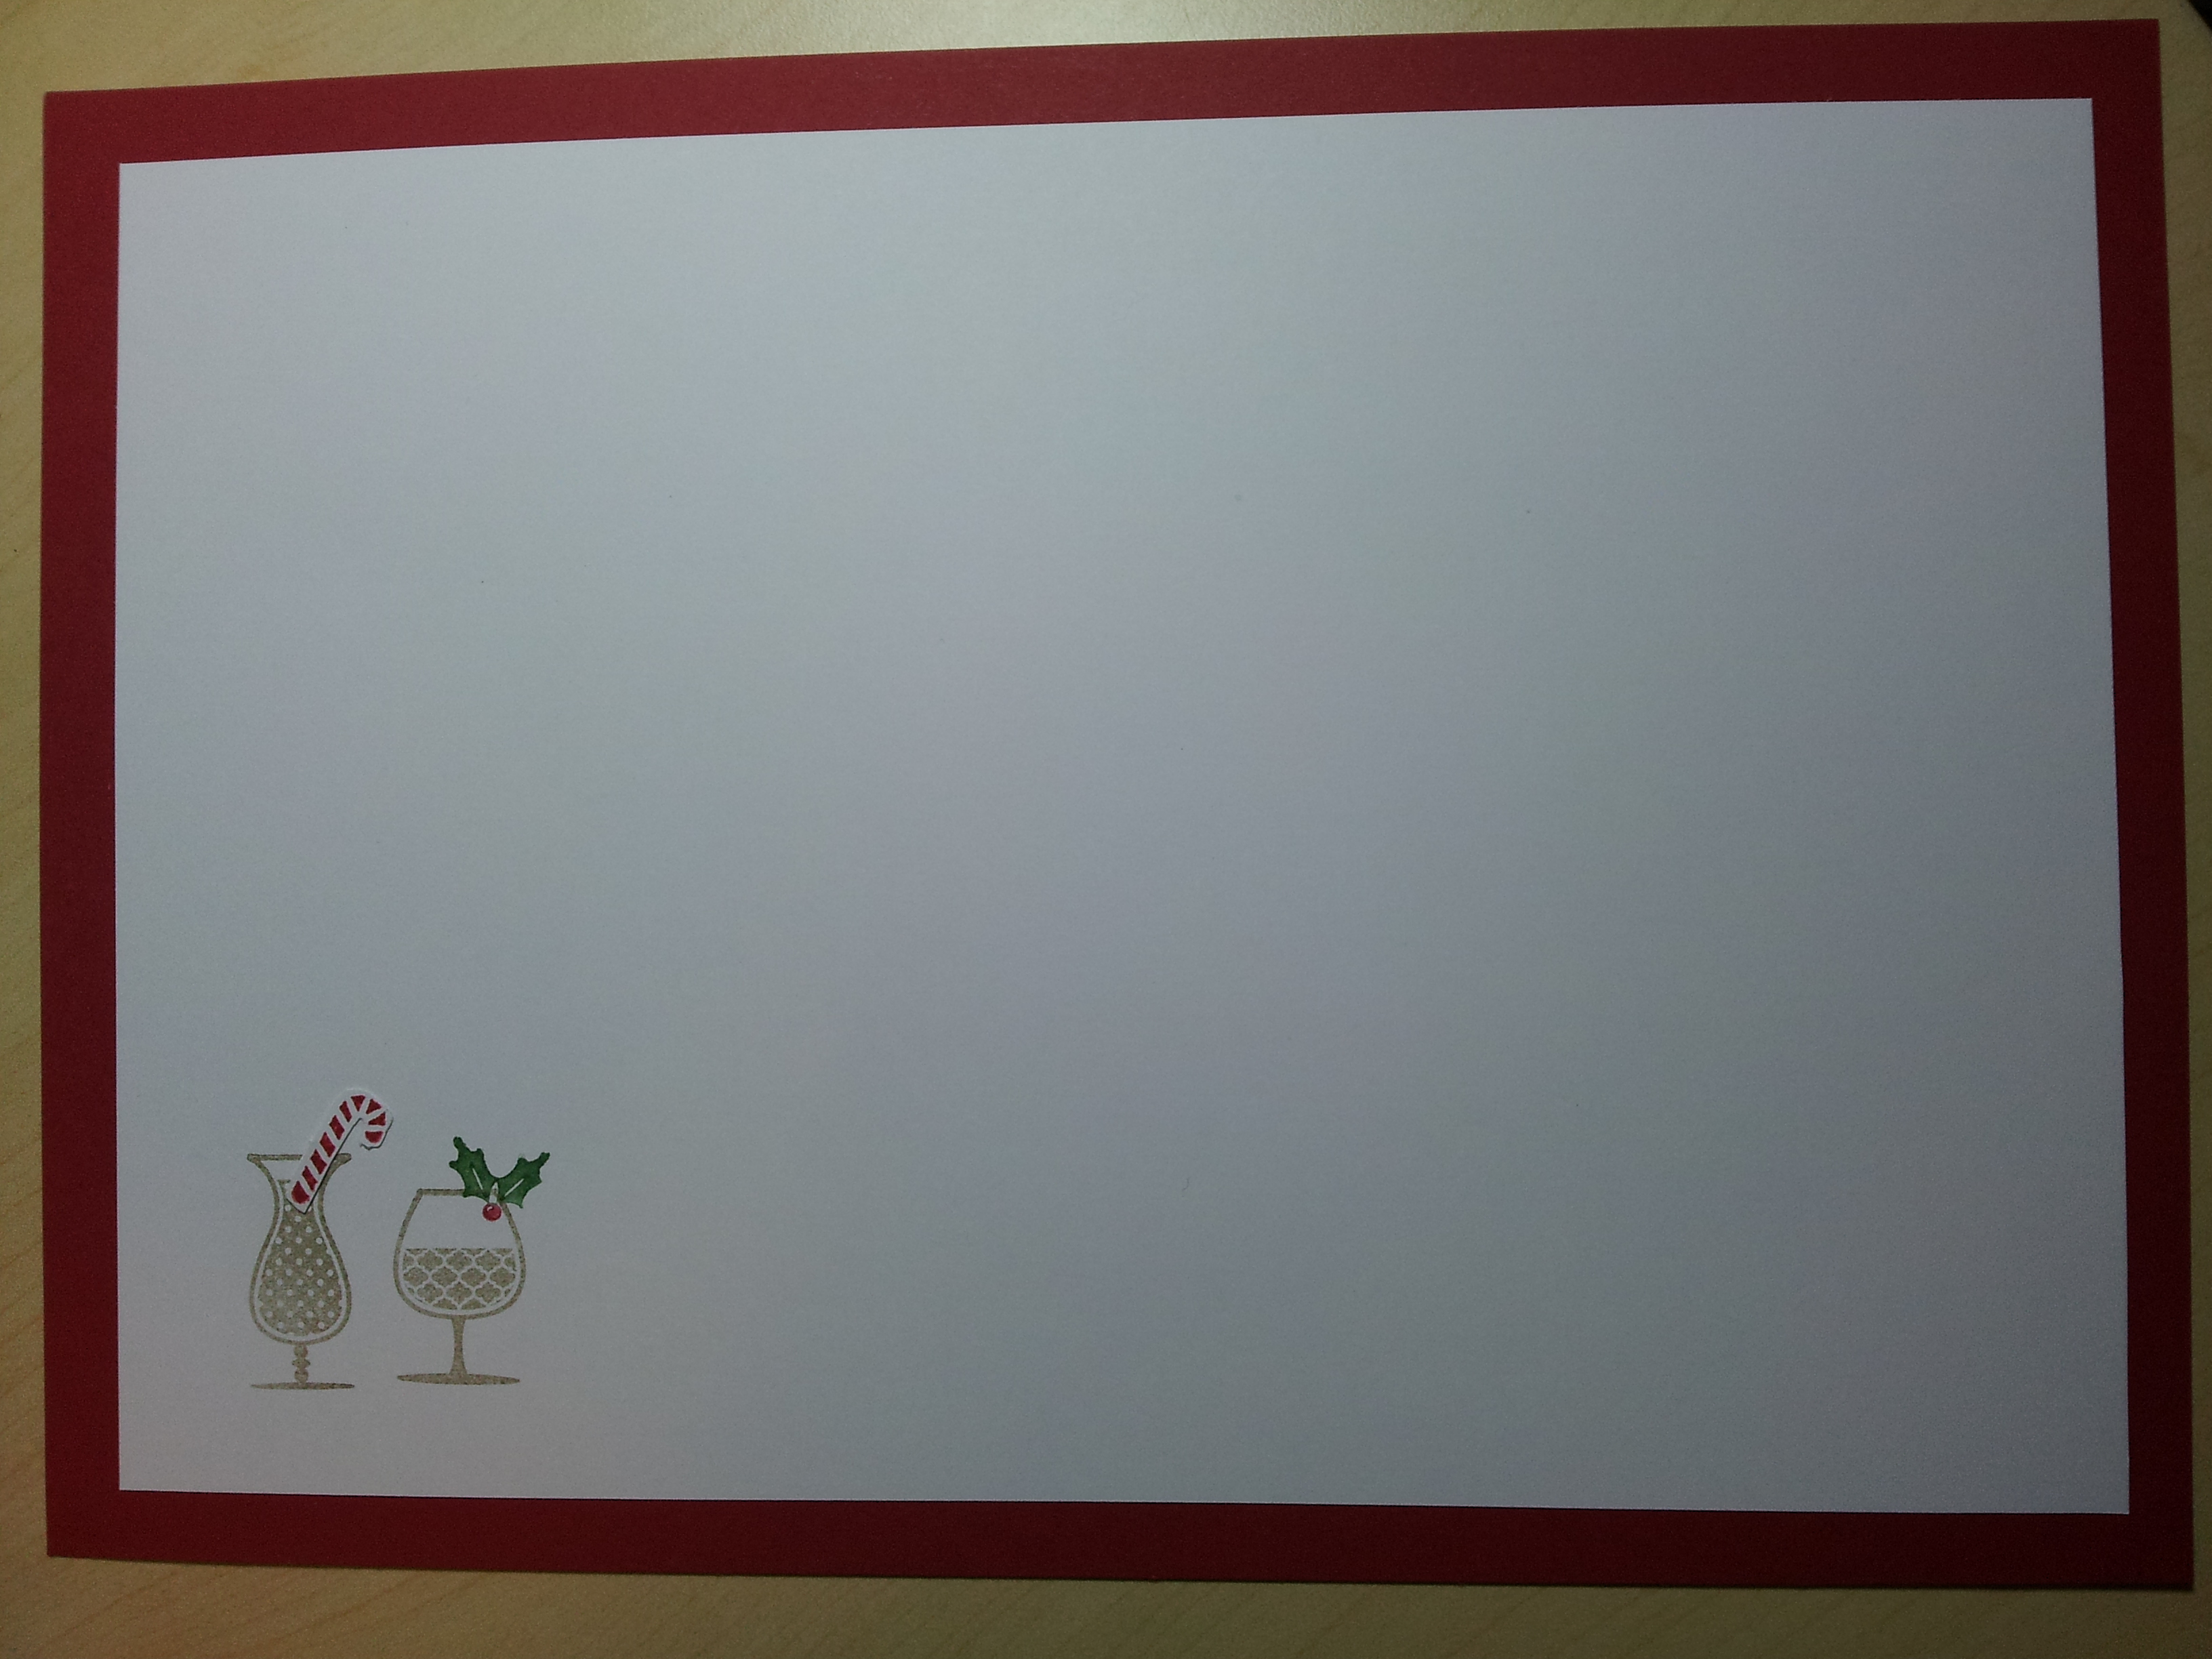
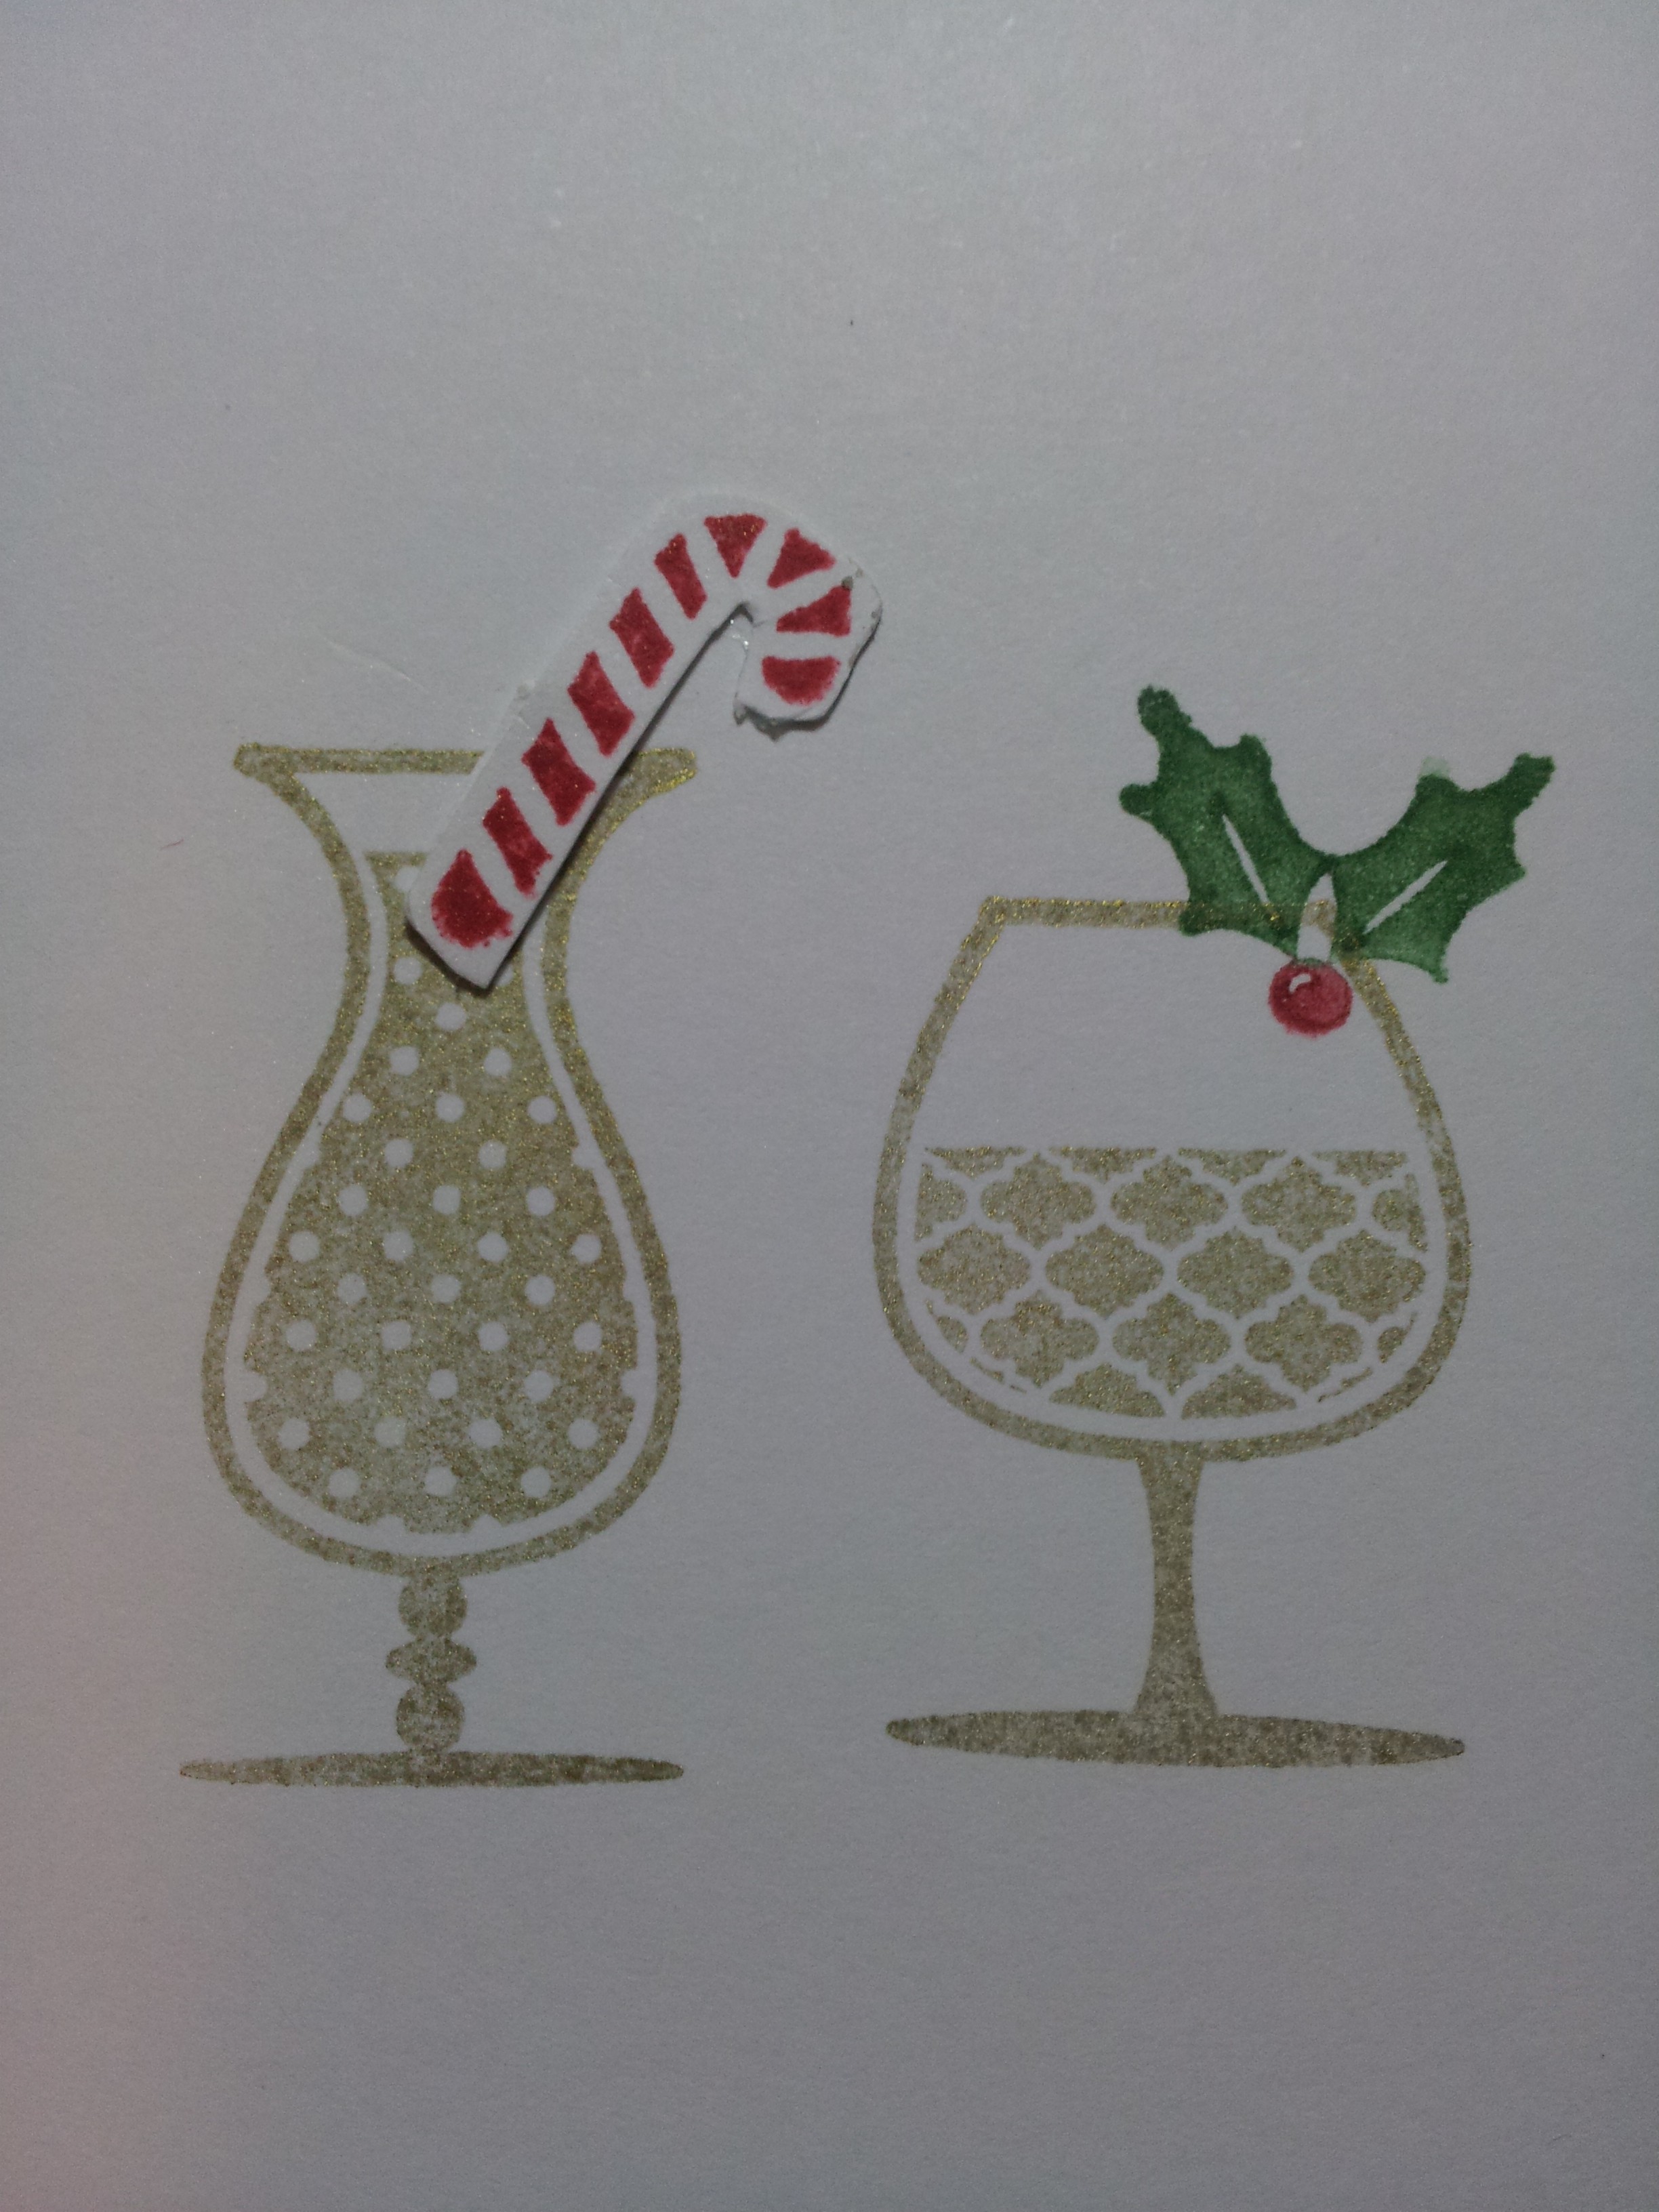
I used the Happy Hour stamp set from Stampin’ Up! for the details. I used a gold Versamark ink pad for the drink cups. I hand cut the candy cane and stuck it on the drink. I used my Stampin’ Write markers (Garden Green and Riding Hood Red) to colour the holly stamp before stamping it on the side of the glass. Here’s a close up of the images:
 I used an A4 piece of card stock as the red backing (using up some retired Riding Hood Red card stock) and a white piece of A4 where I’d cut 2cm off one long and one short side (ie, to get a 1cm border around all 4 sides). I then stuck the white and red card together and ran them through a laminator to make the place mat. They looked really cute all lined up together!

Here’s a picture of the table with all the decorations on it:
 Did you notice the stars in the soup bowls? We used a star cookie cutter to make toast stars to float on top of the soup. (The reverse pieces of bread with star holes were fun to fill with scrambled eggs for brunch the next day!)
I had a great time making all the decorations and we had such a fun dinner 🙂
Thanks for reading
Caro
PS There may be a few more Christmas craft details to show you – stay tuned!
20 Tuesday Aug 2013
Posted in 3D projects, Curly label, Home decorating, Petite curly label, Punches, Uncategorized
Hello!
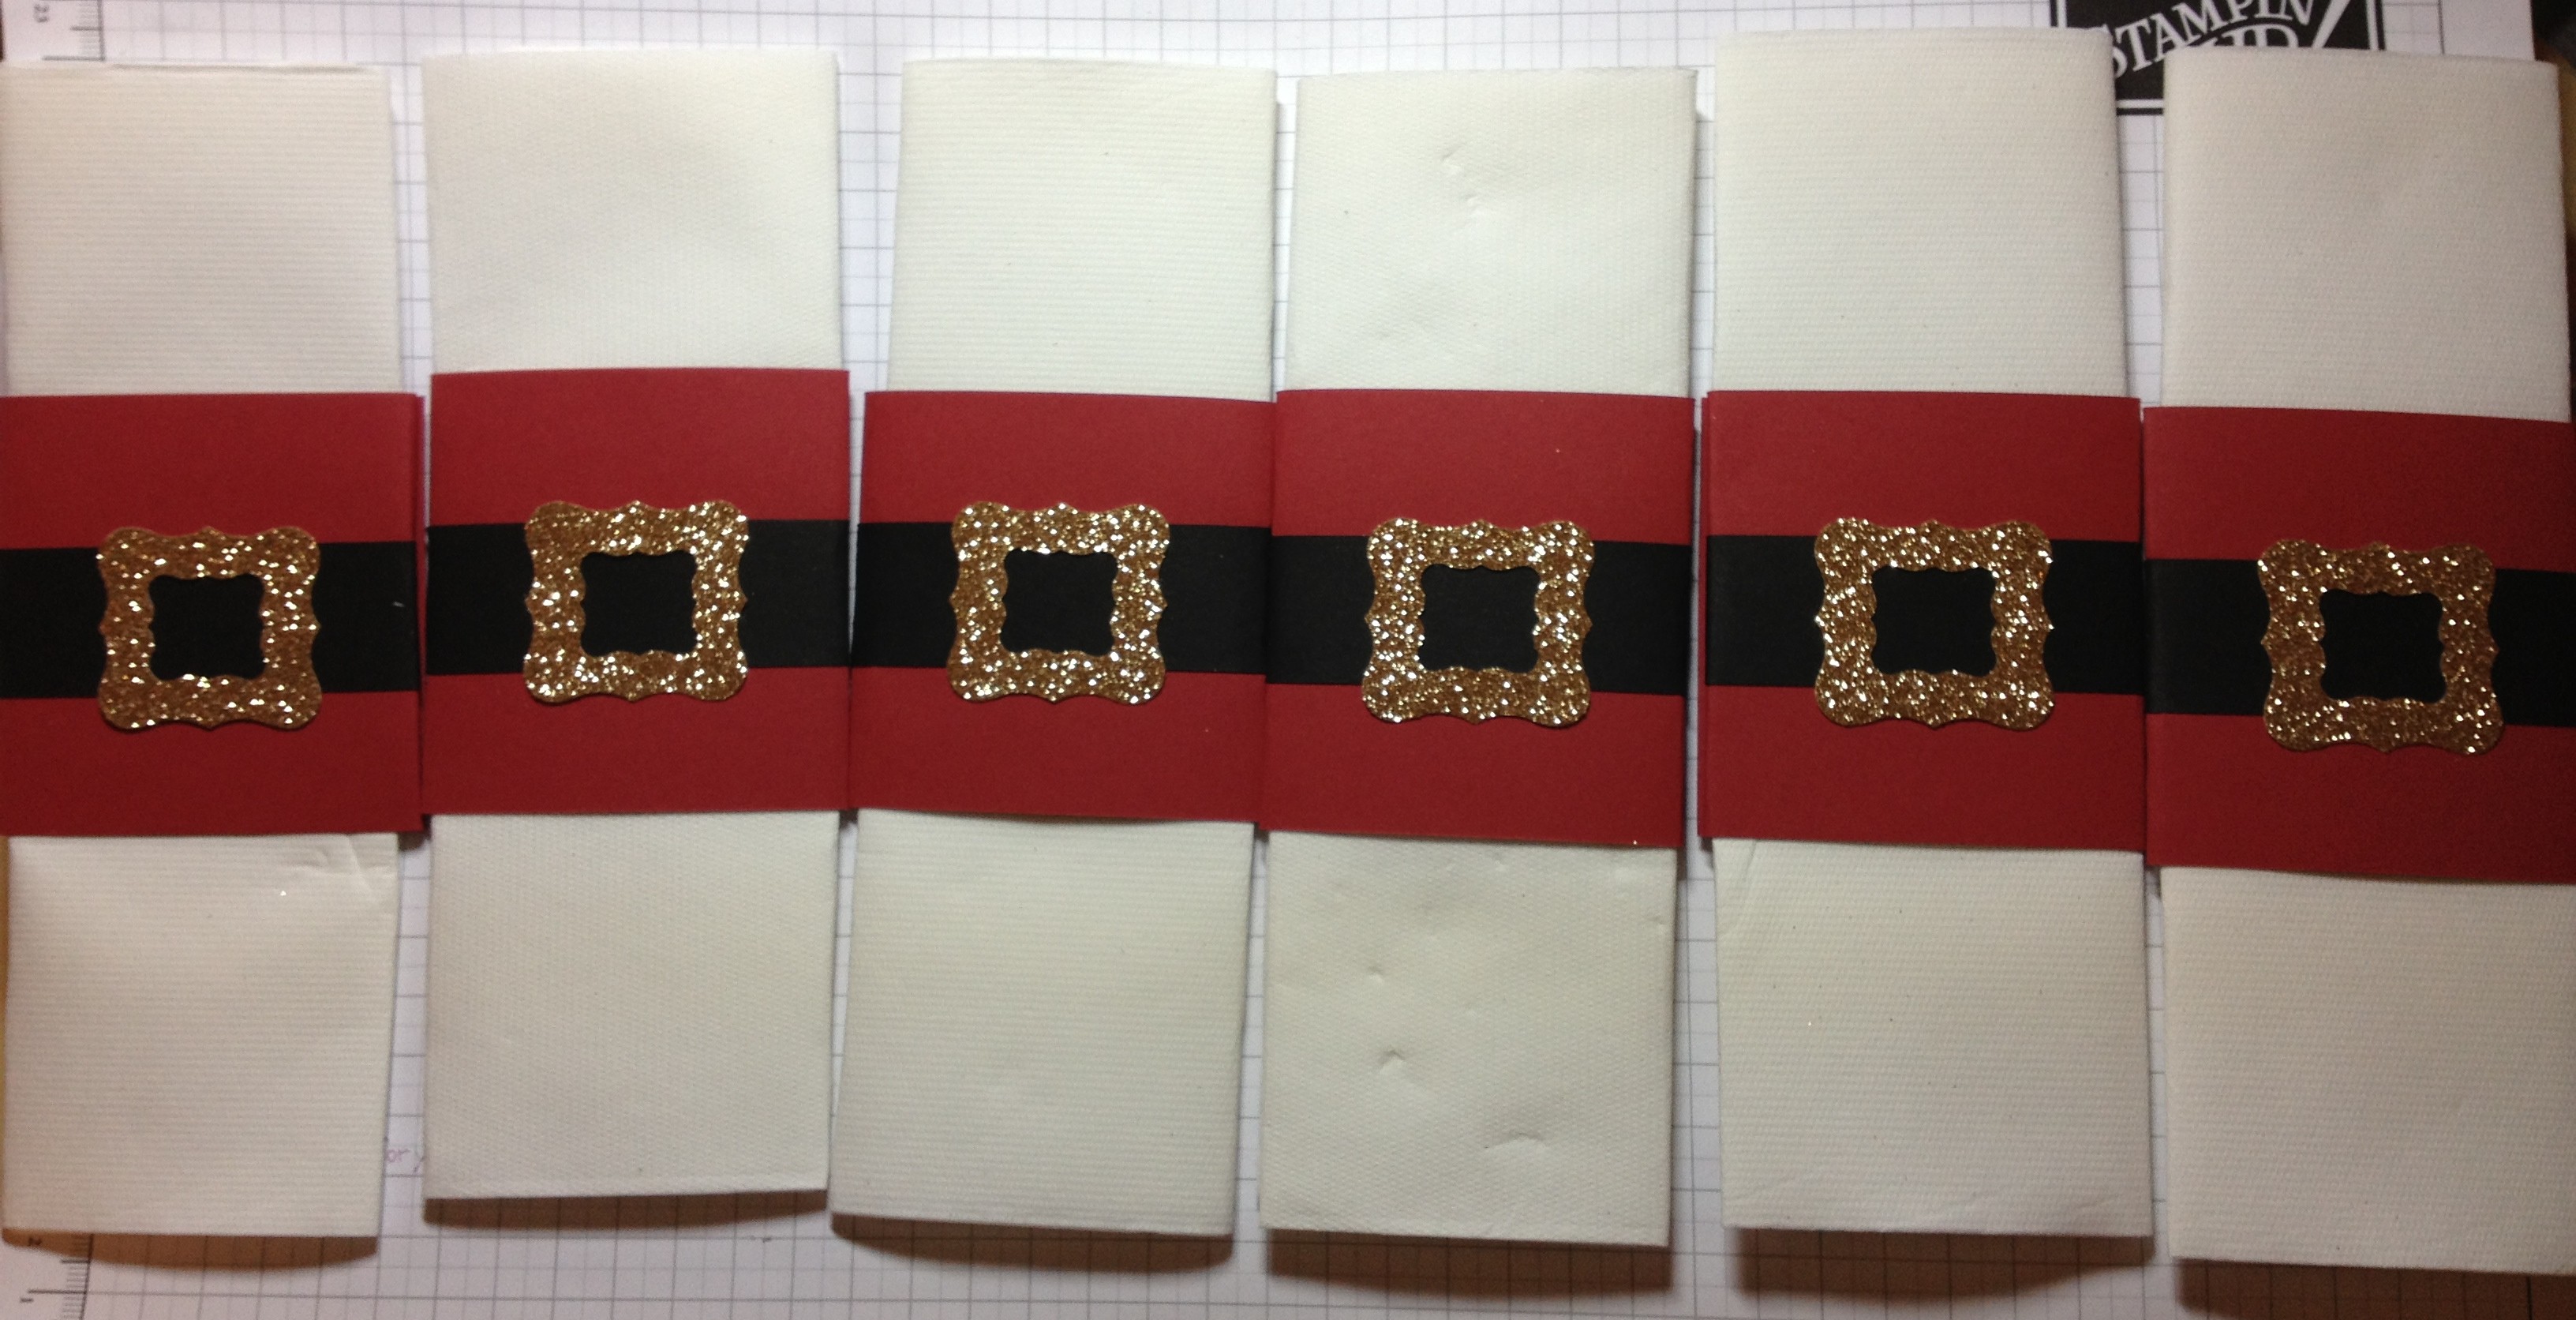
The last two posts I’ve showed you some of the craft I did for our recent delayed Christmas in July party. Today I wanted to show you some more table decorations – this time Santa napkin rings!

This idea came about when we were in a Christmas shop looking for Christmas crackers for our party. I was looking at a Santa belt decoration and thought that it would make a great napkin ring. I then went home and pulled out my punches to see whether I could come up with something similar.
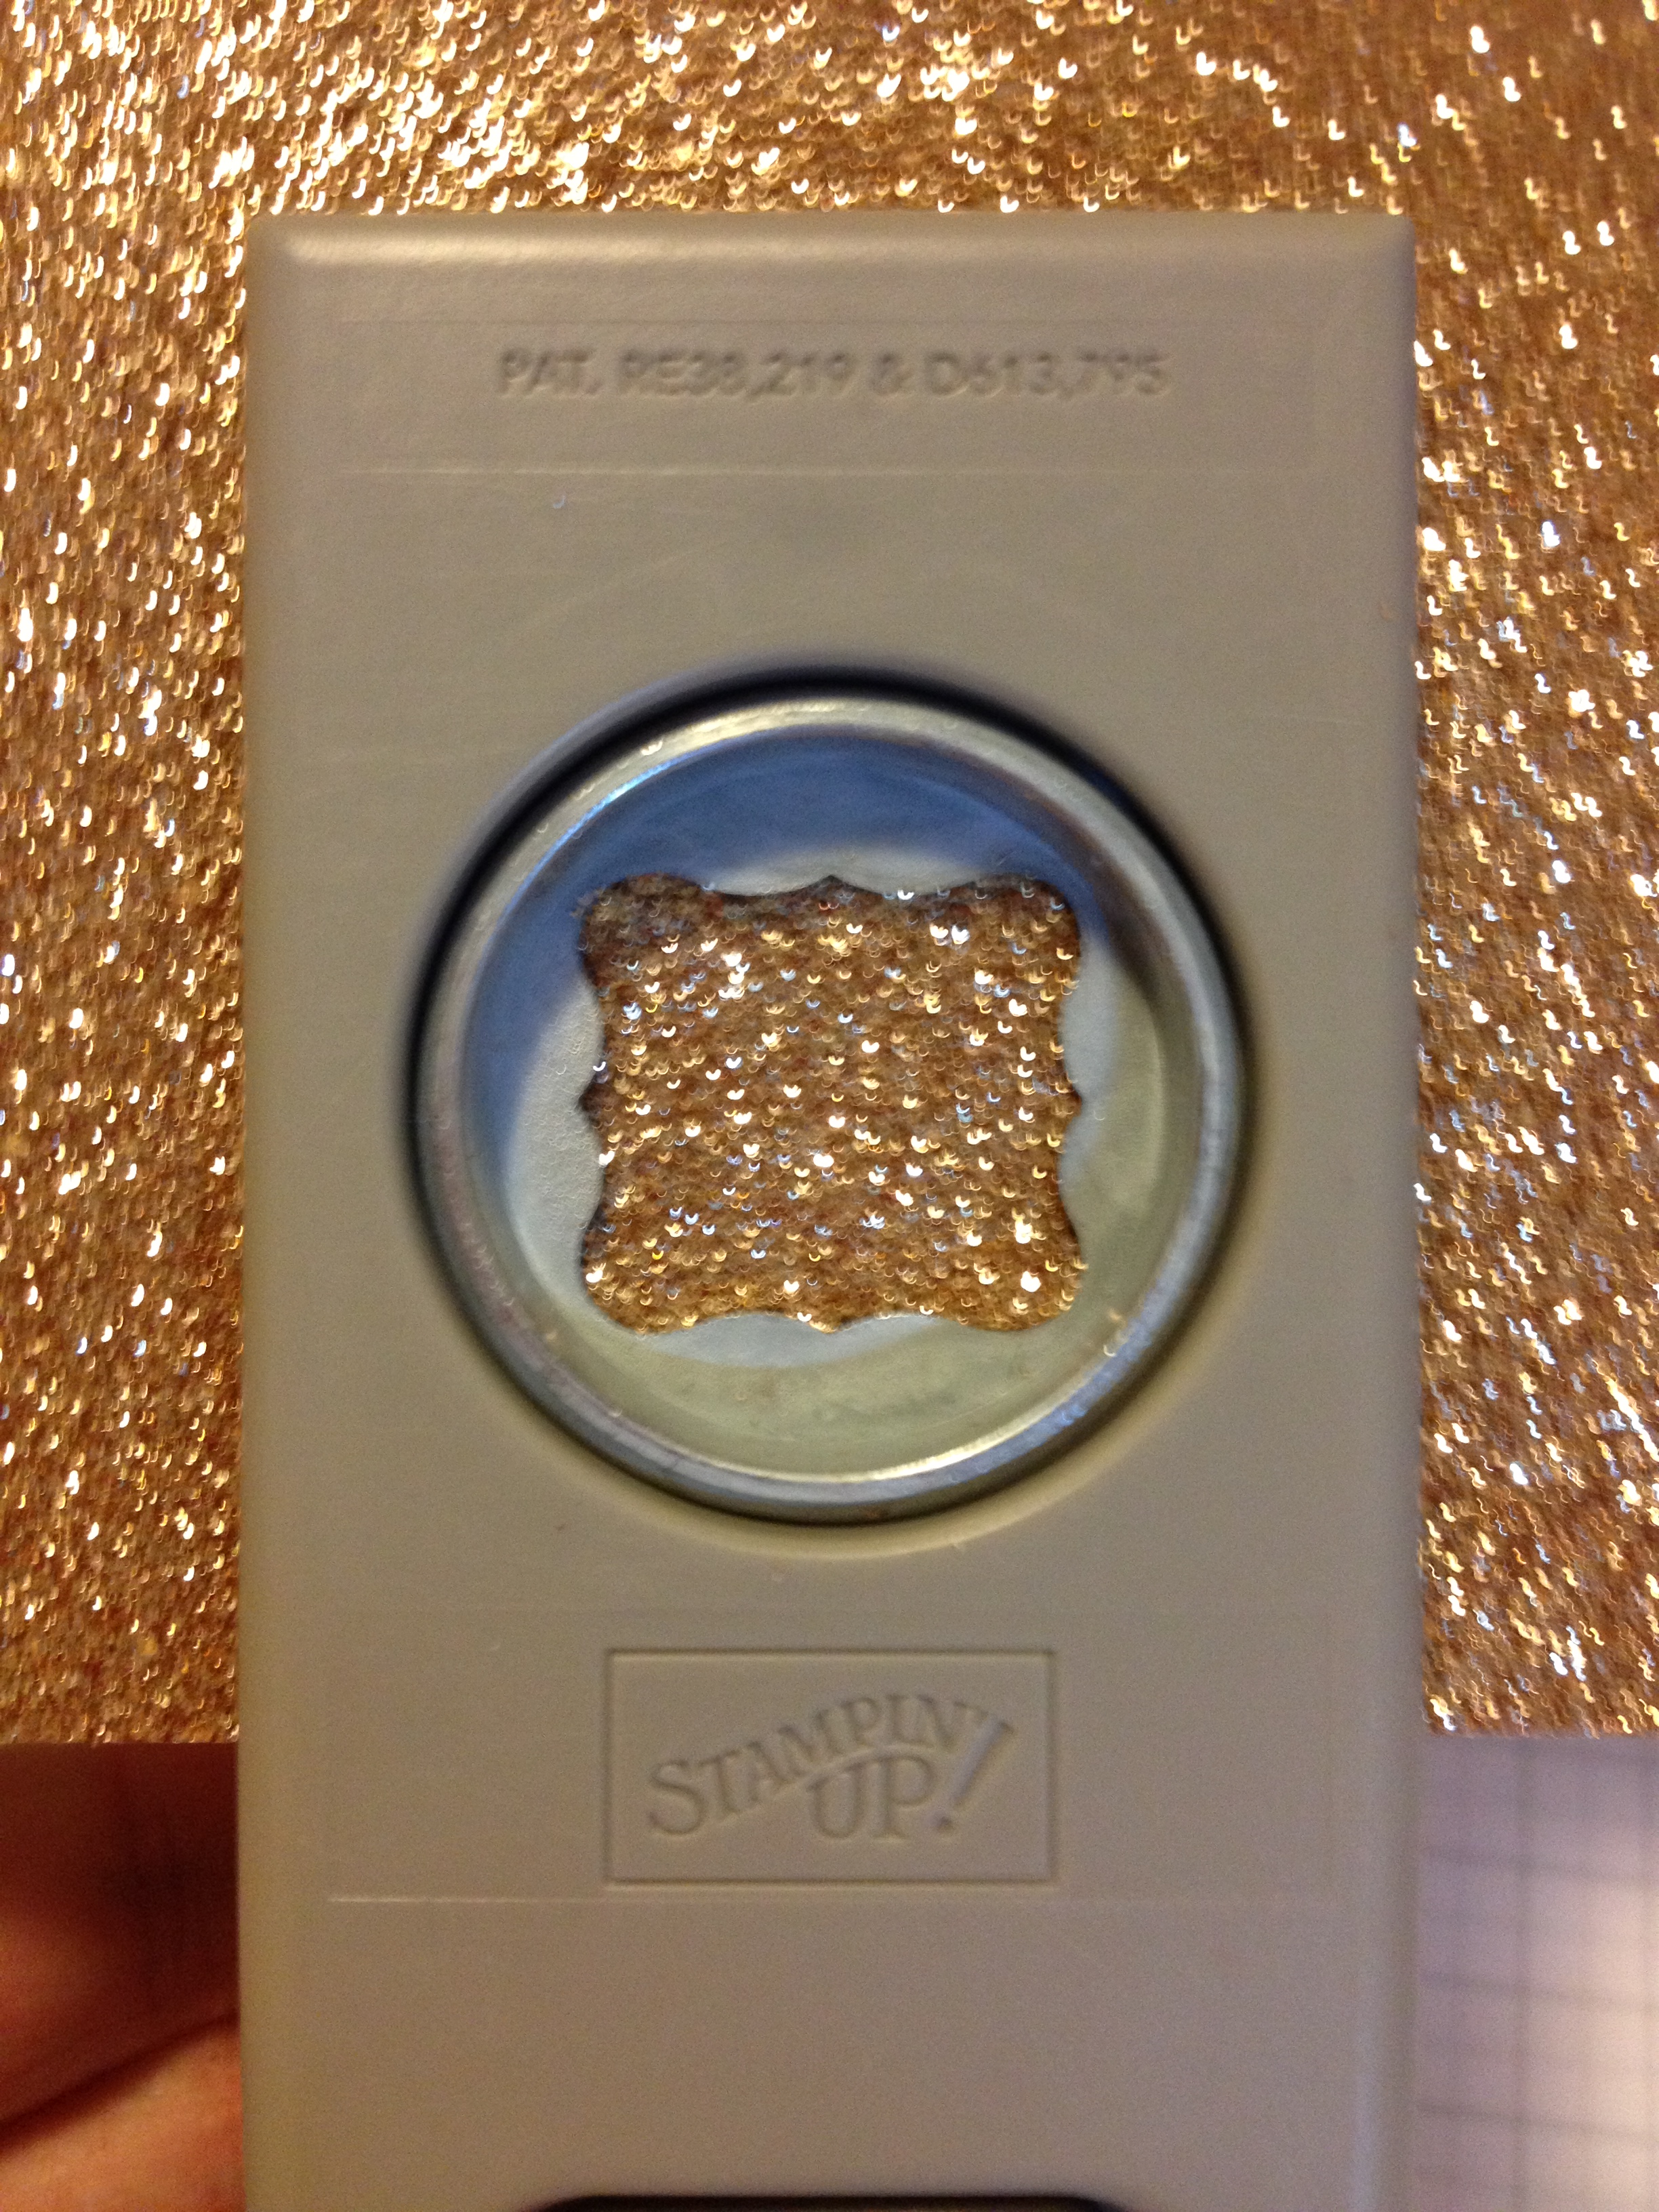
The starting point was trying to figure out how to make the belt. I tried my square punches and the decorative label punch but they weren’t quite right. I then hit on the petite curly label and the curly label punch and they were perfect (all punches are by Stampin’ Up!).
A little while ago I showed you how to make a frame with a scallop punch and circle punch. I used the same technique here to make Santa’s belt. First, punch the petite curly label punch …
… and then punch around it with the curly label punch:
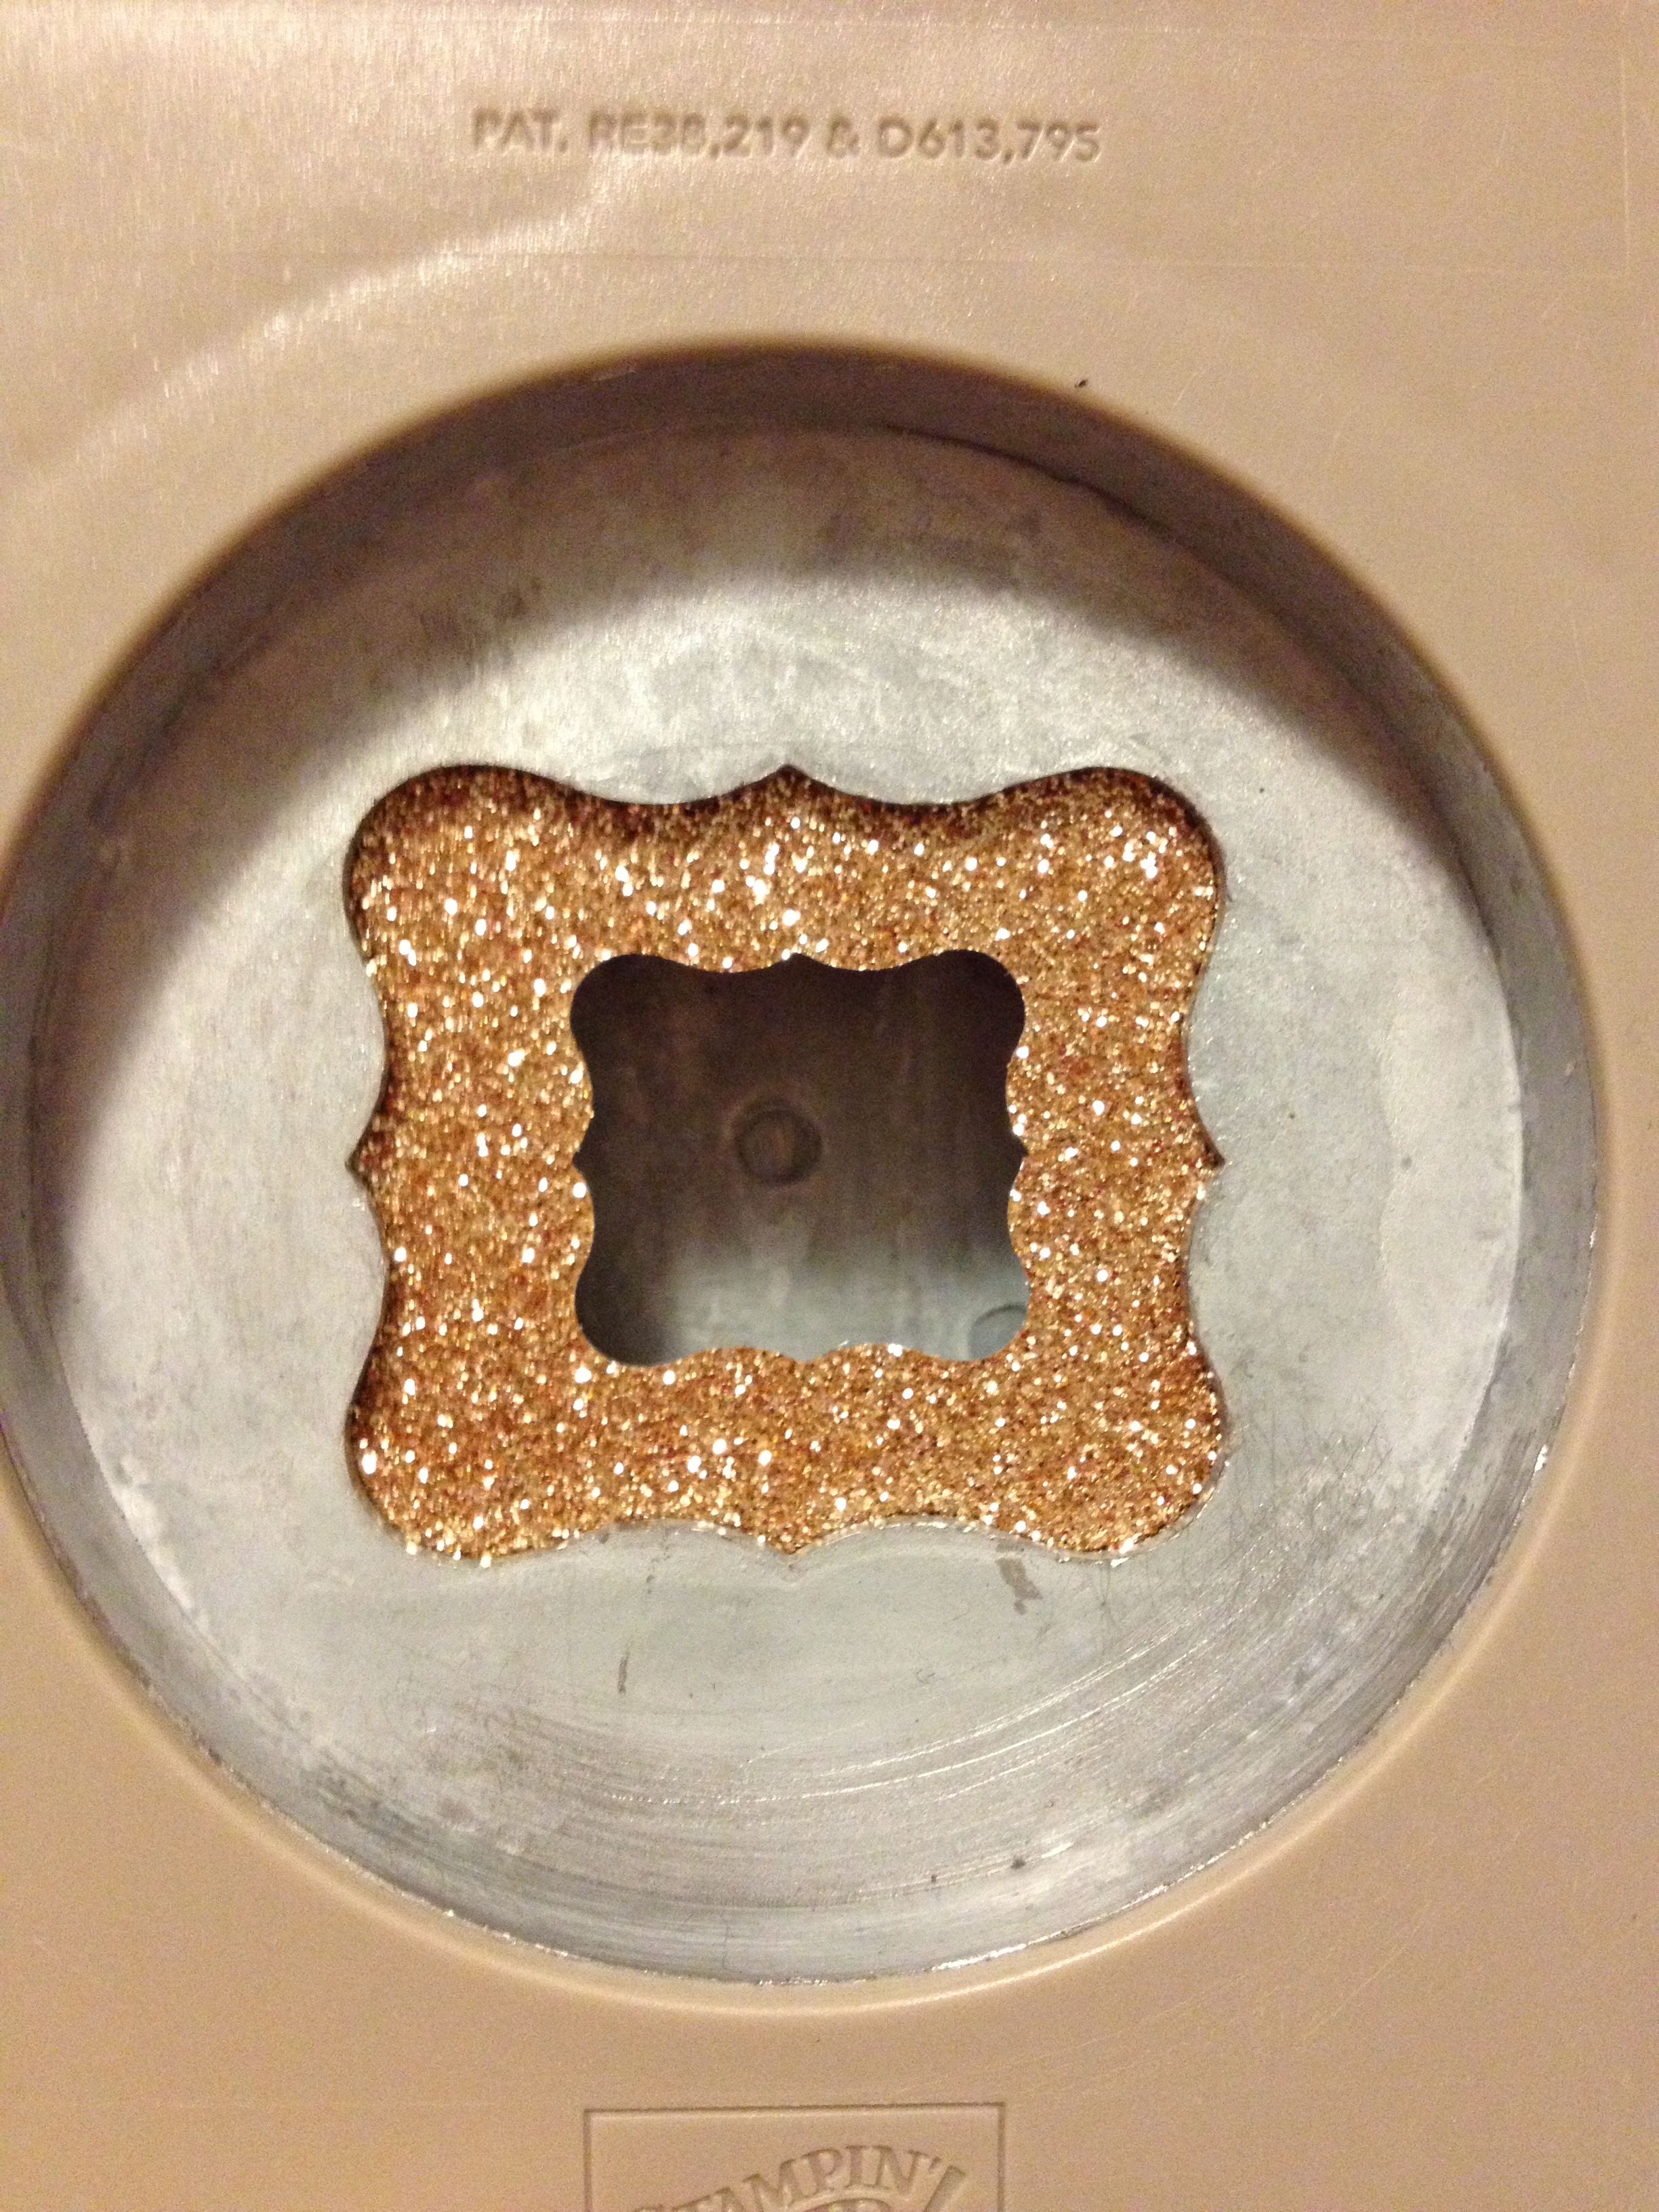
And hey presto – Santa’s belt buckle made out of glittery glimmer paper!
I then had to figure out how to make Santa’s shirt and belt. I started out with a napkin and my pile of Riding Hood Red offcuts to see what width of red looked right with the buckle in the middle. I ended up with a red piece 7.5cm wide and 21cm long. After a bit of fiddling around trying to work out whether to thread the black through the belt or not, I decided it would look best (and be easier!!) to just stick the buckle over the top of the belt. So the black strip for the belt needed to be slightly narrower than the buckle, which worked out to be 2.5cm wide and 21 cm long.
 I then centred the black strip and stuck it down:

I then folded a napkin into thirds and wrapped the card around so it was just slightly loose and stuck it down. I used both sticky strip and snail adhesive to make sure it stayed stuck!
 I stuck the buckle over the belt and “ta da” – a Santa napkin ring! They looked very cute all lined up together.
I think something like this could also work as a belly band on a gift card holder or gift box as well. Perhaps just the black belt and buckle wrapped around a red box/card?
I must say I’d never thought of making a napkin ring out of card stock before! Funny how inspiration strikes in the strangest places. I’m now starting to think about ribbons, flowers, brads … I need to throw some more dinner parties to come up with new decorating ideas!
Thanks for reading.
Caro
18 Sunday Aug 2013
Posted in Birthday, Cards, Extra Large Oval, Masculine, Uncategorized
Tags
Hi
A quick post tonight to show you a picture of the card I made for my Dad’s birthday, which was today:
 I used Stampin’ Up! Chocolate Chip card stock and DSP. I punched the happy birthday greeting using white ink on brown card, punched it out with my large oval punch and raised it on dimensionals:
 The other details I love on this card are the scored lines on the right:
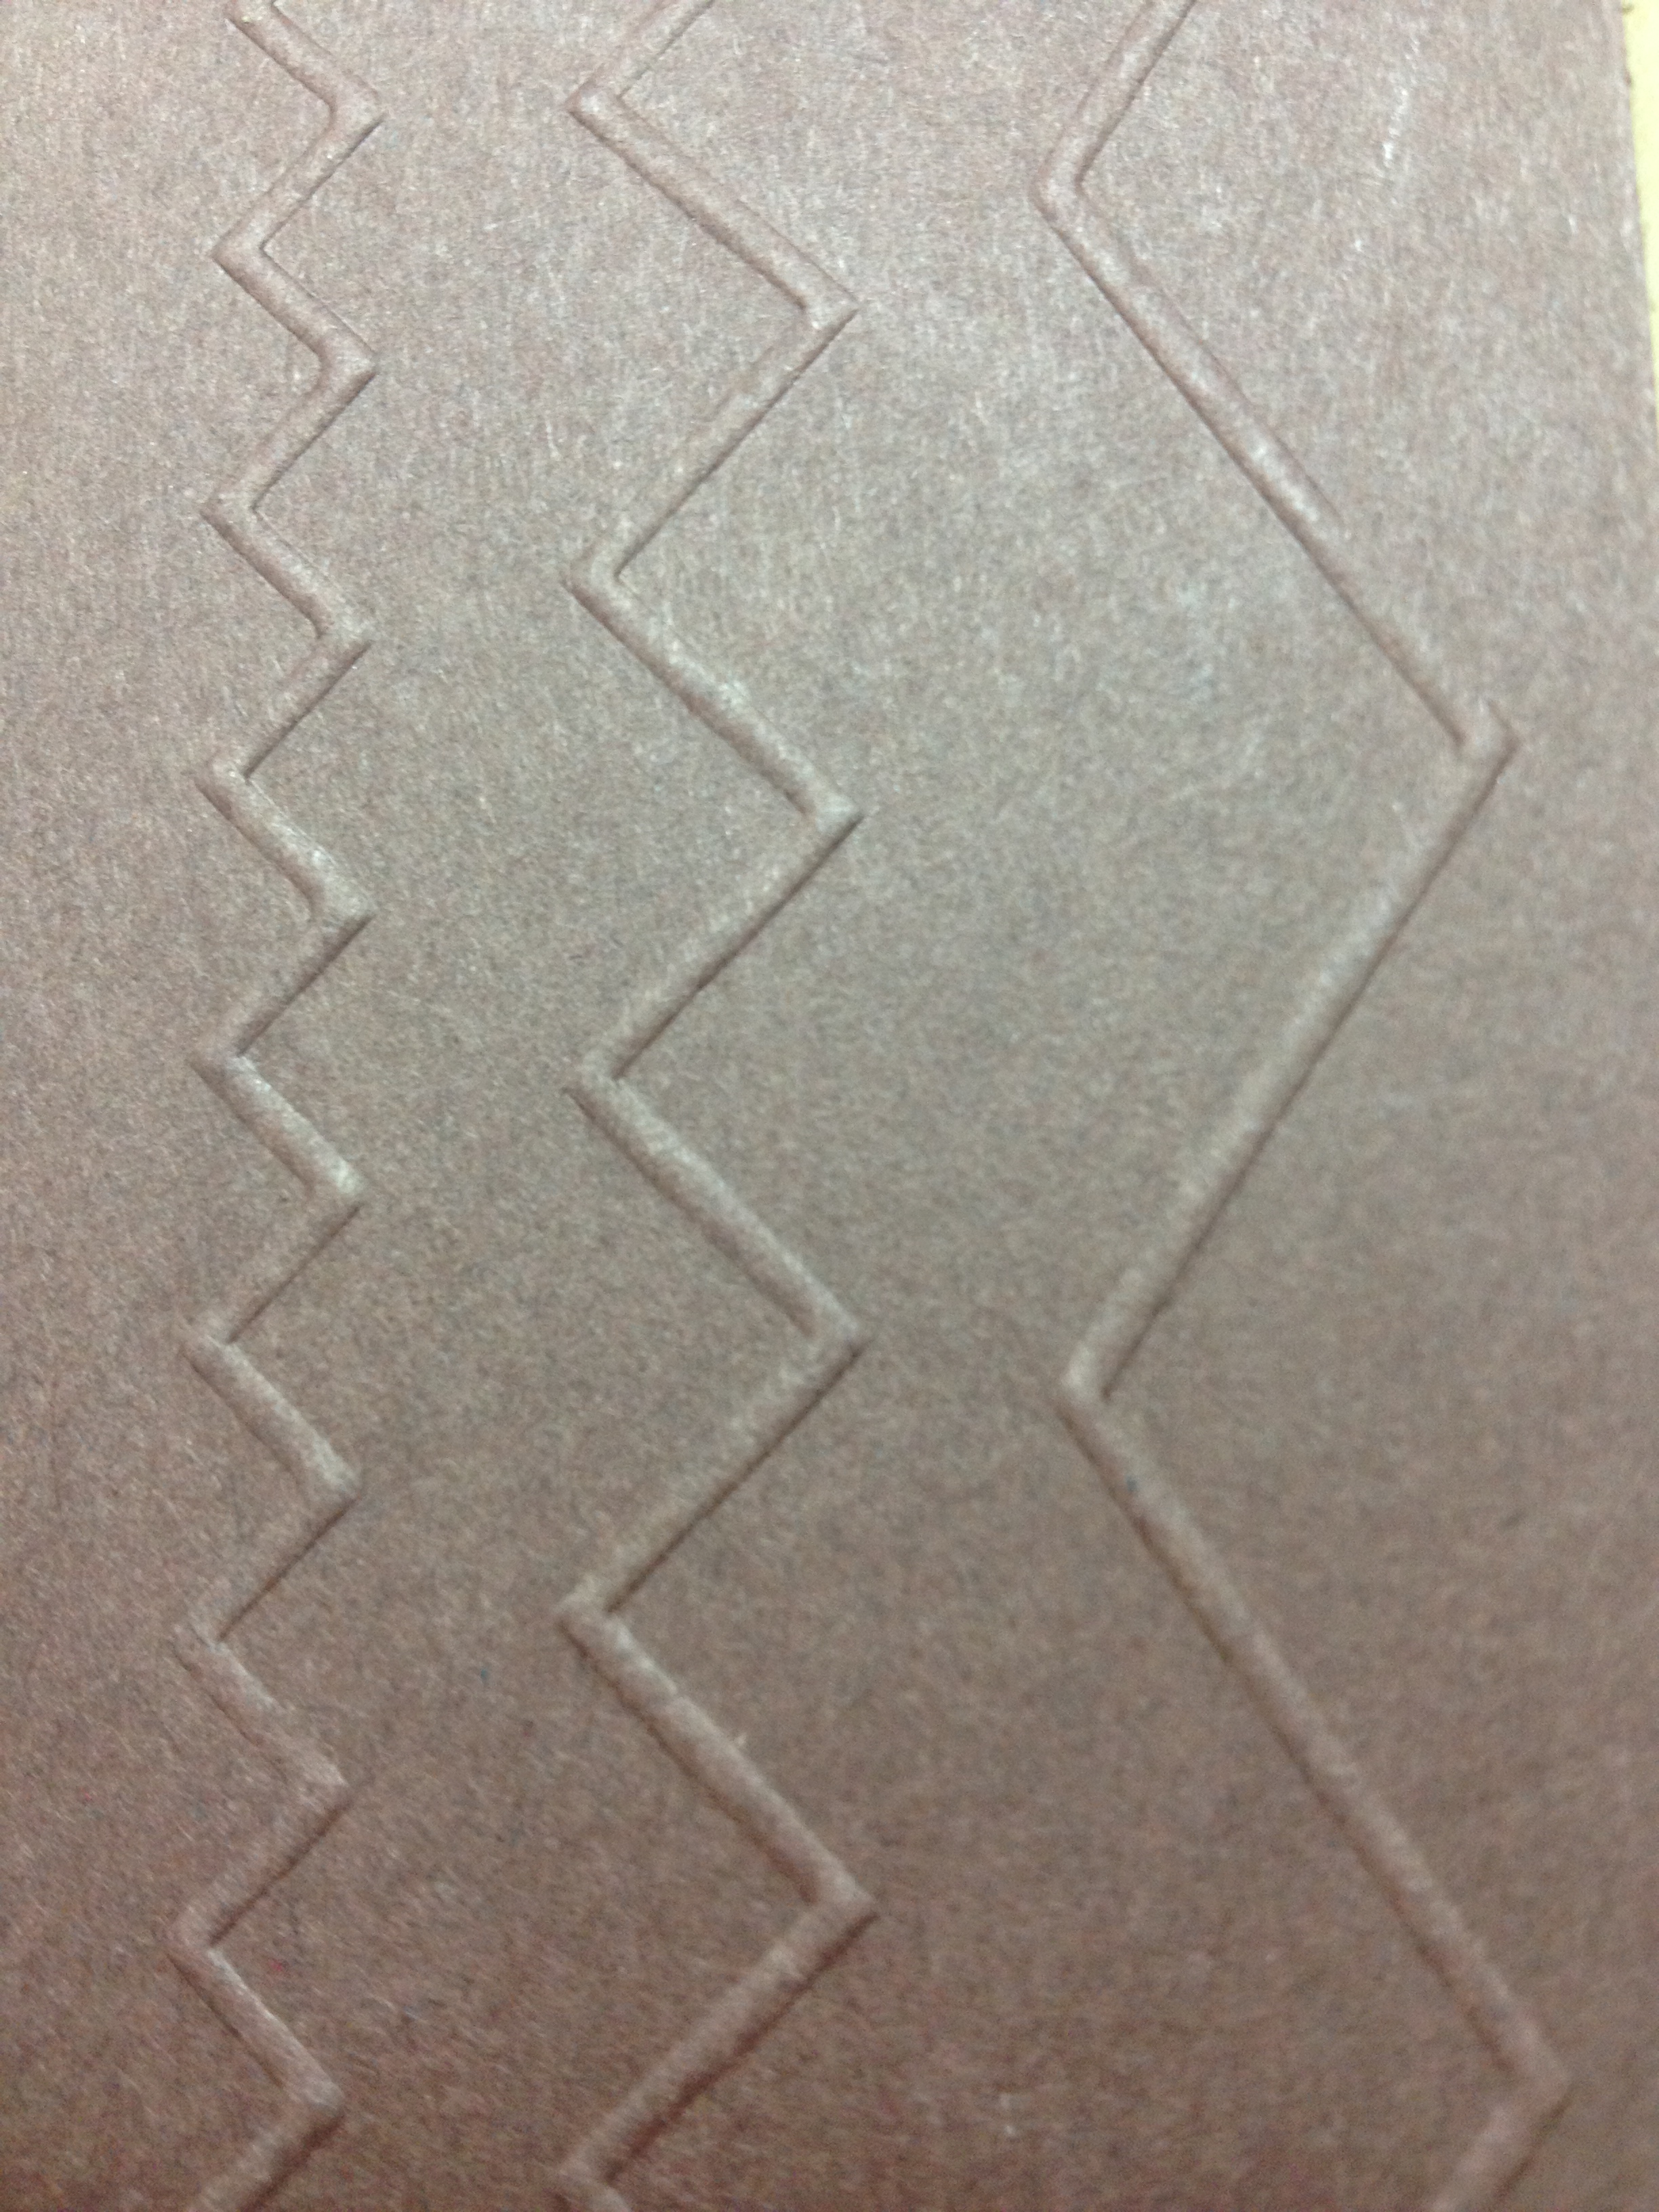
I made these using a stylus and my Simply Scored scoring tool.
I sometimes struggle to make masculine cards, but I think I might make this one again as it was pretty simple but still effective (I think?!?) Dad seemed to like it, so i guess that’s all that matters 🙂
18 Sunday Aug 2013
Posted in 3D / pop up, Cards, Christmas, Uncategorized
Tags
Hi
A little while ago I posted a tutorial showing you how to make easel cards. While I was doing the blog post I made a card to show you the steps, but then had to figure out how to decorate it. It was left a little half finished, like this:

All dressed up and nowhere to go!
Today I wanted to show you how the card ended up. And randomly, it ended up a table decoration for a Christmas in July celebration! (yes, in August …)
Every year we have a Christmas in July celebration with some close friends. This year July was just too busy for me for work so we arranged to have Christmas in July in August. We live near the beach so we decided vaguely on a ‘Christmas in July at the beach’ theme. That does kind of defeat the purpose of Christmas in July, but whatever!
So here you go … my “Christmas in July in August at the Beach” table decoration easel card!
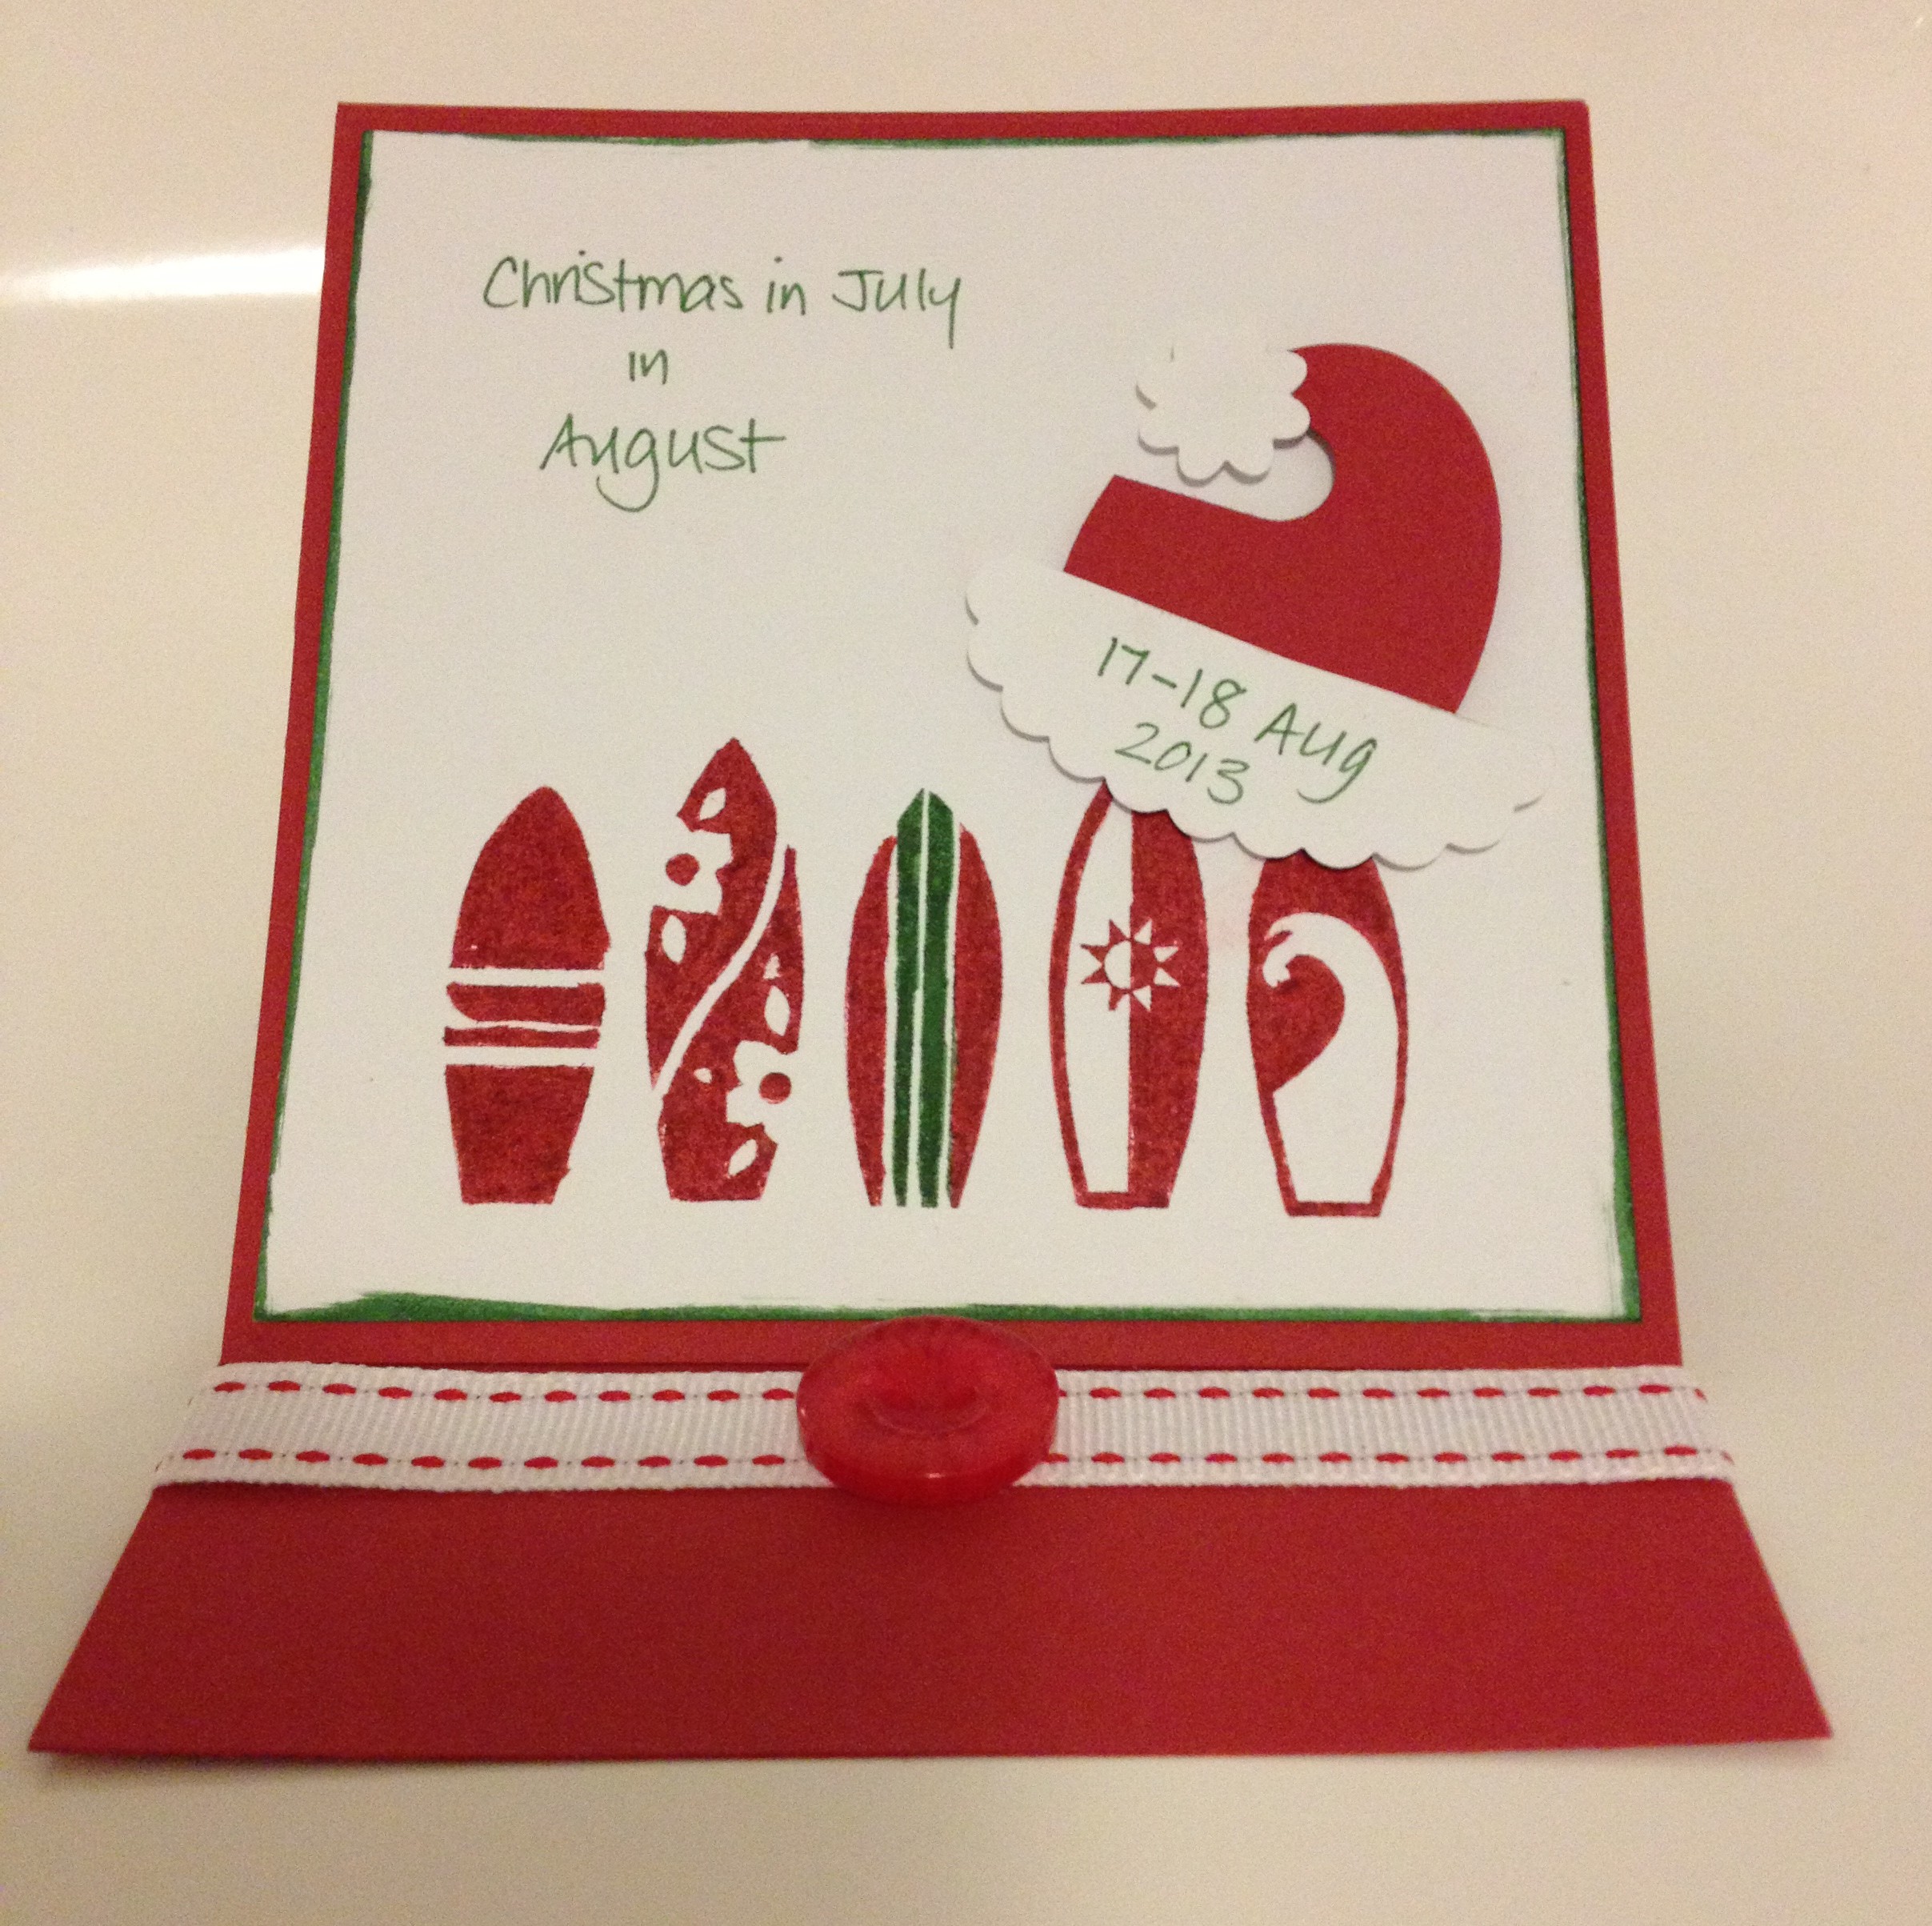
The blank card was sitting on my desk for several days – and then inspiration struck. It must have been all that red! It’s a little bit silly/random, but that is what Christmas in July (in August!) is all about 🙂
Caro
PS Did you notice the cute little Santa hat? Stay tuned and I’ll show you how to make it. It took me a while to figure out how to make it so I should share the love!
13 Tuesday Aug 2013
Posted in 3D / pop up, 3D projects, Cards, Extra Large Oval, General occasion, Kids cards, Punches, Tutorial, Uncategorized
Tags
3D, cards, Kids cards, Punches
The other day I showed you some drink labels for a party I’d made using an easel card layout. This is another card technique that is really quite simple – but usually gets a ‘wow’ from the person who opens it up. Who doesn’t love minimum effort and maximum wow?!?
Easel cards are really versatile – labels, place settings, cards, grown up, kids … anything really! I’ve found that kids particularly love these because they have to figure out how they work. It can also be a nice way to display a photo on your desk or kitchen bench.
Today I want to show you how to make the card. First though, some pictures! Here’s an example of a kids one from the front:

And as an ‘easel’:
 And some “grown up” butterfly ones:

 I think this last one is the first card I ever made after going to a class run by the very talented Sally Ann Williams (check out Sally’s blog at http://www.sallycancraft.com)
[And yes, I’m still sorting through my old photos!!!]
Making the cards
To make these cards you need 2 pieces of card stock. I like to use these dimensions: Piece 1 – 21 x 11 cm and Piece 2 – 11 x 11cm. Why these dimensions? Well, an A4 piece of card stock is 21cm along the short side, so it’s easy to just cut at 11cm to make your first piece.

Step 1 – score Piece 1 across the short edge at 5cm and 10cm in from the long edge.
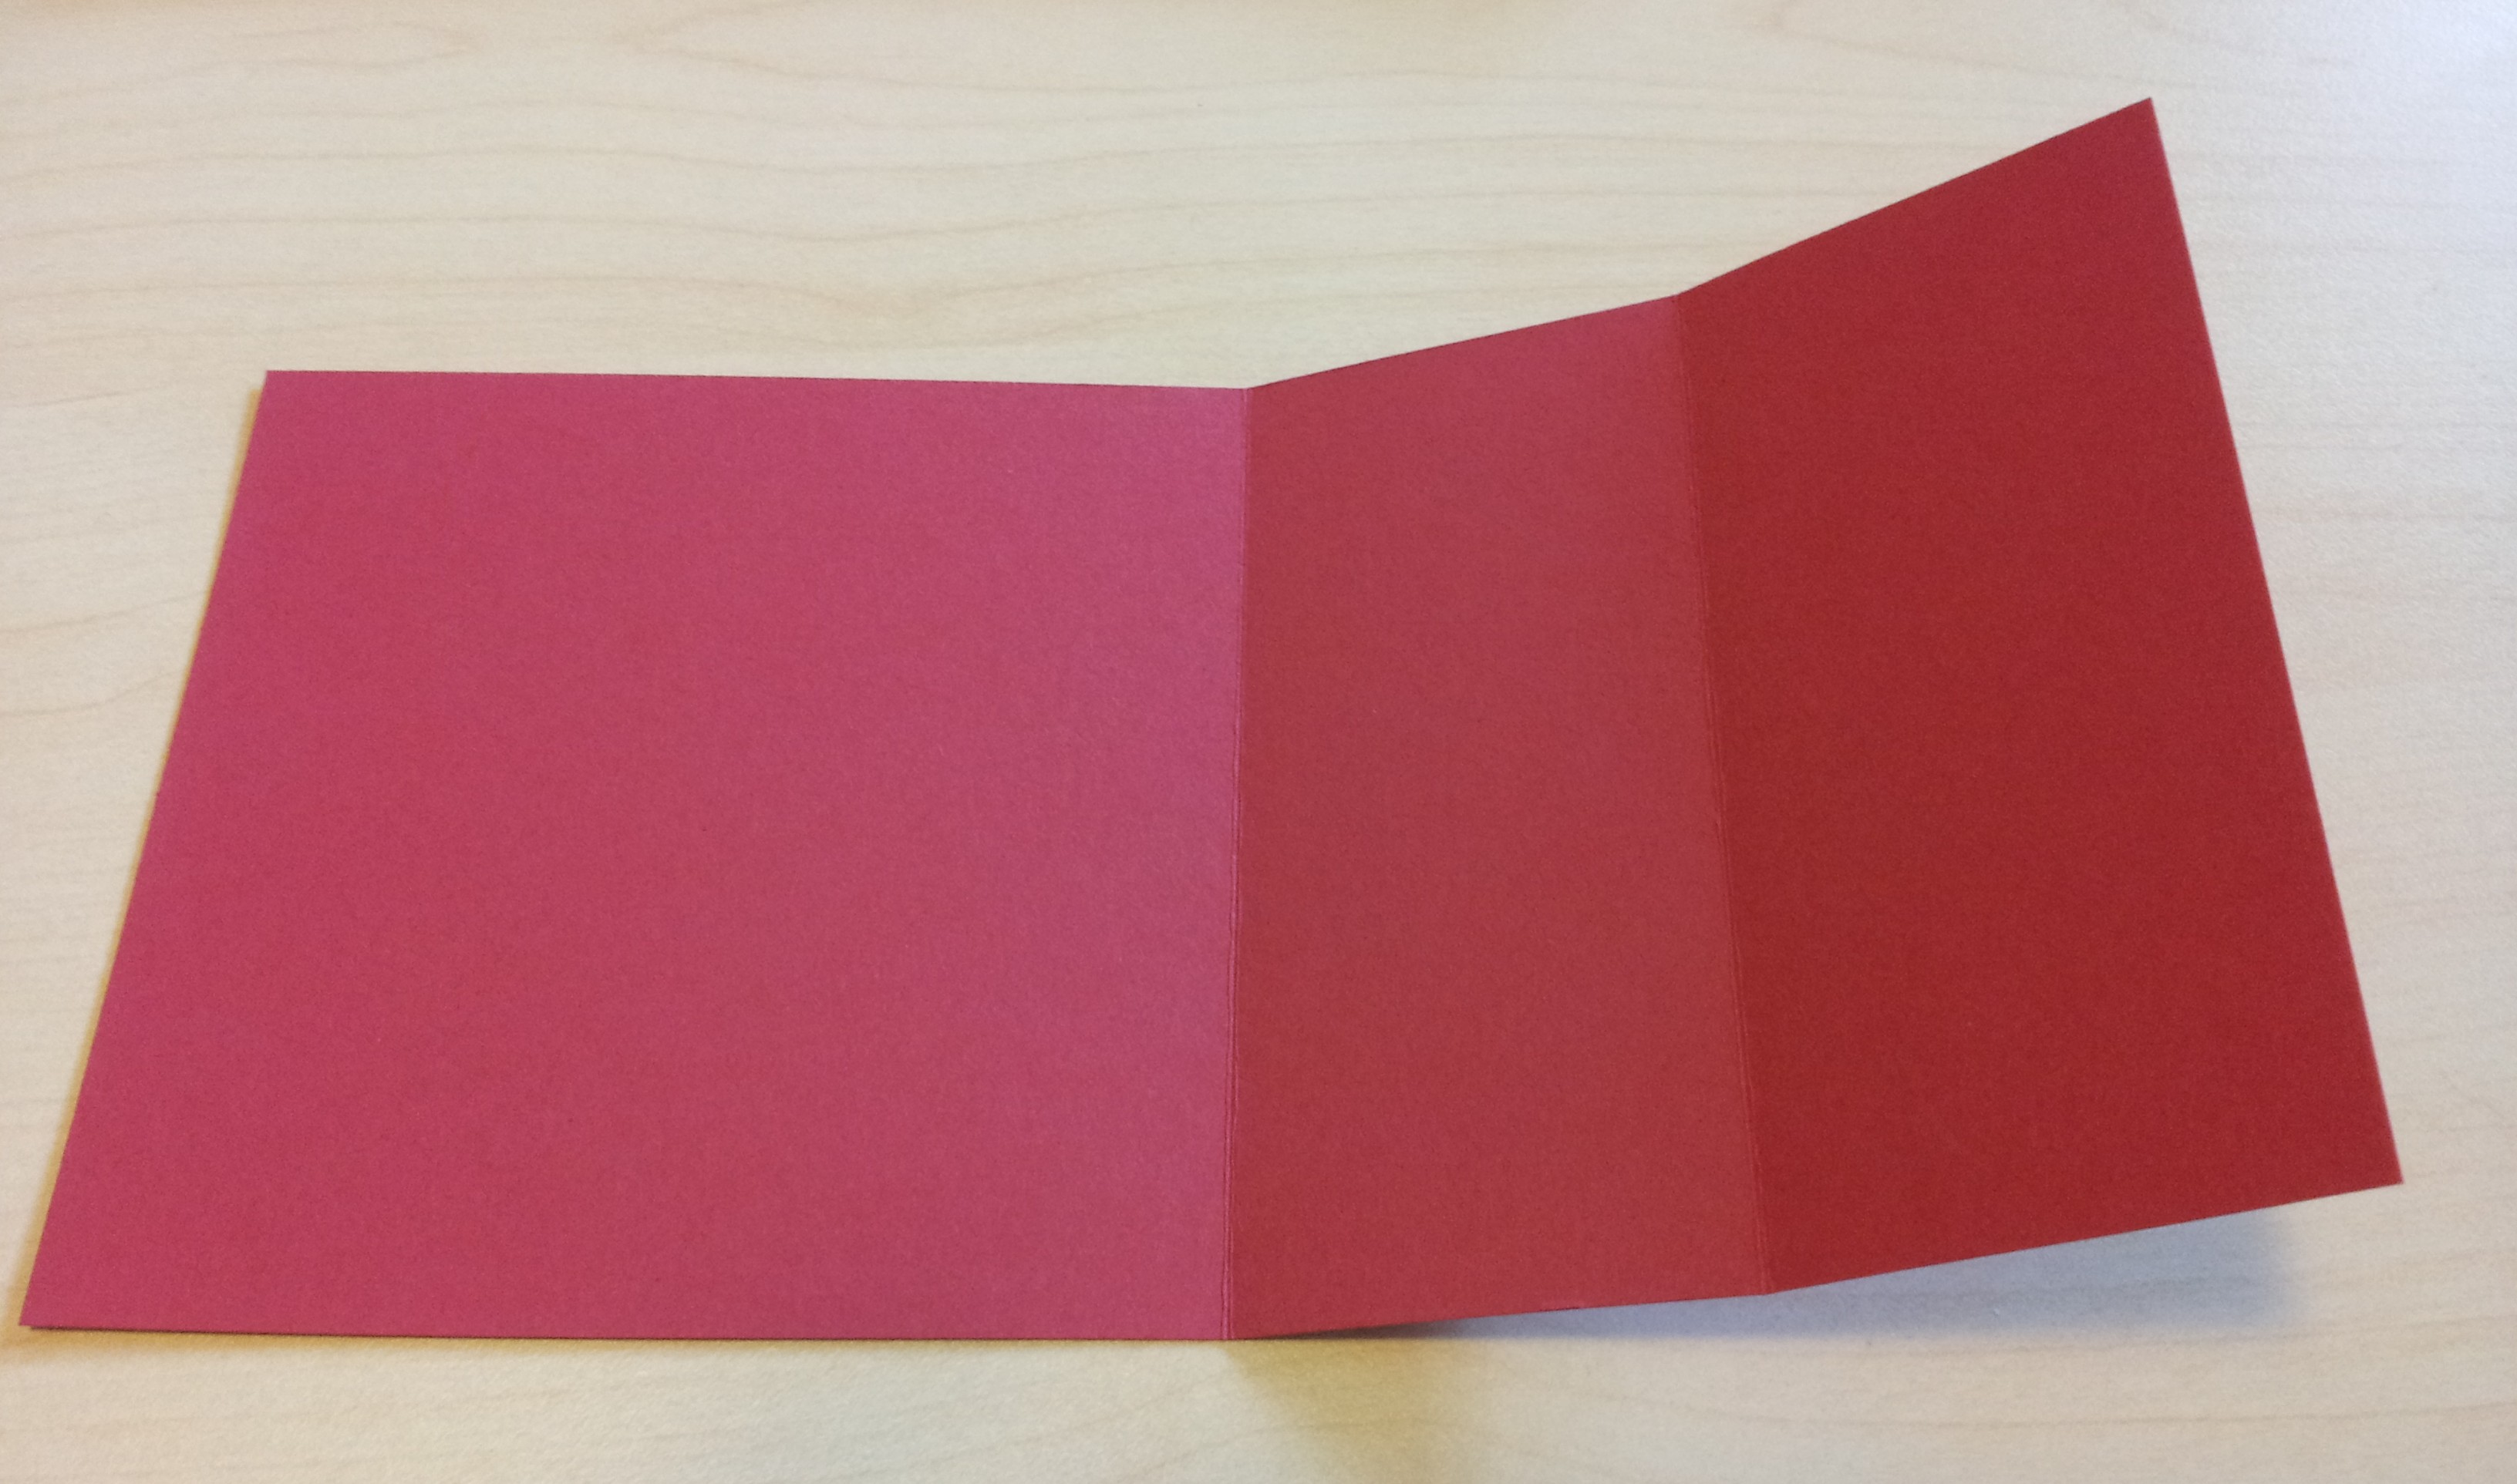
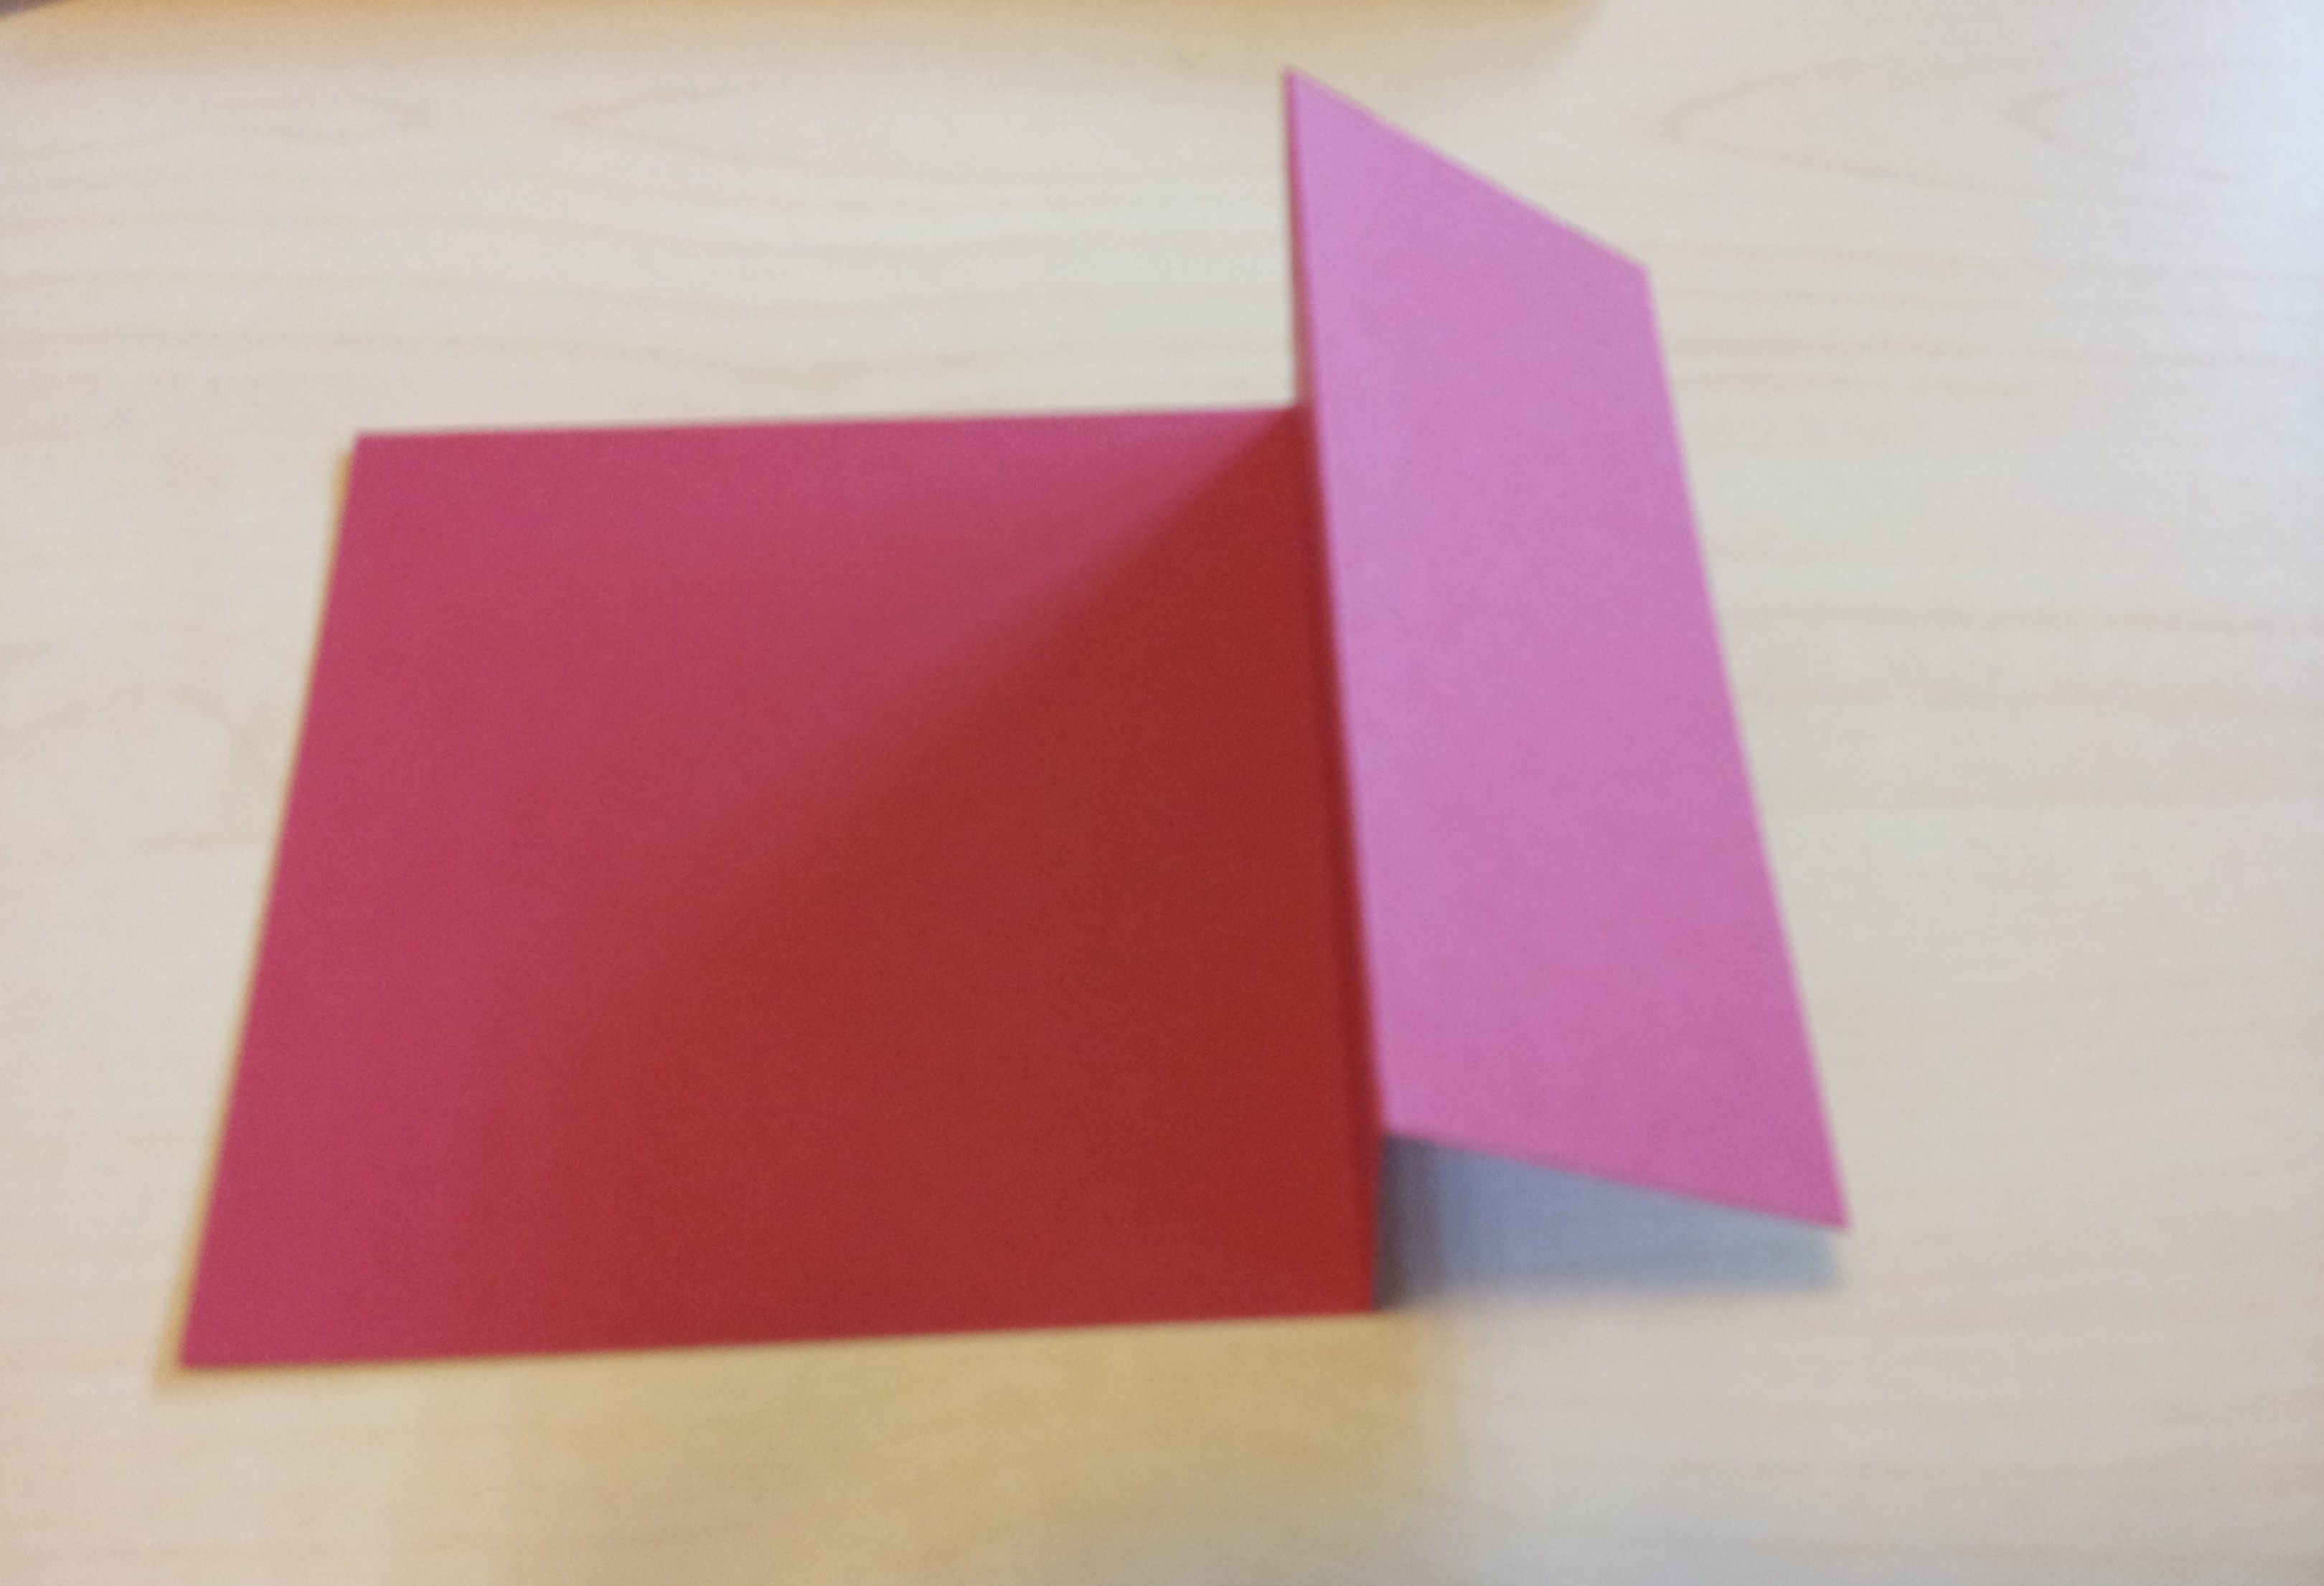
Step 2 – fold the 10cm score line over as a valley fold. Then fold the 5cm score line as a mountain fold (ie, back on itself)
Step 3 – decorate Piece 2 (11cm square) however you like. This will be the front of your card. I’ve found it can be quite effective to leave your square plain and actually decorate a separate 10.5 x 10.5cm piece of card stock and layer that onto the front of the card. This gives you a nice layered/framed effect. In the two butterfly cards I’ve shown you above I’ve done two layers – a 10cm x 10cm white piece and a 10.5 x 10.5cm mat.
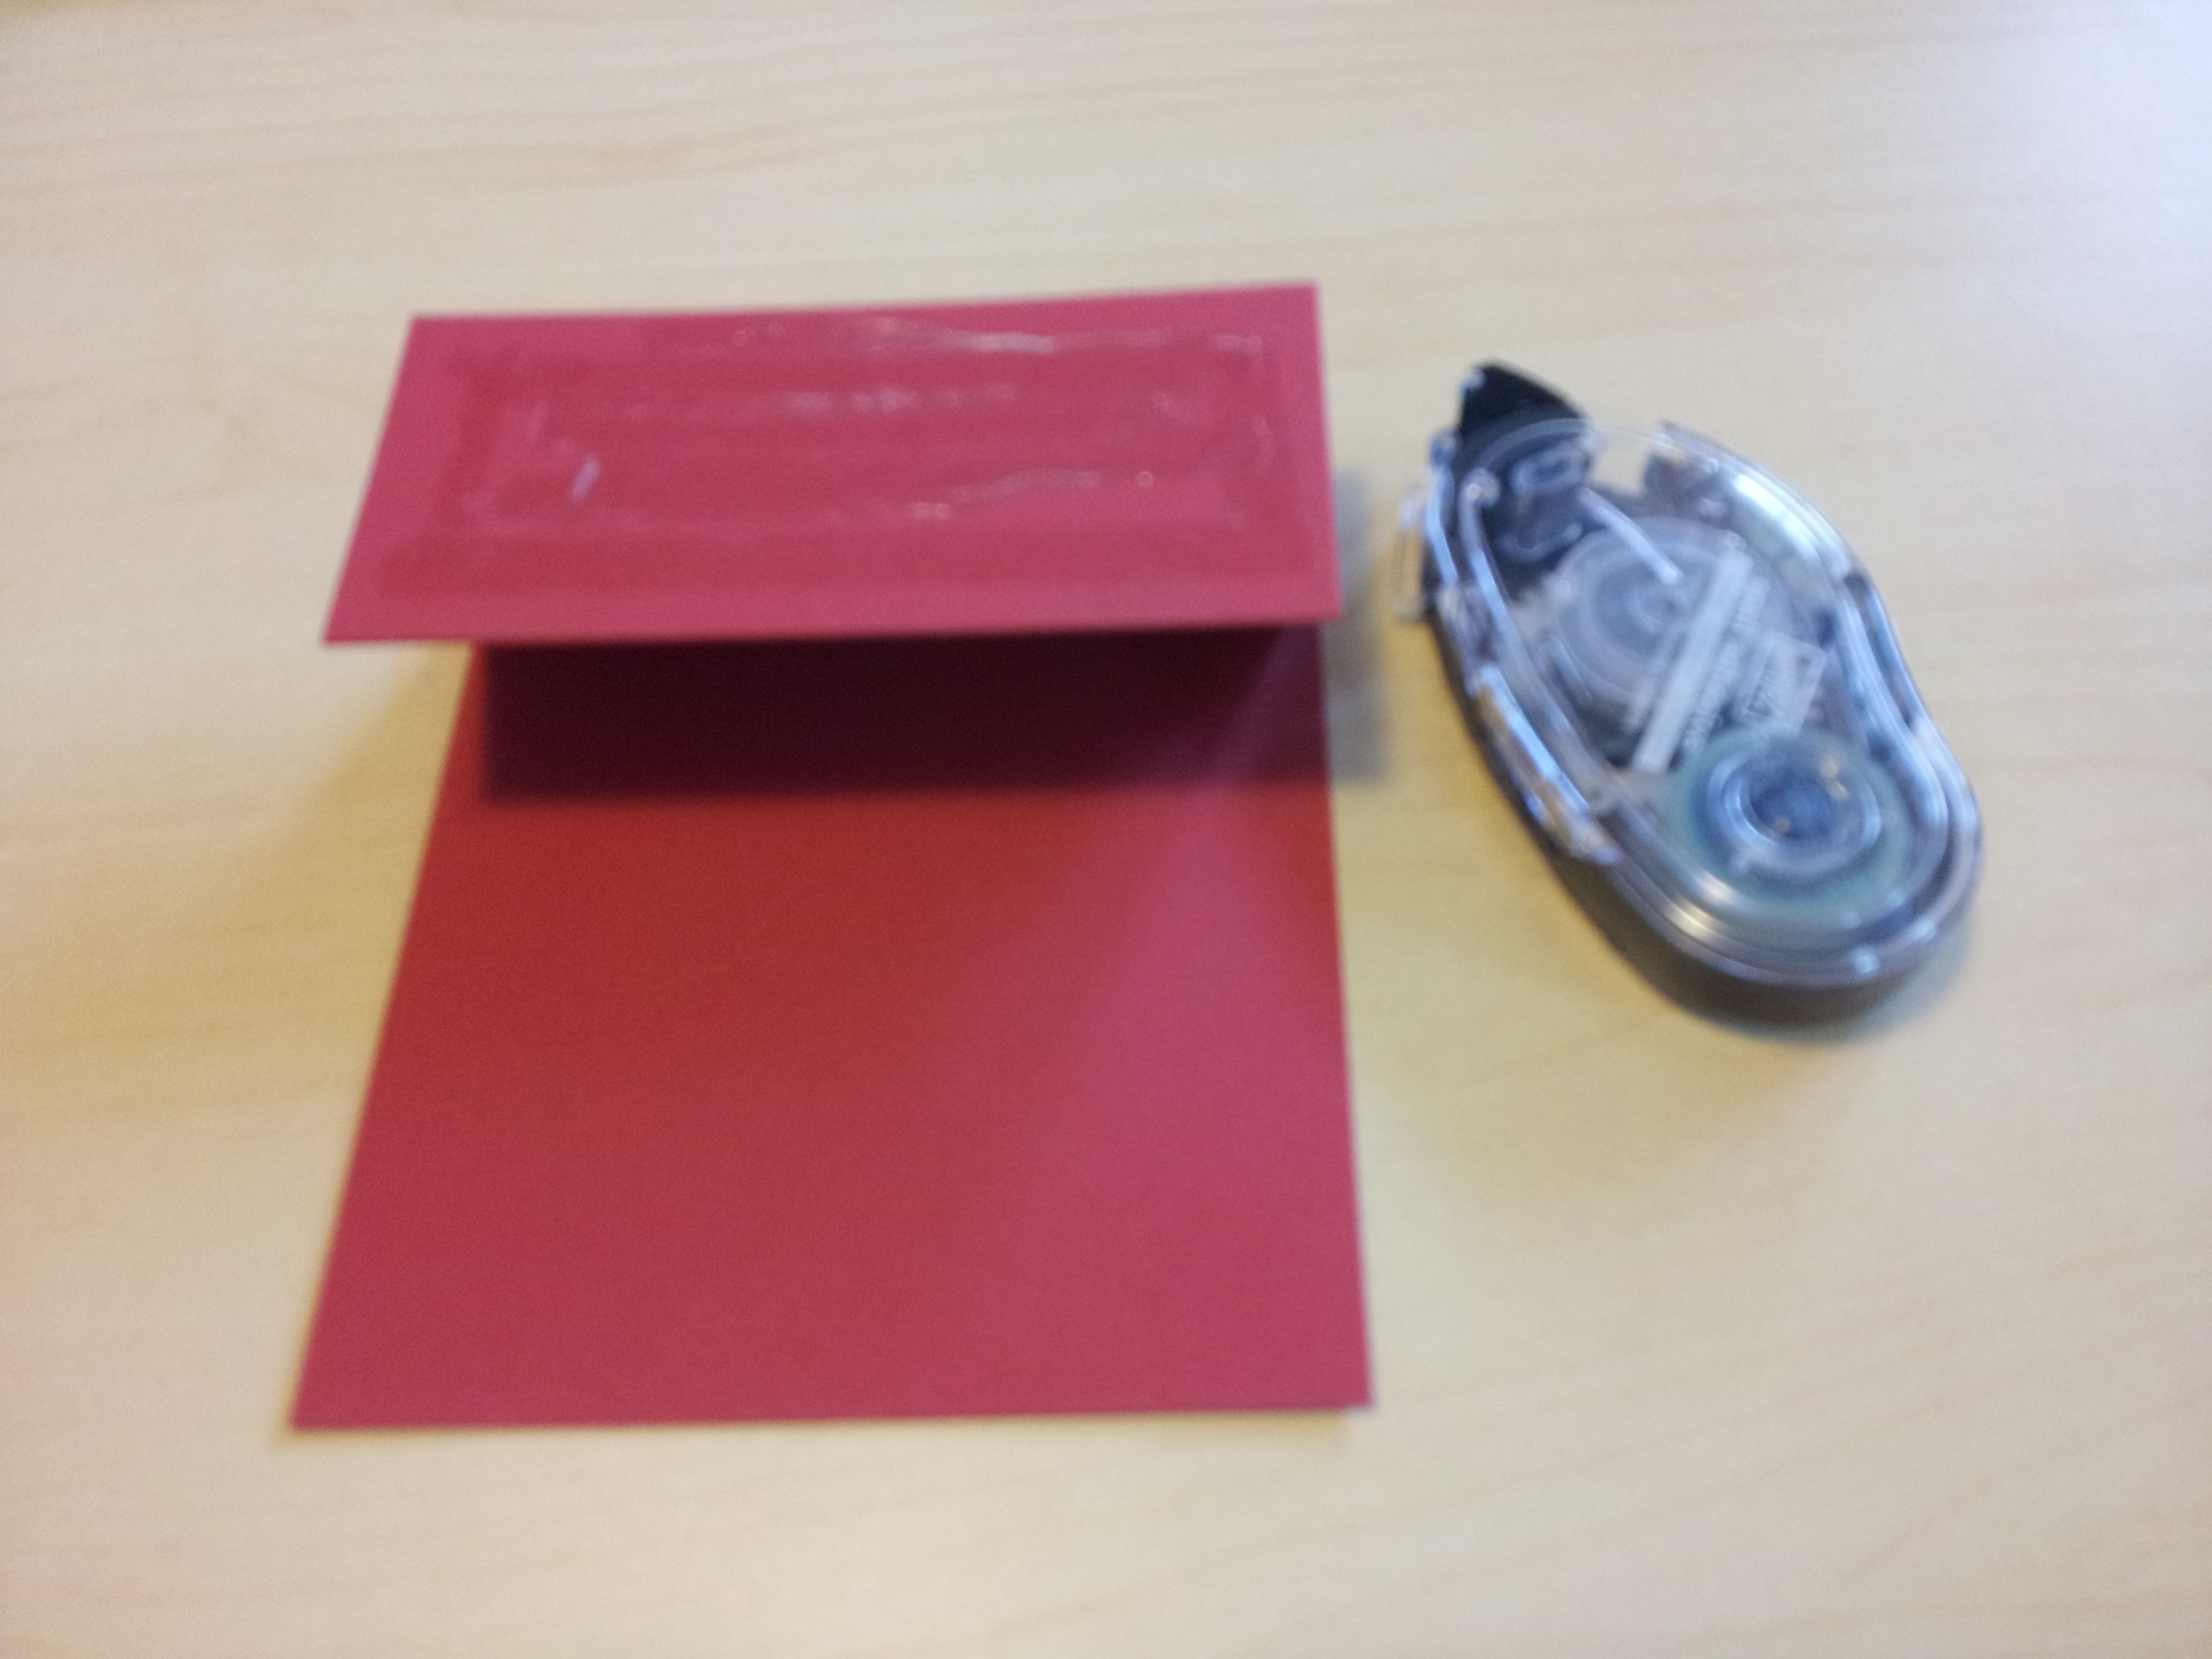
Step 4 – put some glue onto the ‘folded back’ section. This is where you will stick the front of the card. I’d recommend using Snail Adhesive from Stampin’ Up!. I’ve tried other glues from Officeworks and $2 shops but in my experience they are not strong enough for an easel card and lose their stick after a few days.
Step 5 – stick on your card front! This picture gives you the idea of how the card is stuck together:
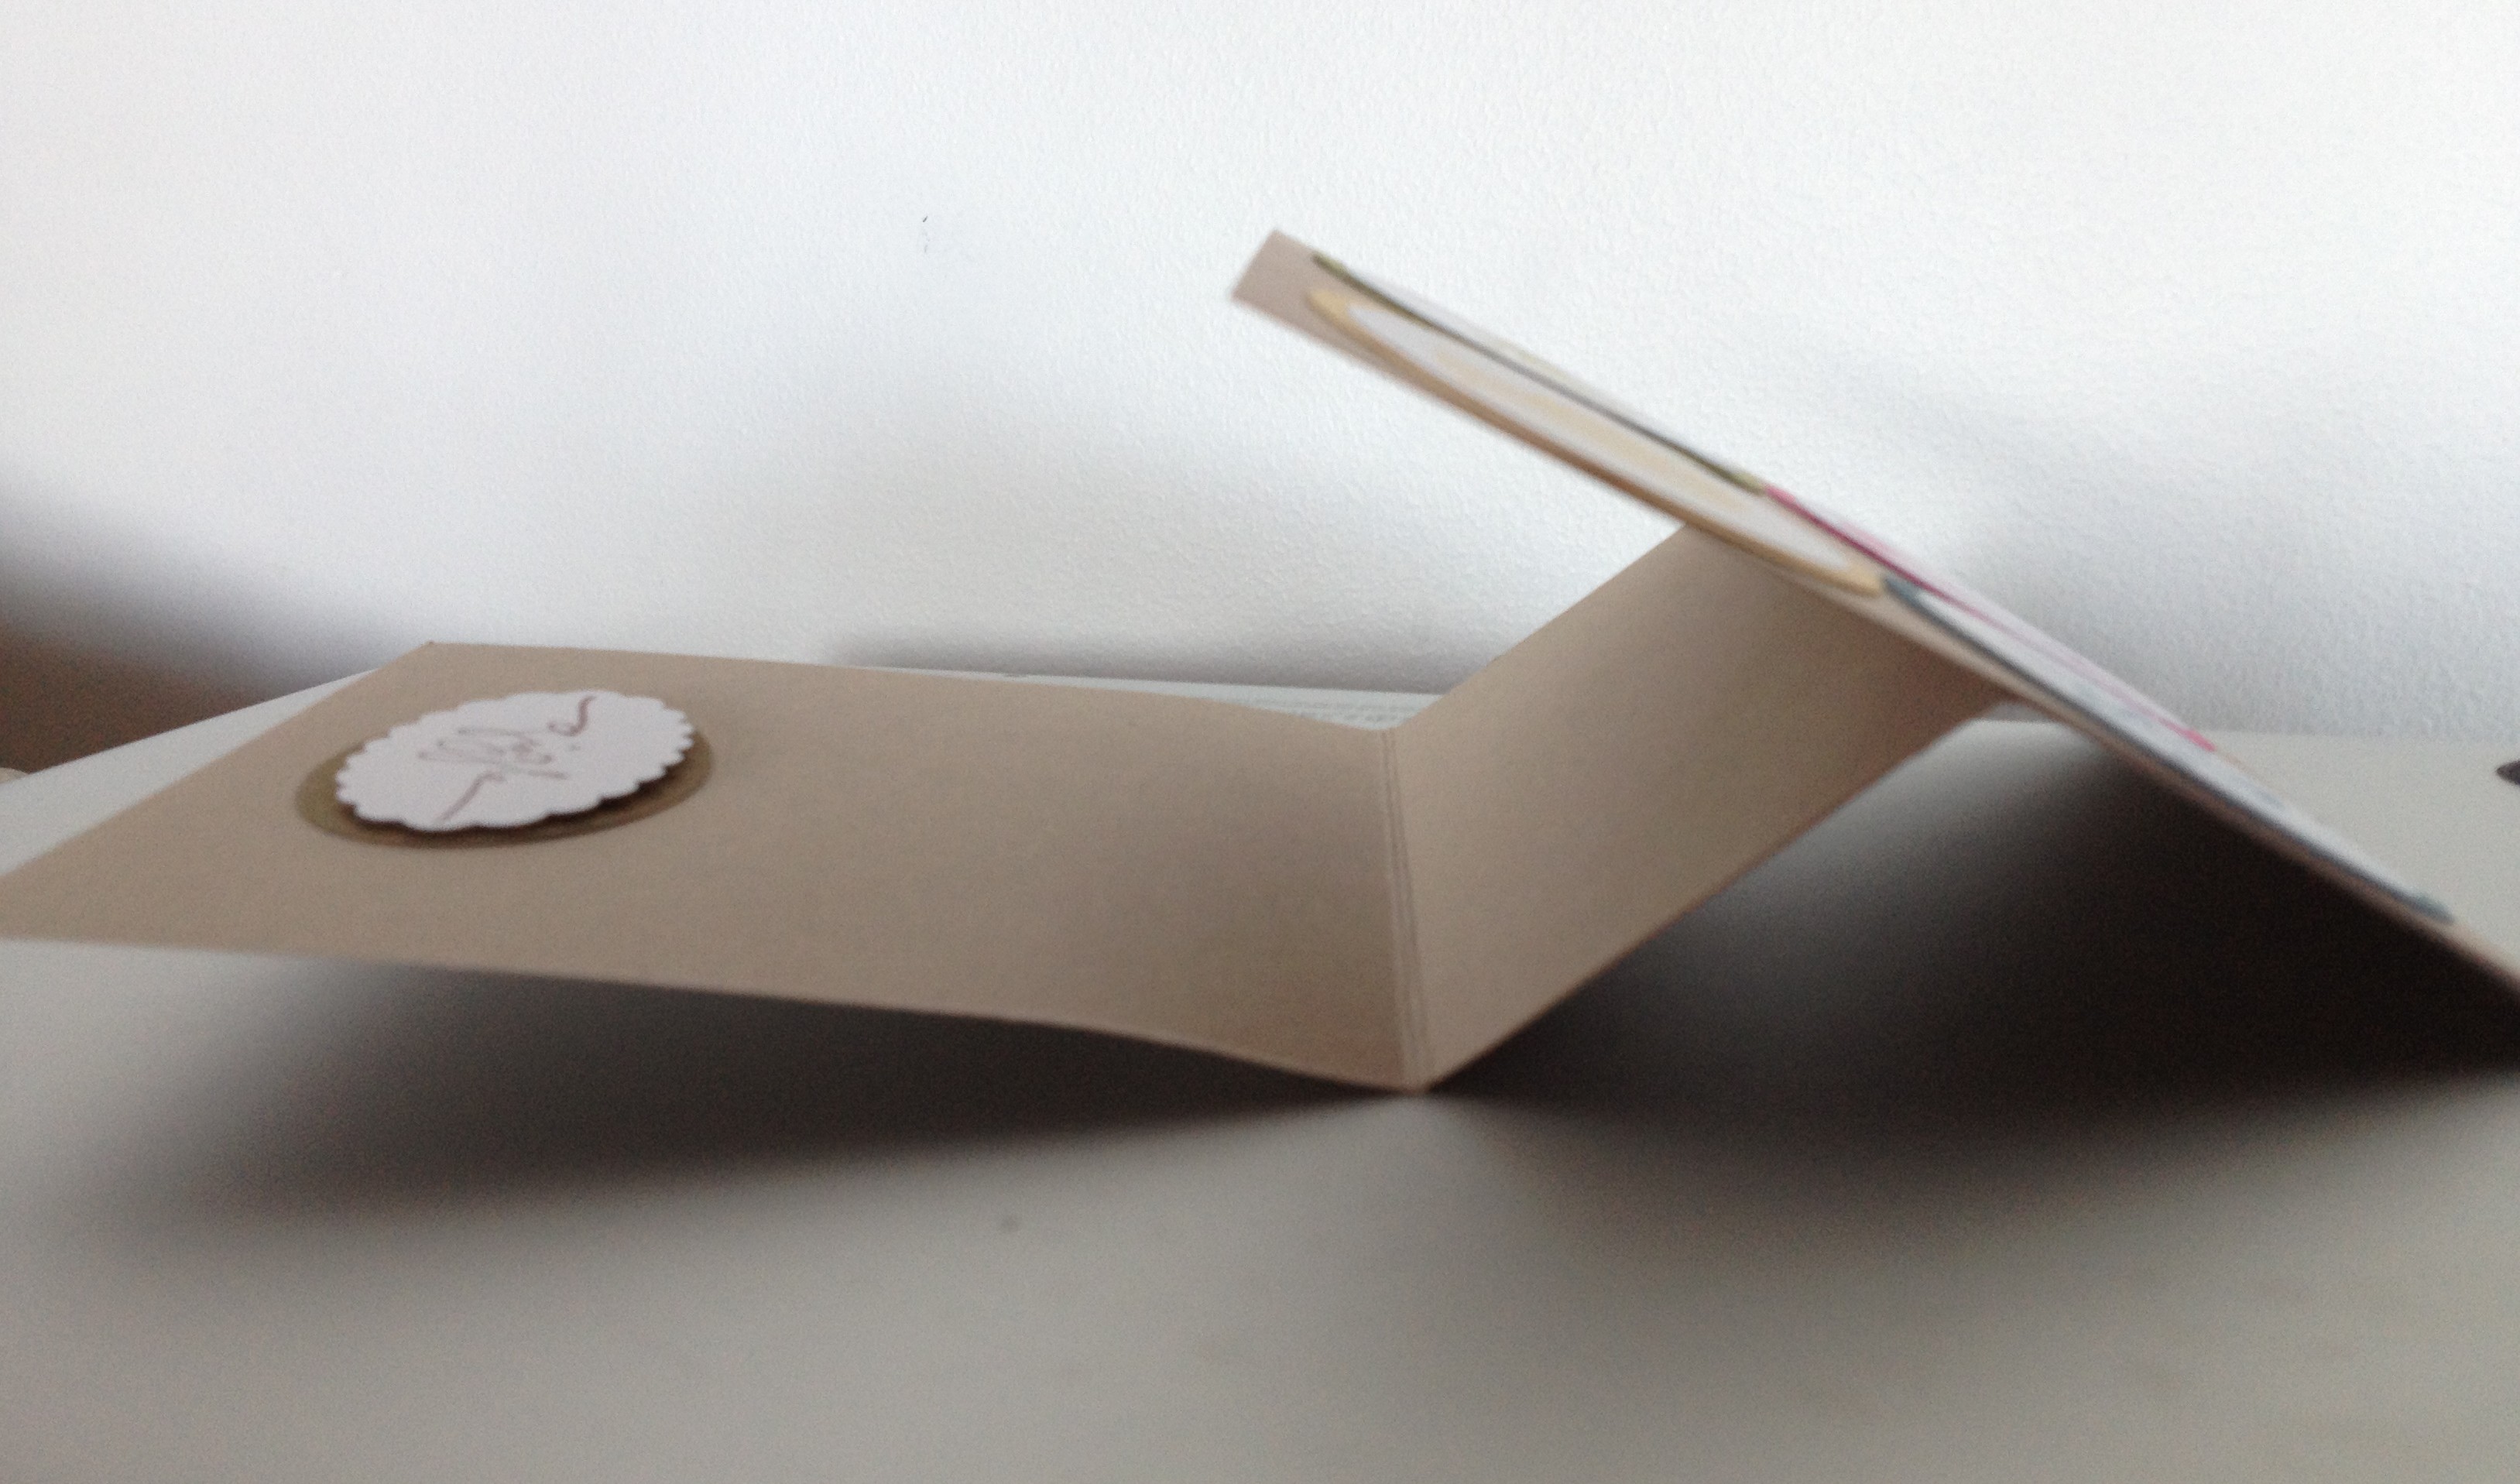
Step 6 – you need to add something to the base of your card to make the ‘easel’, ie, to prop the front of the card on so it will stand upright. You want a finished card that works like this:
 What can you use to prop up the card? It can be anything that is thick enough for the front layer to rest on and stay upright. This could be a button, a piece of thick ribbon, or a punched shape raised on dimensionals as I’ve used here. (Dimensionals are double sided sticky foam dots sold by Stampin’ Up! which add height to embellishments on your projects).
Here is an example of how I’ve used punches and dimensionals to make a “prop” for the easel card:
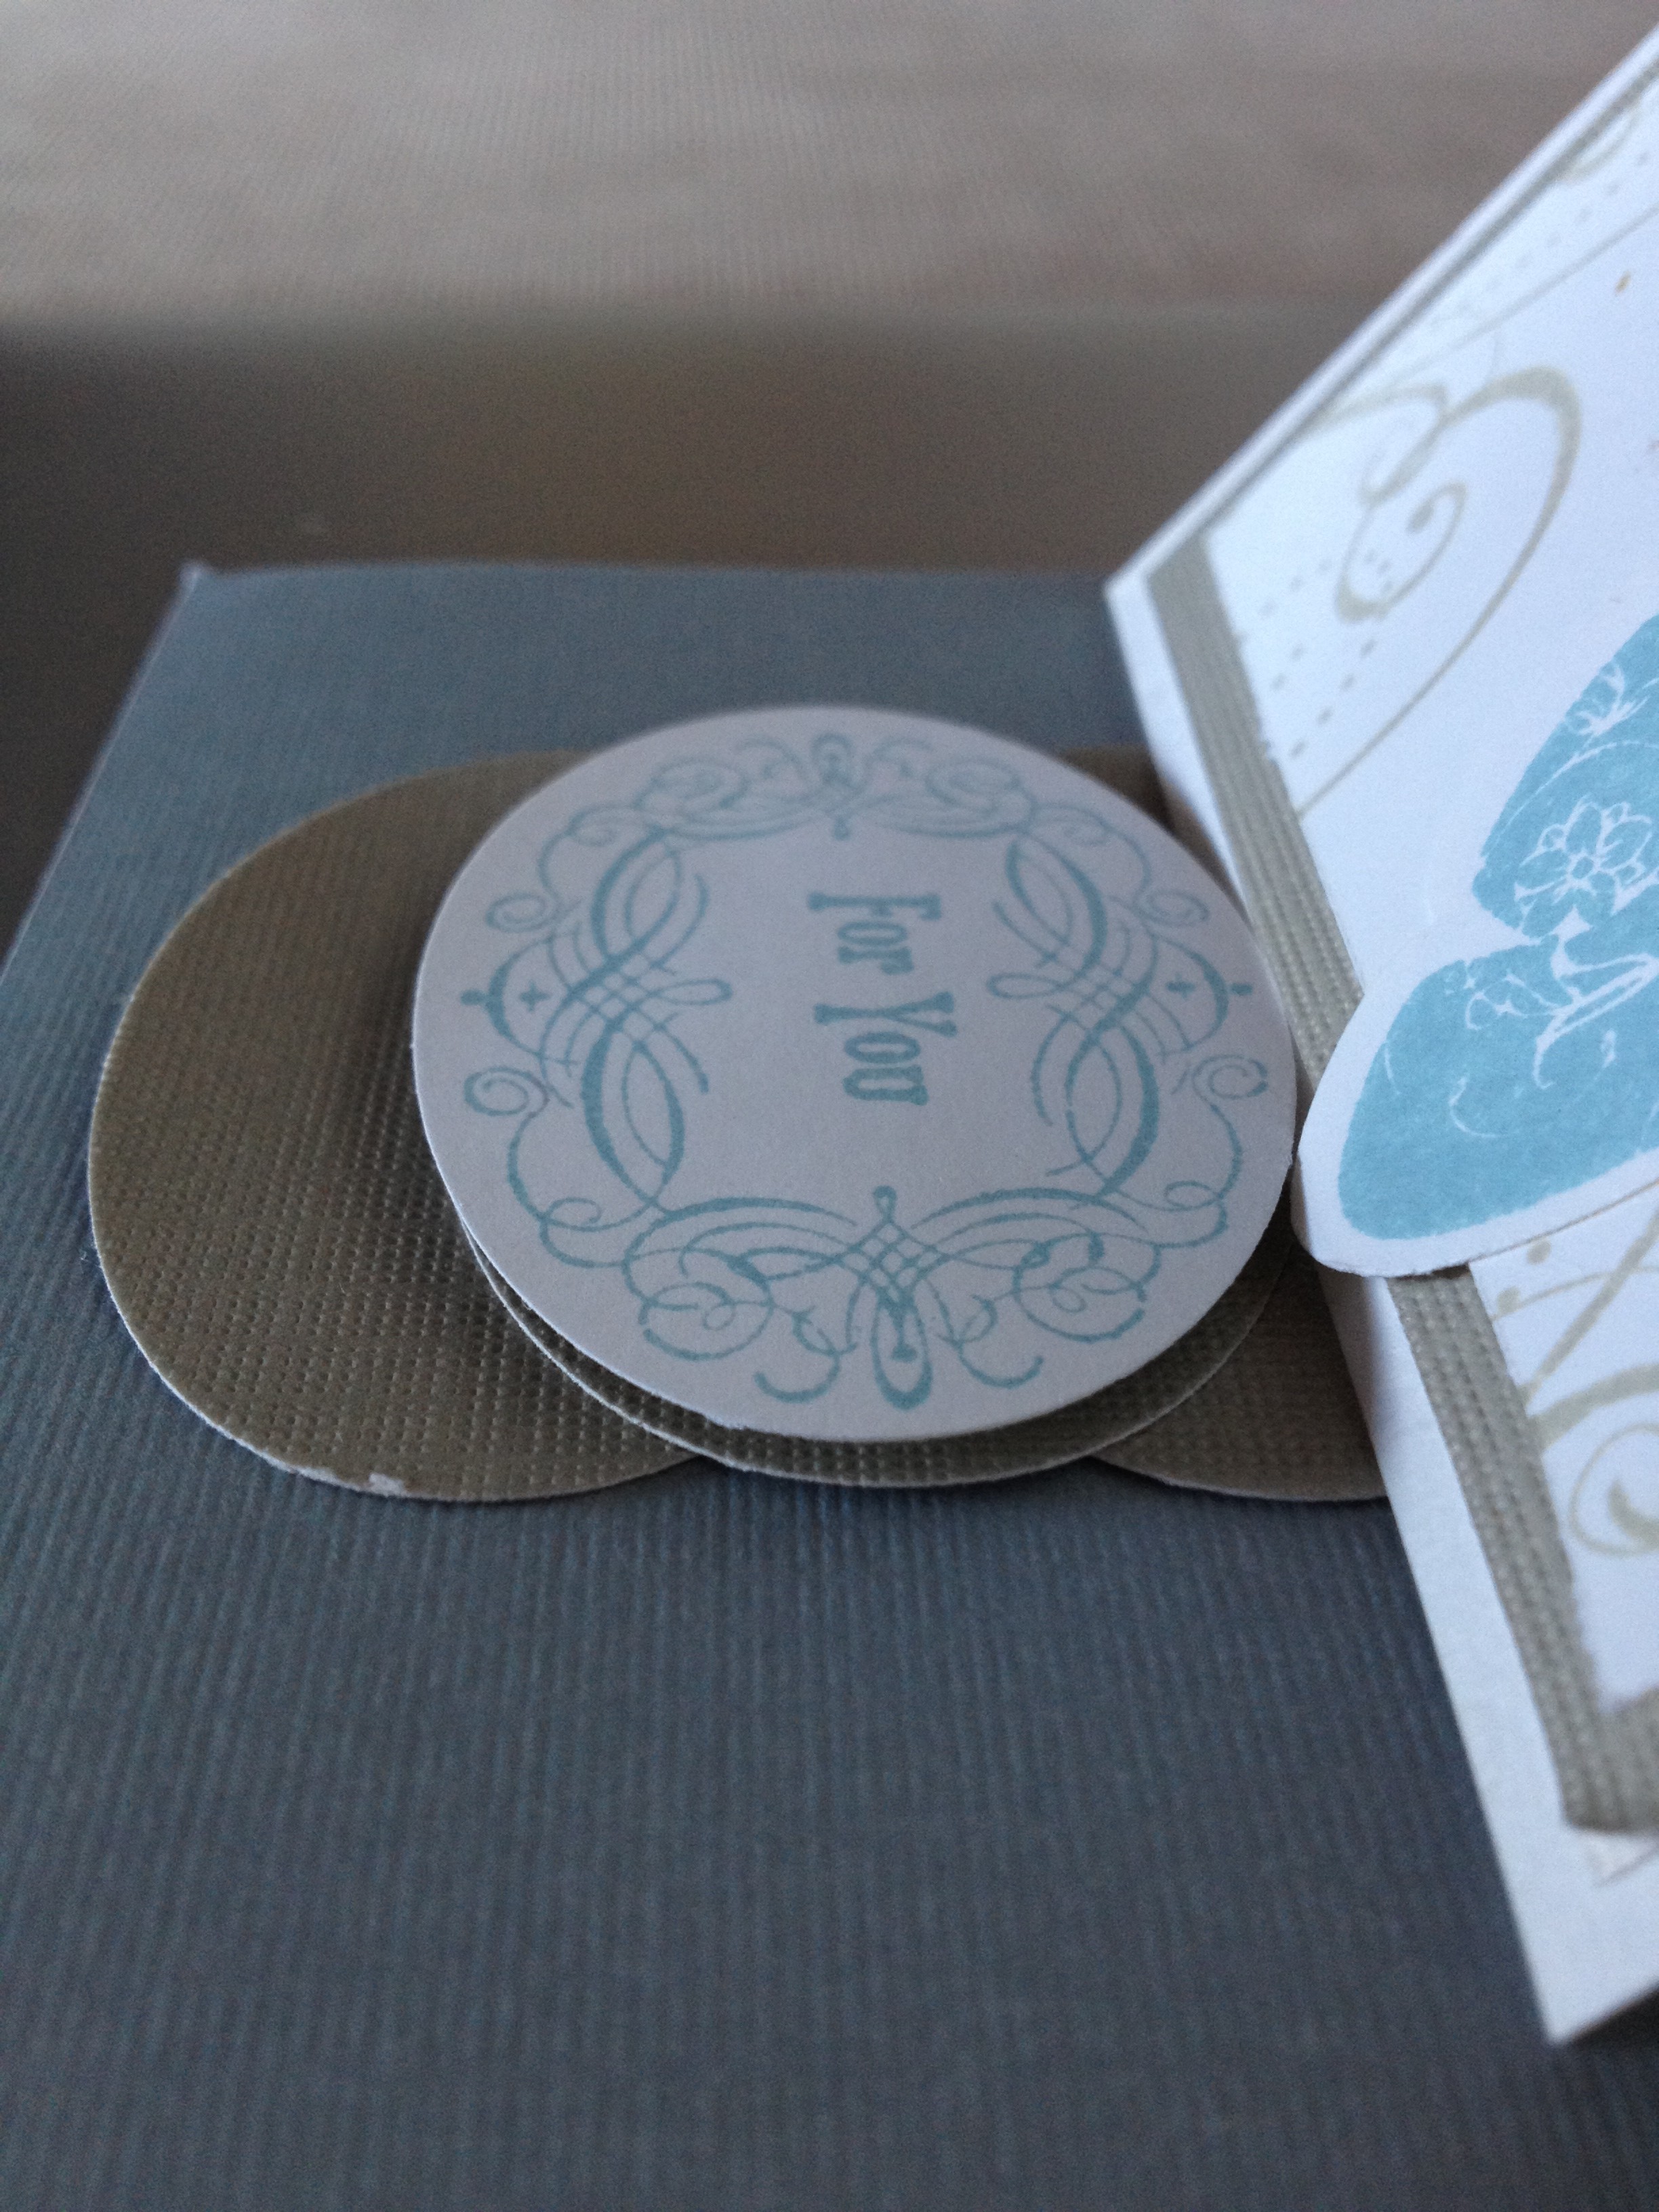
I’ve cut 3 large oval punches in brown card stock and stuck them to the card base. I’ve then stamped and punched a white ‘For you’ image and used dimensionals to stick it in the middle of the punched ovals to give some height to prop up the easel card.
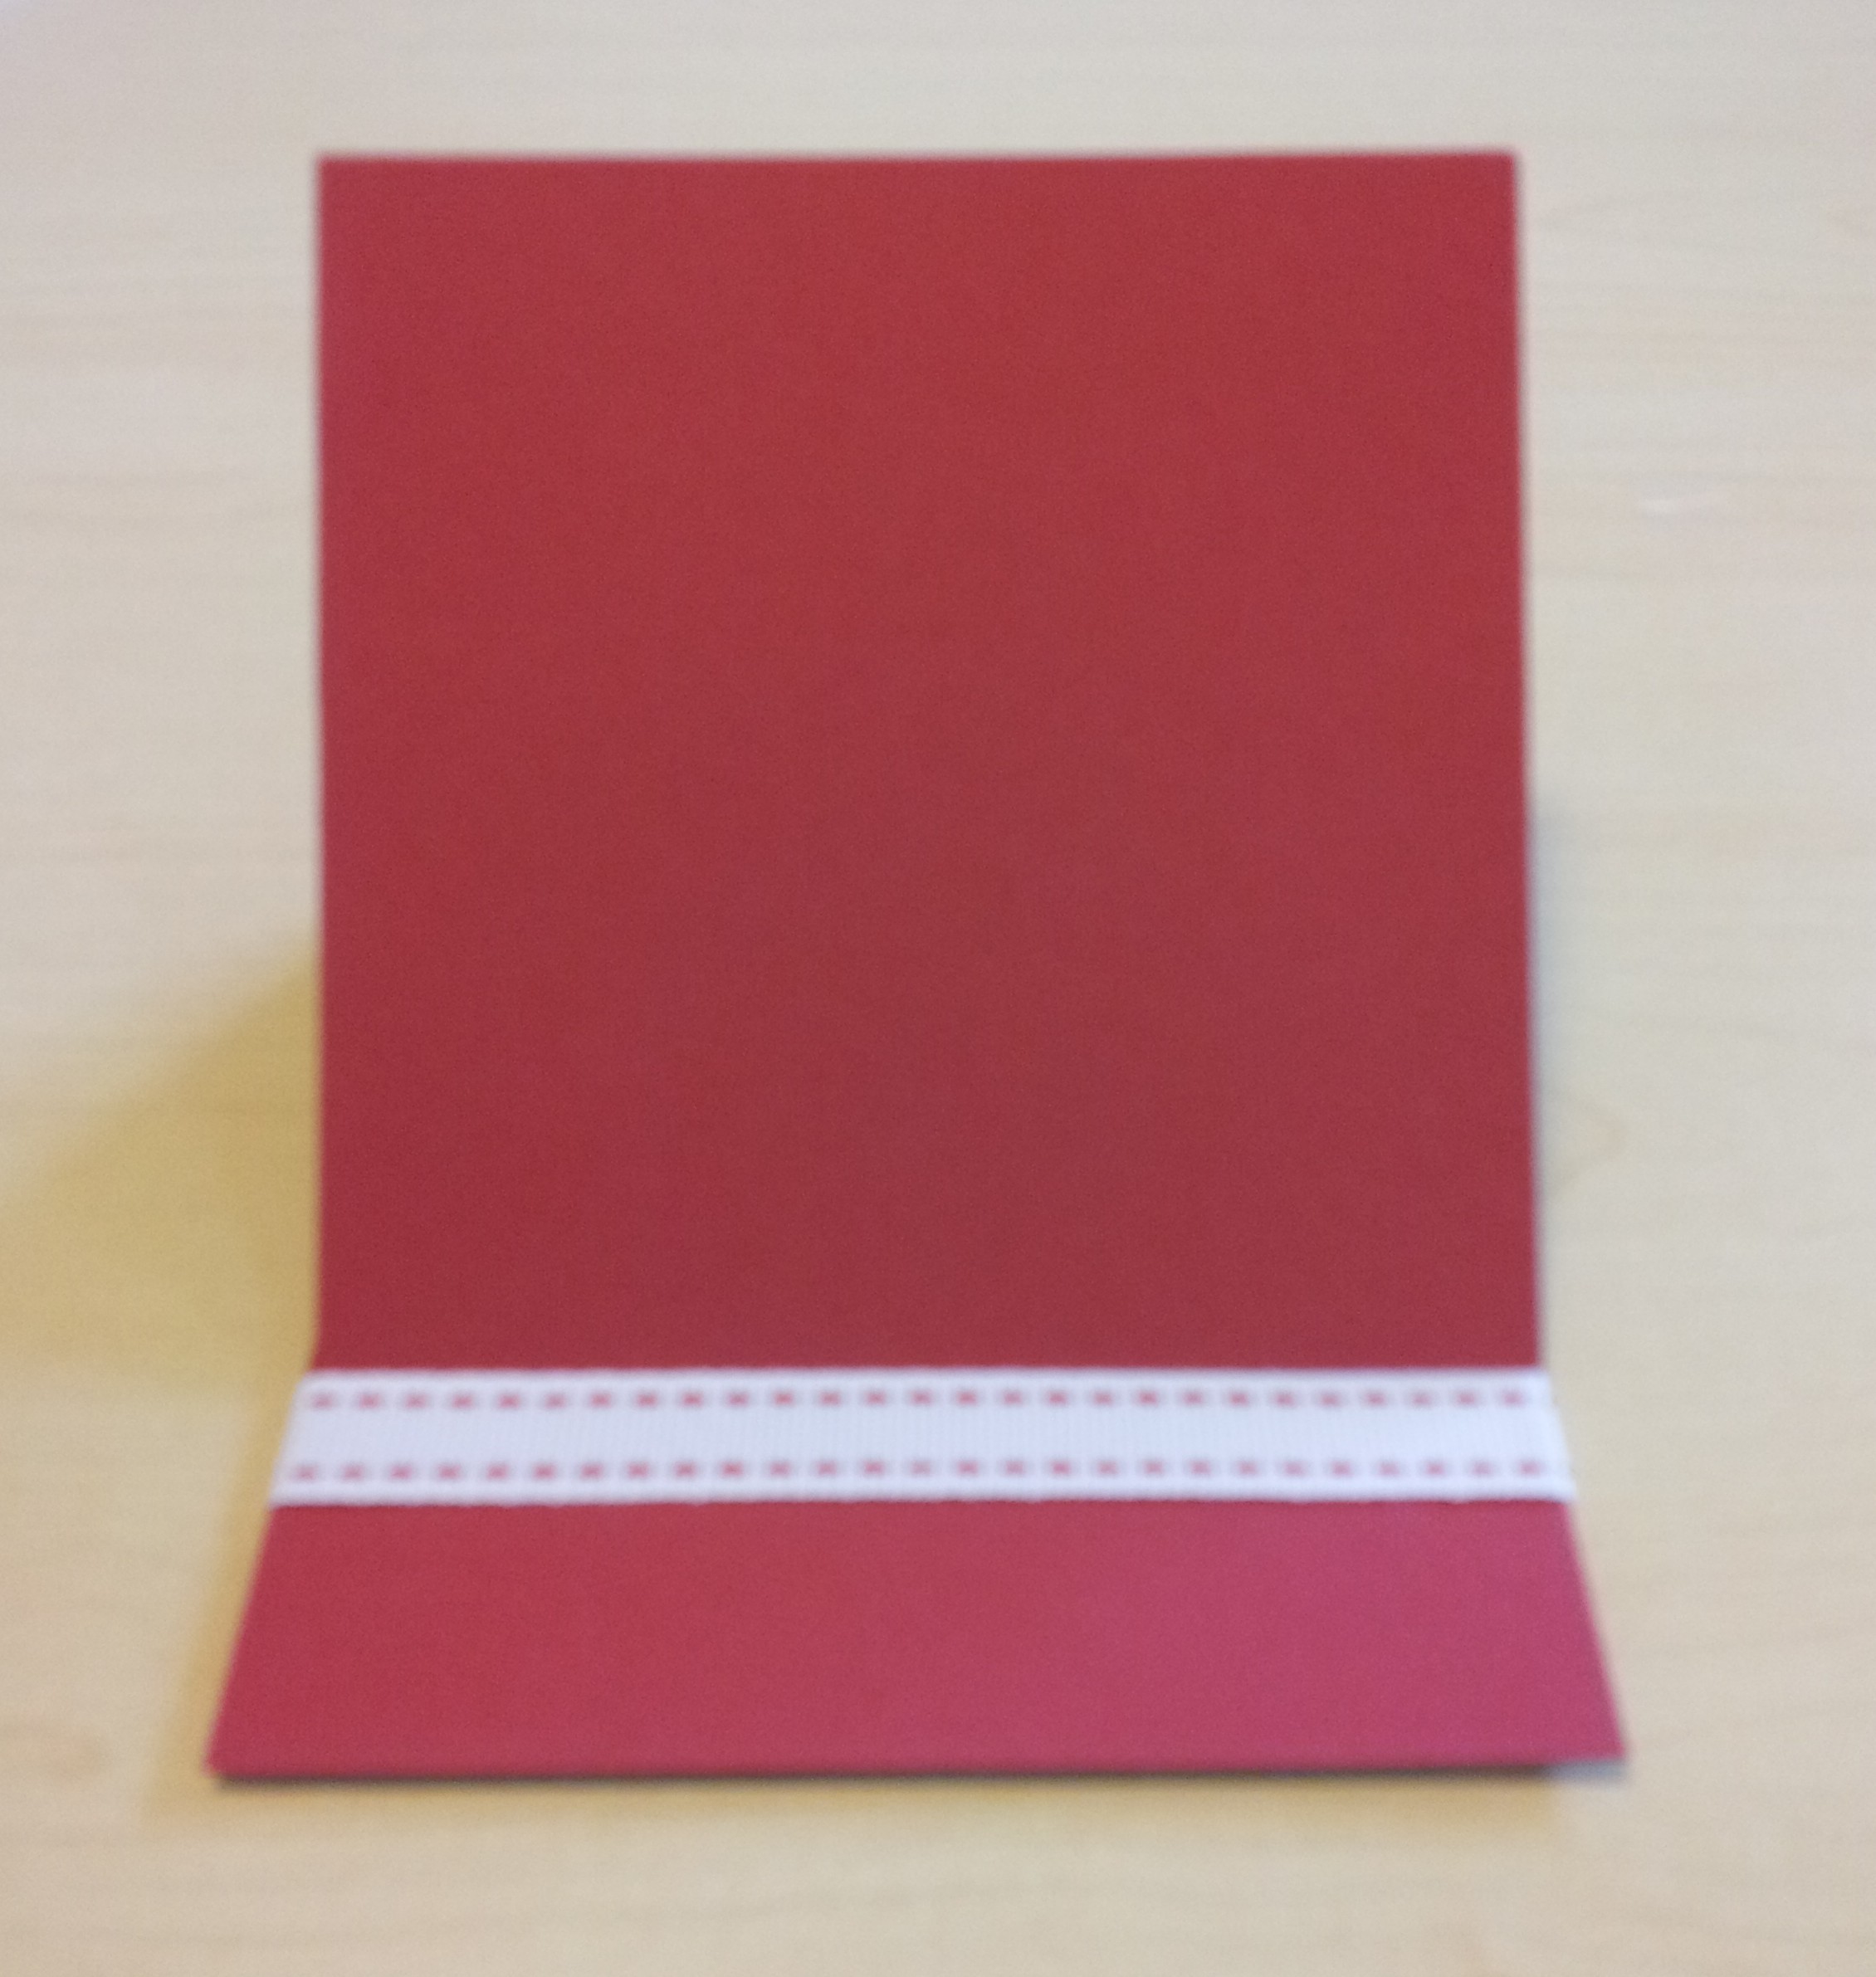
You can also use plain ribbon if it is thick enough, like this:
Or a button, like this:
Note: if you use a button the card won’t sit quite as nicely when the front is closed.
Hopefully that all made sense – feel free to leave me a comment if you’d like me to explain anything!
[BTW: The red card in the pictures is one I made while I was writing this post so I could take photos and demonstrate the steps. I broke my own rules and stuck the square piece on before I decorated it, so I could show you another way to prop the card up. I now have to figure out how to decorate the front!)
Thanks for reading – I hope you enjoy making your own easel card. Or if you have tips on how I can make mine differently I’d love for you to share them!
Caro x
09 Friday Aug 2013
Posted in 3D / pop up, Cards, Uncategorized
One of my friends had a 30th party a few months ago. It was Spanish themed and lots of fun. He asked if I would be able to come up with some labels for the drinks: Margarita and Sangria, as befits a Spanish themed party. Yum!
I thought it would be good to do the labels as easel cards so they would stay up, and be large enough for people to read in the half-dark. Here’s what I came up with:

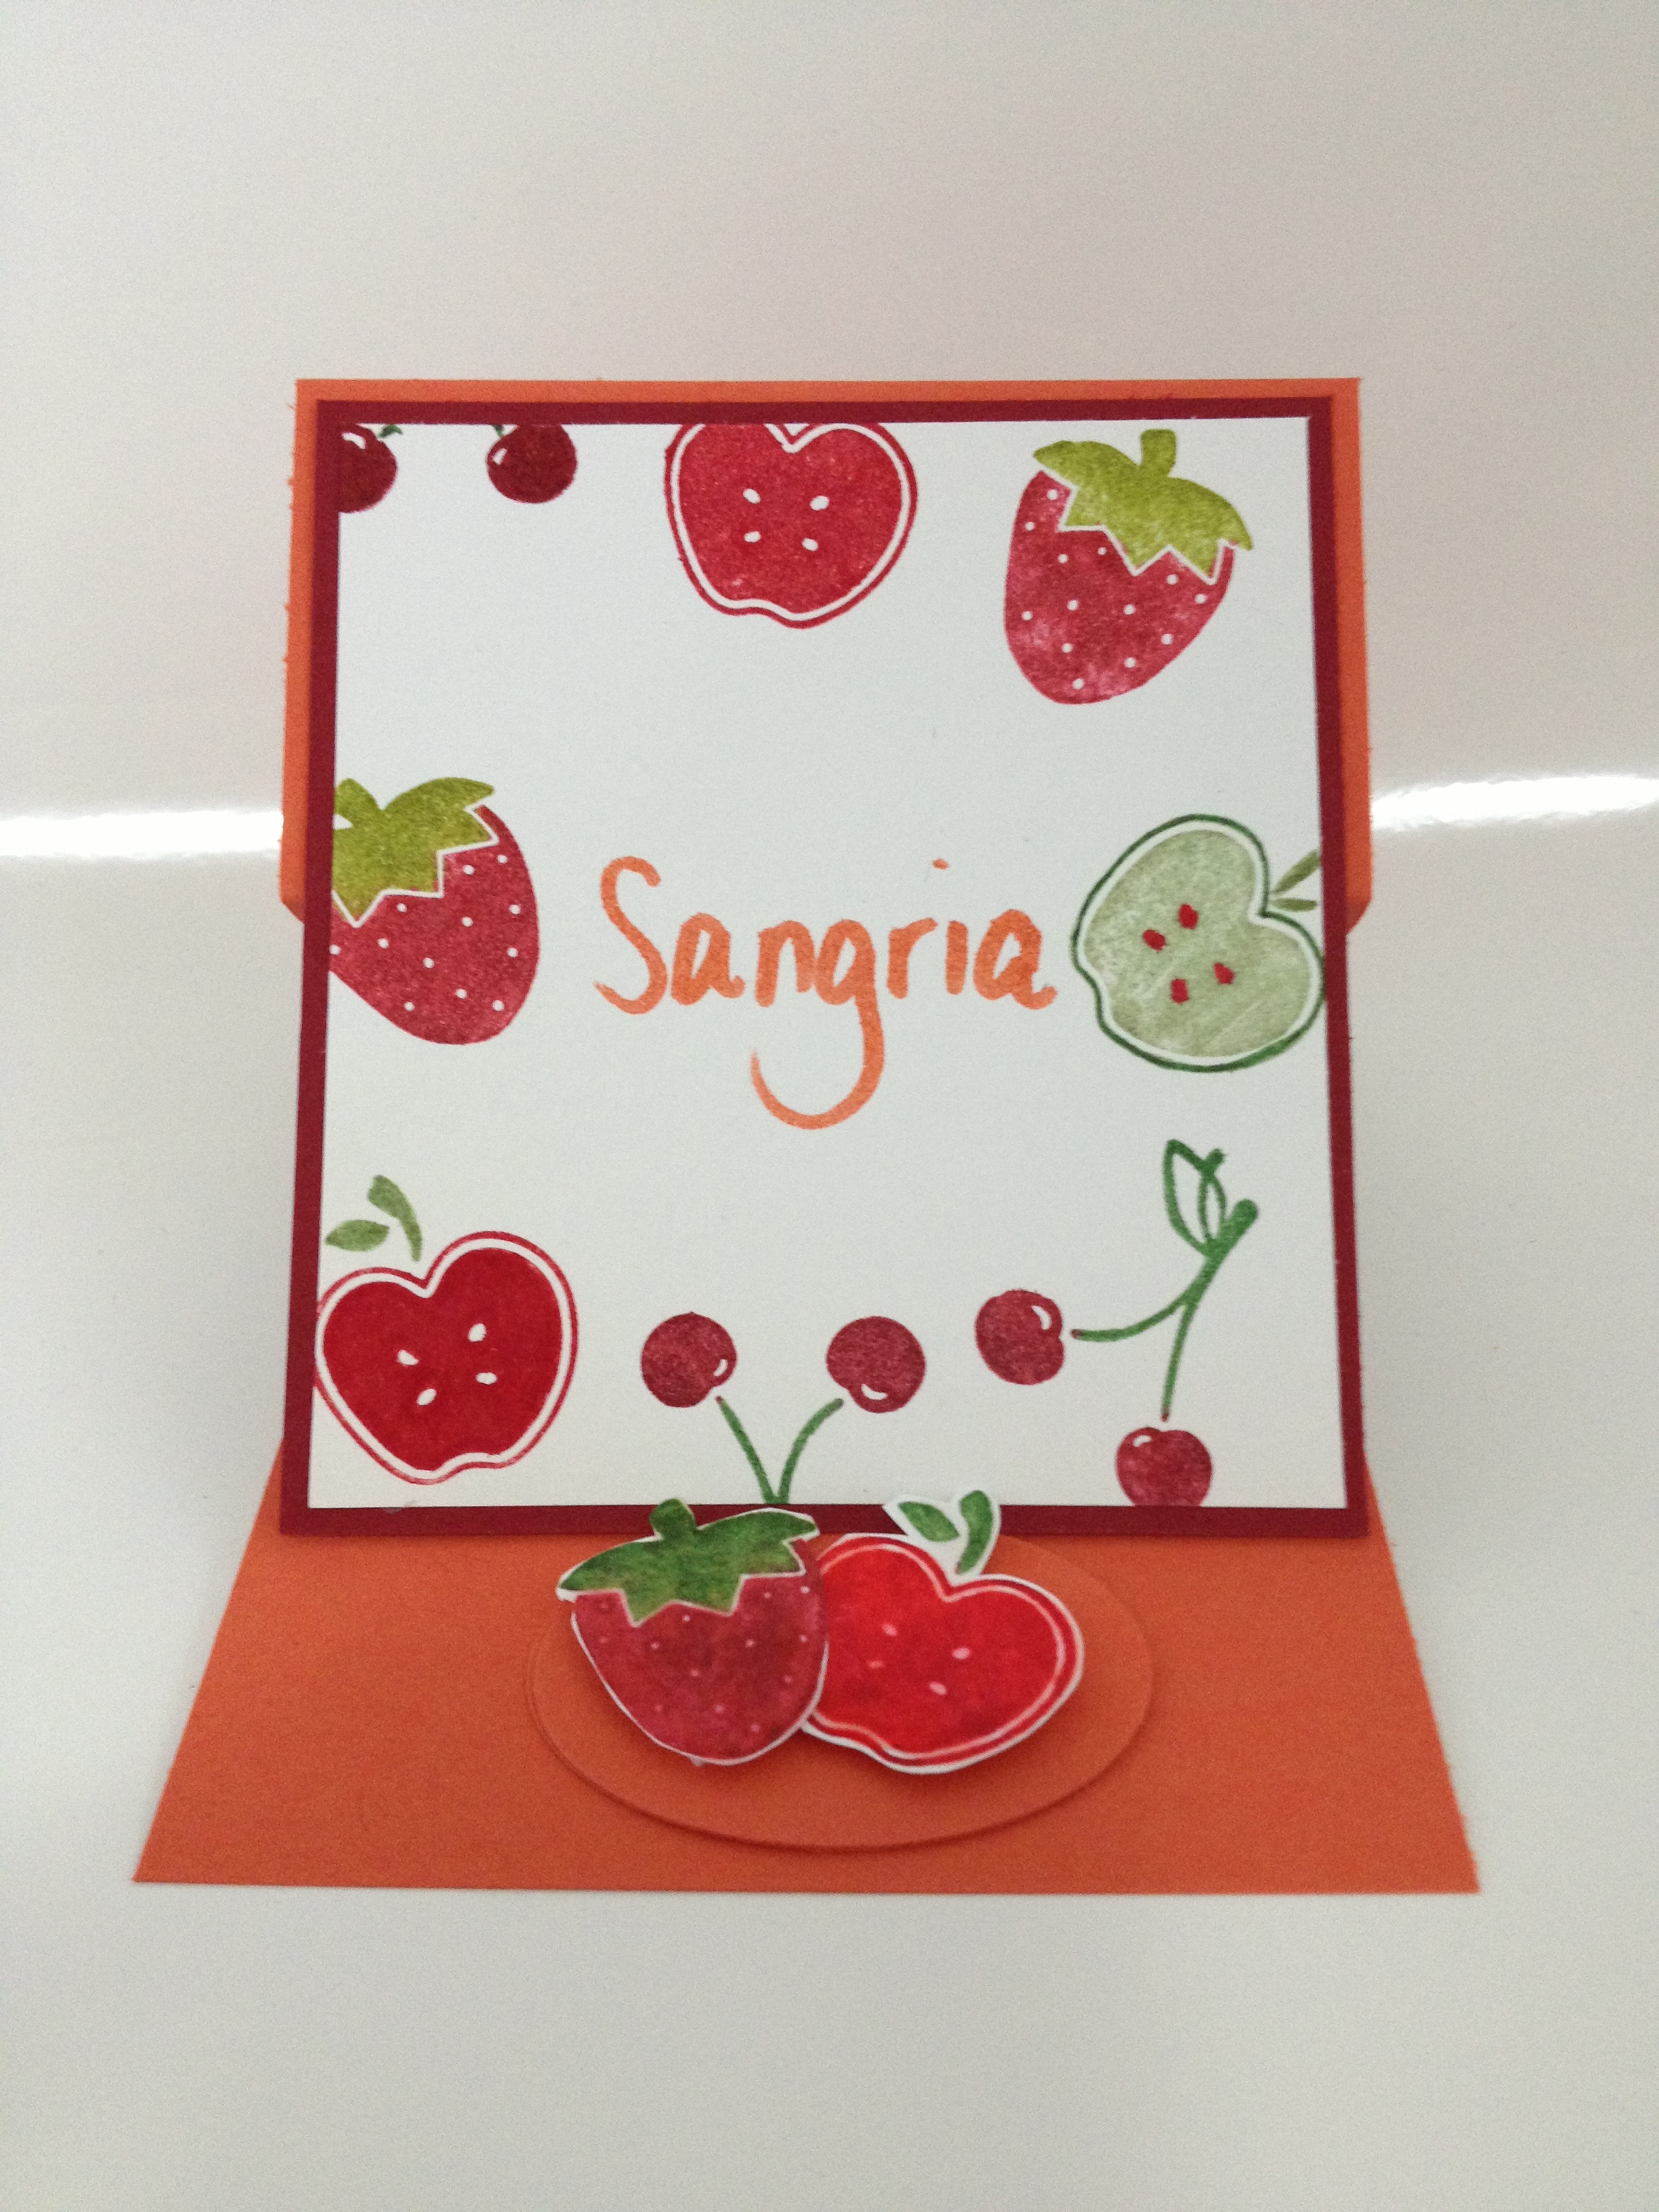
 I used Tangerine Tango, Old Olive, Real Red and Cherry Cobbler. Can you see some of the fruits are cut out and shiny? I covered them with Crystal Effects which adds a shiny sheen to card stock.
Stay tuned for my next post and I’ll show you how to make these ….
