Hi.
On the weekend I made a card for a friend with a matching home made envelope. I happened to have a die cut butterfly lying around (as you do!!) – which matched perfectly.
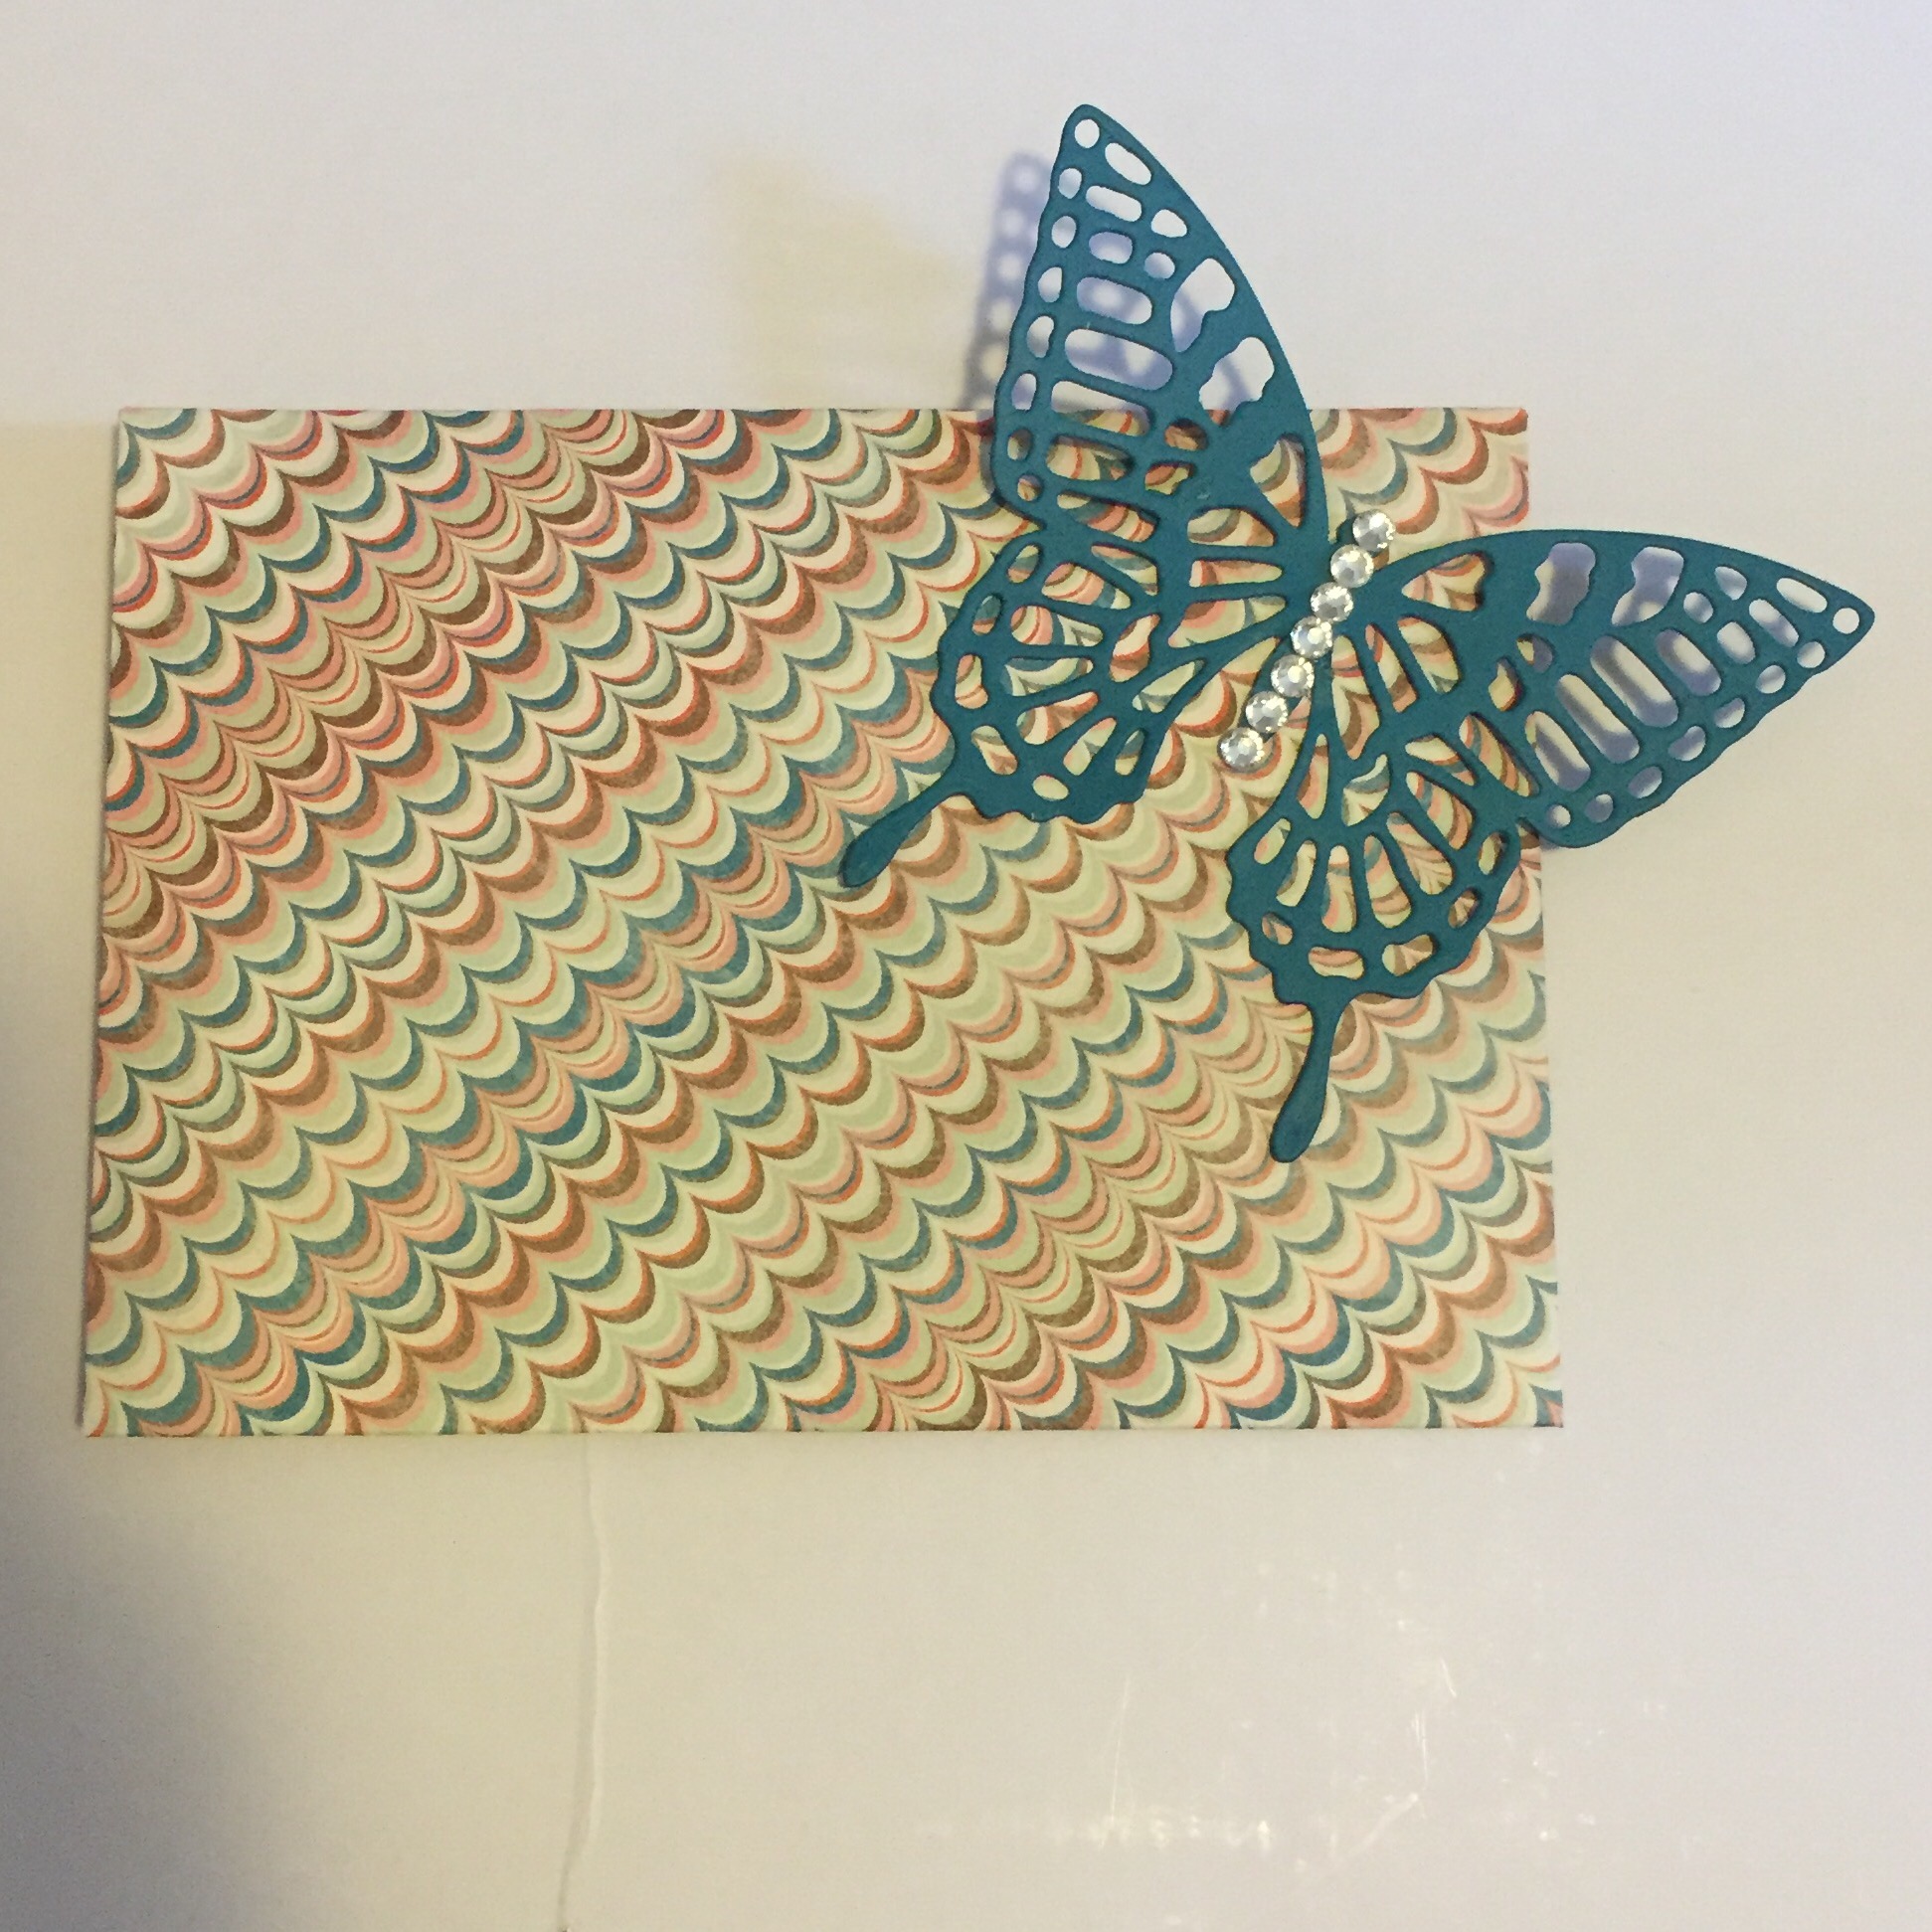
Too cute! 🙂
Thanks for reading
Caro
09 Wednesday Mar 2016
Posted in Envelopes, Gift bags, Using up scraps
Hi.
On the weekend I made a card for a friend with a matching home made envelope. I happened to have a die cut butterfly lying around (as you do!!) – which matched perfectly.
Too cute! 🙂
Thanks for reading
Caro
07 Sunday Feb 2016
Posted in 3D projects, Gift bags, Gift tags & wrapping, Kids party
Today I wanted to show you something silly I made for my Star Wars obsessed brother’s birthday. Instead of wrapping his gift, I made a silly gift bag – with a stormtrooper dressed for a birthday party!
Complete with silly party hat and bow tie!

I made the gift boy with my new We R Memory Keepers 1-2-3 punch board. Stampin’ Up! also has a similar bow punch board.
There’s something about the idea of a scary stormtrooper with a silly bow tie that really appealed to me!
And him – he loved it!!!
Thanks for reading.
Caro
24 Saturday Oct 2015
Hello!
Yesterday I showed you some quick Star Wars themed kids cards I made. Today I want to show you a simple Star Wars themed gift bag for that little Jedi in your life!
I decorated up a gift bag from the $2 shop: 

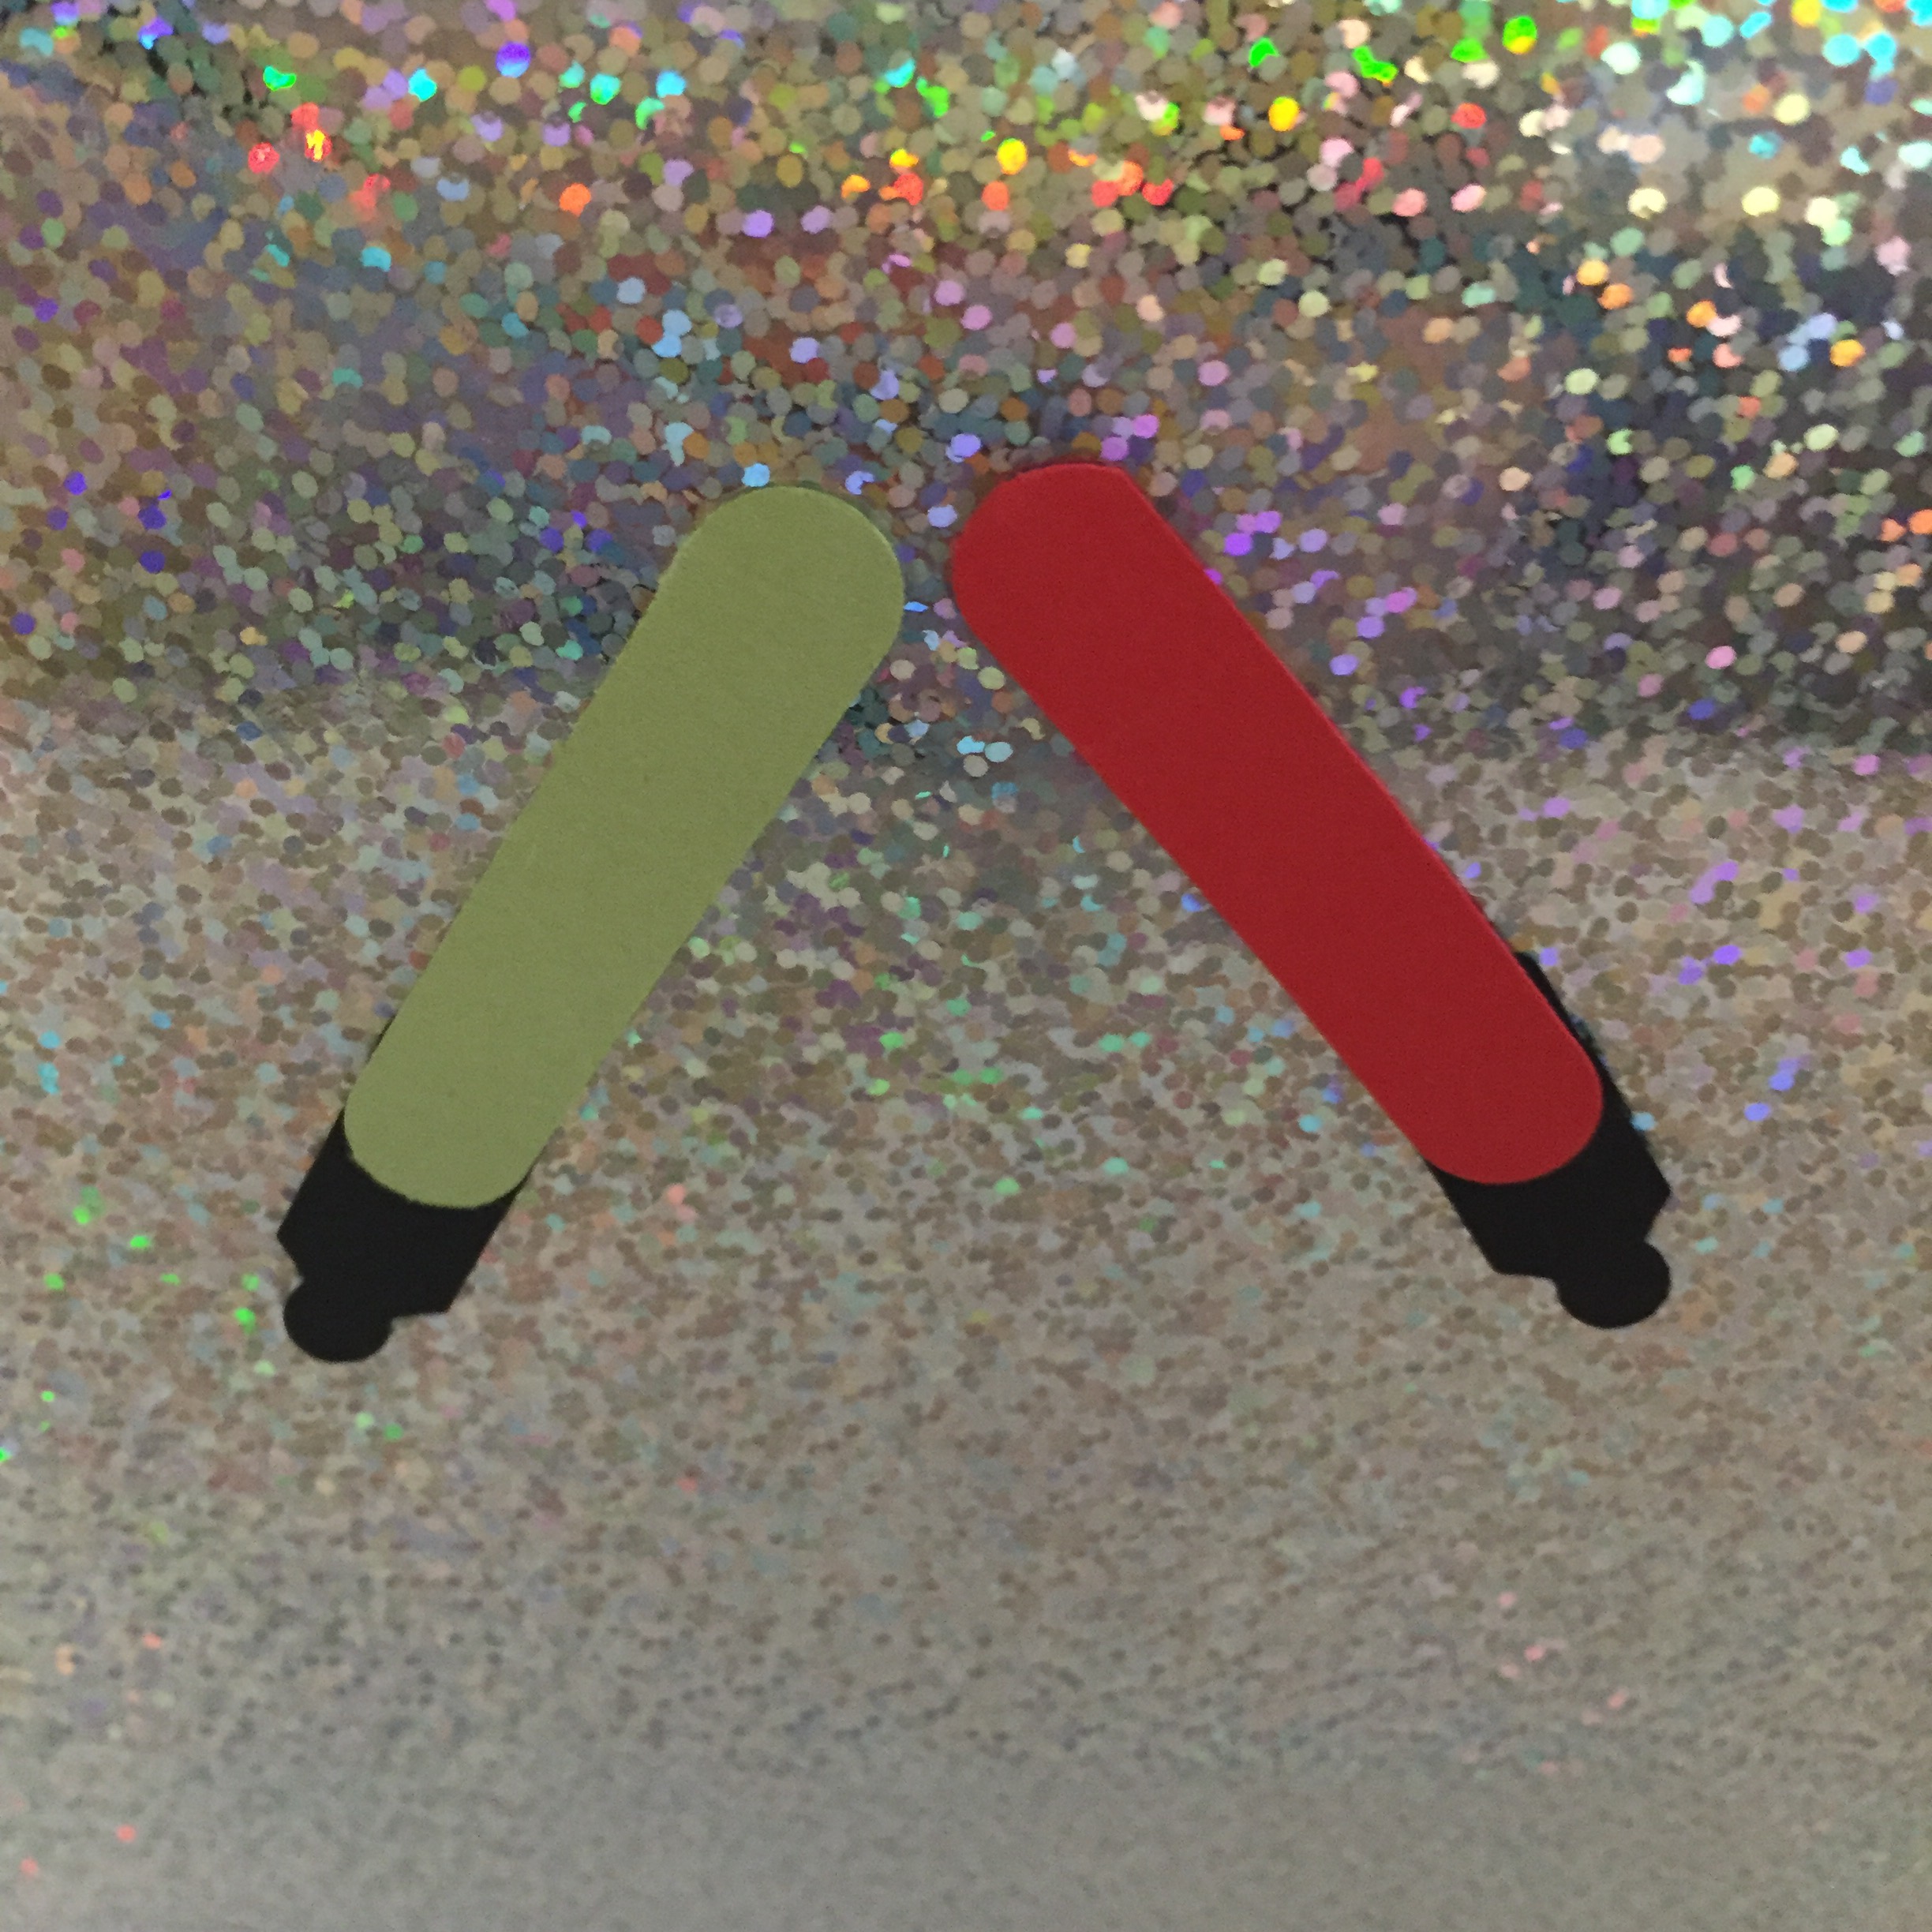
The picture of the Death Star is sized to fit my 1 3/4 circle punch. The lightsabers are made from the word window and jewellery tag punches.
I’m a little bit in love with this one!!!
Caro x
16 Wednesday Apr 2014
Hi
Just a quick post today to show you some cute little Easter baskets we made for the kids at my son’s daycare. He had so much fun making these – it kept him occupied for the best part of 2 hours!
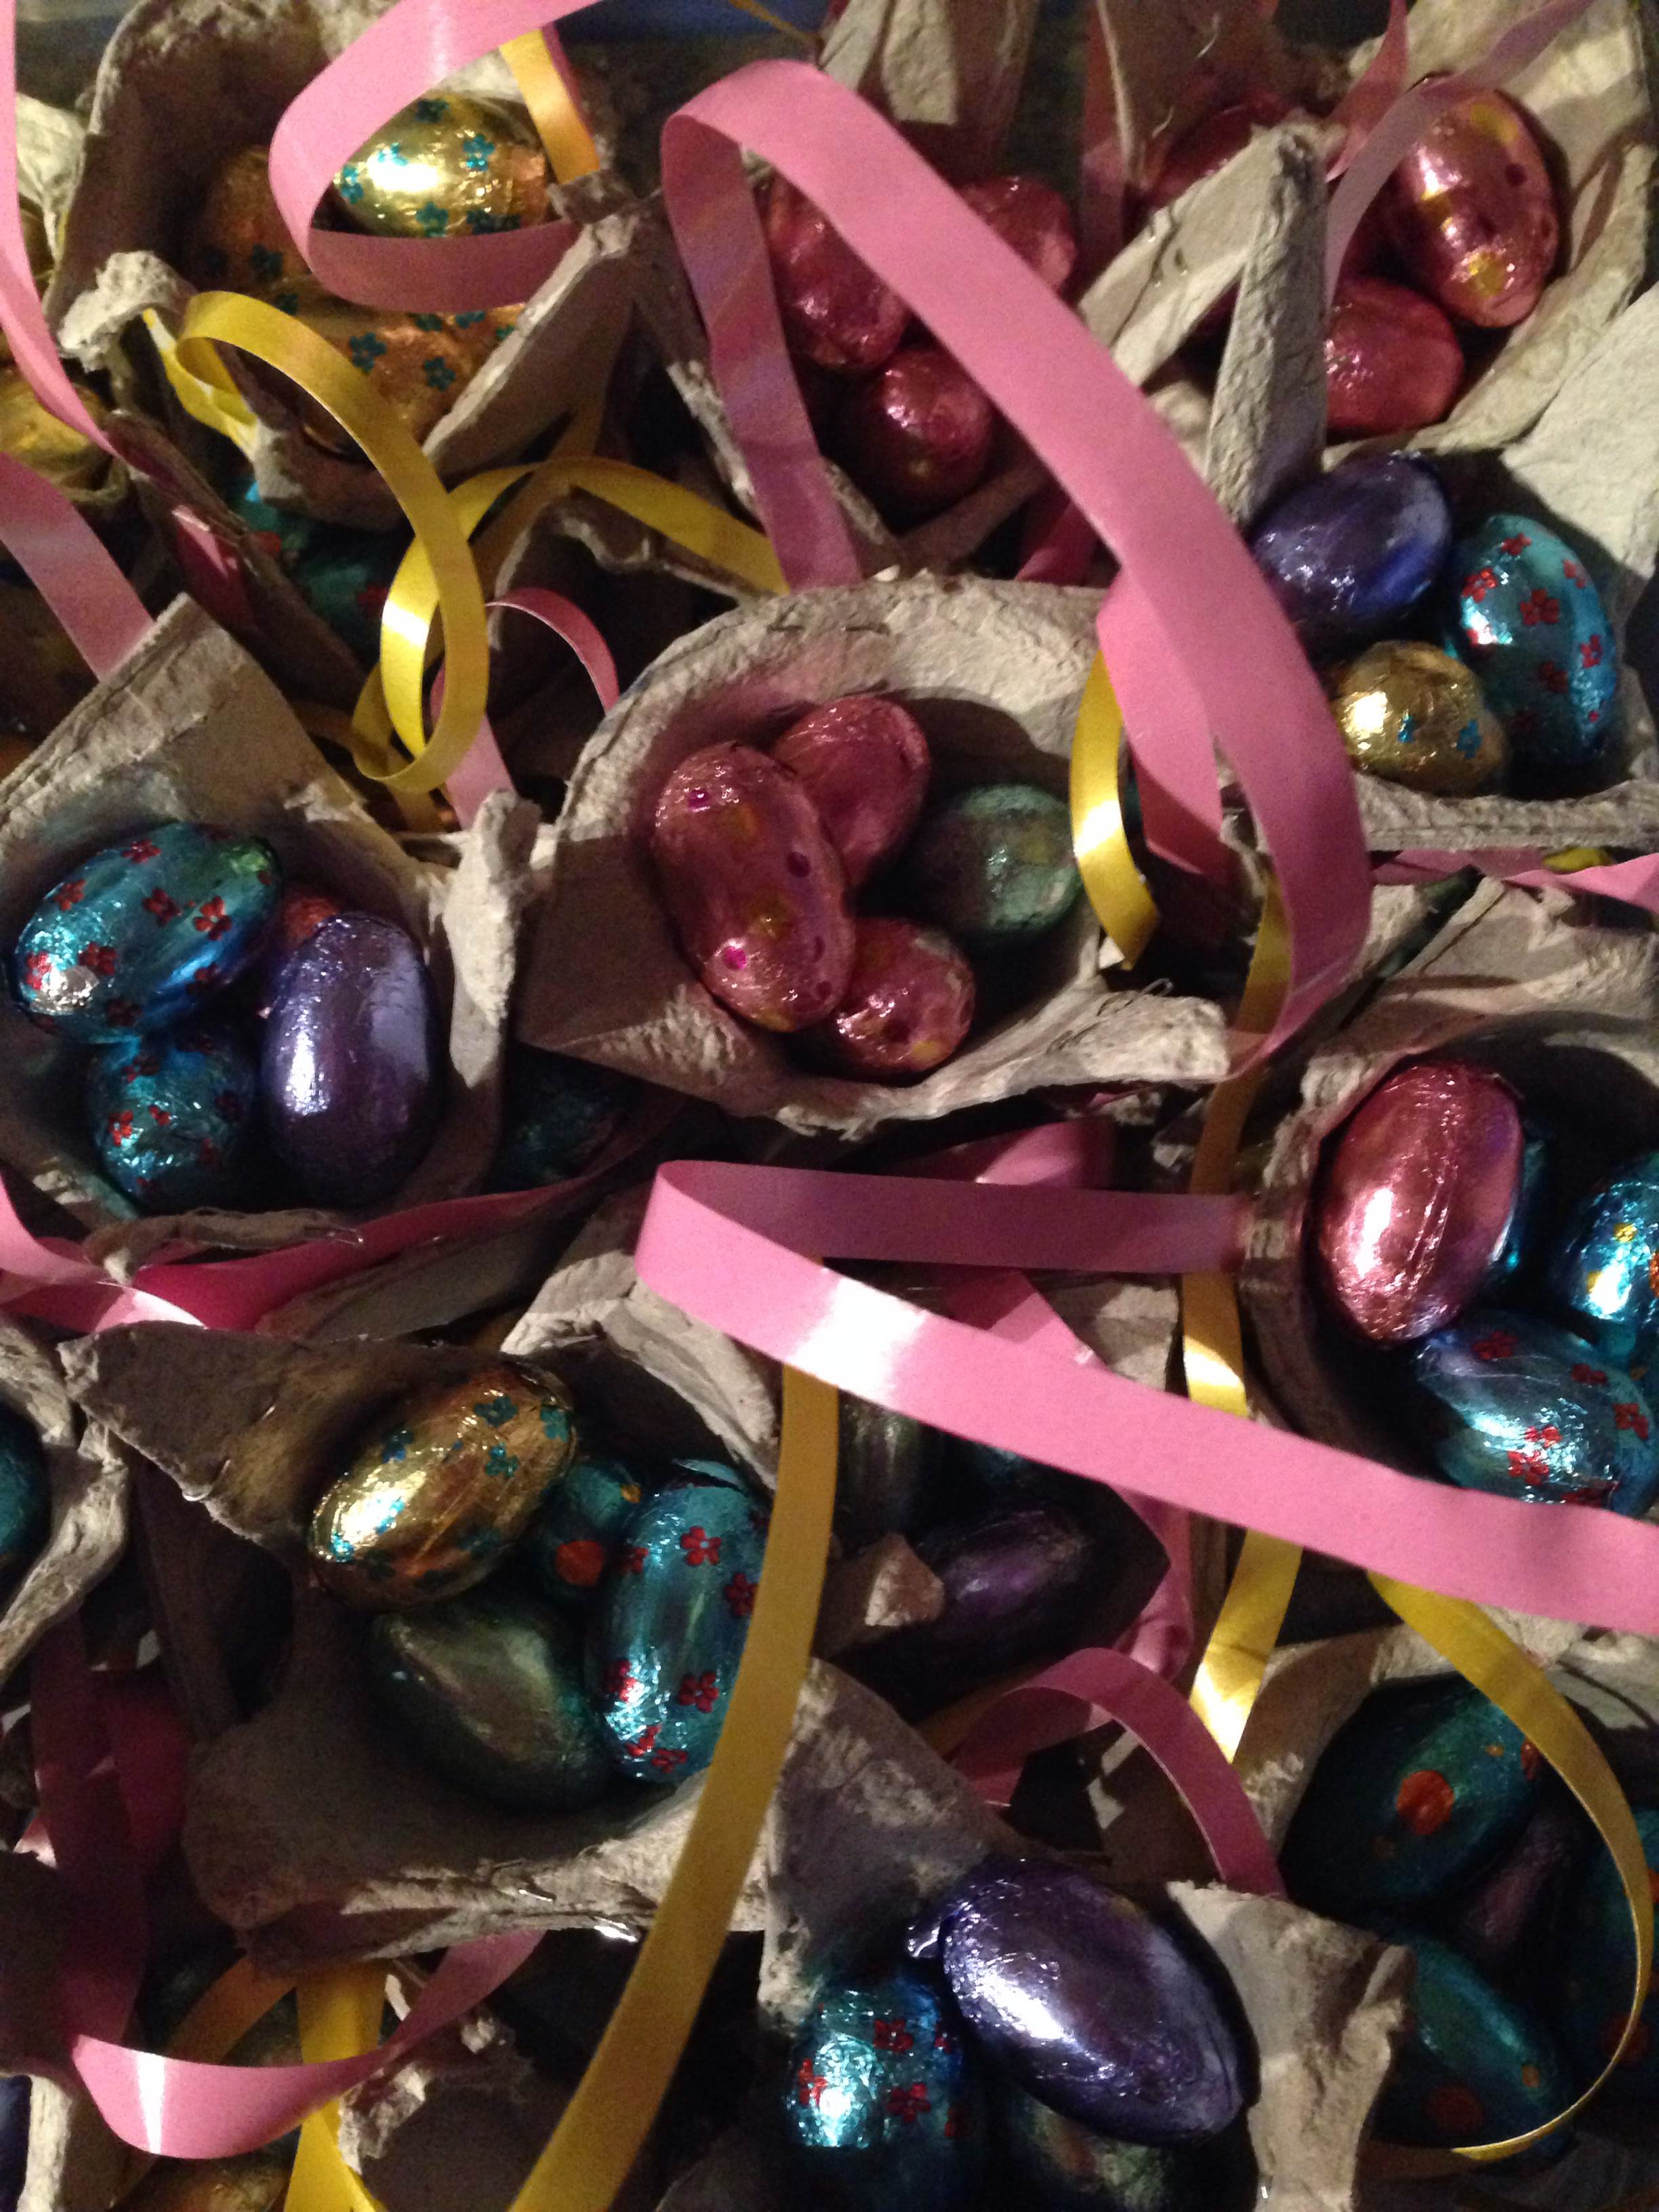
 I cut off the top and closing edge of some egg cartons, then he had a lovely time with his crayons decorating the little egg cups. I then cut these up and we stapled little strips of curling ribbon to make handles for the baskets. Then came the fun part – filling them with Easter eggs!
He took all the baskets in to give to his friends – he was very popular that day!!!!!
They looked so cute all piled up ready to be given out.
 Thanks for reading.
Caro x
15 Tuesday Apr 2014
Tags
circle punch, Easter gifts, Easter treats, kids craft ideas, Lindt bunny craft, scallop circle punch, Scallop tag punch
Hello
Today I wanted to show you some little Easter gifts we made for the teachers at my son’s daycare.
There are so simple to make even a 4 year old can (mostly!) make them – and he (mostly!) did.
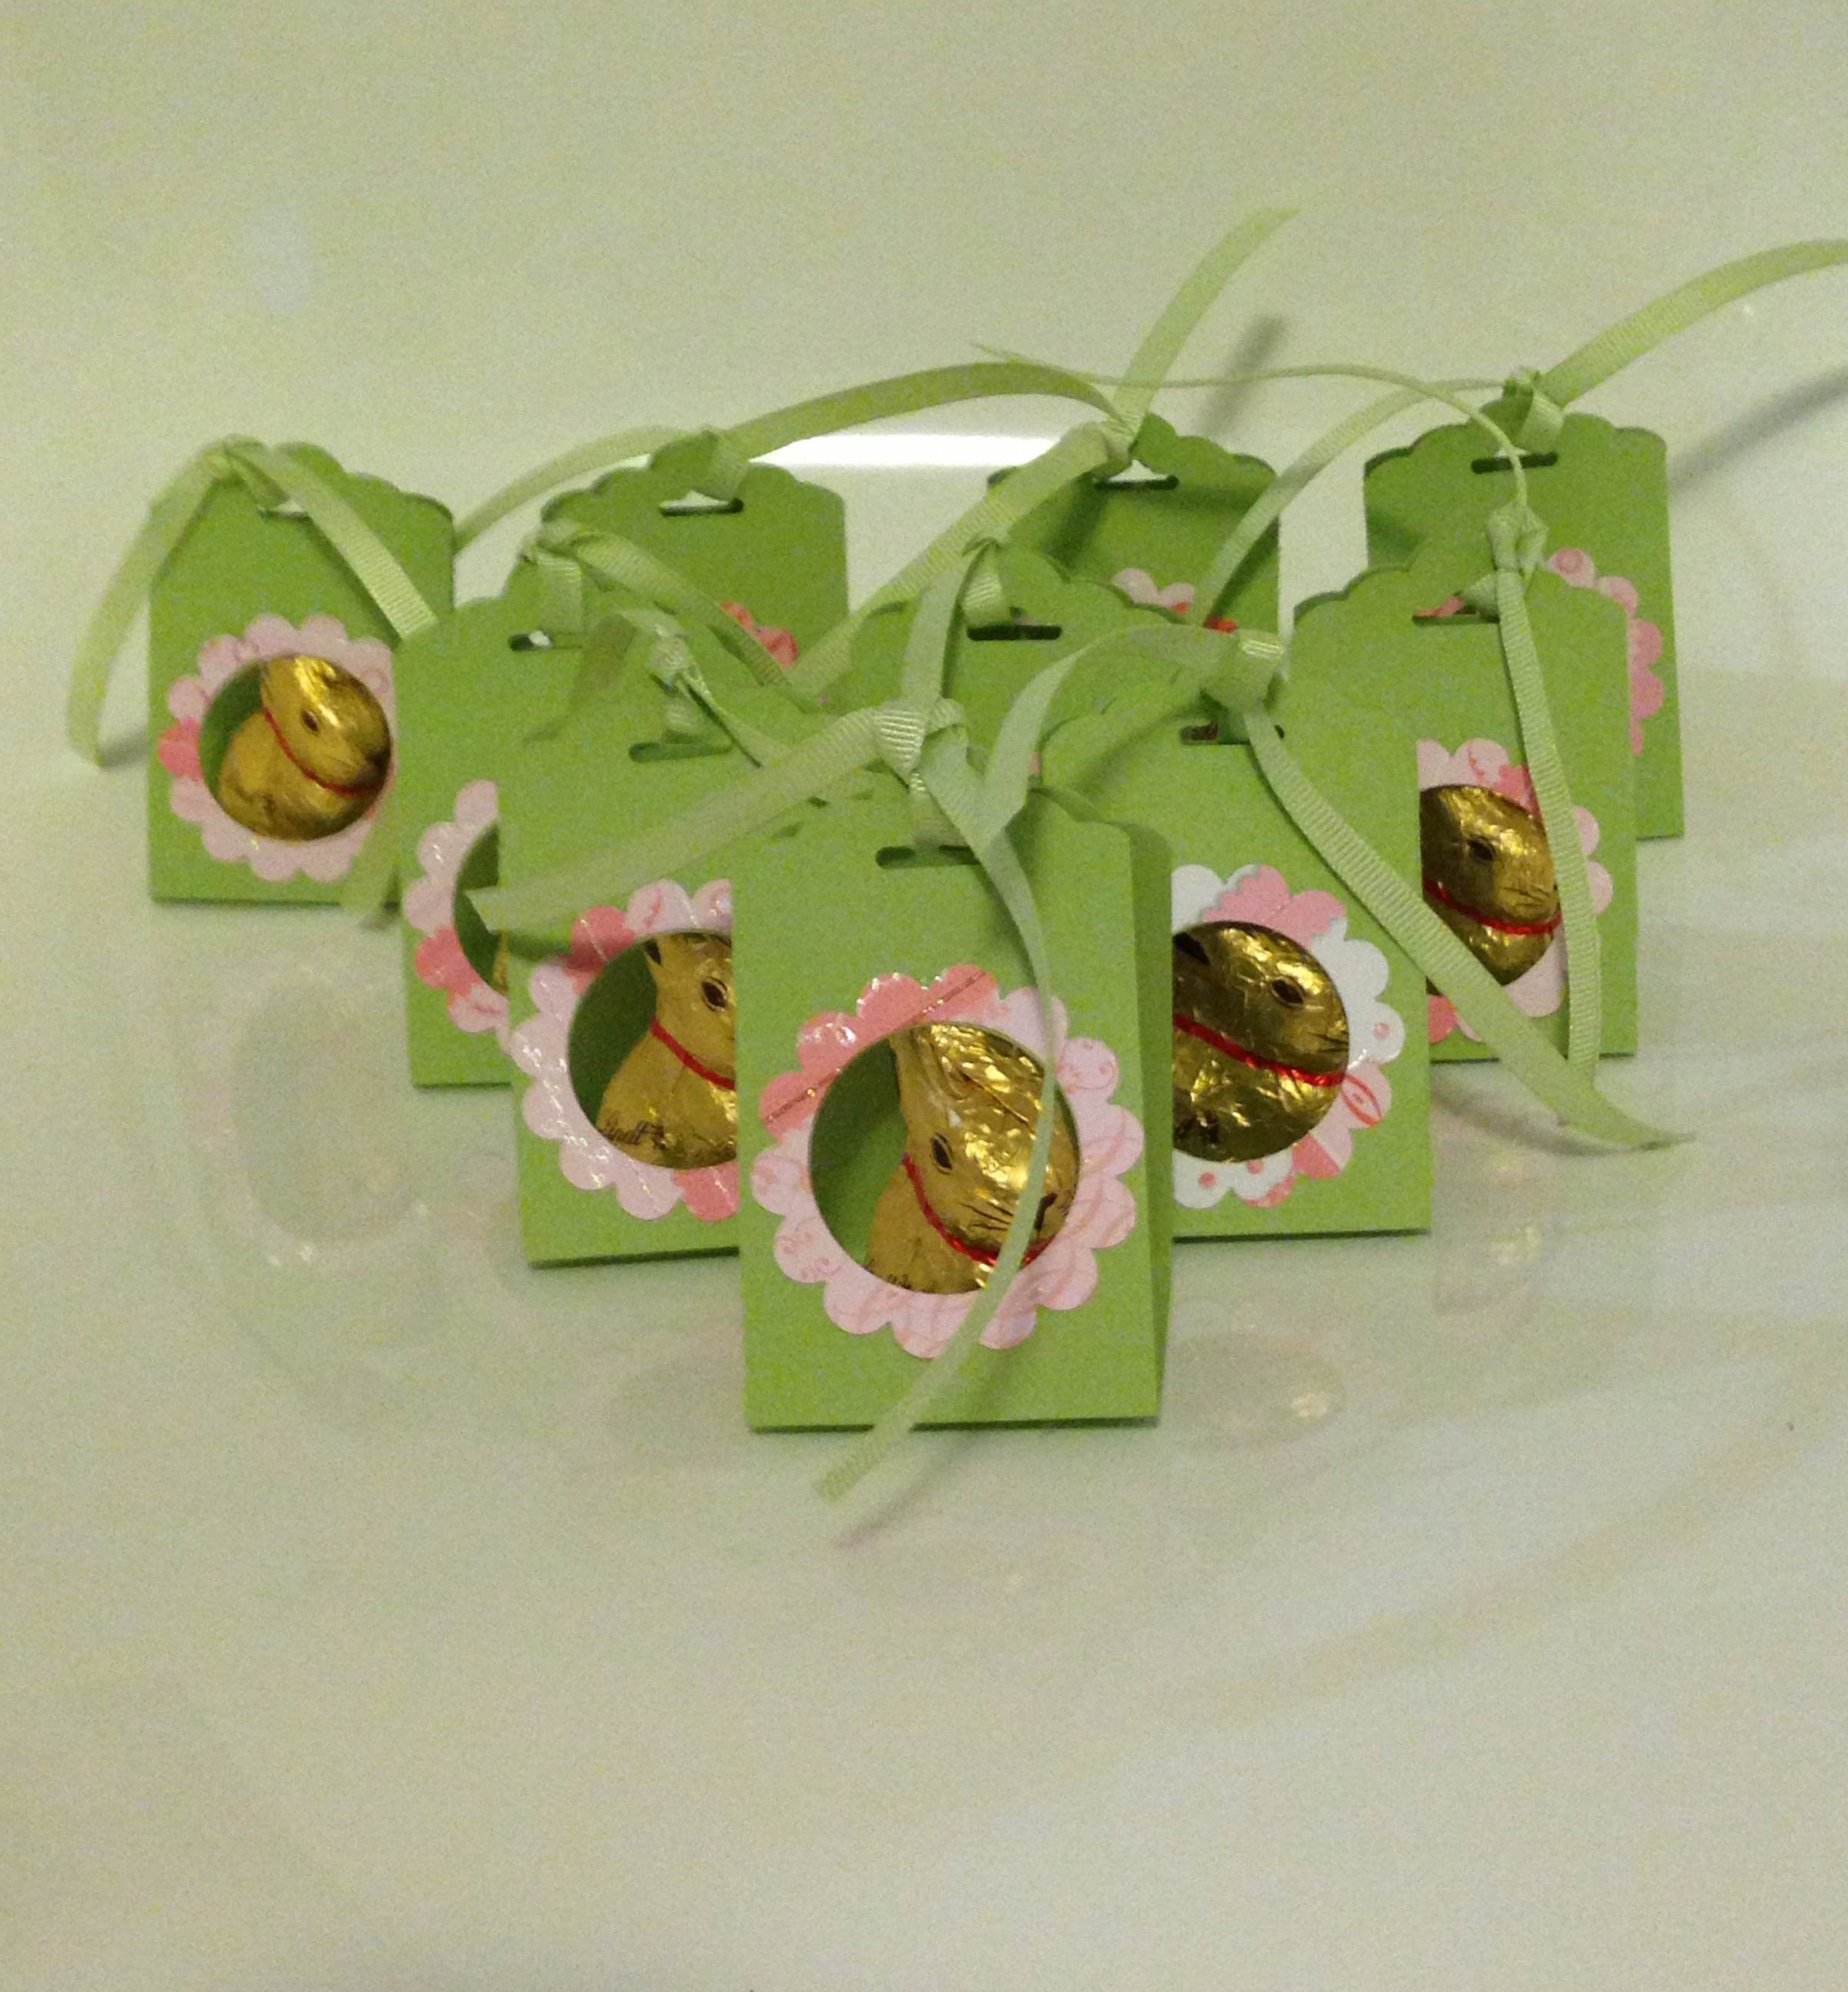
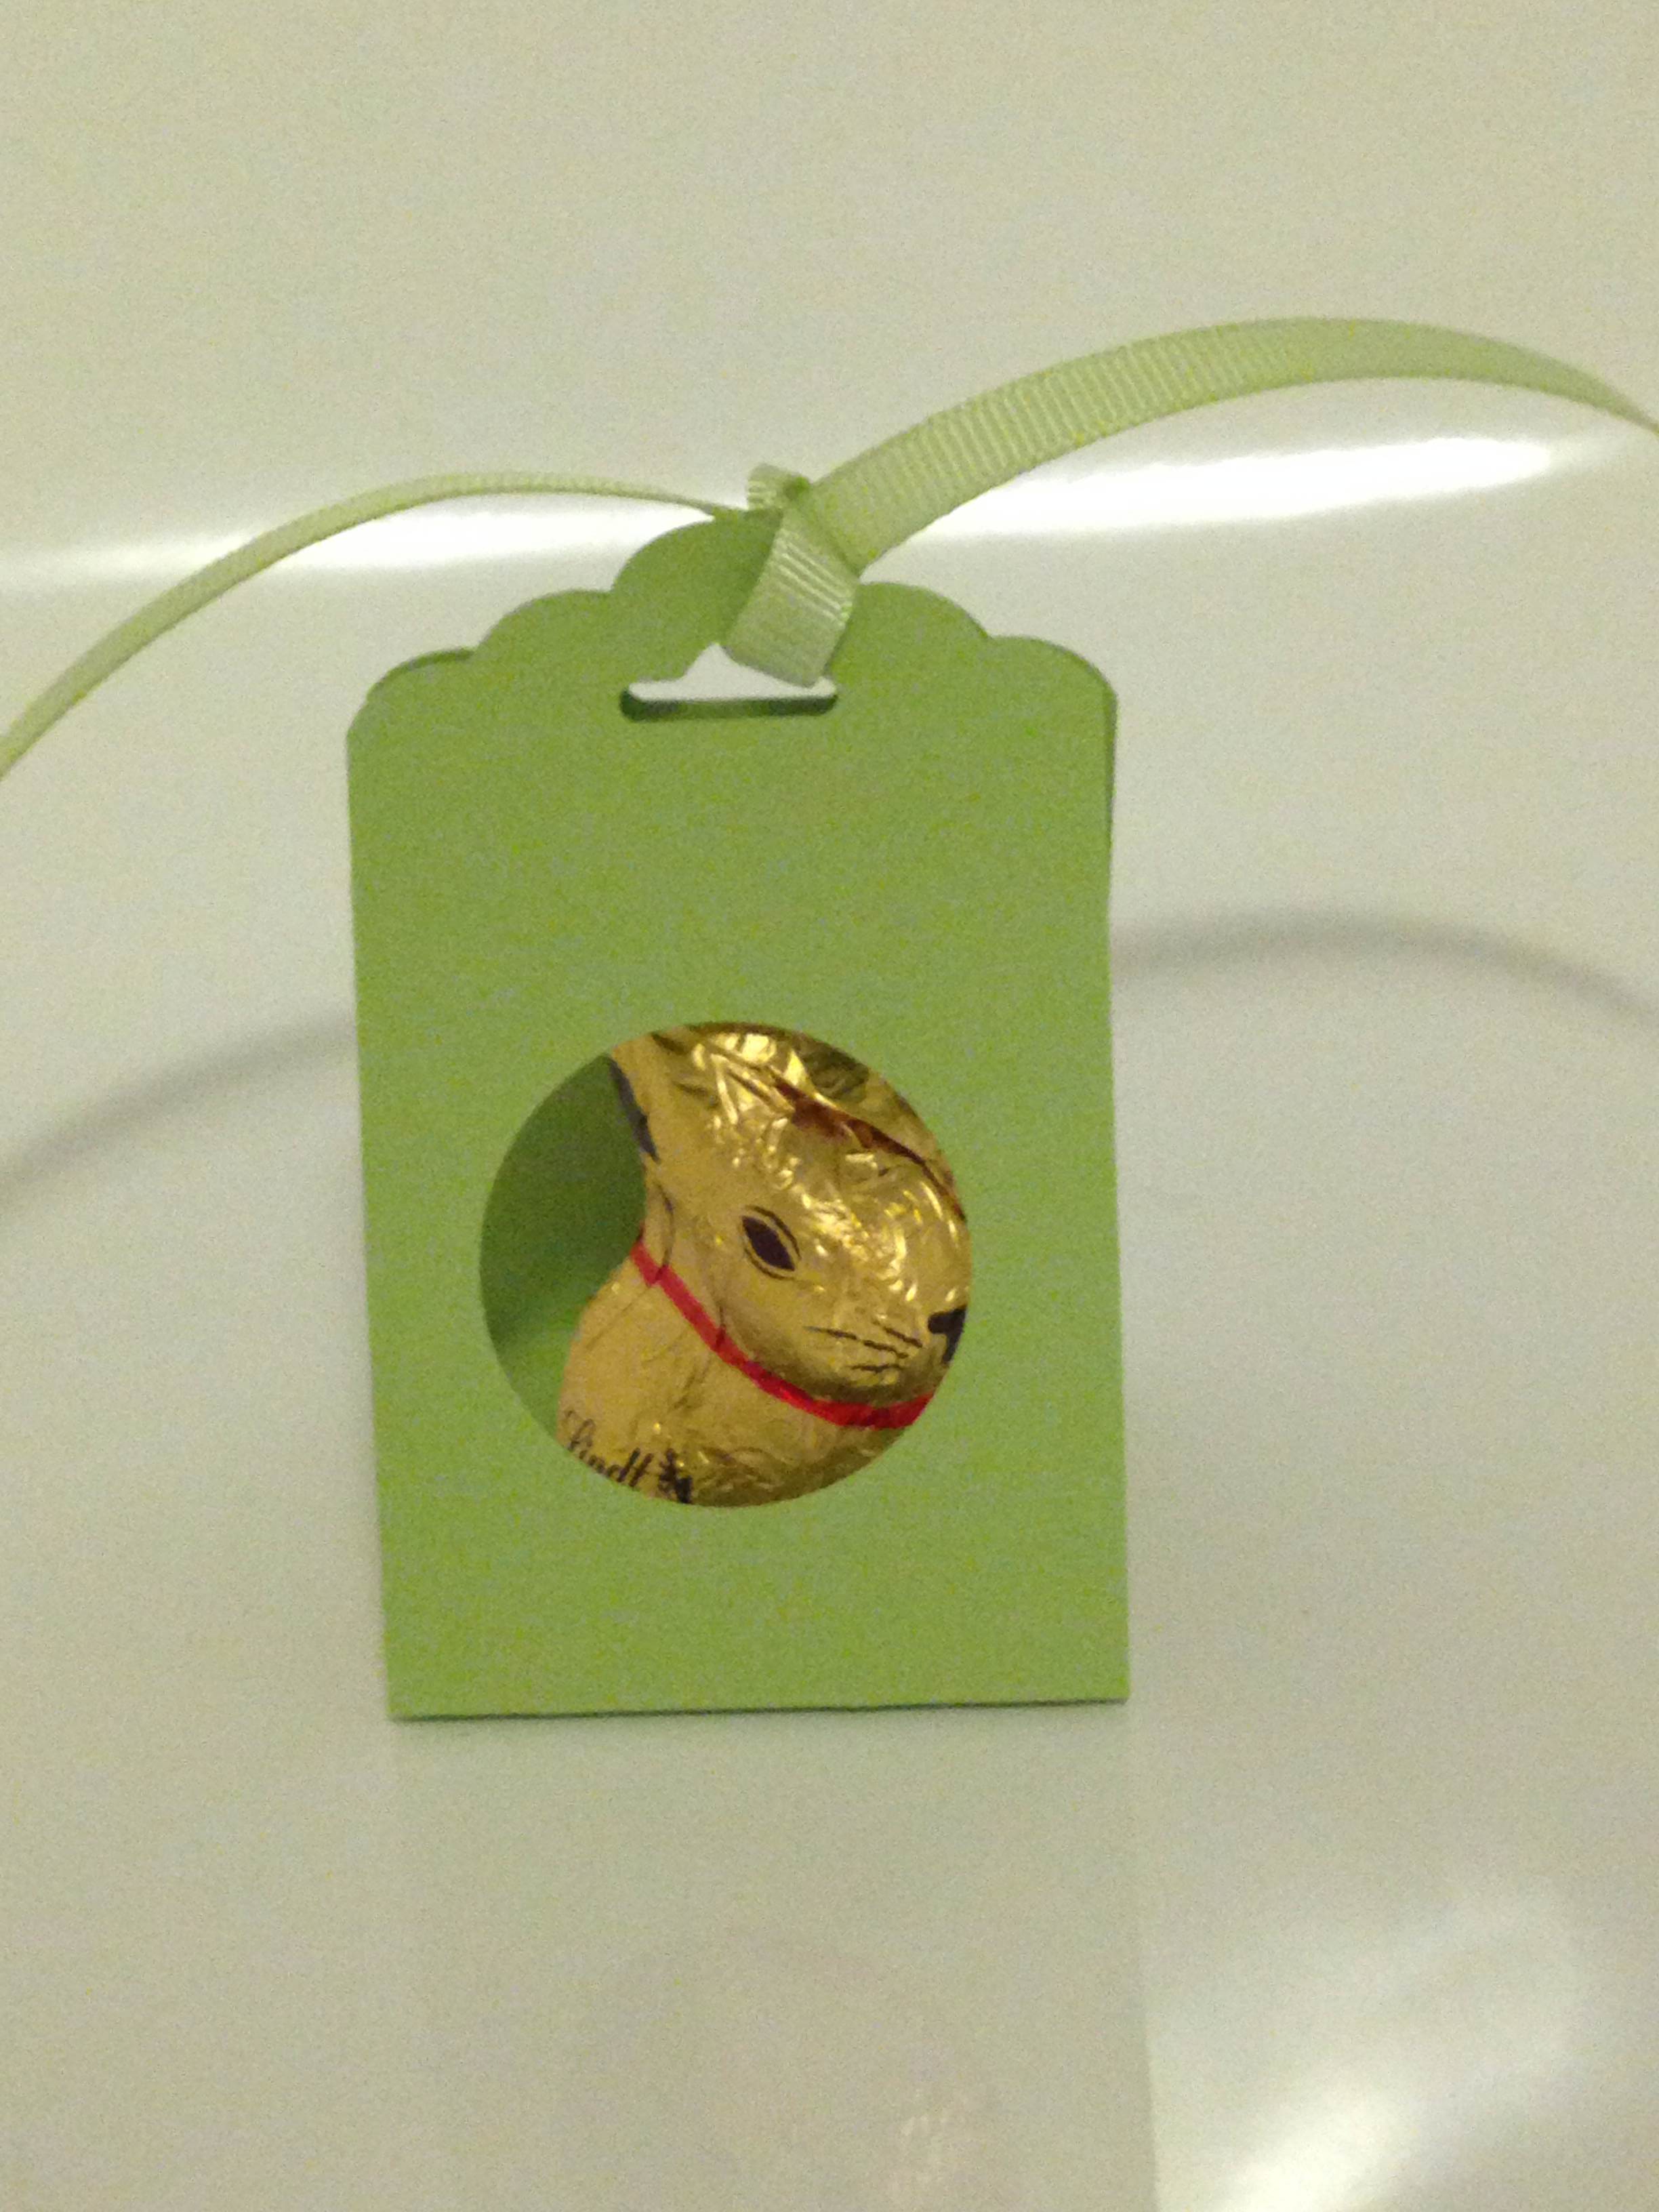
I cut a series of strips of card stock 4.9cm x 21cm long. (21cm is the width of the short edge of an A4 piece of card stock. I’ve found if you cut 4.9cm instead of 5cm wide, not only does the piece fit beautifully into the tag topper punch, but you get 6 strips out of 1 sheet of A4 paper – bargain!)
I scored 8cm in on each side and then punched each end with the tag topper punch. I used my 1 1/4 inch circle punch to make “the window for the bunny’s house” (as my son called it). The chocolates are mini Lindt bunnies that I found in packs of 5 at Kmart. I put a mini glue dot on the bottom to hold the bunny in place, then tied up the top of the tags with ribbon.
James was quite happy with how they looked undecorated:
I however felt the need to ‘pretty it up’ a little further, so made a “window sill” (again, according to James) to go around the window.
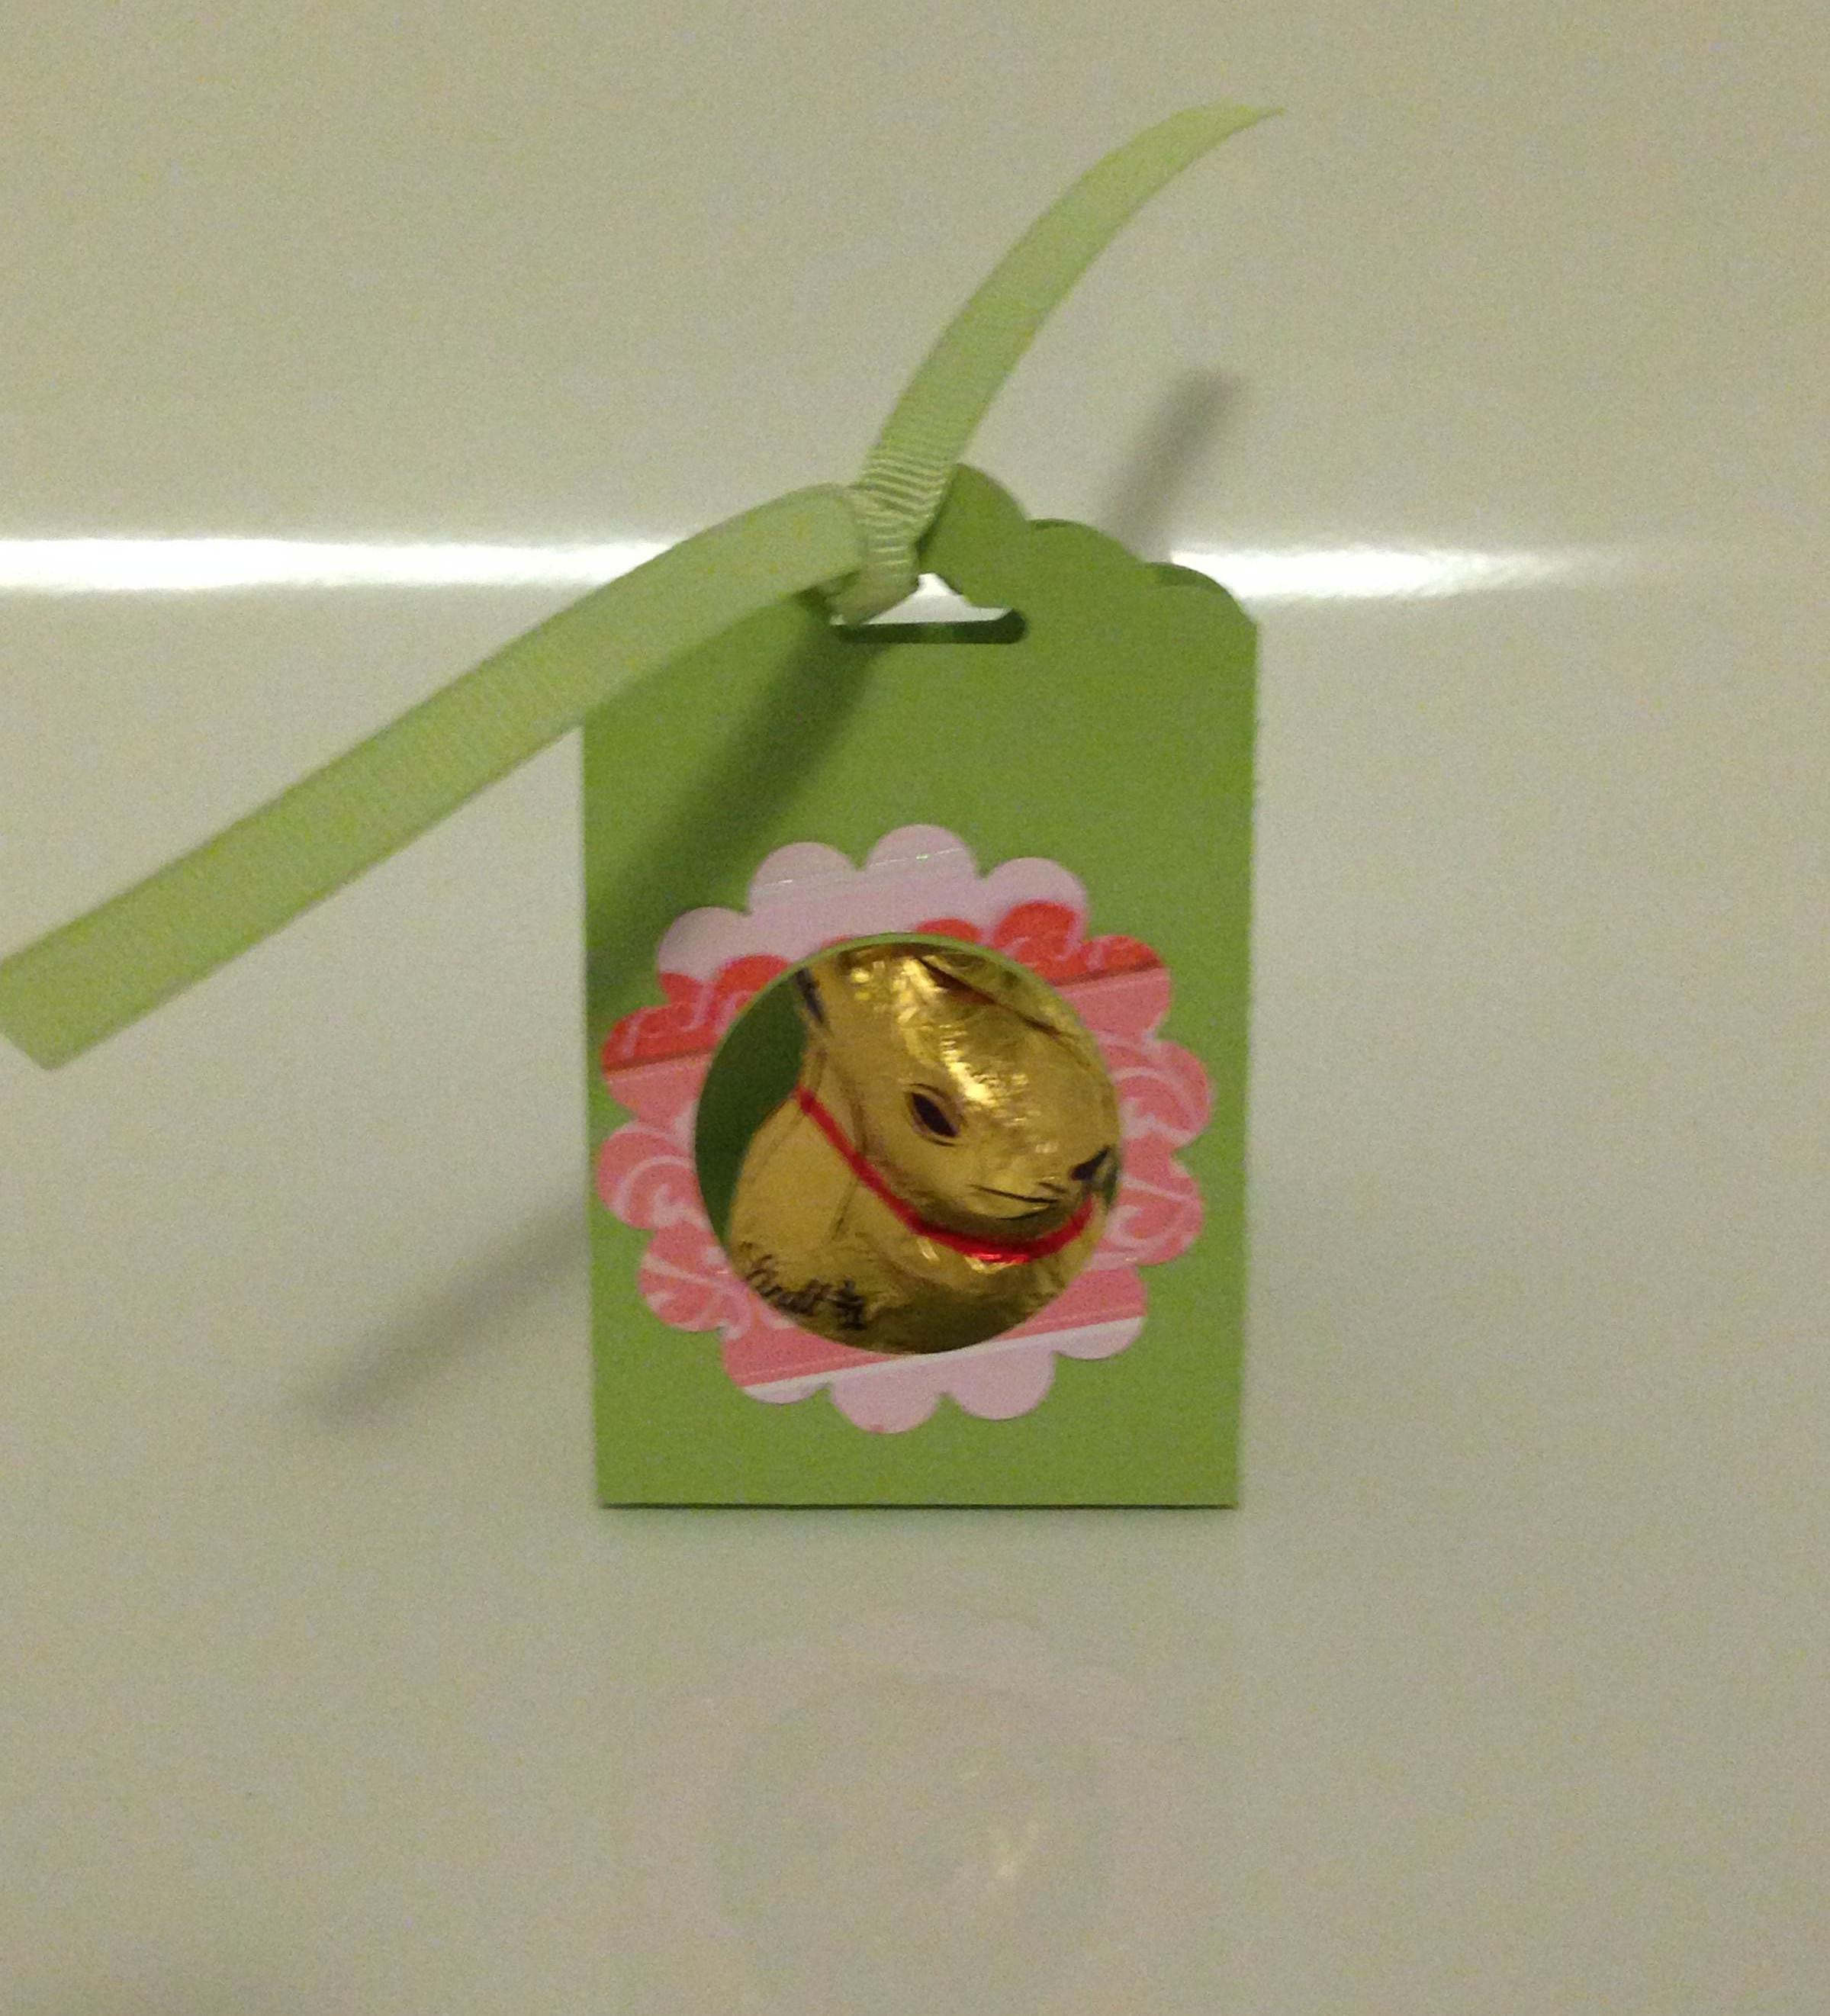
To make this decorative border, punch a 1 1/4 inch circle from some scrap paper – leaving room for the border around the edge of where you’ve punched. Then take your 1 3/4 inch scallop circle punch, centre the hole and punch. Voila – a decorative scallop border perfectly sized to fit your punch!
Here’s hoping his teachers like their little Easter treats.
Caro x
04 Tuesday Mar 2014
Tags
Candy Wrapper die, Easter, Easter Bunny, Easter craft, Easter crafts, Easter decorations, Easter gifts, Gift box, little Easter gift, Stampin Up
Hello
Given we’re starting to head towards thinking about Easter crafts I thought I would show you some pictures of some little Easter gift boxes I made last year for our Easter brunch.
 These are made with the Stampin’ Up! Candy Wrapper Bigz Die which is retired from the current catalogue, but thankfully making a return at a whopping discount in the current Clearance Rack *.
Here is a close up of one:
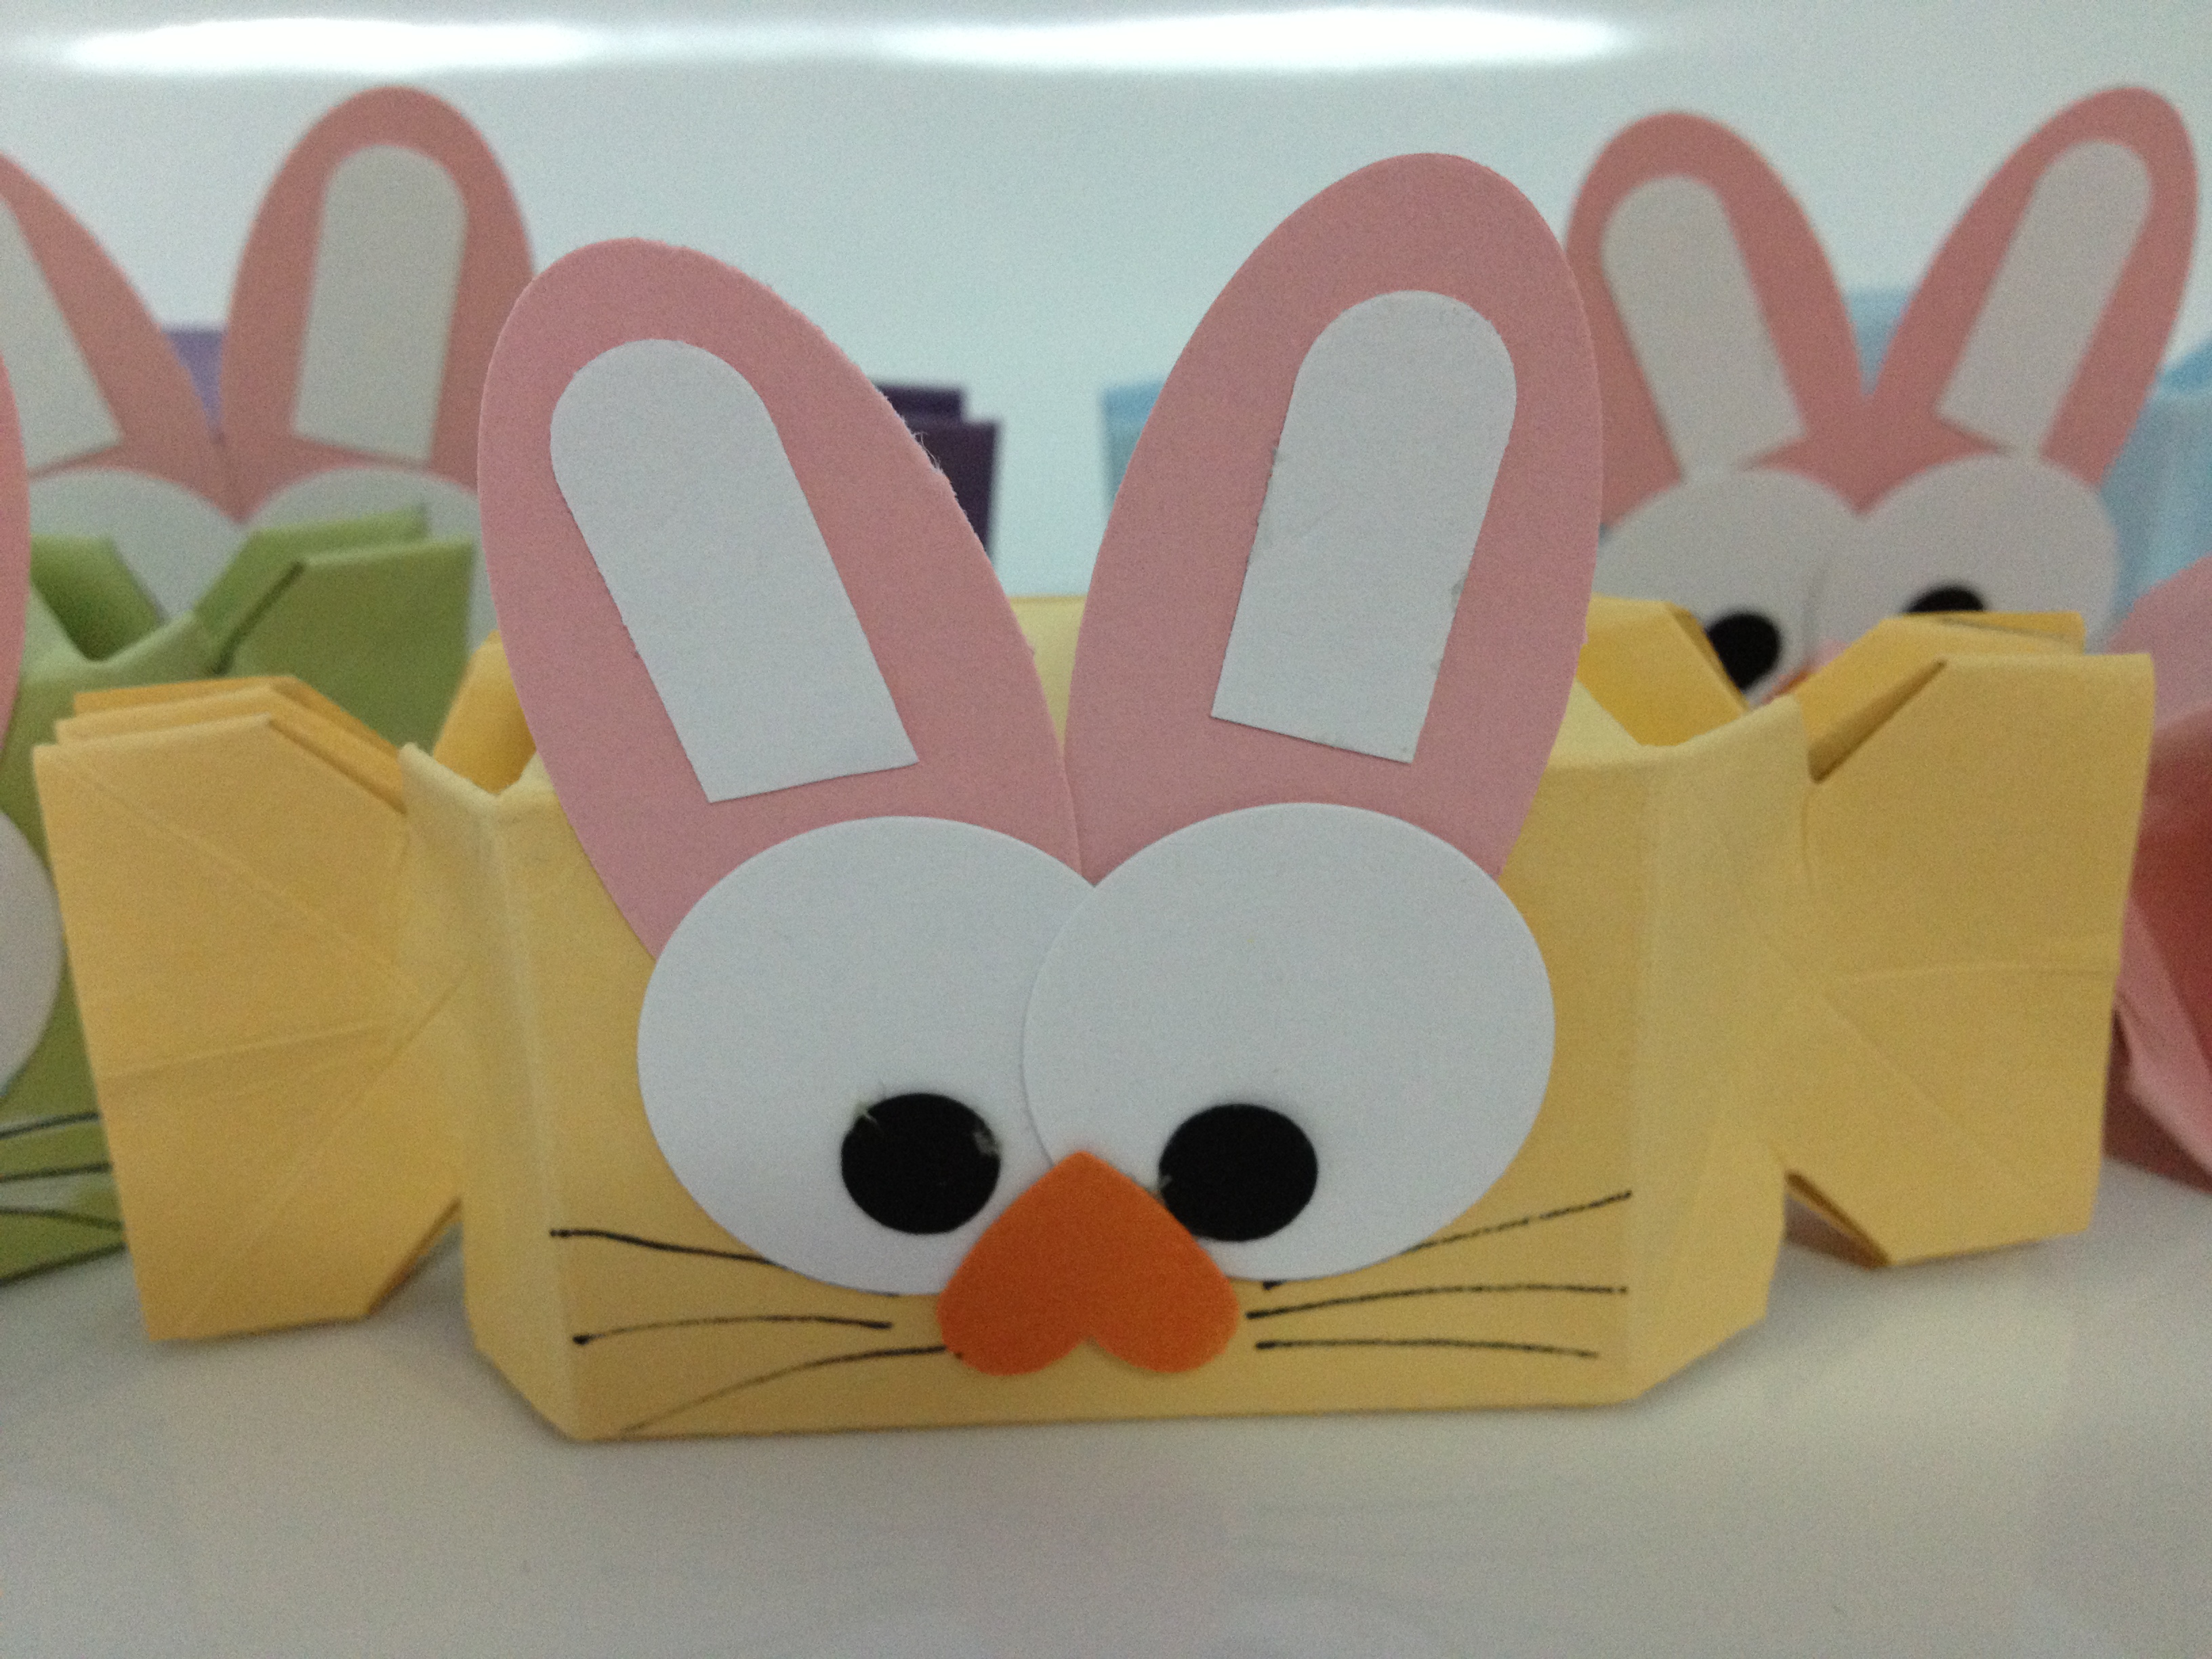
The eyes are made with circle punches, the nose is an upside down small heart punch, and the ears are made from the extra large oval punch and the word window punch (cut off). I drew on the whiskers but you could probably be fancy and use twine.
These looked so cute on the table and lots of mini eggs fitted beautifully inside.
I hope that kick starts you thinking of some cute Easter craft! Thanks for reading.
Caro x
*As always, please let me know if you’d like to purchase any of the Stampin’ Up! products you see on my blog, or any of the other products in the catalogue for that matter 🙂
19 Wednesday Feb 2014
Posted in 3D projects, Boxes, Gift bags
Tags
Because I hadn’t posted on my blog for a few months, I am showing you something I did at Christmas time in February! I guess you could get really organised for next year and make some now! Or you could change the colour scheme and this would make a nice little housewarming or thank you gift at any time throughout the year.
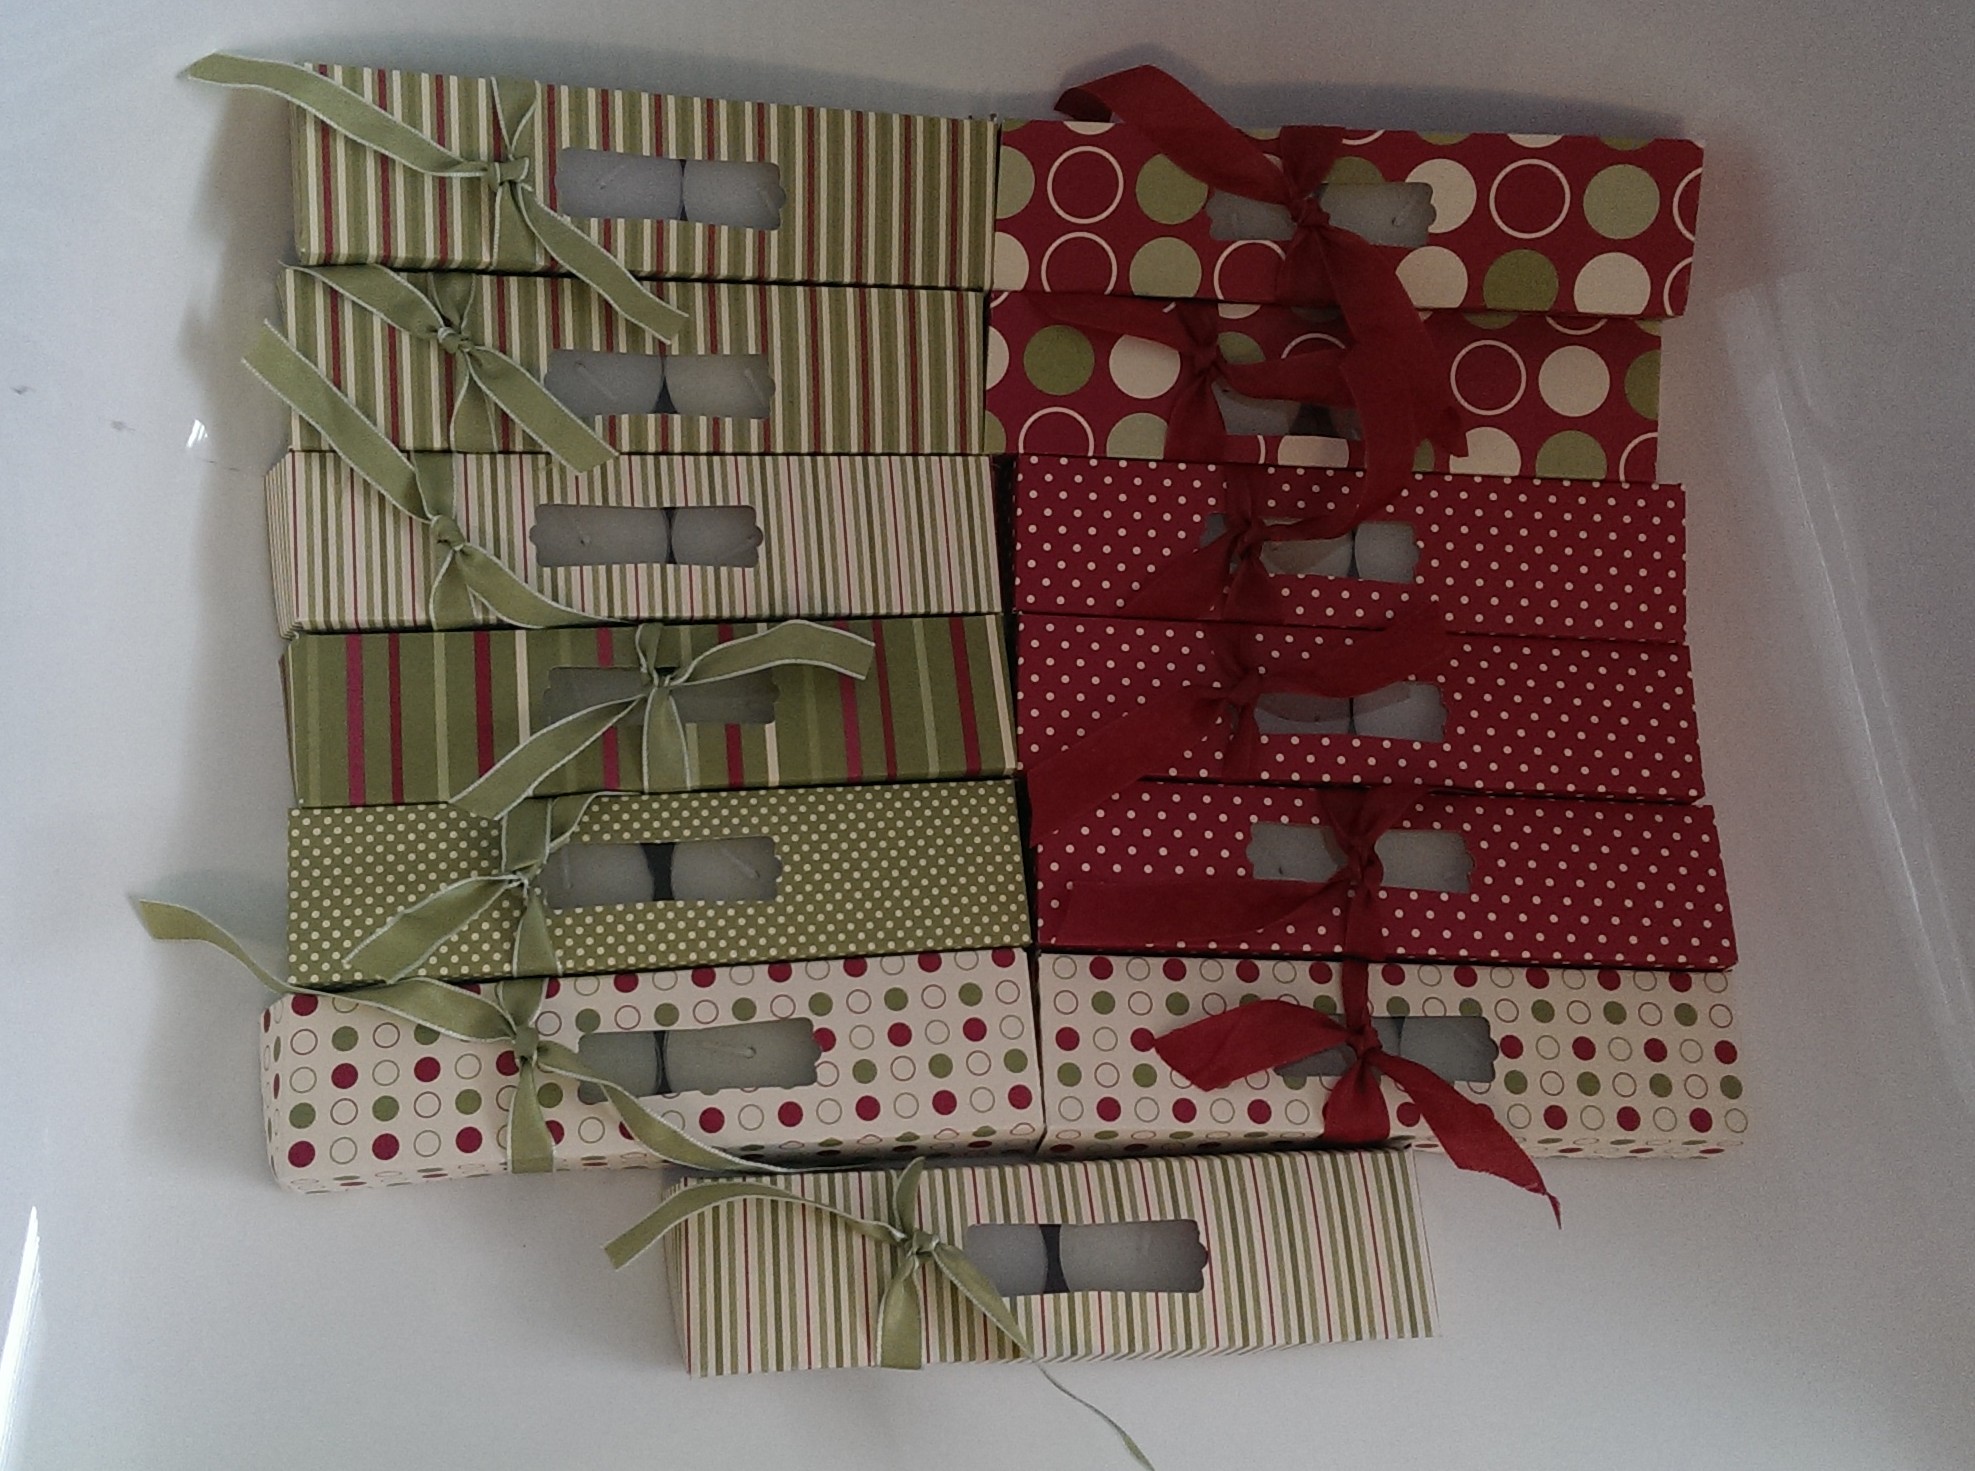
I got this idea from a video on YouTube by Pootles Papercraft. ** They were so easy to make. These are a batch I made for some of my son’s various teachers.
I think I might have found myself a new ‘go to’ quick gift – some nice candle holders with a little decorated box of tea light candles to go with it.
Thanks for reading
Caro
** I didn’t follow the directions in the video perfectly (the video shows you how to make a fold flat box). I didn’t bother with the fancy folds described in the video to make my boxes fold flat. I just cut a simple flap and stuck it down like a normal box. If this doesn’t make sense leave a comment and I’ll try and explain what I mean 🙂
15 Sunday Sep 2013
Posted in 3D projects, Gift bags, Gift card holders, Using up scraps
Hello. Thanks for dropping by!
Yesterday I showed you a little folder I made to give away some photos to some family members. Today I want to show you something else I’ve made previously using a similar idea – a little tea bag holder you can give to someone as a ‘get well’ gift, welcome to the neighbourhood card etc. My Mum liked the idea of having some of these at the op shop where she volunteers for people who come in for a chat.

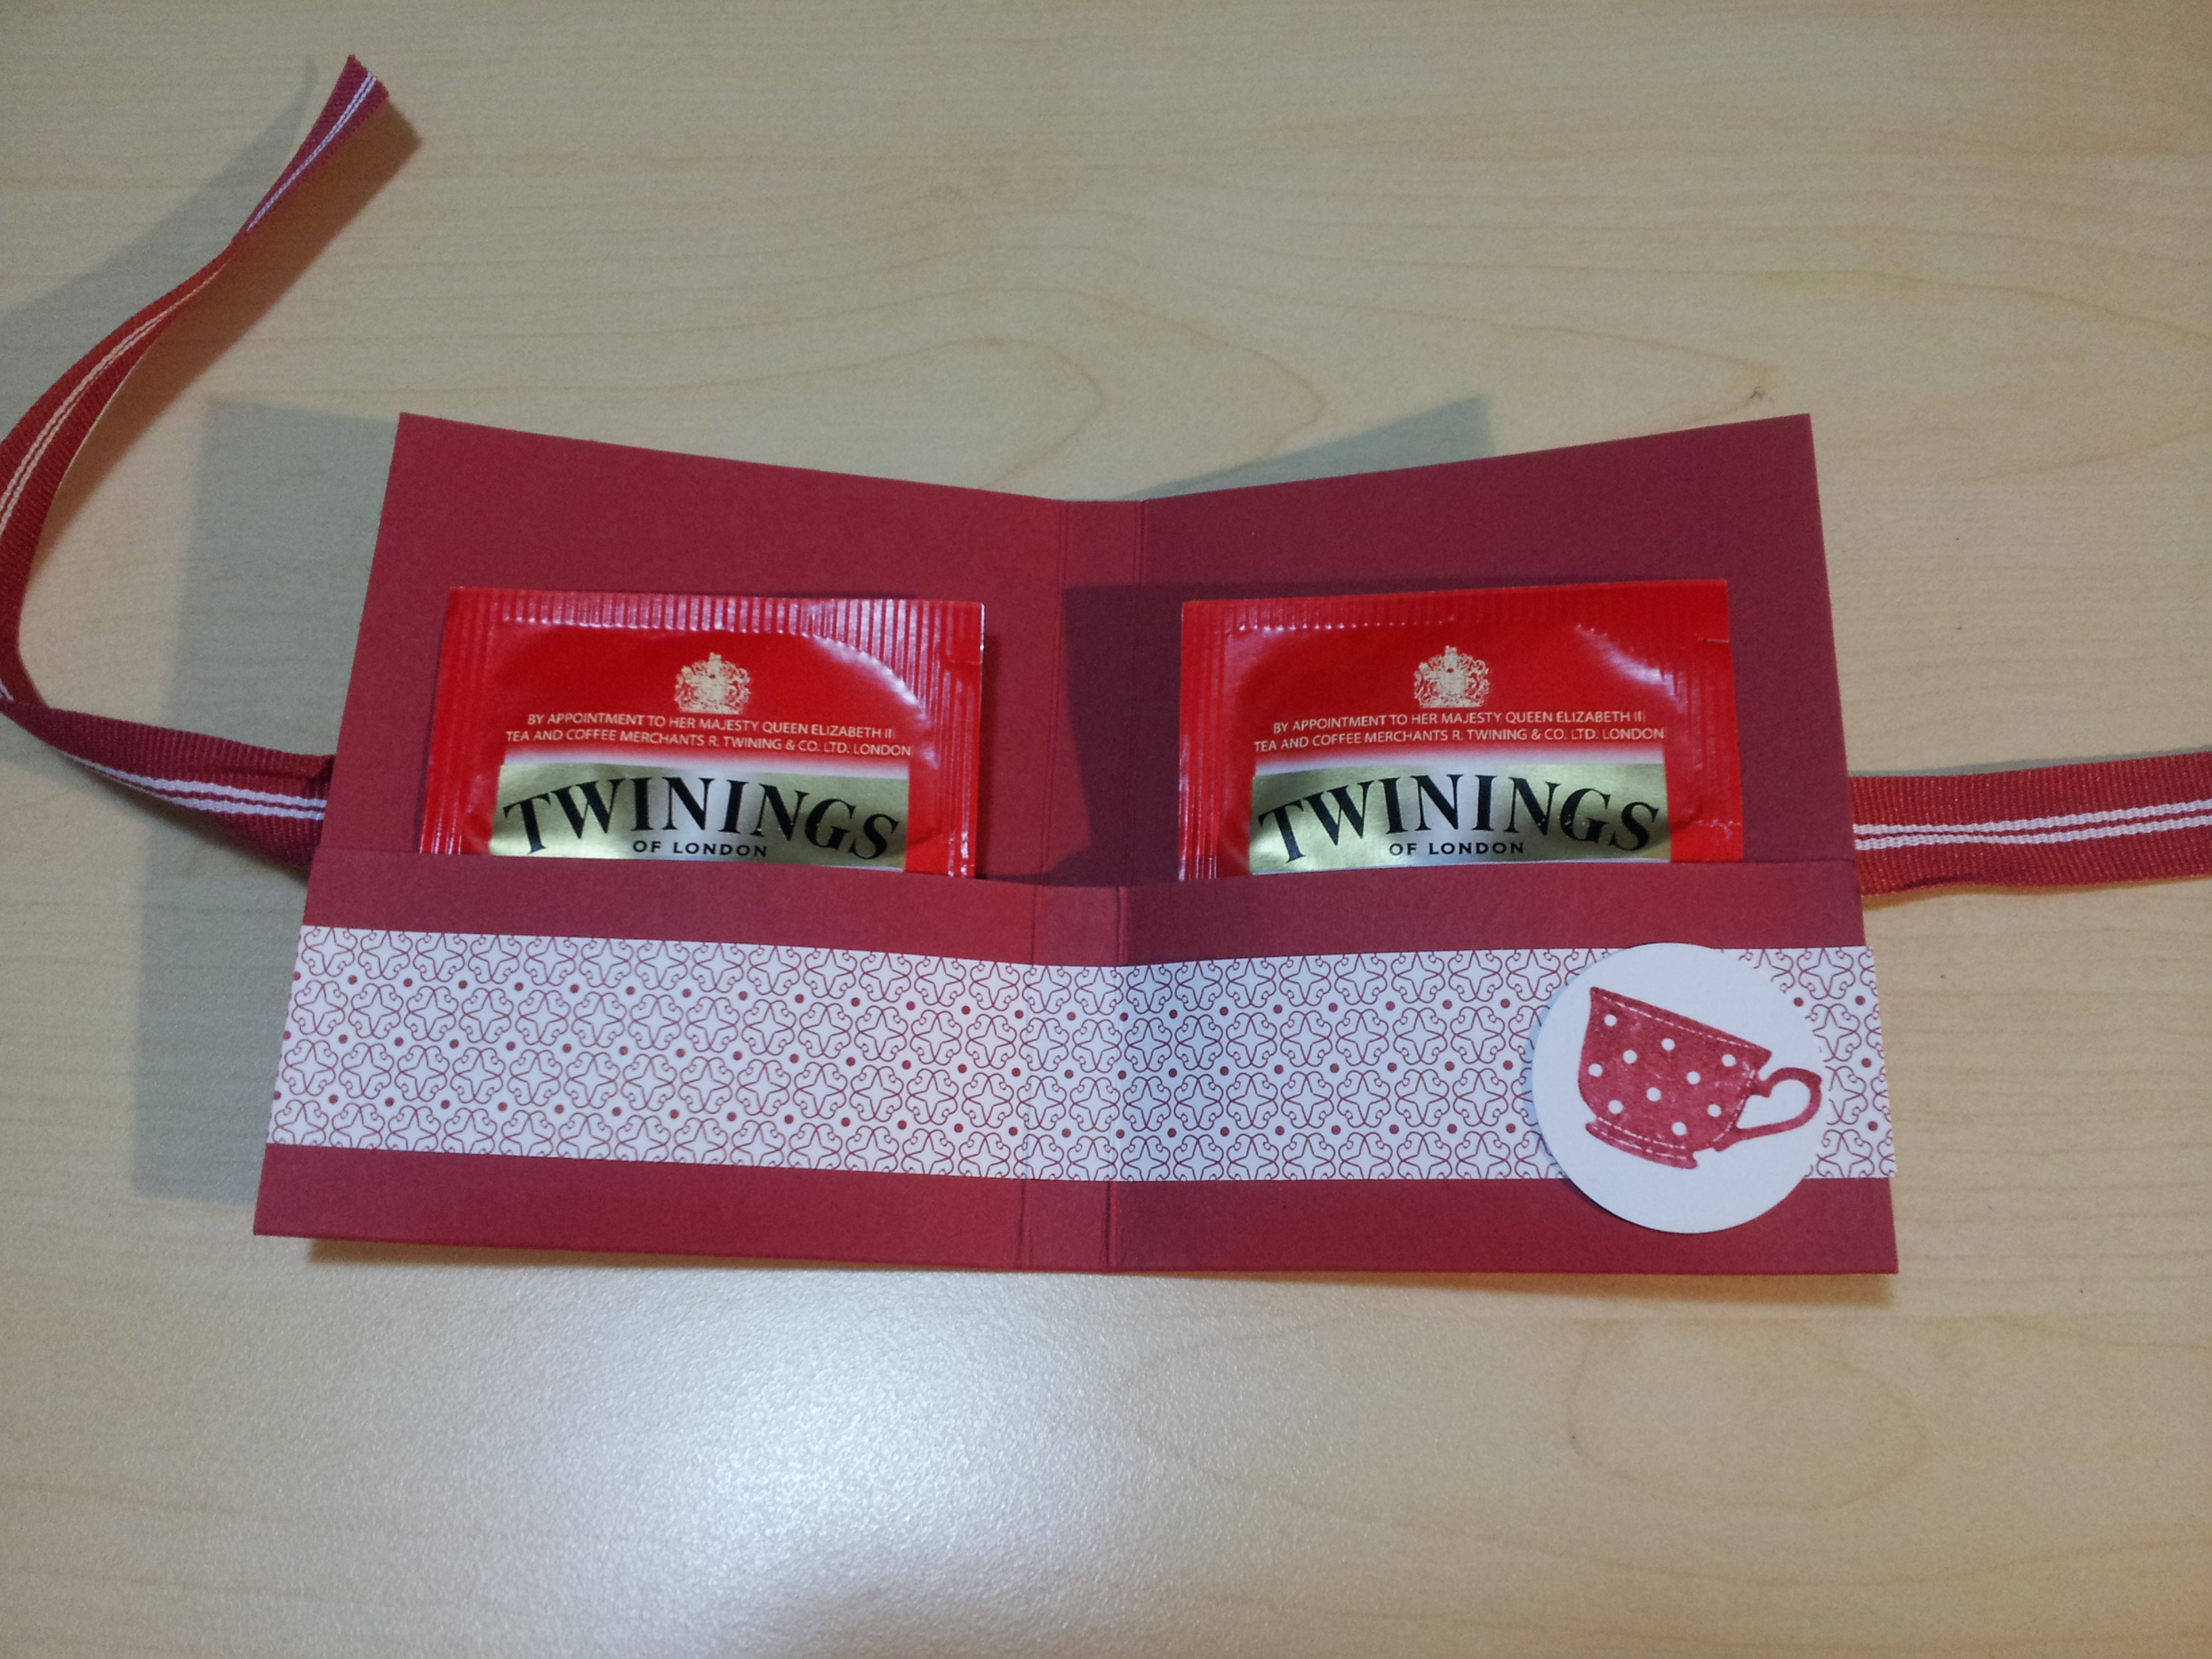
These are made using a very similar concept as yesterday’s folders. You use a piece of card stock, fold it up to make a pouch to hold the tea bags and glue the sides of the folded up piece so they don’t fall out. I spent a little more time decorating these using strips of DSP and ribbon to tie them closed. The tea cup image here is a retired Stampin’ Up! a la carte stamp called Tiny Teacup, but there are lots of beautiful images in the current Tea Party set which would look equally good (or probably better, I have had my eye on that set for ages!)
This size would be ideal for gift cards as well.
Enjoy!
Caro
14 Saturday Sep 2013
Posted in 3D projects, Gift bags, Gift card holders, Using up scraps
Tags
Hello! Sorry for the gap between posts. I had some time off work (a lovely holiday to Daydream Island) and then a very busy first week back at work.
While we were on holidays I had some beautiful photos taken and have printed off copies to give to various friends and family. After I’d organised the piles of reprints on my desk I decided I wanted to make something a bit nicer than a boring envelope to put them in to give to people.
I have a whole collection of retired Stampin’ Up! designer series paper (DSP) lying around (it’s so gorgeous it’s kinda addictive!) so decided to try using up some of my stash. Here’s what I came up with – some little gift folders just big enough to put photos and a small note card/message in:


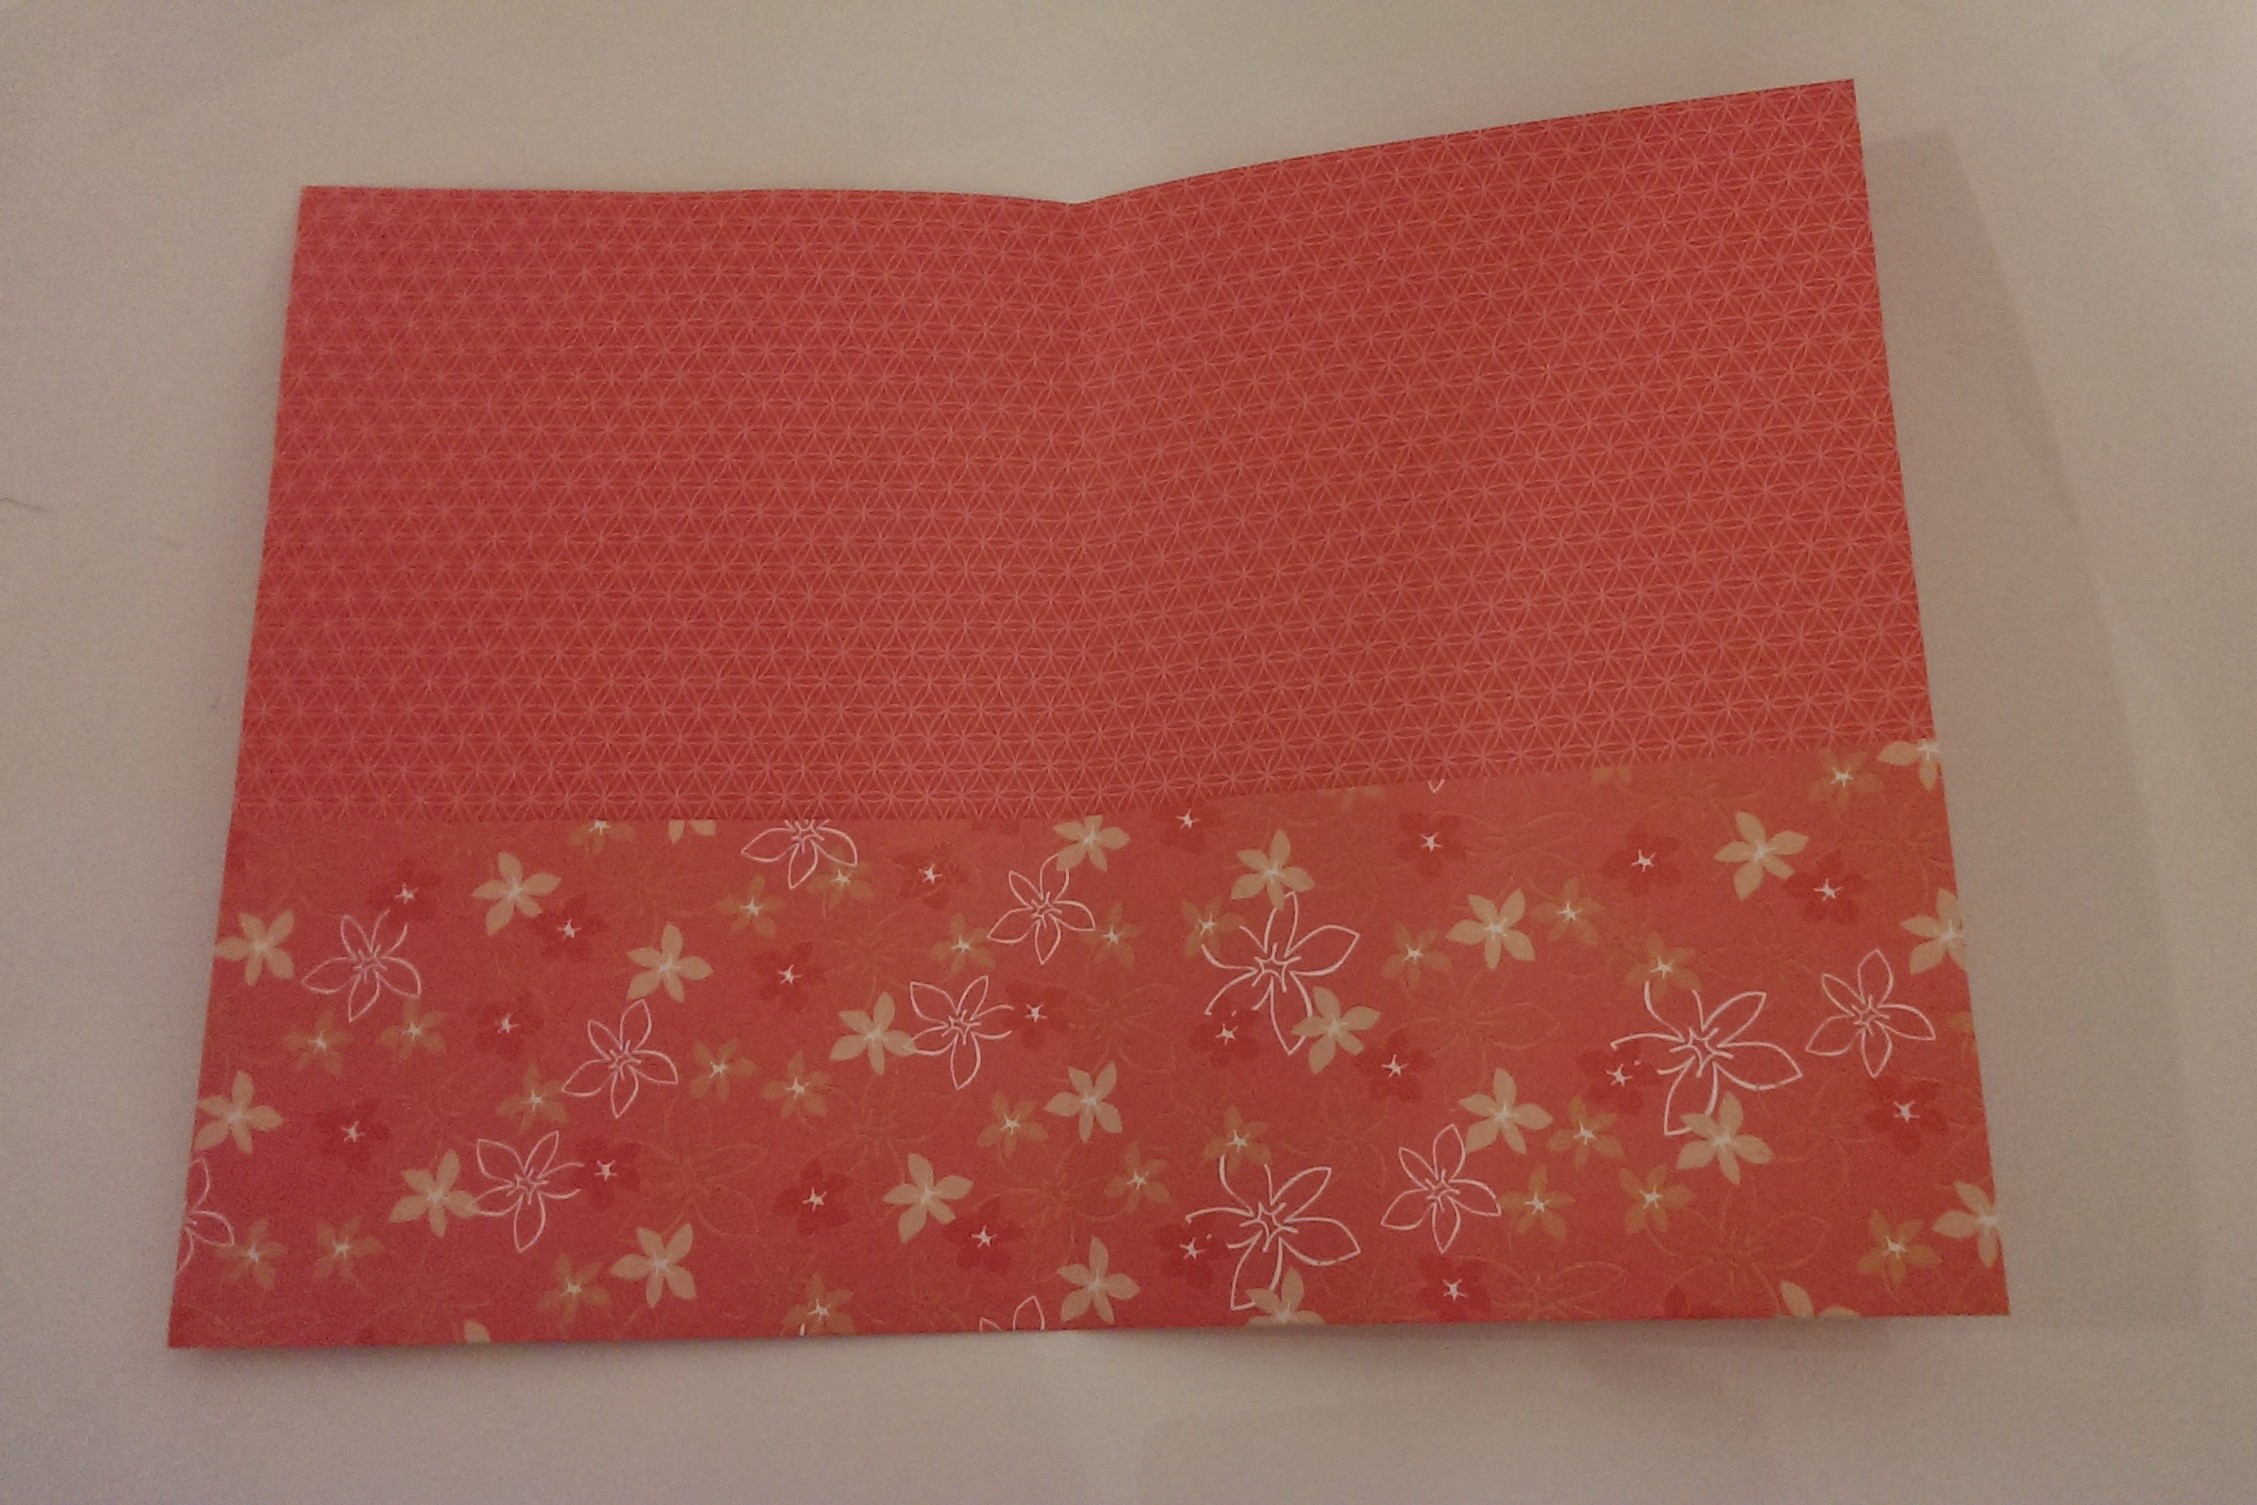
These are so simple to make! Take a piece of DSP wide enough to hold a 4 x 6″ photo when folded in half, fold up the bottom to make a pouch and then glue down the edges of the fold so the photos won’t fall out.
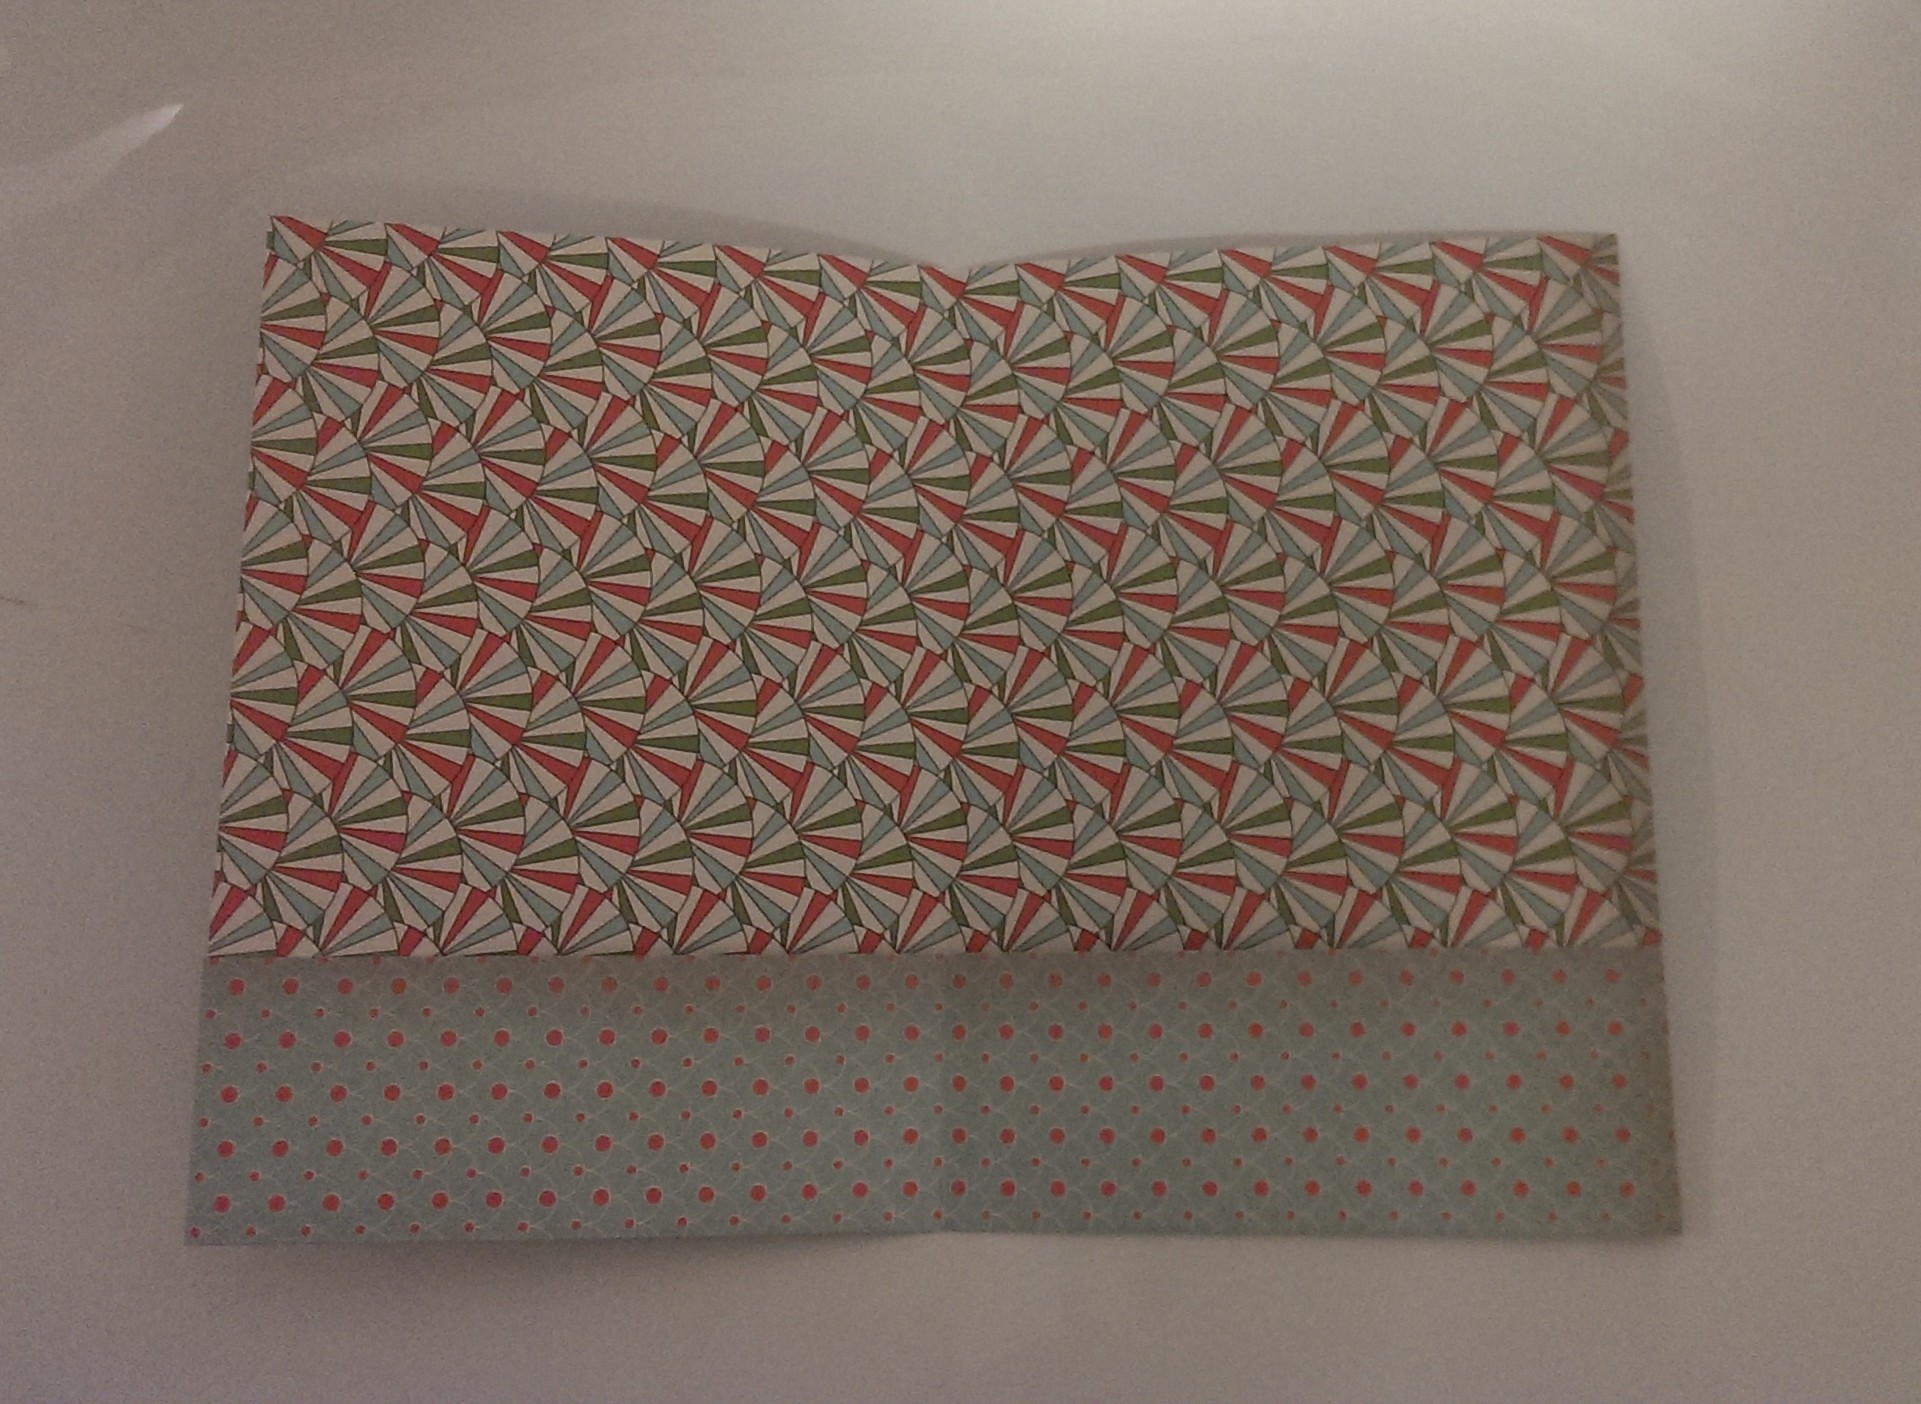
This is very good for using up DSP in a variety of sizes. Here are some of the little folders I made:
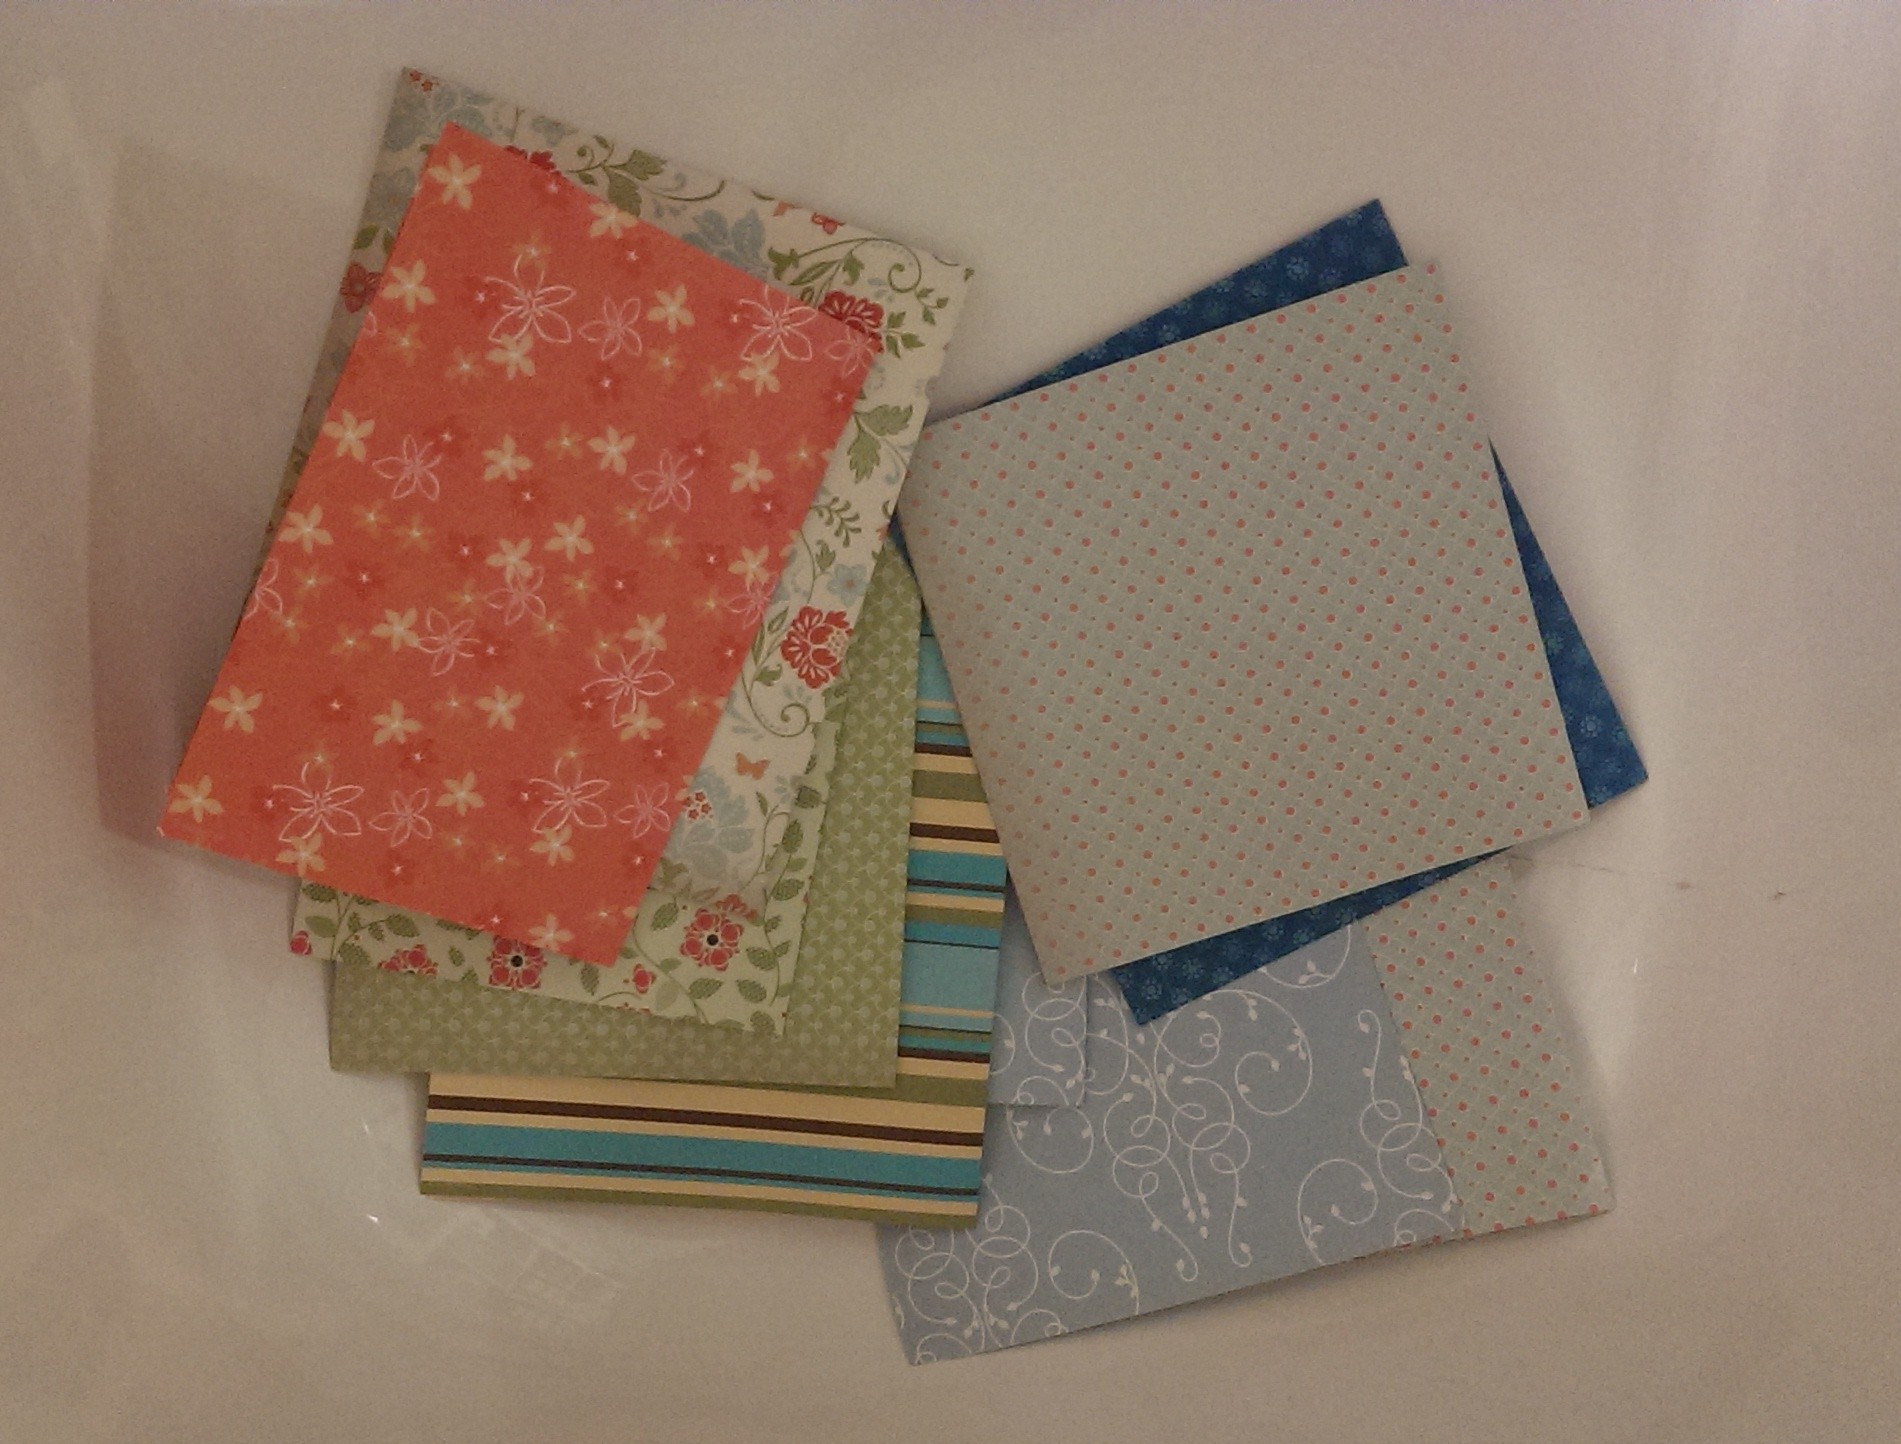
One tip! If you are using a narrower piece, make sure you have enough room to hold the photo after you’ve glued the edge. I made this one and didn’t stick the glue close enough to the edge and it was a very tight squeeze to get the photo in!
You could also make a smaller version of these to hold gift vouchers/gift cards. They really are very easy!
I kept the front of these plain (other than the gorgeous paper) as I was in a rush. But you could also decorate them like the front of a card.
Enjoy!
Caro
15 Monday Jul 2013
Tags
Hello! Thanks for stopping by my blog.
Yesterday I showed you some cards I made using the Stampin’ Up! full heart punch. I mentioned that you shouldn’t throw away the spare punched heart – and here’s why not.
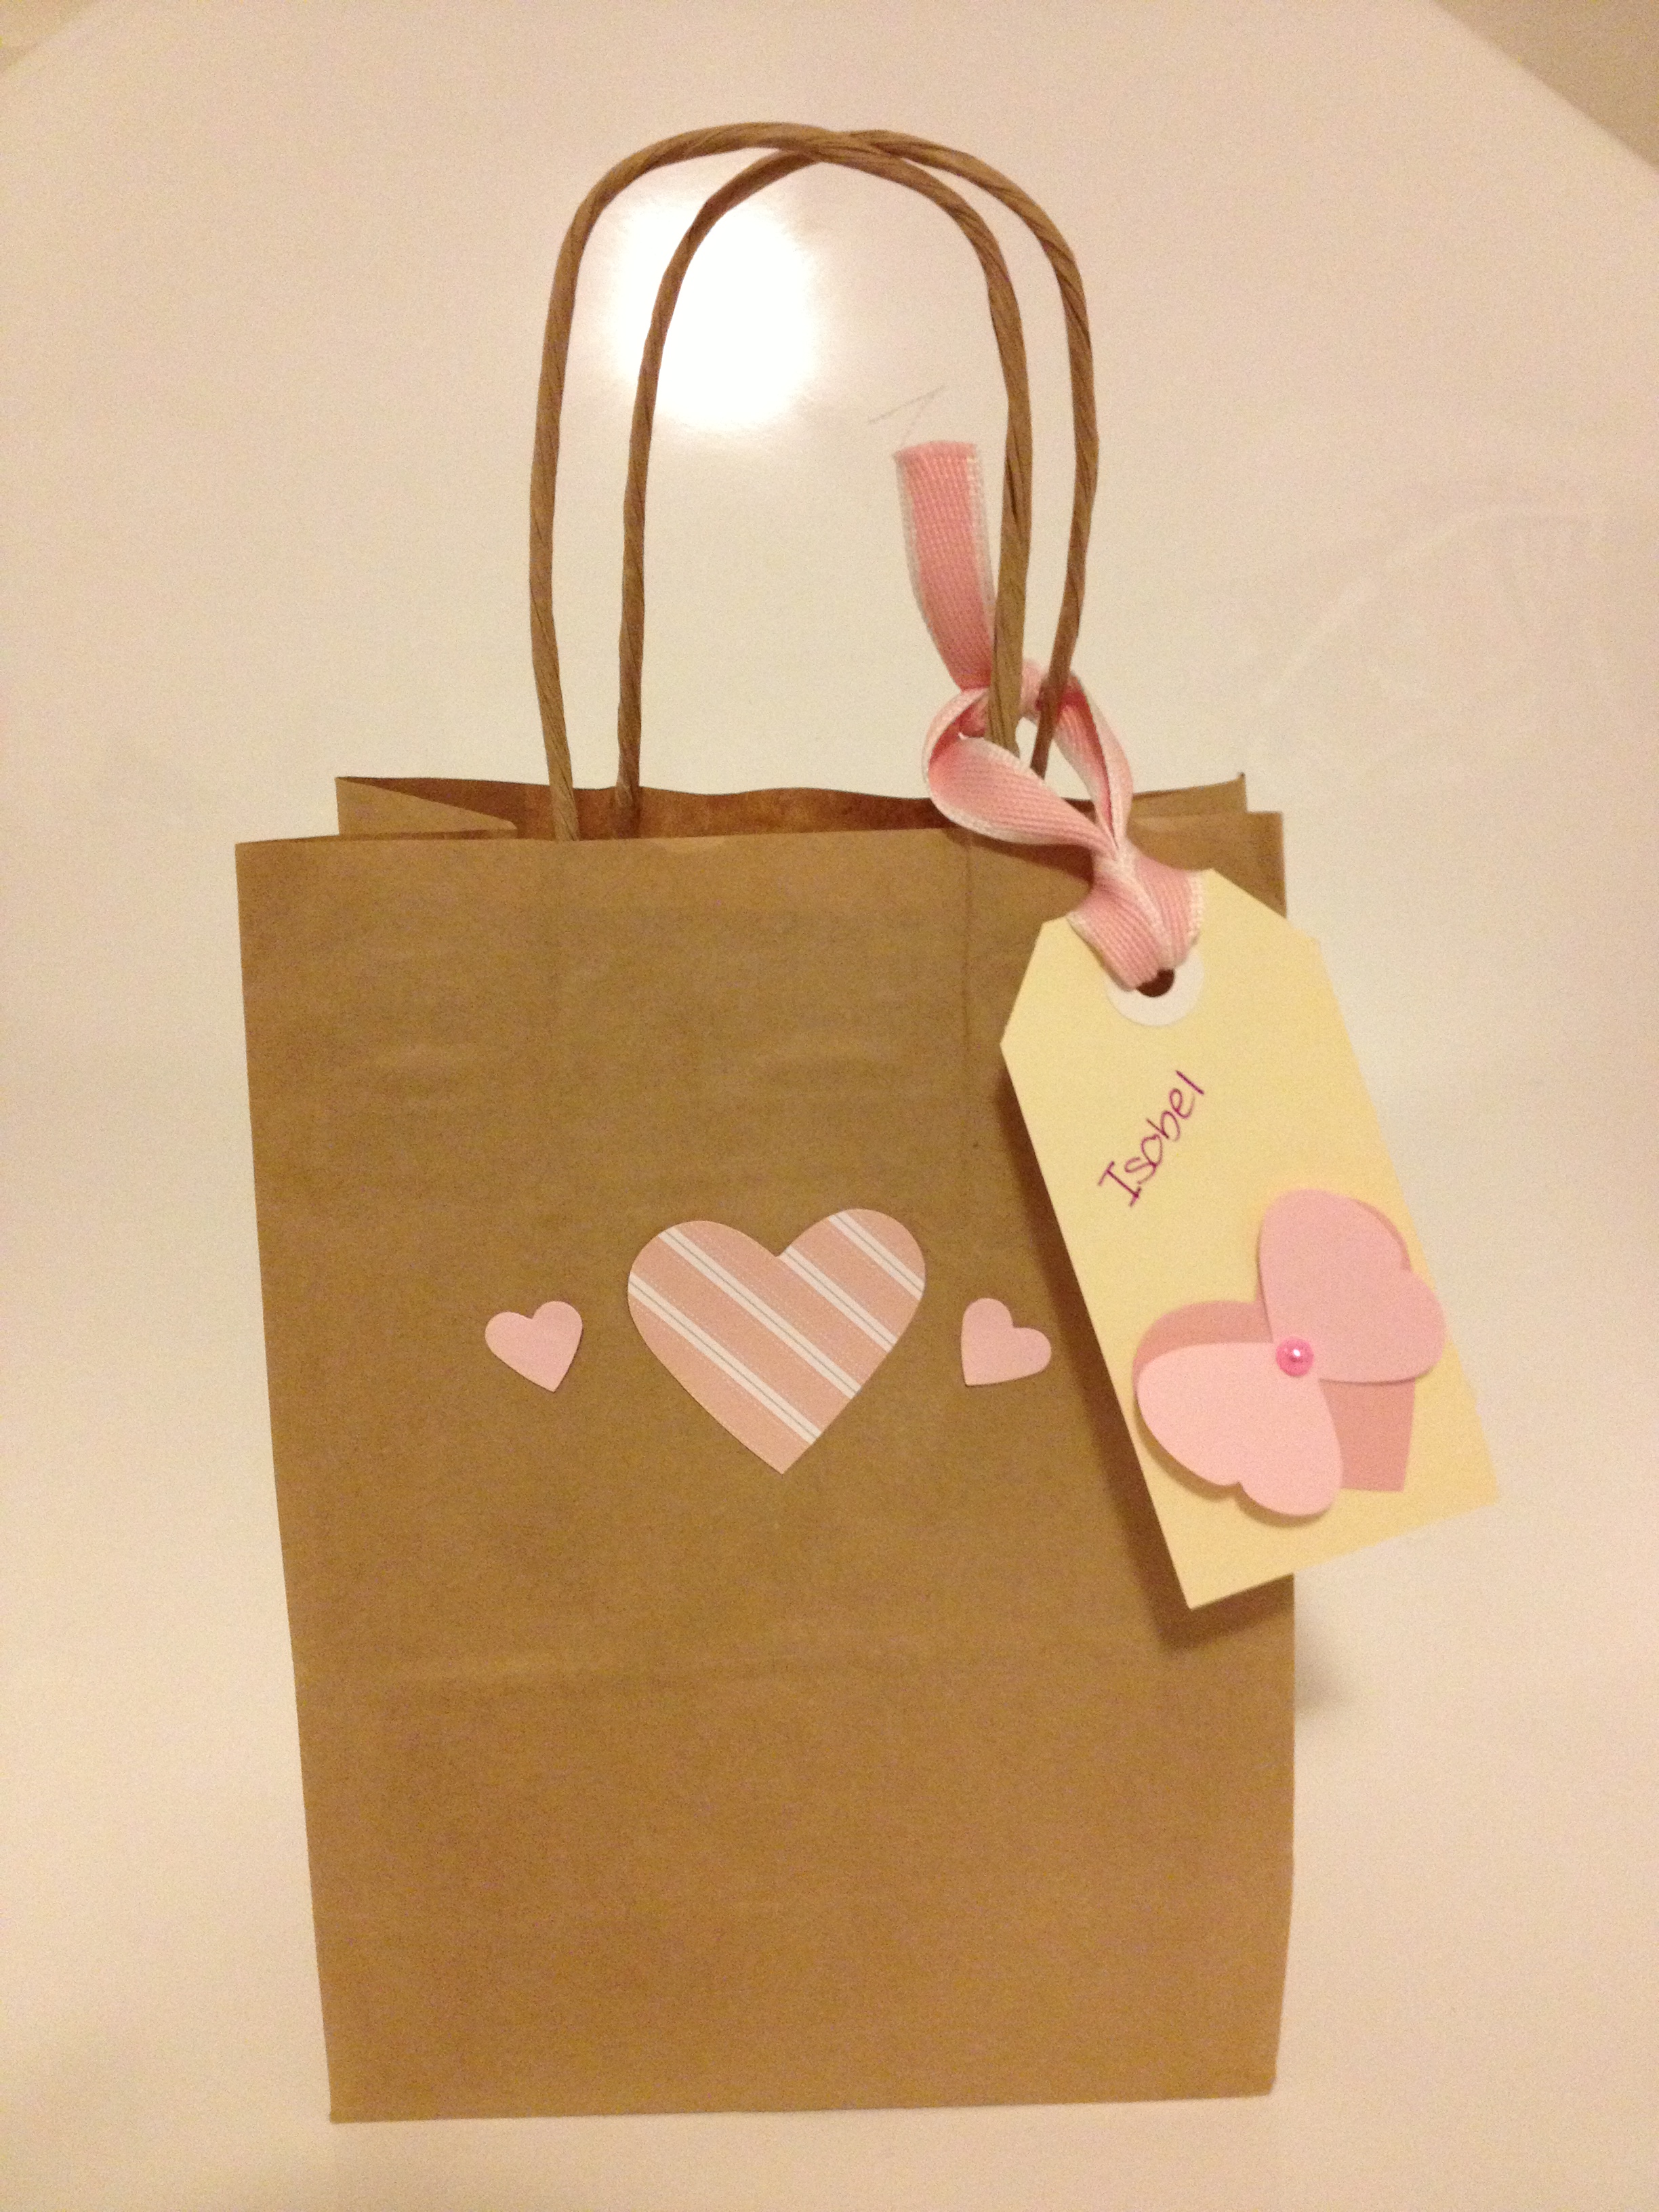
After making the cards yesterday I needed a quick and simple gift wrapping idea to go with the cards. Here’s a simple idea for a gift tag:
 I used the cut out from the heart punch and another cut out butterfly on top (see how the wings aren’t fully stuck down to make it look like it’s flying?) A little faux pearl and I think it looks perfect for a little girl’s present.
The tag is a mailing tag I got at Officeworks – you can get a box of 100. I normally like making my own tags, but sometimes when you’re in a hurry this is a pretty good alternative!
I also have a stash of blank gift bags I get from $2 shops for this kind of occasion. A few punches from card stock and scraps of pretty paper and you’ve got a lovely gift with virtually no effort.
 I think they look gorgeous (if I do say so myself!) – and certainly they don’t look the result of 2 minute’s effort.
If you don’t have any punches, you can still make a really pretty gift bag just by cutting pieces of paper to cover the front of the bag.
Have a look at some bags I made for my son’s daycare teachers last Christmas. The designs were just cut out with scissors from some Stampin’ Up! designer series paper.

Again, simple and easy – but really nice to receive 🙂
Thanks for reading
Caro
