• About

Caro's Pretty Things

~ My papercraft blog

Category Archives: General occasion

For you flower – and matching envelope

07 Thursday Nov 2013

Posted by Carolyn in 1 3/4 inch scallop circle, 1 3/8 circle, Birthday, Cards, General occasion, Kids cards, Punches

≈ Leave a comment

Tags

best of 25 years, cards, For You flower, Stampin Up

Hello

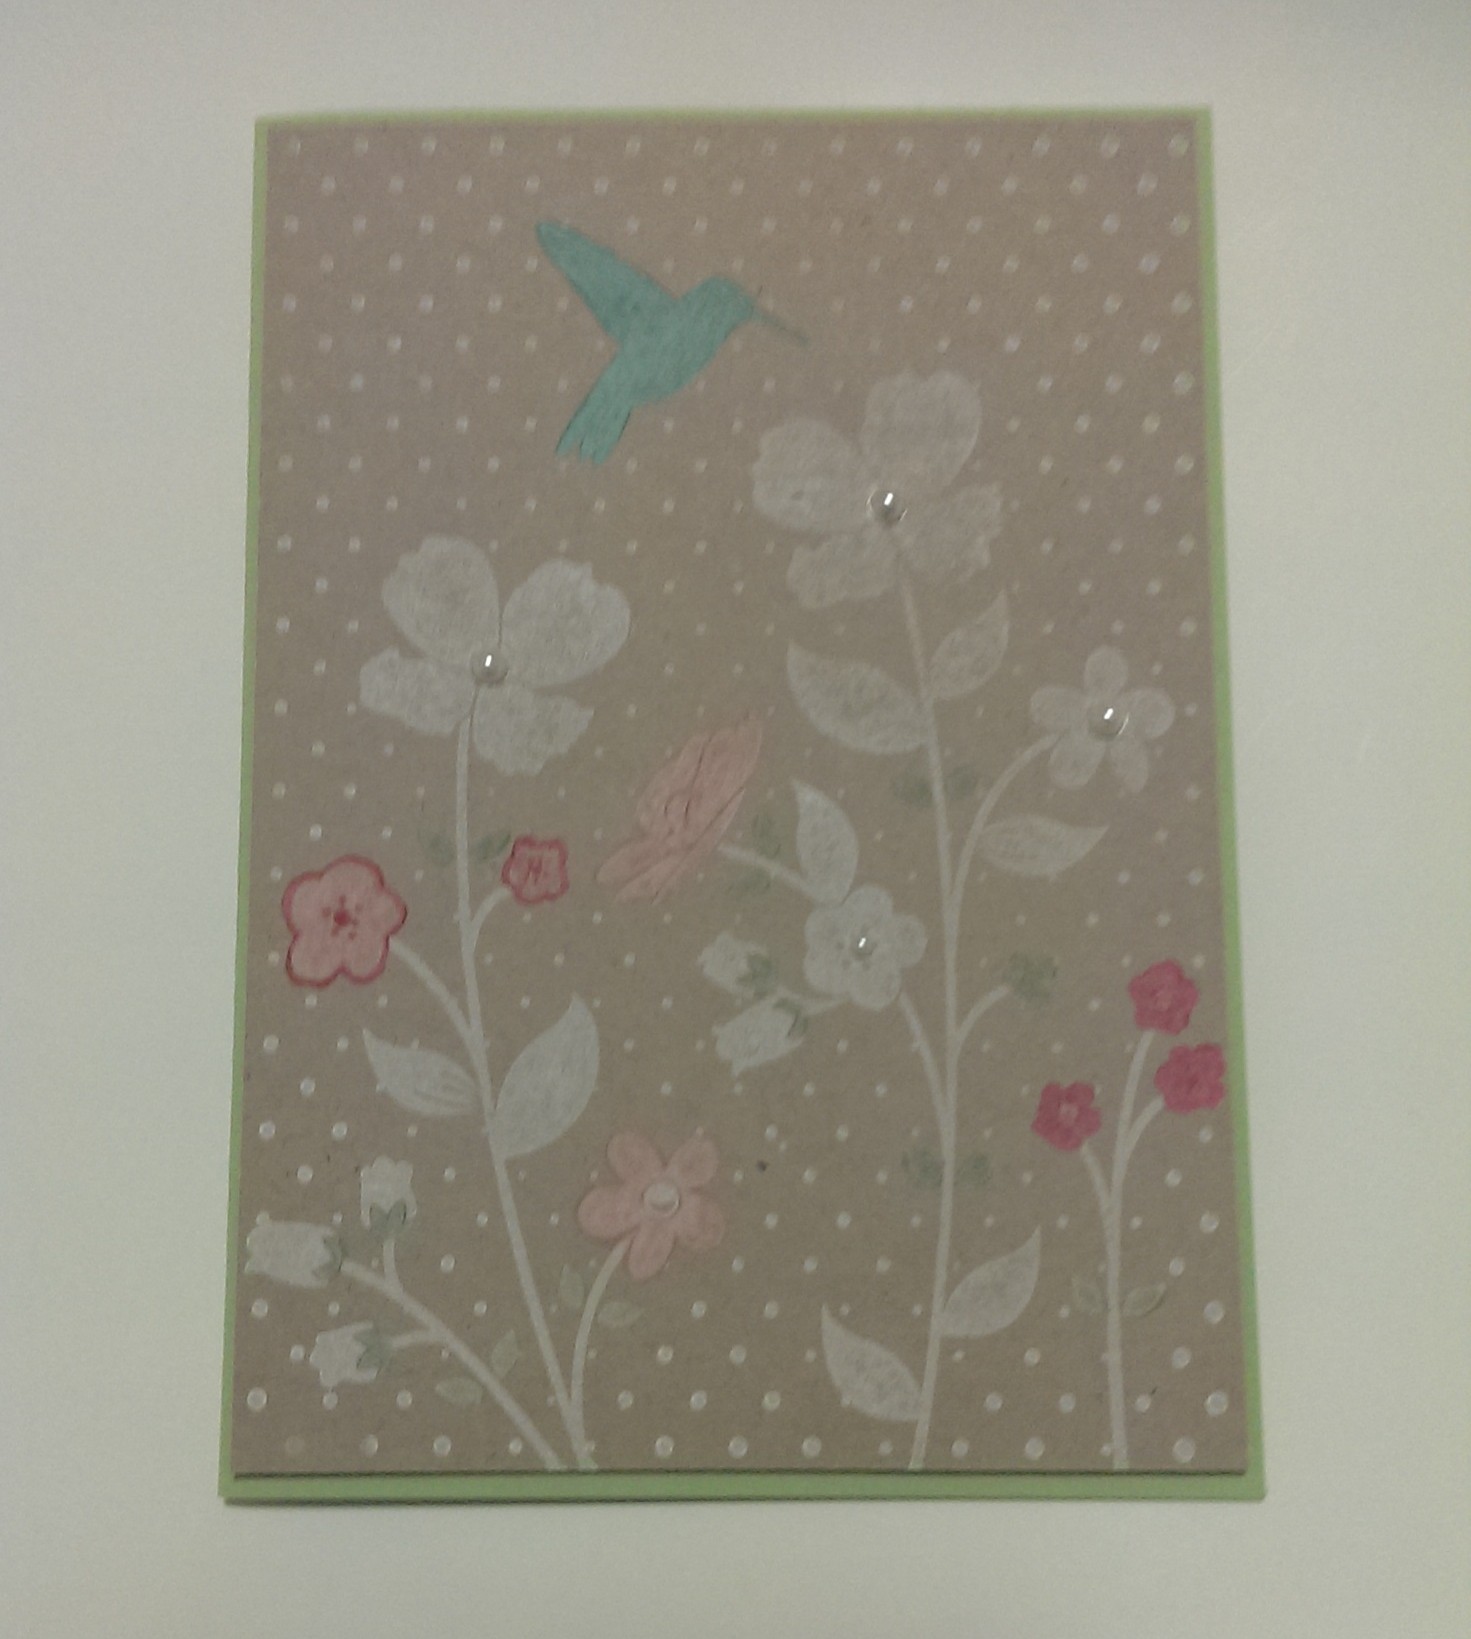
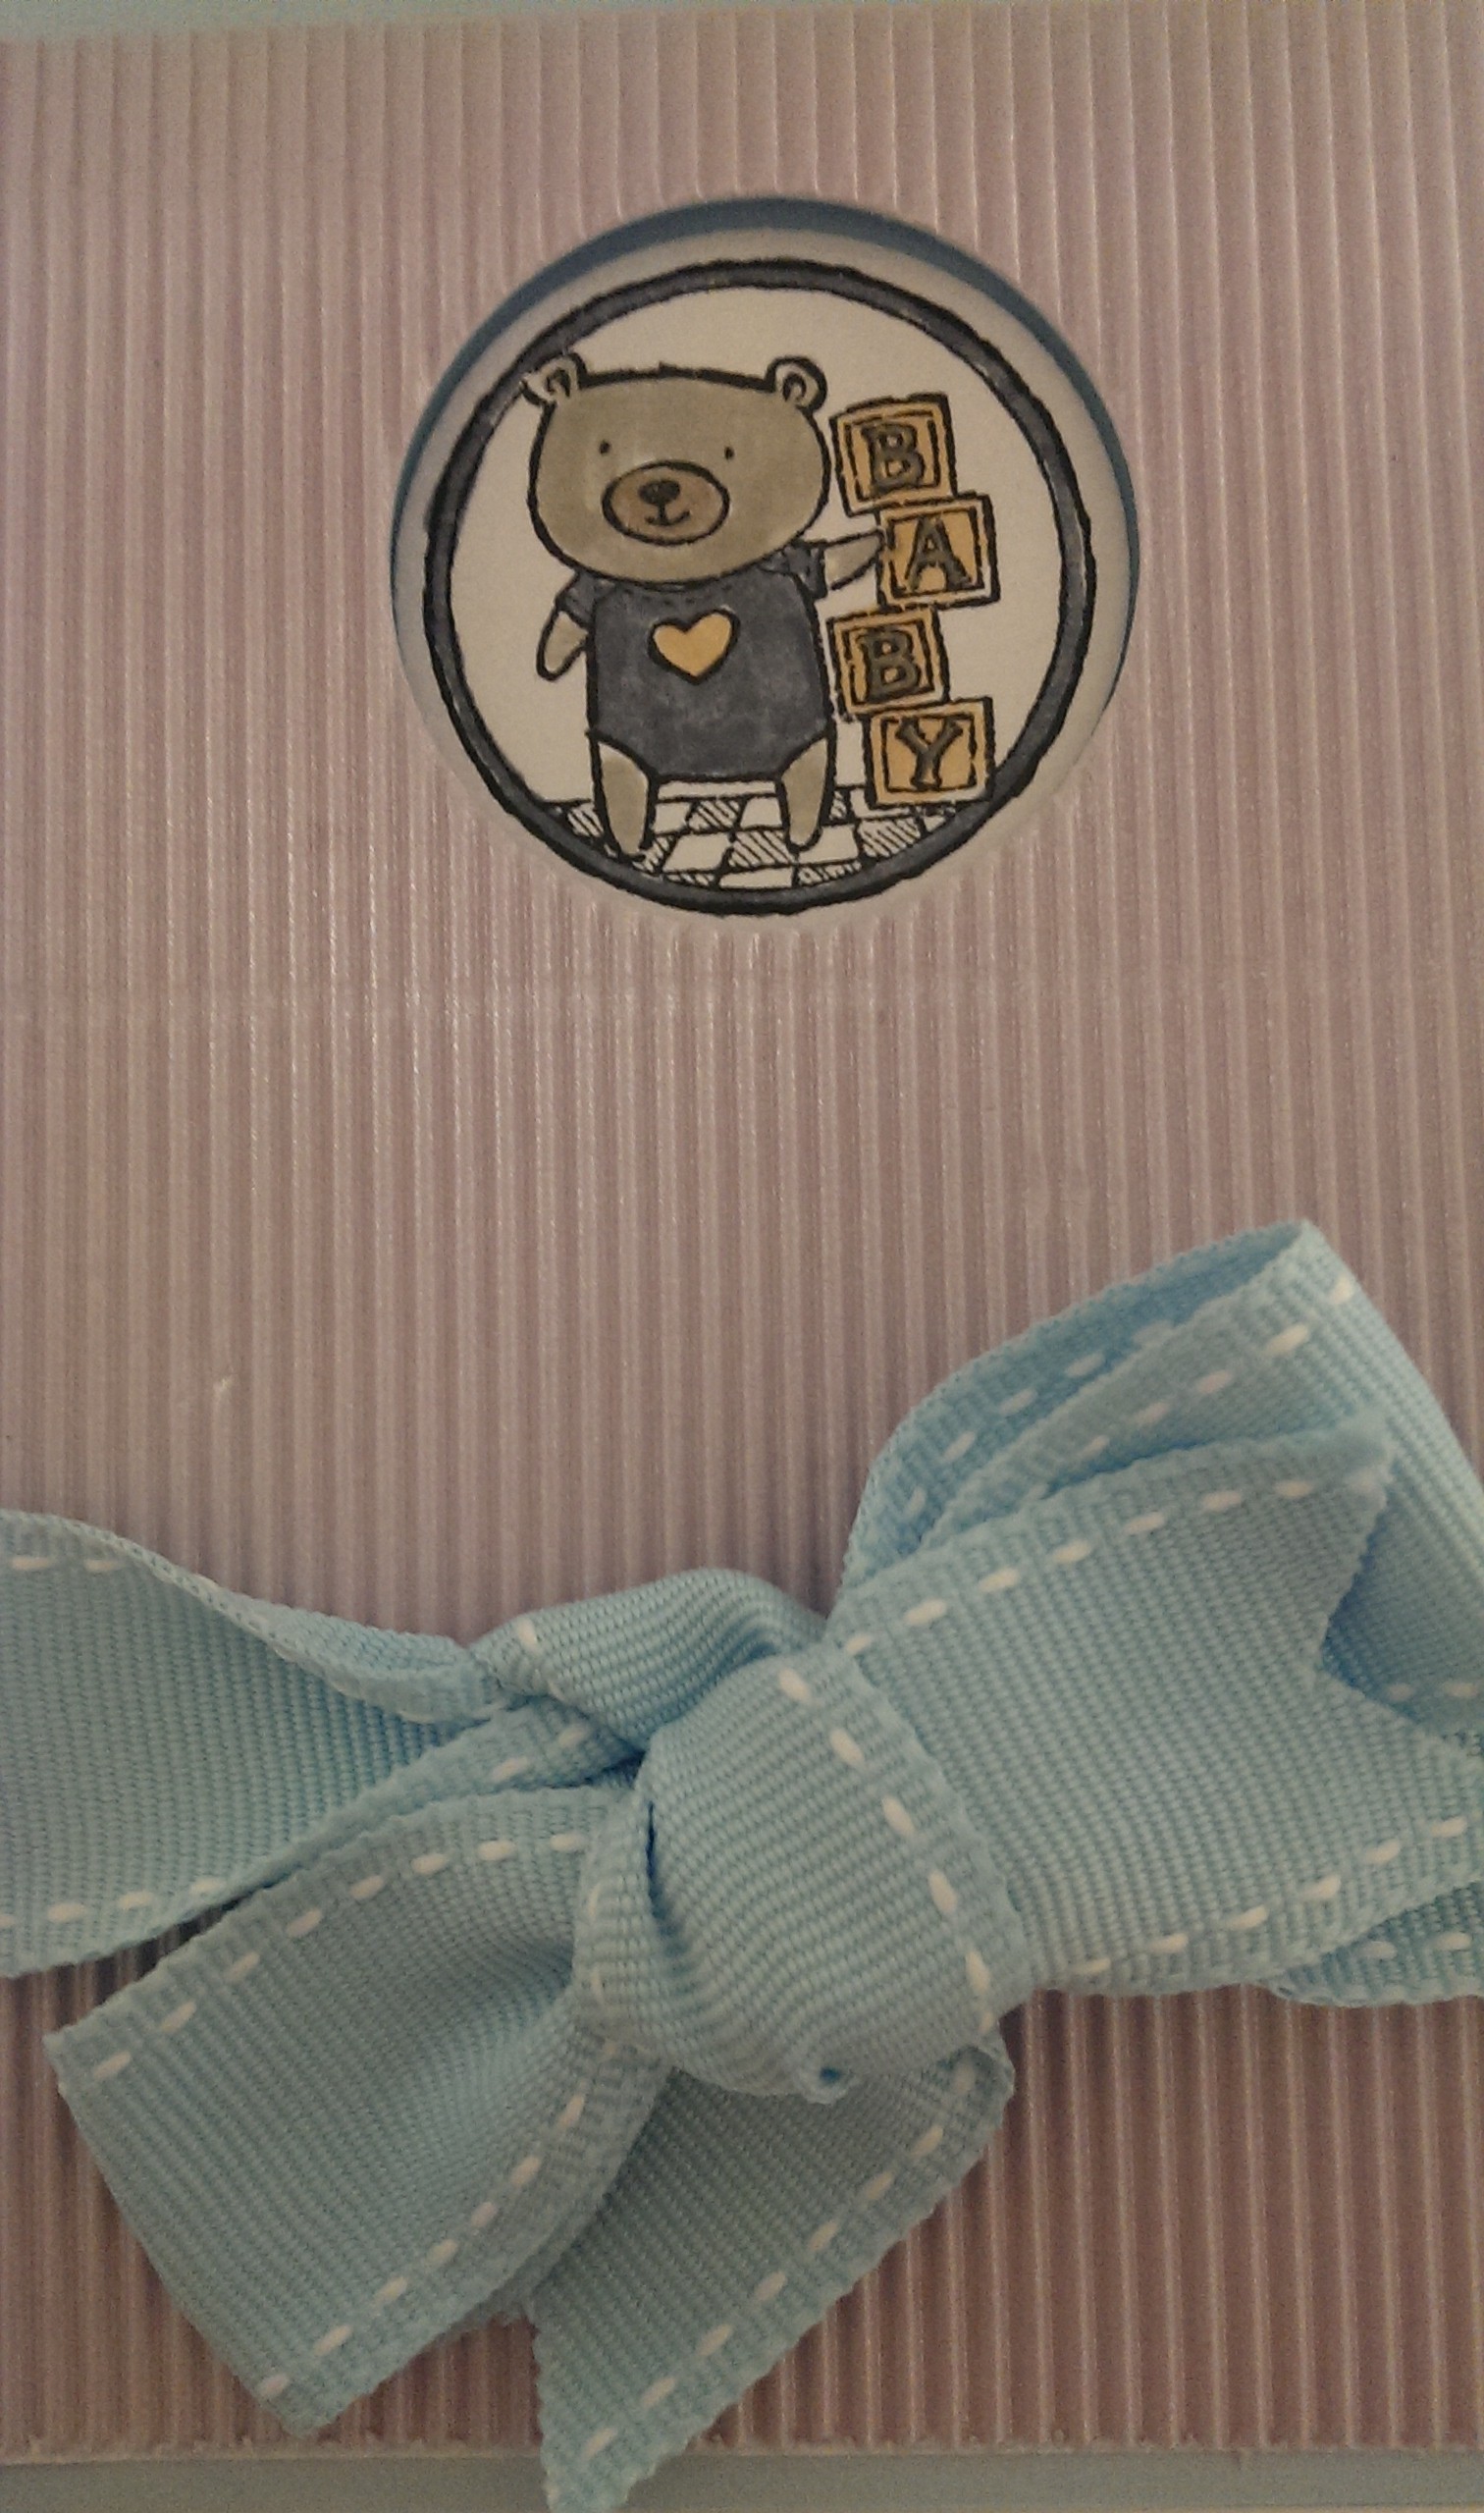
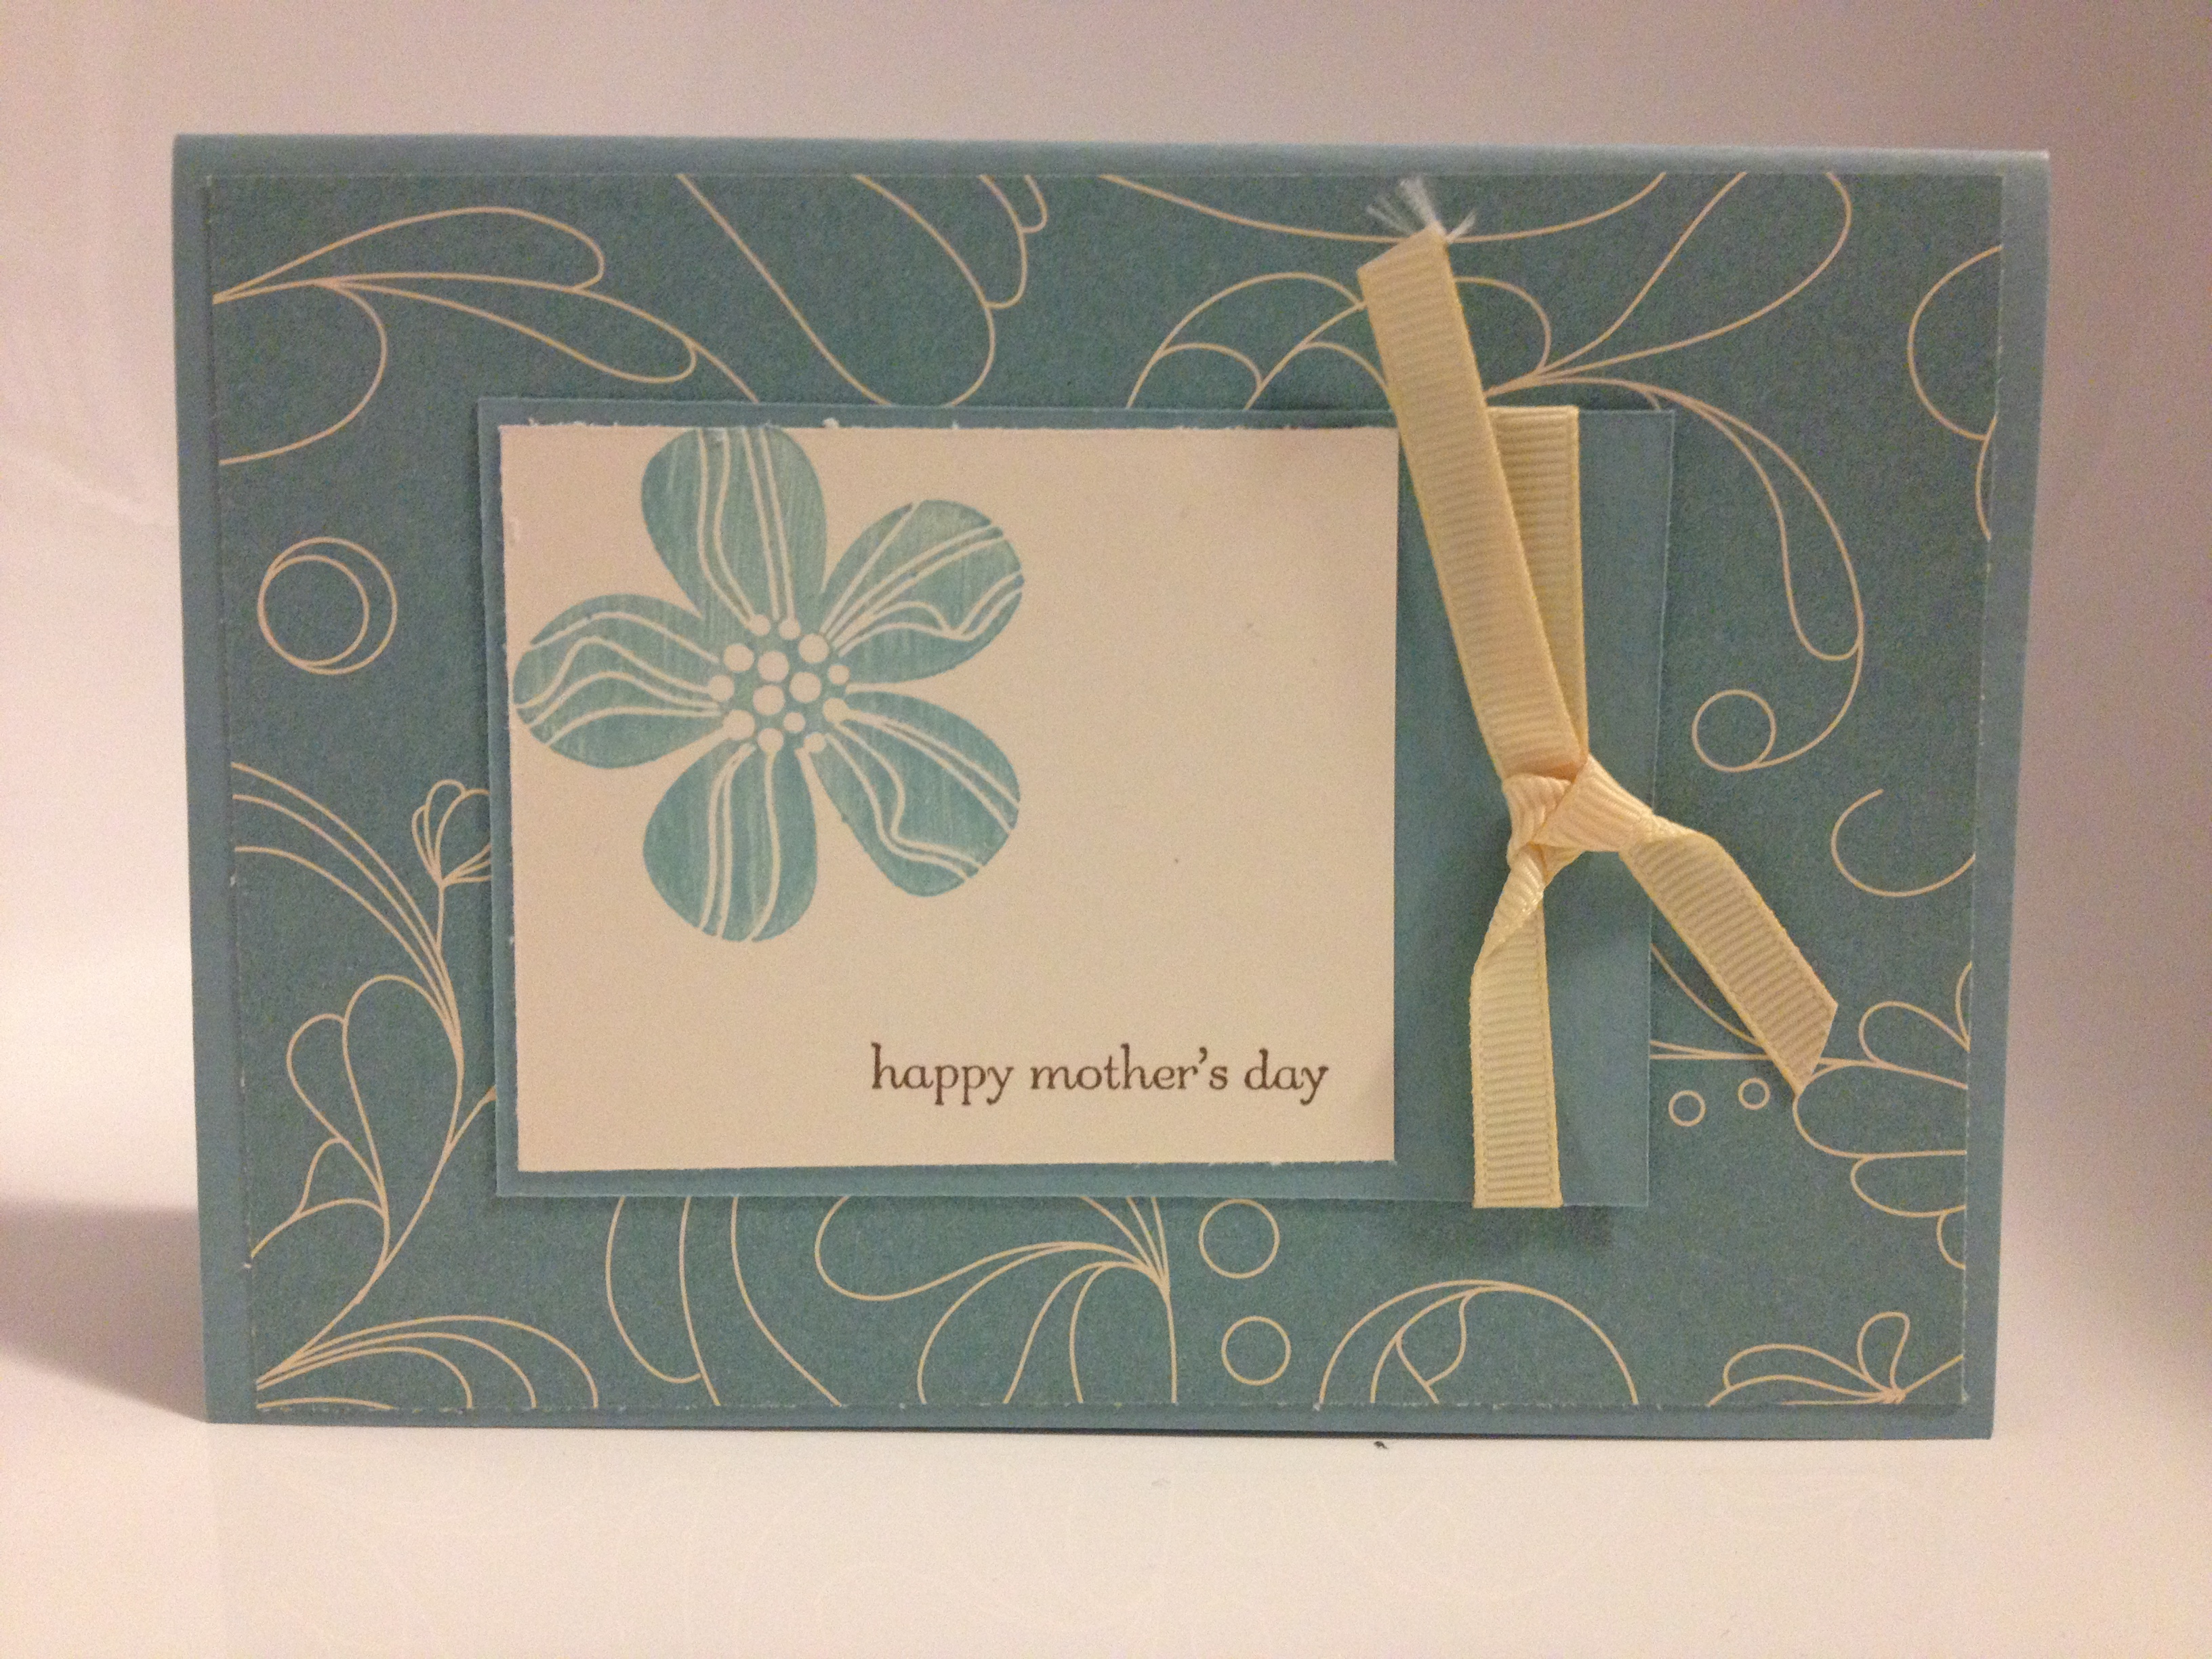
For those of you that follow Stampin’ Up!, you would know that it is their 25th anniversary this year.  As part of their birthday celebrations, they are bringing back some of the most popular stamps from the past 25 years.    I am very pleased with the November stamps, as they include one of my favourite stamps from the past few years – the one I call the For You flower (I’m not sure if it has a real name!).

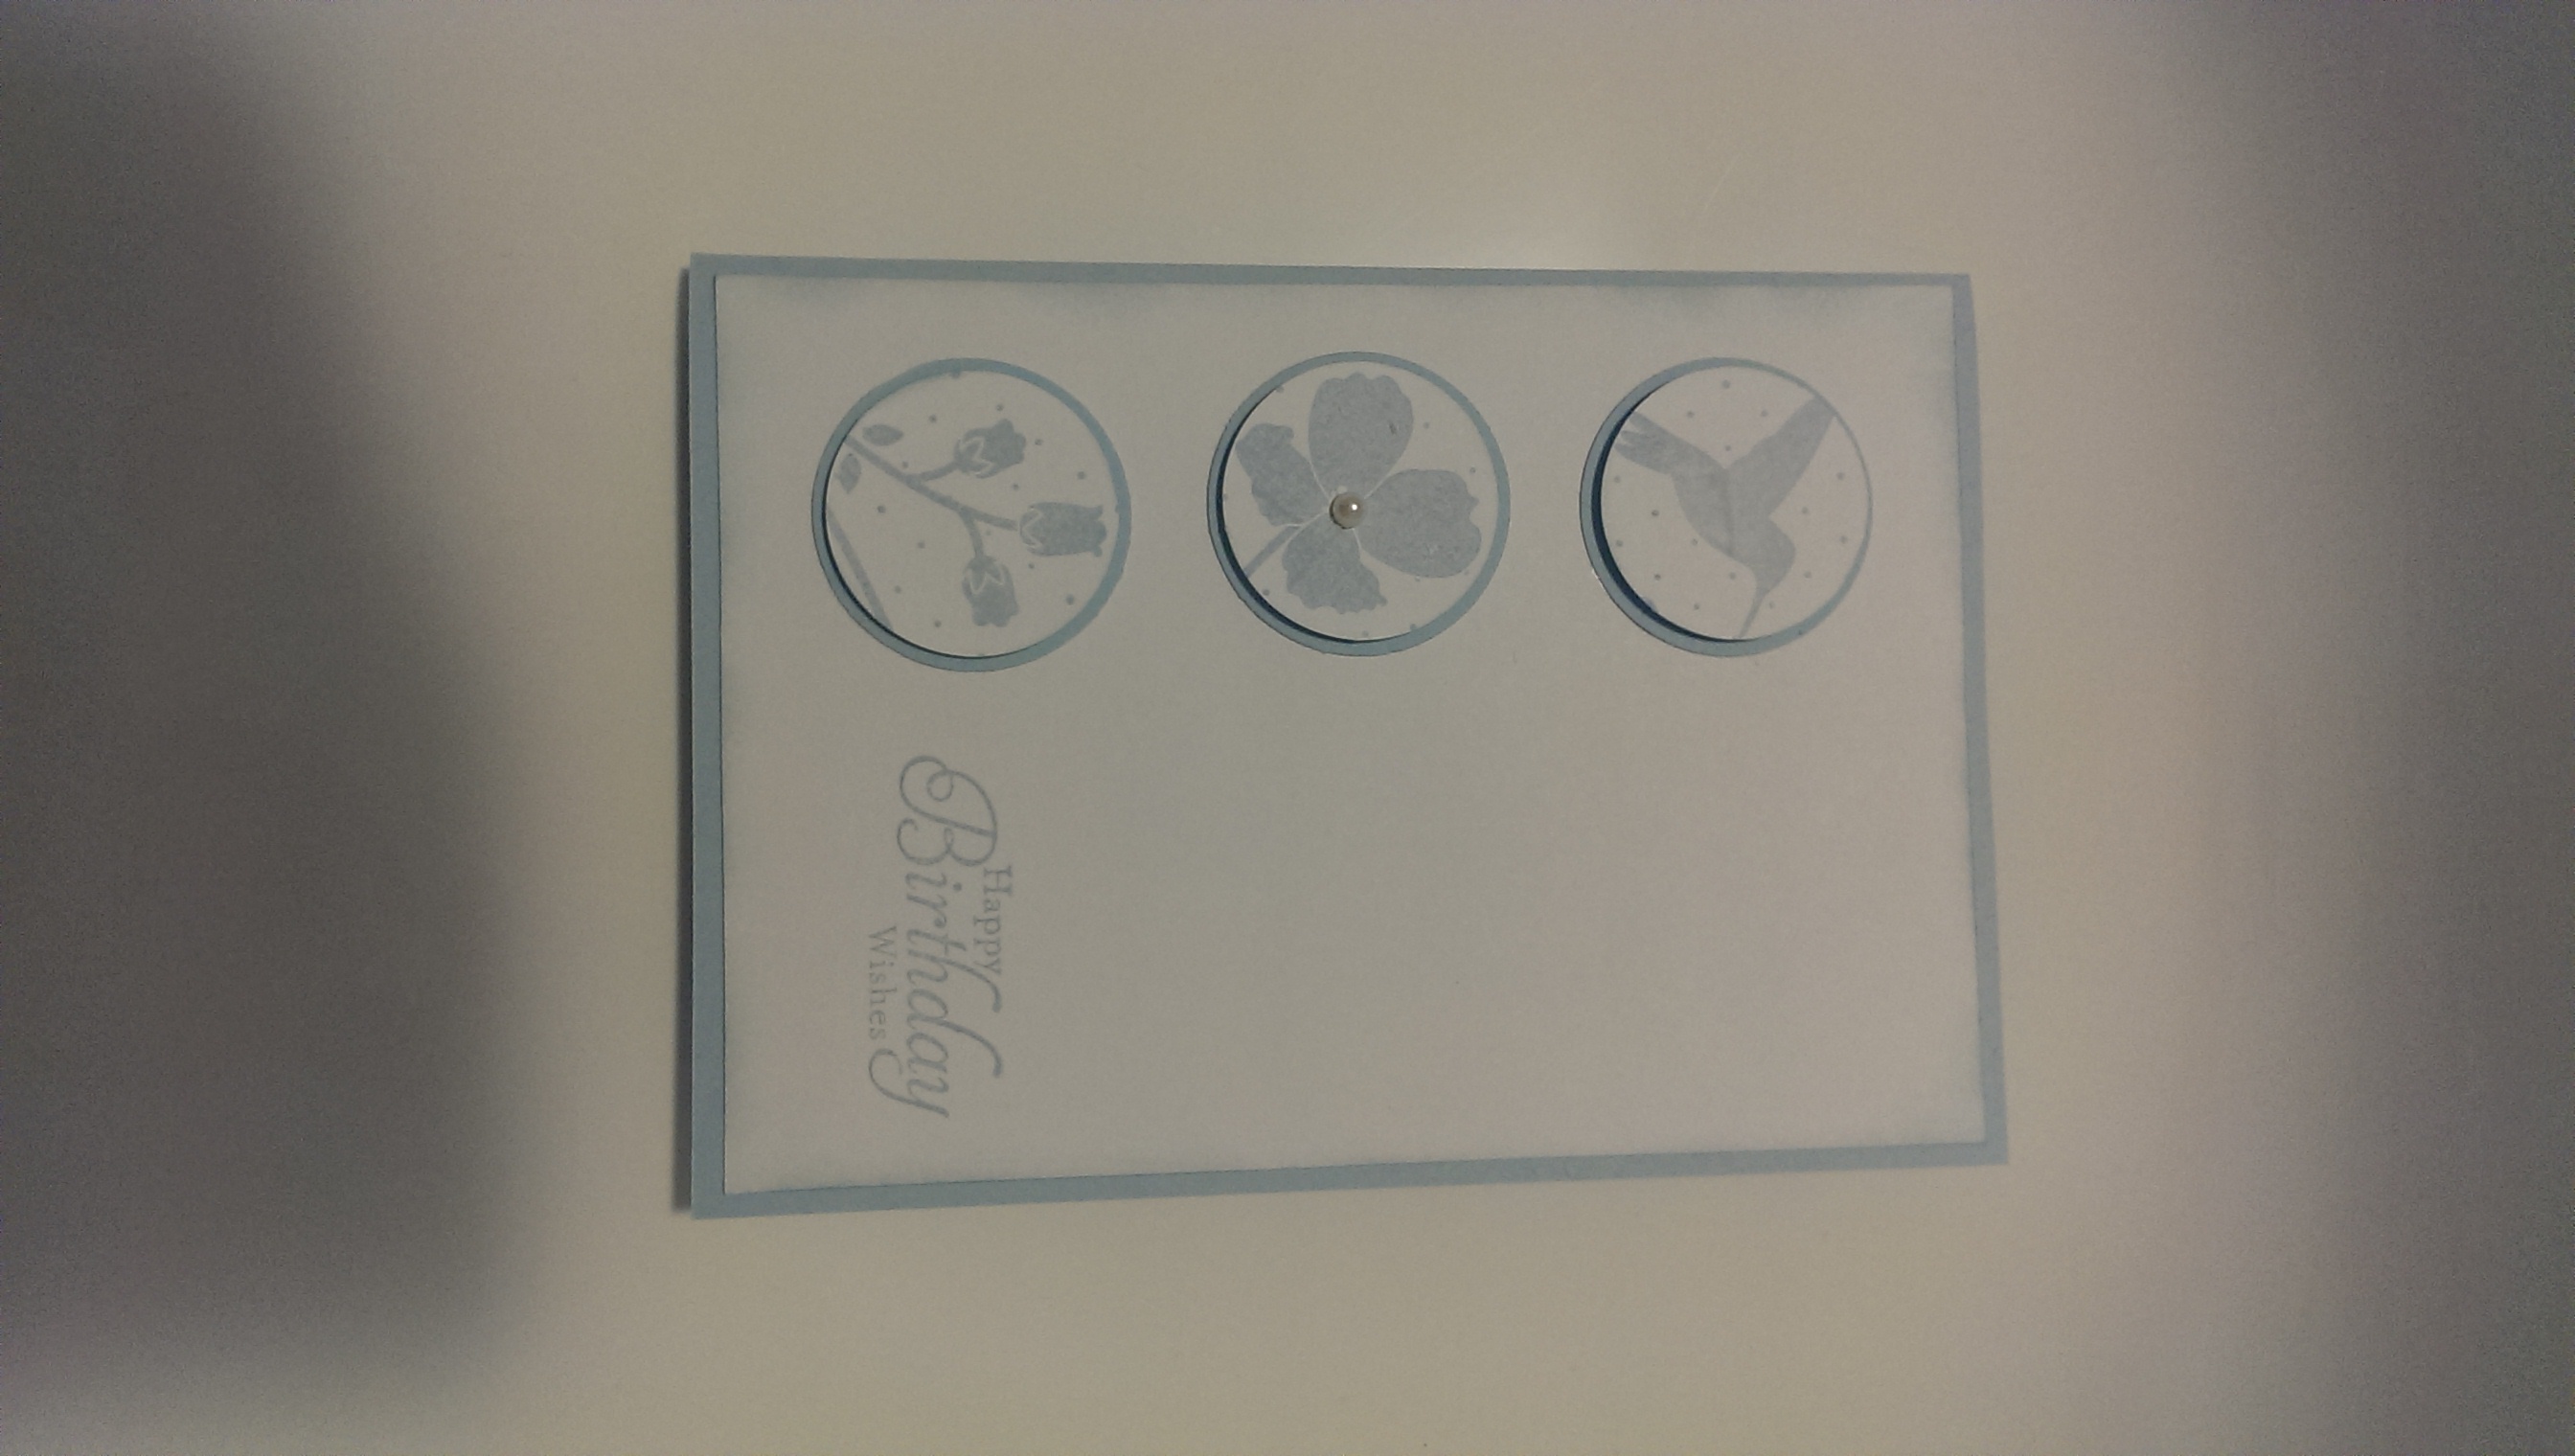
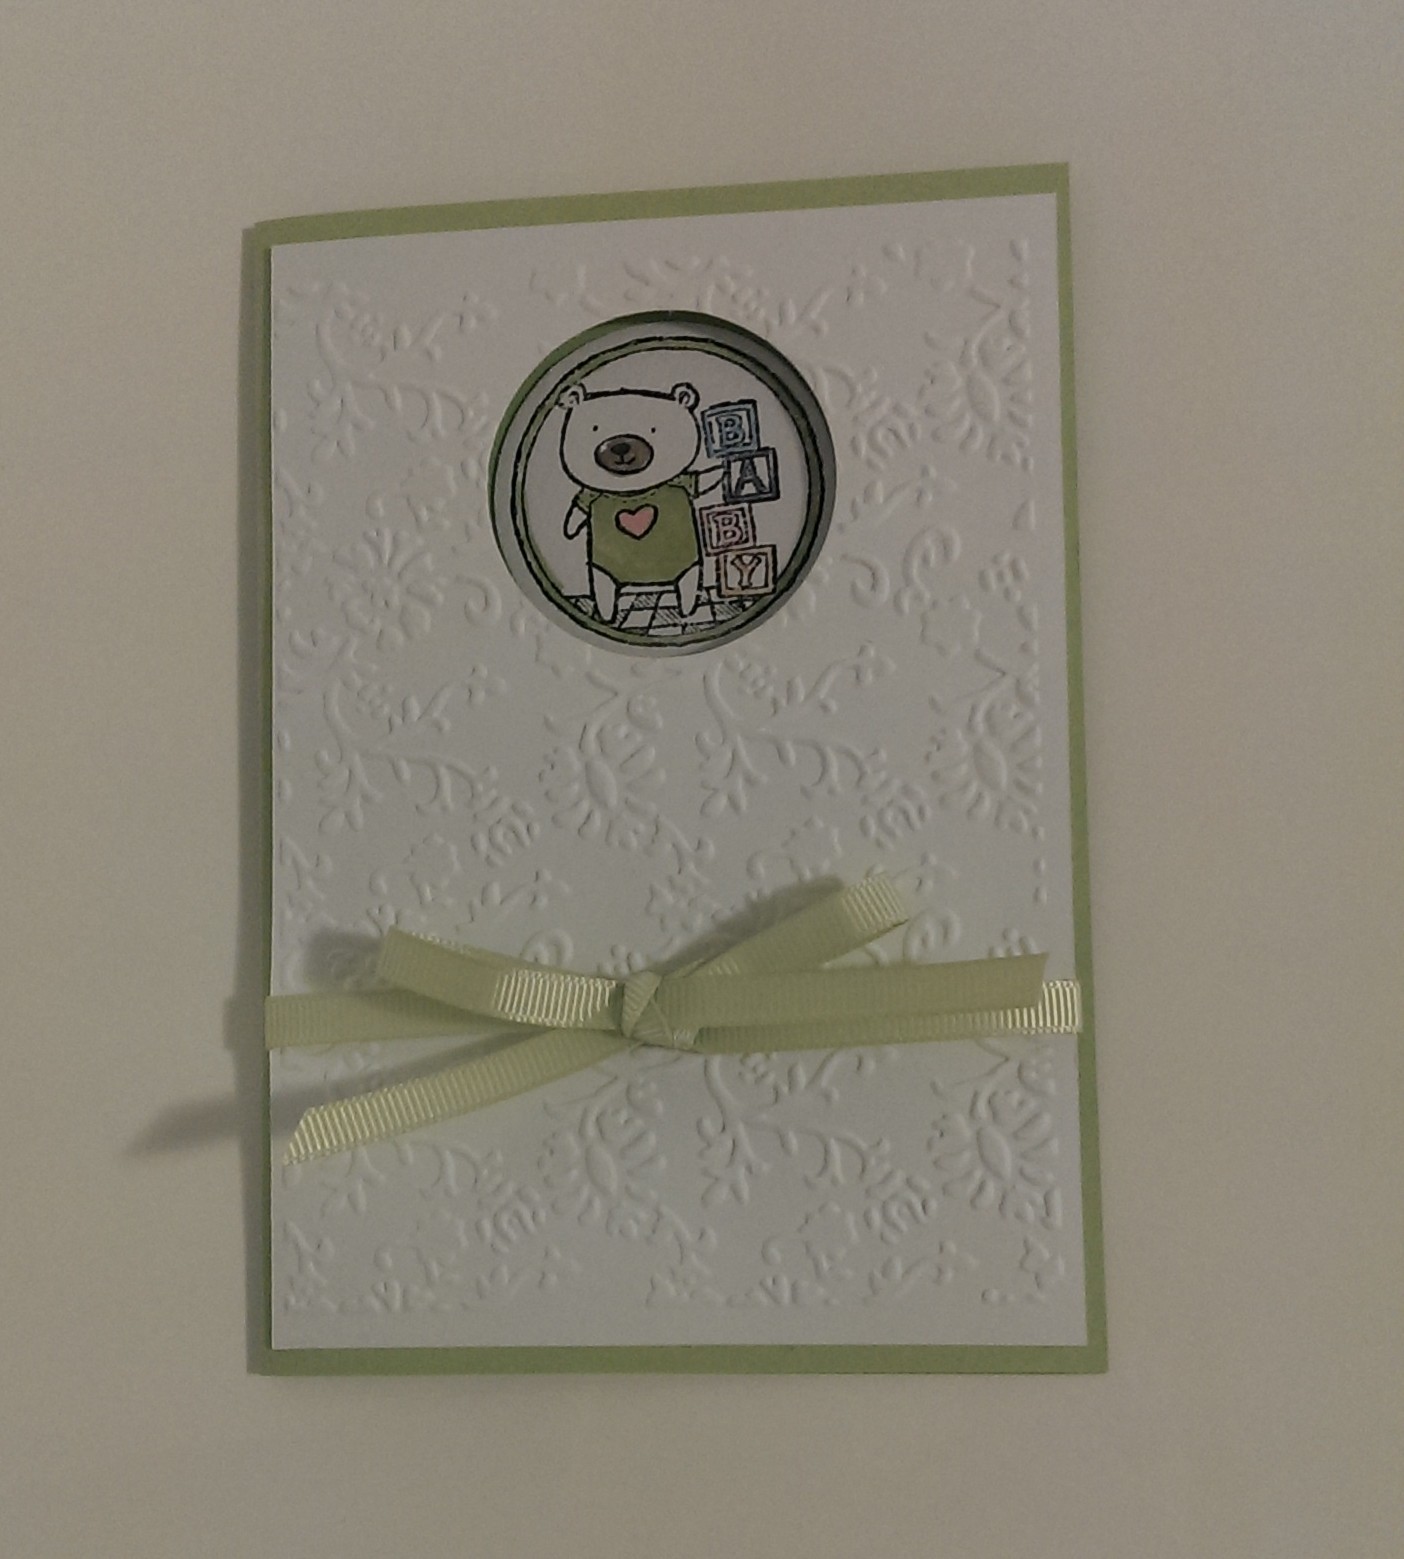
Here is a card I made last year using this stamp:

For You flower card


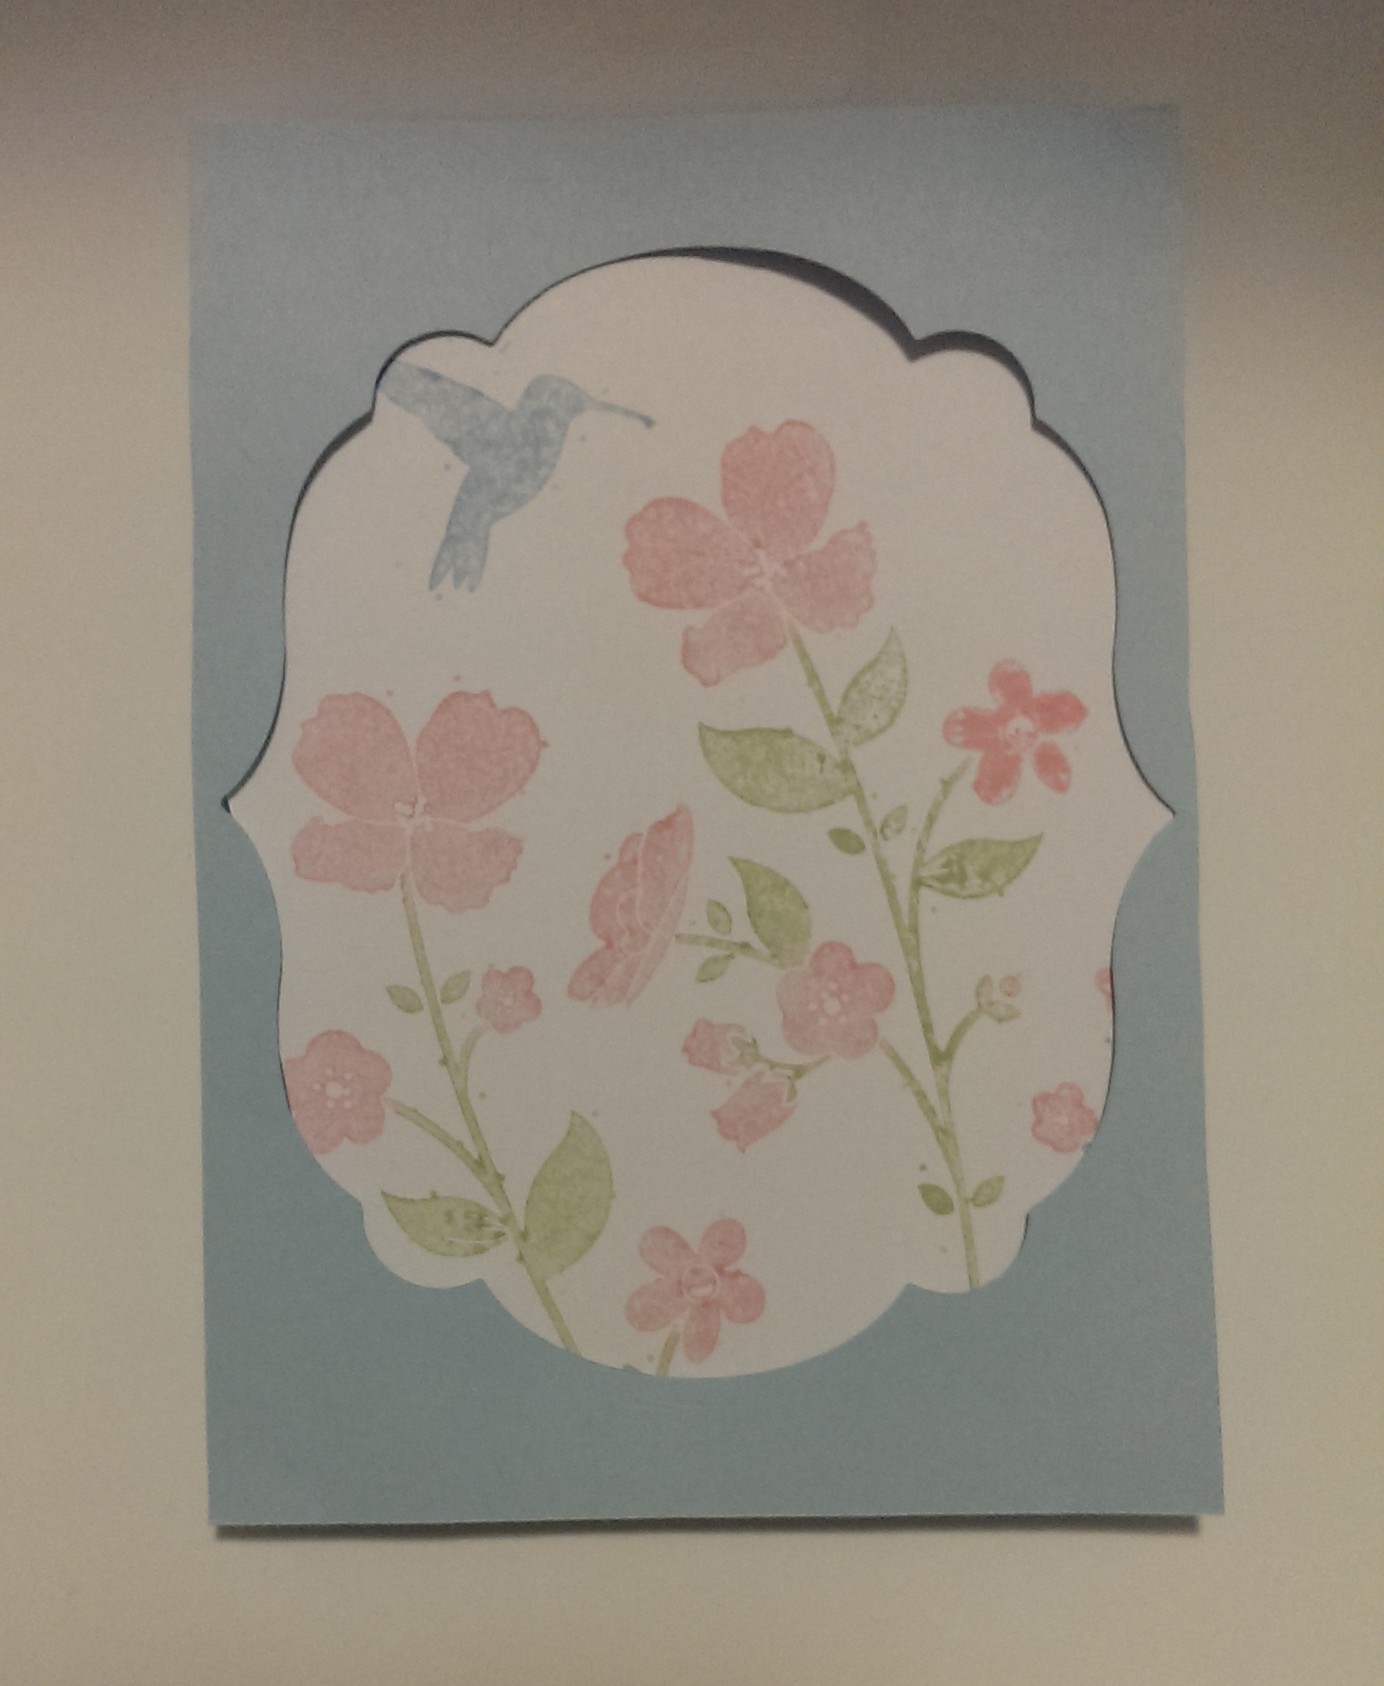
One of the reasons I love this stamp so much is that it coordinates with the scallop punch and the 1 3/8 ” circle punch.

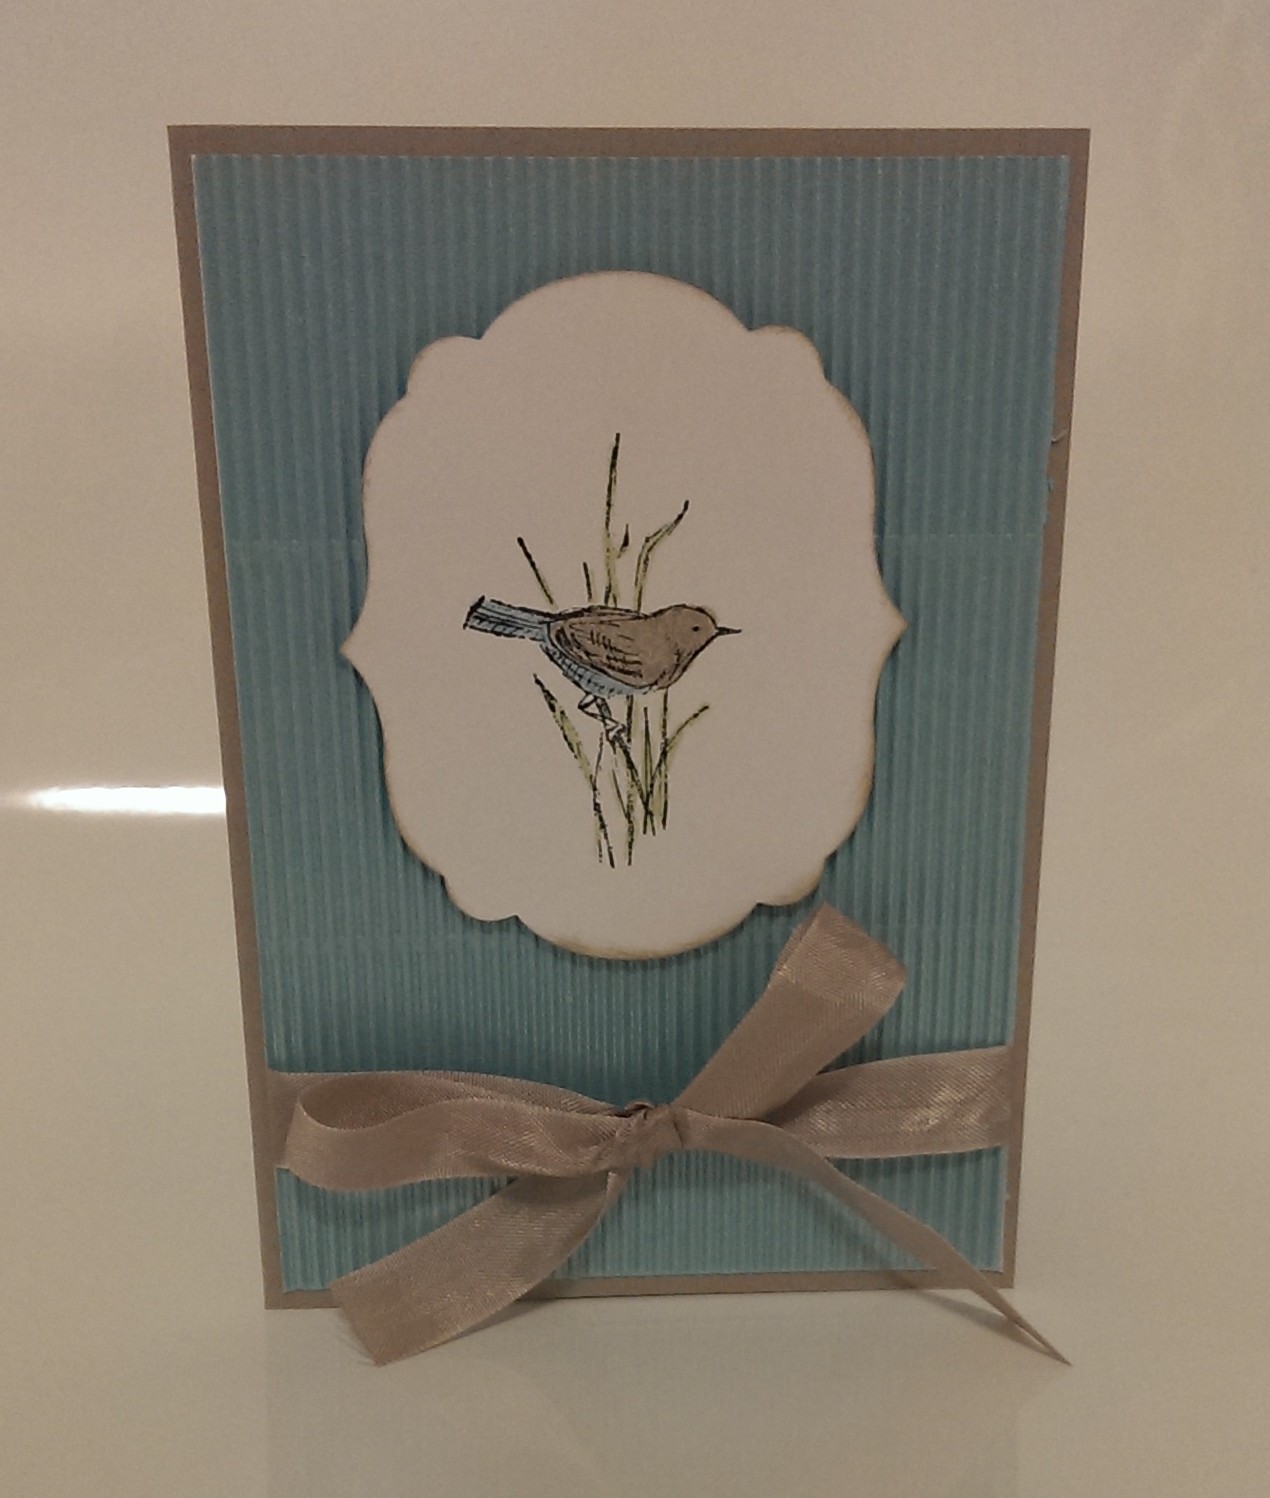
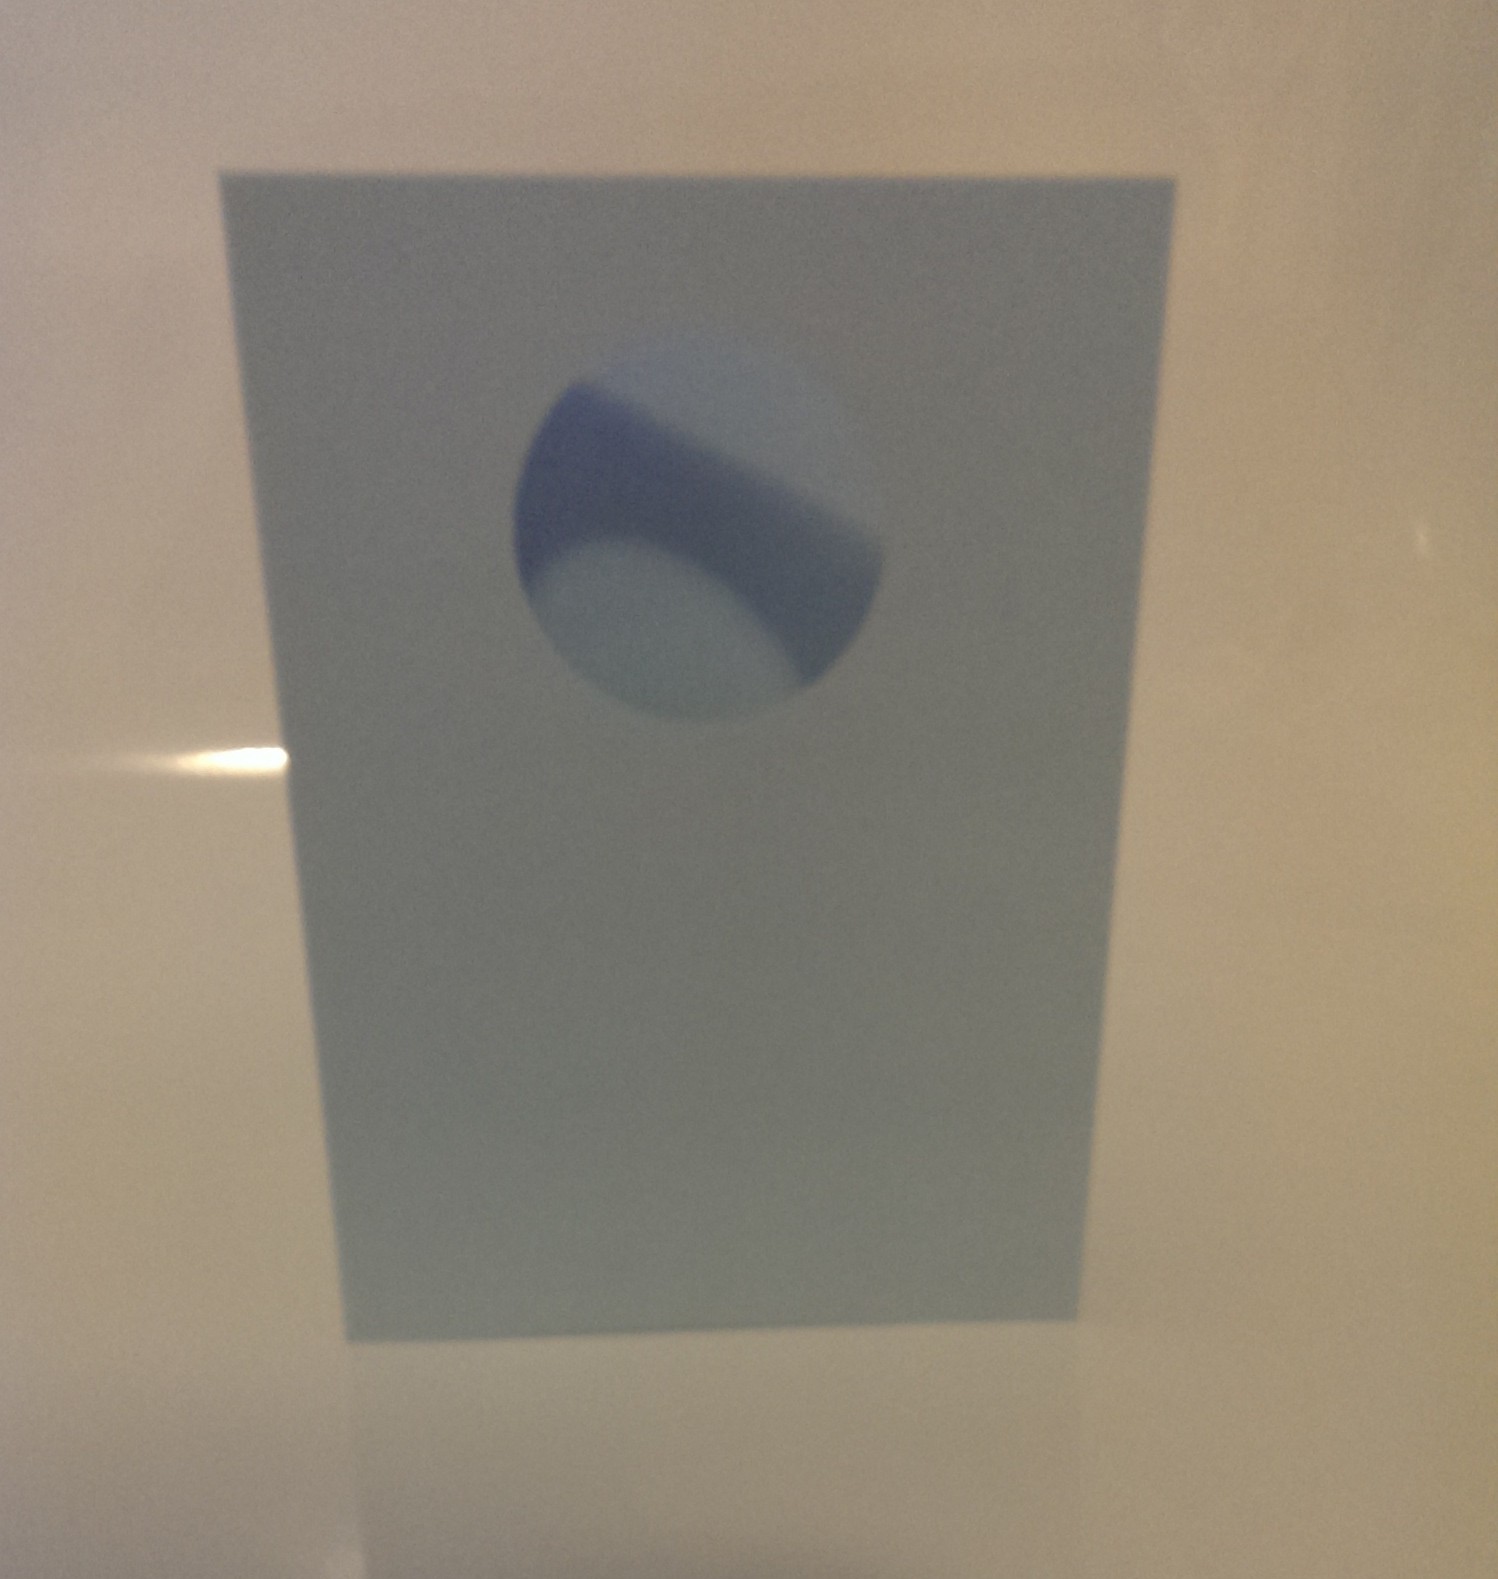
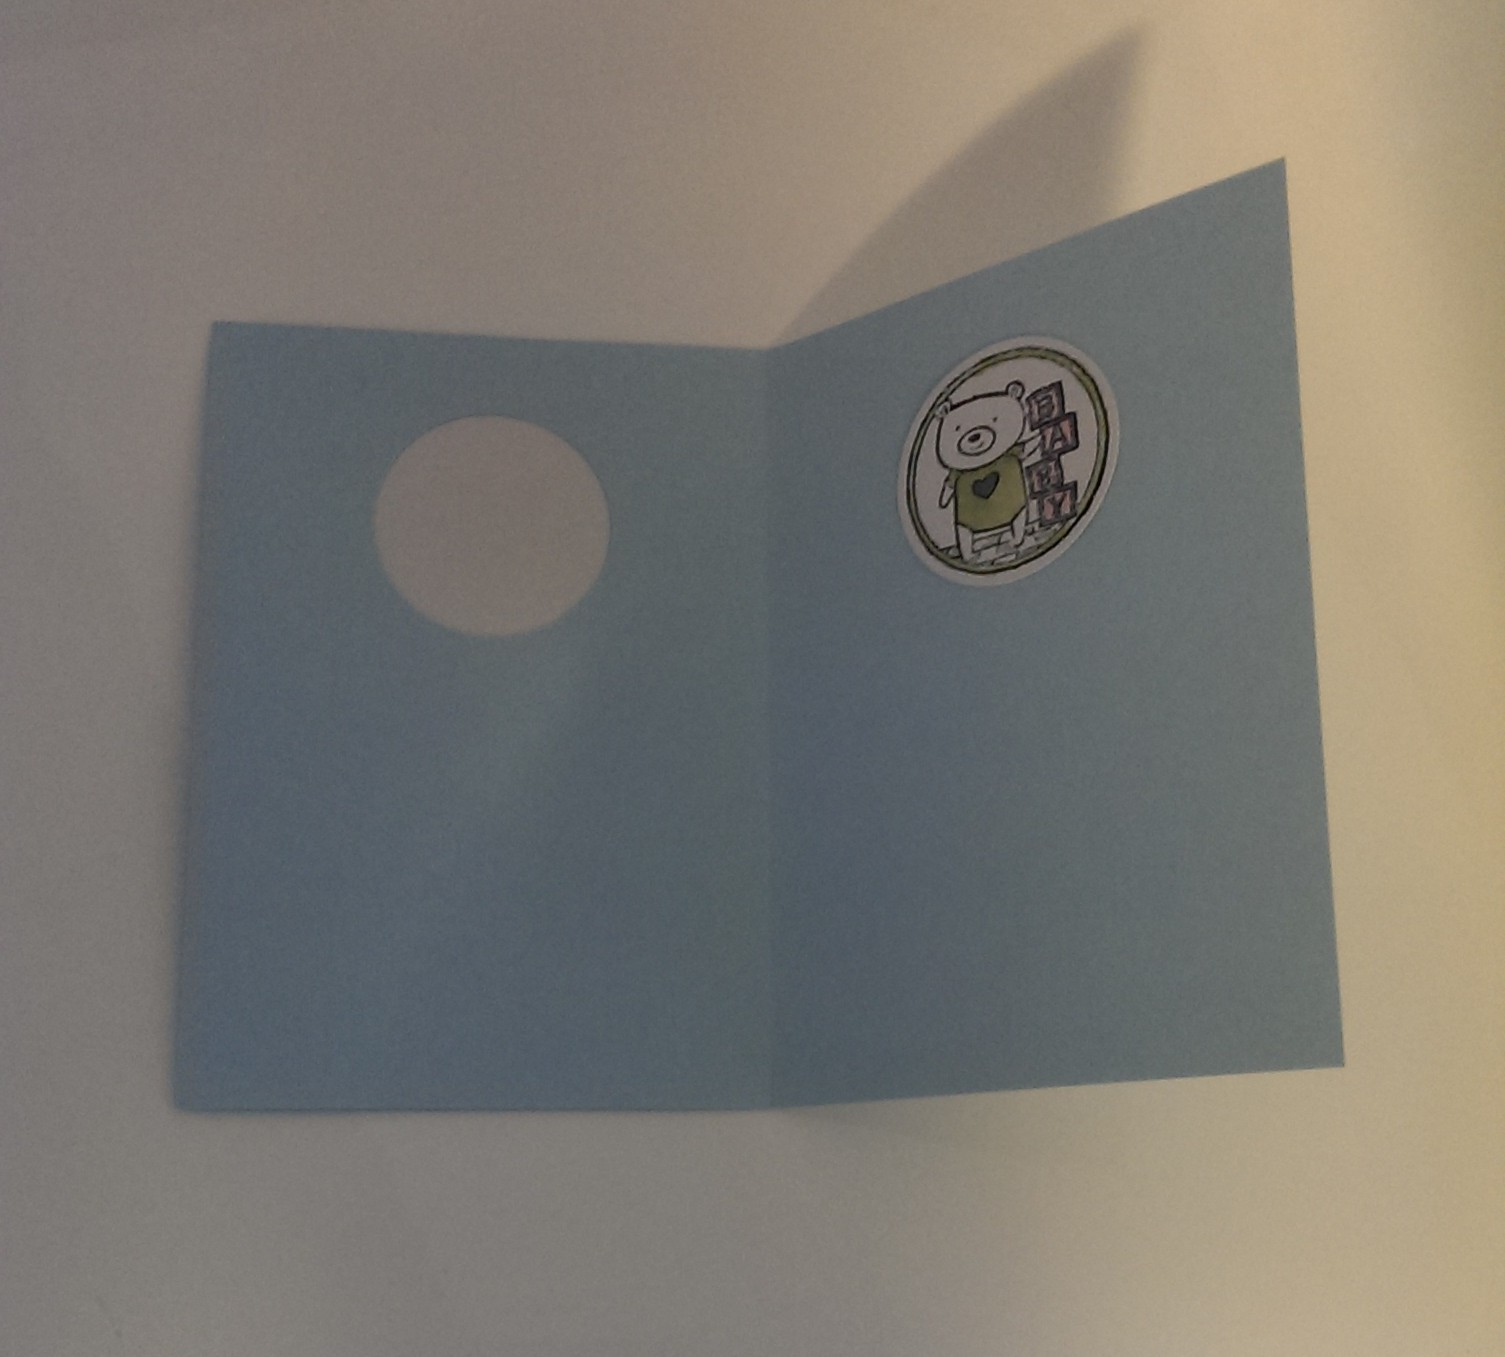
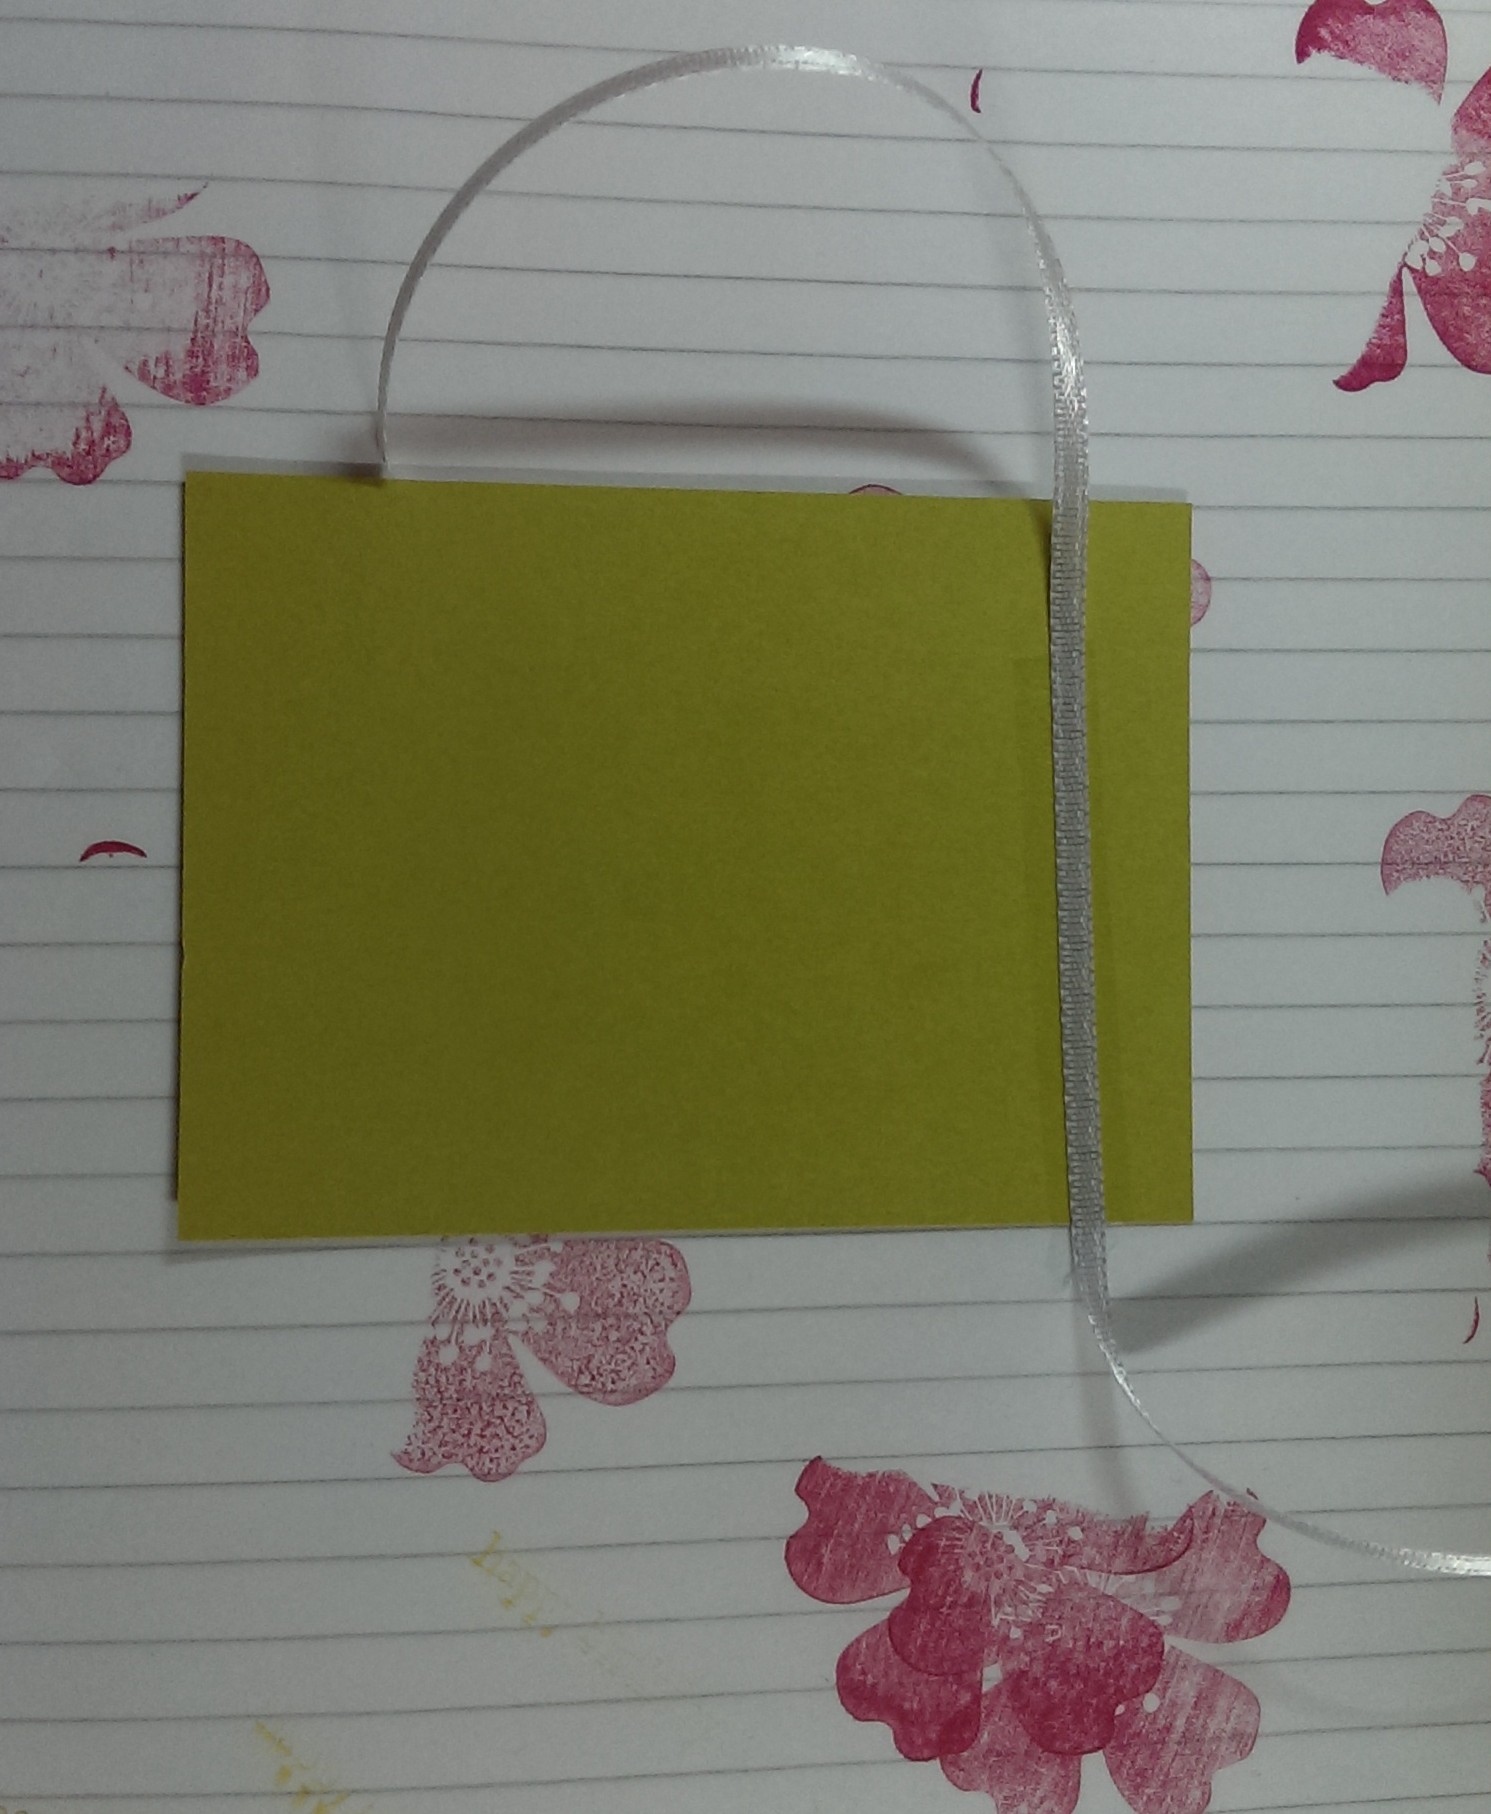
When I found this card, I also realised I had some left overs of the stripy paper.   And ta da – I made a matching envelope with my brand spanking envelope board punch!!!

Envelope with Envelope Board Punch
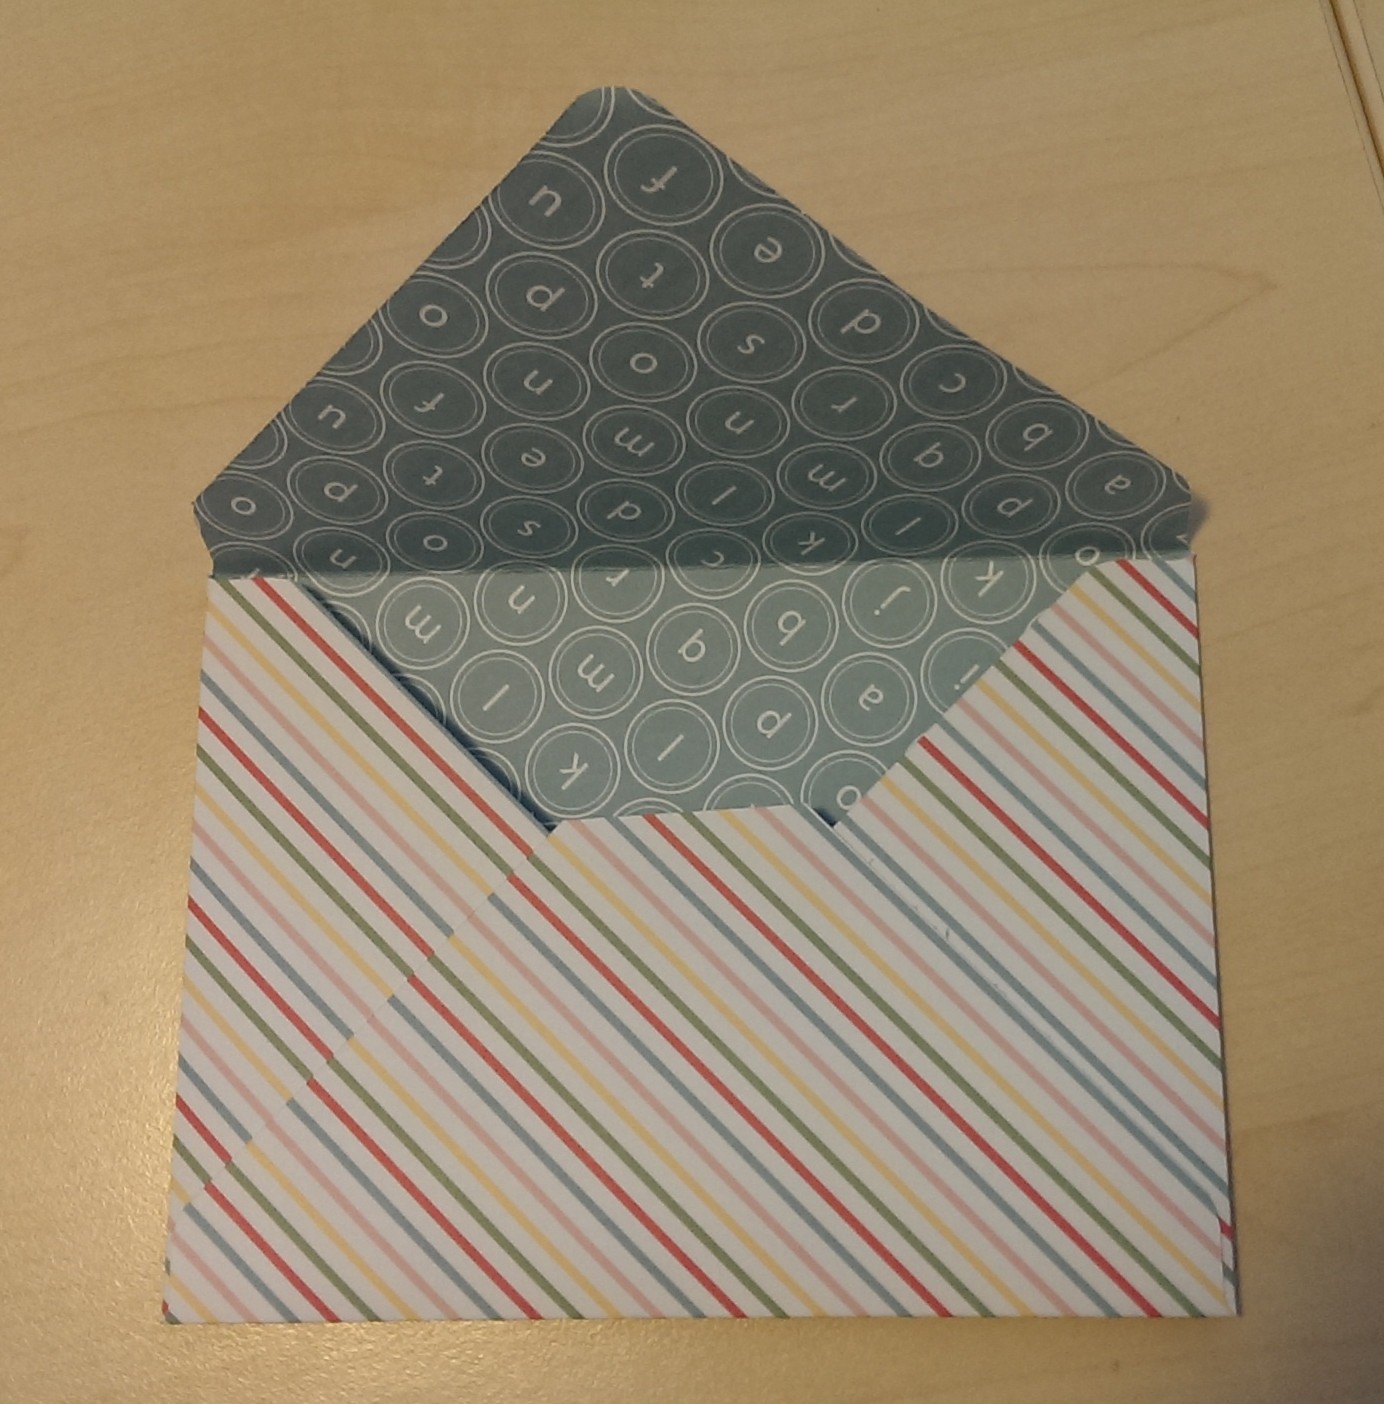
I can’t tell you how excited I am by this envelope board punch.   I have been checking the blogosphere and already have lots of ideas I want to try out – oh, and making envelopes with it of course!

Thanks for reading

Caro x


Share this:

  • Click to share on Pinterest (Opens in new window) Pinterest
  • Click to share on X (Opens in new window) X
  • Click to share on Facebook (Opens in new window) Facebook
  • Click to email a link to a friend (Opens in new window) Email
  • More
  • Click to share on Reddit (Opens in new window) Reddit
  • Click to share on Tumblr (Opens in new window) Tumblr
Like Loading...

Wildflower Meadows and Simply Sketched

30 Wednesday Oct 2013

Posted by Carolyn in Birthday, Cards, Embossing folders, General occasion, Wildflower Meadow

≈ Leave a comment

Tags

cards, embossing, embossing powder, Simply Sketched, Wildflower Meadow

Hello

The cards I have to show you today follow a similar layout to a baby card I showed you a few weeks ago.

Both of these cards were inspired by a demonstrator in the UK called Sam Donald who has an awesome blog/YouTube channel called Pootles Papercraft.   I encourage you to check it out – I get so many ideas from there.  Here’s the card she called ‘Elements of Wildflower Meadows’.

And here are my versions, using the Wildflower Meadows stamp and a greeting from the Simply Sketched set (my favourite hostess set in the current catalogue):

IMAG0102


Wildflower Meadows & Simply Sketched


Embossed Wildflower Meadows with Simply Sketched greetingHere’s a little close up of the embossing:

Embossed Wildflower Meadows elementsThere are so many things you can do with the Wildflower Meadows stamp.  I hoped you enjoyed having a look at some of the things I’ve made with it.

Thanks for reading

Caro


Share this:

  • Click to share on Pinterest (Opens in new window) Pinterest
  • Click to share on X (Opens in new window) X
  • Click to share on Facebook (Opens in new window) Facebook
  • Click to email a link to a friend (Opens in new window) Email
  • More
  • Click to share on Reddit (Opens in new window) Reddit
  • Click to share on Tumblr (Opens in new window) Tumblr
Like Loading...

Embossed Wildflower Meadow cards

29 Tuesday Oct 2013

Posted by Carolyn in Birthday, Embossing folders, General occasion, Wildflower Meadow

≈ Leave a comment

Tags

cards, embossing, embossing powder, Versamark, Wildflower Meadow

Hello

Yesterday I showed you some cards I’d made with my Wildflower Meadow stamp and matching embossing folder.    Today I wanted to show you some cards I’d made using the stamp with Versamark ink and embossing powder.

Here are some Crumb Cake cards with Versamark ink and clear embossing:

IMAG0118It’s a little hard to see the details of the sheen but it is easier to see in a close up:

IMAG0120It also looked pretty amazing with silver embossing powder:

IMAG0121Here are some made from Pretty in Pink (retired) card stock, Versamark ink with clear embossing powder:

Embossed Wildflower MeadowHere is a close up:

IMAG0114


I had so much fun embossing I am going to have to try some more soon.

Enjoy!

Caro


Share this:

  • Click to share on Pinterest (Opens in new window) Pinterest
  • Click to share on X (Opens in new window) X
  • Click to share on Facebook (Opens in new window) Facebook
  • Click to email a link to a friend (Opens in new window) Email
  • More
  • Click to share on Reddit (Opens in new window) Reddit
  • Click to share on Tumblr (Opens in new window) Tumblr
Like Loading...

Wildflower meadow cards

28 Monday Oct 2013

Posted by Carolyn in Cards, Embossing folders, Framelits, General occasion, Labels collection, Wildflower Meadow

≈ Leave a comment

Tags

embossing, Stampin' Write Markers, Wildflower Meadow

Hello

Sorry for the long gap between posts.  Life has been a little hectic lately (to say the least!)   I haven’t had any chance to make any cards lately, but I do have a few photos to show you from the last time I managed to spend a few hours on my card making.

One of the card sets that most caught my eye in this year’s Stampin’ Up! catalogue was the Wildflower Meadow set – and it has a matching embossing folder!  Who could resist?

It is such a beautiful set and the extra depth from the embossing means you can get an amazing effect from the simplest card.

This card was just stamped with Whisper White ink on Crumb Cake card stock:

Wildflower Meadow - whisper white on crumb cake

I was thinking about how to ‘step it up a bit’ and decided to use my Stampin’ Write markets to add some highlights over the white ink:

Wildflower Meadow - white ink with markersIMAG0108

The markers over the white ink gives a really lovely, soft effect.  Here’s a close up which gives you a better idea:

IMAG0112

You can also use your markers to colour directly onto the stamp to give a multicolour effect:

IMAG0109Here’s one where I used the off-cut from a labels framelit to act as a border:

IMAG0110 I had such a lovely time playing with this stamp set.  I’ll show you some more of the results of my experimenting over the next few days.

Thanks for reading

Caro

Share this:

  • Click to share on Pinterest (Opens in new window) Pinterest
  • Click to share on X (Opens in new window) X
  • Click to share on Facebook (Opens in new window) Facebook
  • Click to email a link to a friend (Opens in new window) Email
  • More
  • Click to share on Reddit (Opens in new window) Reddit
  • Click to share on Tumblr (Opens in new window) Tumblr
Like Loading...

Simply Sketched bird cards

07 Monday Oct 2013

Posted by Carolyn in Cards, Framelits, General occasion, Labels collection

≈ Leave a comment

Tags

Simply Sketched

Hello!  I hope you’re having a great day.

Today I wanted to show you a card I’ve made with one of my favourite stamp sets from the new Stampin’ Up! catalogue – Simply Sketched.   This is a hostess set so you can only get it by hosting a workshop or party (or doing a REALLY big order all by yourself!) I’d like to get back into doing a few workshops, so please let me know if you live in the Wollongong or southern Sydney area and would be interesting in hanging out with your friends and making cards 🙂

Here’s the card I made:

IMAG0187I used Crumb Cake as the base card with matching seam binding ribbon.   The bird is coloured with my Stampin’ Write markers.  The blue layer is from a pack of corrugated cardboard I bought at a $2 shop but I think this card would also work beautifully with some of the new Soft Sky card stock from Stampin’ Up!  The watercolour paper is cut out with a Labels Collection framelit.

Here are another couple I made:

Simply Sketched bird

IMAG0163See the ribbon on the last card?  You know those ribbons that are sewed into shirts to keep them onto coat hangers?  Those ribbons which, if you’re anything like me, you cut off before you wear them for the first time?  Well, this ribbon came off a tshirt I bought recently.   So don’t throw them away – see what you can make out of them!

Thanks for reading

Caro x

Share this:

  • Click to share on Pinterest (Opens in new window) Pinterest
  • Click to share on X (Opens in new window) X
  • Click to share on Facebook (Opens in new window) Facebook
  • Click to email a link to a friend (Opens in new window) Email
  • More
  • Click to share on Reddit (Opens in new window) Reddit
  • Click to share on Tumblr (Opens in new window) Tumblr
Like Loading...

Cut out cards with the decorative label punch

06 Sunday Oct 2013

Posted by Carolyn in Birthday, Cards, Decorative Label, General occasion, Punches, Thank you

≈ Leave a comment

Tags

cards, clever ideas with punches

Hello

Just a quick post today. Yesterday I showed you how to make a cut out card with a circle punch. Today I want to show you 2 cards I’ve made using the same technique but using the Stampin’ Up! decorative label punch instead. The stamped images are from the Stampin’ Up! Fancy Frames set. This is a really versatile set – if you are looking for ways to add sentiments to cards I’d really encourage you to think about this set with the matching punch. The ‘happy birthday’ and ‘thank you’ come from the Teeny Tiny Sentiments set. Another indispensable one for your collection.

Decorative label punch out card


This card is made with Island Indigo and Whisper White (embossed with the square lattice embossing folder). I’ve used matching Island Indigo ribbon and sponged in ink around the white layer for extra depth.

Decorative label cut out thank you card

This one is made with Pear Pizzazz, Whisper White and Perfect Plum with the Perfect Polka Dot embossing folder.

Here are close ups of the cut outs:

IMAG0221


You can see I’ve used the reverse side of the polka dot embossing for something different. I used my Stampin’ Write markers to get the multicoloured image on the stamp.

Decorative label and fancy framesI’ll let you in on a little secret with this one. See the rhinestone? It is actually covering up a small smudge in the stamped image, but I actually think it works! Someone once told me that “A mistake is just an excuse for an embellishment”. In this case, they might be right!

Enjoy

Caro x


Share this:

  • Click to share on Pinterest (Opens in new window) Pinterest
  • Click to share on X (Opens in new window) X
  • Click to share on Facebook (Opens in new window) Facebook
  • Click to email a link to a friend (Opens in new window) Email
  • More
  • Click to share on Reddit (Opens in new window) Reddit
  • Click to share on Tumblr (Opens in new window) Tumblr
Like Loading...

Cut out card technique

05 Saturday Oct 2013

Posted by Carolyn in 1 3/4 circle, Baby cards, Birthday, Cards, Decorative Label, General occasion, Punches, Tutorial

≈ Leave a comment

Tags

card making technique, cards, Punches, tutorial

Yesterday I showed you a card I made with a cut out image in it.   I think of this as a peek-a-boo card!

Baby punch out card

Today I wanted to show you how to make it.

Step 1:  fold a card blank.   I used my 1 3/4 inch circle punch, but you could use any shape you like.     Centre the punch at the top of the front of the card and punch out an image.

IMAG0168Step 2:  stick the image on the inside of the card so you can see it through the open circle on the front.  Tip!  Do not try and glue this from the inside.  Close the card and stick the image to the inside of the card through the hole on the front.   This will make sure you get a perfect alignment.

IMAG0172

IMAG0170

Step 3: decorate the front of the card however you like.  This will probably mean covering over the circle you’ve cut out, but this doesn’t matter.  We’ll fix that later.   I’ve kept this card front really simple:

IMAG0171

The hole is hiding there under the purple card stock.

Step 4: Once you’ve decorated the card, open it, and cut a circle on the inside from the same hole as the first one you cut.

IMAG0173

(Note: this picture is upside down from how you’d see it if you were punching yourself!)

This is how it will look like when finished:

IMAG0180

And you’re done!  A very simple card but pretty effective I think?

My mother is sitting here while I’m typing this and she says to say it’s so simple even your mother could make it! Here’s a picture of a card we made together this afternoon using the same technique:

IMAG0209


This technique also works with other punches.  Tomorrow I will show you a couple of cards I’ve made using the same technique but a different punch.

I hope you enjoy making some of these.

Caro x

Share this:

  • Click to share on Pinterest (Opens in new window) Pinterest
  • Click to share on X (Opens in new window) X
  • Click to share on Facebook (Opens in new window) Facebook
  • Click to email a link to a friend (Opens in new window) Email
  • More
  • Click to share on Reddit (Opens in new window) Reddit
  • Click to share on Tumblr (Opens in new window) Tumblr
Like Loading...

Using my colouring in … Part 2

02 Wednesday Oct 2013

Posted by Carolyn in Birthday, Cards, Cupcakes and other tasty treats, General occasion, Kids cards, Using up scraps

≈ Leave a comment

Tags

Colouring in, cupcake cards, using up scraps

Hello – thanks for reading Caro’s Pretty Things 🙂

Today I wanted to show you some more of the cards I made using up my (ridiculously large!) stash of coloured-in stamped images.   Today I’m going to show you some cupcakes.  Again, these are mostly using up scraps of paper and card stock I had lying around.  Believe it or not I have finally completely emptied one of my boxes of paper ‘I might need just in case’!!

IMAG0158

IMAG0160

IMAG0159

IMAG0167I hope you enjoyed looking at some of these pictures.

Thanks for reading my blog x

Share this:

  • Click to share on Pinterest (Opens in new window) Pinterest
  • Click to share on X (Opens in new window) X
  • Click to share on Facebook (Opens in new window) Facebook
  • Click to email a link to a friend (Opens in new window) Email
  • More
  • Click to share on Reddit (Opens in new window) Reddit
  • Click to share on Tumblr (Opens in new window) Tumblr
Like Loading...

Cute cards using up old DSP

29 Sunday Sep 2013

Posted by Carolyn in Bitty Butterfly, Cards, Elegant Butterly, General occasion, Punches, Using up scraps

≈ Leave a comment

Tags

cards, DSP, pretty paper, simple card layouts, using up scraps

HI there

Sorry for the little break in posting.  I haven’t been doing much blogging – but I have been making lots of cards over the last few weeks so stay tuned.  I will try and find some time to show them to you soon.

You’ve probably figured out from this blog that a) I have quite the stash of pretty paper I’ve collected over the years and b) I’m trying to figure out ways to use it all up!  I’ve been setting myself a bit of a challenge lately of pulling out an old packet of DSP and trying to randomly pick a piece of paper and then trying to make some cards out of it.

Here’s an example.  I picked a piece of old DSP from a retired Stampin’ Up! set called Haiku.  Here’s the result:

IMAG0166

The card on the left uses the Elegant Butterfly and Bitty Butterfly punches with some rhinestone ‘bling’ as an embellishment.  Also note the horizontal lines from sticking 2 extra strips of card stock I had left over.

The card on the right is quite simple – but the scallop edge border punch gives it a bit of extra ‘something’ as do the rhinestones at the centre of each flower.

These were really simple to make – and used up a piece of paper in about 5 mins.  Nice!

I’ll try and post some more soon

Thanks for reading

Caro

Share this:

  • Click to share on Pinterest (Opens in new window) Pinterest
  • Click to share on X (Opens in new window) X
  • Click to share on Facebook (Opens in new window) Facebook
  • Click to email a link to a friend (Opens in new window) Email
  • More
  • Click to share on Reddit (Opens in new window) Reddit
  • Click to share on Tumblr (Opens in new window) Tumblr
Like Loading...

Another handy card layout

21 Saturday Sep 2013

Posted by Carolyn in Birthday, Cards, General occasion, Tutorial, Using up scraps

≈ Leave a comment

Tags

card layouts, cards, tutorials, using up scraps

Hi.  Thanks for dropping by!

Today I wanted to show you another handy card layout that you can adapt for a whole range of occasions.  For example, Mothers’ Day:

photo-1

Or birthdays:

IMAG0074

Or just general occasion:

photo

To make these you need the following pieces:

Base card – A6 card

DSP layer – 14.2 x 10 cm

Layer to mat the white/tie ribbon – 9.5 x 7 cm

White/vanilla layer – 7 x 5.5 cm

Ribbon

Decorate the white/vanilla layer however you like and tie the ribbon onto the mat layer and you have a simple card.

One tip for tying a ribbon bow on the card.   I find it easier to glue the ribbon to the back of the mat layer and then stick the mat layer onto the card before tying the bow.

IMAG0073It’s harder to put glue on the back of the mat layer when the bow is already tied – plus you will probably squish your beautiful bow!  I also find it much easier to tie a bow when the ribbon is already securely attached to the card stock so it doesn’t wriggle about!

Hopefully this has given you some ideas for another simple card to make when you’re a bit short on time.

Thanks for reading

Caro

Share this:

  • Click to share on Pinterest (Opens in new window) Pinterest
  • Click to share on X (Opens in new window) X
  • Click to share on Facebook (Opens in new window) Facebook
  • Click to email a link to a friend (Opens in new window) Email
  • More
  • Click to share on Reddit (Opens in new window) Reddit
  • Click to share on Tumblr (Opens in new window) Tumblr
Like Loading...
← Older posts
Newer posts →

Carolyn Dalton

Independent Stampin Up! Demonstrator

Recent Posts

  • Pretty butterfly birthday card 
  • Adding an extra touch to a homemade envelope
  • Quick and easy masculine card 
  • Quick and easy kids card
  • Butterfly soap card

Archives

  • March 2016
  • February 2016
  • January 2016
  • December 2015
  • November 2015
  • October 2015
  • September 2015
  • August 2015
  • July 2015
  • June 2015
  • May 2015
  • April 2015
  • September 2014
  • July 2014
  • April 2014
  • March 2014
  • February 2014
  • November 2013
  • October 2013
  • September 2013
  • August 2013
  • July 2013
  • June 2013
  • May 2013
  • May 2012

Categories

  • 1 1/4 inch circle
  • 1 3/4 circle
  • 1 3/4 inch scallop circle
  • 1 3/8 circle
  • 1 inch circle
  • 1 inch square
  • 2 3/8 inch scallop punch
  • 3/4 inch circle
  • 3D / pop up
  • 3D projects
  • Anniversary
  • Baby cards
  • Beautiful Butterflies
  • Big Shot
  • Bird Builder
  • Birthday
  • Bitty Butterfly
  • Blossom
  • Blossom Builder
  • Boho Blossoms
  • Boxes
  • Butterfly (retired)
  • Candy Wrapper
  • Card sets
  • Cards
  • Chalk Talk
  • Christmas
  • Circle Thinlits
  • Circle treat cups
  • Circles #2
  • Corner rounder
  • Cupcake Builder
  • Cupcakes and other tasty treats
  • Curly label
  • Decorative Label
  • Dies
  • Elegant Butterly
  • Embossing folders
  • Envelopes
  • Extra Large Oval
  • Fancy Flower
  • Framelits
  • Full heart
  • General occasion
  • Gift bags
  • Gift bow
  • Gift card holders
  • Gift tags & wrapping
  • Home decorating
  • Horizontal Slot
  • Invitations
  • Jewellery tag
  • Kids cards
  • Kids craft ideas
  • Kids party
  • Labels collection
  • Large Oval
  • Love notes
  • Masculine
  • Mini scallop
  • Modern Label
  • Music Notes
  • Notebooks
  • Owl
  • Perfect Polka Dots
  • Petite curly label
  • Pinwheel die
  • Punches
  • Scallop circle
  • Scallop edge
  • Scallop envelope
  • Scallop oval
  • Scallop Tag Topper
  • Small Heart
  • Square Lattice
  • Star
  • Sweet treat cups
  • Tag
  • Tasteful Trim
  • Thank you
  • Thoughts and comments
  • Top Note
  • Tutorial
  • Uncategorized
  • Using up scraps
  • Washi tape
  • Wedding cards
  • Wheels
  • Wildflower Meadow
  • Word Window

Pinterest

Follow Me on Pinterest

Follow me on Twitter

My Tweets

Enter your email address to follow this blog and receive notifications of new posts by email.

Join 26 other subscribers

Create a free website or blog at WordPress.com.

Privacy & Cookies: This site uses cookies. By continuing to use this website, you agree to their use.
To find out more, including how to control cookies, see here: Cookie Policy
  • Subscribe Subscribed
    • Caro's Pretty Things
    • Join 26 other subscribers
    • Already have a WordPress.com account? Log in now.
    • Caro's Pretty Things
    • Subscribe Subscribed
    • Sign up
    • Log in
    • Report this content
    • View site in Reader
    • Manage subscriptions
    • Collapse this bar
 

Loading Comments...
 

    %d