Still sick. Still colouring in!
Here’s today’s efforts. And now I’m exhausted and going back to bed – all this colouring in is hard work 😉
Thanks for reading.
Caro x
18 Tuesday Aug 2015
Posted in Thoughts and comments
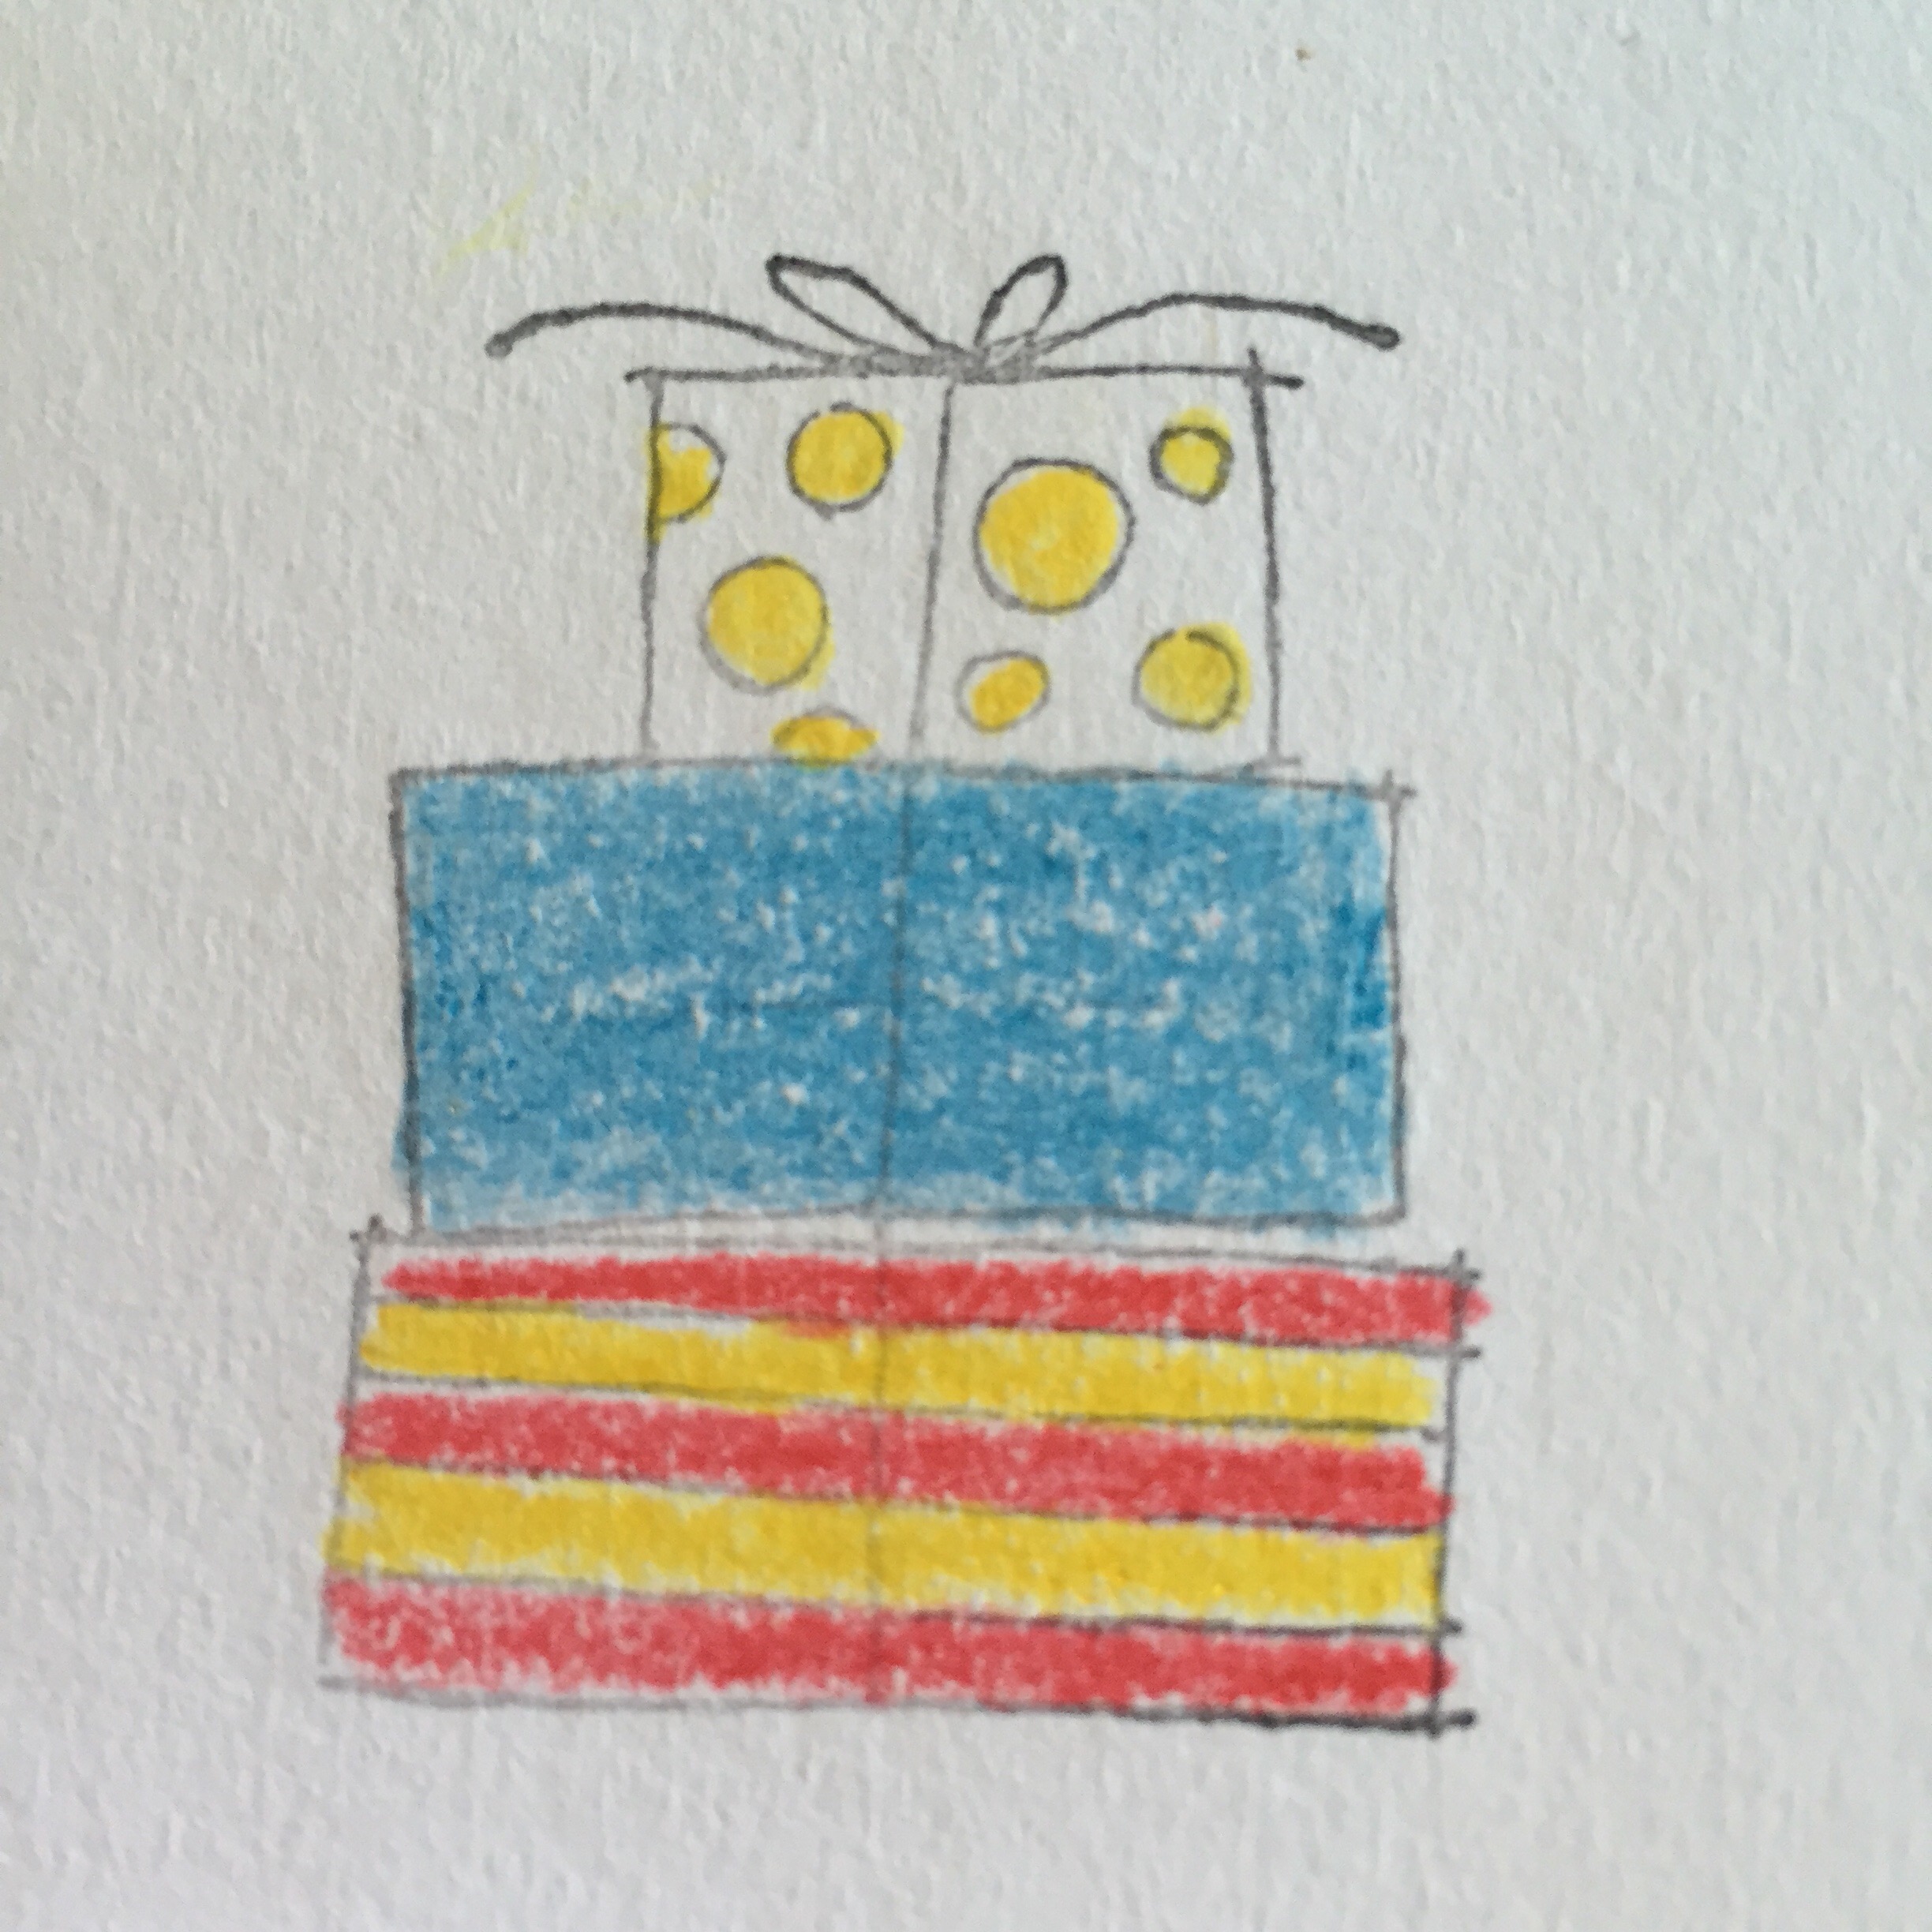
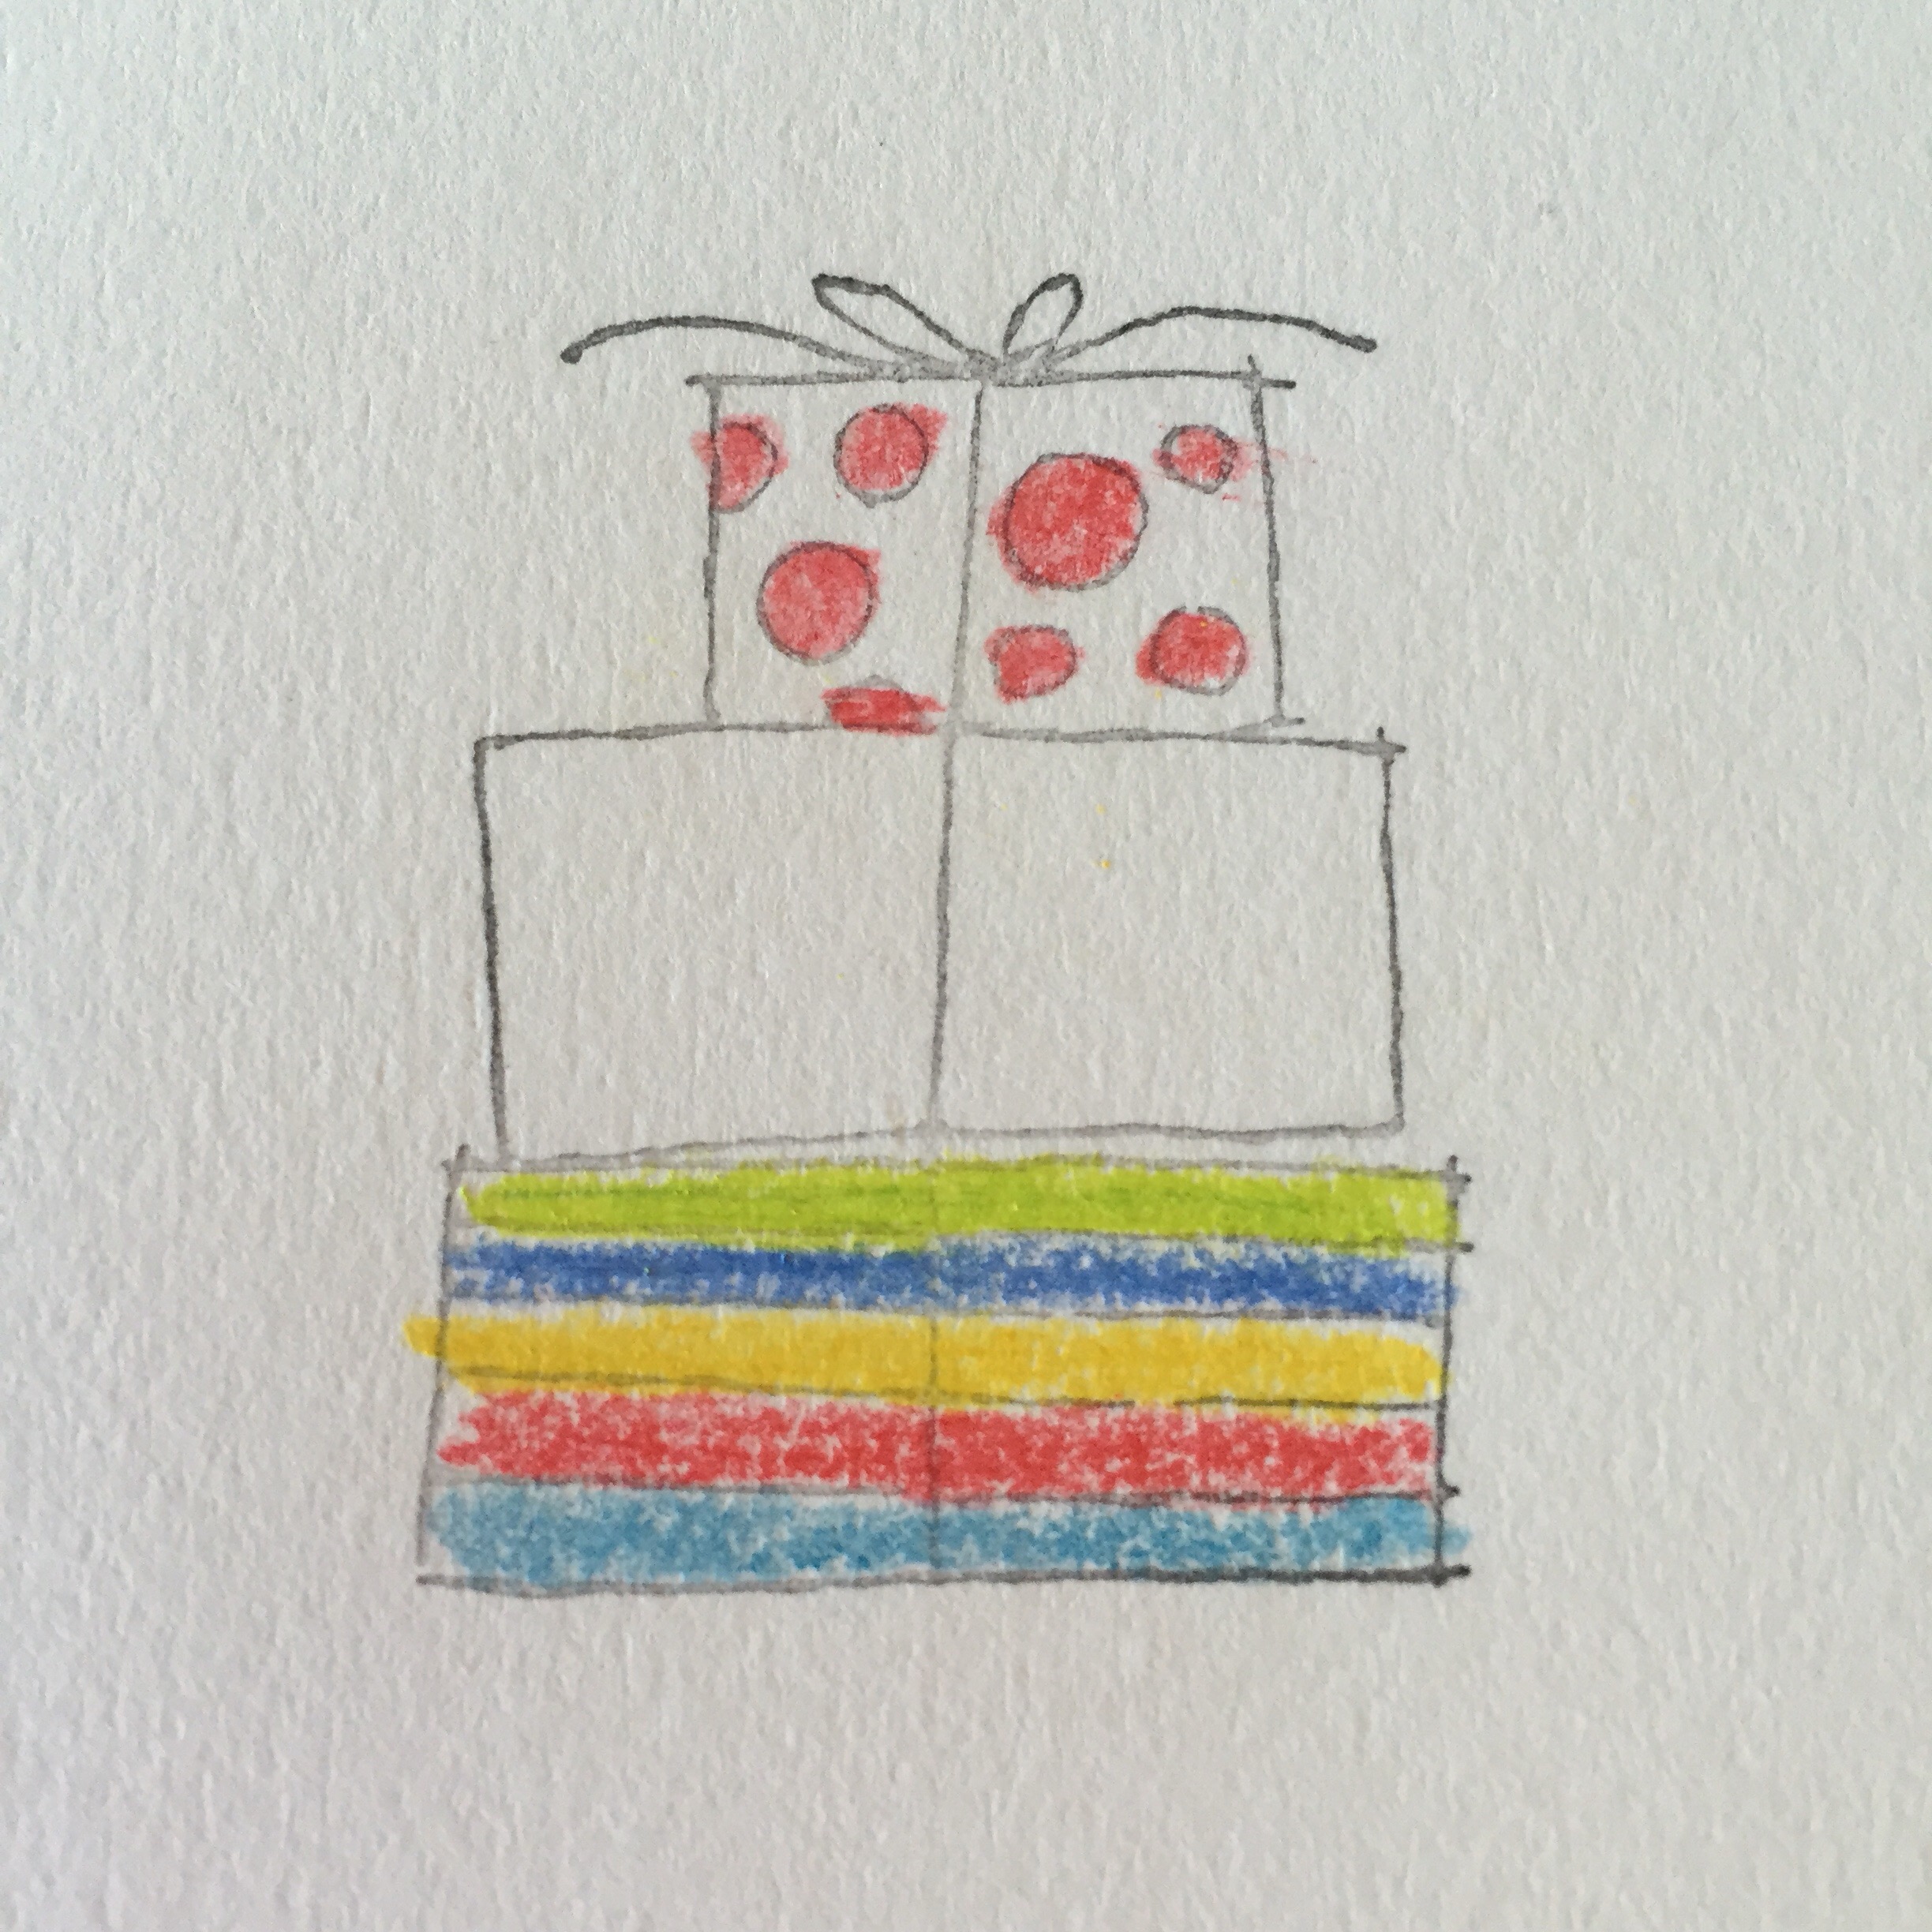
Still sick. Still colouring in!
Here’s today’s efforts. And now I’m exhausted and going back to bed – all this colouring in is hard work 😉
Thanks for reading.
Caro x
16 Sunday Aug 2015
Posted in Thoughts and comments
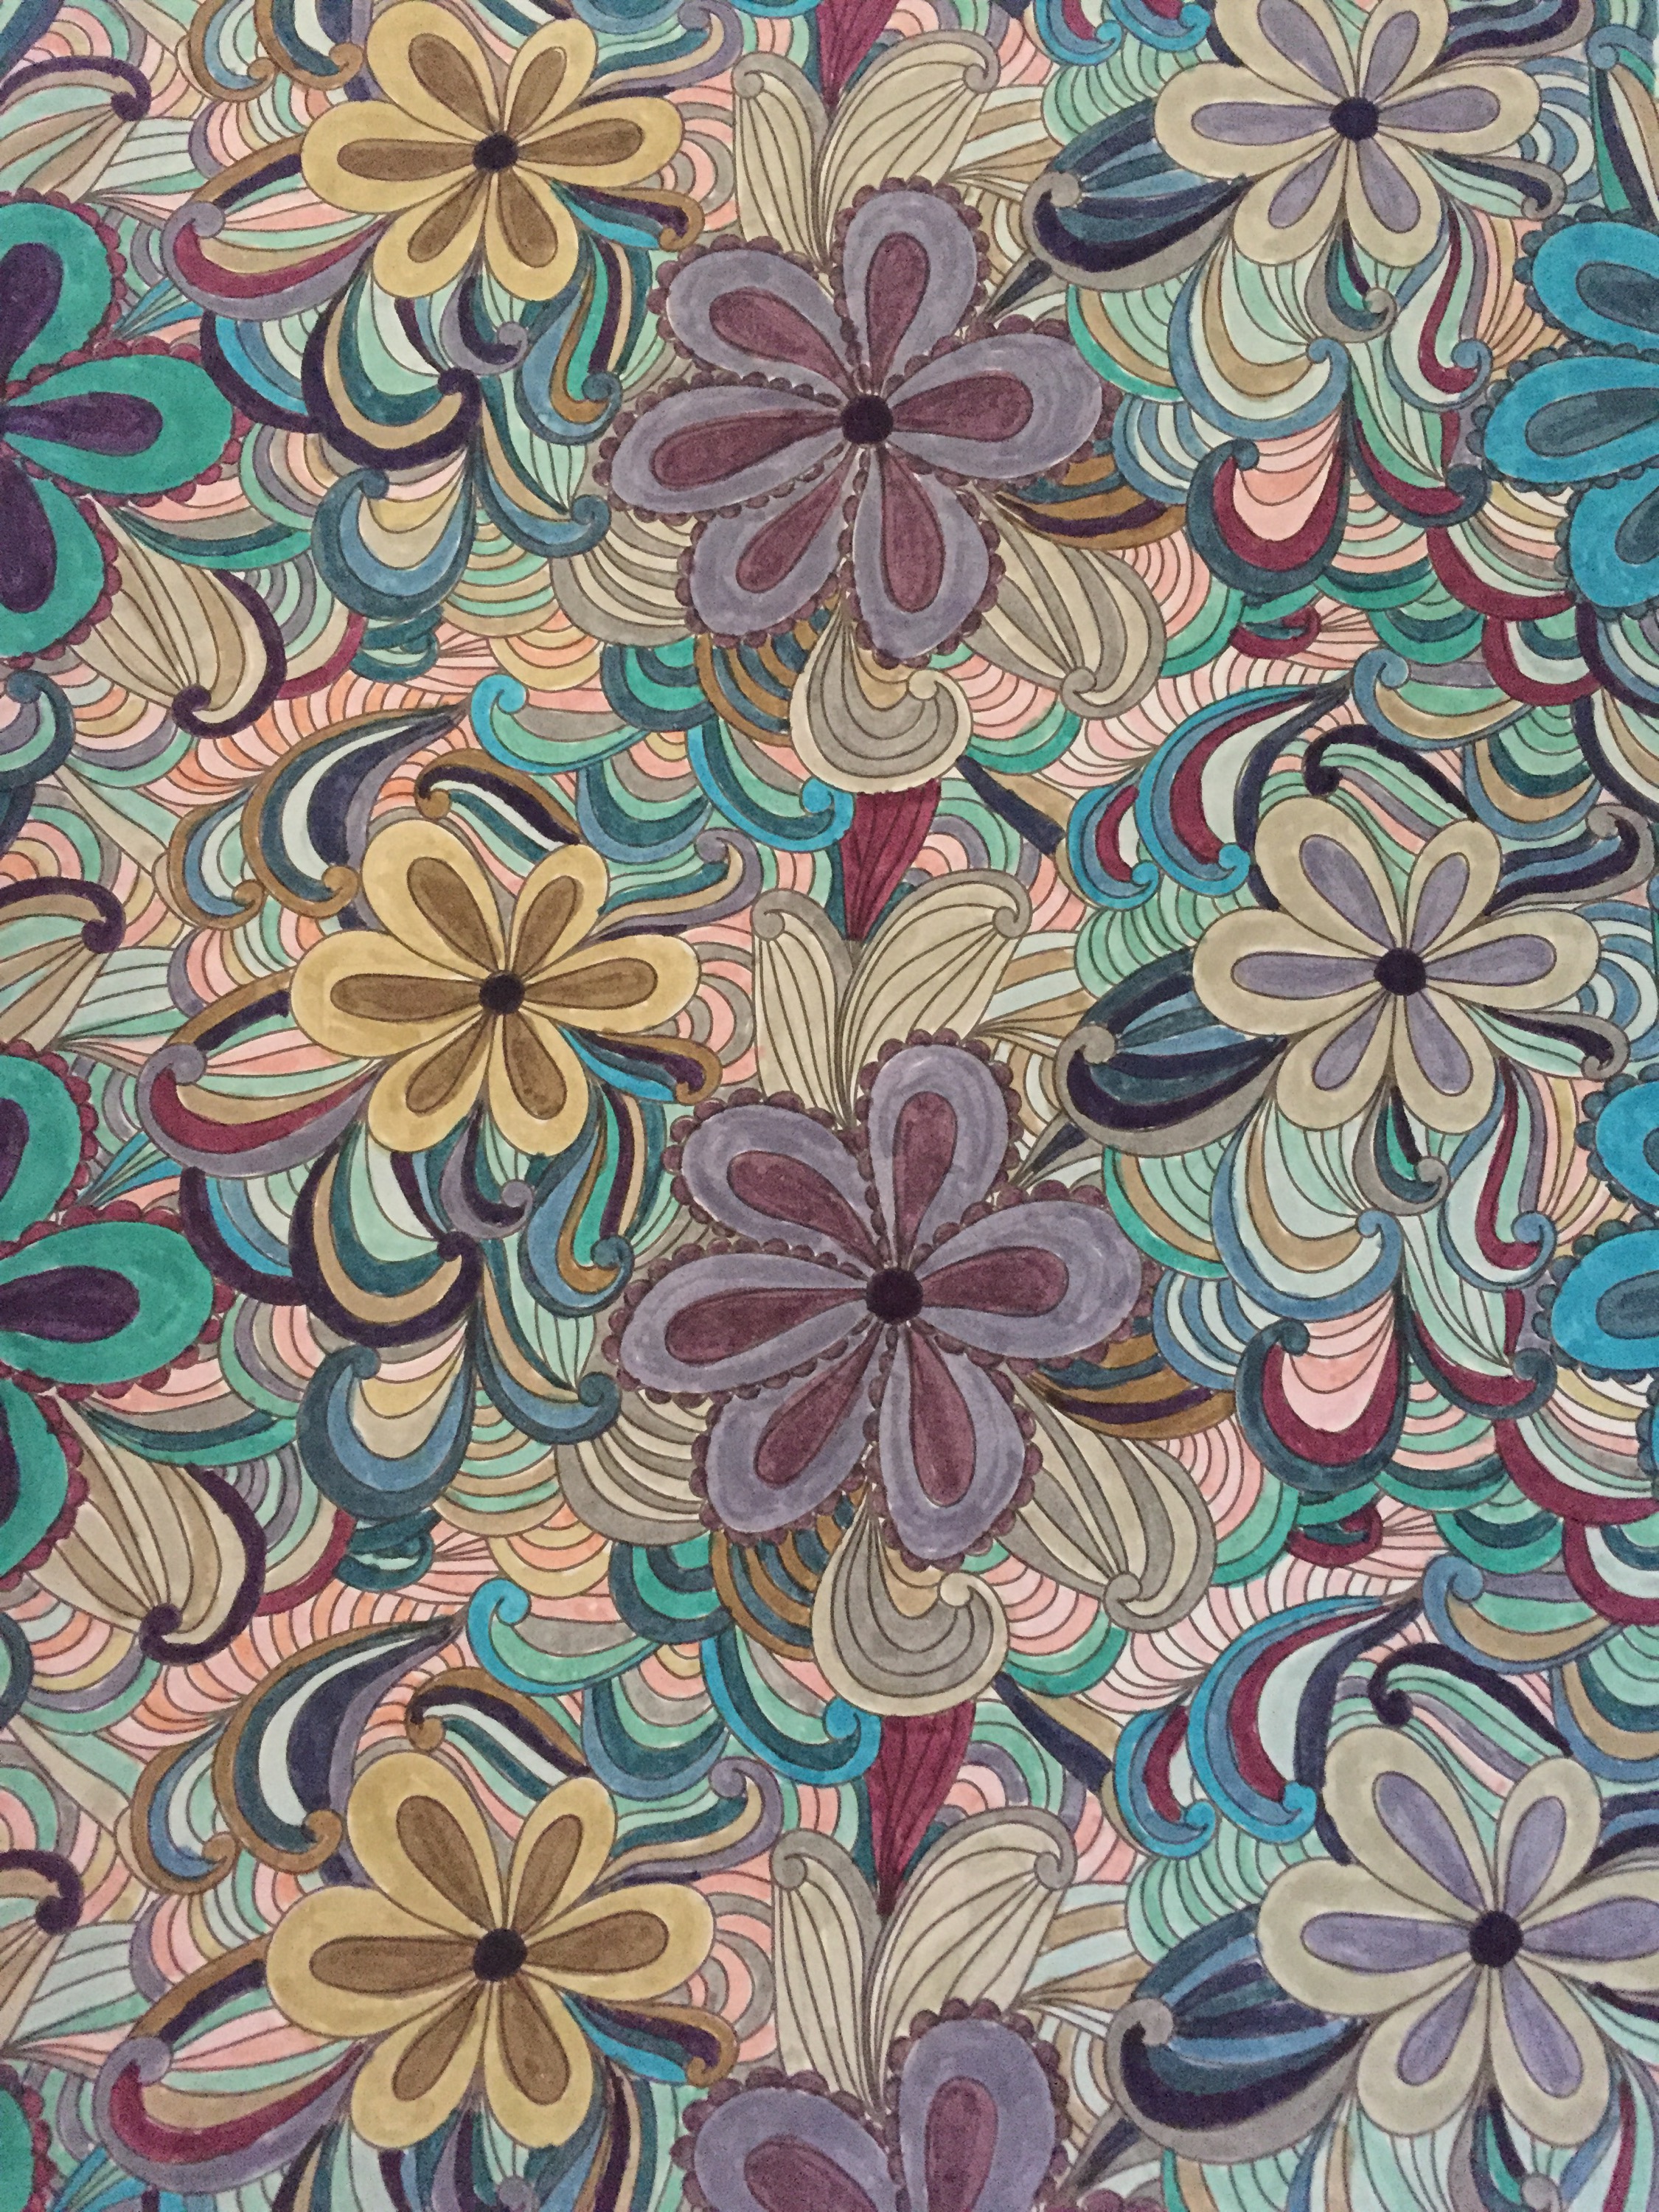
I’ve been pretty sick the last few days (again!), so again all I’ve felt up to is a spot (ok, a big spot!) of colouring in.
So here are the next 2 pages in my colouring book:
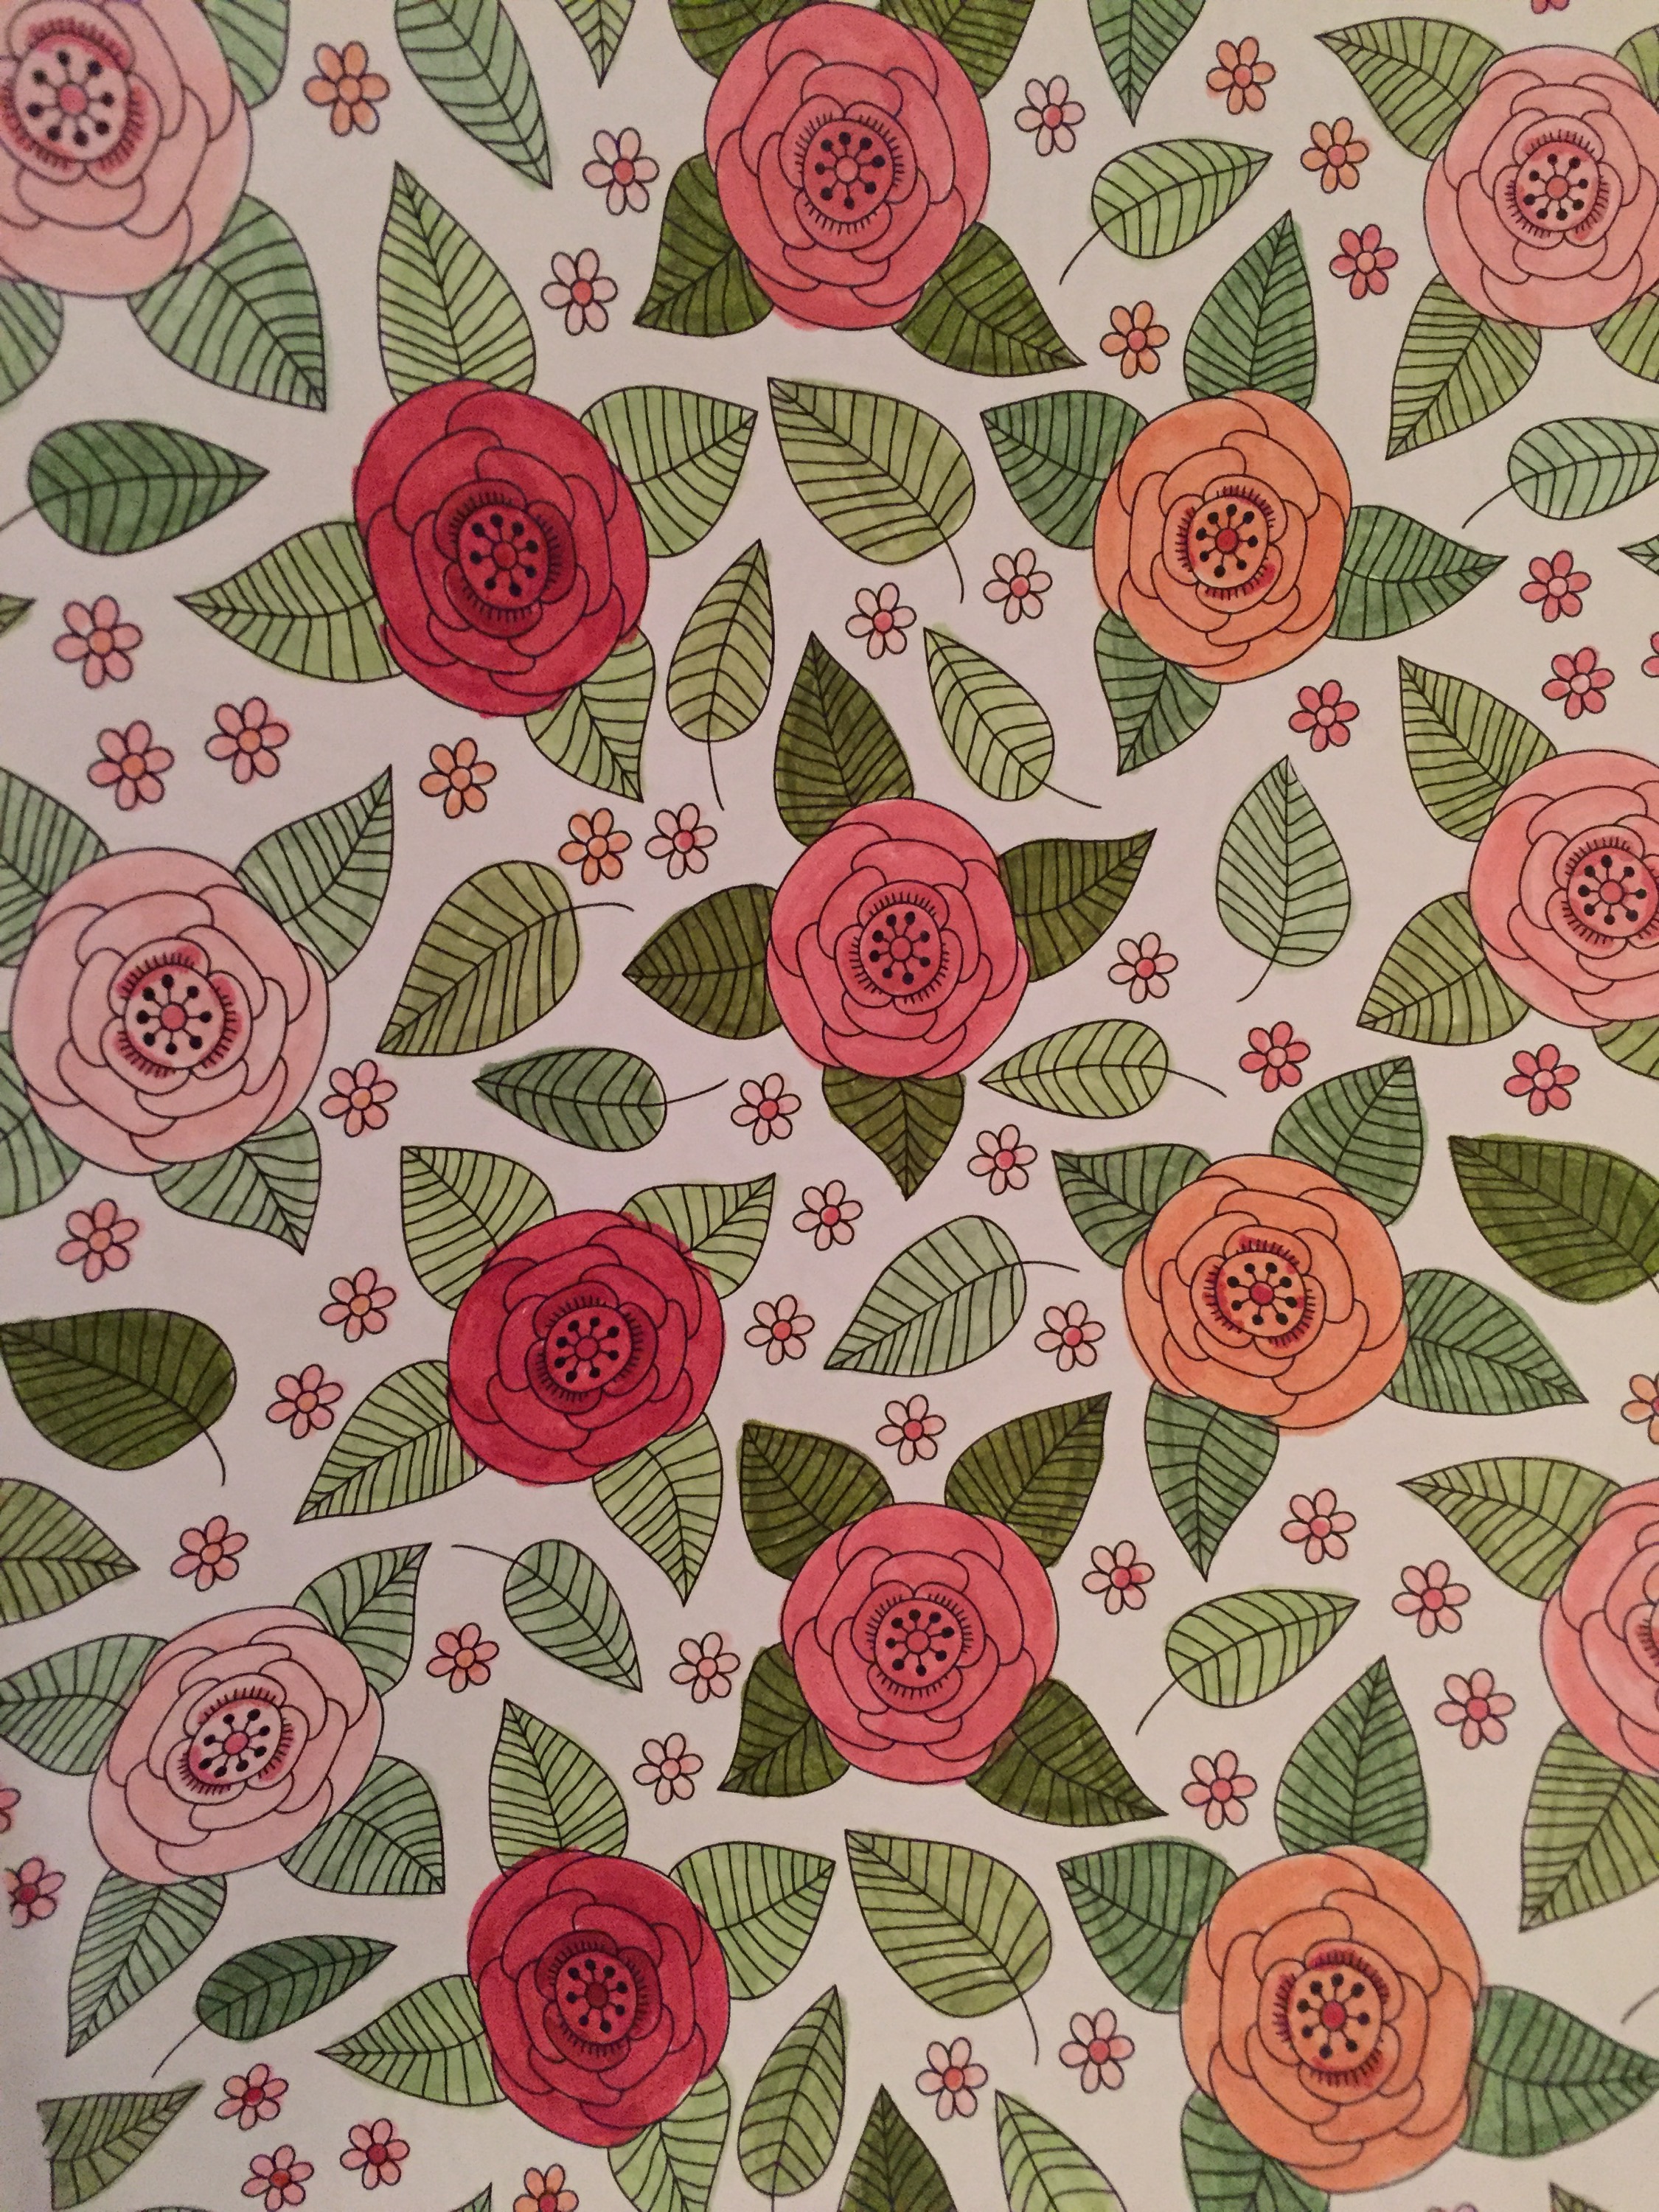
 I’m not too sure about the second one. I used a bunch of colours I don’t usually use. But I guess that’s the nice thing about colouring in – I guess it doesn’t really matter!
Until next time.
Caro x
10 Monday Aug 2015
Posted in Thoughts and comments
My mum recently gave me an adult colouring in book as a gift. If you’ve been reading this blog for a while you know how much I like to colour in, so it was a perfect present.
Here is my first completed page!

So therapeutic! Can’t wait to get started on some more!
Caro x
24 Sunday May 2015
Posted in General occasion, Thoughts and comments
Tags
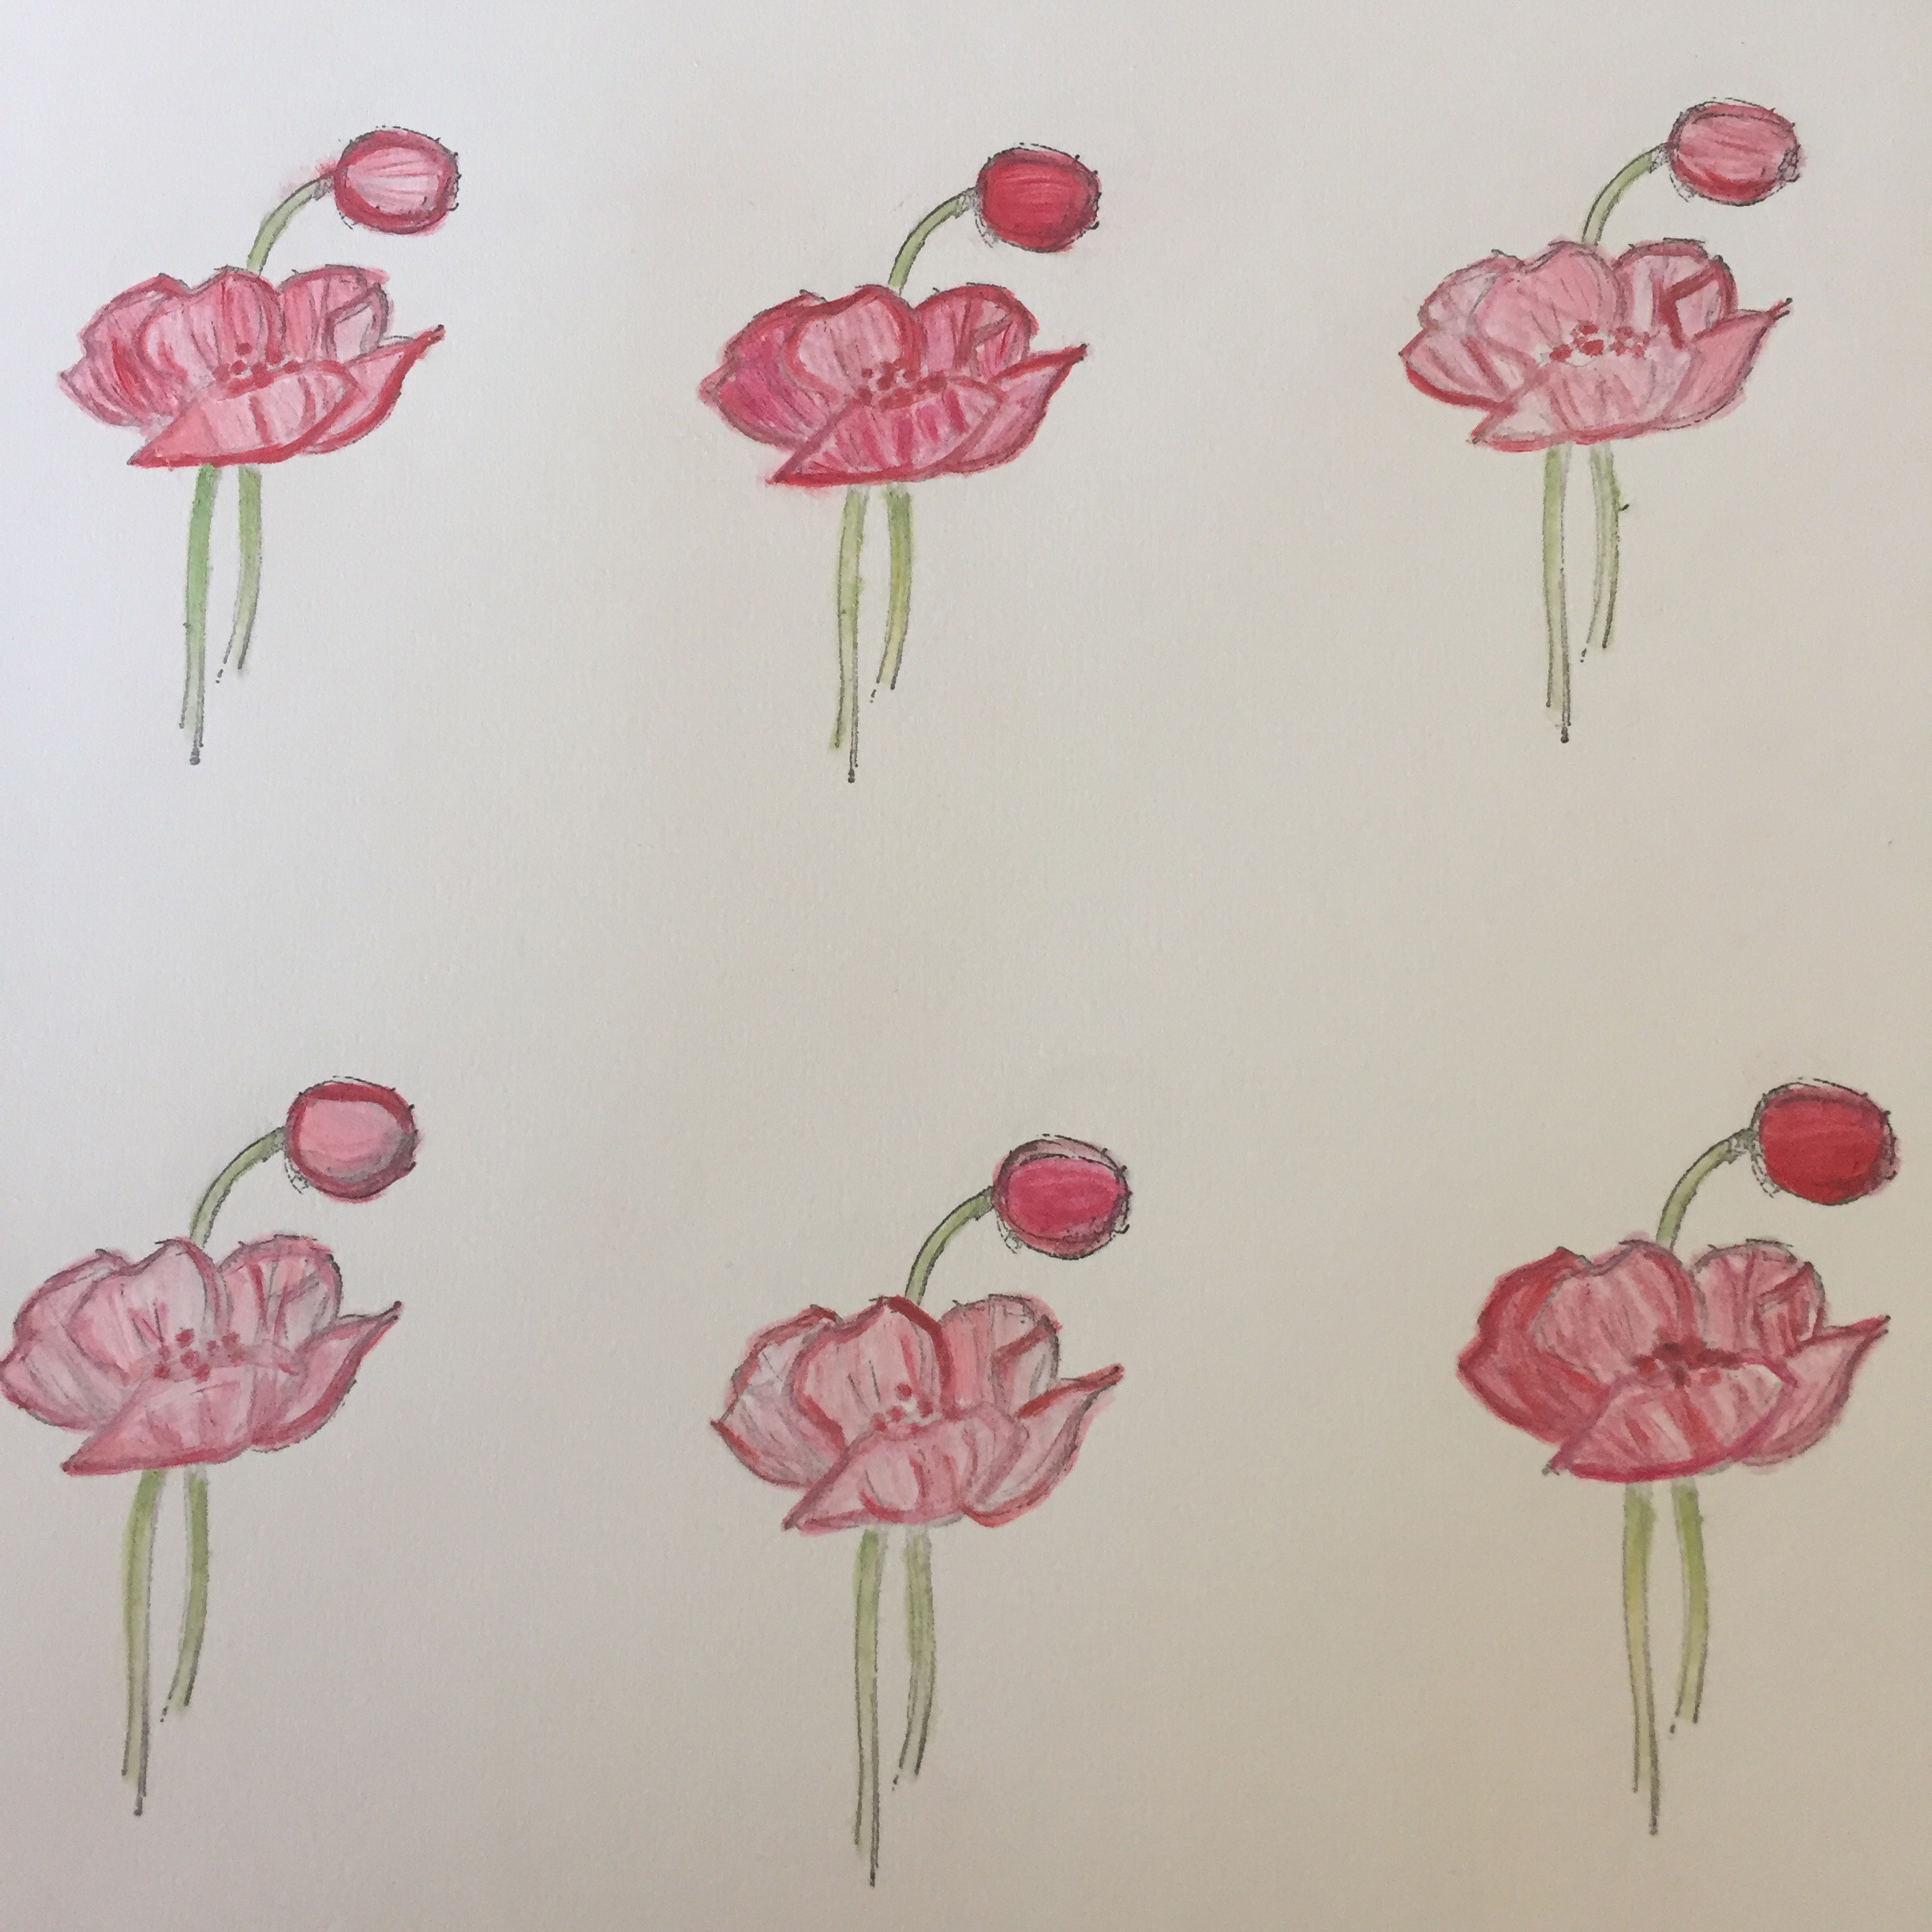
Another day of being sick on the couch, another day of some colouring in therapy! (I guess it makes a change from washi tape though!)
It’s good to do a bunch of images at once though so you can do a bulk card making session later on!


I think these flowers are my favourite:


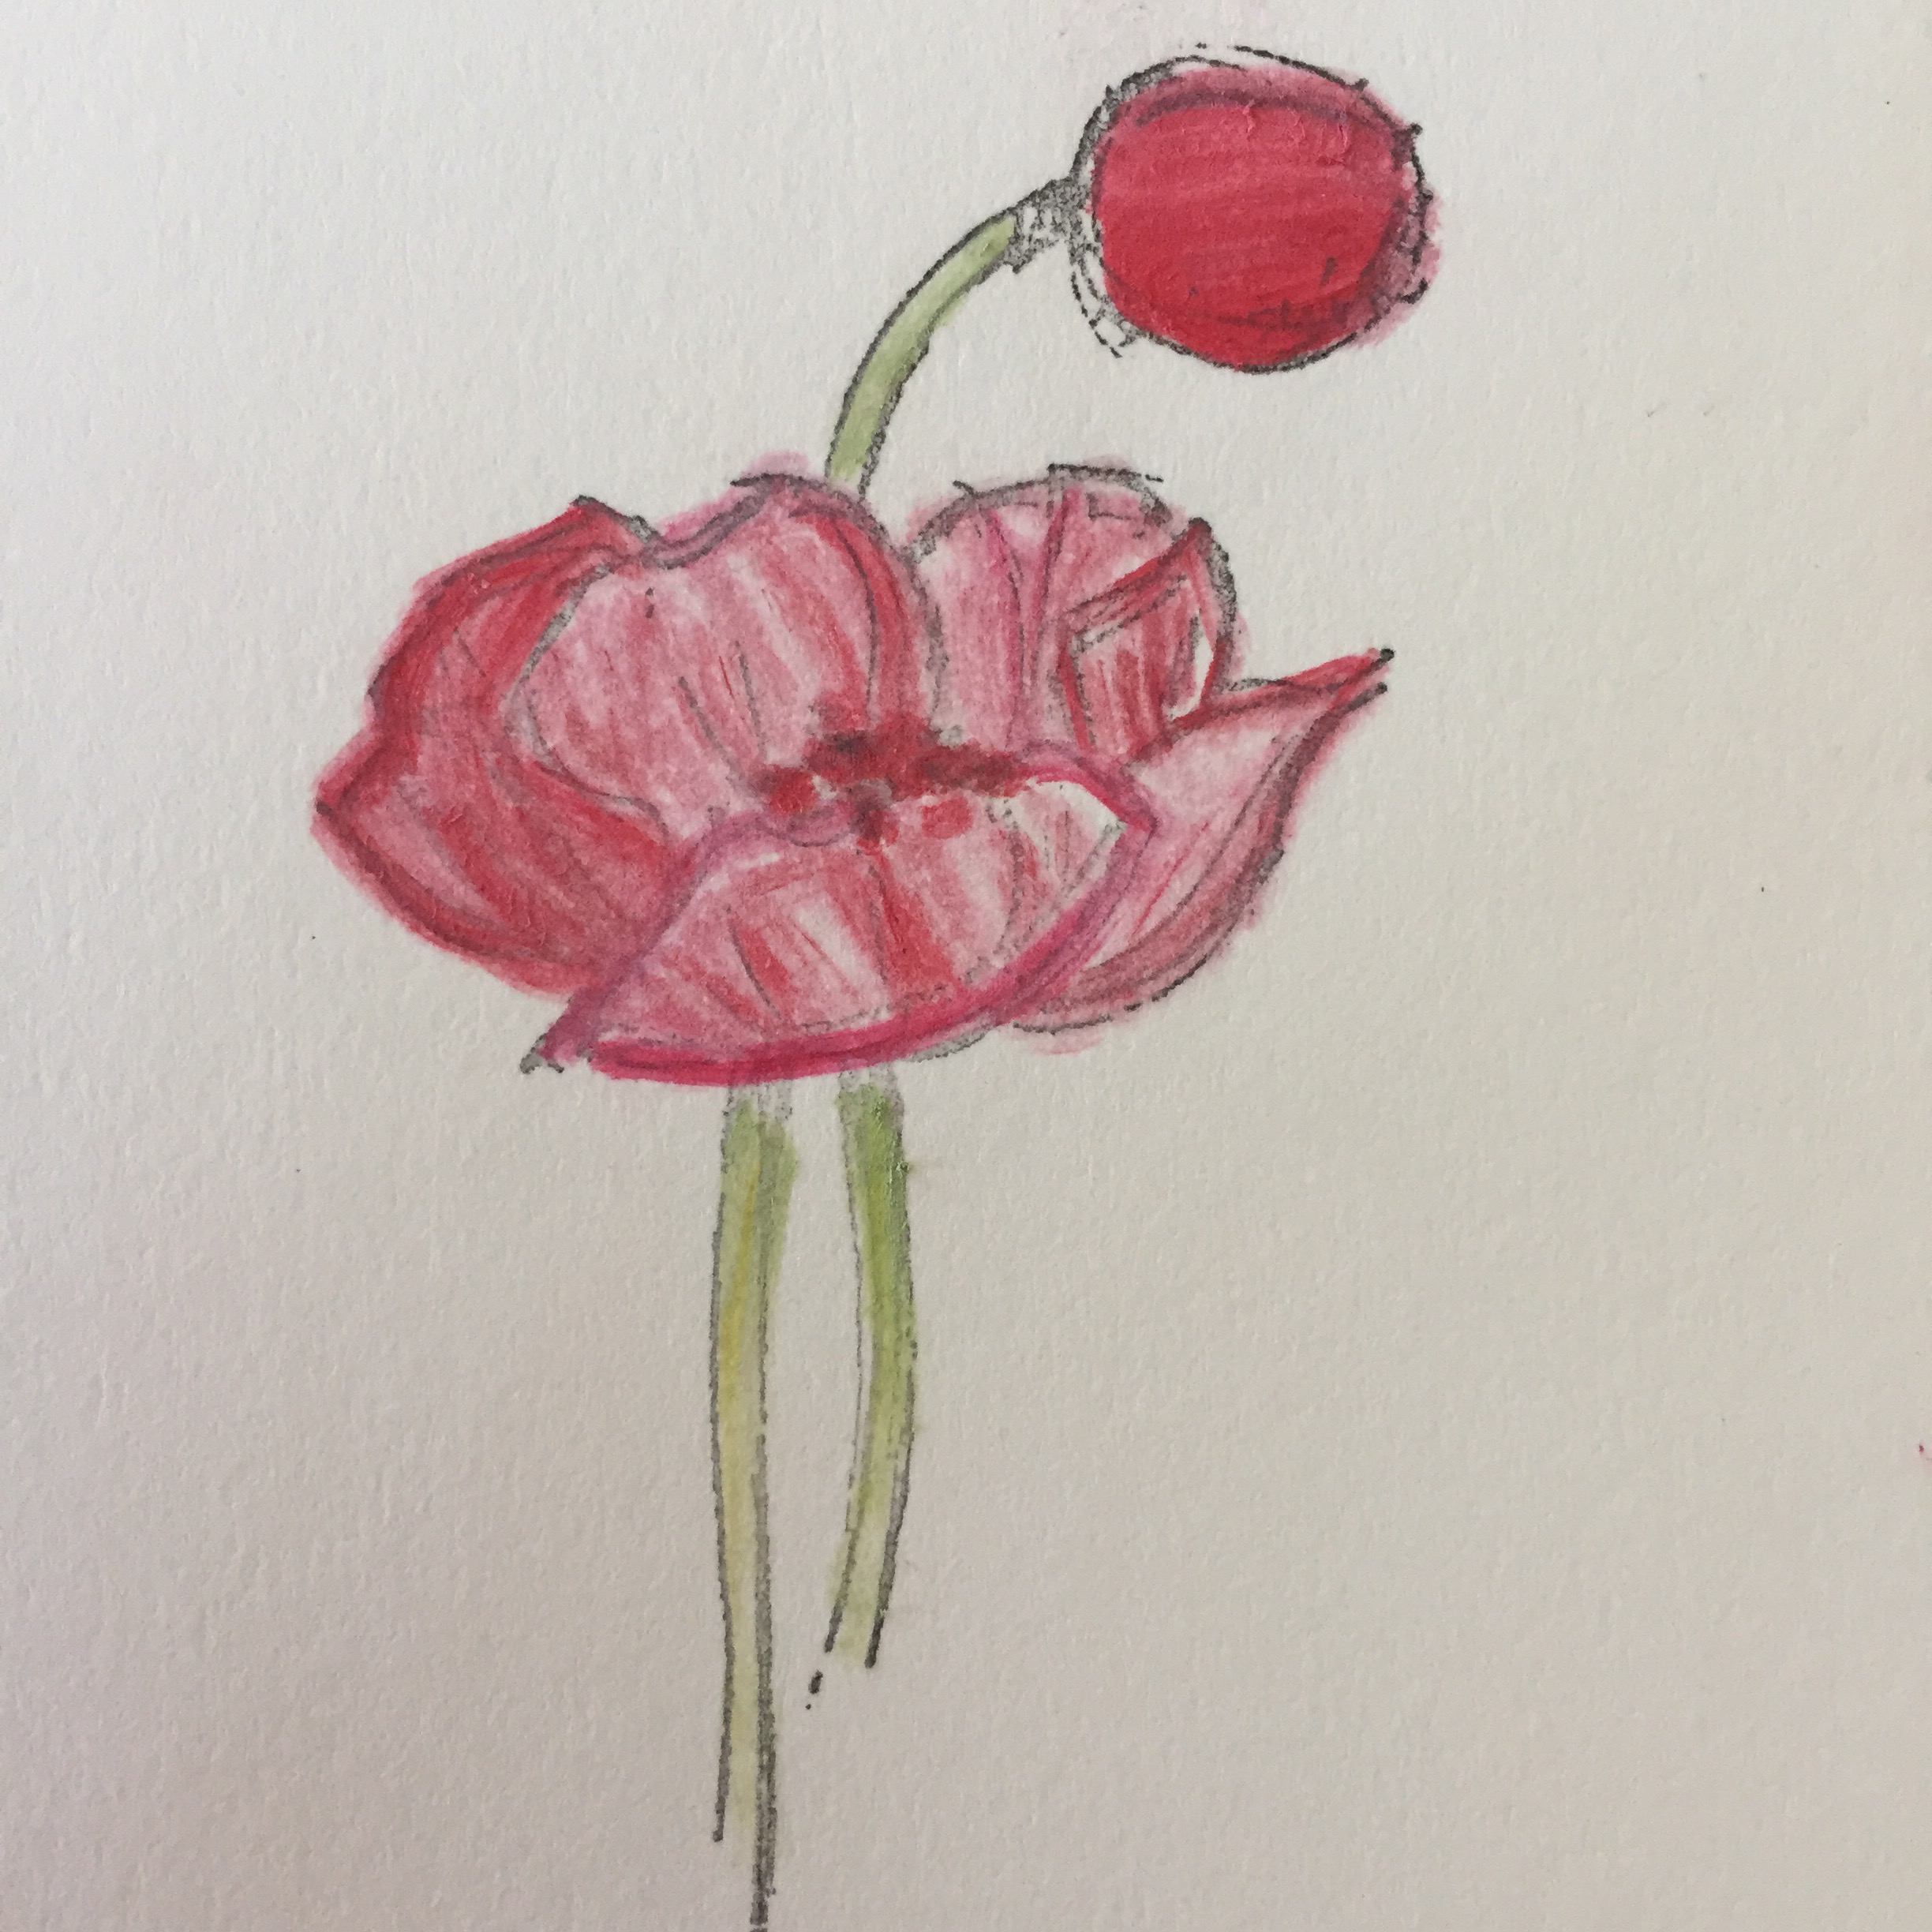
 And these are kinda cute too:


I’m looking forward to feeling well enough to start making some cards with all these pretty pictures!
23 Saturday May 2015
Posted in General occasion, Thoughts and comments
I have been sick for a few days and really can’t do anything other than lie in bed or on the couch. I was going a little stir crazy and decided to do some water colouring.
I got out my Papillon Potpourri set from Stampin’ Up! and made myself some colouring in sheets.

 The best part of this stamp set is the matching punches, so I wasn’t too fussed about being neat about the stamping or colouring as I will be punching them out for some future card making.
I used my blender pen with some pastels and water colour pencils. A nice way to feel like I was doing something a little bit active while still lying down. I didn’t get too far before needing another sleep, but here are my butterflies:


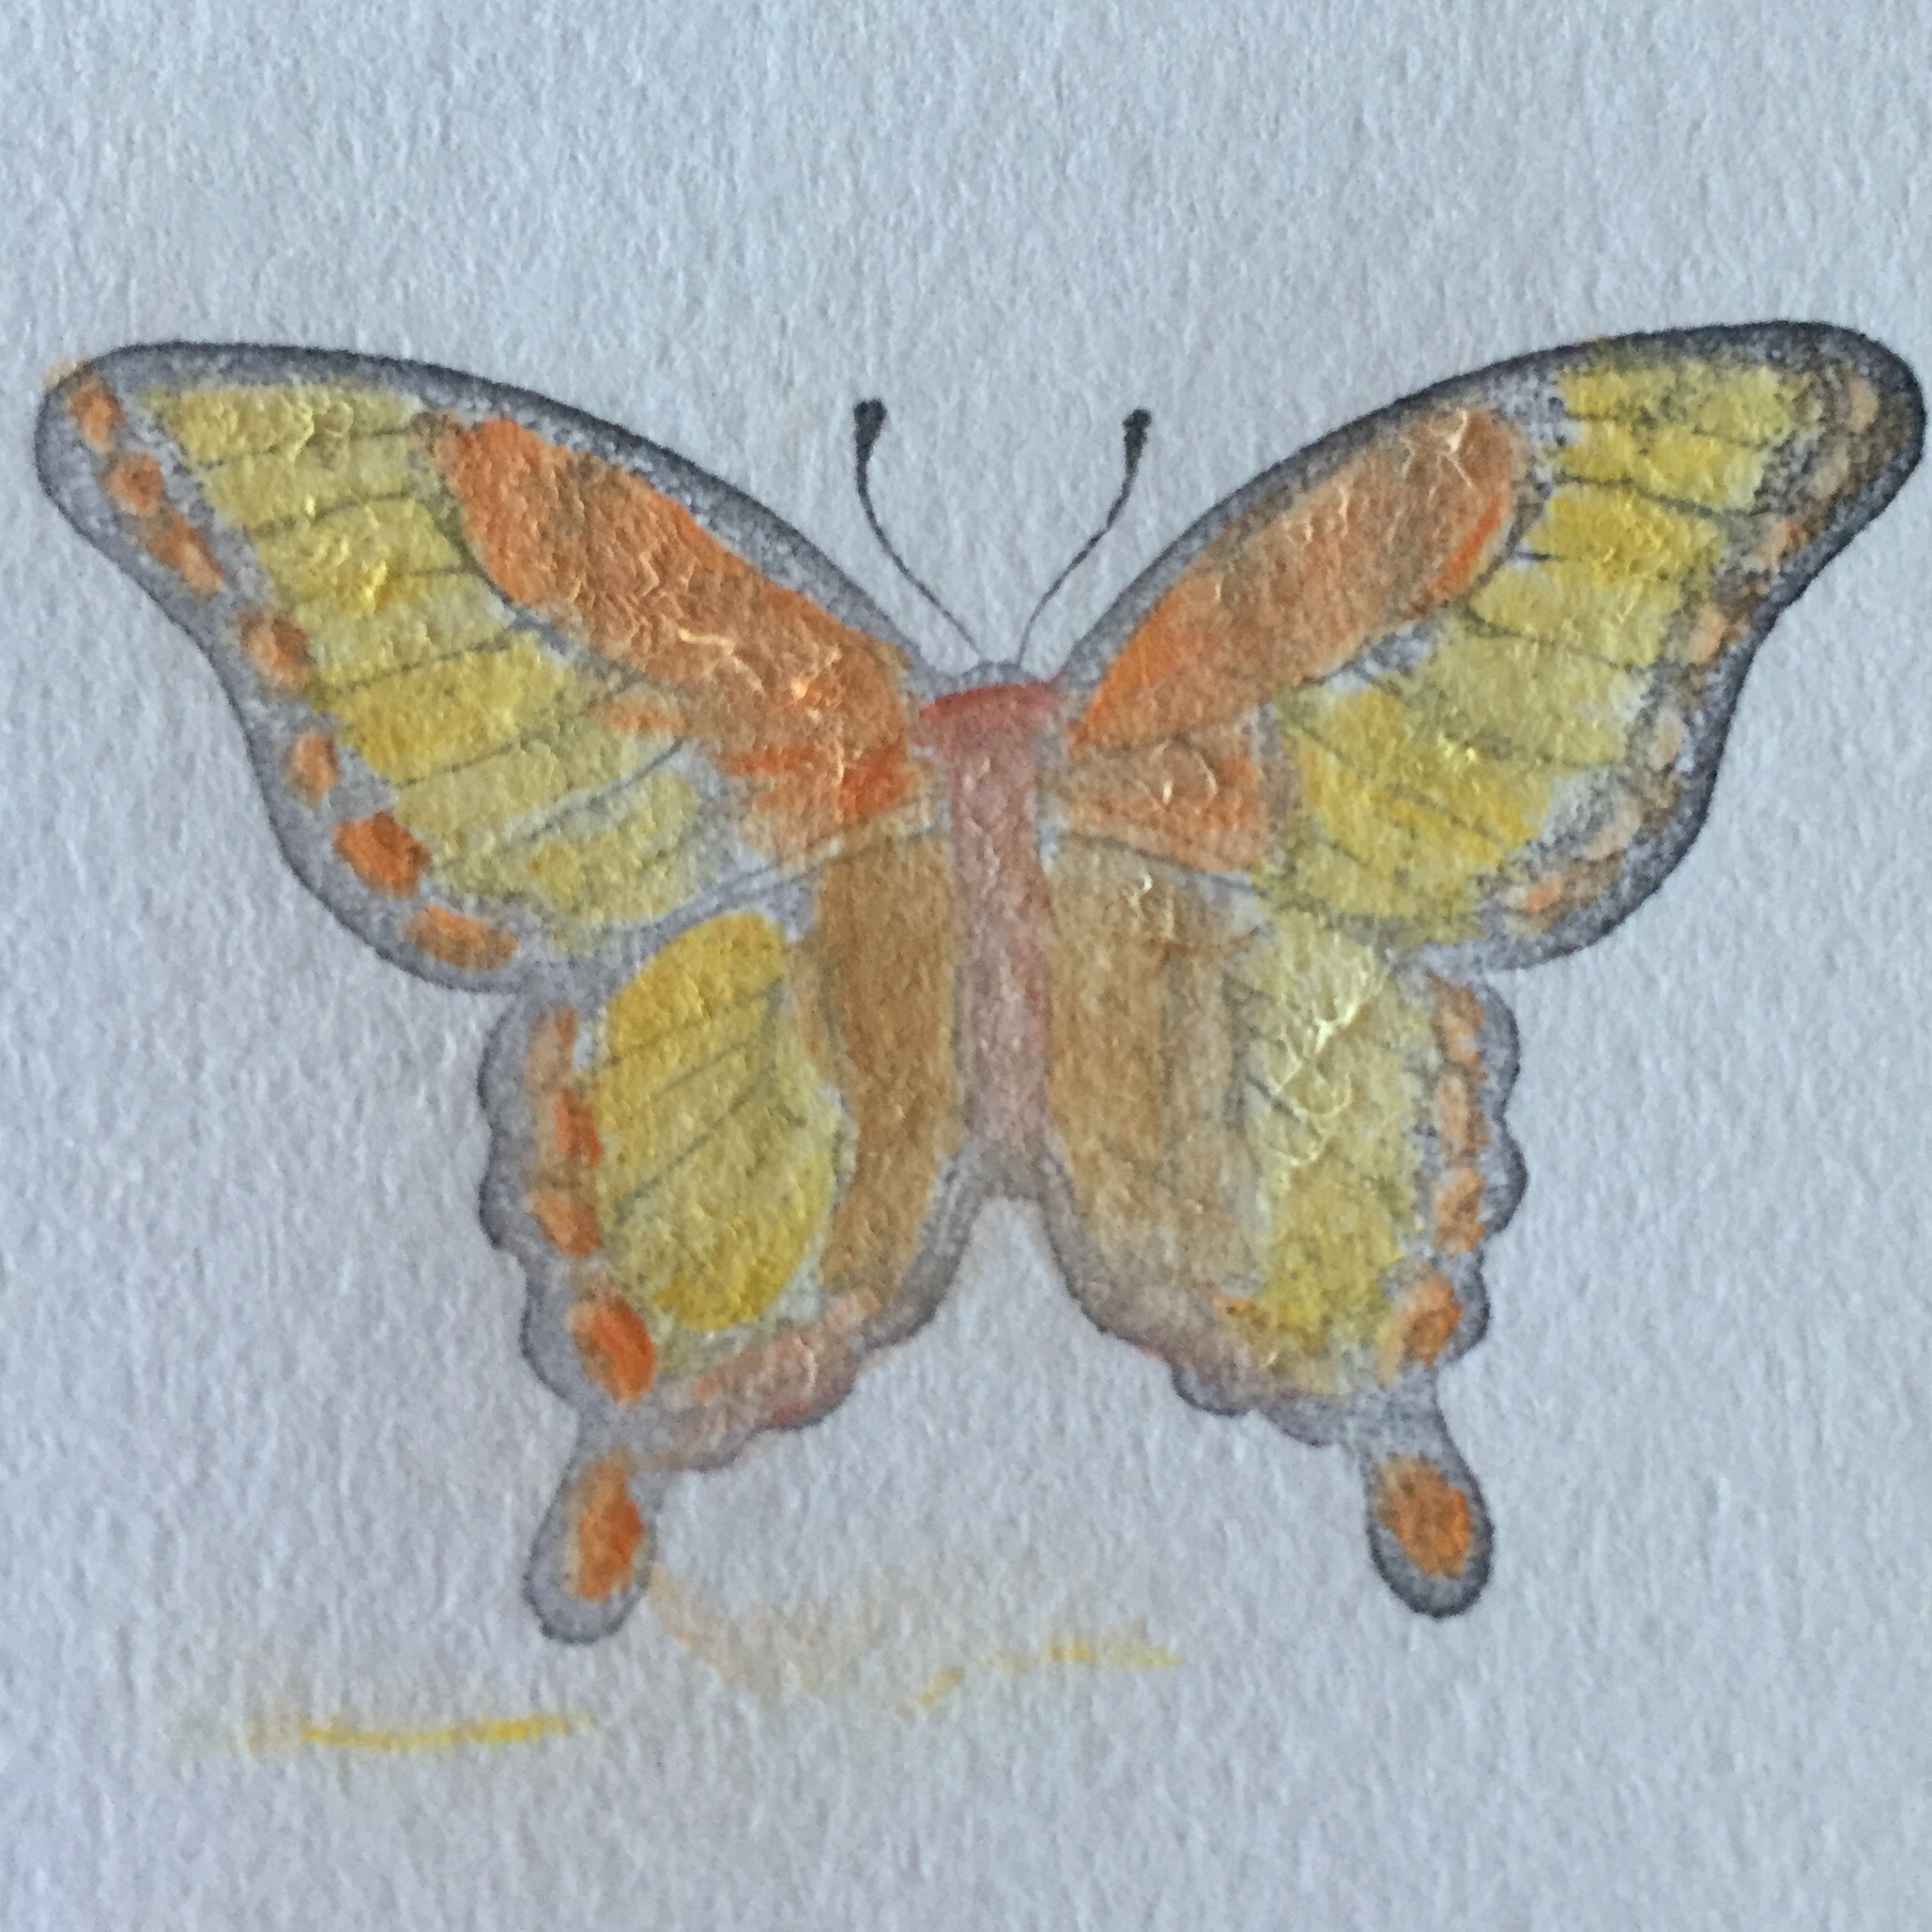


 I try to use a few colours and then blend them together to look a bit more realistic.
Stay tuned for these showing up on some cards soon 🙂
Thanks for reading.
Caro x
13 Wednesday May 2015
Posted in Thoughts and comments, Washi tape
Love chap stick? Wish the tube was a little classier? Washi tape to the rescue!
 I’ve had a few comments pulling this little number out of my pocket 🙂
Caro x
08 Saturday Mar 2014
Posted in Home decorating, Thoughts and comments, Using up scraps
Hello – thanks for visiting Caro’s Pretty Things!
In keeping with the name of this blog, I quite like taking ordinary things and making them a bit prettier. For example, I can’t just take a normal note pad along to meetings, conferences etc, I need to have it look pretty!

See – much less boring!
It is amazing how ordinary, everyday things can be transformed with just a teeny bit of paper, glue and ribbon. For example, who would want to keep rubber bands in a boring old jar when an old vitamin container with some DSP and some ribbon looks sooooo much nicer?!?

Why don’t you have a look around at home and see what stuff you have that could be given a new lease of life?
Thanks for reading
Caro x
17 Sunday Nov 2013
Posted in 3D projects, Boxes, Thoughts and comments, Tutorial
Hi
Today I want to show you a fabulous idea I got from a fabulous Stampin’ Up! demonstrator in the UK – Sam at pootles.com.uk. If you haven’t checked out her blog and videos on YouTube you must. Now. I insist! (But please do come back!)
Look at my new (and OK, I admit, extremely anally retentive!) way to store my sponge daubers!
I use these little daubers all the time, but spend ages in my drawer hunting for them, and then cleaning them before I use them to get rid of the last hint of colour from the last time I used them. No more! Inspired by Sam’s blog post I bought a new set and I now have a lovely little box with a sponge dauber for every colour I own.
The sponges are stored in one of Stampin’ Up!’s wood mount cases (you can now buy the cases in lots of 4 and they are soooooo handy!)
This is my box on the inside:

Sam at pootles.com.uk has a great video on how to make the inserts for the box.
I ended up changing the dimensions Sam gives for the inserts just ever so slightly for mine. I used 9 strips of card stock 12.5 cm long and 2 cm wide, notched at 1 inch spaces. (I know that is a weird switch between metric and imperial, but trust me, it’s easier that way!) Then I used 4 strips of card stock 17.8cm wide with notches every 1.8 cm. This gives you 5 rows of 10 spaces each for your sponges.
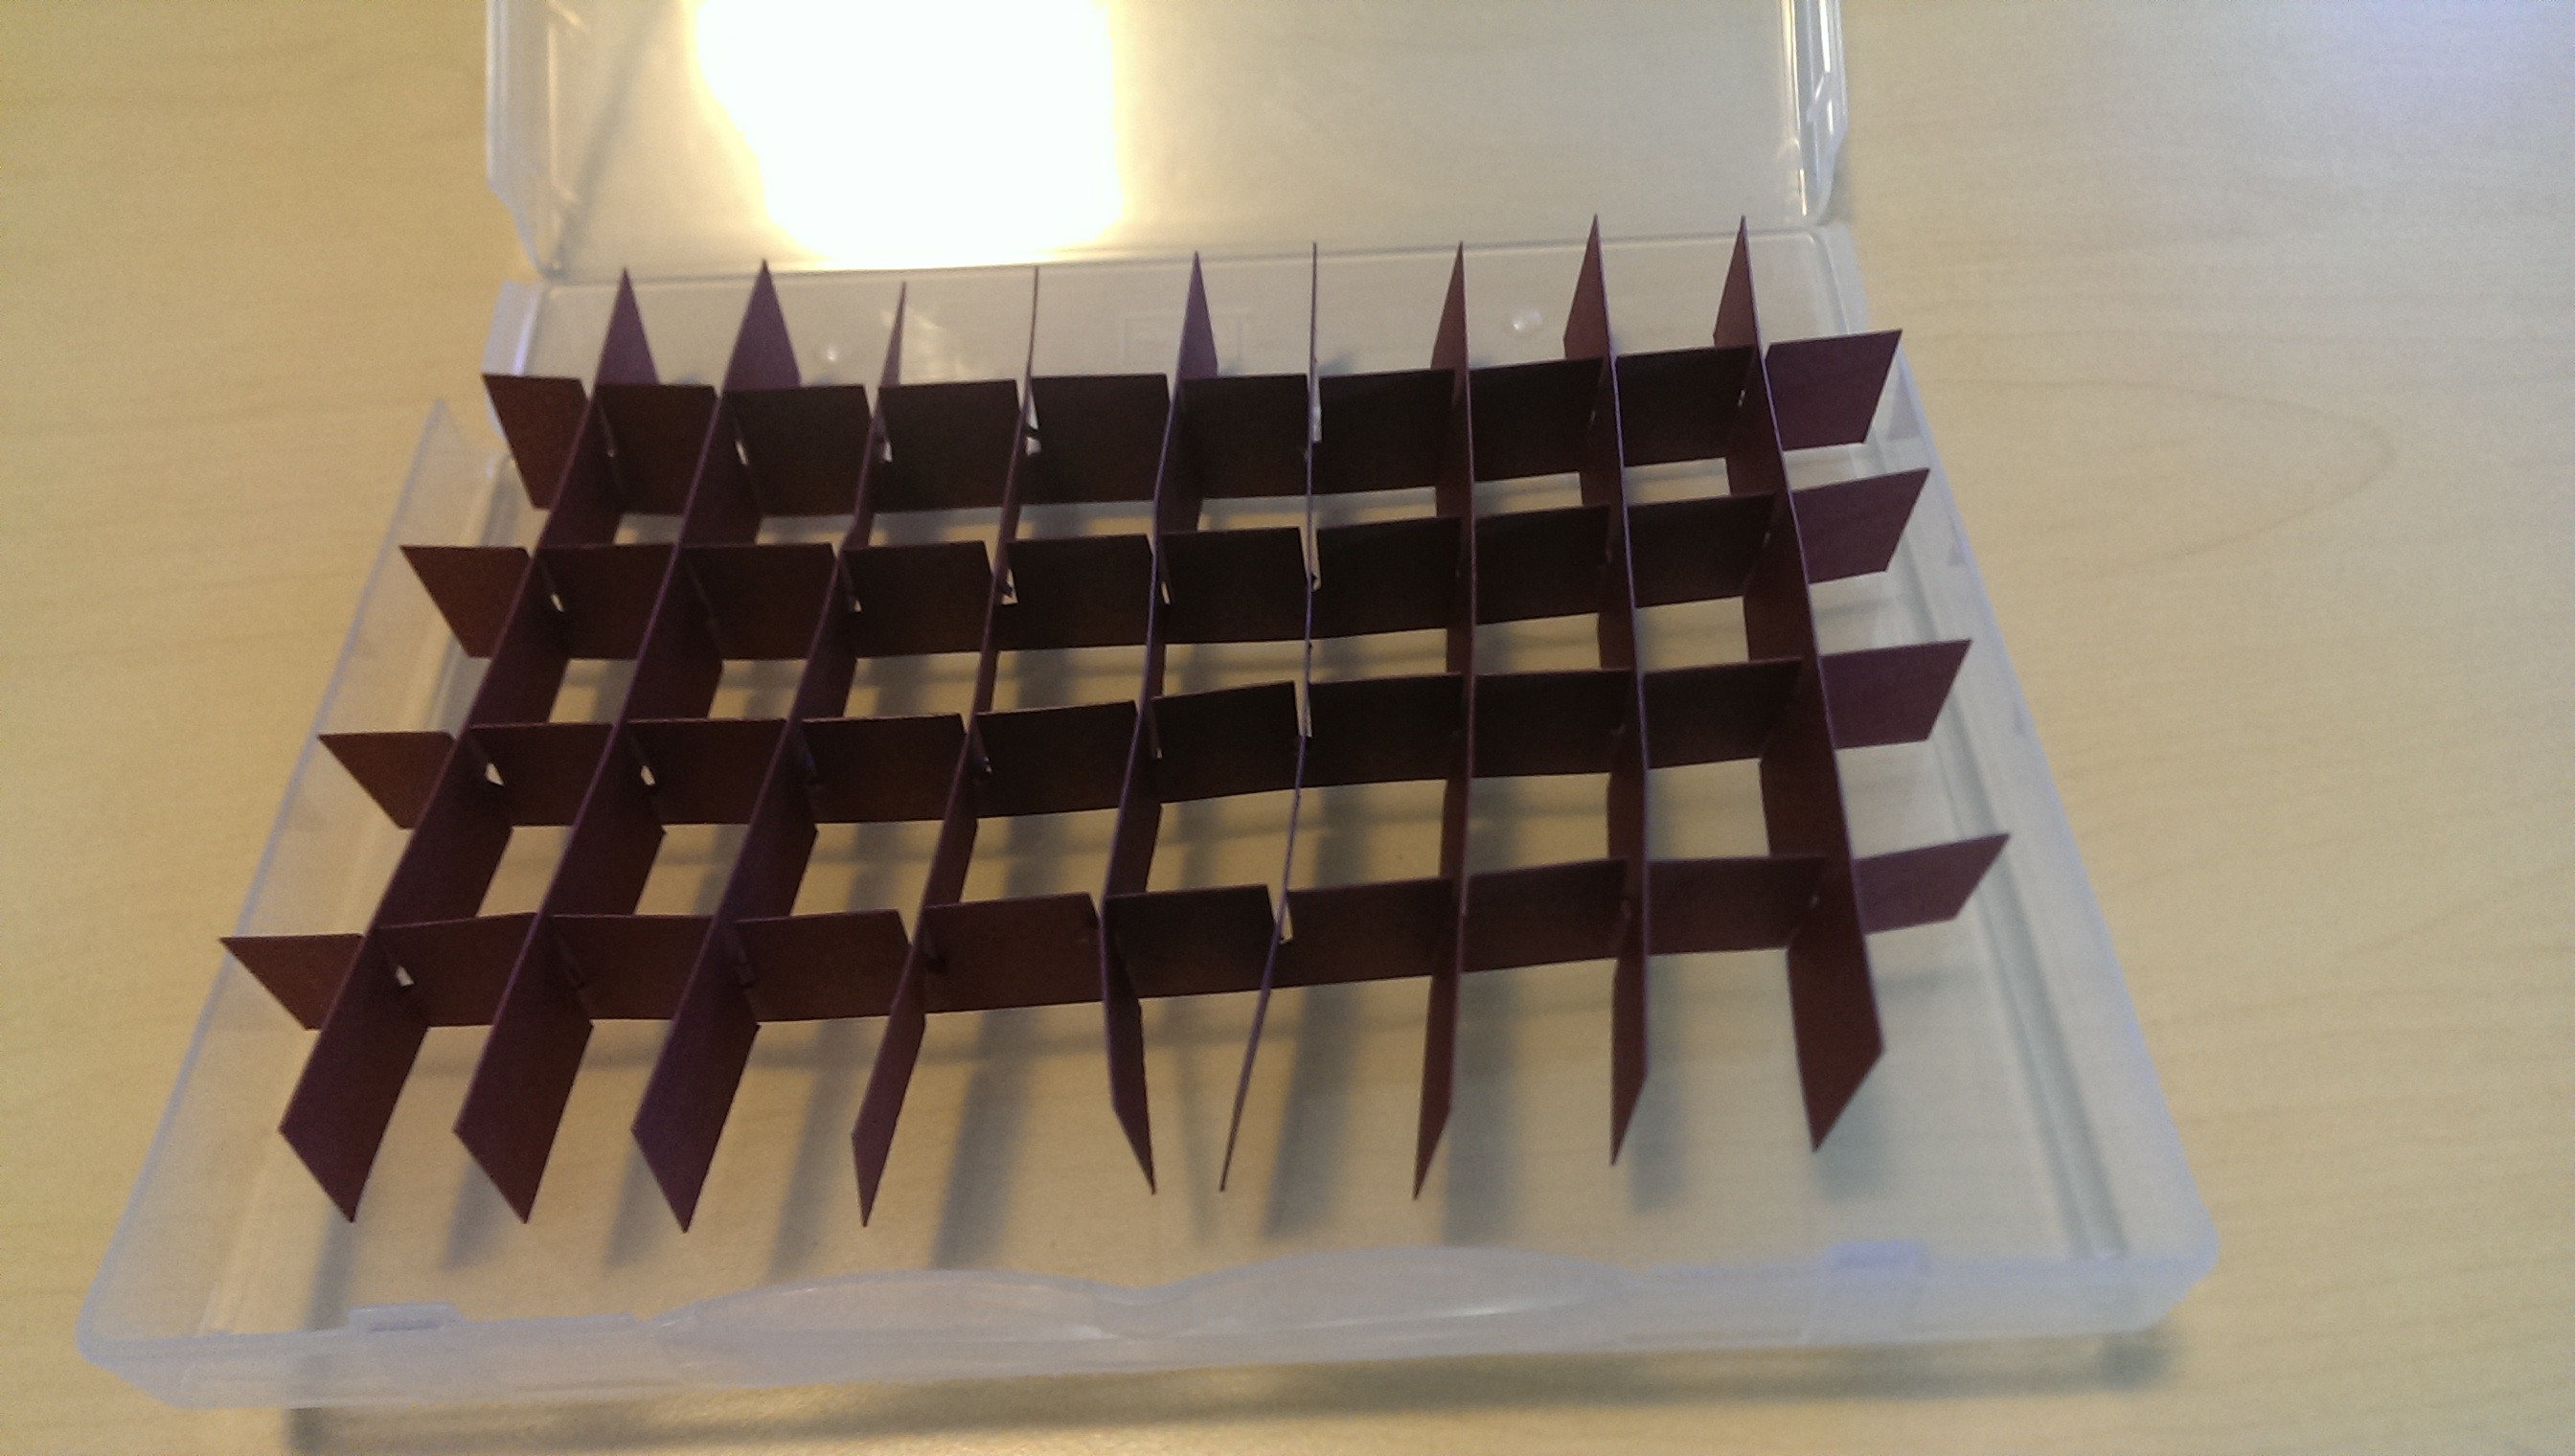
To make the notches I made 2 cuts with my scissors on either side of my pen mark (perhaps 2mm apart) and just removed the tiny bit of paper in the middle.
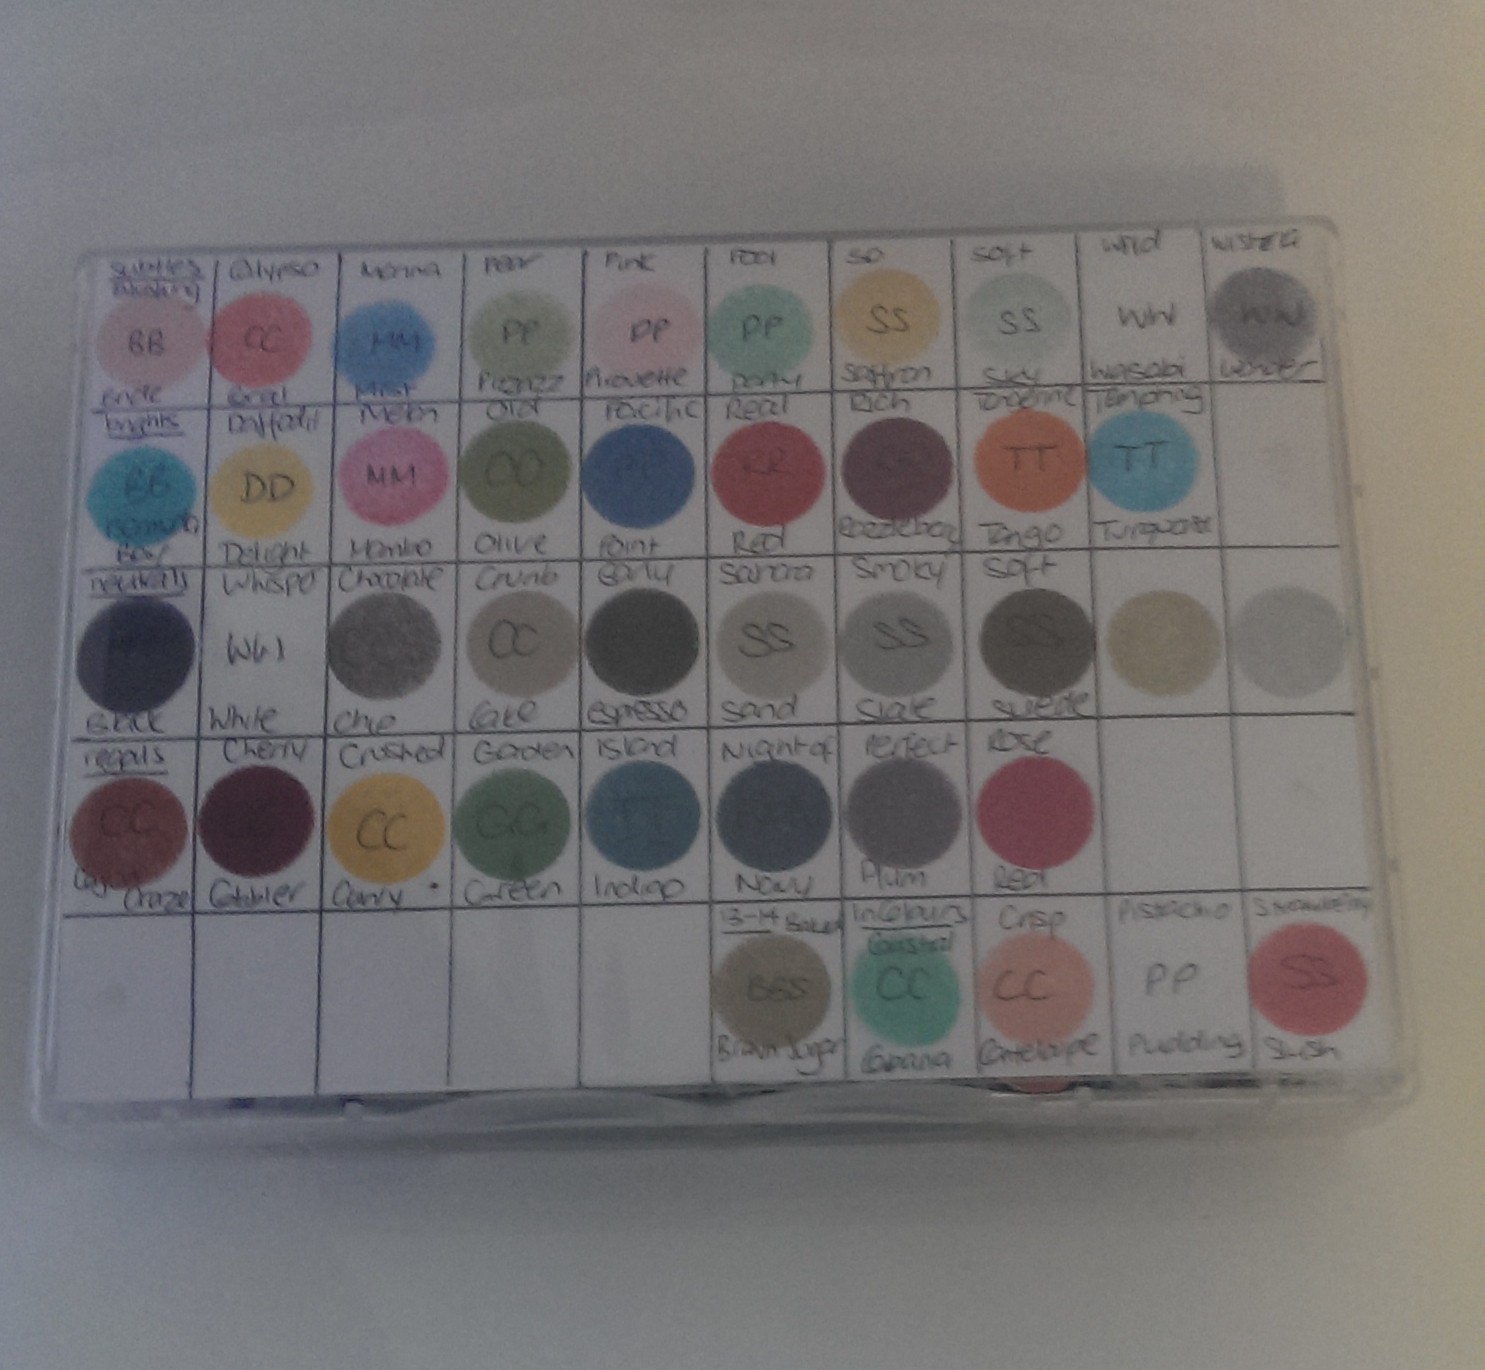
One of the things Sam doesn’t show you in her video is how she got the little circles of colour on the colour chart in her box to show which dauber goes where. Watching the video, she says it was a very messy process to do – and that I can believe! So before I made my own box I did some thinking about how I could avoid the mess of inking up all the sponge daubers all at the same time.
I decided to make a 2 sided cover for my box. A front cover where I could control the mess and dab on one colour at a time, and a blank grid to go on the inside where I will let the daubers ‘do their thing’ over time. (I also took the opportunity to re-arrange and re-ink my ink pads as I opened each one – oh, I was in my own little organisational-nerd heaven this afternoon!)
I cut a piece of white card stock 12.5 x 17.8cm and used my ruler to draw a grid the same dimensions as the notches in the card stock. I used a few mini glue dots on the blank spaces in my ‘cover’ grid to stick it to the plastic on the cover of the box.
Thanks to Sam for a brilliant idea – and I am so chuffed to have all my daubers so neatly arranged 🙂
Thanks for reading
Caro x
08 Friday Nov 2013
Posted in Thoughts and comments
Hi
Just a quick post for a Friday afternoon. I’m just waiting on a client to email me back on something and then I can be done for the week. So what to do while waiting? Browse stamping sites on the web of course!
I just wanted to share a site I just found – http://www.mycreateink.com/
It is a magic little tool for Stampin’ Up! colours. You can make your own colour schemes based on the colours you own to see how they look, or get some ideas of which colours go with the ink pads you own. For example, if you have a piece of Melon Mambo card stock on your desk, you can select Melon Mambo and click on ‘Search’ – and the magic little website will bring up colour combinations that go with Melon Mambo.
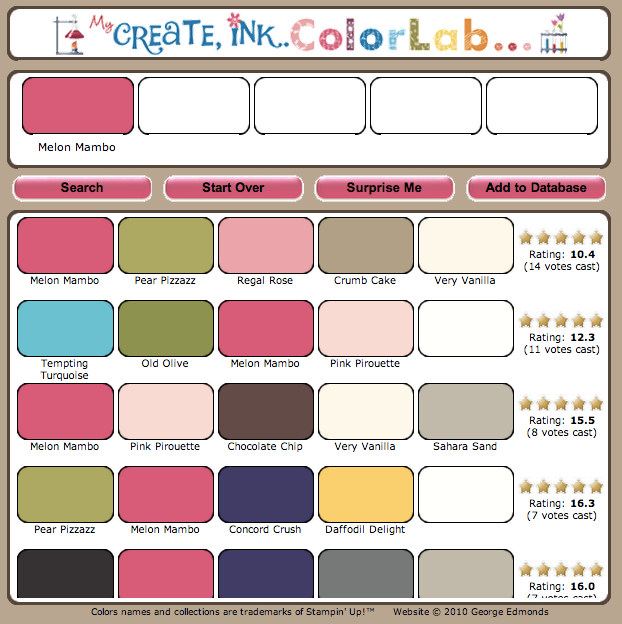
You can also select colours only within certain Stampin’ Up! colour families or In Colour collections – or click on ‘Surprise Me’ and you’ll get a completely random colour combination to play with.
I’m so impressed – we should never be stuck for inspiration of what colours to mix together again!
Have a great weekend.
Caro x
08 Tuesday Oct 2013
Posted in Thoughts and comments, Using up scraps
Hi
Have you ever finished making something and had a whole heap of small pieces of pretty paper left over? Me too, so I thought I would show you what I did with a recent pile of left over strips of designer series paper (DSP) from Stampin’ Up!
I made new pretty paper!
I got a piece of white paper the size of a card front and glued the leftover strips of DSP to it. I then trimmed off the edge so I had a gorgeous patch work style front for a card.

I had enough pieces to make two.
 Now I just need to figure out what to do with them – I’ll show you when I figure it out.
This would be a great thing to do with kids too – even with torn up strips from old magazines or catalogues.
Enjoy!
Caro x
