• About

Caro's Pretty Things

~ My papercraft blog

Category Archives: Big Shot

Peg magnets

28 Tuesday May 2013

Posted by Carolyn in 3D projects, Beautiful Butterflies, Blossom Builder, Gift tags & wrapping, Notebooks, Tutorial, Using up scraps

≈ Leave a comment

Tags

3D, DSP, gifts, pegs, scraps

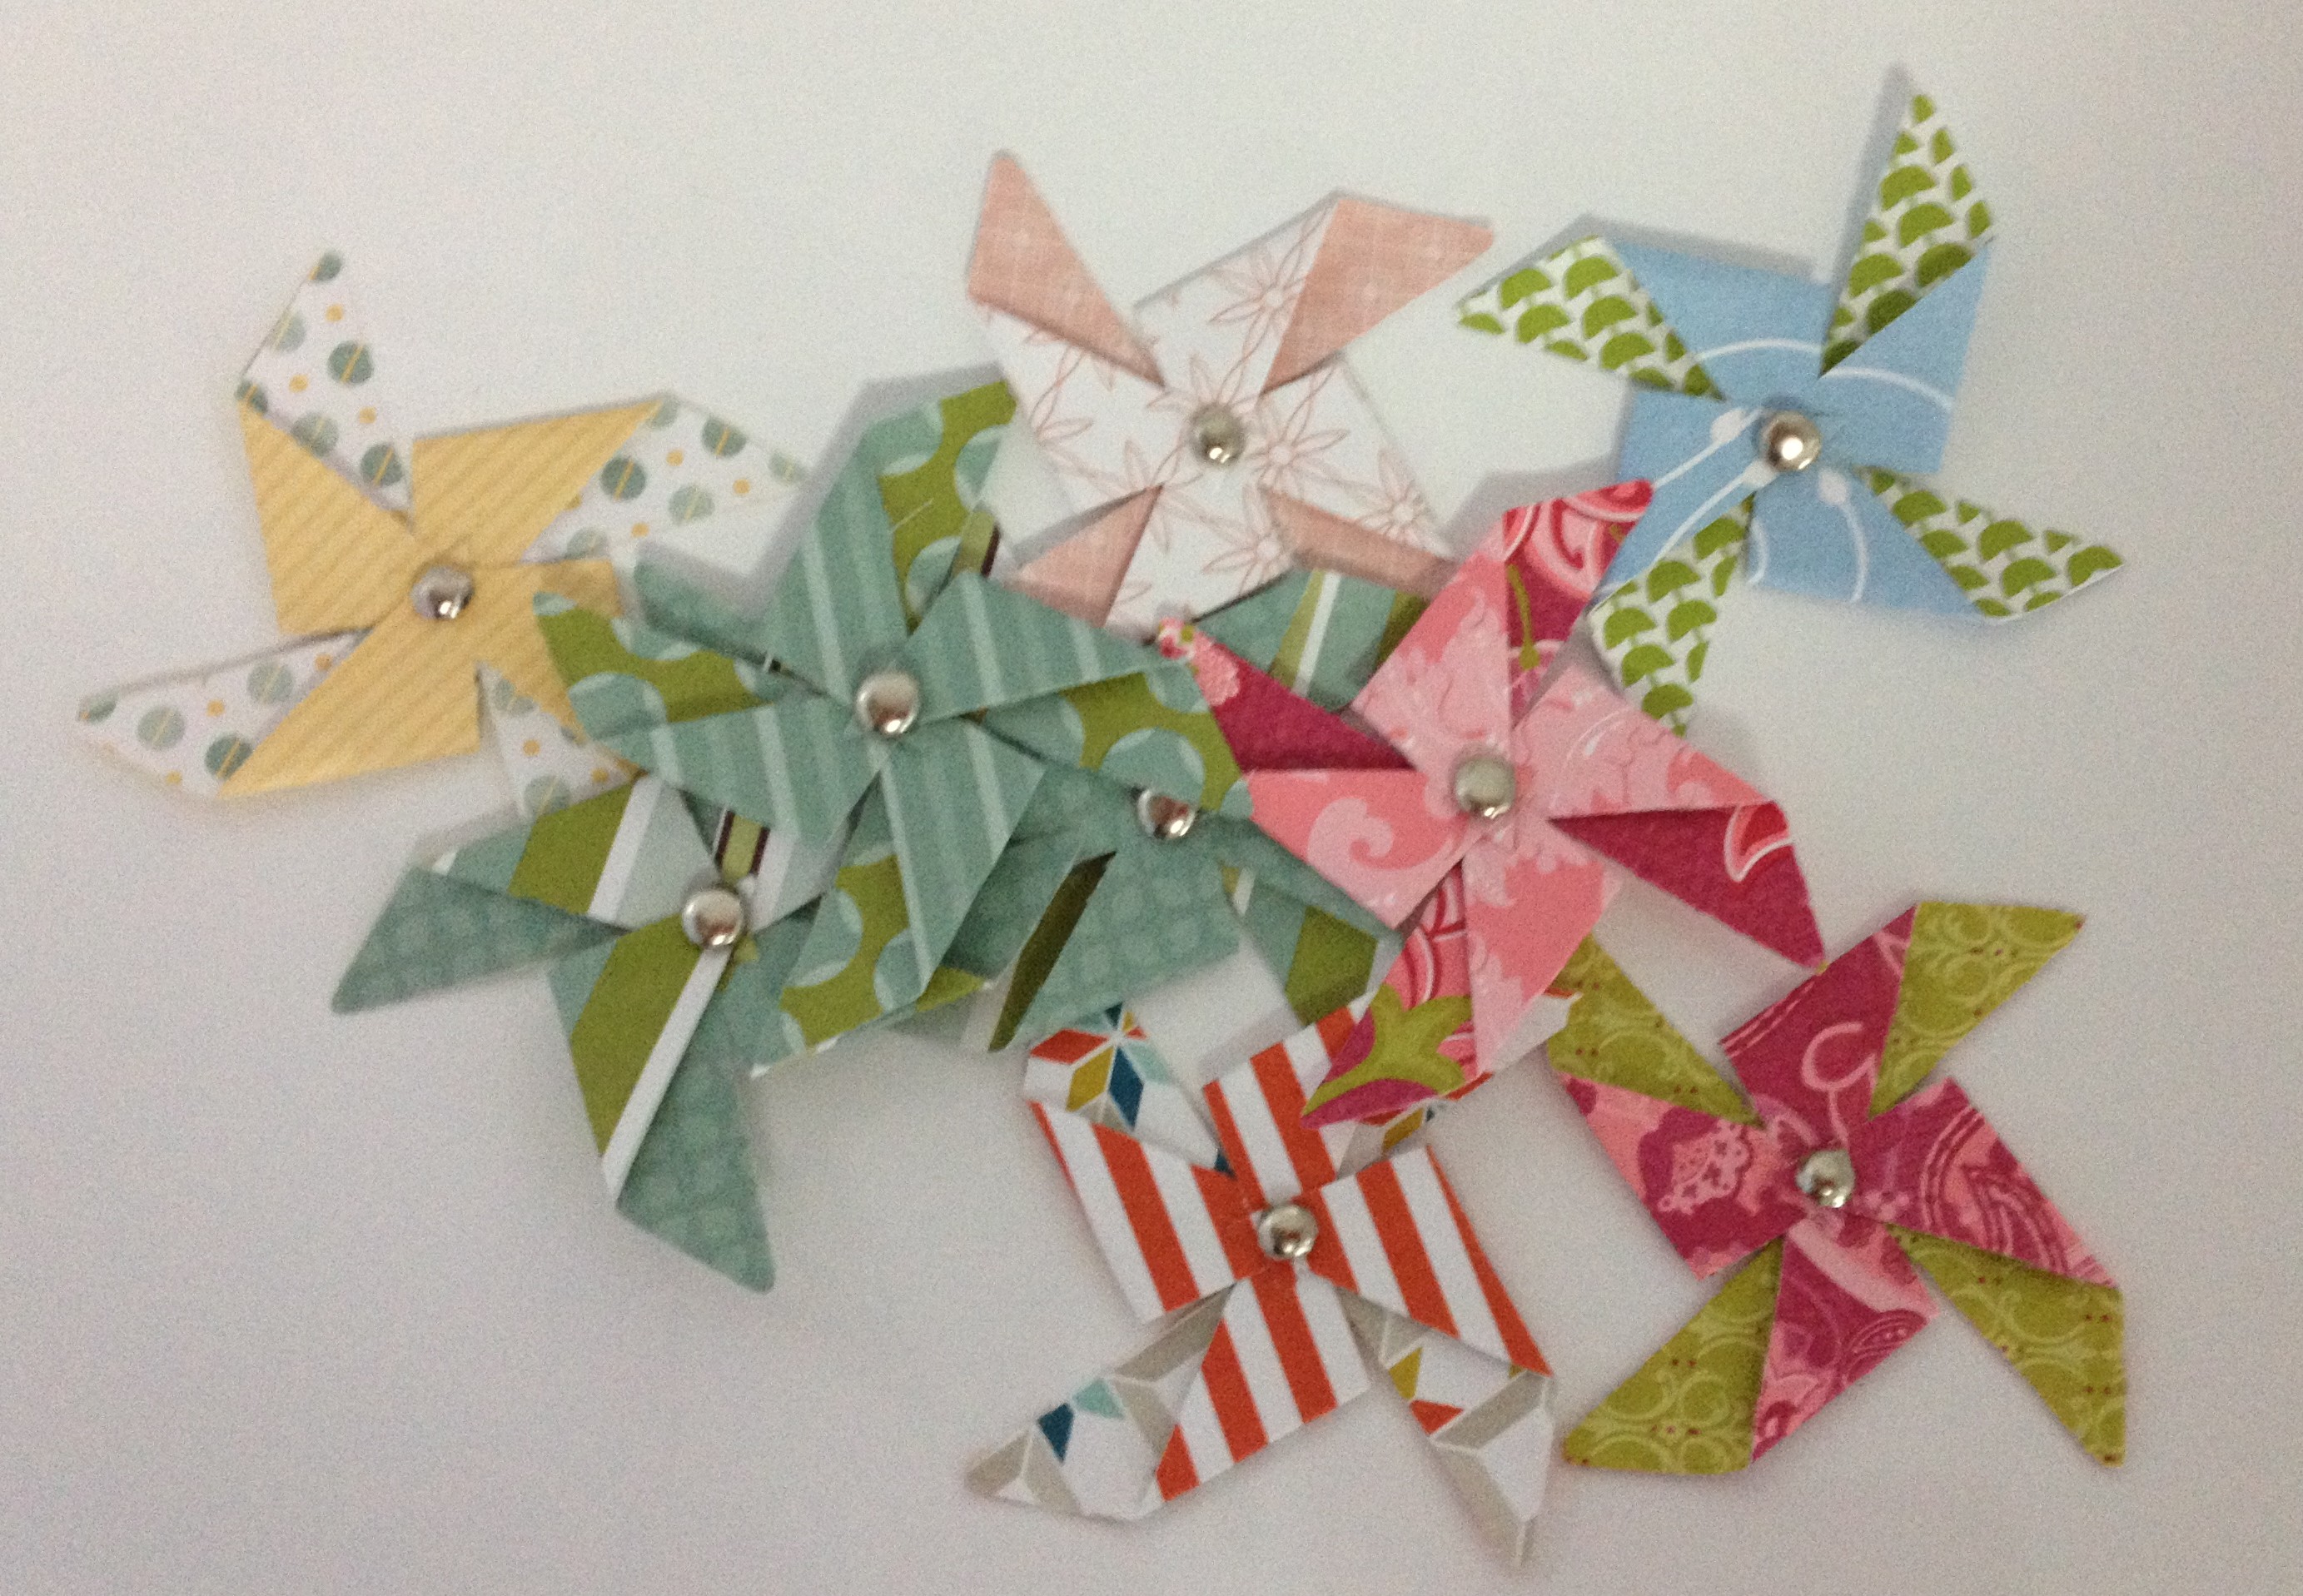
Here is another idea I borrowed from the very talented Tanya Bell’s blog – this time, making magnets or paper holders out of pegs covered with DSP.

photo-4

These are so easy to do!  Step one, measure the size of your peg (cheap wooden pegs are the best).   Step 2, cut out lots of strips of DSP (this is such a great way to use up tiny little pieces you couldn’t figure out what to do with but couldn’t bear to throw away!).  Step 3, stick onto the peg!   Snail adhesive works well but starts to lose its “stick” after a few months so double sided tape like Sticky Strip is best.

I turned my pegs into magnets by sticking some magnets onto the back side of the peg.   One tip I learned here – if you want to use the peg as a magnet, either don’t decorate the reverse of the peg, or definitely use sticky strip to adhere the DSP to the paper.  Snail adhesive is not strong enough to keep the DSP stuck to the peg once it is stuck on the fridge with a magnet!

Here are a bunch of pegs with the DSP stuck on, waiting to be decorated.

20120605_161653

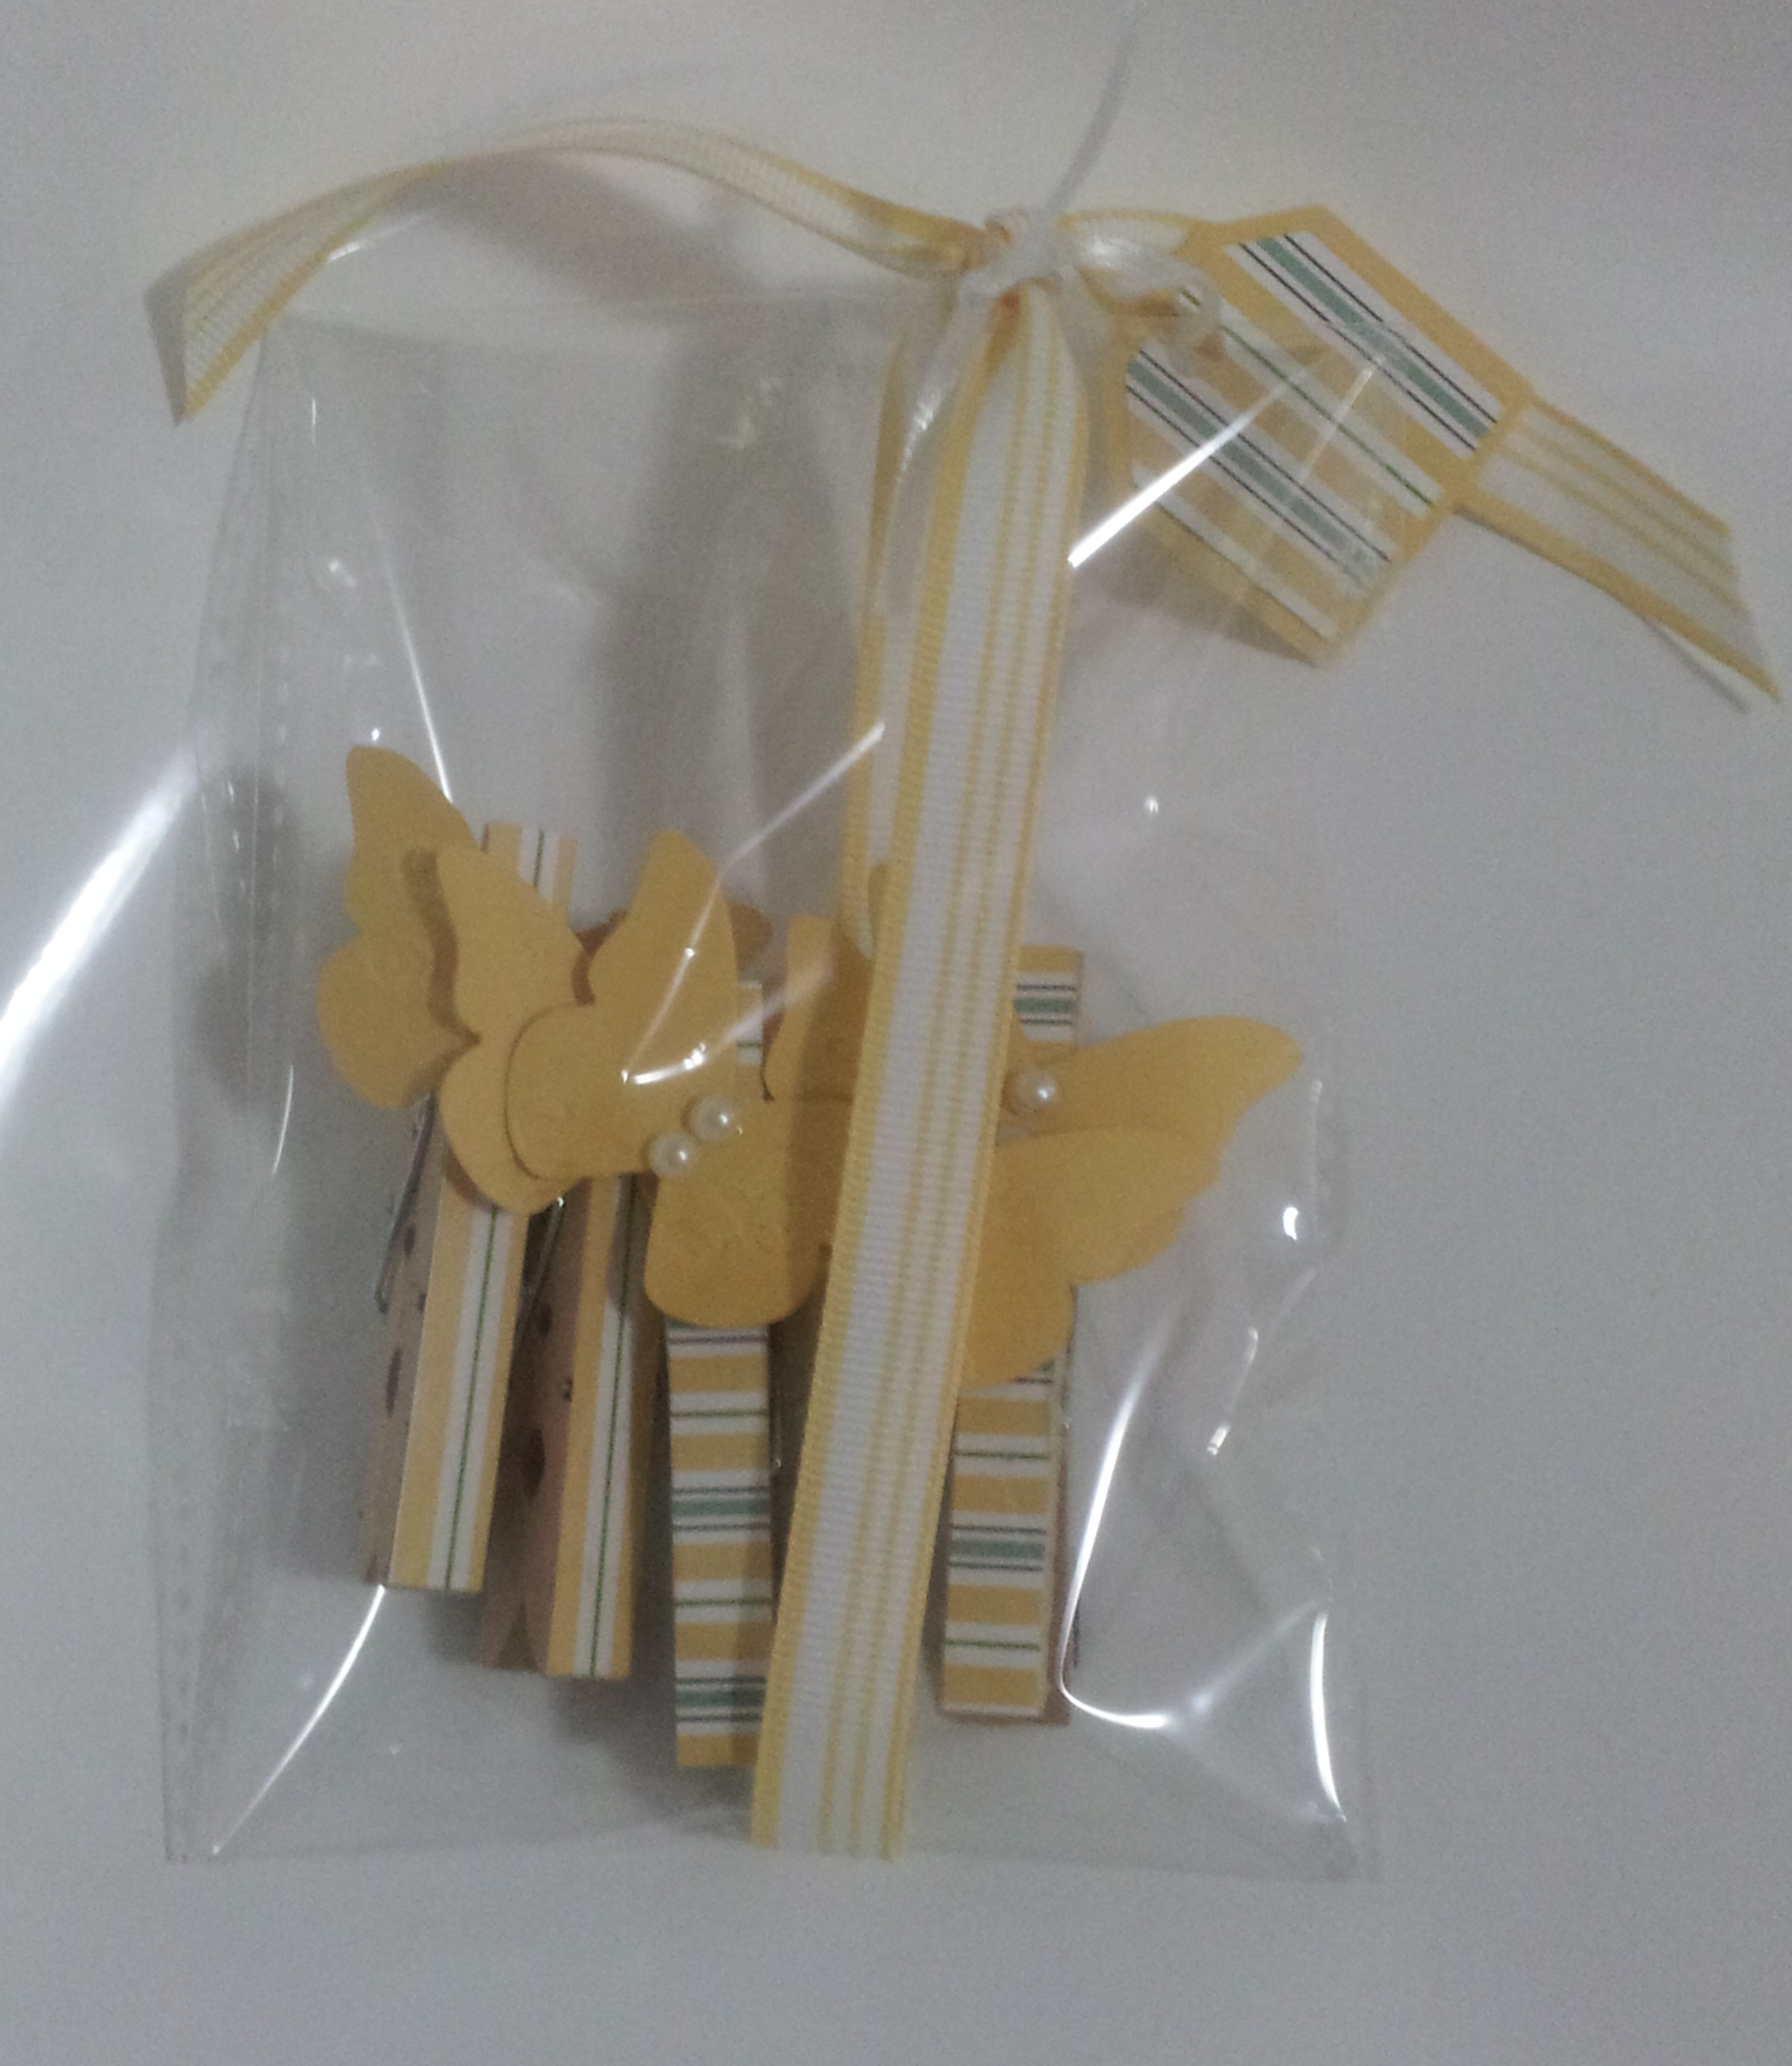
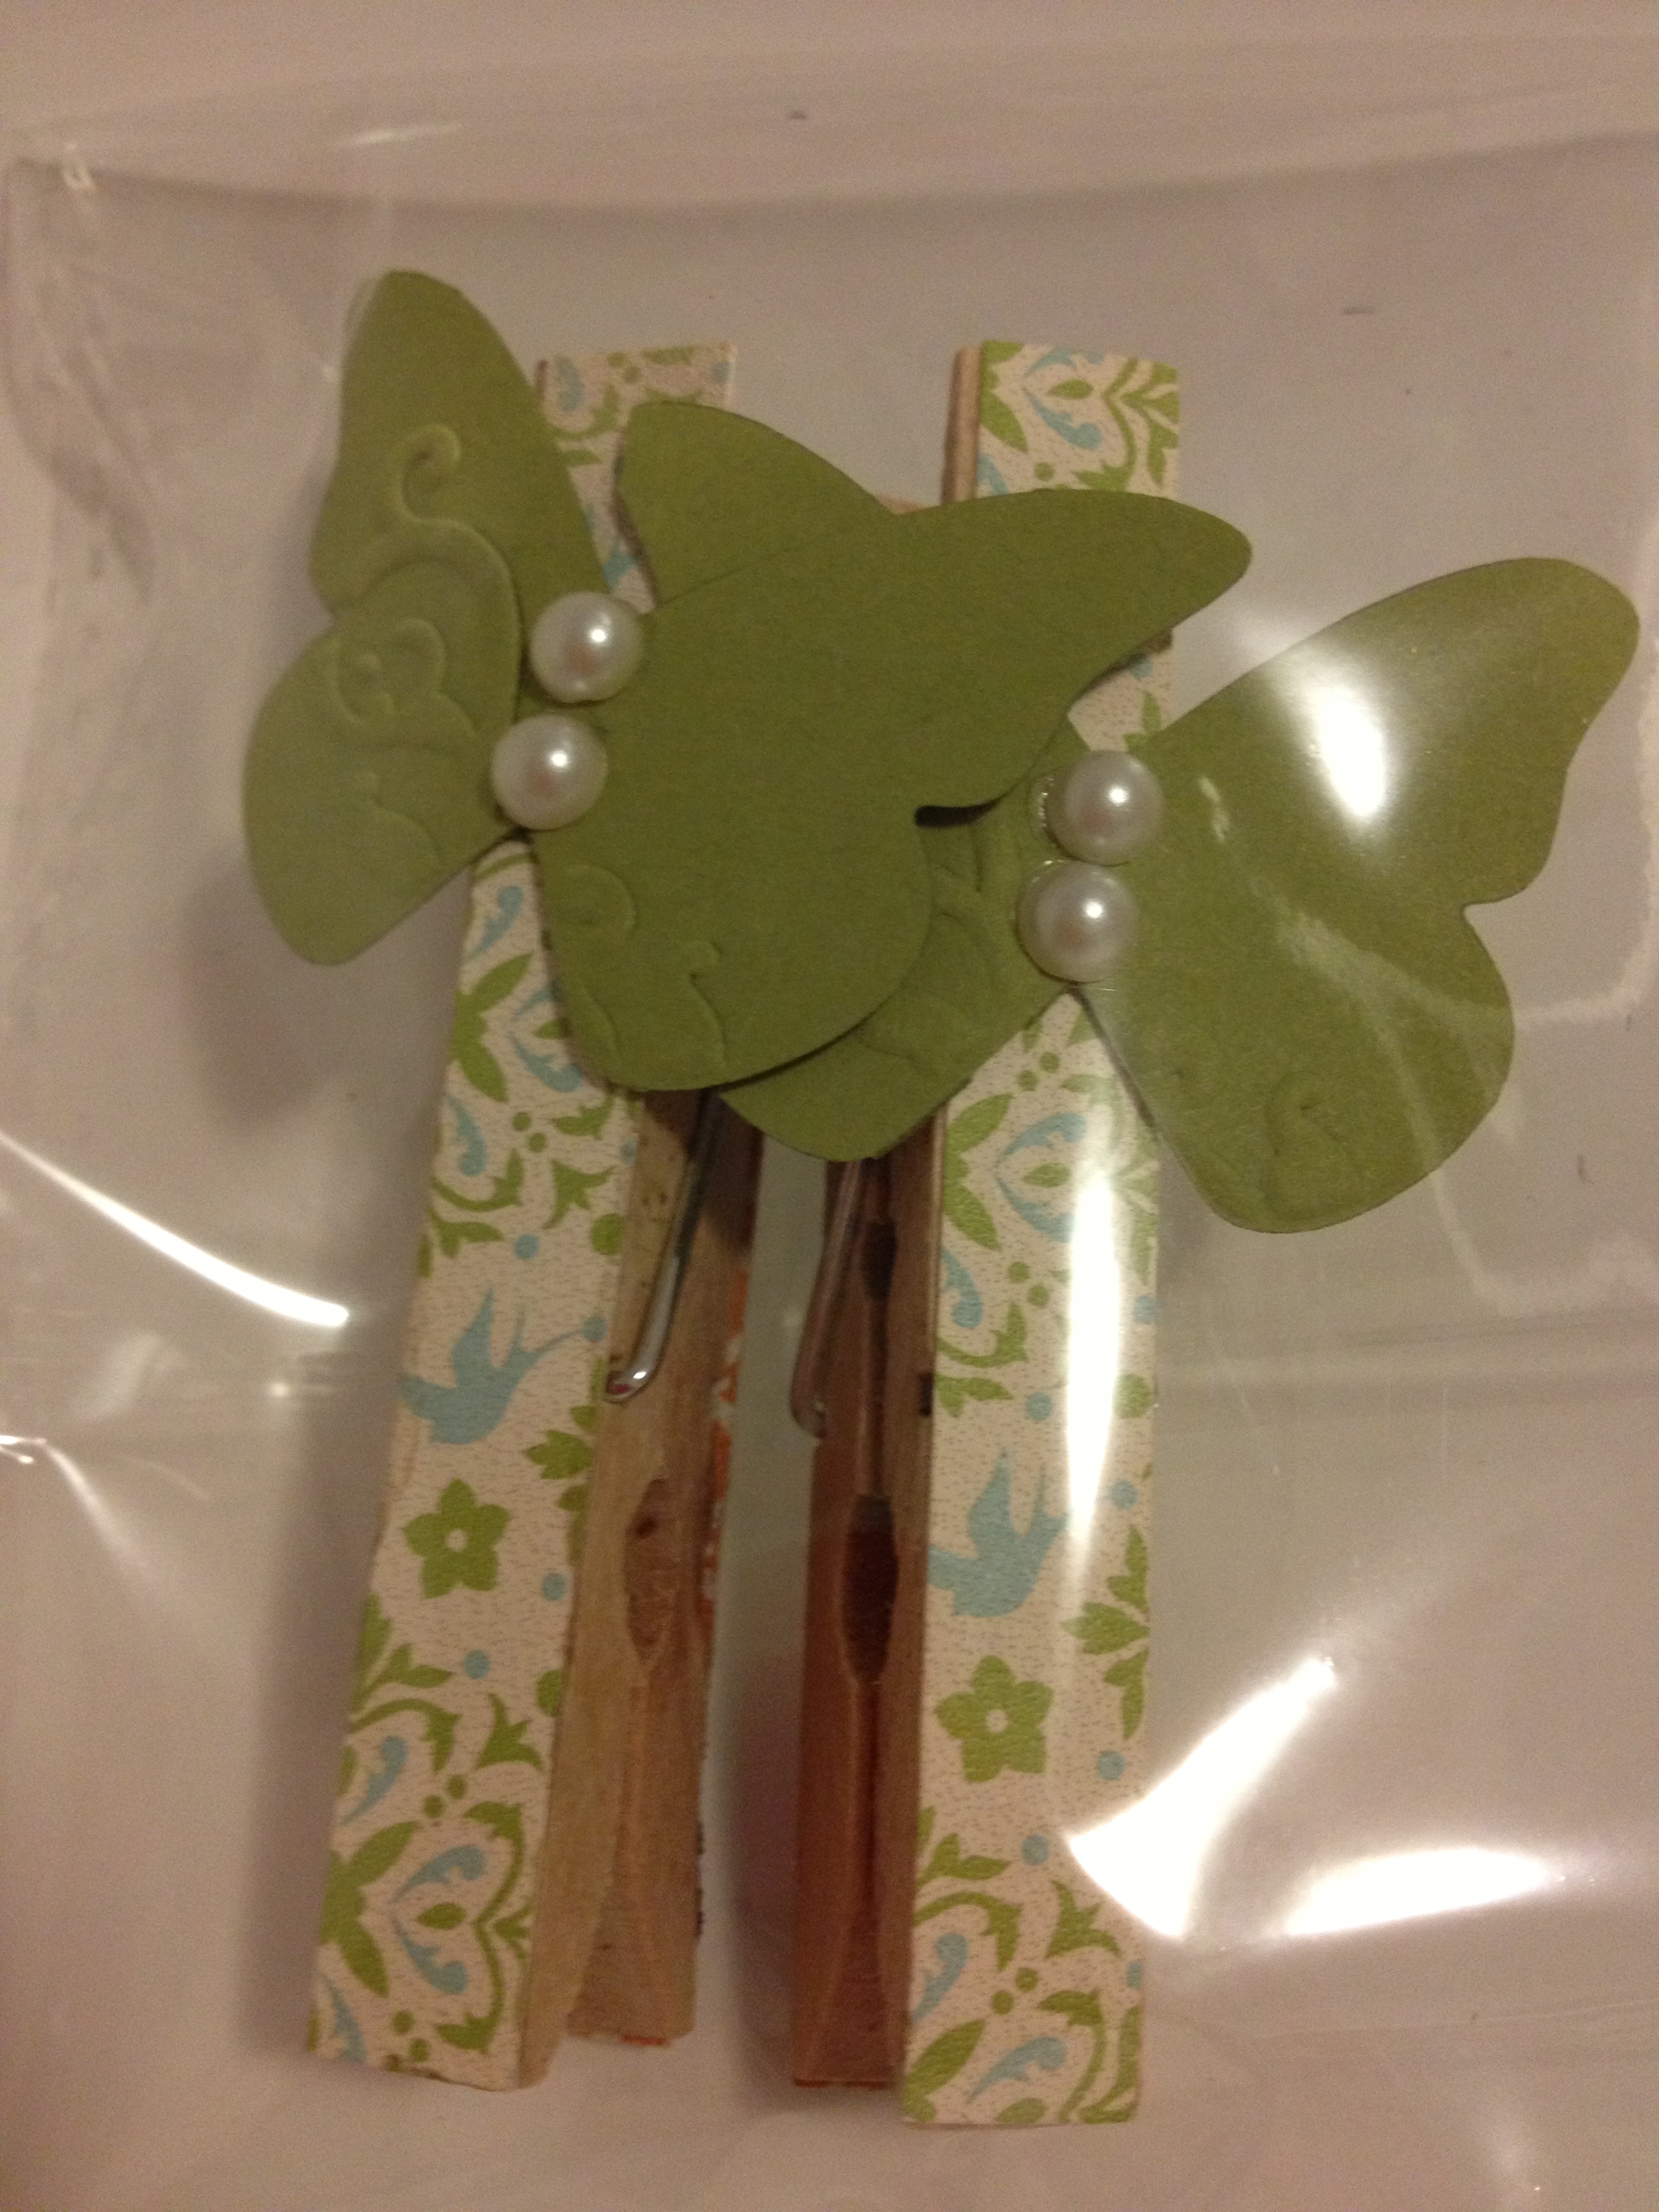
And here are a bunch more, after being decorated with butterflies, birds and flowers.  I’ve used die cut and punched butterflies, the bird from the Stampin’ Up! bird builder punch, and various flower punches.  Pearls and rhinestones can add some added ‘bling’.

20120605_161643

They can look quite cute packaged up in cellophane bags for a small gift for someone.

20121209_220144-1

photo

Adding some pegs with a little covered notebook (see yesterday’s post) can also look really cute.

20121209_220108So next time you finish a project and have a thin piece of DSP left over, why not turn it into a cute little peg fridge magnet?

Share this:

  • Click to share on Pinterest (Opens in new window) Pinterest
  • Click to share on X (Opens in new window) X
  • Click to share on Facebook (Opens in new window) Facebook
  • Click to email a link to a friend (Opens in new window) Email
  • More
  • Click to share on Reddit (Opens in new window) Reddit
  • Click to share on Tumblr (Opens in new window) Tumblr
Like Loading...

Home decorations with flower punches

26 Sunday May 2013

Posted by Carolyn in 1 3/4 inch scallop circle, 3D projects, Big Shot, Blossom, Boho Blossoms, Fancy Flower, Home decorating

≈ Leave a comment

Tags

3D, blossom punch, Boho Blossoms punch, circle punch, fancy flower punch, Home decorating, scallop punch

Hi there

Continuing my recent mission on using up paper from my enormous stash, my son and I recently decided to make some flowers I can keep in my office all the time.

photo-5

We used a variety of Stampin’ Up! punches – Blossom, Fancy Flower, Boho Blossoms, and various scallop and circle punches as well as some die cut flowers.   Stick them all together with glue and dimensionals to make flowers, and finish off with a button or brad in the centre.   We used Riding Hood Red, Cherry Cobbler, Bravo Burgundy and Poppy Parade (retired) card stock.

I attached these to ordinary kitchen skewers and put them inside an old vinegar bottle which had lovely leaf designs built into the glass.

Mr 3 is very pleased with the flowers in my office!

Share this:

  • Click to share on Pinterest (Opens in new window) Pinterest
  • Click to share on X (Opens in new window) X
  • Click to share on Facebook (Opens in new window) Facebook
  • Click to email a link to a friend (Opens in new window) Email
  • More
  • Click to share on Reddit (Opens in new window) Reddit
  • Click to share on Tumblr (Opens in new window) Tumblr
Like Loading...

A quick Quintessential flower card

25 Saturday May 2013

Posted by Carolyn in 1 inch circle, 2 3/8 inch scallop punch, Cards, Embossing folders, Mini scallop, Perfect Polka Dots

≈ 1 Comment

Tags

cards, Quintessential flower

I needed to make a birthday card very quickly the other day so I thought I’d show you what I came up with.    It was so easy to make this card I made a few at a time.  I just used various shades of pink C6 cards and added some Whisper White (10cm x 14.2cm) which I’d embossed with my Perfect Polka Dots embossing folder.

photo

I stamped a bunch of images from the Stampin’ Up! quintessential flower stamp –  in Pretty in Pink, Blushing Bride (retired but about to return!), Rose Red and Melon Mambo.

I then punched out at least one colour each of the various flowers/circles in the image using my 2 3/8 scallop punch, 1 3/4 scallop punch, mini scallop punch and 1 inch circle punch.      Then just mix n match, layering up with Snail glue and dimensionals.    I popped a Glimmer brad and some pink pearls I found at a $2 dollar shop in the centre, but you could also use pearls and rhinestones.

Here’s a close up of some of the flowers.    I think they would also work really well on gift tags or even stuck directly onto a gift wrapped present.

IMG_1357

photo-2

Looking at these pictures I think next time I use this flower I am going to have to put some bling in those little dots around the edge of the widest flower!

I hope you enjoy.

Share this:

  • Click to share on Pinterest (Opens in new window) Pinterest
  • Click to share on X (Opens in new window) X
  • Click to share on Facebook (Opens in new window) Facebook
  • Click to email a link to a friend (Opens in new window) Email
  • More
  • Click to share on Reddit (Opens in new window) Reddit
  • Click to share on Tumblr (Opens in new window) Tumblr
Like Loading...

More uses for scraps – present cards

22 Wednesday May 2013

Posted by Carolyn in Big Shot, Birthday, Cards, Embossing folders, Framelits, Gift tags & wrapping, Square Lattice, Using up scraps

≈ Leave a comment

Tags

birthday, cards, gift card, Itty Bitty Banners, scraps, square lattice

I’ve done a few posts over the past few days on how I’ve been trying to use up all the little bits and pieces of card stock and DSP I have lying about my office/craft room.

I have been on a mission lately and made a pile of cards from the paper cluttering up my desk.  I donated them to a local op shop which makes me feel good as well as well as having an (almost) clean desk!

Here’s another card design which is great for using up scraps.   I’ve used Tangerine Tango (14cm x 14 cm) and Whisper White (13cm x 13cm) card stock with scraps in varying sizes from the Sycamore Street DSP & Tangerine Tango ribbon from this year’s Sale-A-Bration.

photo-1

One tip – when assembling the presents I used a small scrap of offcut paper and stuck the rectangle “presents” to the scrap.  This made it really easy to keep the rectangles aligned and tie the ribbon before attaching the “presents” to the Whisper White card.

I also made a version where I ran the Whisper White version through the Big Shot with the Square Lattice embossing folder.

photo-8

I also made a 7cm x 7 cm gift card:

photo-2

The Happy Birthday label is stamped in Tangerine Tango on Whisper White from the Itty Bitty Banners stamp set and cut out with the matching framelits.

This basic design could be used in any colour scheme – I think it would look great in ‘Christmassey’ colours as an easy but effective Christmas card too.

Thanks for stopping by!

Caro

Share this:

  • Click to share on Pinterest (Opens in new window) Pinterest
  • Click to share on X (Opens in new window) X
  • Click to share on Facebook (Opens in new window) Facebook
  • Click to email a link to a friend (Opens in new window) Email
  • More
  • Click to share on Reddit (Opens in new window) Reddit
  • Click to share on Tumblr (Opens in new window) Tumblr
Like Loading...

Pinwheel die cards and gift tags

22 Wednesday May 2013

Posted by Carolyn in Big Shot, Birthday, Cards, Framelits, Gift tags & wrapping, Kids cards, Love notes, Pinwheel die, Using up scraps

≈ Leave a comment

Tags

cards, framelits, gift cards, Itty Bitty Banners, pinwheel, stampinup

My last post confessed to a slightly unhealthy obsession with the Stampin’ Up! pinwheel die.    I wanted to use this post to show you how I’ve been using up some of my scrap paper with the pinwheel die and the odd toothpick.

photo-3In this card I’ve used some Tangerine Tango card stock, a scrap of paper from some Sycamore Street DSP and Tangerine Tango ribbon from the recent Sale-a-bration promotion, plus an Itty Bitty Banner stamped and cut out with the matching framelit.    The toothpick is stuck on the back of the pinwheel using a Glue Dot and the pinwheel is stuck to the Whisper White card stock using a dimensional.

Here’s a similar card with 3 pinwheels:

photo-7

And a little 7cm x 7cm matching love note I used to go with the card when I gift wrapped the present for the recipient of the card:

photo-6

I think I like the ‘single pinwheel’ design best – what do you think?

Thanks for reading 🙂


Share this:

  • Click to share on Pinterest (Opens in new window) Pinterest
  • Click to share on X (Opens in new window) X
  • Click to share on Facebook (Opens in new window) Facebook
  • Click to email a link to a friend (Opens in new window) Email
  • More
  • Click to share on Reddit (Opens in new window) Reddit
  • Click to share on Tumblr (Opens in new window) Tumblr
Like Loading...

Using up scraps – Stampin Up pinwheel die

22 Wednesday May 2013

Posted by Carolyn in Big Shot, Gift tags & wrapping, Pinwheel die, Using up scraps

≈ Leave a comment

Tags

bigshot, pinwheel, scraps, sizzix, stampinup

You may know I’ve been on a mission to use up all my bits and pieces of DSP I’ve been hoarding for years.   One of my favourite ways at the moment is the Sizzlets Pinwheel die from the current Stampin’ Up! Seasonal Catalogue.   At just $8.95 I have to confess to buying two – so I can make 2 pinwheels at the same time.   One just wasn’t enough!

And why would it be when just like magic you can take a bag of old paper scraps …

photo-11

run them through the Big Shot to get some cute little die cuts like this …

photo-9

Which turn into gorgeous little pinwheels like this!

photo-10

If you Google “stampin up pinwheel die tutorial” you will see lots of YouTube videos shared by kind demonstrators who will show you how to put the dies together to make the pinwheel.

In summary though – fold in each corner and secure in the middle with a brad – too easy!

The Pinwheel die is available in the current Seasonal Catalogue page 33 – item no 129411, $8.95.

Share this:

  • Click to share on Pinterest (Opens in new window) Pinterest
  • Click to share on X (Opens in new window) X
  • Click to share on Facebook (Opens in new window) Facebook
  • Click to email a link to a friend (Opens in new window) Email
  • More
  • Click to share on Reddit (Opens in new window) Reddit
  • Click to share on Tumblr (Opens in new window) Tumblr
Like Loading...
Newer posts →

Carolyn Dalton

Independent Stampin Up! Demonstrator

Recent Posts

  • Pretty butterfly birthday card 
  • Adding an extra touch to a homemade envelope
  • Quick and easy masculine card 
  • Quick and easy kids card
  • Butterfly soap card

Archives

  • March 2016
  • February 2016
  • January 2016
  • December 2015
  • November 2015
  • October 2015
  • September 2015
  • August 2015
  • July 2015
  • June 2015
  • May 2015
  • April 2015
  • September 2014
  • July 2014
  • April 2014
  • March 2014
  • February 2014
  • November 2013
  • October 2013
  • September 2013
  • August 2013
  • July 2013
  • June 2013
  • May 2013
  • May 2012

Categories

  • 1 1/4 inch circle
  • 1 3/4 circle
  • 1 3/4 inch scallop circle
  • 1 3/8 circle
  • 1 inch circle
  • 1 inch square
  • 2 3/8 inch scallop punch
  • 3/4 inch circle
  • 3D / pop up
  • 3D projects
  • Anniversary
  • Baby cards
  • Beautiful Butterflies
  • Big Shot
  • Bird Builder
  • Birthday
  • Bitty Butterfly
  • Blossom
  • Blossom Builder
  • Boho Blossoms
  • Boxes
  • Butterfly (retired)
  • Candy Wrapper
  • Card sets
  • Cards
  • Chalk Talk
  • Christmas
  • Circle Thinlits
  • Circle treat cups
  • Circles #2
  • Corner rounder
  • Cupcake Builder
  • Cupcakes and other tasty treats
  • Curly label
  • Decorative Label
  • Dies
  • Elegant Butterly
  • Embossing folders
  • Envelopes
  • Extra Large Oval
  • Fancy Flower
  • Framelits
  • Full heart
  • General occasion
  • Gift bags
  • Gift bow
  • Gift card holders
  • Gift tags & wrapping
  • Home decorating
  • Horizontal Slot
  • Invitations
  • Jewellery tag
  • Kids cards
  • Kids craft ideas
  • Kids party
  • Labels collection
  • Large Oval
  • Love notes
  • Masculine
  • Mini scallop
  • Modern Label
  • Music Notes
  • Notebooks
  • Owl
  • Perfect Polka Dots
  • Petite curly label
  • Pinwheel die
  • Punches
  • Scallop circle
  • Scallop edge
  • Scallop envelope
  • Scallop oval
  • Scallop Tag Topper
  • Small Heart
  • Square Lattice
  • Star
  • Sweet treat cups
  • Tag
  • Tasteful Trim
  • Thank you
  • Thoughts and comments
  • Top Note
  • Tutorial
  • Uncategorized
  • Using up scraps
  • Washi tape
  • Wedding cards
  • Wheels
  • Wildflower Meadow
  • Word Window

Pinterest

Follow Me on Pinterest

Follow me on Twitter

My Tweets

Enter your email address to follow this blog and receive notifications of new posts by email.

Join 26 other subscribers

Blog at WordPress.com.

Privacy & Cookies: This site uses cookies. By continuing to use this website, you agree to their use.
To find out more, including how to control cookies, see here: Cookie Policy
  • Subscribe Subscribed
    • Caro's Pretty Things
    • Join 26 other subscribers
    • Already have a WordPress.com account? Log in now.
    • Caro's Pretty Things
    • Subscribe Subscribed
    • Sign up
    • Log in
    • Report this content
    • View site in Reader
    • Manage subscriptions
    • Collapse this bar
 

Loading Comments...
 

    %d