Tags
birthday party, clever ideas with punches, Kids cards, kids party, owl builder punch, owl punch, party invitations, punch art, super heroes
Hello! Sorry it has been such a long time between posts. Life just gets busy! In my last post I showed you the card I made for my Frozen obsessed son’s 5th birthday. I’m pleased to report he loved it 🙂
Today I want to show you the invitations I made for his birthday party. He wanted a dress up party, but he (and I!) were going as super heroes, so he wanted to have super hero themed party invitations. So here’s what I came up with – super hero owls!

They looked pretty cute all lined up together:
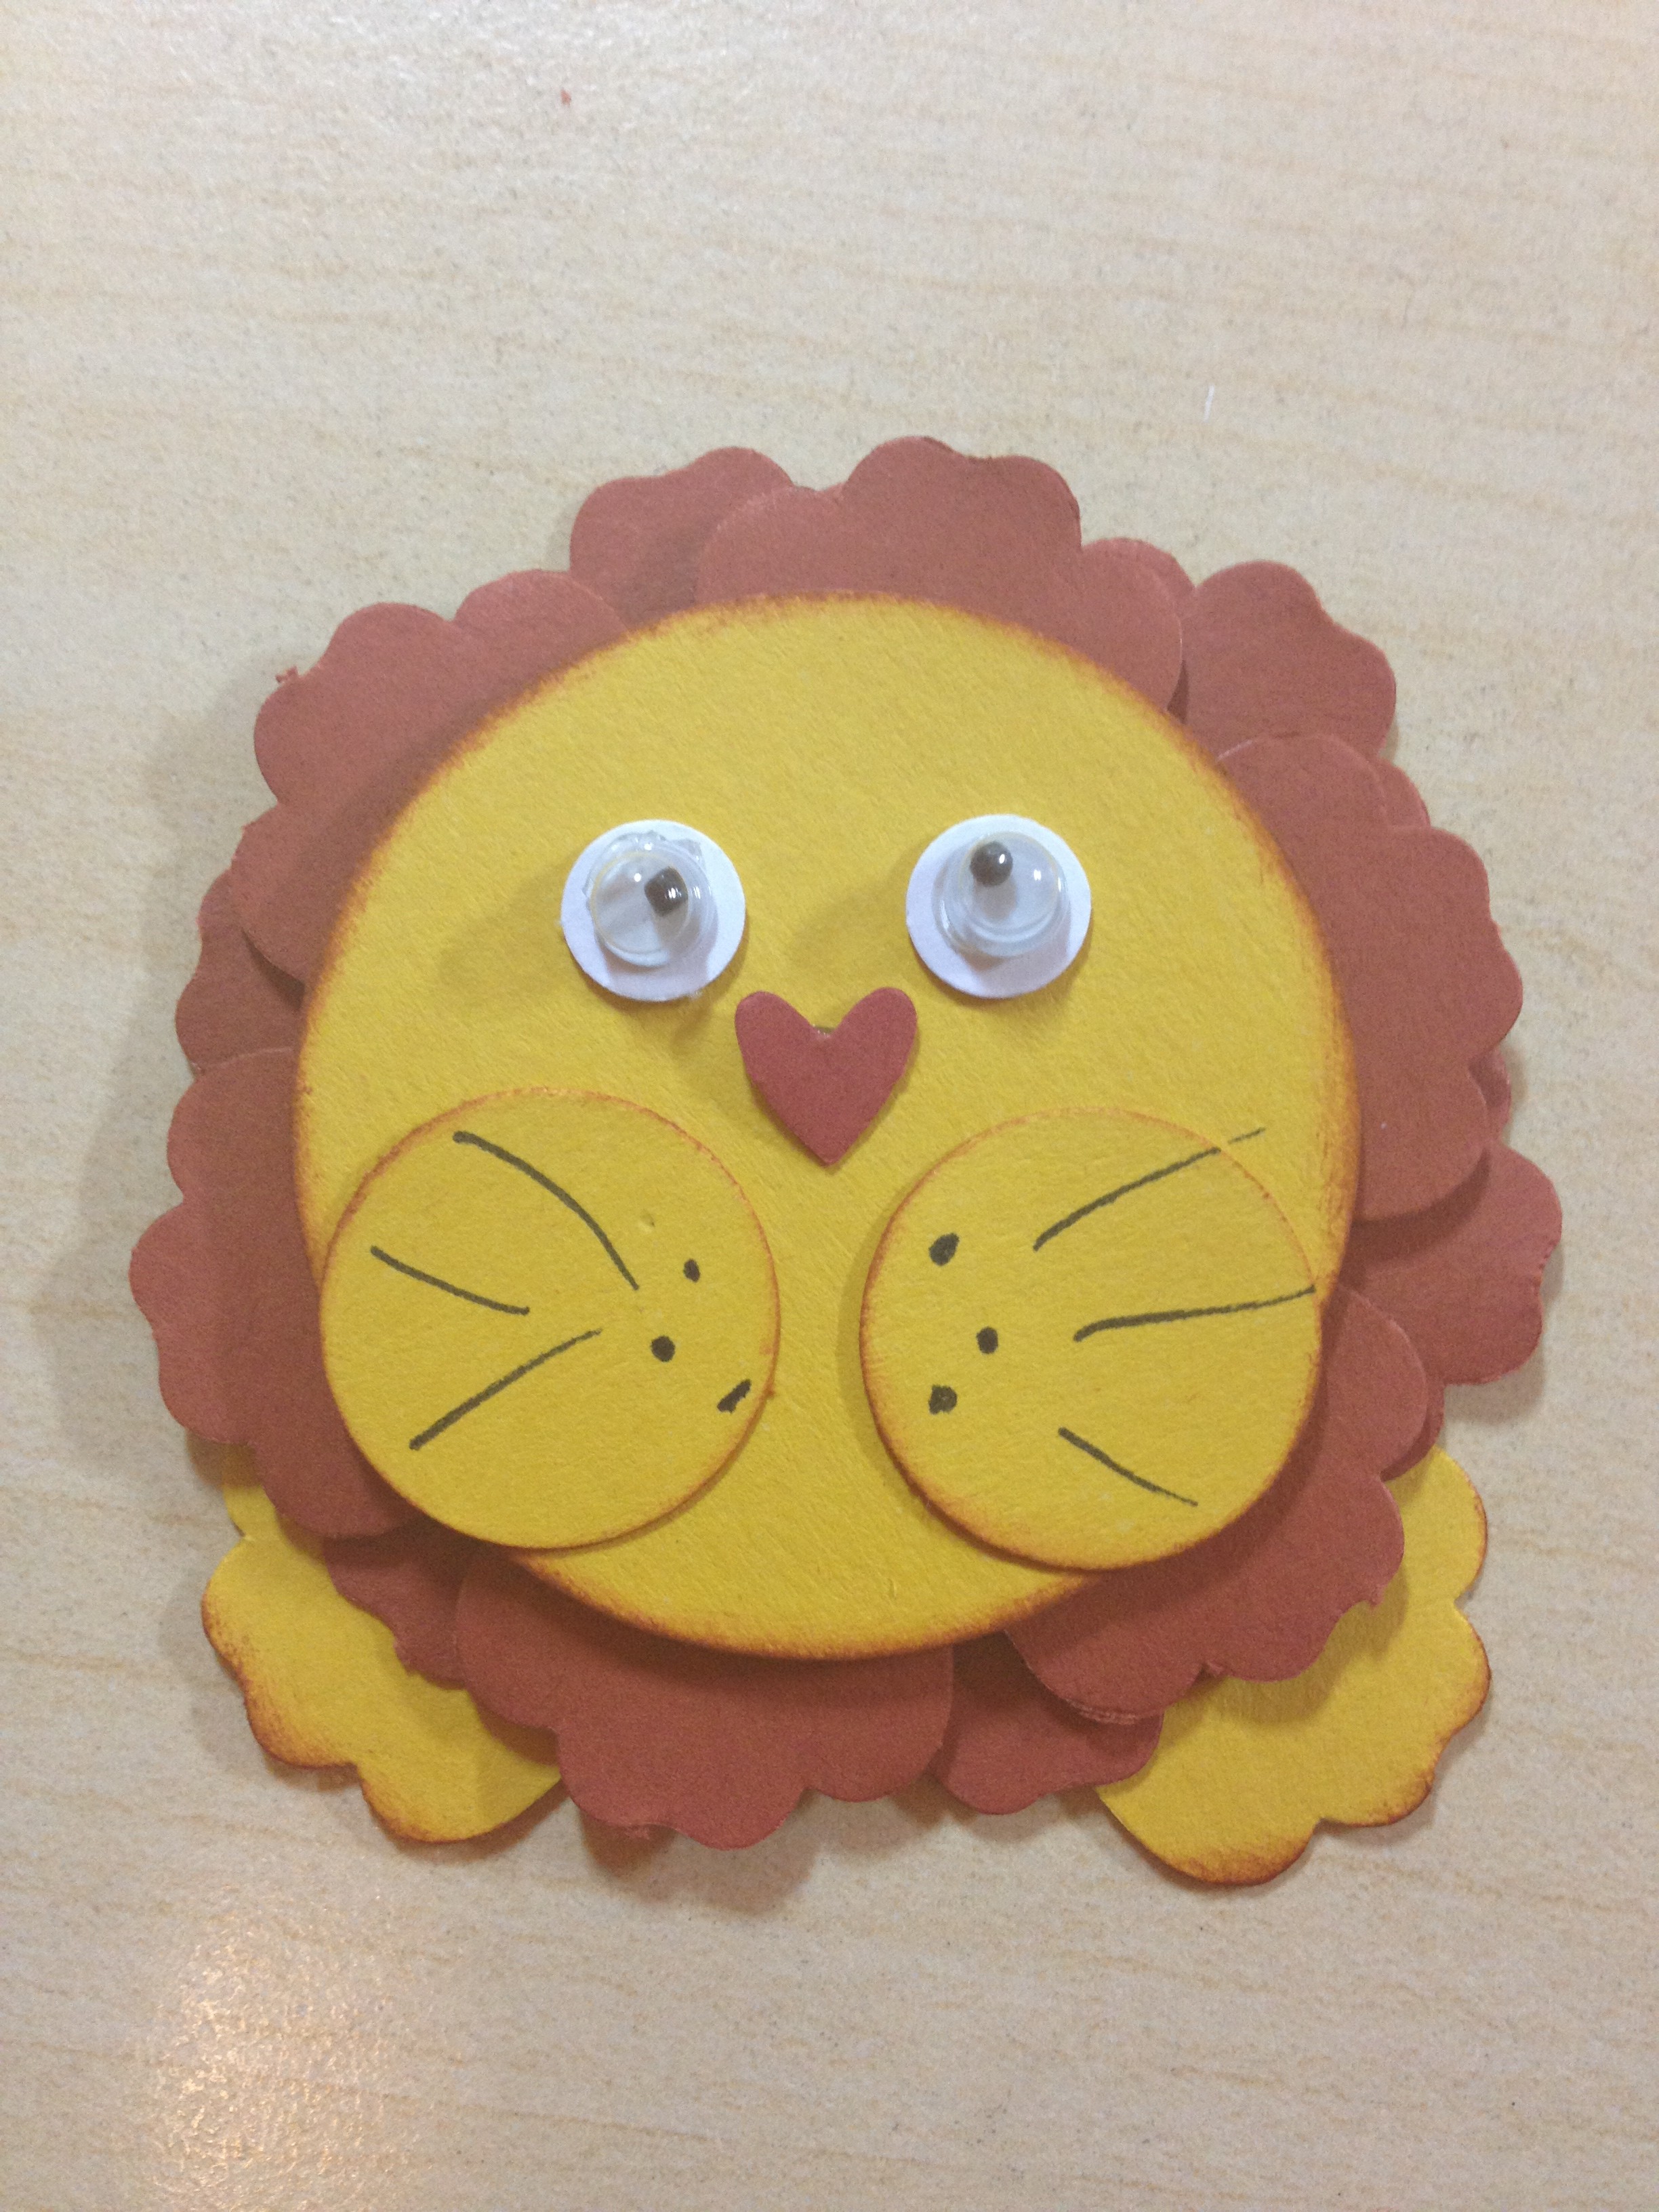
 Here’s a closer look at the super heroes, made from the Stampin’ Up! owl builder punch:
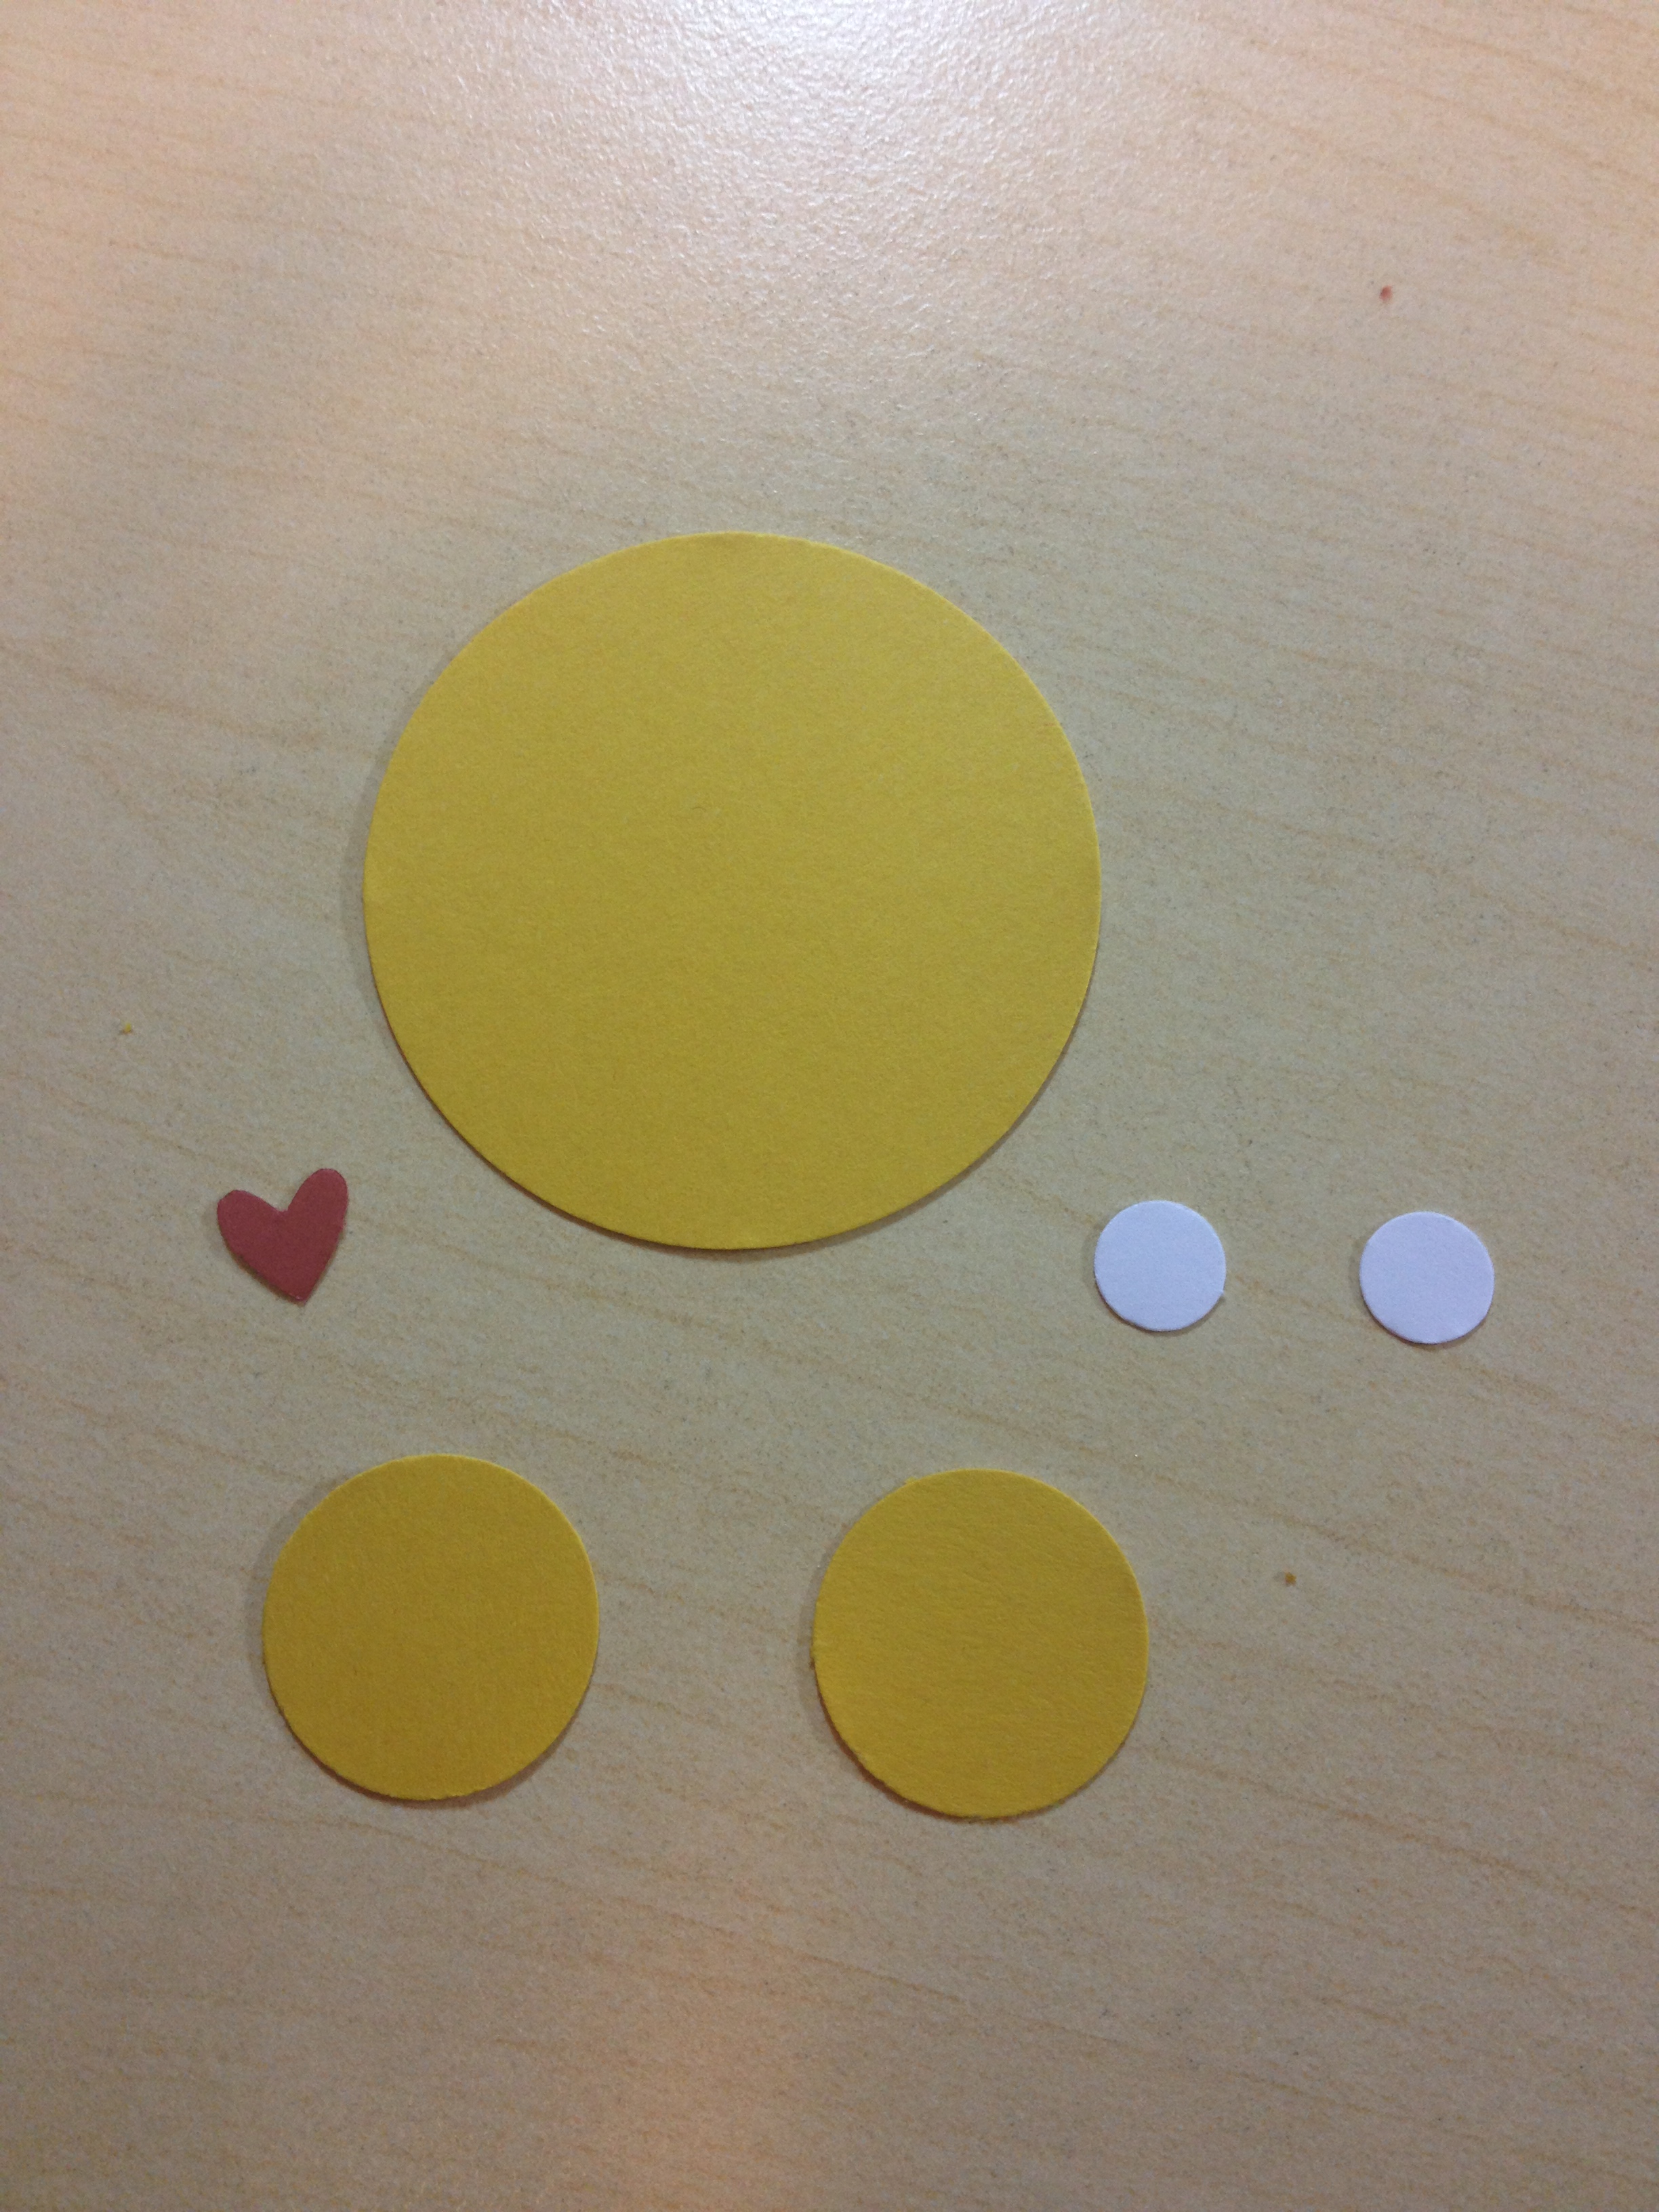
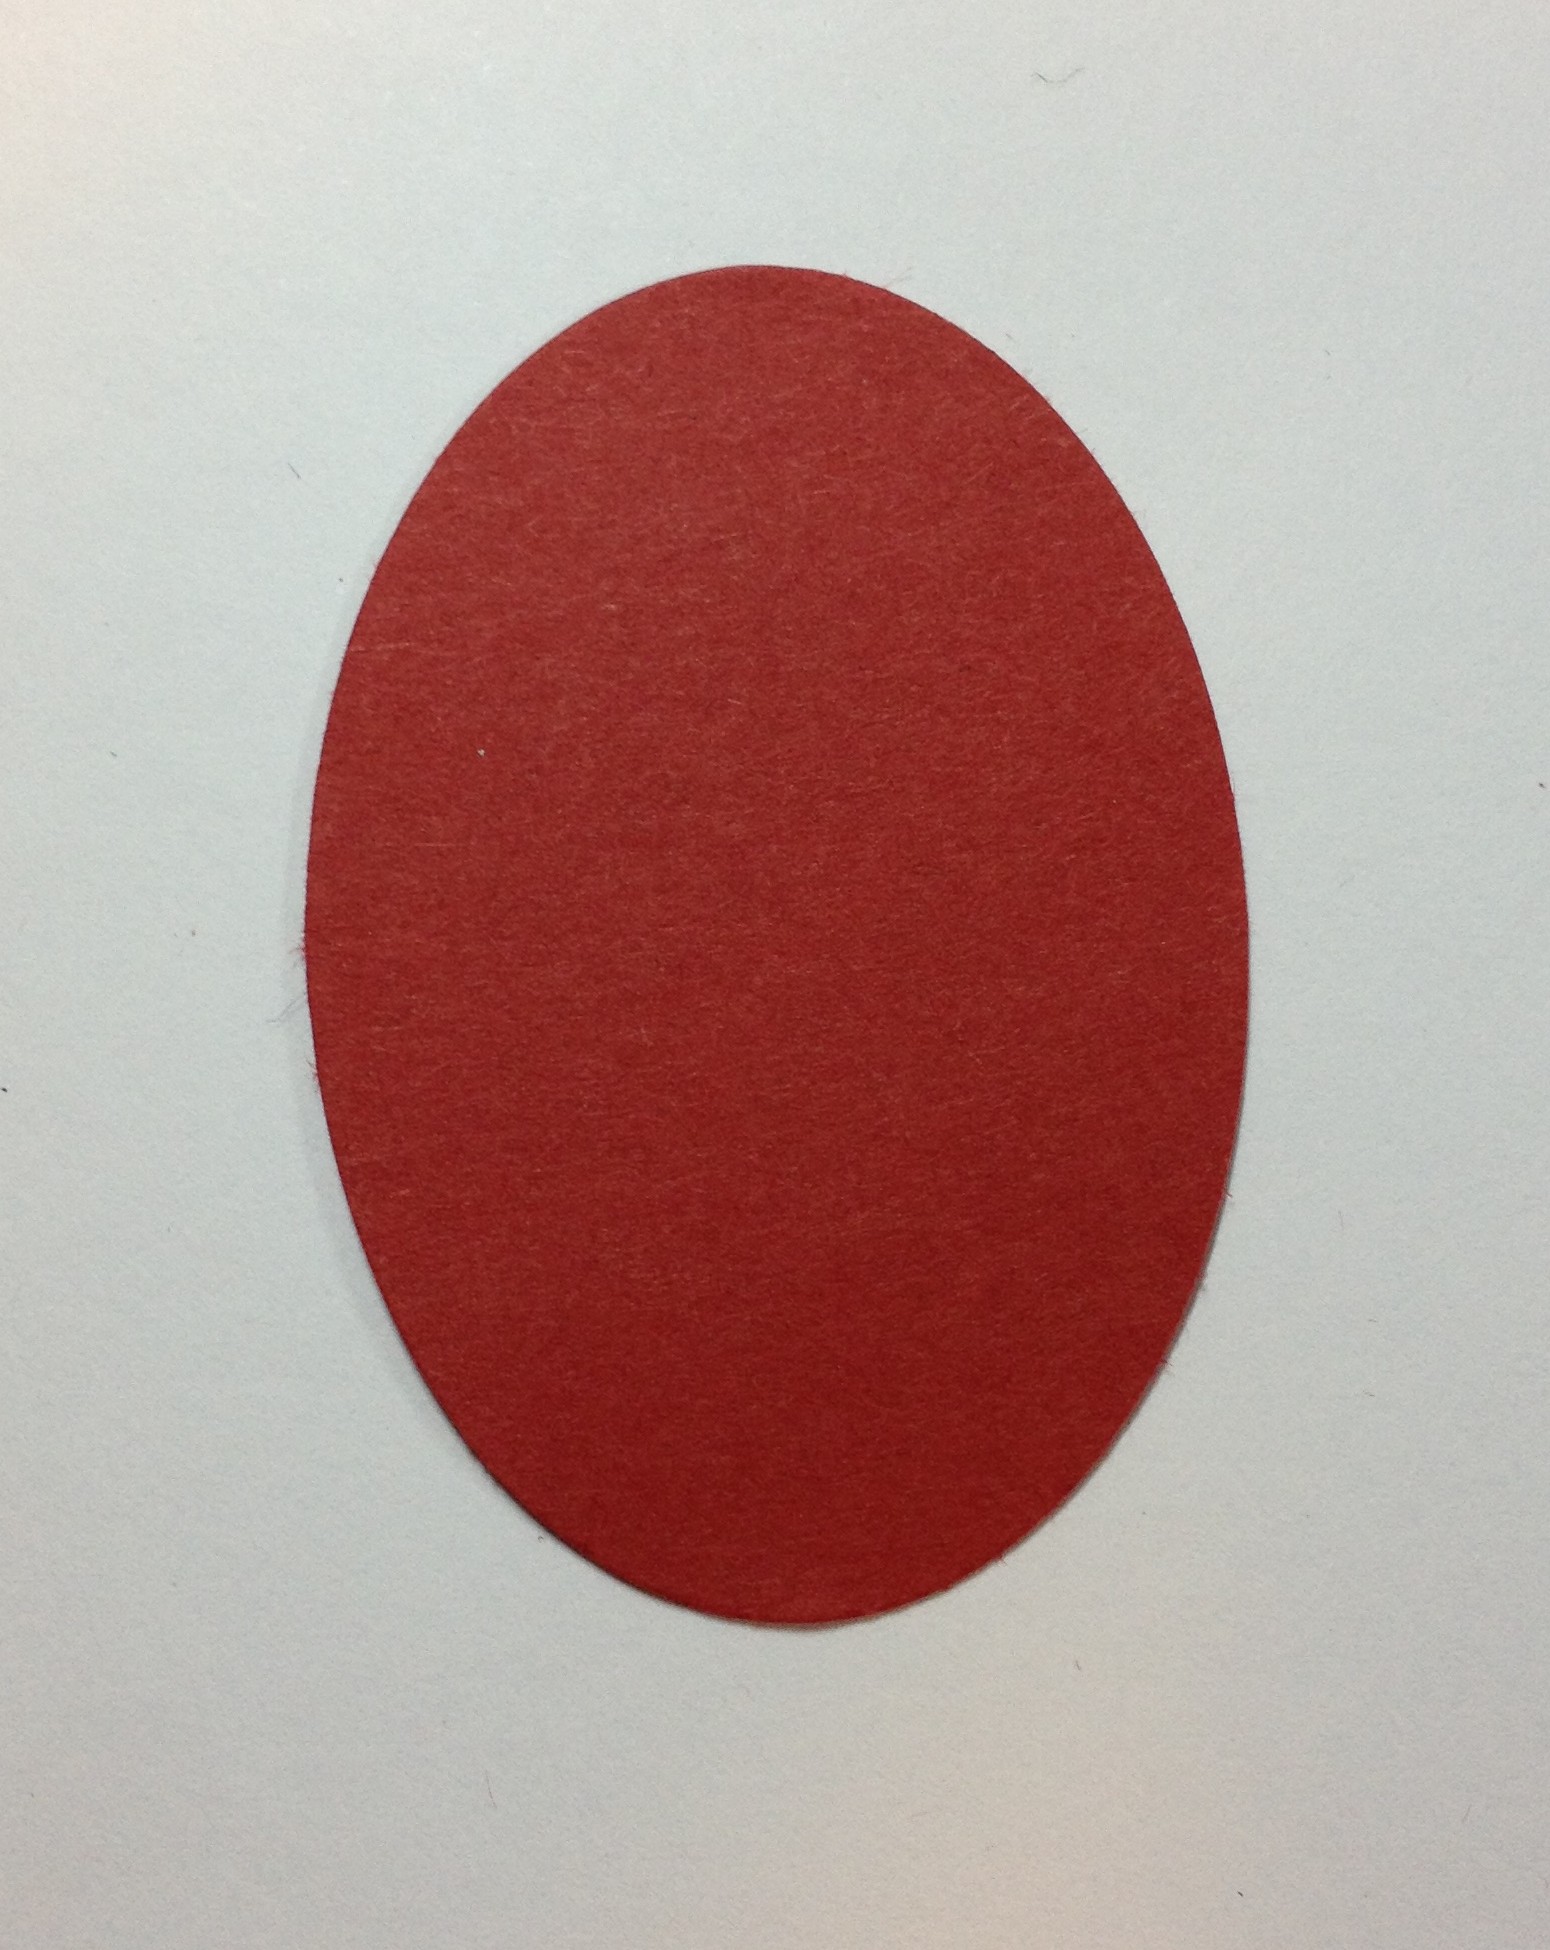
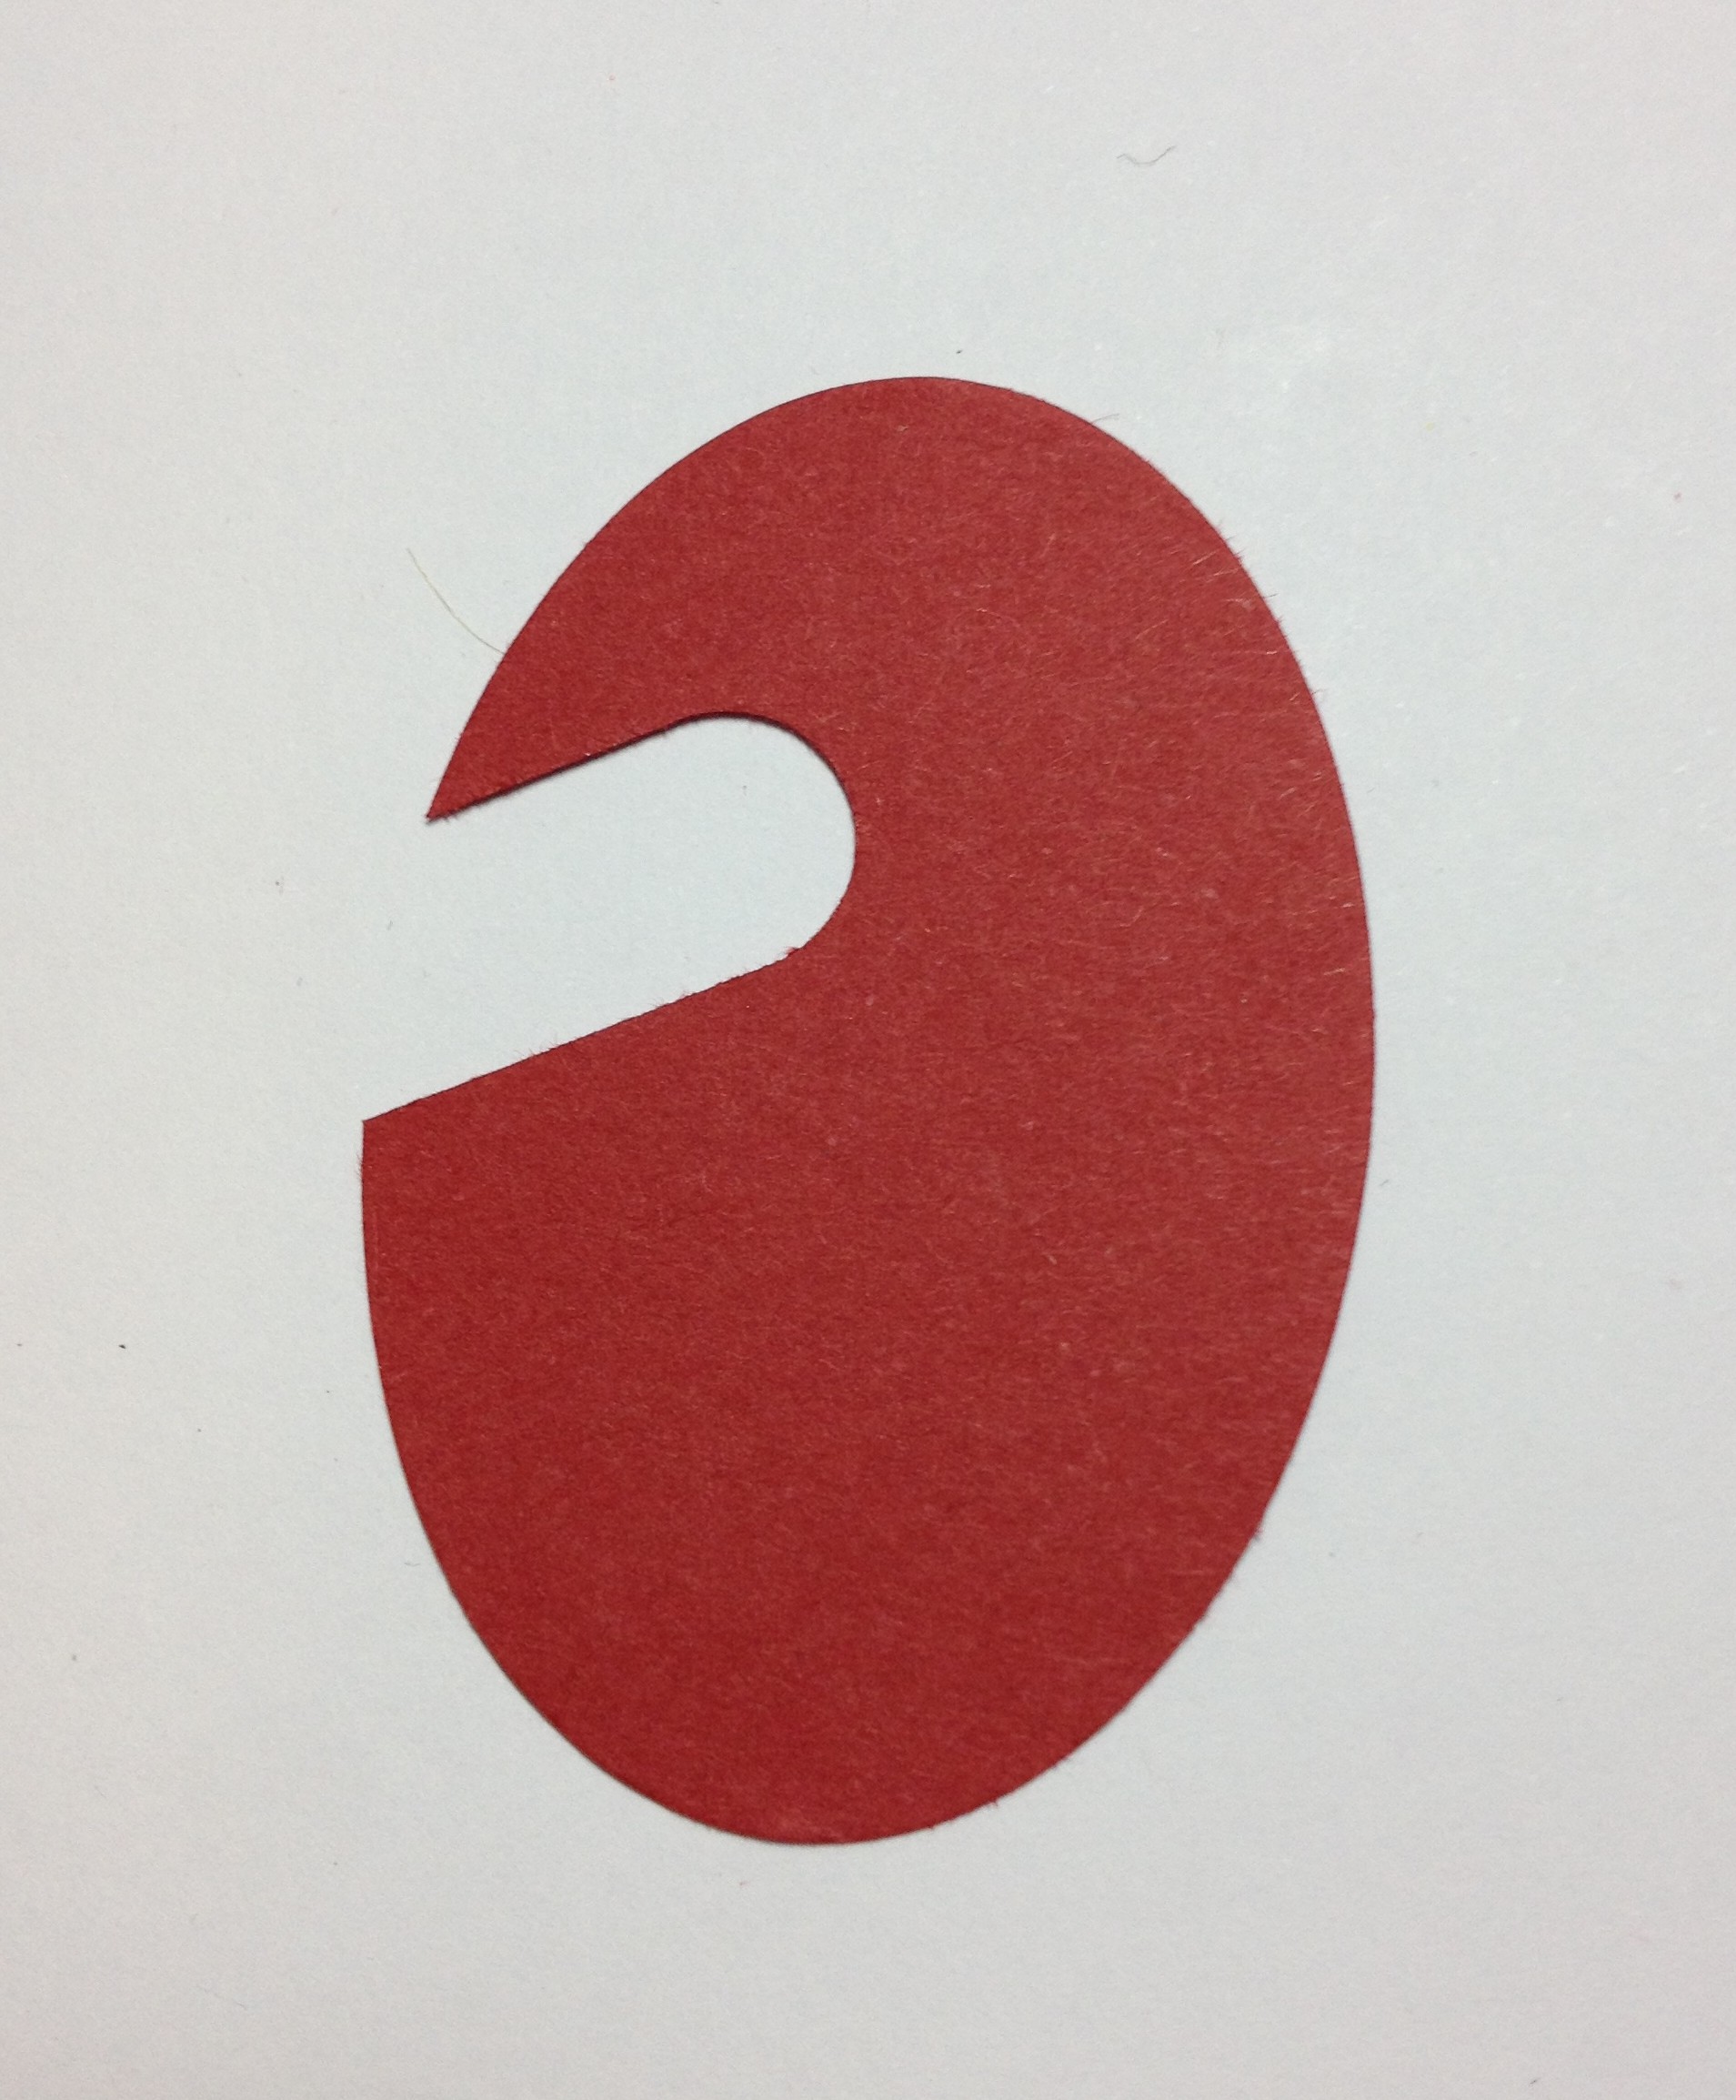
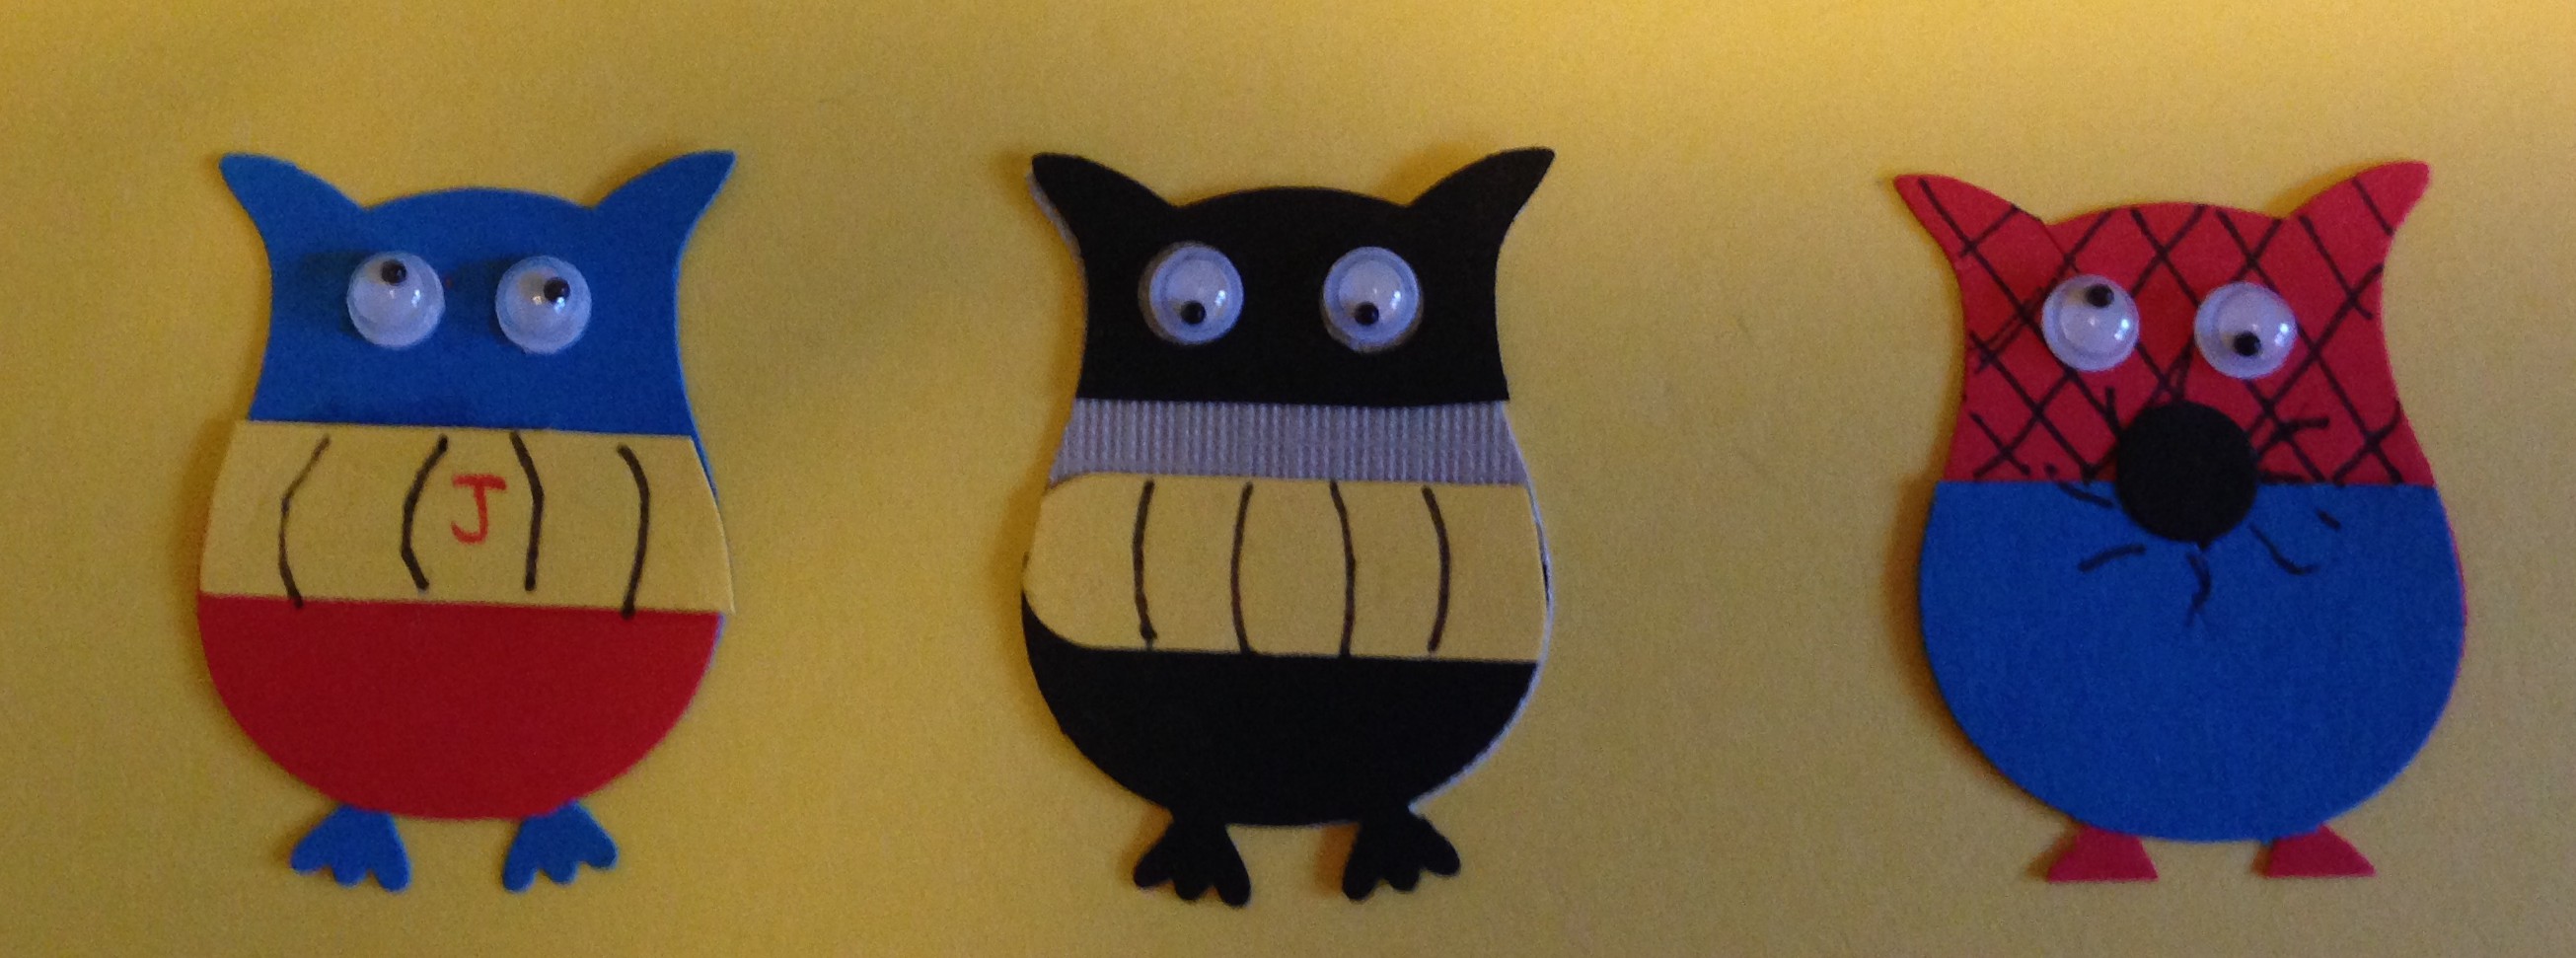 Here are a few pictures of how I put the owls together. Basically I just used various colours cut from the owl punch, and the yellow belts are made from the word window punch.
Making super owl:

 One tip – it’s easier to cut the yellow belt to size from behind:


Making spider owl:
 (the black circle is also from the owl builder punch)


Making bat owl:


Put them all together and you get some cute little super heroes!
I have to say I was a little sick of making owls by the end of this process though!
Thanks for reading
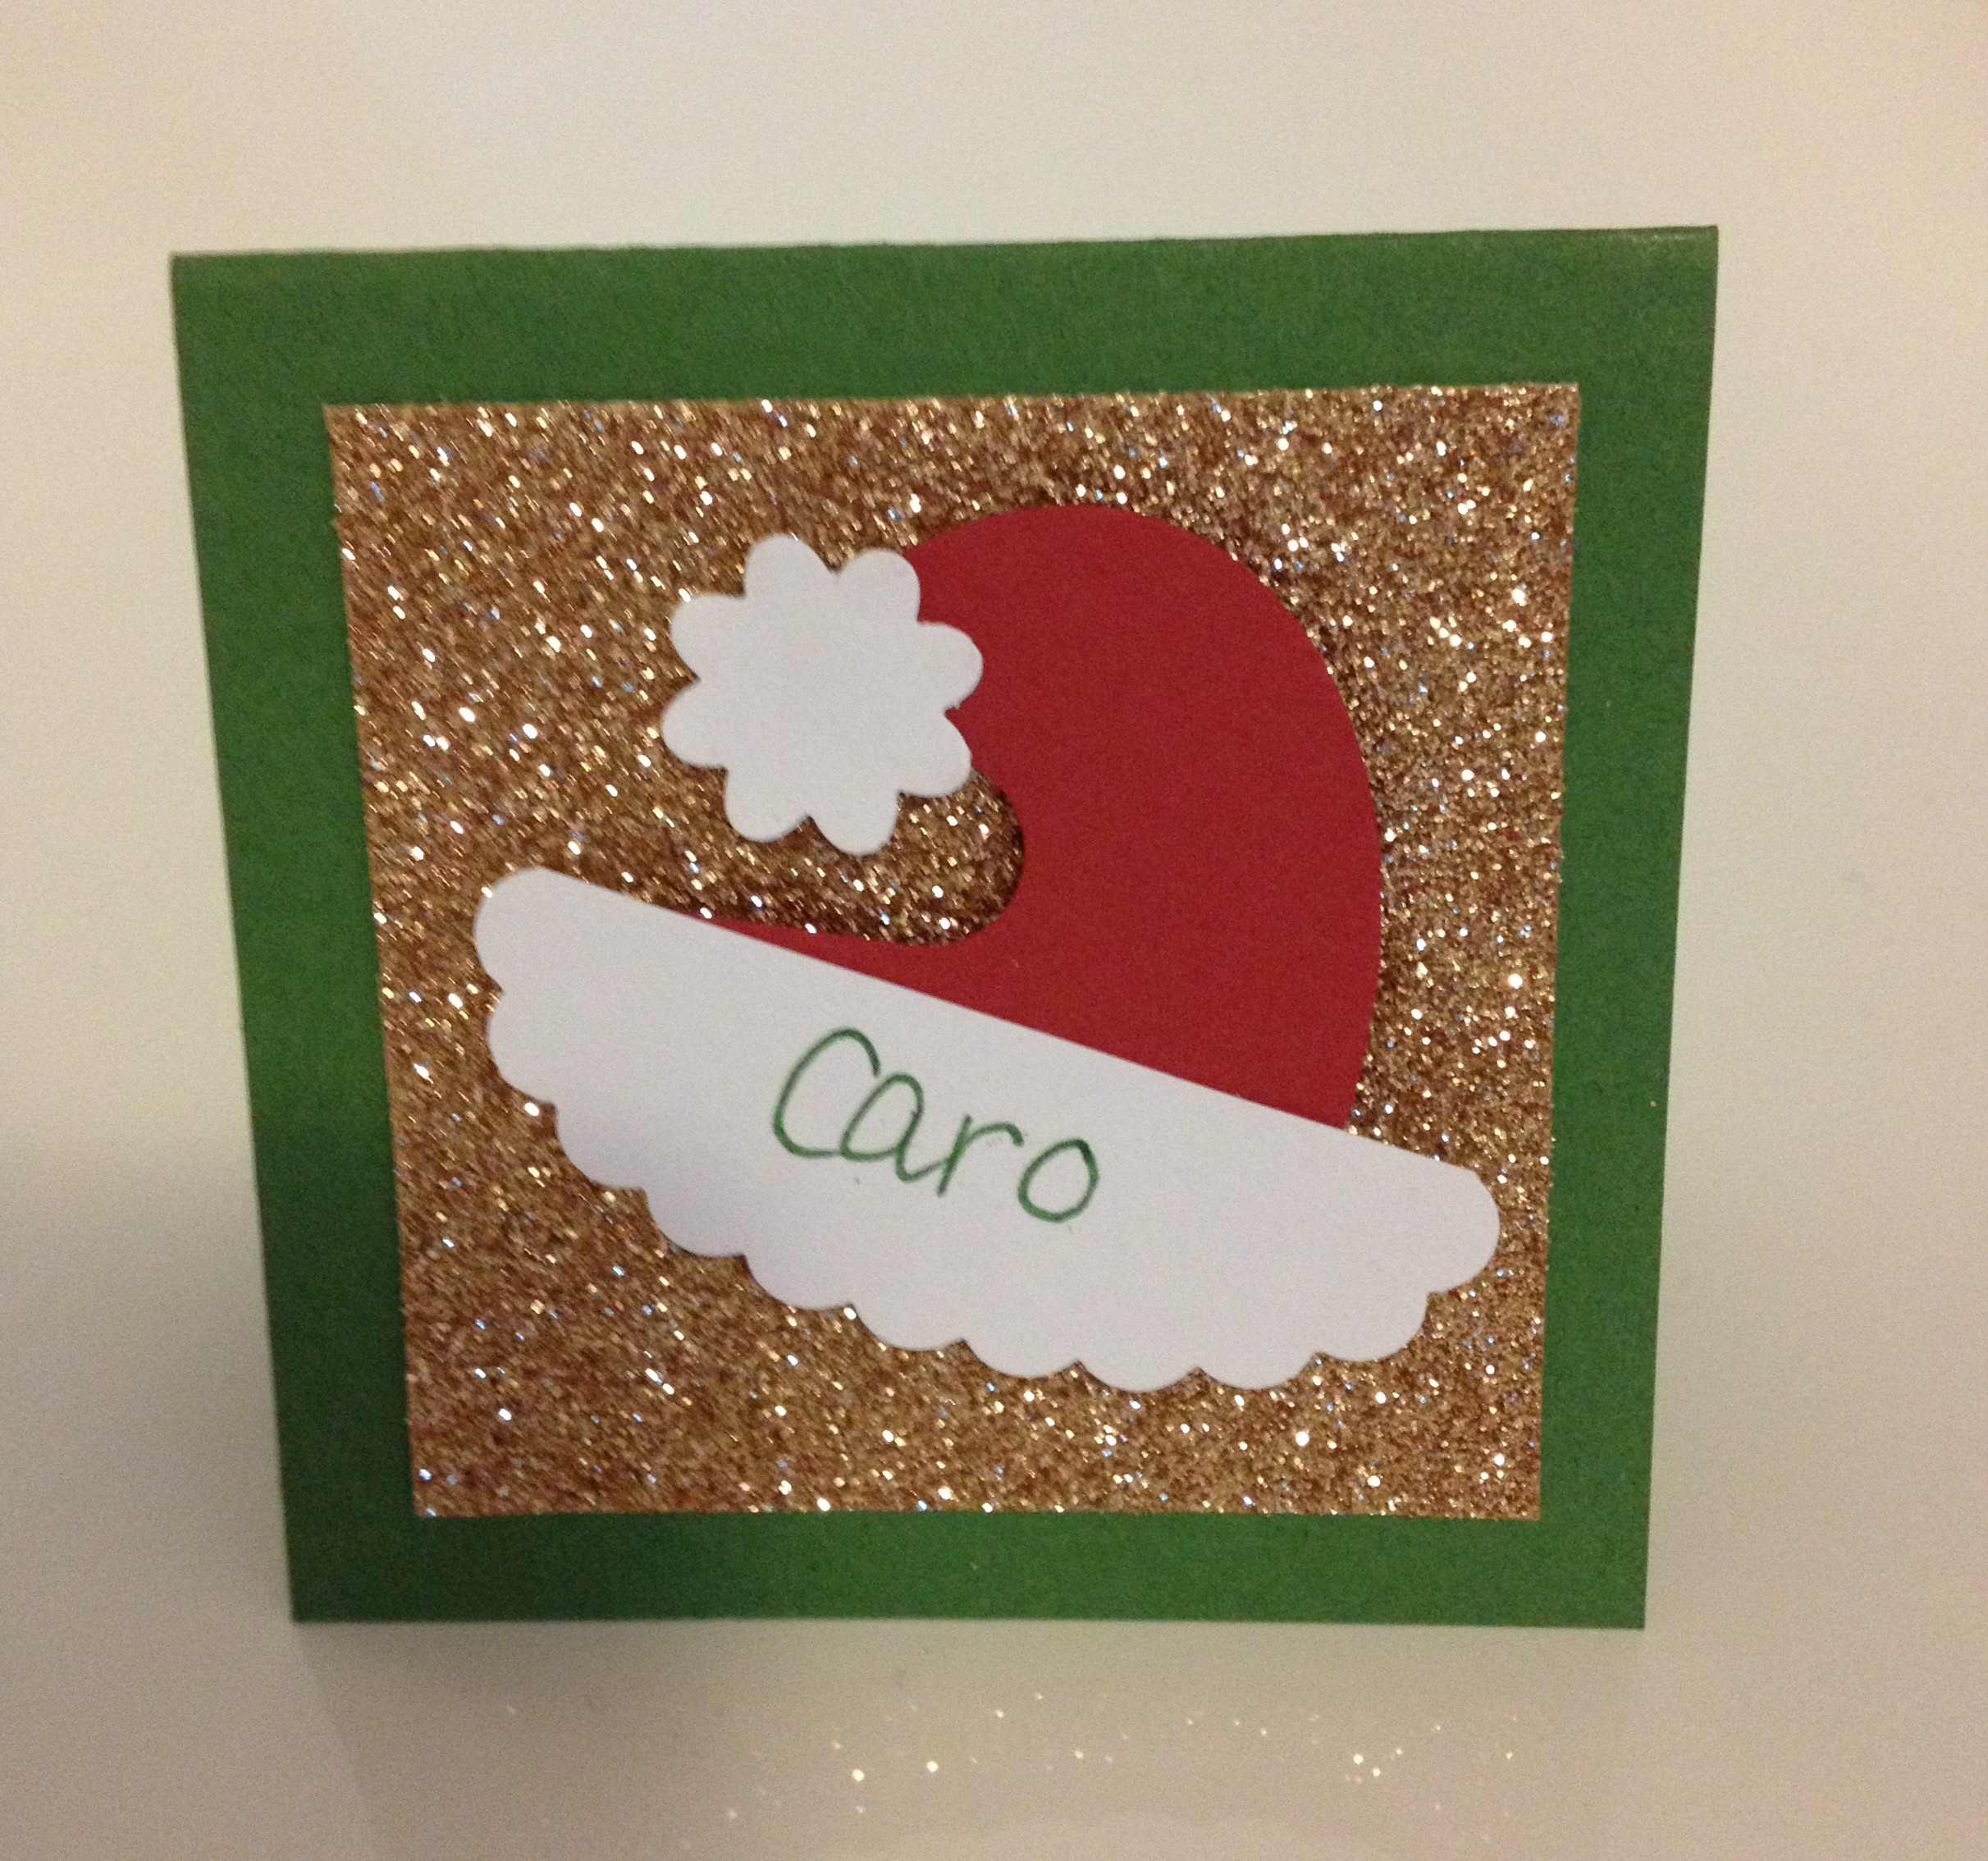
Caro x