• About

Caro's Pretty Things

~ My papercraft blog

Tag Archives: card layout

When too many wedding cards are never enough!

16 Thursday Apr 2015

Posted by Carolyn in 3D / pop up, Cards, Embossing folders, Small Heart, Sweet treat cups, Wedding cards

≈ Leave a comment

Tags

card layout, cardmaking, easel, gate fold card, sponging, stampinup, wedding cards

Hello

I don’t know how many times I’ve started a blog post by apologising for the length of time it’s been since I last posted, but here I go again!  Life just gets busy!

Today I wanted to show you some wedding cards I made for a dear friend’s wedding a few months ago.   This is a snippet of their wedding invitation, which inspired me to make not one, but three cards for their wedding!

IMG_7104

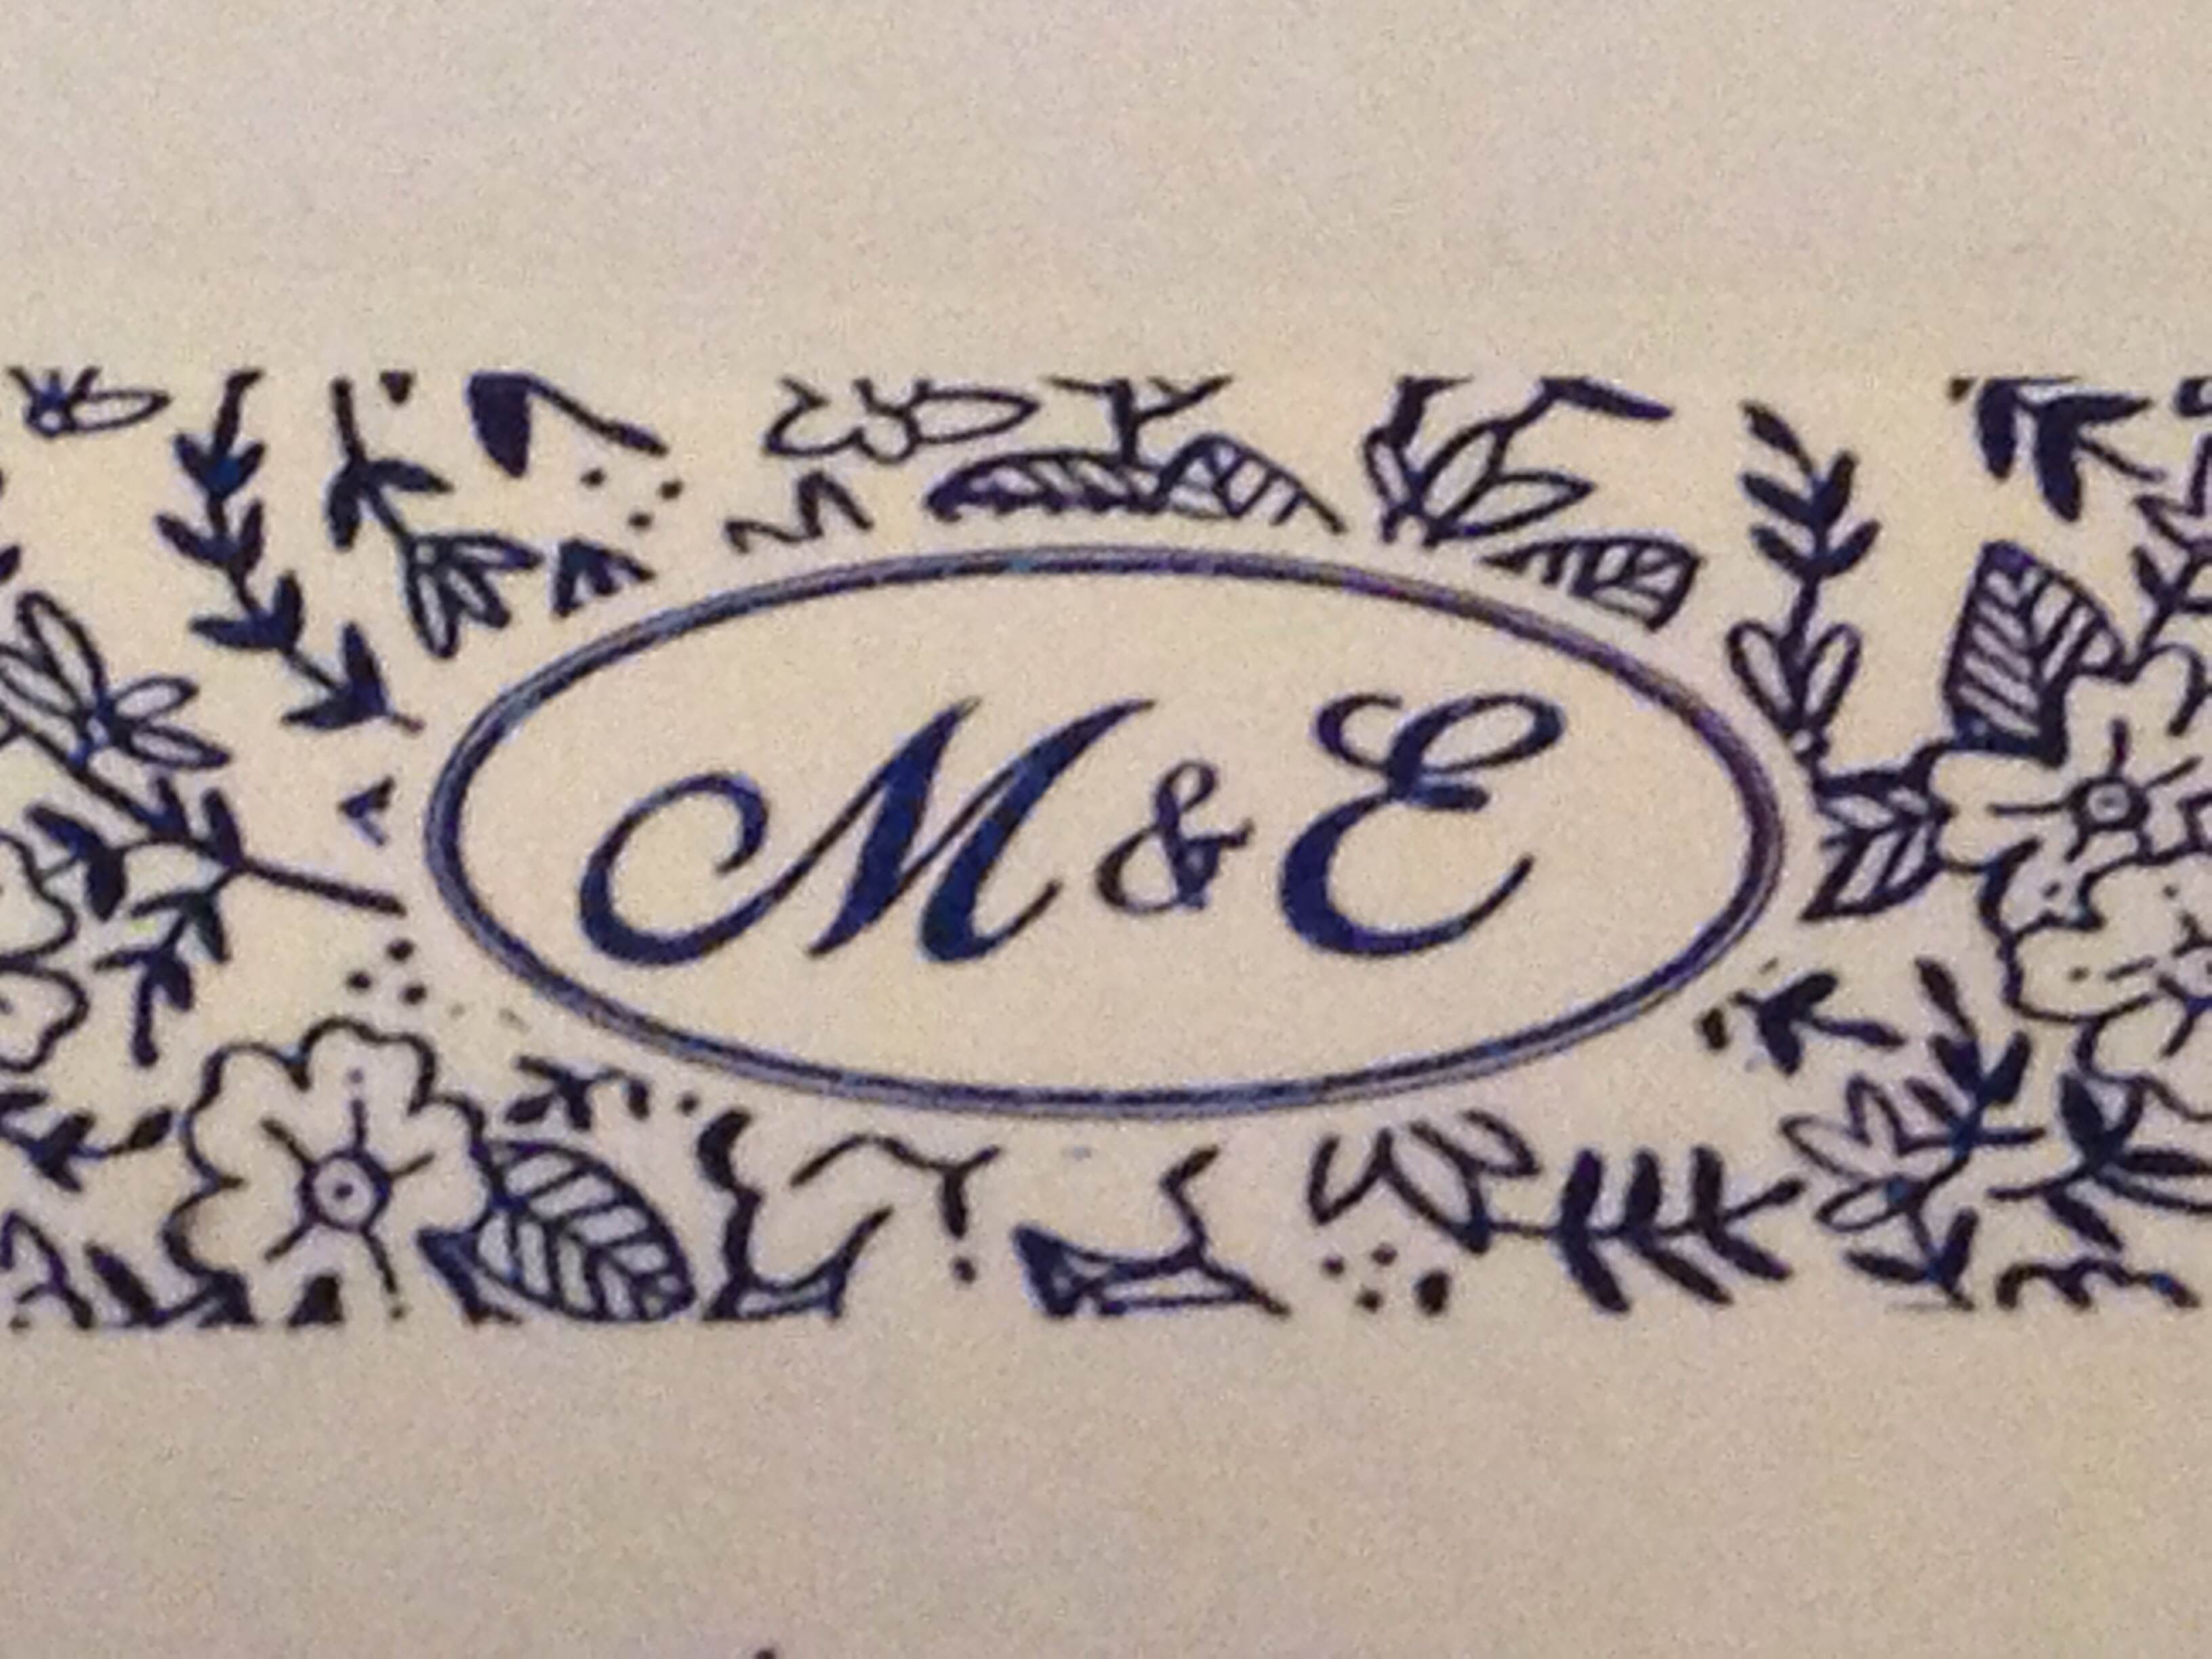
I tried to use their design as inspiration, and the colours they chose were uncannily similar to Stampin’ Up!’s Night of Navy and Very Vanilla.

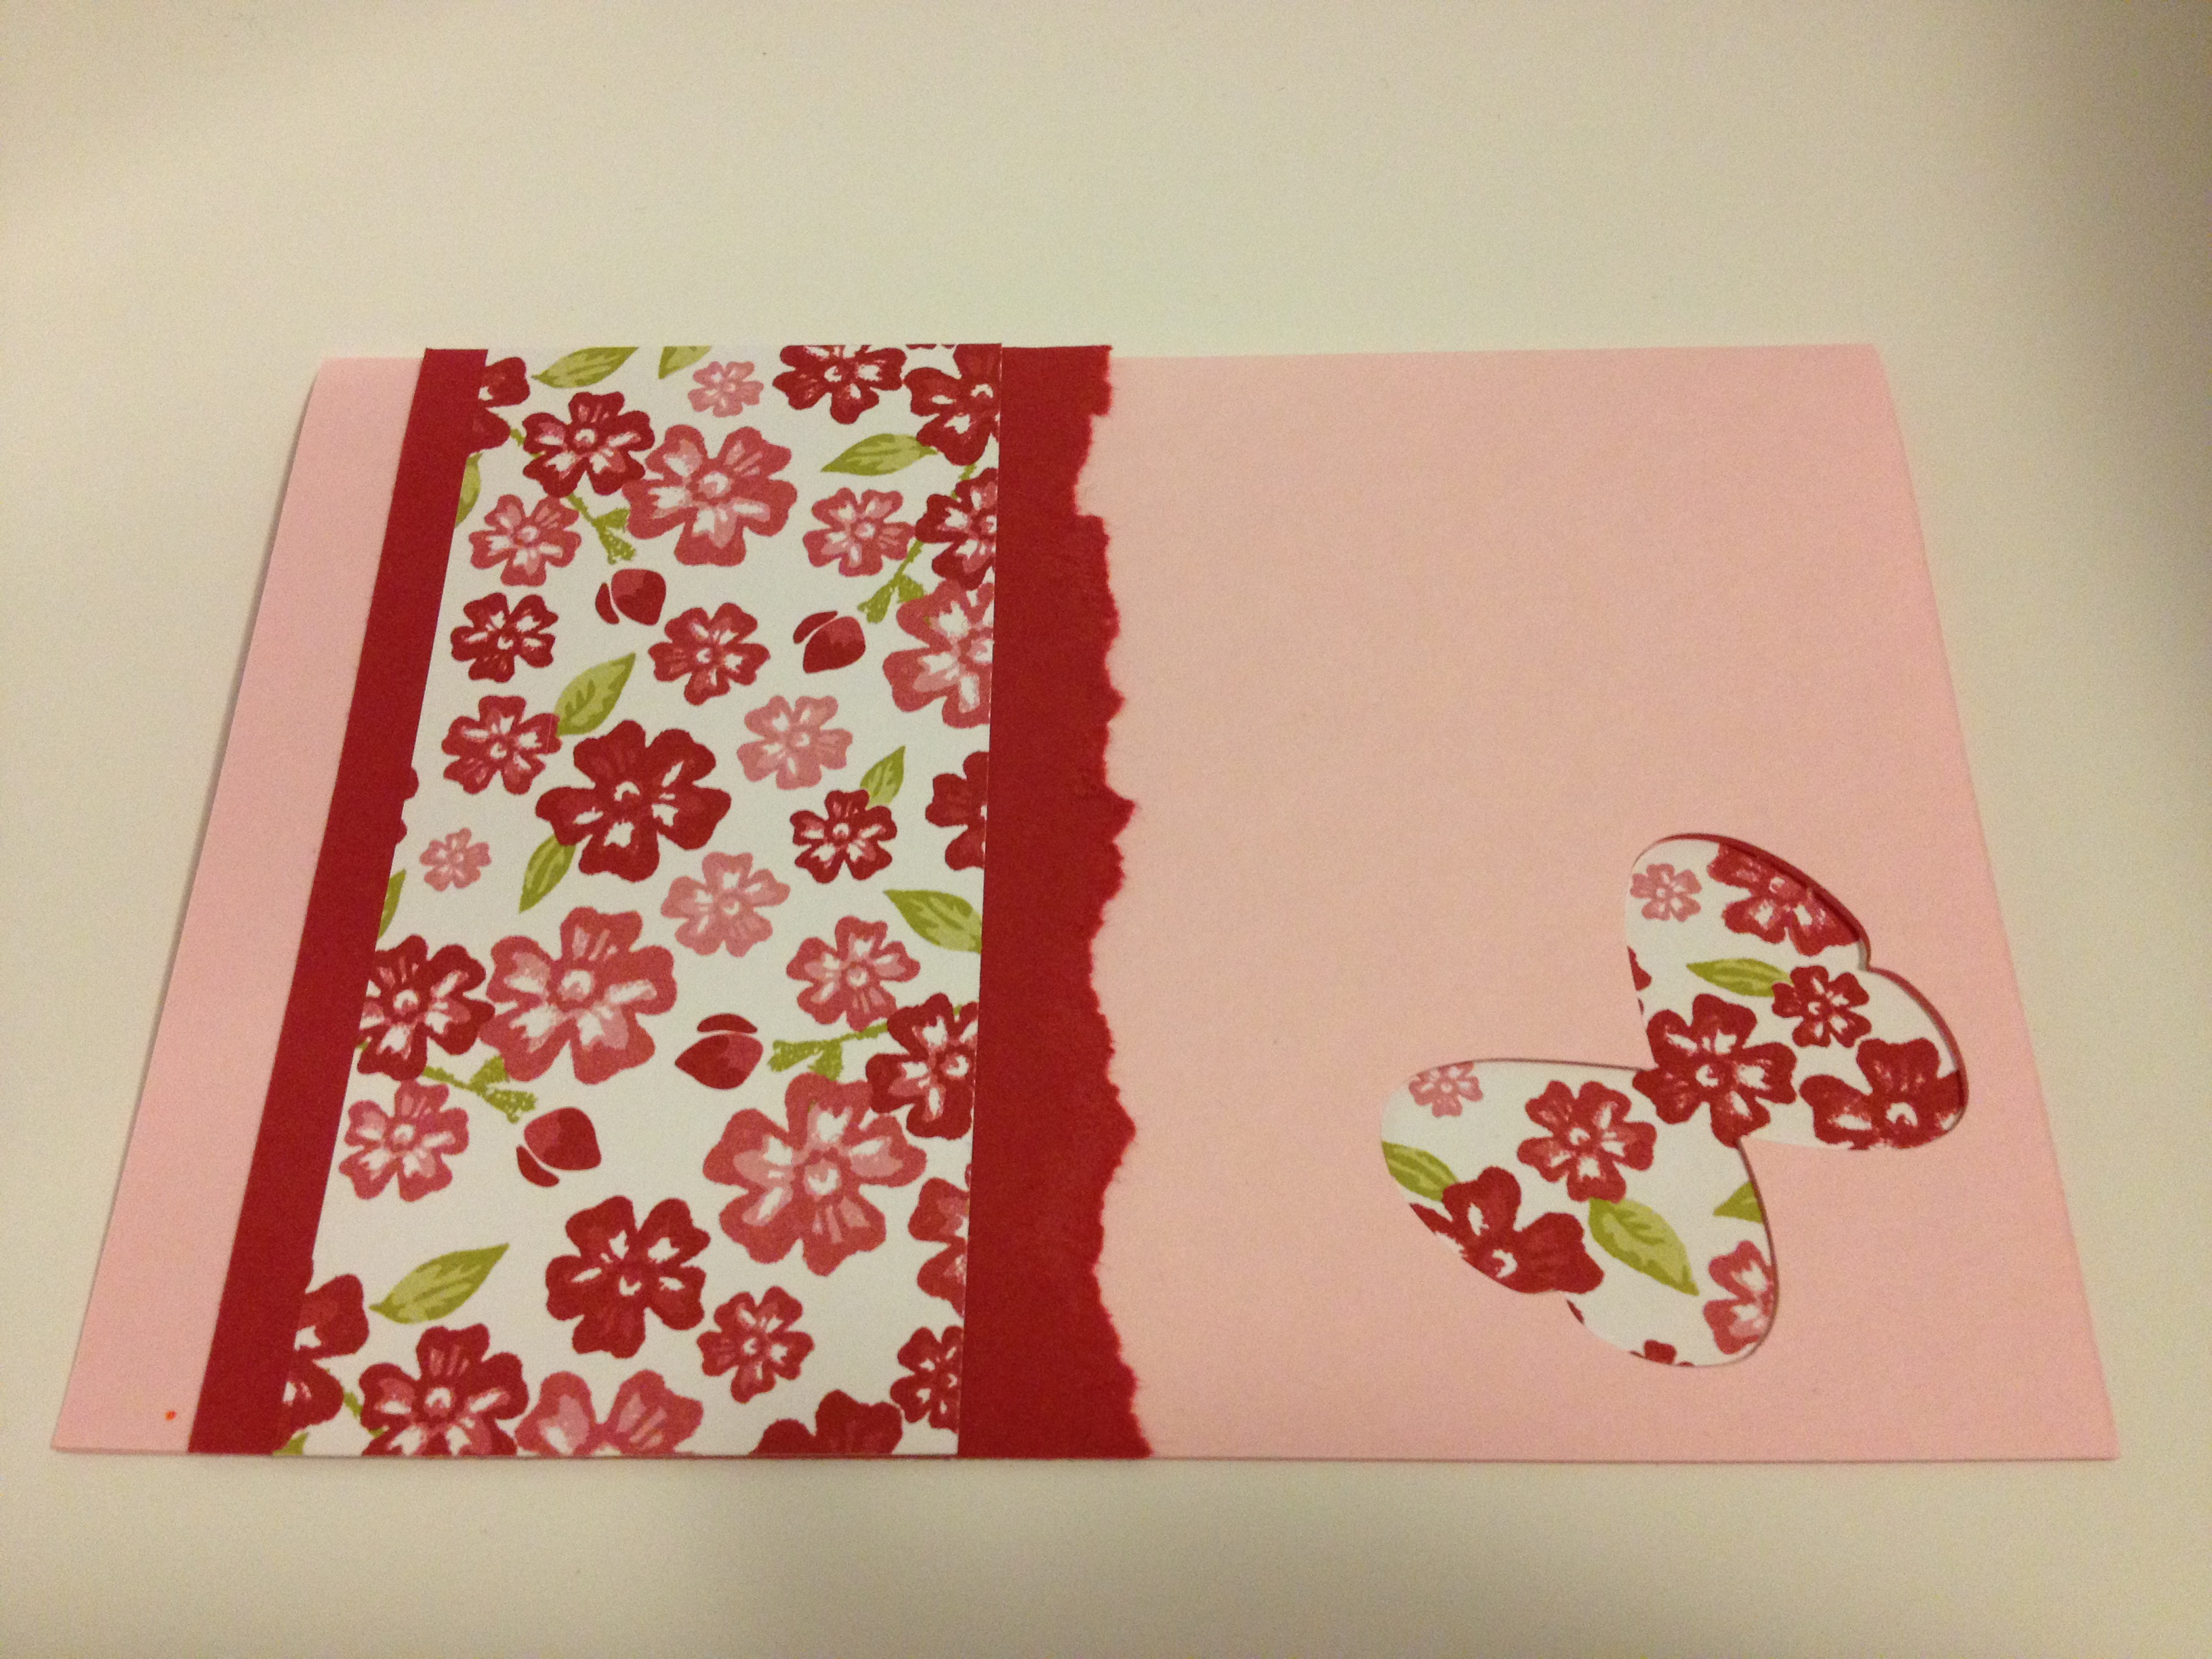
Design one – wedding gate fold card

Gate fold embossed wedding card

Gate fold embossed wedding card - inside

Sponged embossing

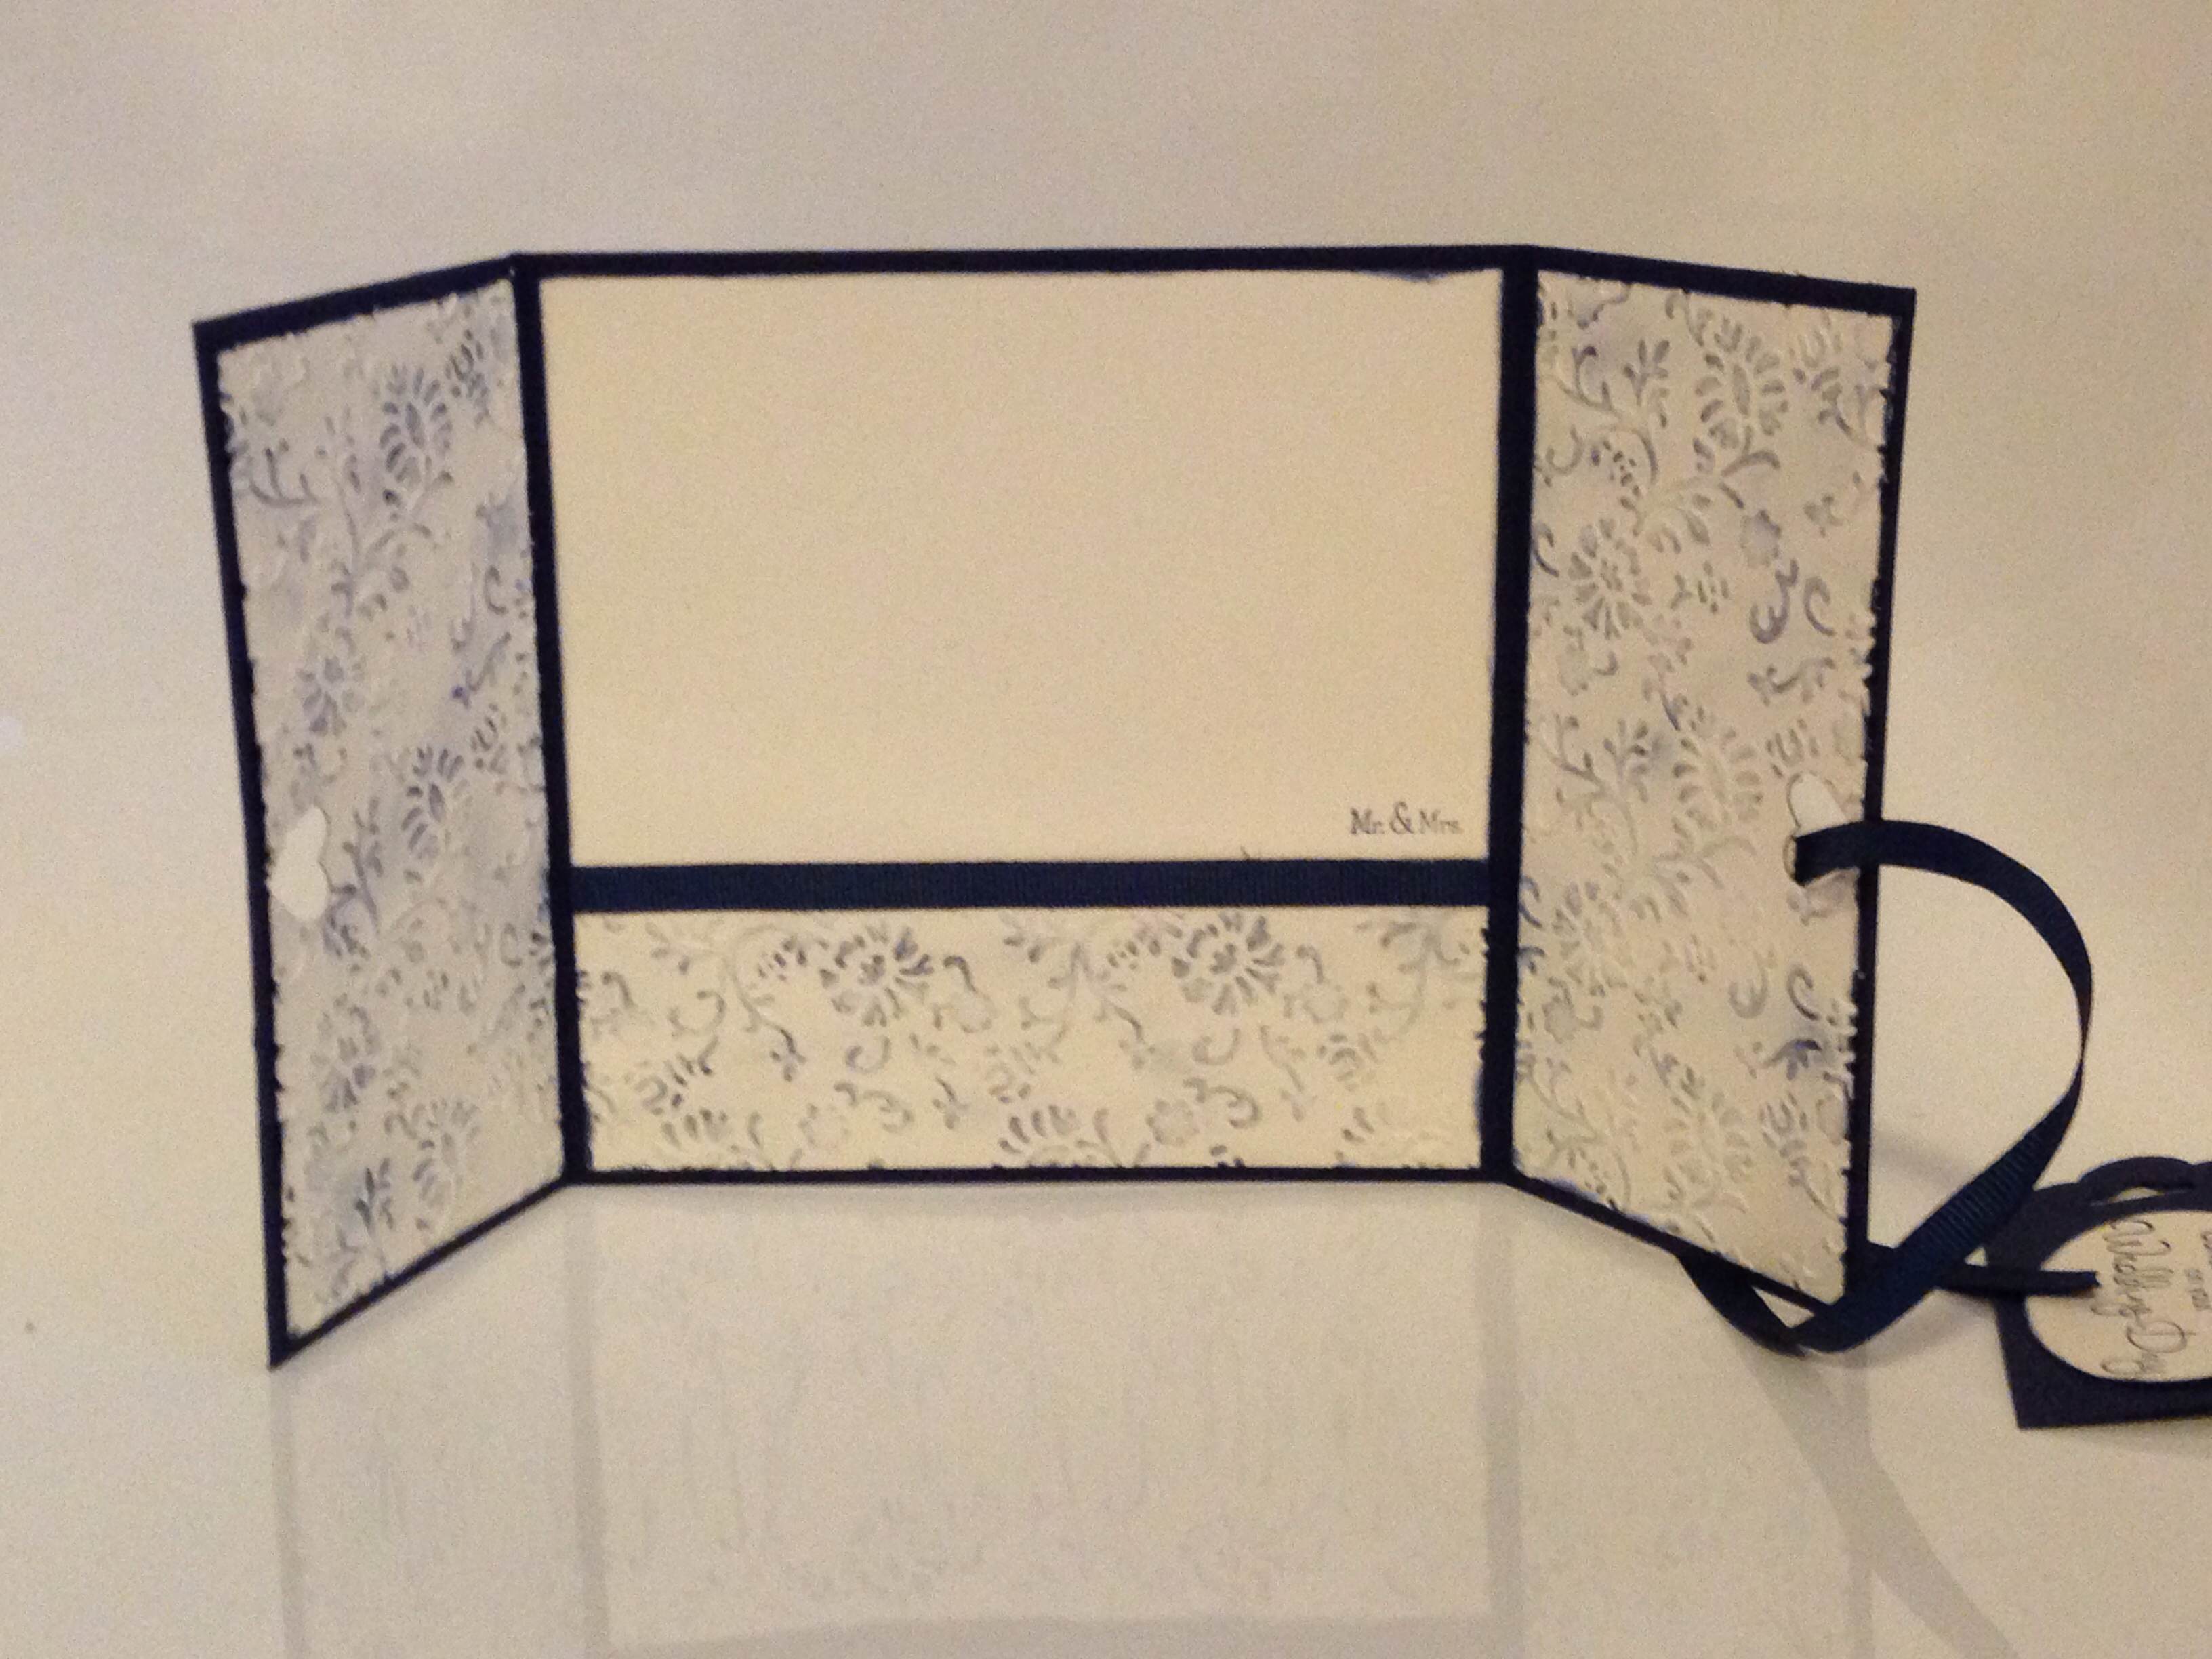
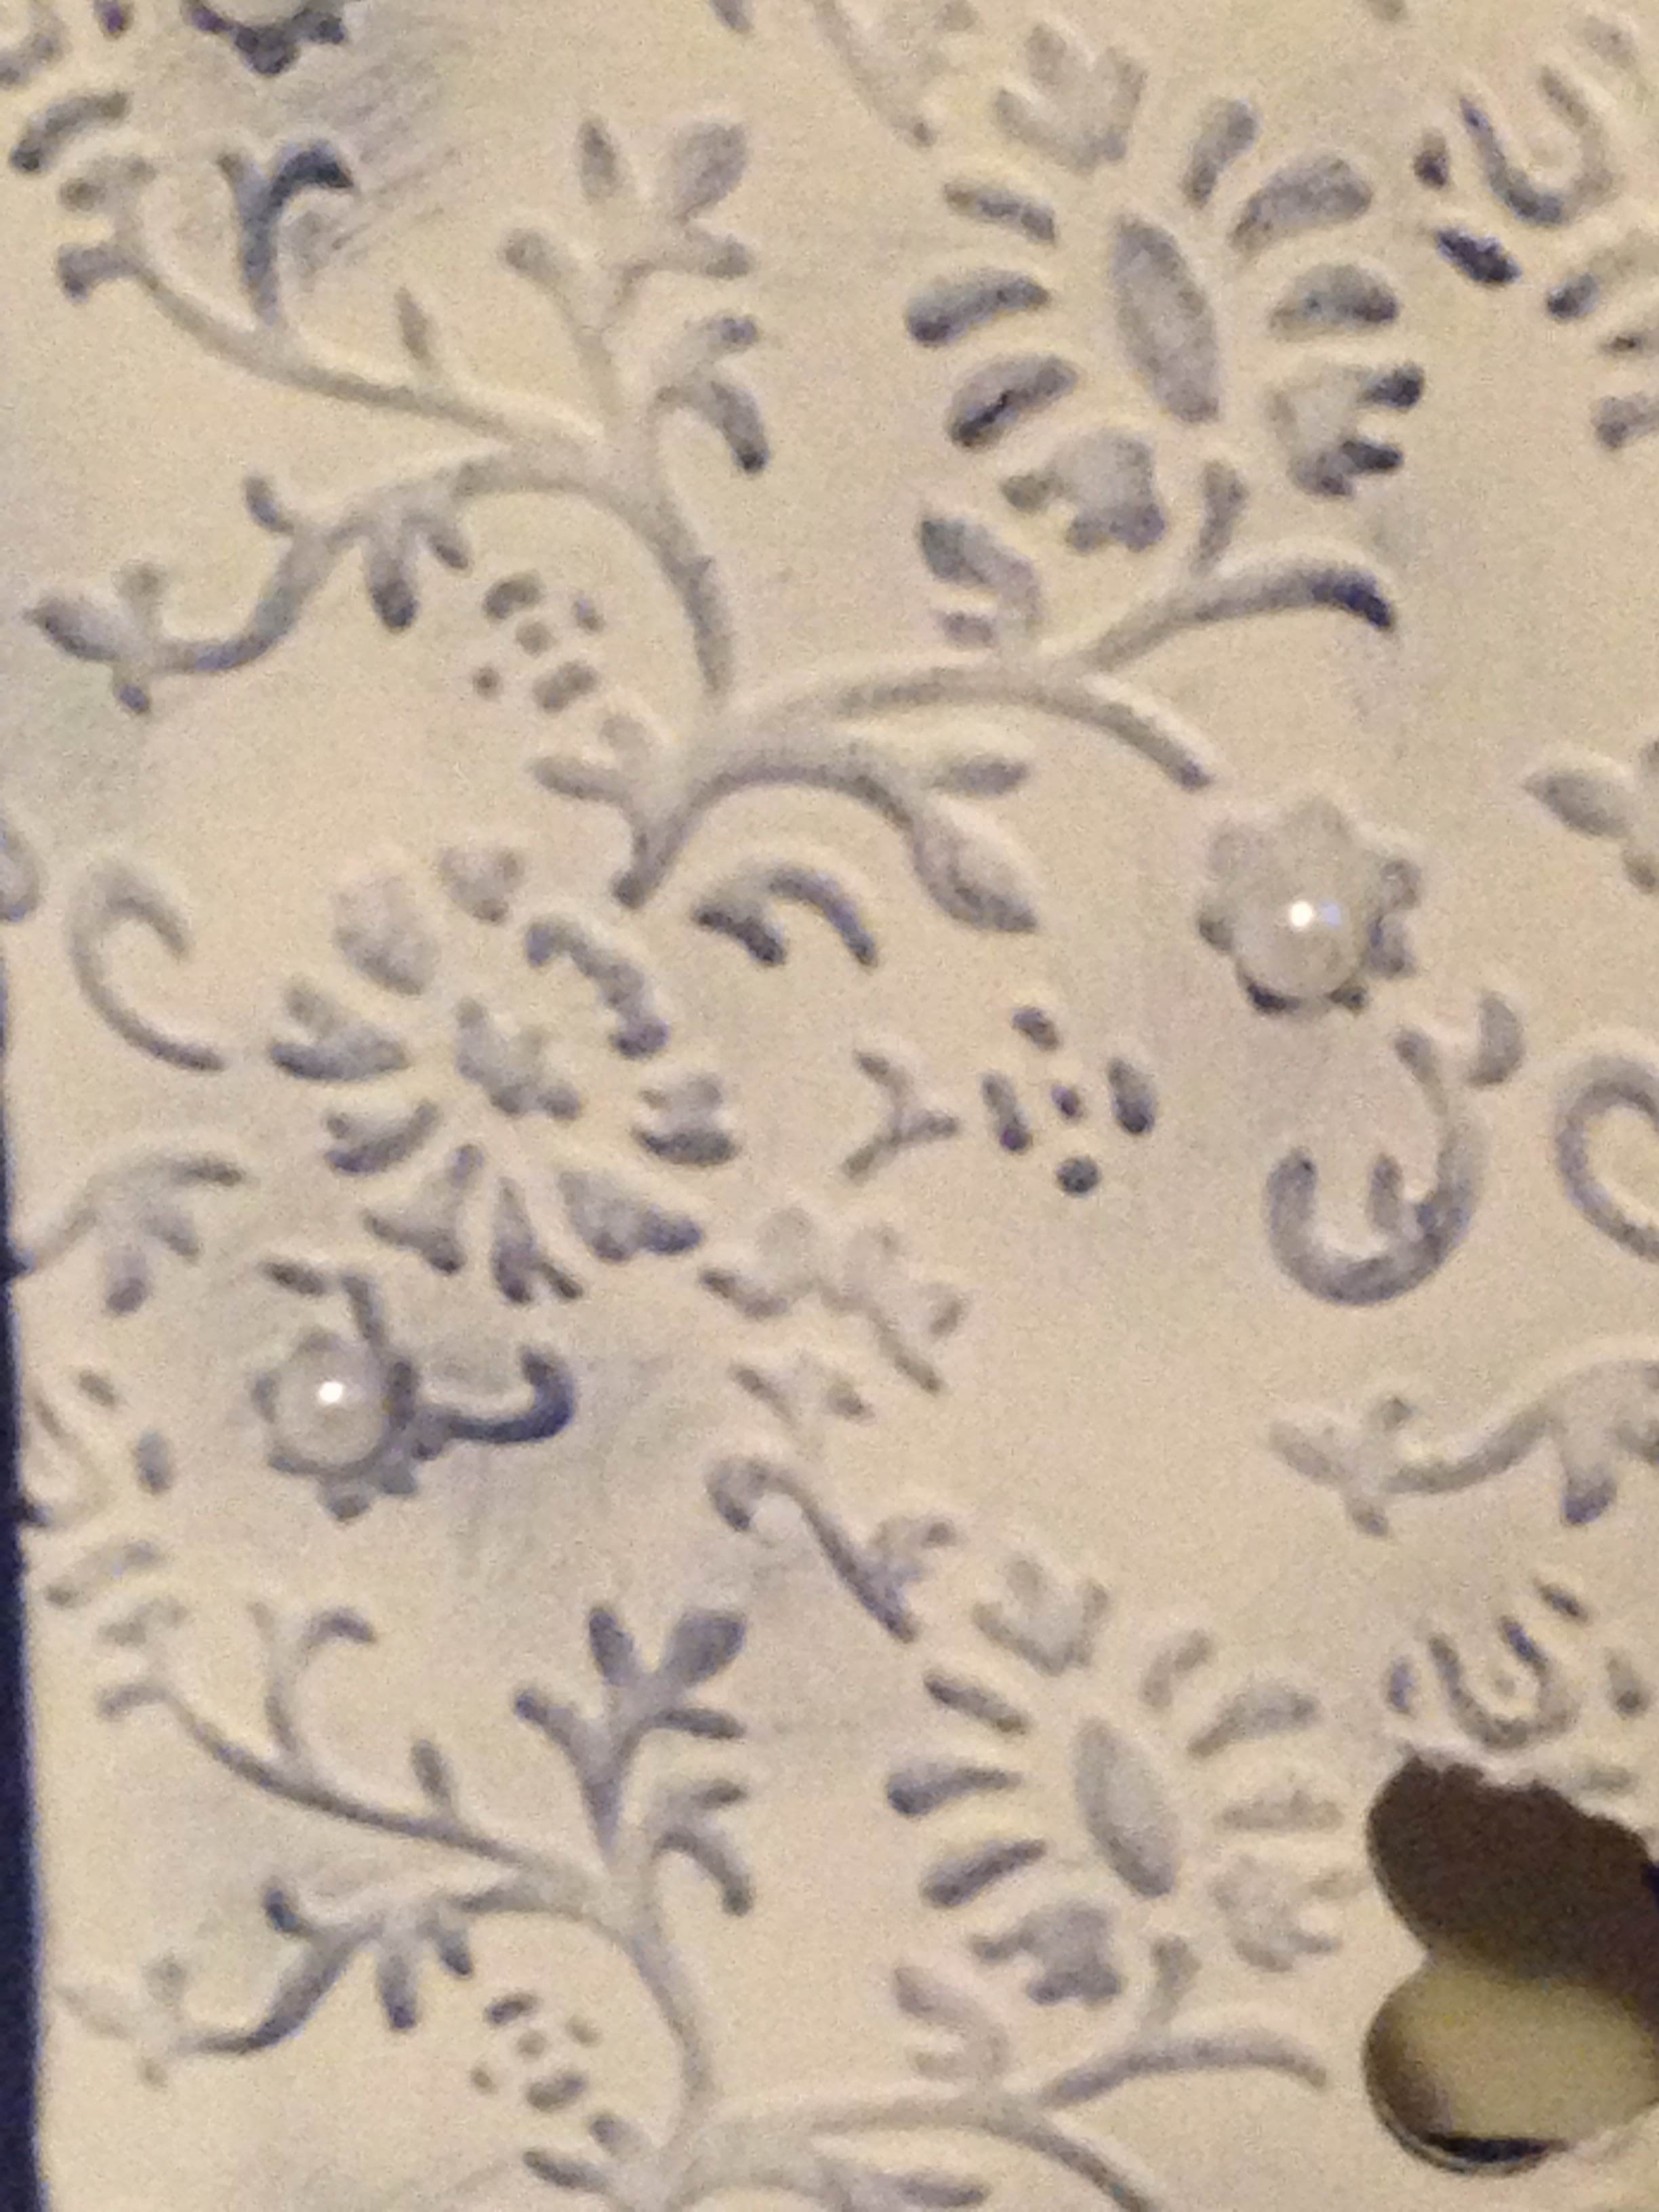
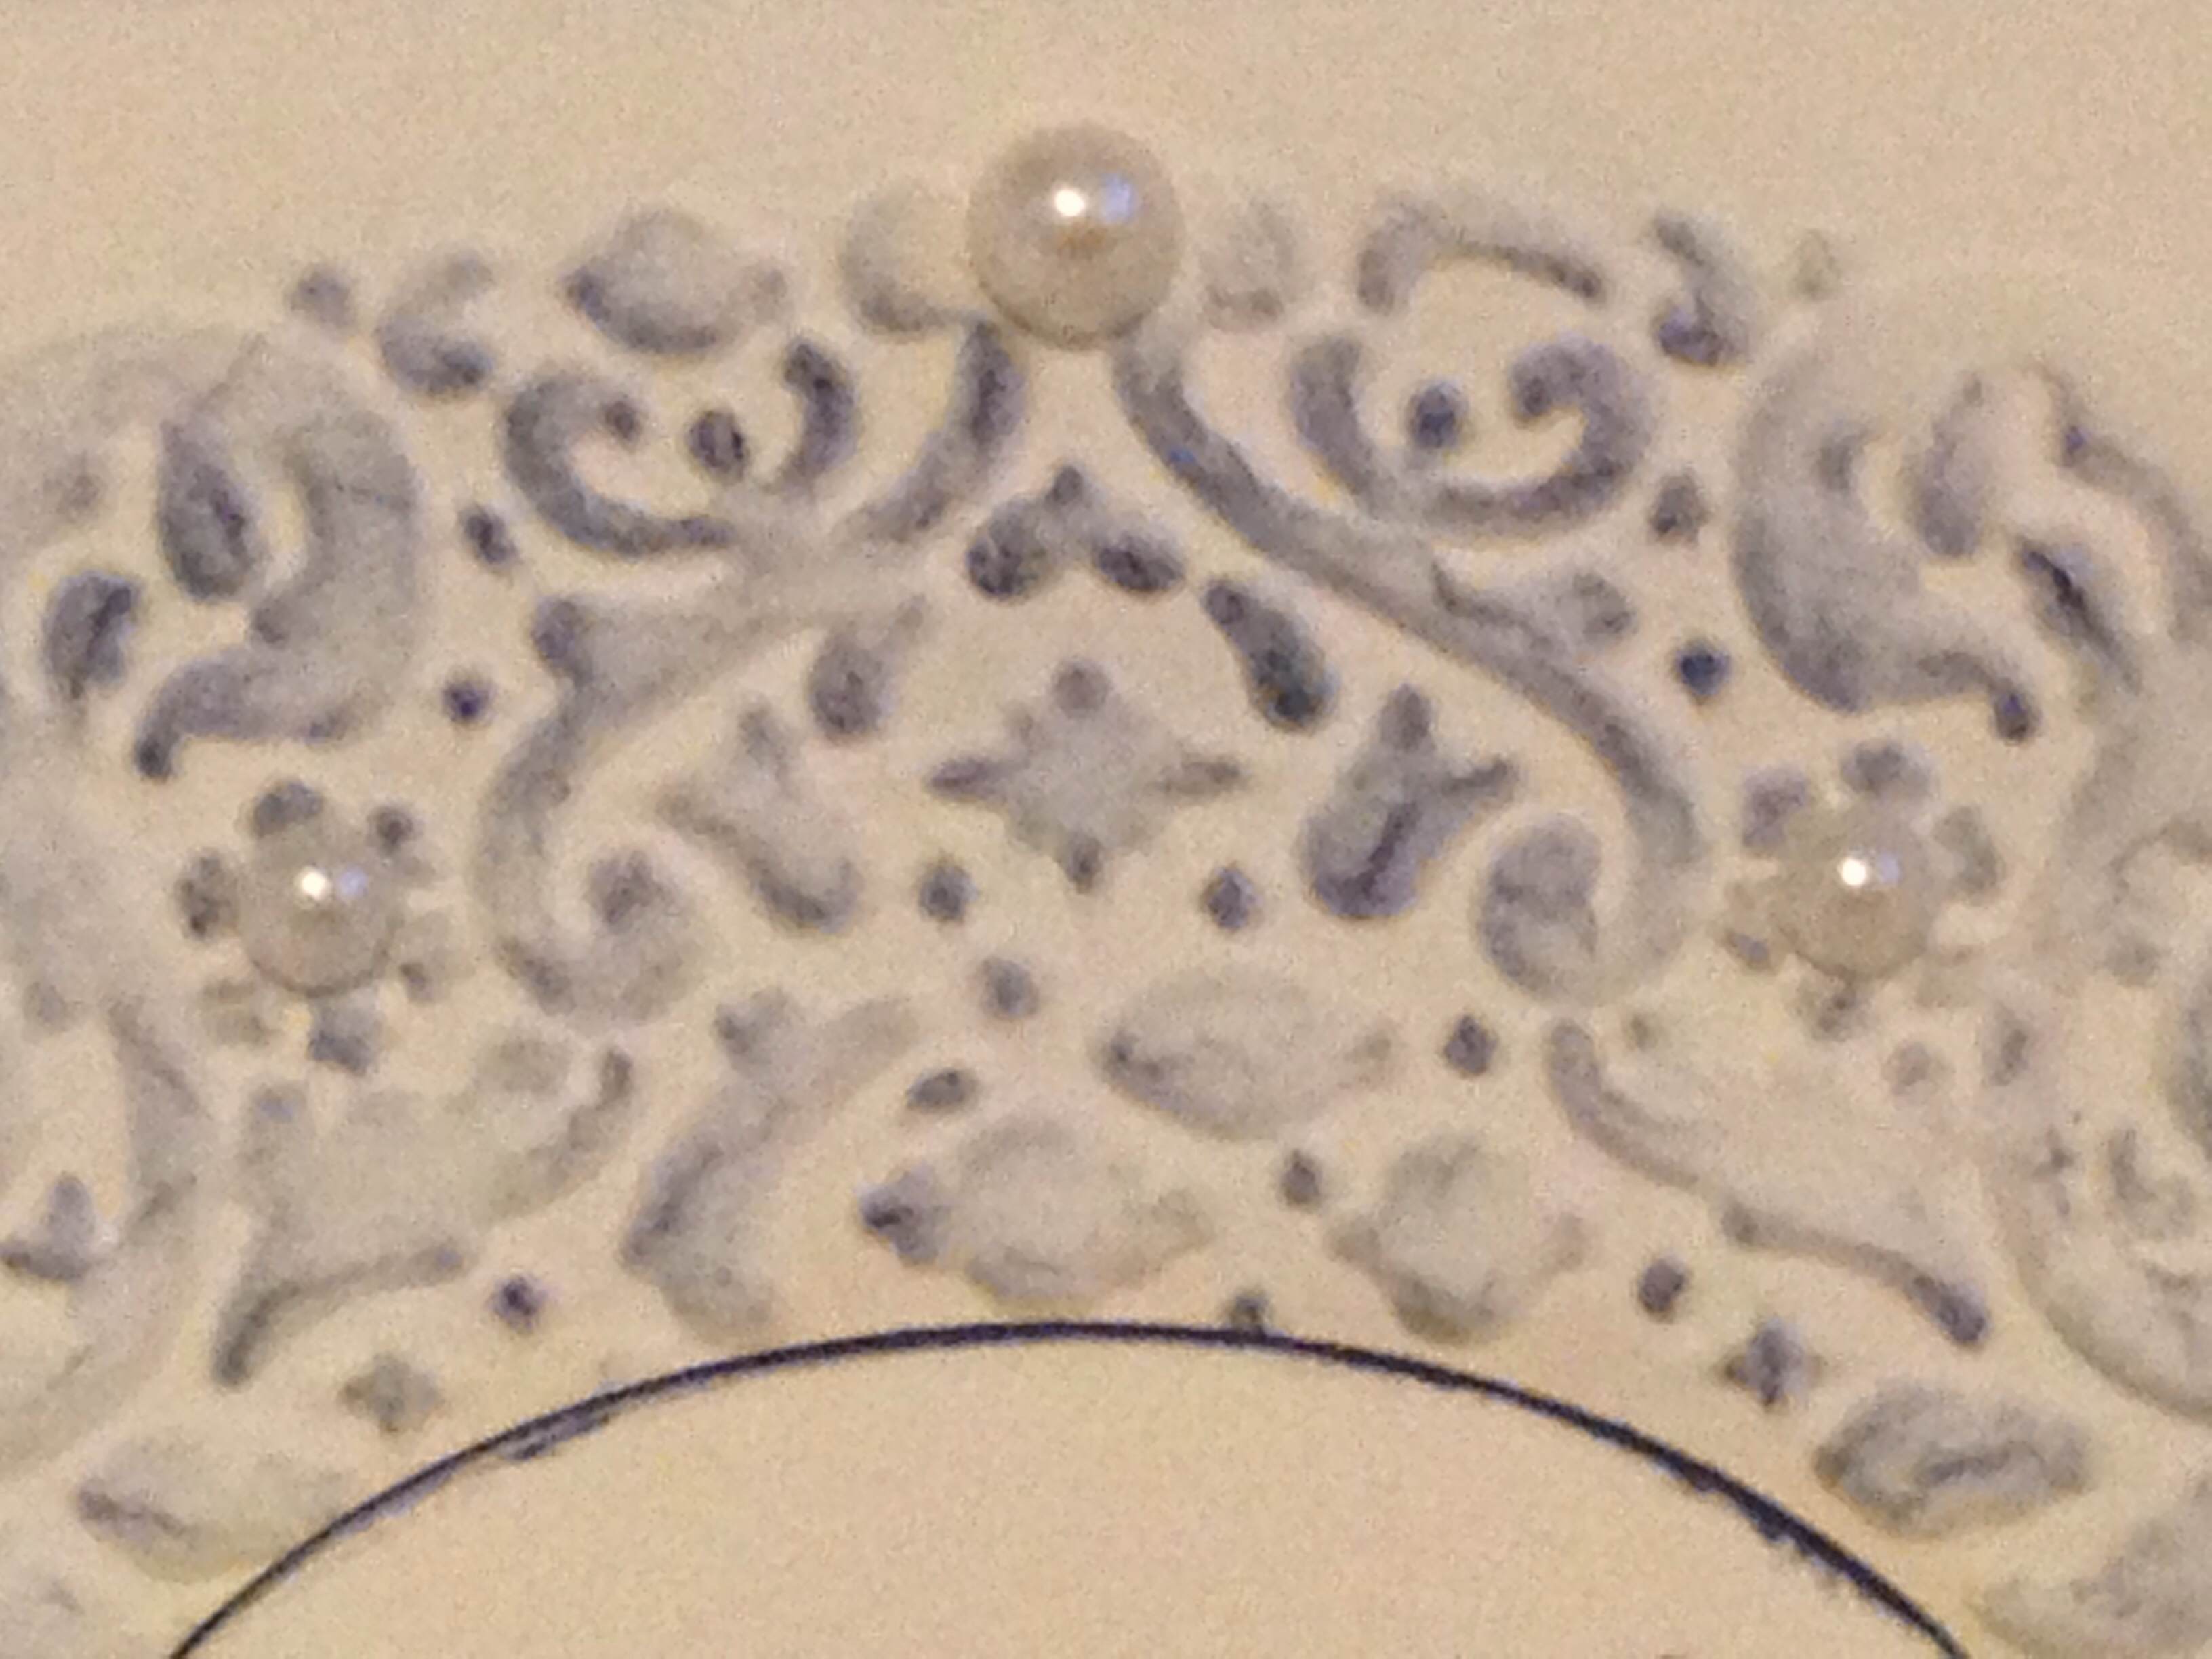
(I used my sponge daubers and pearls to add colour and sparkles to the embossed flowers)

Mr & Mrs sentiment

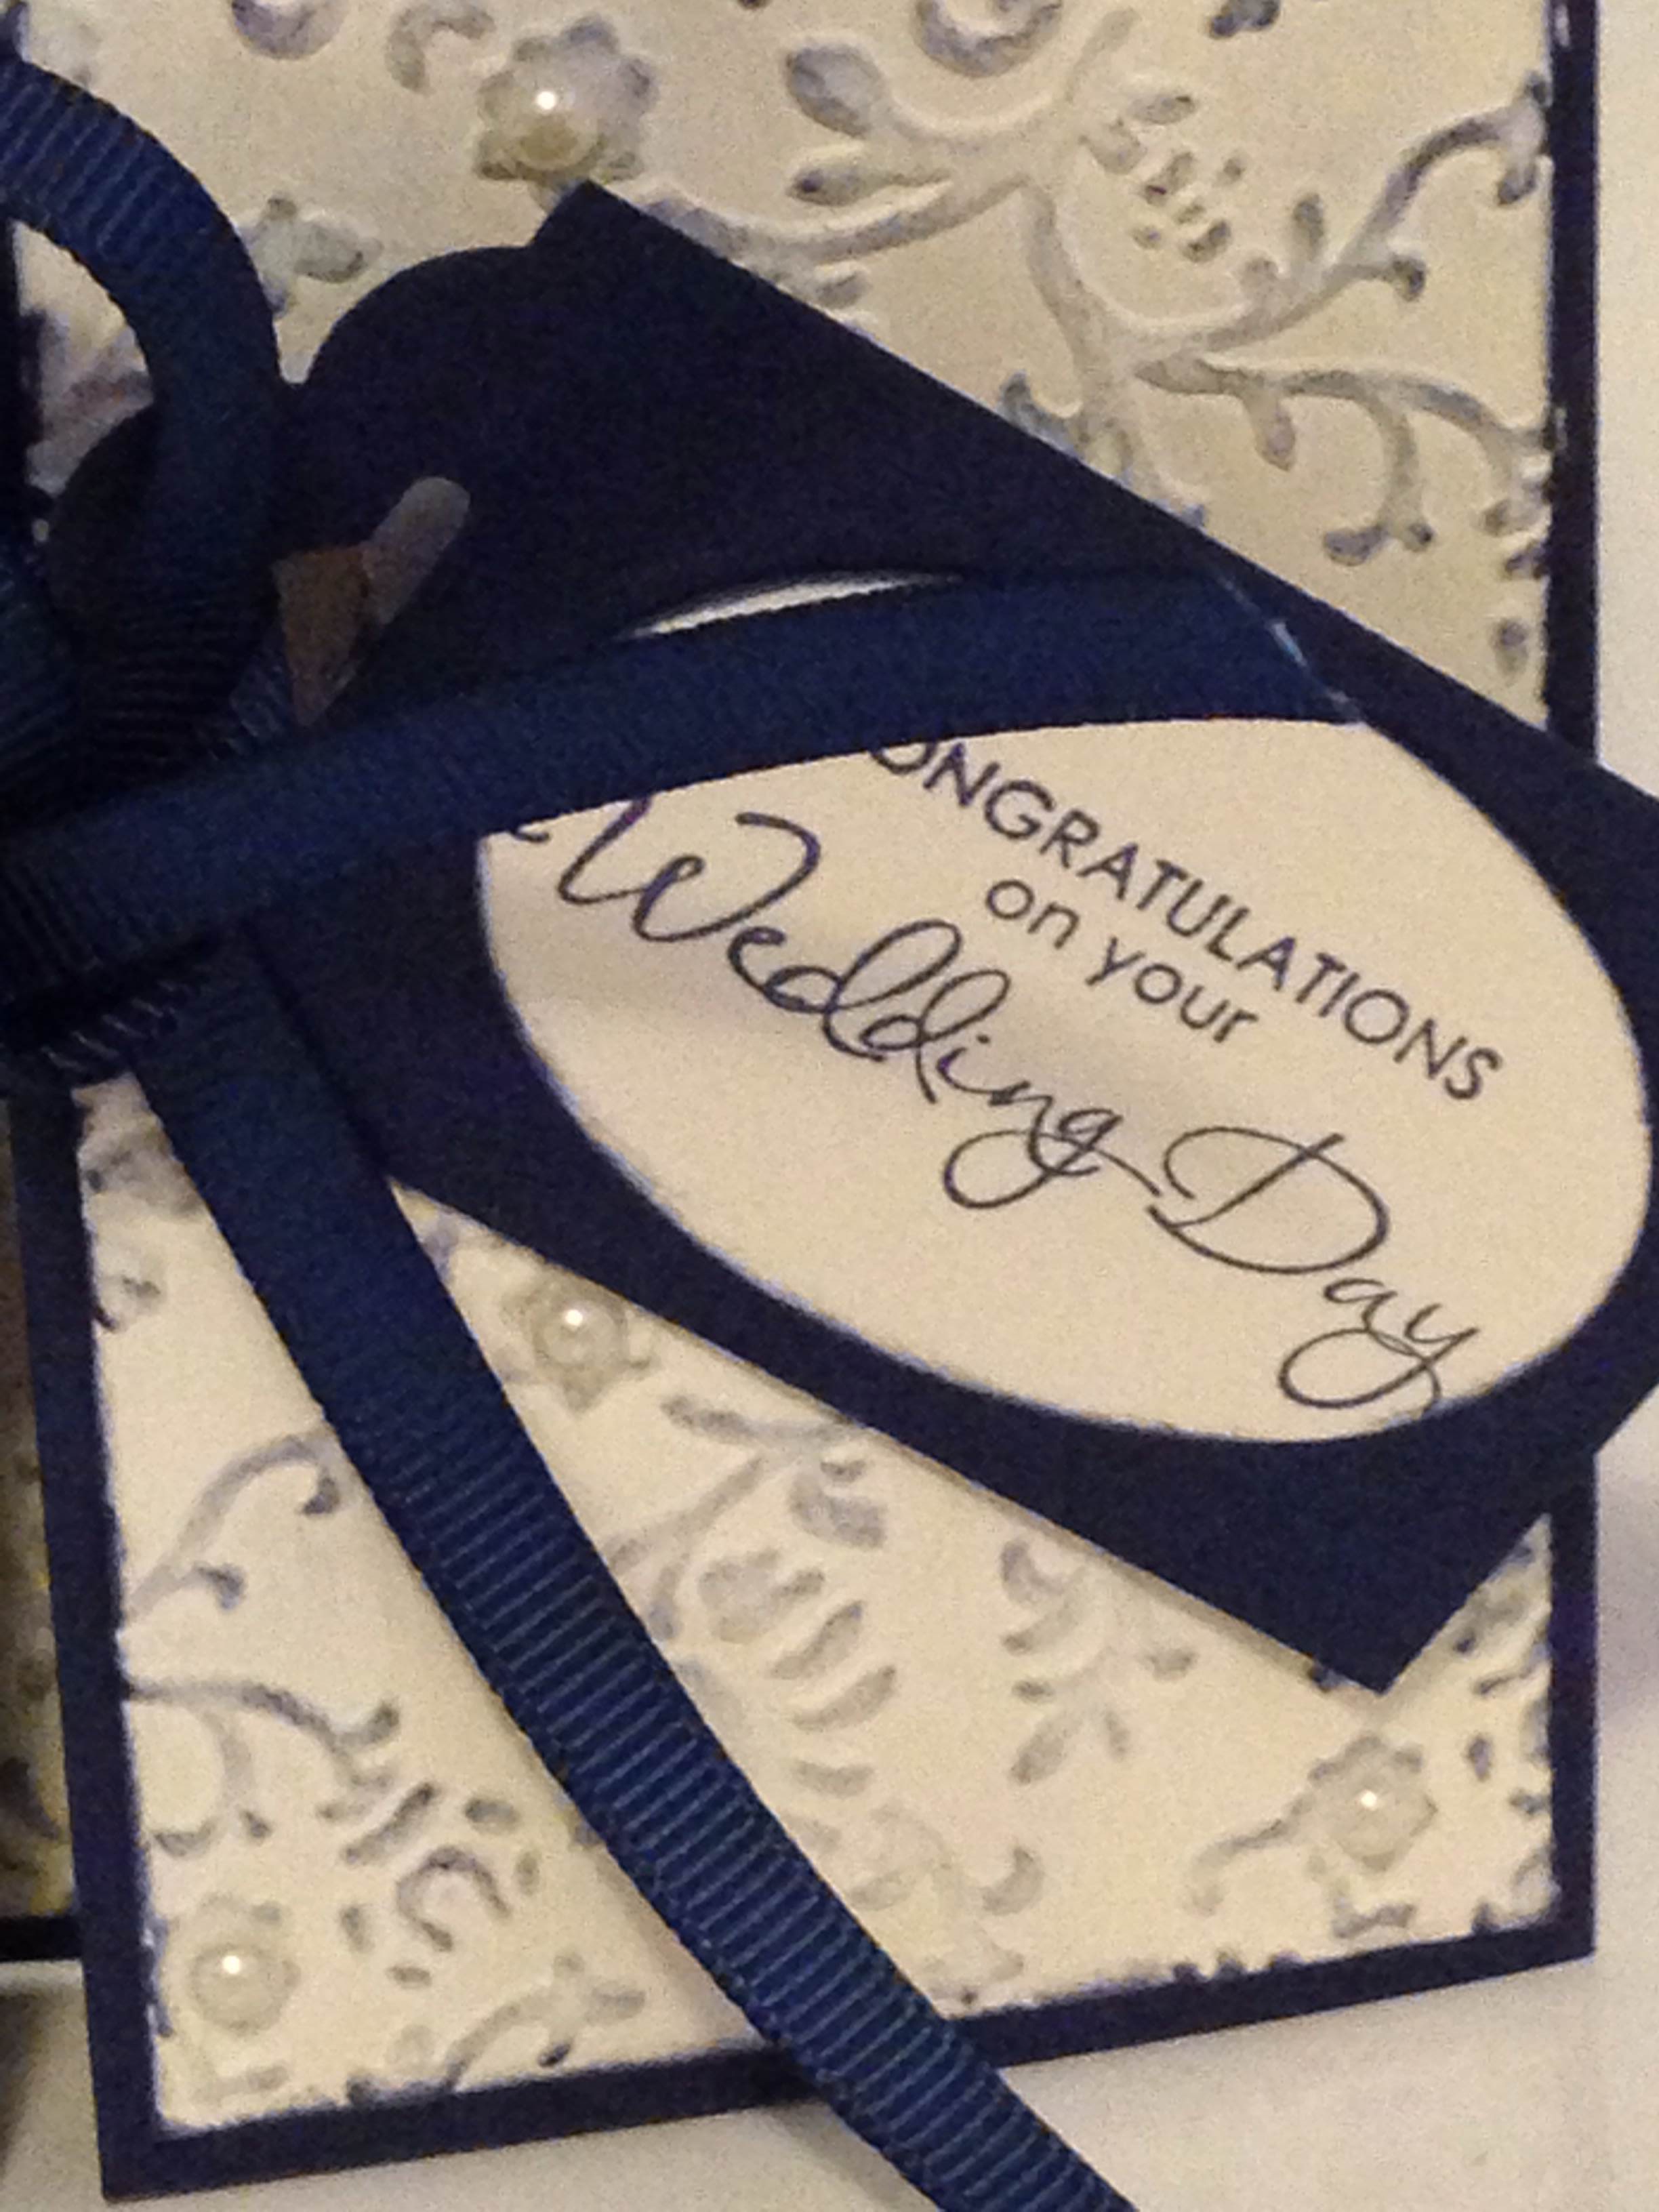
(I love this teeny tiny sentiment from the Teeny Tiny Sentiments set)

Scallop wedding greeting tag topper

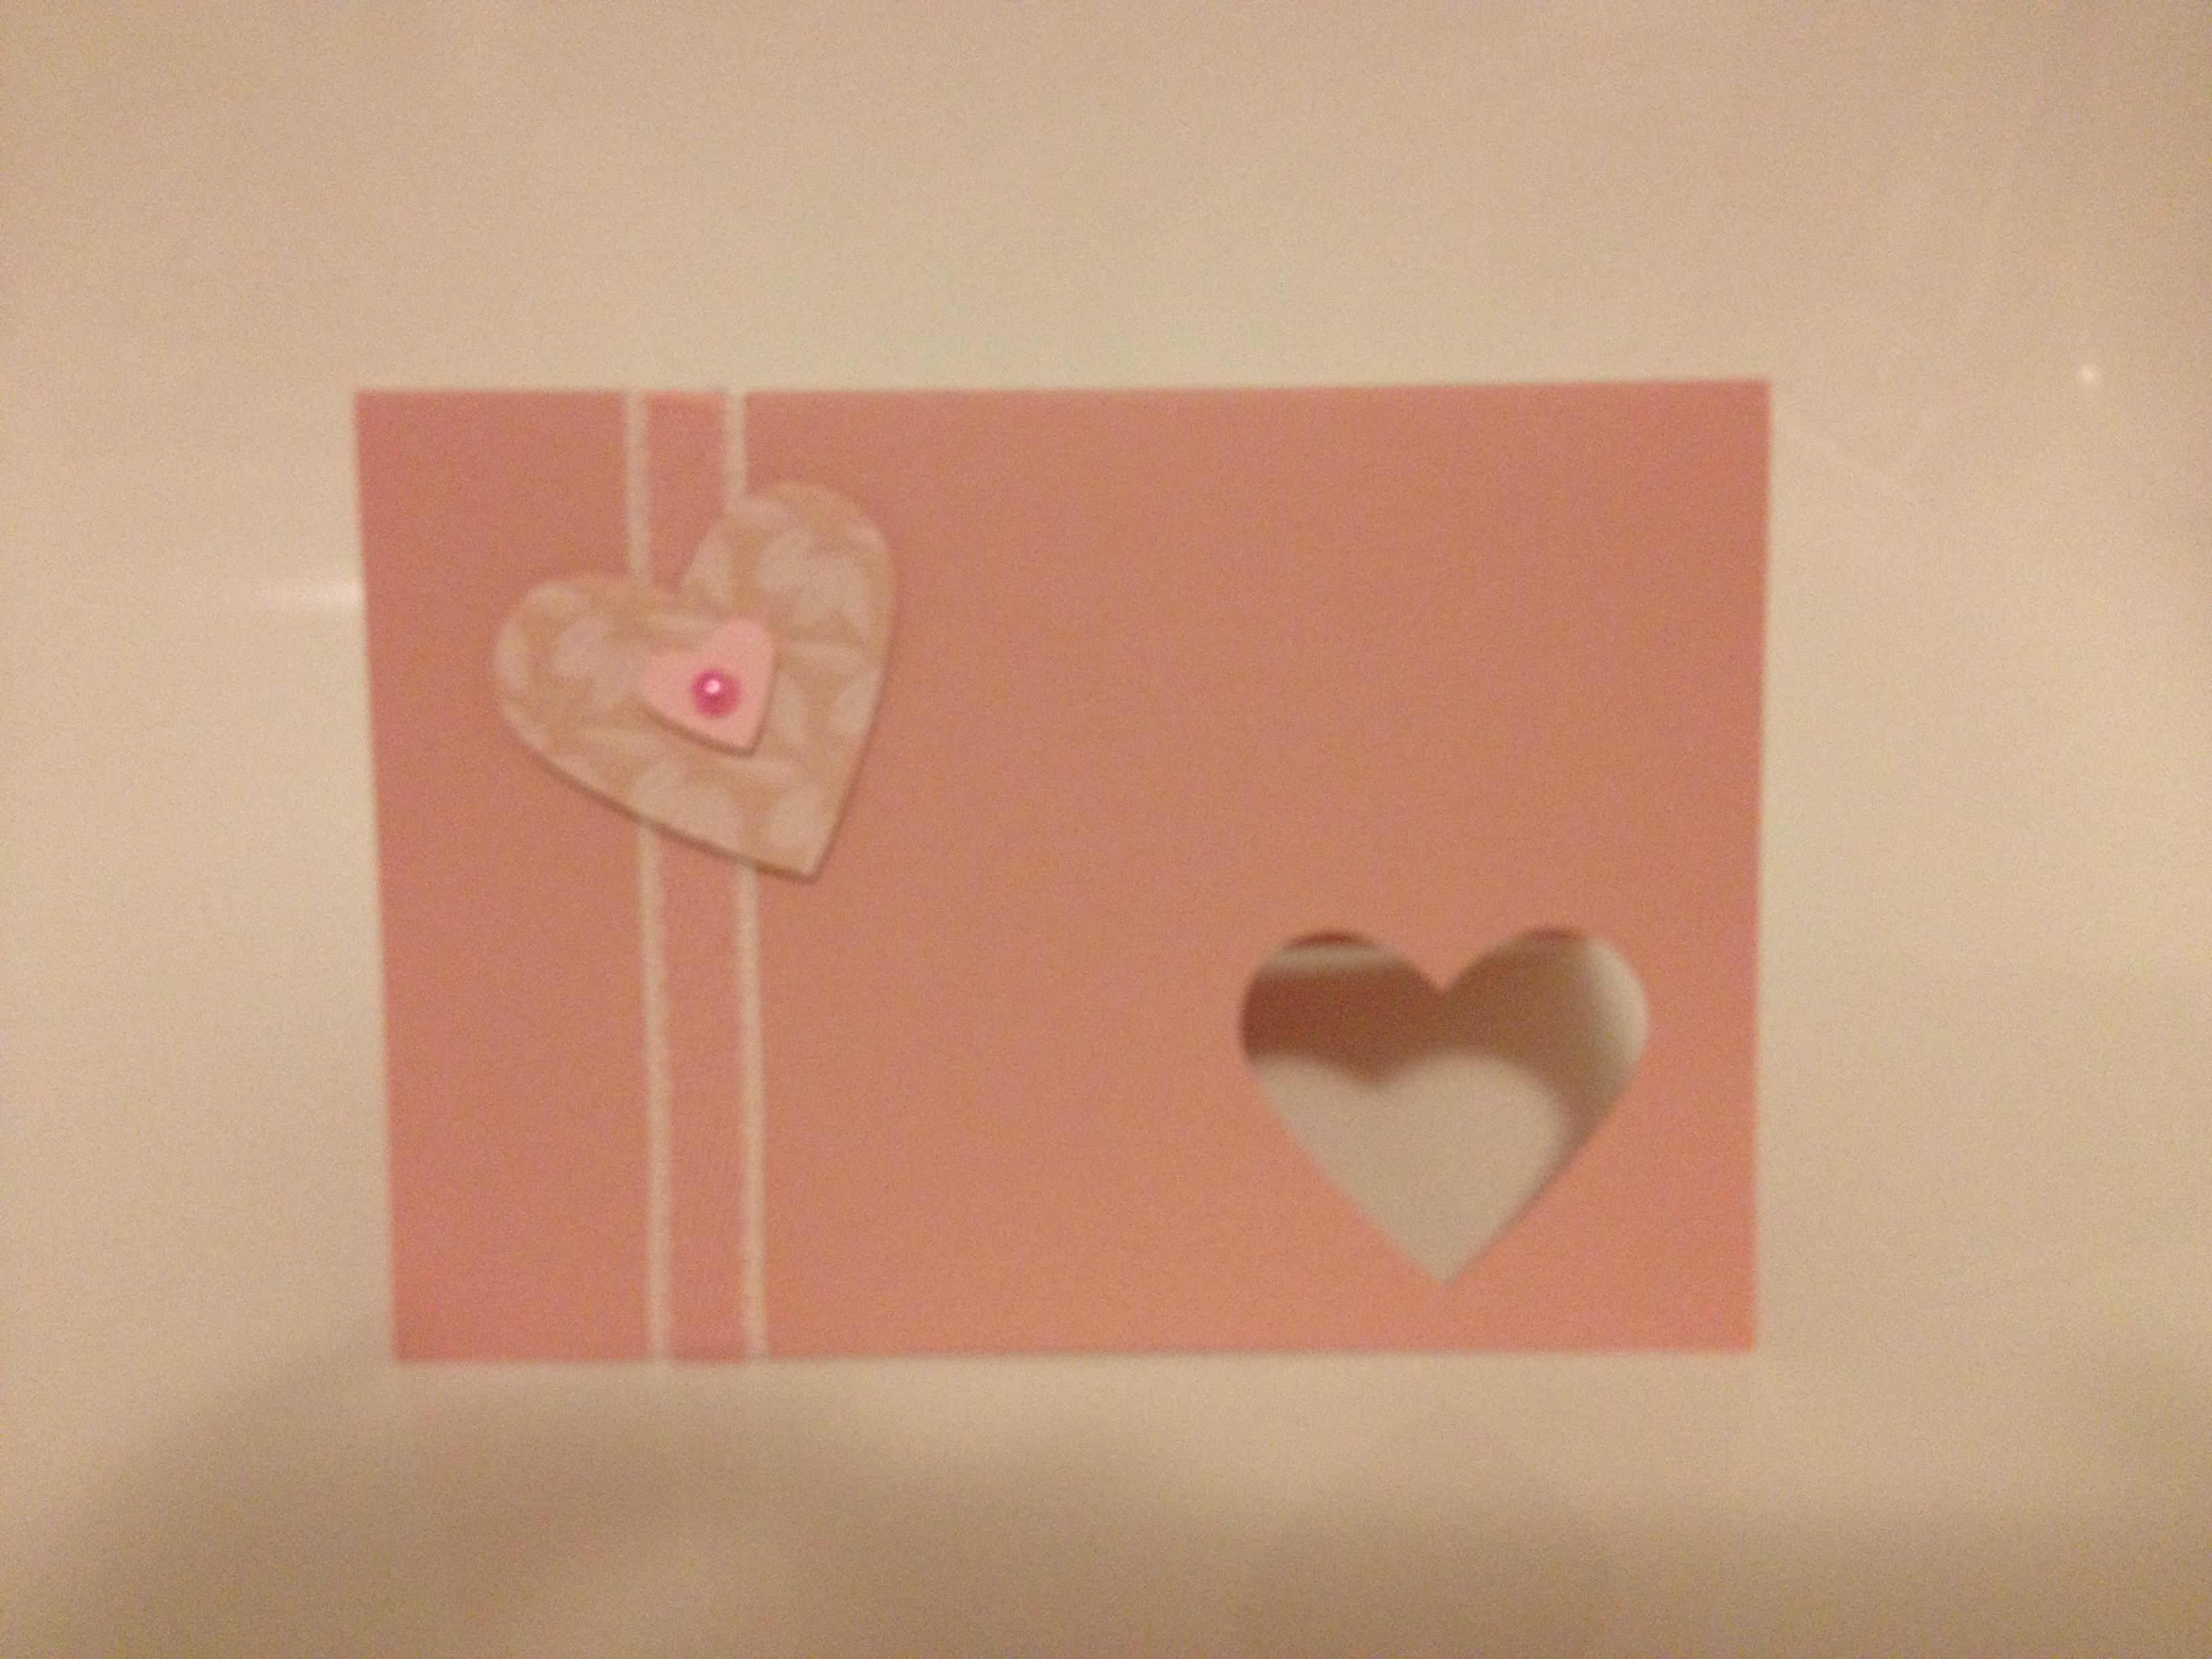
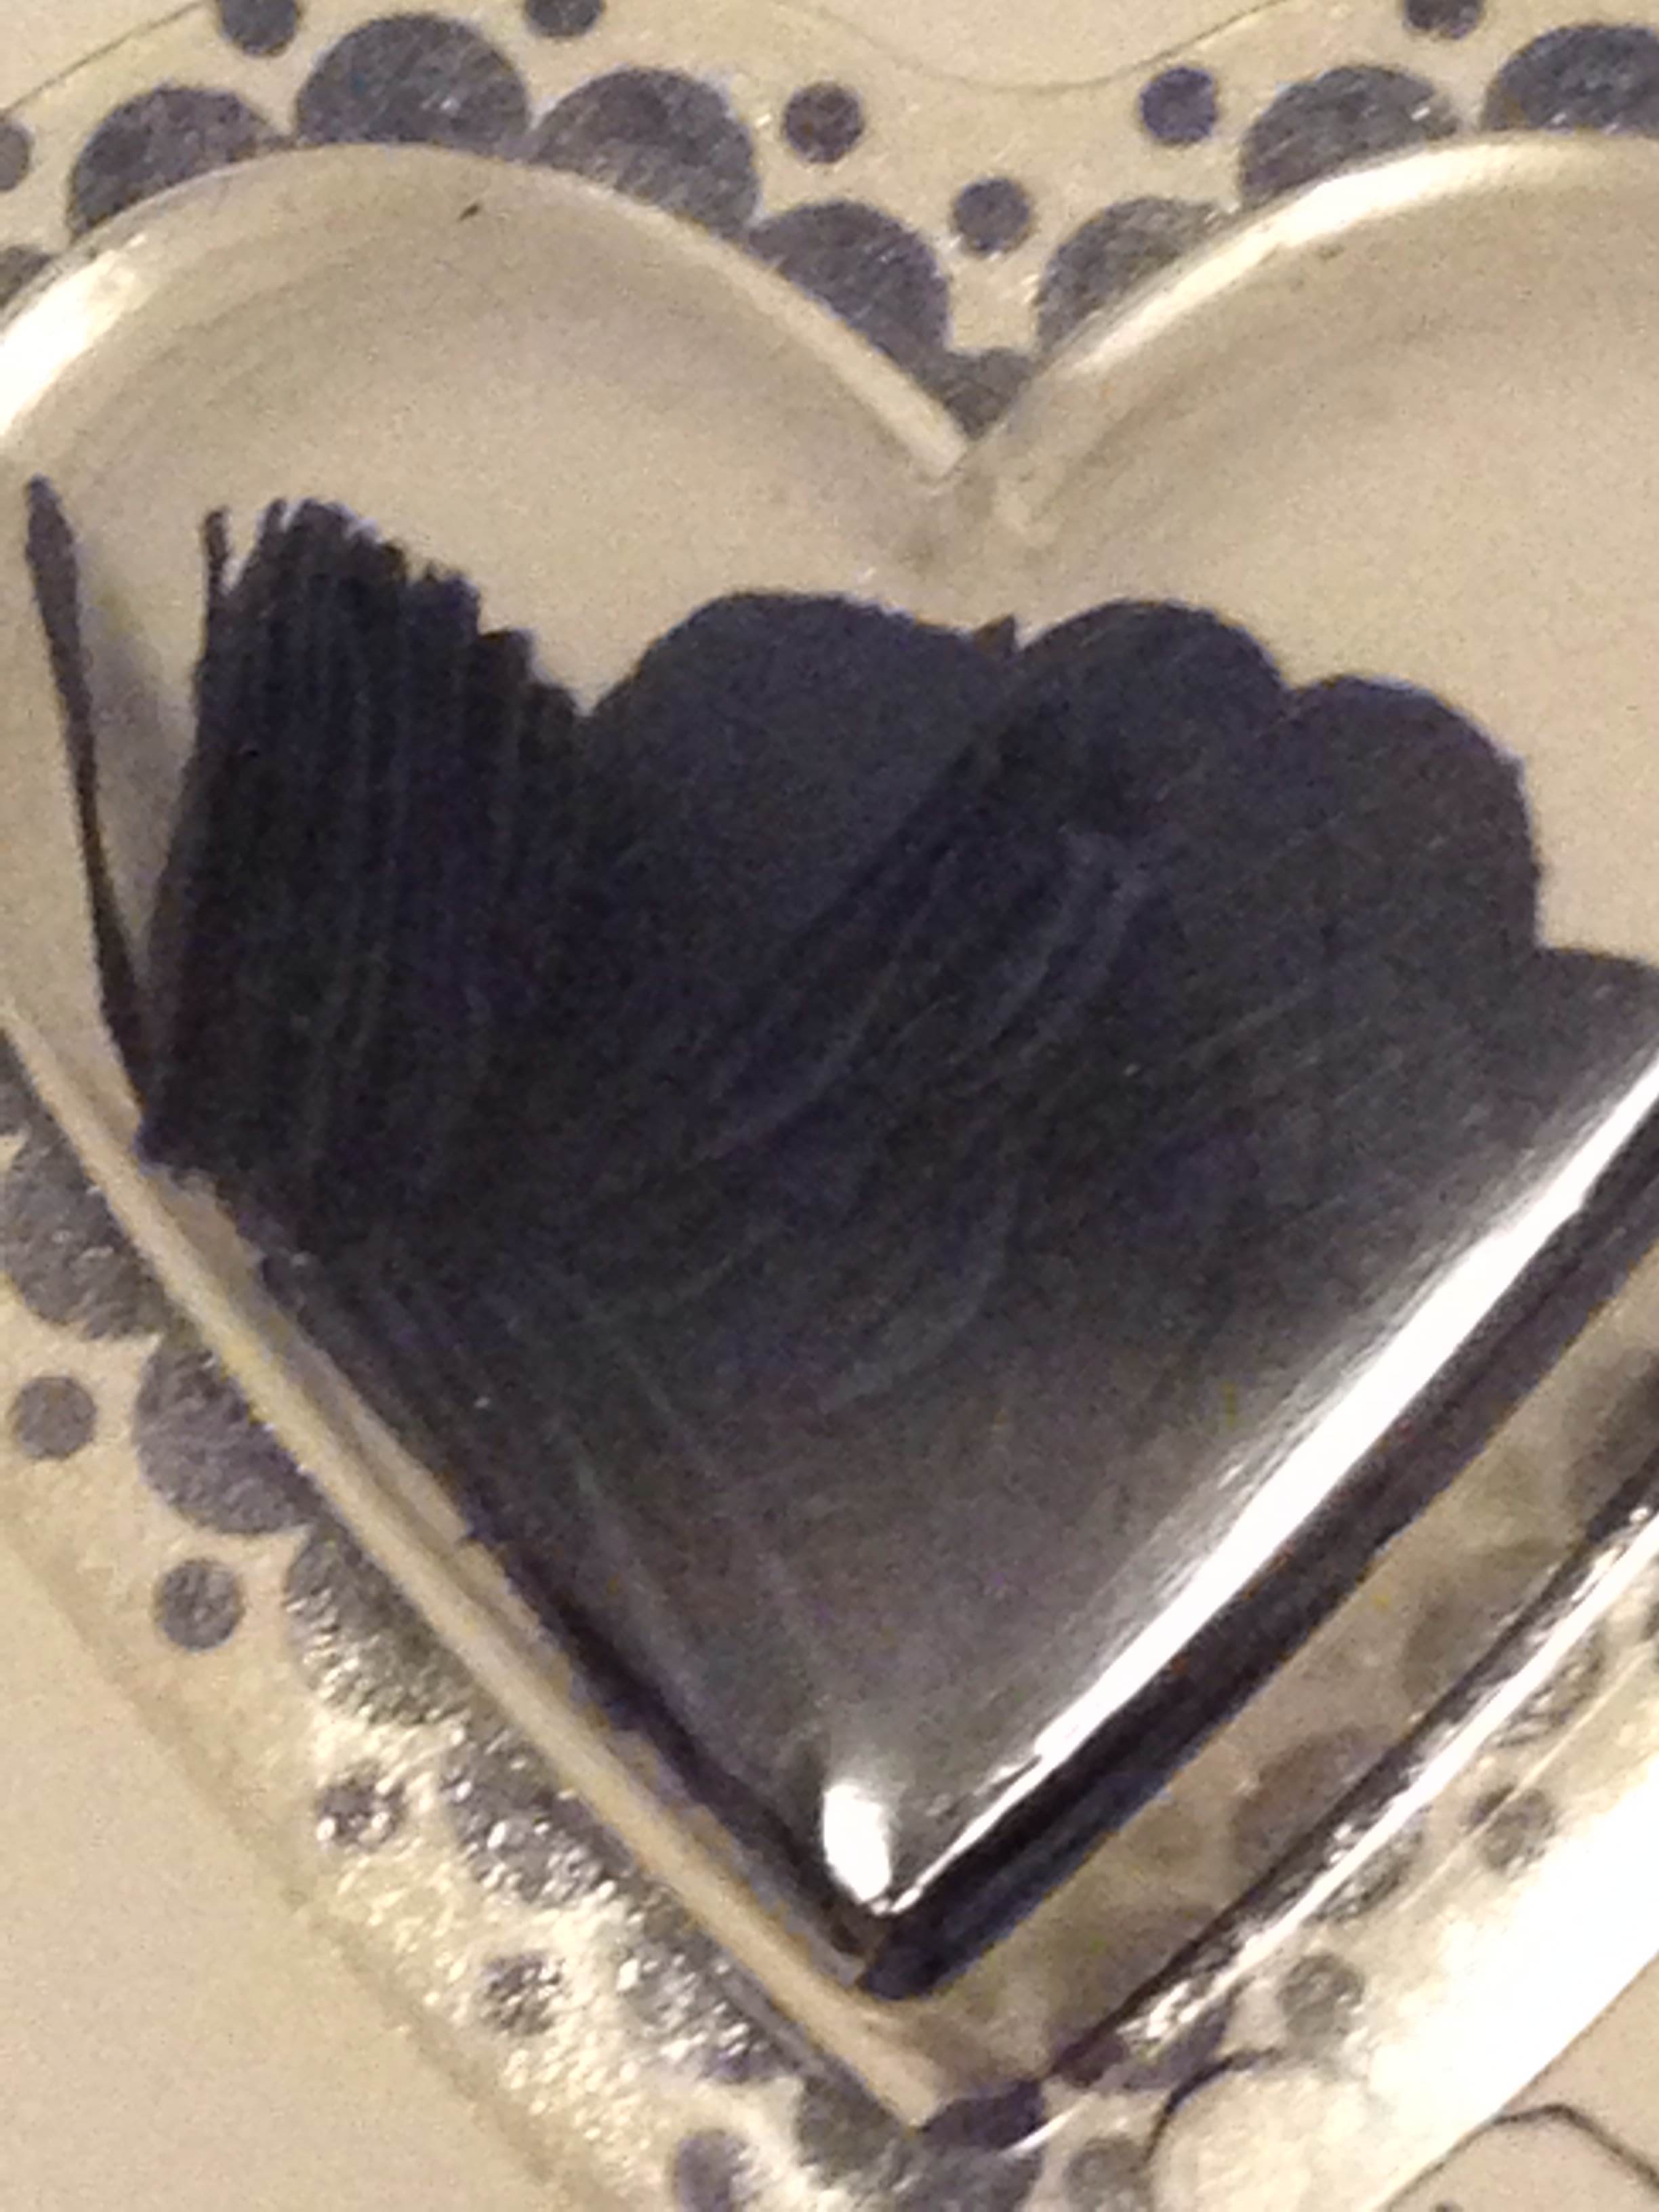
Design two – embossed wedding card

Embossed wedding card

This card actually used a Christmas embossing folder tipped on its side.  You’d have to look very closely to see the Christmas details at what should be the top!  Again, some sponging and pearl details set it off.

Sponging and pearls

Wedding day greeting

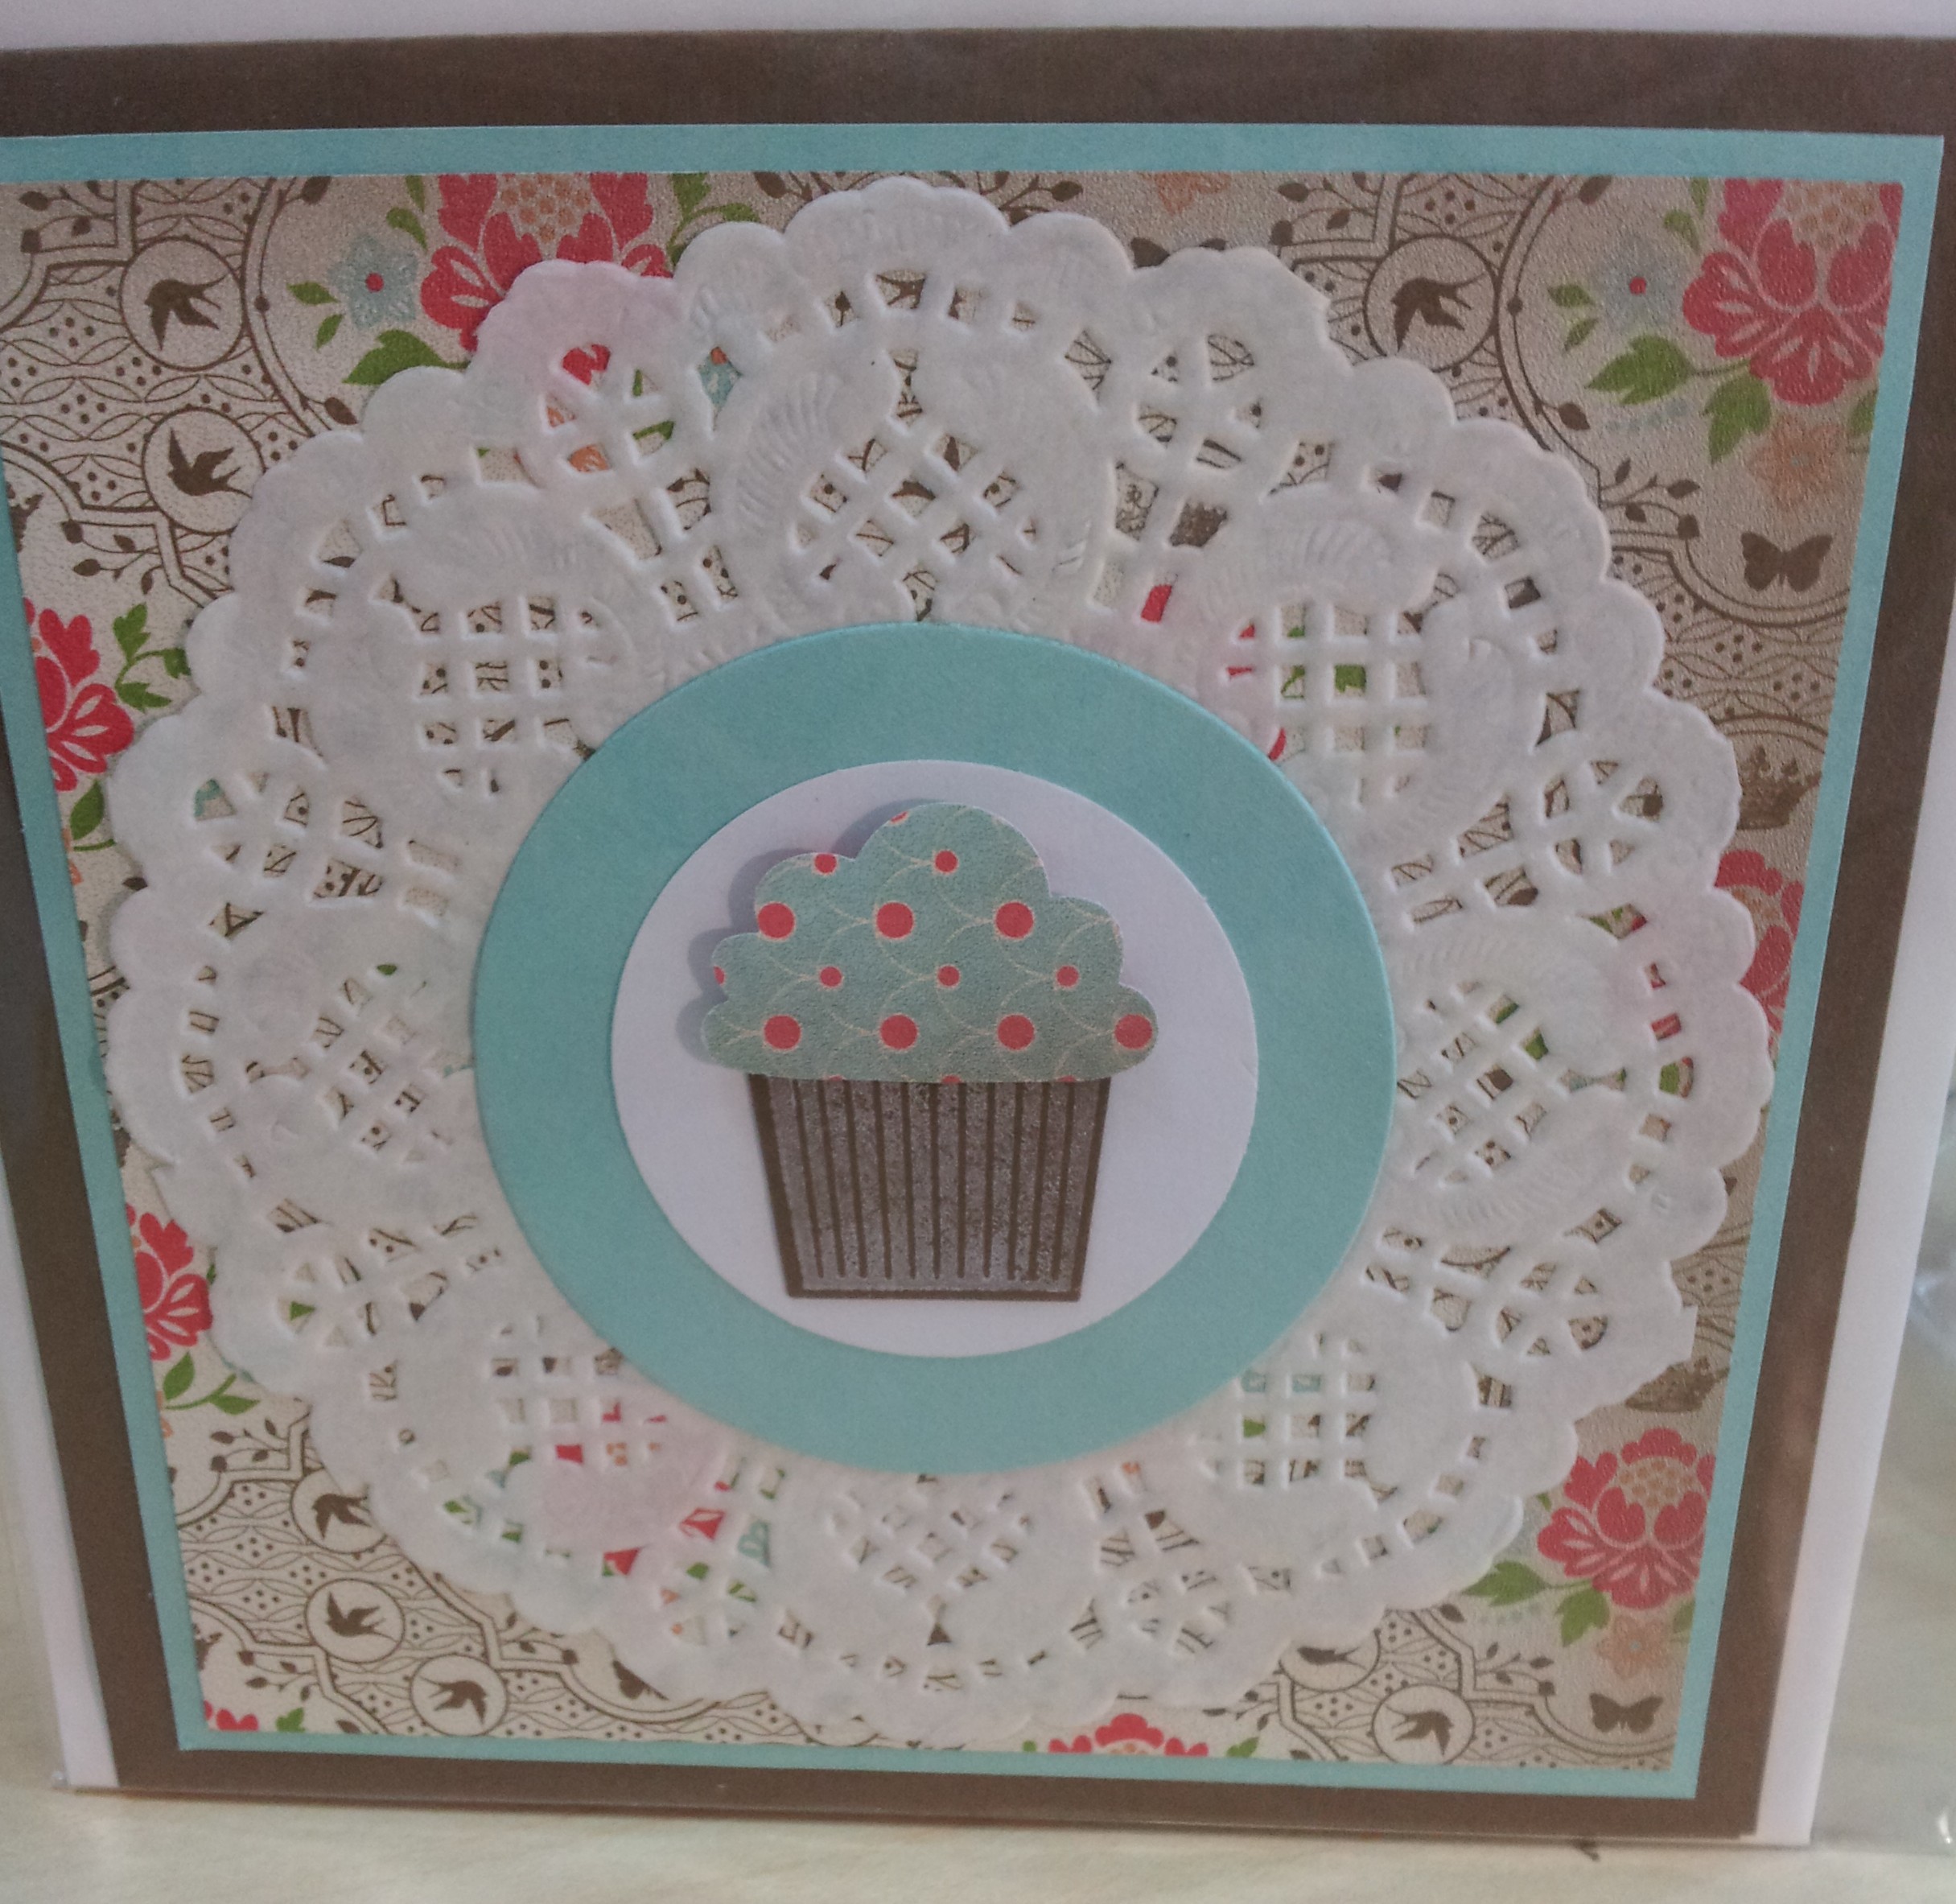
Design three – wedding easel shaker card

Easel shaker wedding card

This was my son’s favourite!  He loved the heart shaped cup and shaking the card to make a sound with all the little cut out hearts with the small heart punch.

Hearts in a heart shaped cup

Mr & Mrs heart shaker card

Wedding gate fold card (inside)

I loved them all, but ended up using the gate fold card as my card to the happy couple.  My son insisted on the shaker card being from him, and my parents ended up using the other card.  So none of them went to waste!

Please let me know if you’d like instructions for any of these cards and I can post the dimensions.

Which one was your favourite?

Thanks for reading

Caro x

Share this:

  • Pinterest
  • Twitter
  • Facebook
  • Email
  • More
  • Reddit
  • Tumblr

Like this:

Like Loading...

Another favourite card layout

26 Friday Jul 2013

Posted by Carolyn in Beautiful Butterflies, Big Shot, General occasion, Tutorial, Using up scraps

≈ Leave a comment

Tags

butterflies, card layout, scraps

Hi

Just popping by for a quick post to show you another one of my favourite card layouts.   This one is also really simple – but because it’s a little different to the cards you usually see in the shops it can have a bit of a ‘wow’ factor.    But check out how easy it is to make!

IMG_1414

This is a gatefold card.   So when you untie the ribbon you get to open up the card to see the message inside.

IMG_1417

The dimensions will depend a bit on the size of your envelope!  My square envelope for this card was 14 cm square.  So I wanted to make a 13cm square card to fit inside.

This means I cut a piece of cardstock 26cm x 13cm.

To make a square card that opens the normal way you would just score and fold the long side at 13cm to make a 13cm square card.     To make a gate fold card you need to fold in from either side to make the ‘gates’.   So you score and fold at 6.5cm in from either end of the long side.

Here’s a little sketch to show you what I mean:

photo

And here’s another picture of the card showing a little more of the inside.   I’ve used some butterflies cut out with my Beautiful Butterflies die to decorate it.

IMG_1415

The strips of paper on the front are 12.5 cm x 6 cm.  And the strip at the bottom is 13cm wide – I can’t remember how high but it really doesn’t matter.    This layout is another good way to use up those little scraps of paper you can’t quite bring yourself to throw out because they are so pretty!

You can add the ribbon in a couple of different ways.  For this card I’ve just glued the ribbon across the back of the card.   You can also punch holes in the front of the card and thread ribbon through and tie a bow.

You can use this layout in so many ways.   I will try and post some more examples of cards I’ve made using this layout soon.

Thanks for reading!

Caro x

Share this:

  • Pinterest
  • Twitter
  • Facebook
  • Email
  • More
  • Reddit
  • Tumblr

Like this:

Like Loading...

A music note card

18 Thursday Jul 2013

Posted by Carolyn in Big Shot, Birthday, Music Notes, Perfect Polka Dots, Wheels

≈ Leave a comment

Tags

card layout, cards, wheel

Hi

Just a short post today to show you one of my favourite card layouts.  I have made this in lots of different colours – this one is Stampin’ Up! Crumb Cake and Marina Mist.

IMG_1398 I used a Marina Mist C6 card blank and ribbon with a Crumb Cake card stock layer and ink.   The music notes come from a Stampin’ Up! wheel (“Music Notes” with a little happy birthday greeting.   I ran the top of my Crumb Cake layer through the Big Shot with my Perfect Polka Dots embossing folder for a little extra texture.

I’ve made this card with Night of Navy, Melon Mambo and Bravo Burgundy (now retired) – but I can’t really think of too many colours this wouldn’t work with!

Caro

PS This was a card I had wrapped up in a cellophane bag to give to an Op Shop to sell.  Next time I’ll photograph it OUT of the bag!

Share this:

  • Pinterest
  • Twitter
  • Facebook
  • Email
  • More
  • Reddit
  • Tumblr

Like this:

Like Loading...

Simple card layout

14 Sunday Jul 2013

Posted by Carolyn in Butterfly (retired), Full heart, General occasion, Punches, Small Heart, Using up scraps

≈ 1 Comment

Tags

card layout, scraps

Hello

The other day I had to come up with 2 birthday cards for some lovely little girls.  And I had about 10 minutes max to make the card and gift wrap the presents.  (Note to self: make a few extra cards to have lying around the house for card emergencies!)

One of the little girls had had a lovely time playing with my Stampin’ Up! full heart punch when she came to visit one time, so I’d bought her one as her birthday present.   So I wanted to make a card using that punch to give her some ideas of how to use it.

Thankfully I have a few fail safe card layouts that are fantastic when you need a quick card that is still effective.   I’m not sure what it’s called, but I call it a ‘punch trick’ card.  I learnt this from Sally Ann Williams, whose blog is definitely worth following for lots of lovely (and simple!) card making techniques.

Here is the card:

photo-1

You can see I’ve cut a heart out of the front of the card and then another heart out of designer series paper.  (Don’t throw the card stock away!).   Stick the designer paper heart on the inside of the card and it makes a heart shaped “window” which can look really effective for a simple card.

TIP!  Don’t try and glue the heart on the inside of the card and hope to have the punched window and the cut out shape perfectly align.  It’s much better to close the card and stick the pretty paper through the window.  Perfect alignment every time!

I used some ribbon, another full heart punch from DSP and a punched small heart and faux pearl just to add a bit of extra detail to the front of the card.

You can see a bit better from this picture how the window and cut out works:

photo

And here’s a picture of the inside:

photo-2


Don’t think this layout only works with hearts either!  You could try birds, cupcakes, butterflies – or make a window to highlight a sentiment.  It’s a great card layout for using up small bits of pretty paper you can’t bear to throw away.

Here is what the same technique can look like with a butterfly punch:

photo-6photo-8[Sorry, those photos are pretty bad.  Must get my proper camera fixed!]

I mentioned that you shouldn’t throw out the heart/butterfly you cut out from the front of the card.   Stay tuned tomorrow and I’ll show you why not!

Thanks for reading 🙂

Caro

Share this:

  • Pinterest
  • Twitter
  • Facebook
  • Email
  • More
  • Reddit
  • Tumblr

Like this:

Like Loading...

Card layout for using up scraps

30 Thursday May 2013

Posted by Carolyn in Cards, Cupcake Builder, Fancy Flower, General occasion, Punches, Using up scraps

≈ Leave a comment

Tags

card layout, doilly, DSP, Punches, scraps

So far I’ve focused on little projects and ideas for using up left over pieces of pretty paper.   If you’re anything like me though, you probably have a pile of paper that you have been saving for a rainy day, because it’s too beautiful to throw out, or because you haven’t quite figured out what to do with it.

Today’s post is a suggestion for a simple card layout that can use up some of that gorgeous paper by turning it into cards.   These cards are really easy – if each one takes you 10 minutes I’d be surprised!  Probably more like 5 once you get the hang of it!

This Soft Suede card is 14 cm x 14cm.   The Pool Party background is 13 cm x 13cm and the DSP (from the free Everyday Enchantment set from Stampin’ Up!’s 2012 Sale-a-bration) was 12.5 x 12.5cm.    I added a doily, a Pool Party and Whisper White circle and used the Cupcake punch and matching stamp set to make the centre embellishment.

20121210_154540The great thing about this card layout though is that it can work with pretty much anything in the middle.    Here’s another one with a Fancy Flower in the middle.

20121210_154551

Pretty much any flower, heart or circle punch would work, as would a butterfly.  You could also turn it into an age birthday card by adding some die cut numbers in the middle.   The possibilities are endless really!

Thanks for reading.  I hope you’ve gotten some ideas to try out in your own card making 🙂

Share this:

  • Pinterest
  • Twitter
  • Facebook
  • Email
  • More
  • Reddit
  • Tumblr

Like this:

Like Loading...

Carolyn Dalton

Independent Stampin Up! Demonstrator

Recent Posts

  • Pretty butterfly birthday card 
  • Adding an extra touch to a homemade envelope
  • Quick and easy masculine card 
  • Quick and easy kids card
  • Butterfly soap card

Archives

  • March 2016
  • February 2016
  • January 2016
  • December 2015
  • November 2015
  • October 2015
  • September 2015
  • August 2015
  • July 2015
  • June 2015
  • May 2015
  • April 2015
  • September 2014
  • July 2014
  • April 2014
  • March 2014
  • February 2014
  • November 2013
  • October 2013
  • September 2013
  • August 2013
  • July 2013
  • June 2013
  • May 2013
  • May 2012

Categories

  • 1 1/4 inch circle
  • 1 3/4 circle
  • 1 3/4 inch scallop circle
  • 1 3/8 circle
  • 1 inch circle
  • 1 inch square
  • 2 3/8 inch scallop punch
  • 3/4 inch circle
  • 3D / pop up
  • 3D projects
  • Anniversary
  • Baby cards
  • Beautiful Butterflies
  • Big Shot
  • Bird Builder
  • Birthday
  • Bitty Butterfly
  • Blossom
  • Blossom Builder
  • Boho Blossoms
  • Boxes
  • Butterfly (retired)
  • Candy Wrapper
  • Card sets
  • Cards
  • Chalk Talk
  • Christmas
  • Circle Thinlits
  • Circle treat cups
  • Circles #2
  • Corner rounder
  • Cupcake Builder
  • Cupcakes and other tasty treats
  • Curly label
  • Decorative Label
  • Dies
  • Elegant Butterly
  • Embossing folders
  • Envelopes
  • Extra Large Oval
  • Fancy Flower
  • Framelits
  • Full heart
  • General occasion
  • Gift bags
  • Gift bow
  • Gift card holders
  • Gift tags & wrapping
  • Home decorating
  • Horizontal Slot
  • Invitations
  • Jewellery tag
  • Kids cards
  • Kids craft ideas
  • Kids party
  • Labels collection
  • Large Oval
  • Love notes
  • Masculine
  • Mini scallop
  • Modern Label
  • Music Notes
  • Notebooks
  • Owl
  • Perfect Polka Dots
  • Petite curly label
  • Pinwheel die
  • Punches
  • Scallop circle
  • Scallop edge
  • Scallop envelope
  • Scallop oval
  • Scallop Tag Topper
  • Small Heart
  • Square Lattice
  • Star
  • Sweet treat cups
  • Tag
  • Tasteful Trim
  • Thank you
  • Thoughts and comments
  • Top Note
  • Tutorial
  • Uncategorized
  • Using up scraps
  • Washi tape
  • Wedding cards
  • Wheels
  • Wildflower Meadow
  • Word Window

Pinterest

Follow Me on Pinterest

Follow me on Twitter

My Tweets

Enter your email address to follow this blog and receive notifications of new posts by email.

Join 37 other subscribers

Blog at WordPress.com.

Privacy & Cookies: This site uses cookies. By continuing to use this website, you agree to their use.
To find out more, including how to control cookies, see here: Cookie Policy
  • Follow Following
    • Caro's Pretty Things
    • Join 26 other followers
    • Already have a WordPress.com account? Log in now.
    • Caro's Pretty Things
    • Customize
    • Follow Following
    • Sign up
    • Log in
    • Report this content
    • View site in Reader
    • Manage subscriptions
    • Collapse this bar
 

Loading Comments...
 

    %d bloggers like this: