Yesterday I showed you my Christmas in July (in August!) themed easel card with a cute little punch art Santa hat.
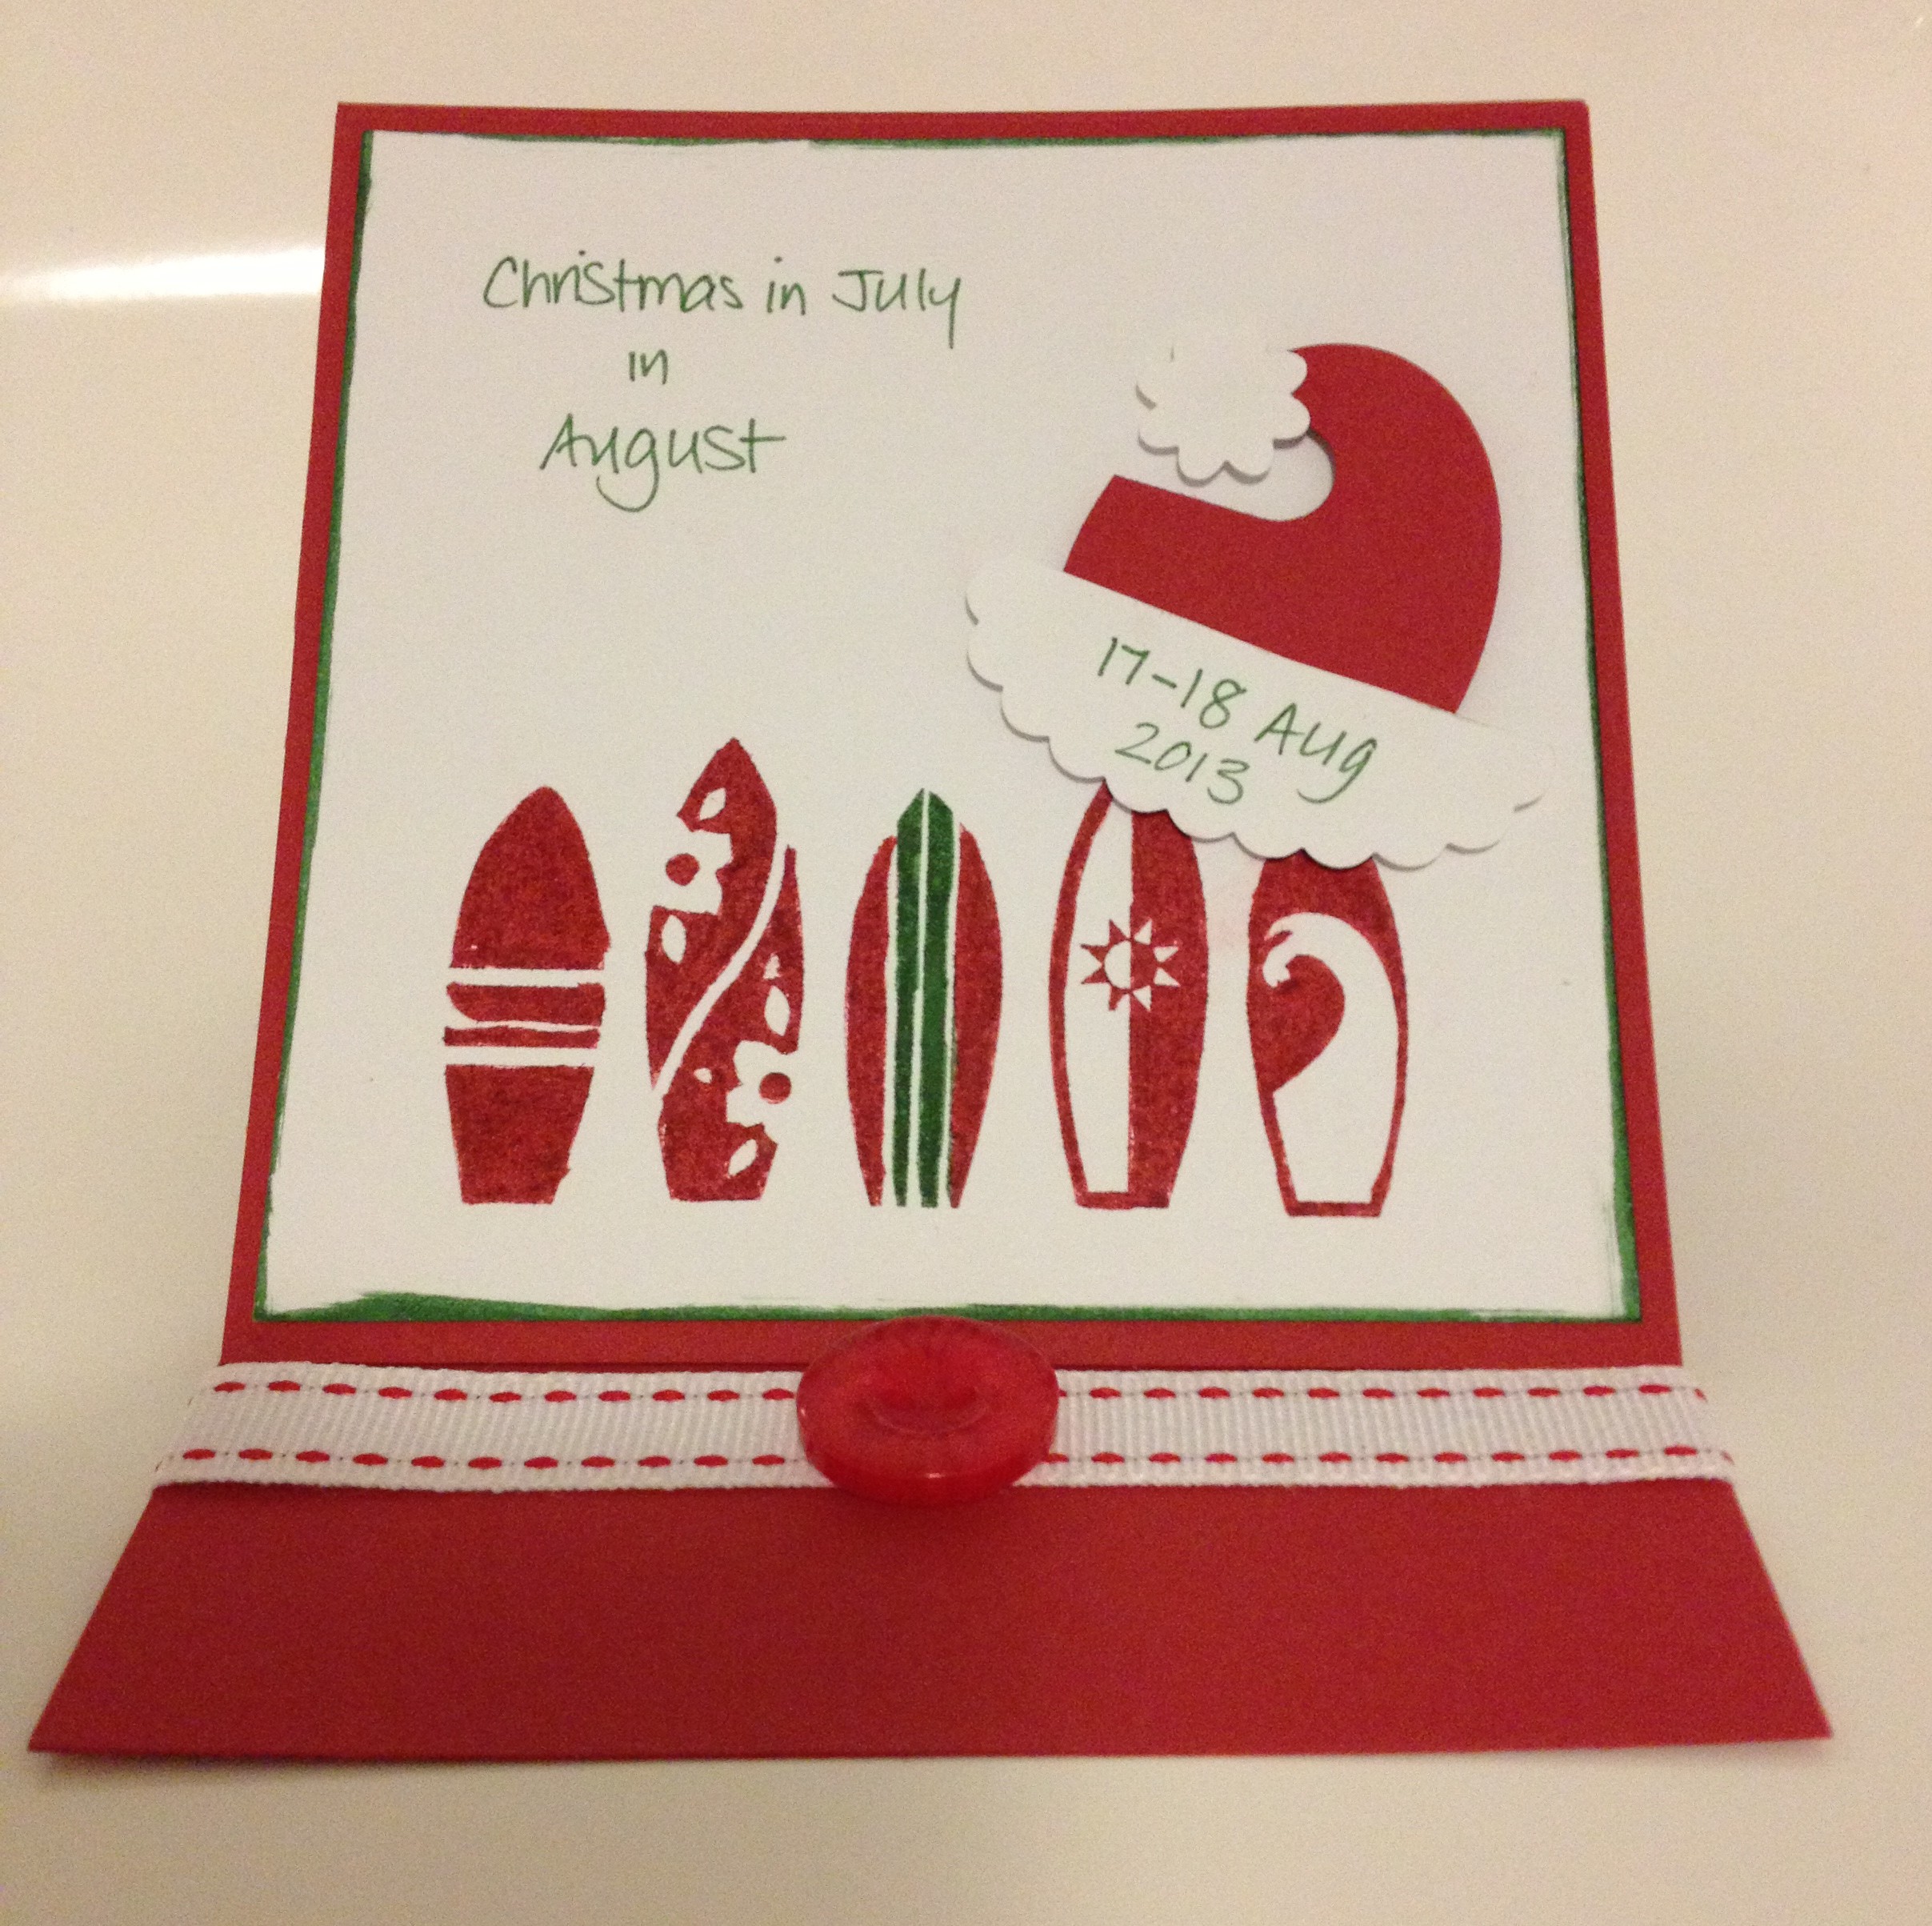
I got the idea for the Santa hat from a blog called Denise’s workshop. It took me a little while to figure out how to make the hat using the punches I have (all Stampin’ Up!) so I thought I’d show you how I made it.

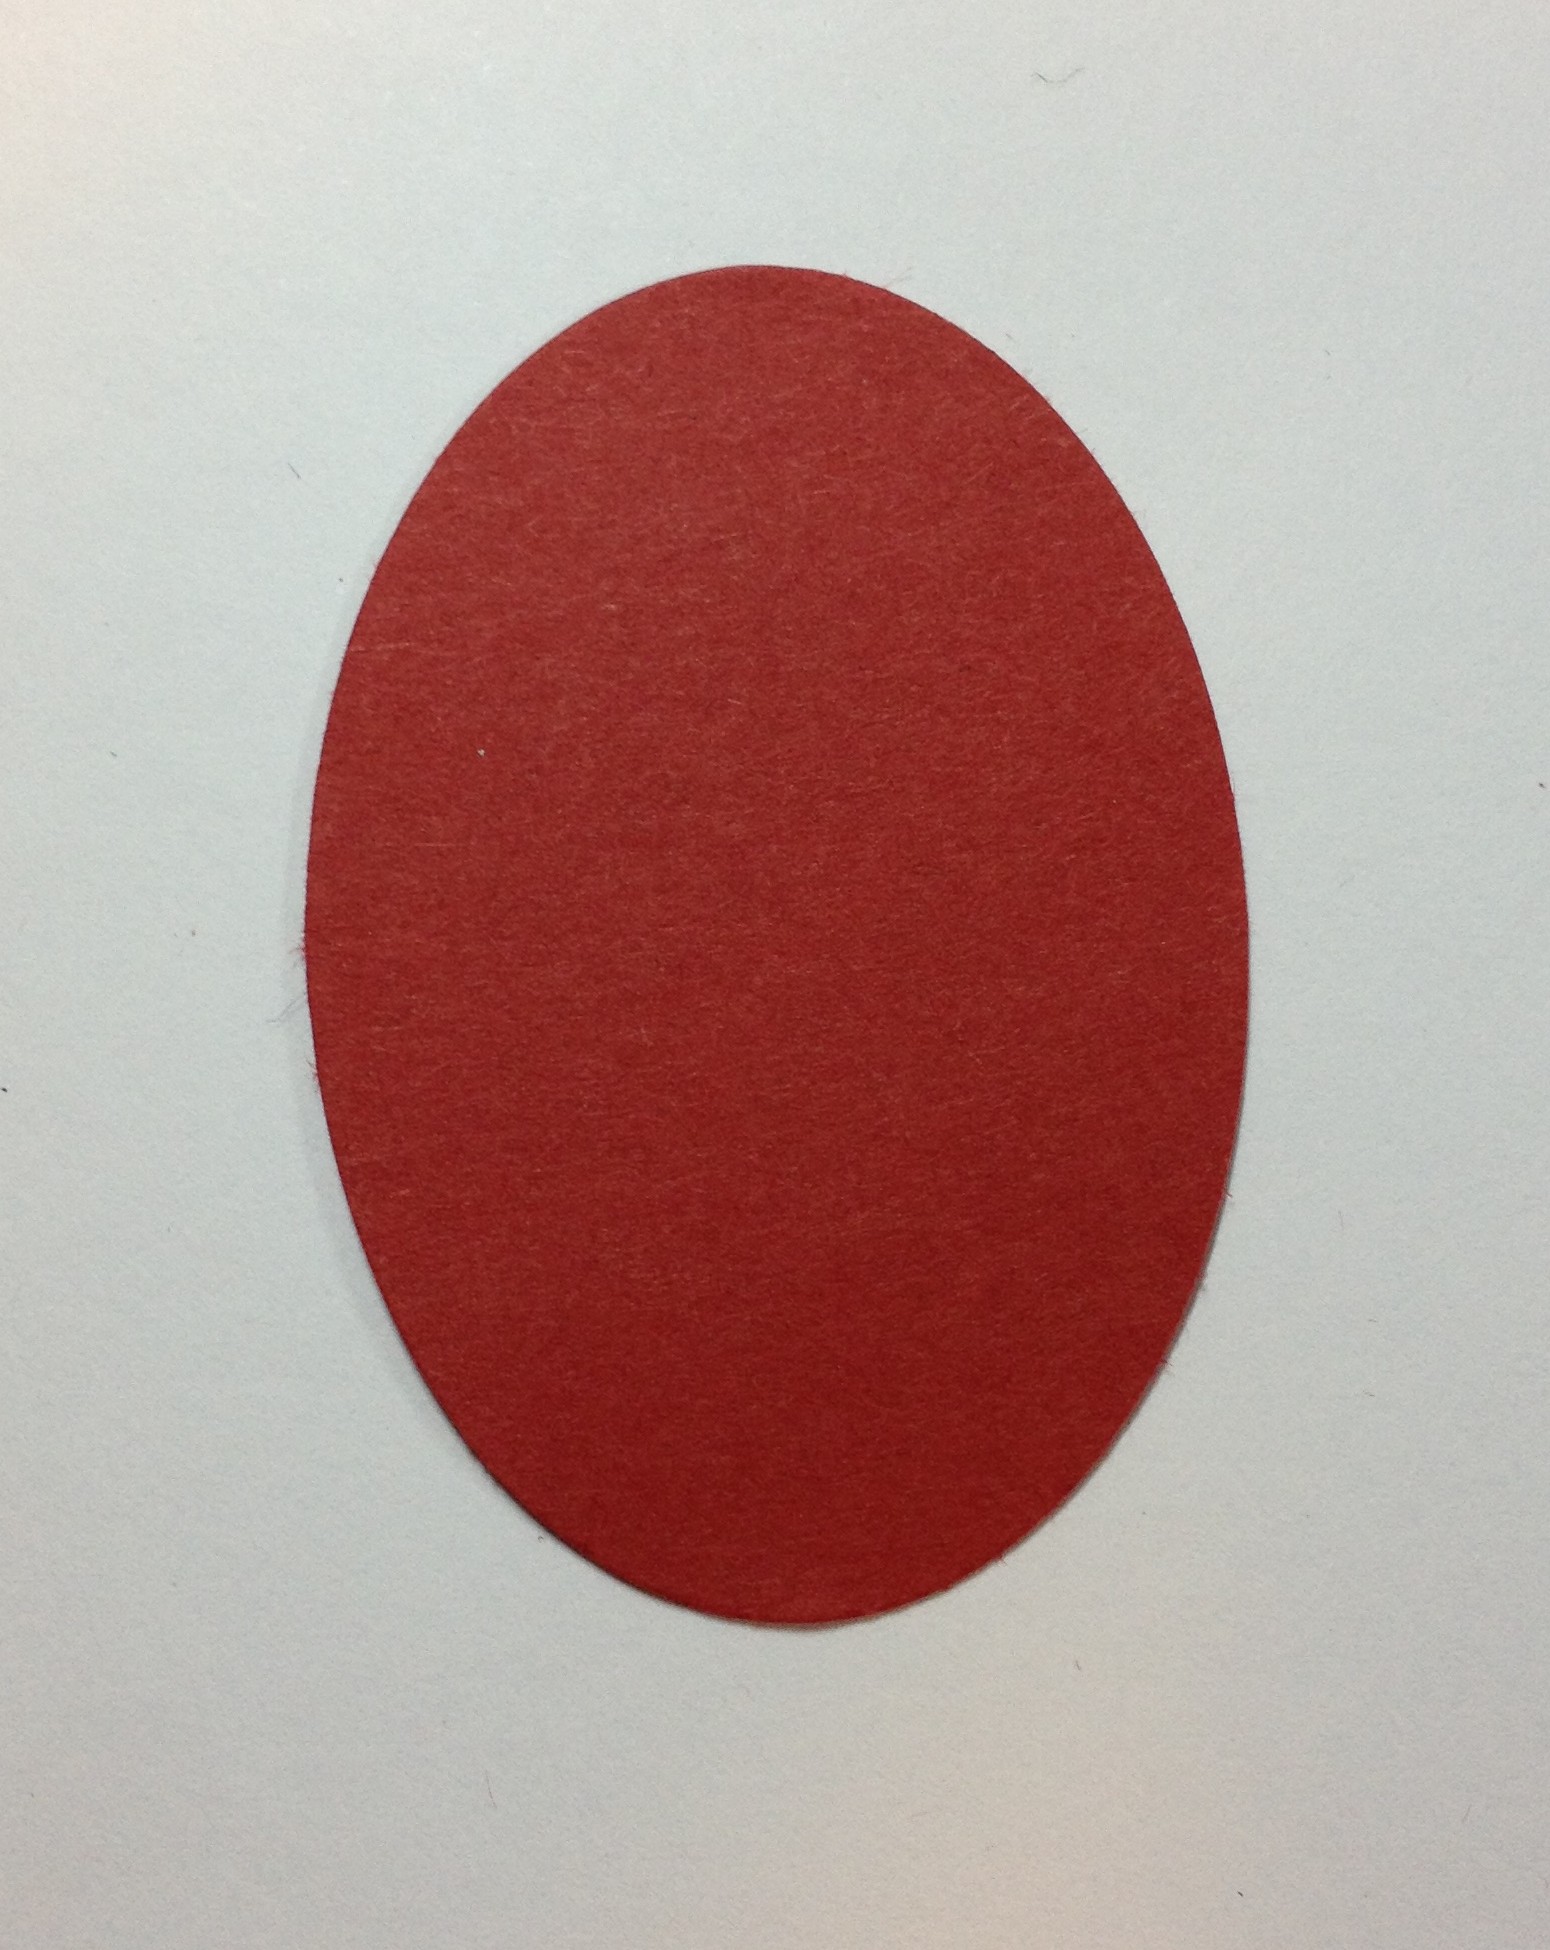
First I punched out a red oval from the Large Oval punch:
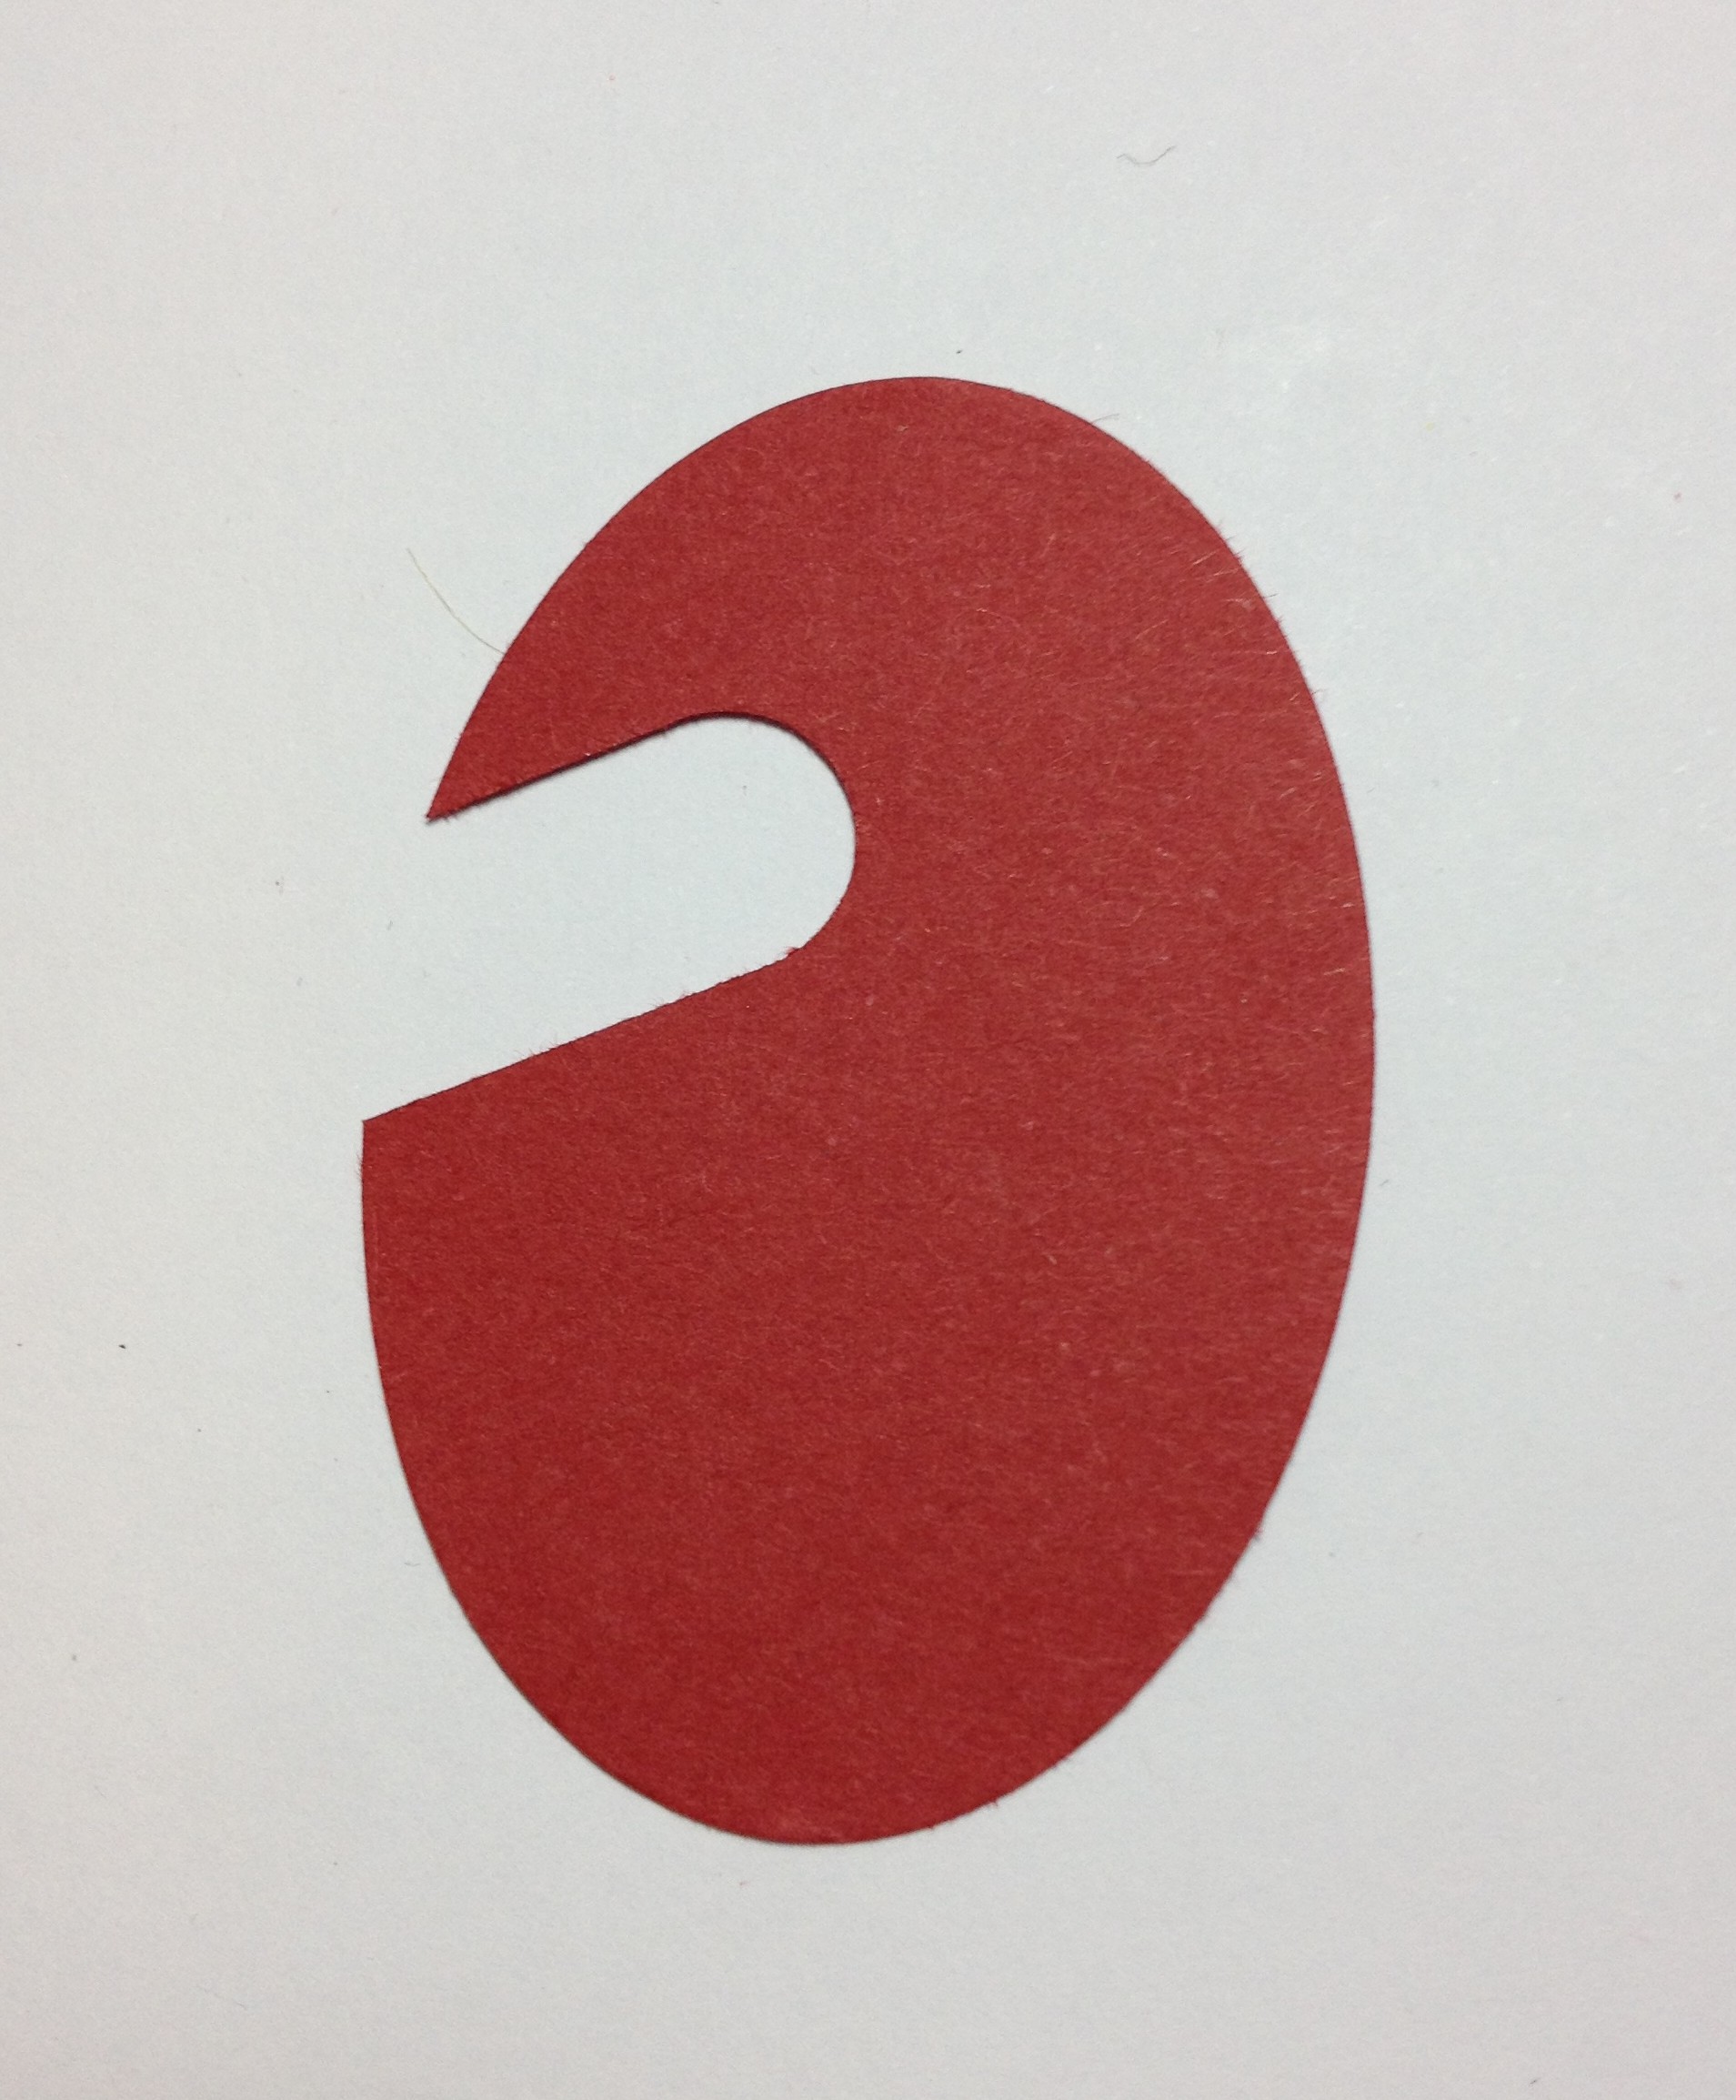
I then used the Word Window punch to cut out a section on an angle to make the shape for the curve of the hat:
Next I cut a white pom pom out of a flower from the Boho Blossoms punch:

Then I cut out the fur trim on the hat from the Scallop Oval punch, and trimmed across the top:
 I stuck the pom pom onto the hat with a mini glue dot and trimmed the bottom of the oval for the hat:
 Tip: see how the cut where I trimmed off the bottom of the oval is not straight? I found when I cut straight across the bottom of the oval the hat itself ended up looking a little ‘wonky’. After a bit of trial and error I discovered it was better to hold the ‘fur trim’ across the hat and just judge by eye where the right spot to cut was. Each time I made a hat it was a bit different, as each time I’d punched the Word Window section at a slightly different angle.
This picture shows you what I mean – judge how the hat should look and then figure out where to trim the bottom of the oval:

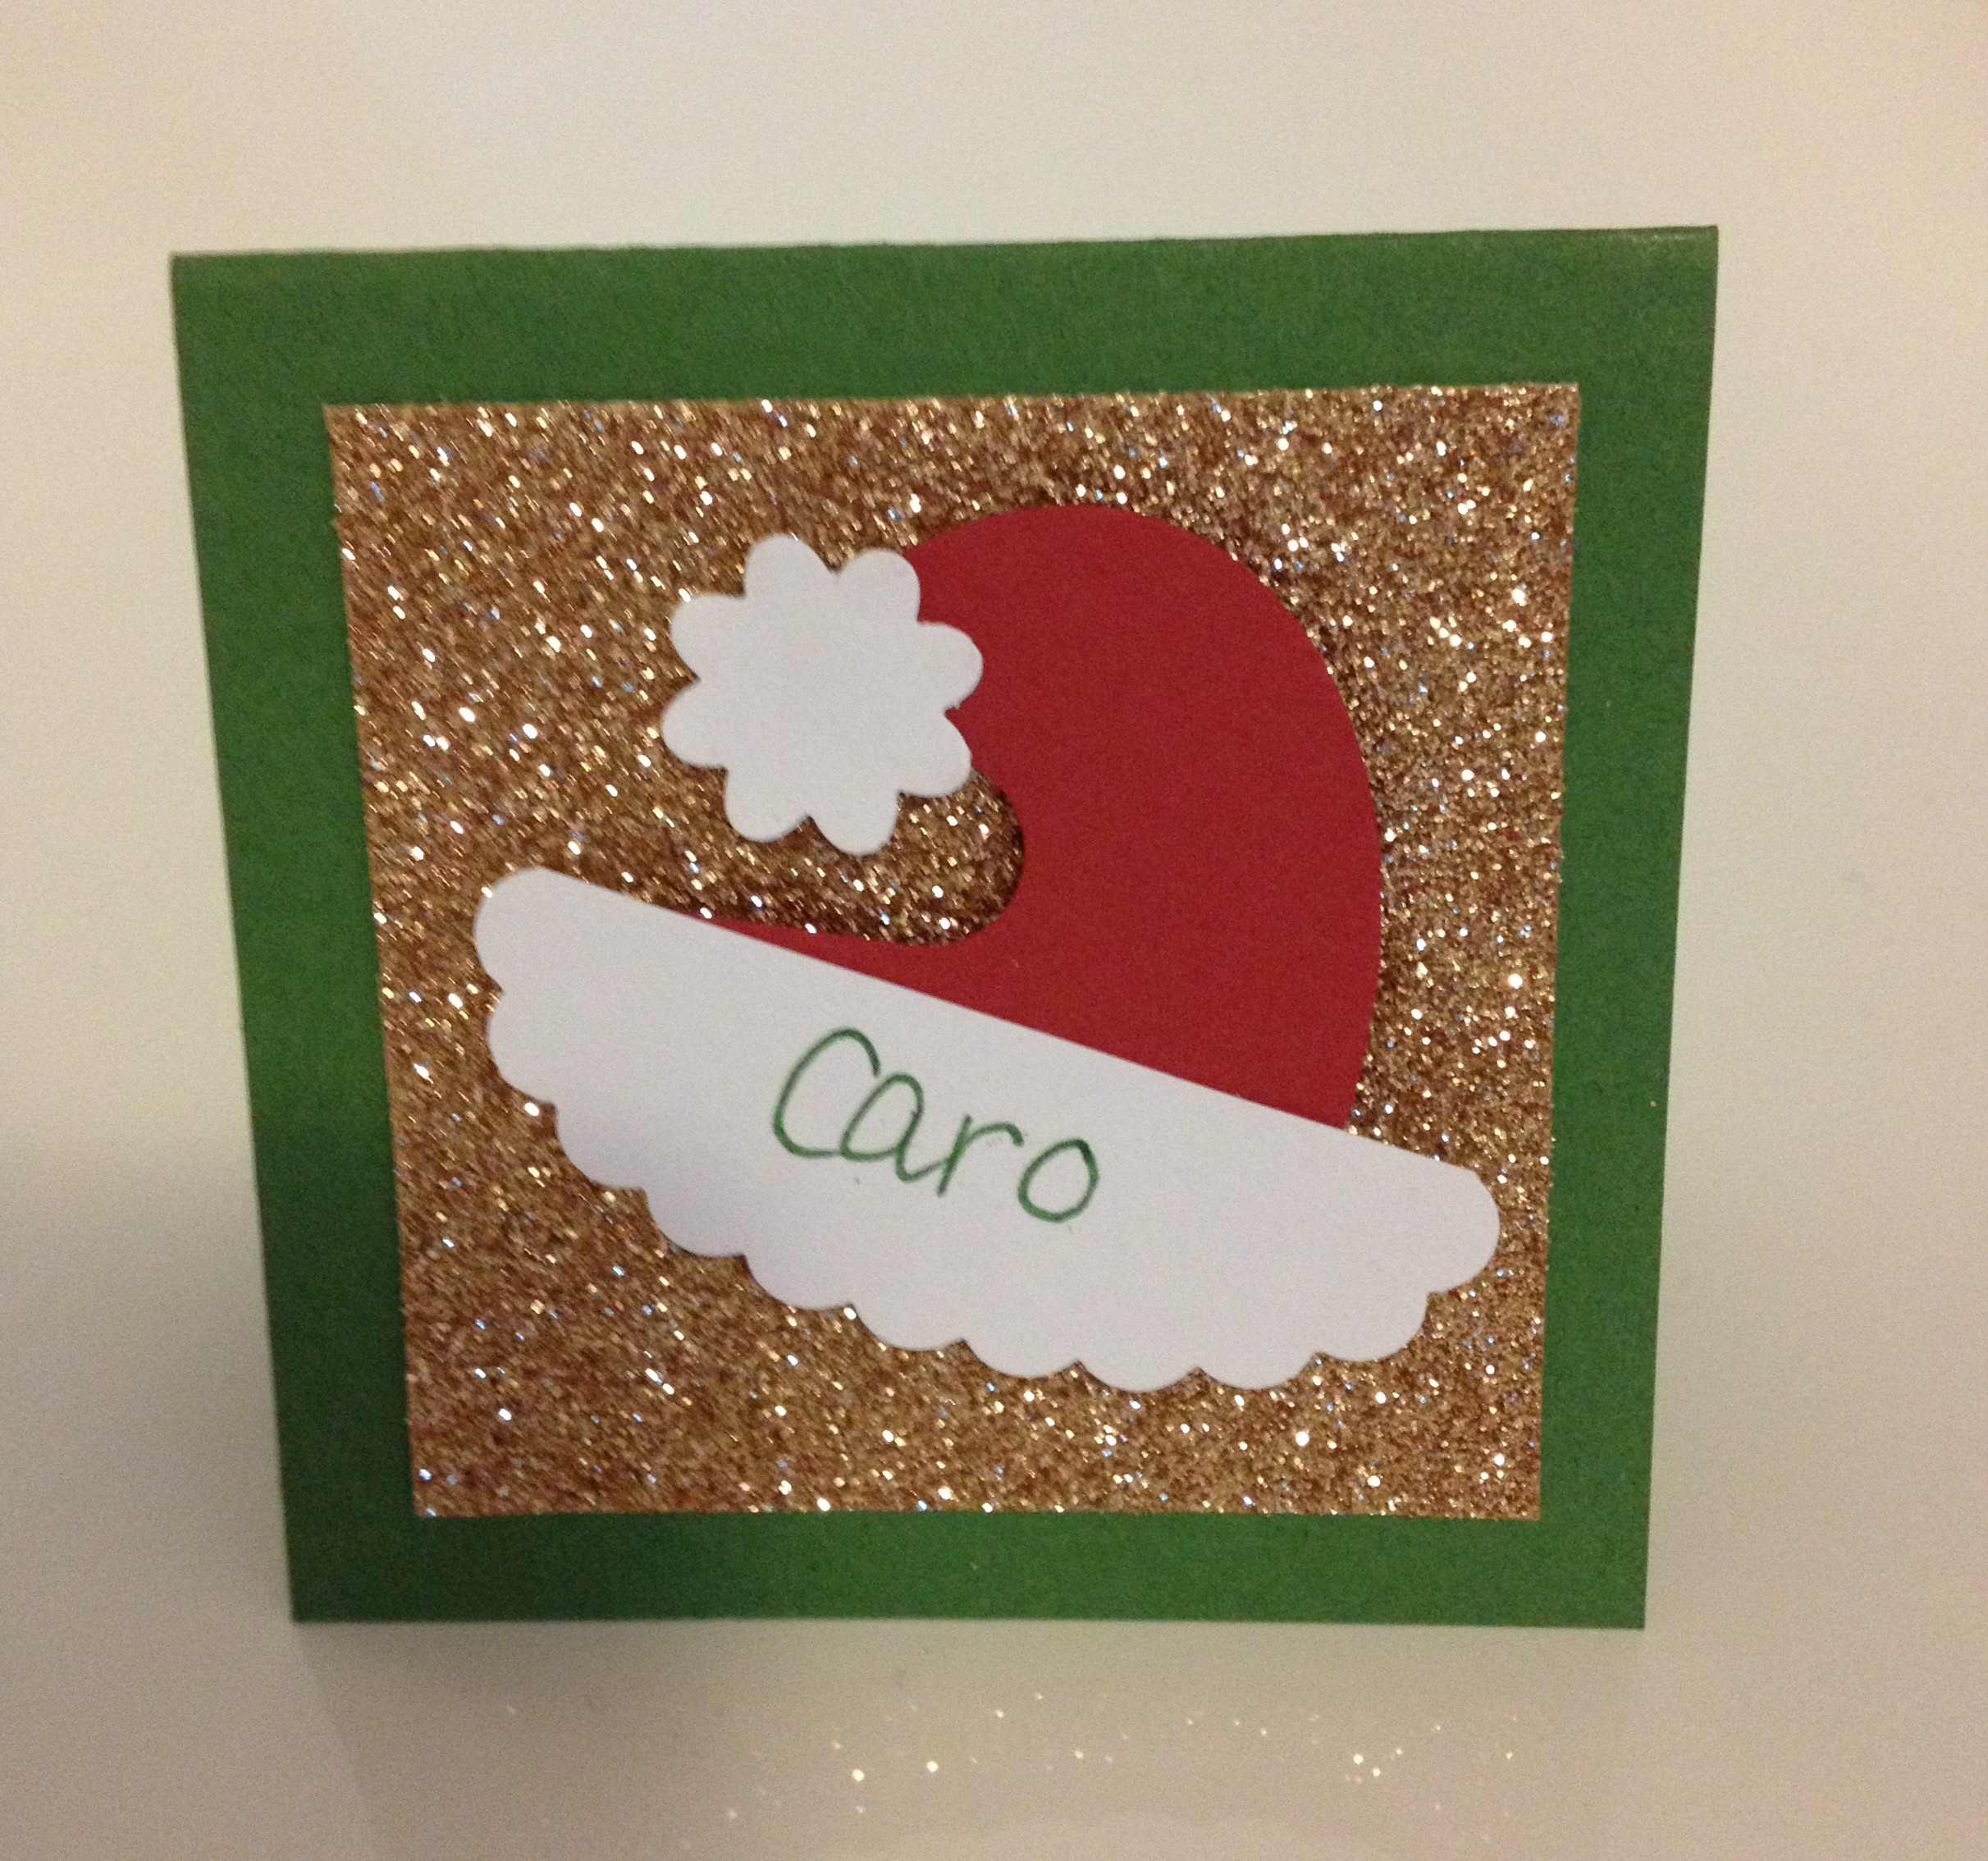
Stick on the trim and you’re done!
I decided to use these as place settings for our Christmas lunch.
 They looked really cute all lined up together!
 Hopefully this might inspire you for some Christmas craft a little later in the year.
Thanks for reading!
Caro

Pingback: Paper craft Christmas table decorations | Caro's Pretty Things