Yesterday I showed you the Rudolph decorations I made for our recent winter Christmas weekend.

Today I wanted to show you how I made the eyes.
At first I used my large oval punch, cut 2 white ovals and 1 black oval, cut the black oval in half and stuck the black bits over the white bit. These looked quite fine, but a little too small in proportion to the face (made from a top note die). So I used my extra large oval punch to cut the white and the large oval to cut the black, and trimmed down the black section.
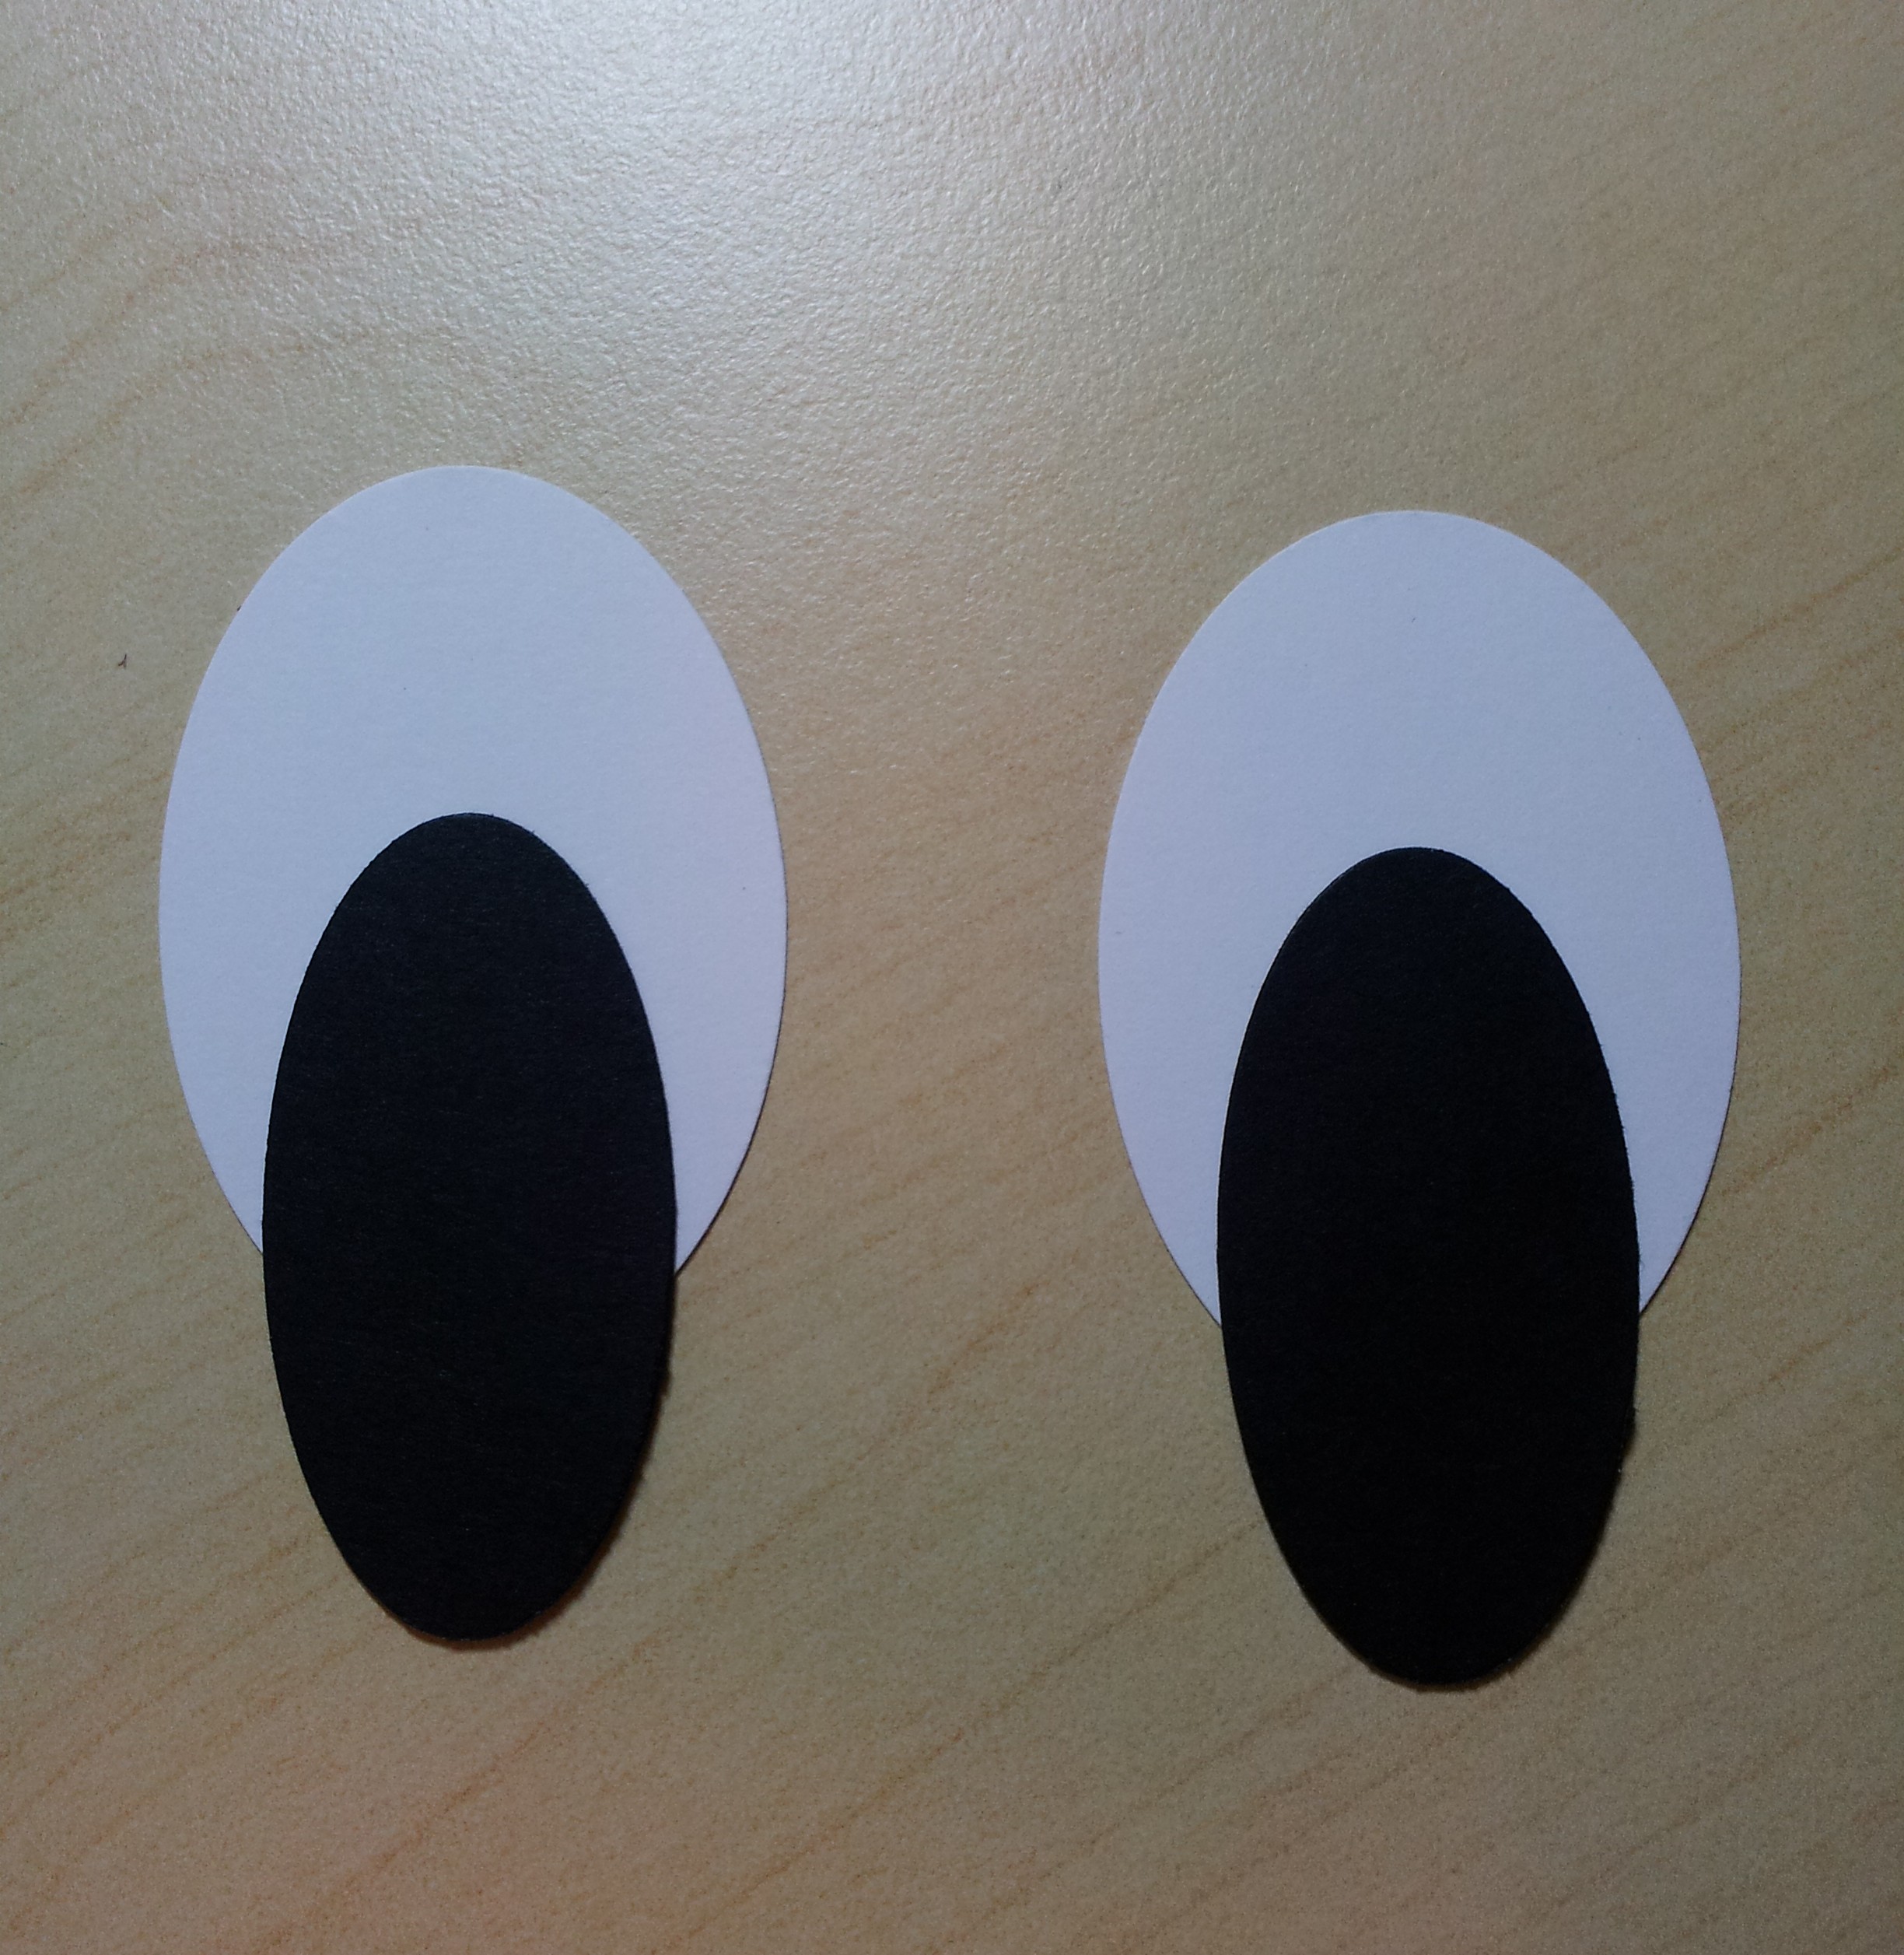
Step one: Cut 2 white extra large ovals and 2 black large ovals. Place the black ovals over the white until the proportions look right. Stick the black down with the rest of the oval hanging over the bottom.
 Step 2: Flip the eyes over so you can see where to trim the black.
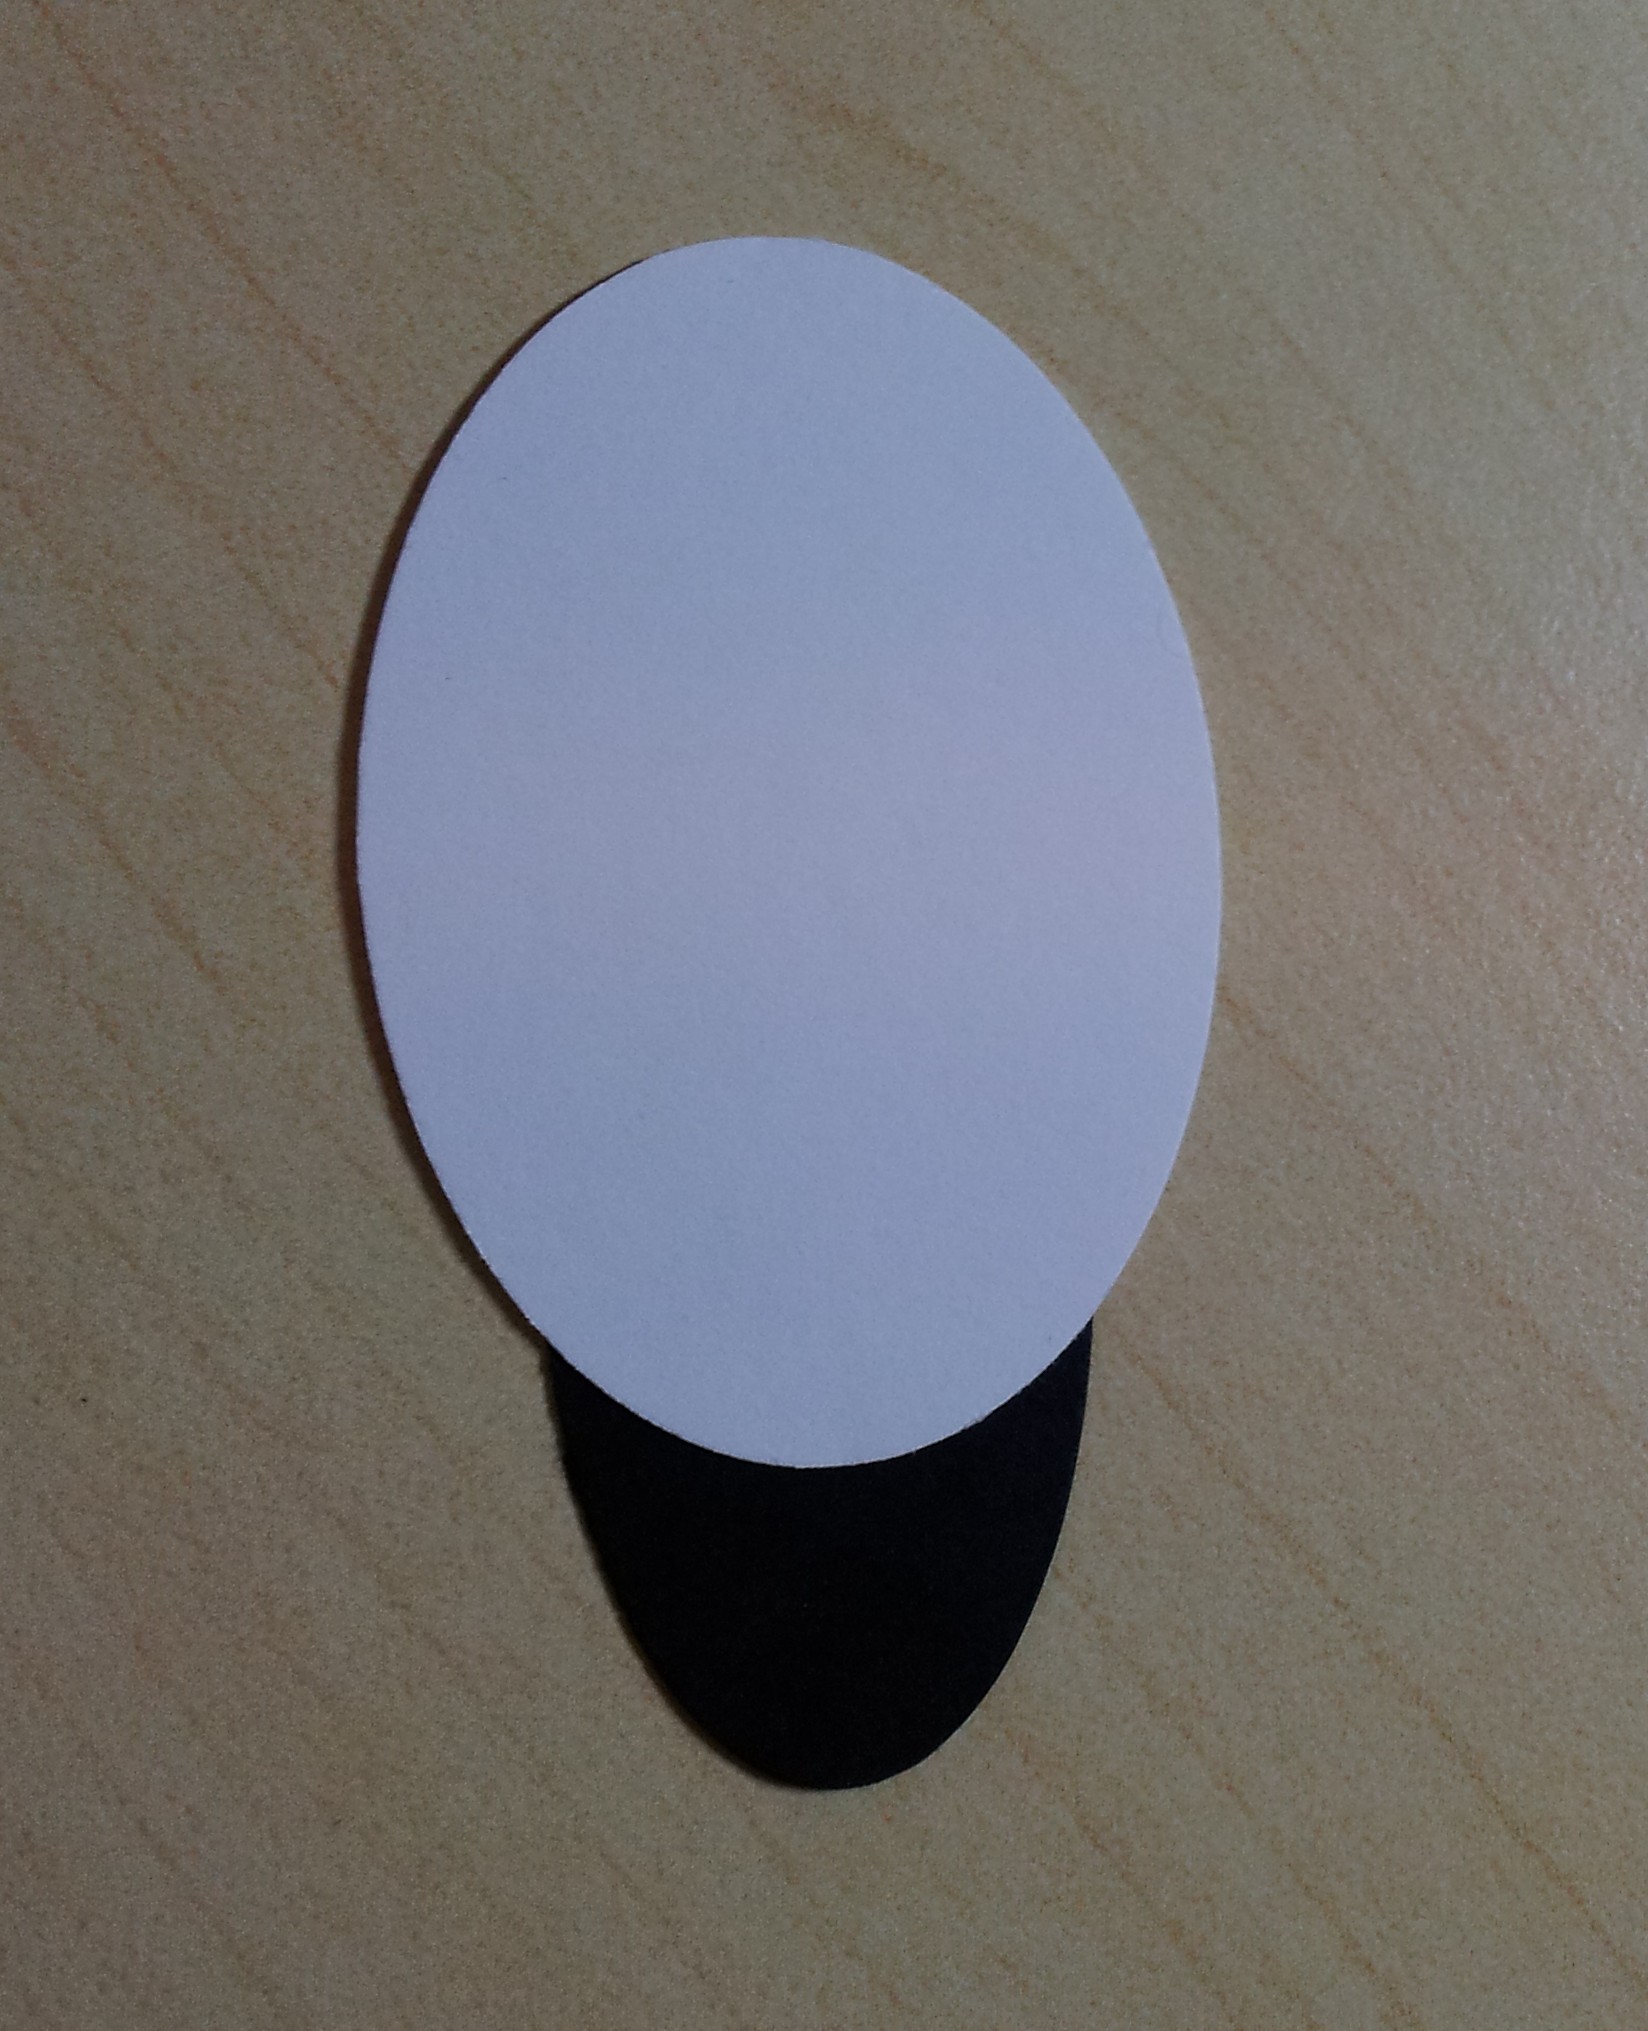 Step 3: Turn back over and voila – eyes!

At this point I also use a white pencil or Signo pen to add a little white line in the black. I forgot to take a photo of that step, but you can see this detail in the photo above.
Anyway, I hope that gives you some ideas as I found working out the eyes a little more ‘fiddly’ than I’d expected!
Thanks for reading
Caro
