• About

Caro's Pretty Things

~ My papercraft blog

Category Archives: 1 3/4 circle

Lion birthday card

30 Friday Aug 2013

Posted by Carolyn in 1 3/4 circle, 3/4 inch circle, Blossom, General occasion, Kids cards, Masculine, Owl, Tutorial

≈ Leave a comment

Tags

Birthday card, Brisbane Lions, lion, punch art

The other day I showed you a gift wrapped present for a friend’s 40th birthday.   Today I’m going to show you the card I made him.    This friend is a big Brisbane Lions fan – so of course my little man decided that he needed to have a lion card made in Brisbane Lions colours.     A creative challenge for someone who has no idea about AFL!

First step in the creative process:  Google to see what the Brisbane Lions logo looks like!

Screen Shot 2013-08-28 at 3.45.47 PM

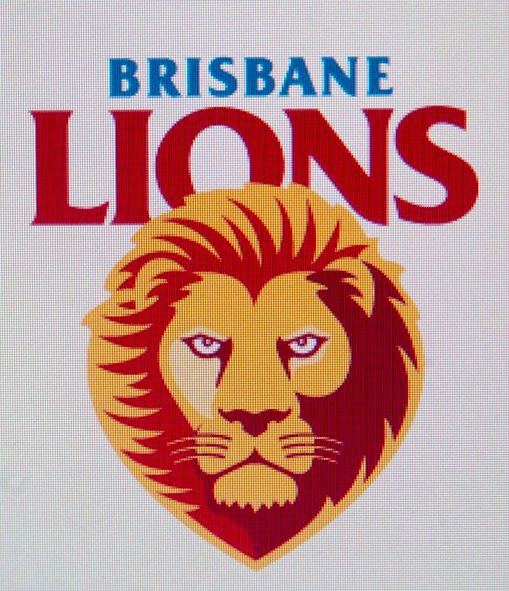
Second: figure out the Brisbane Lions colours.   I went with Pacific Point, Crushed Curry and Cajun Craze from Stampin’ Up!

Third: figure out how to make a lion card!!  I was inspired by this card by Terry Blais.   This is my version:

photo-2Here’s how I made the lion:

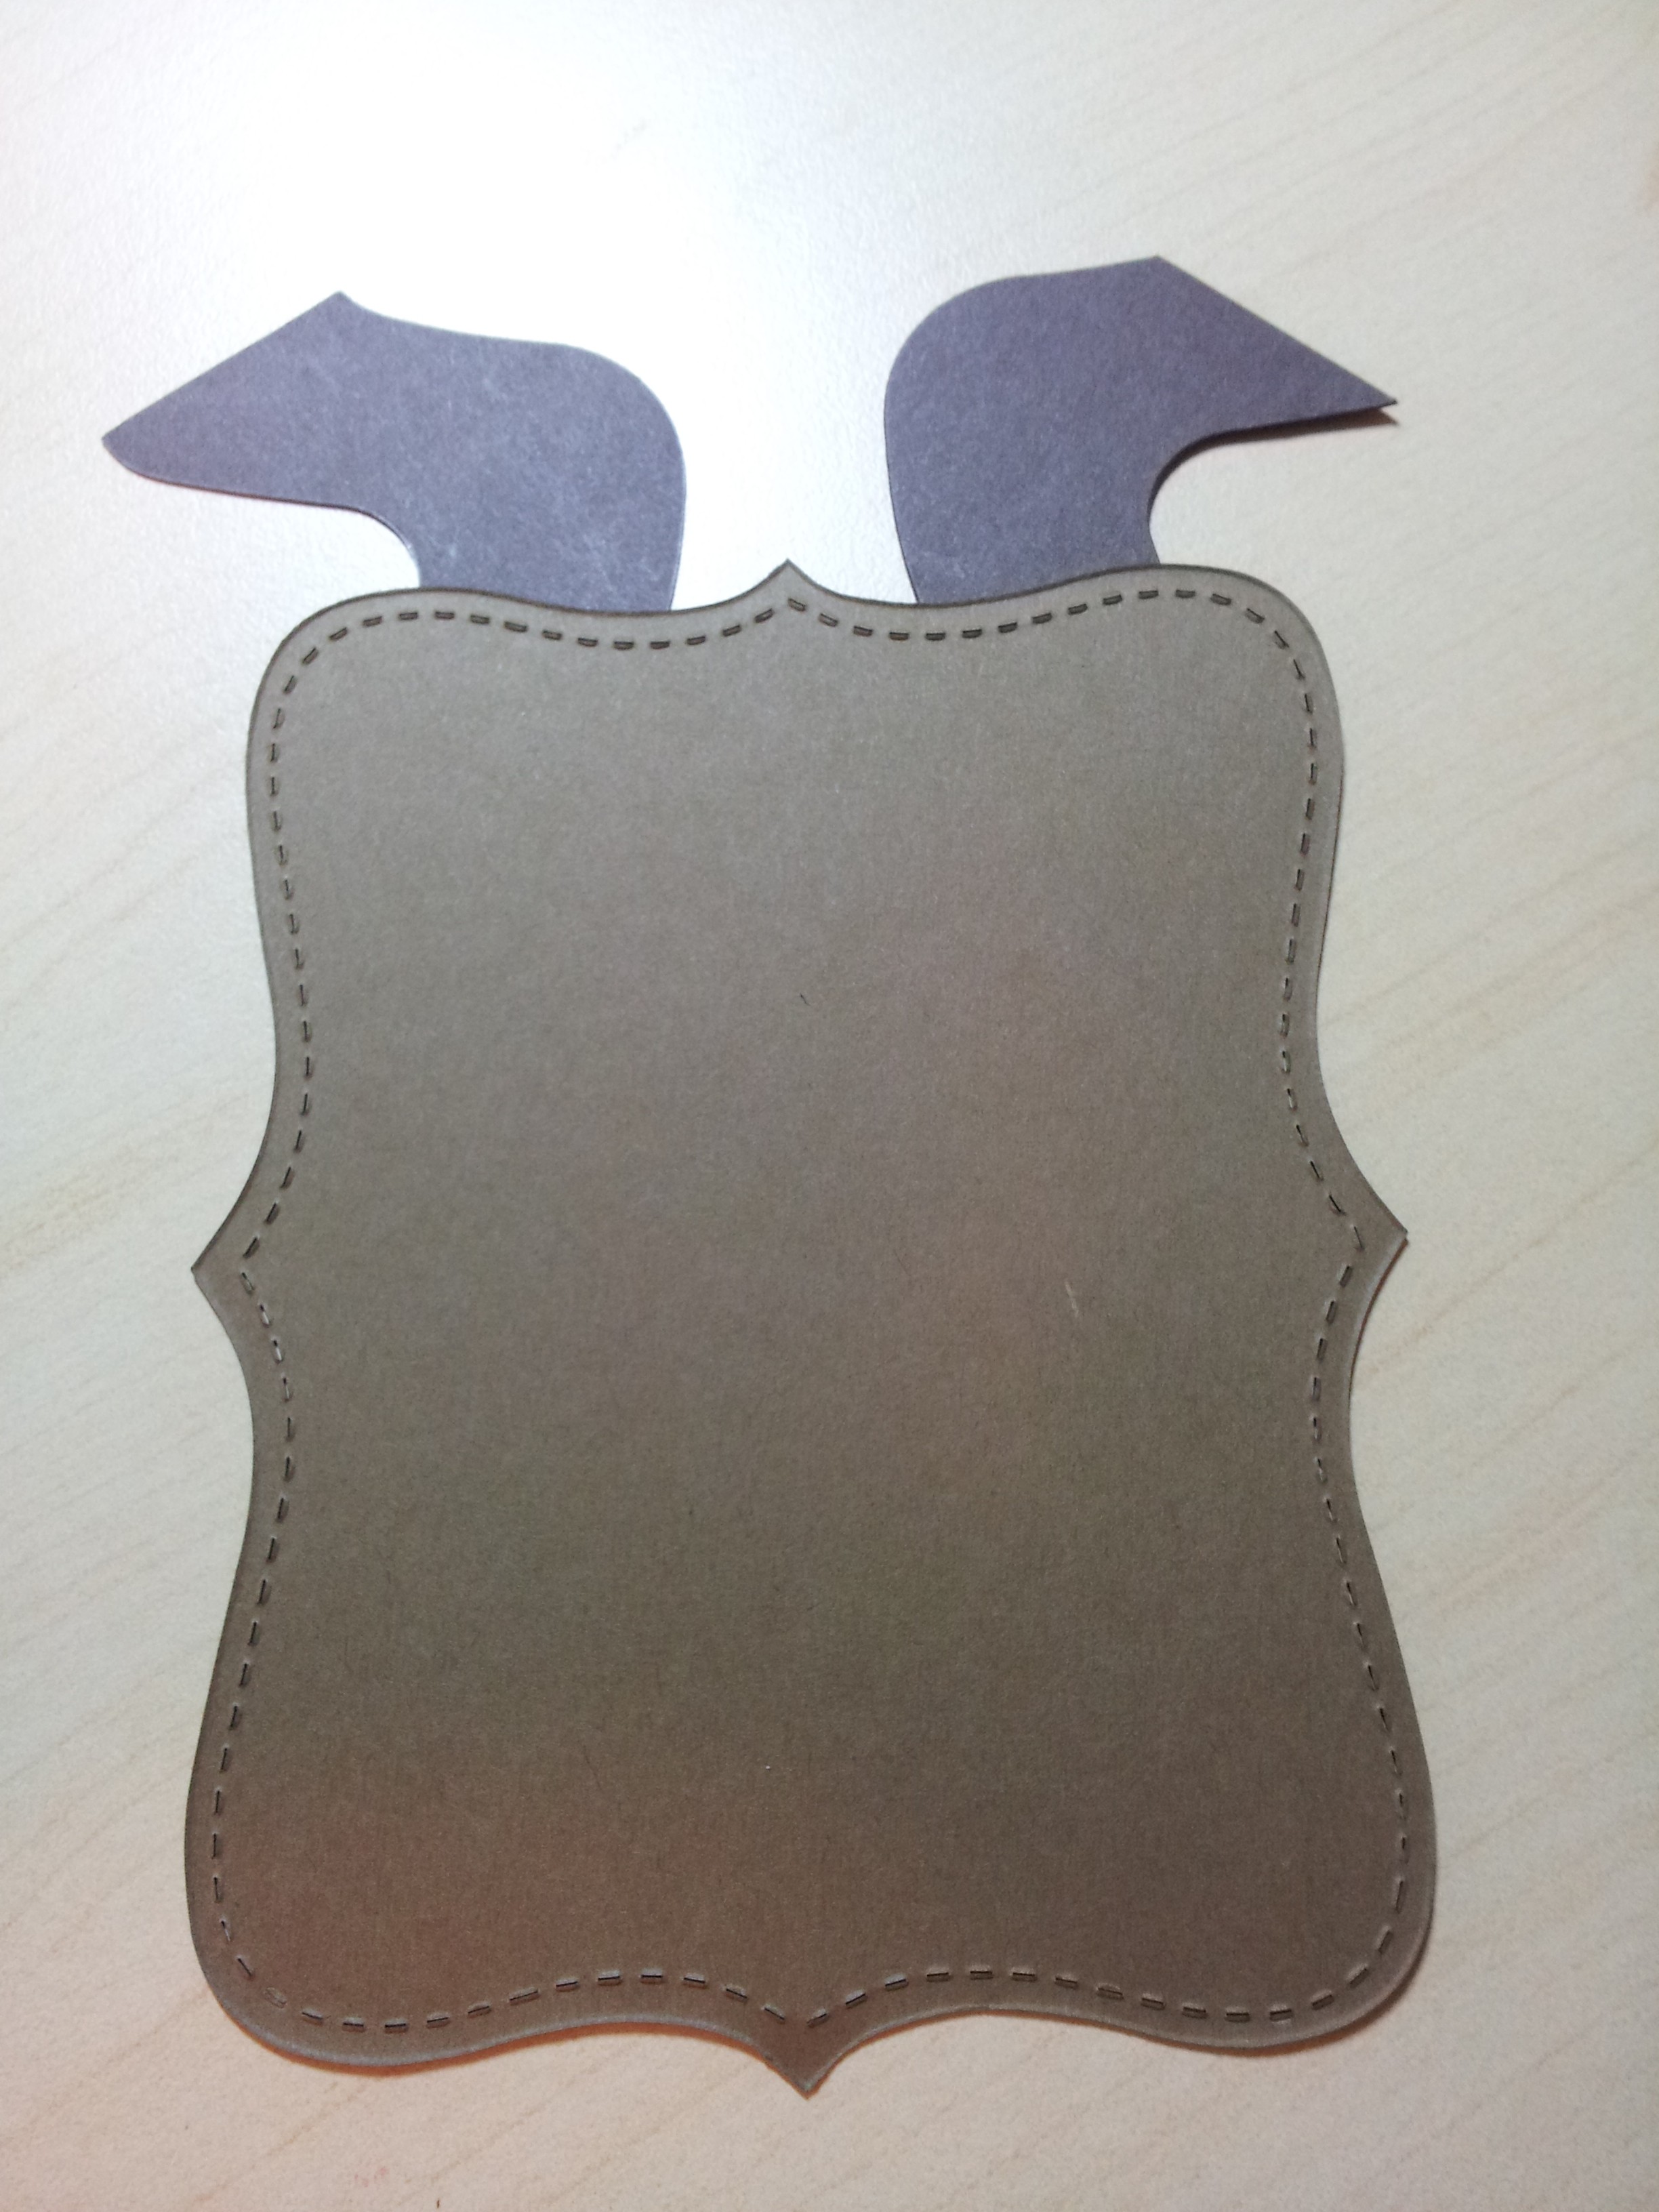
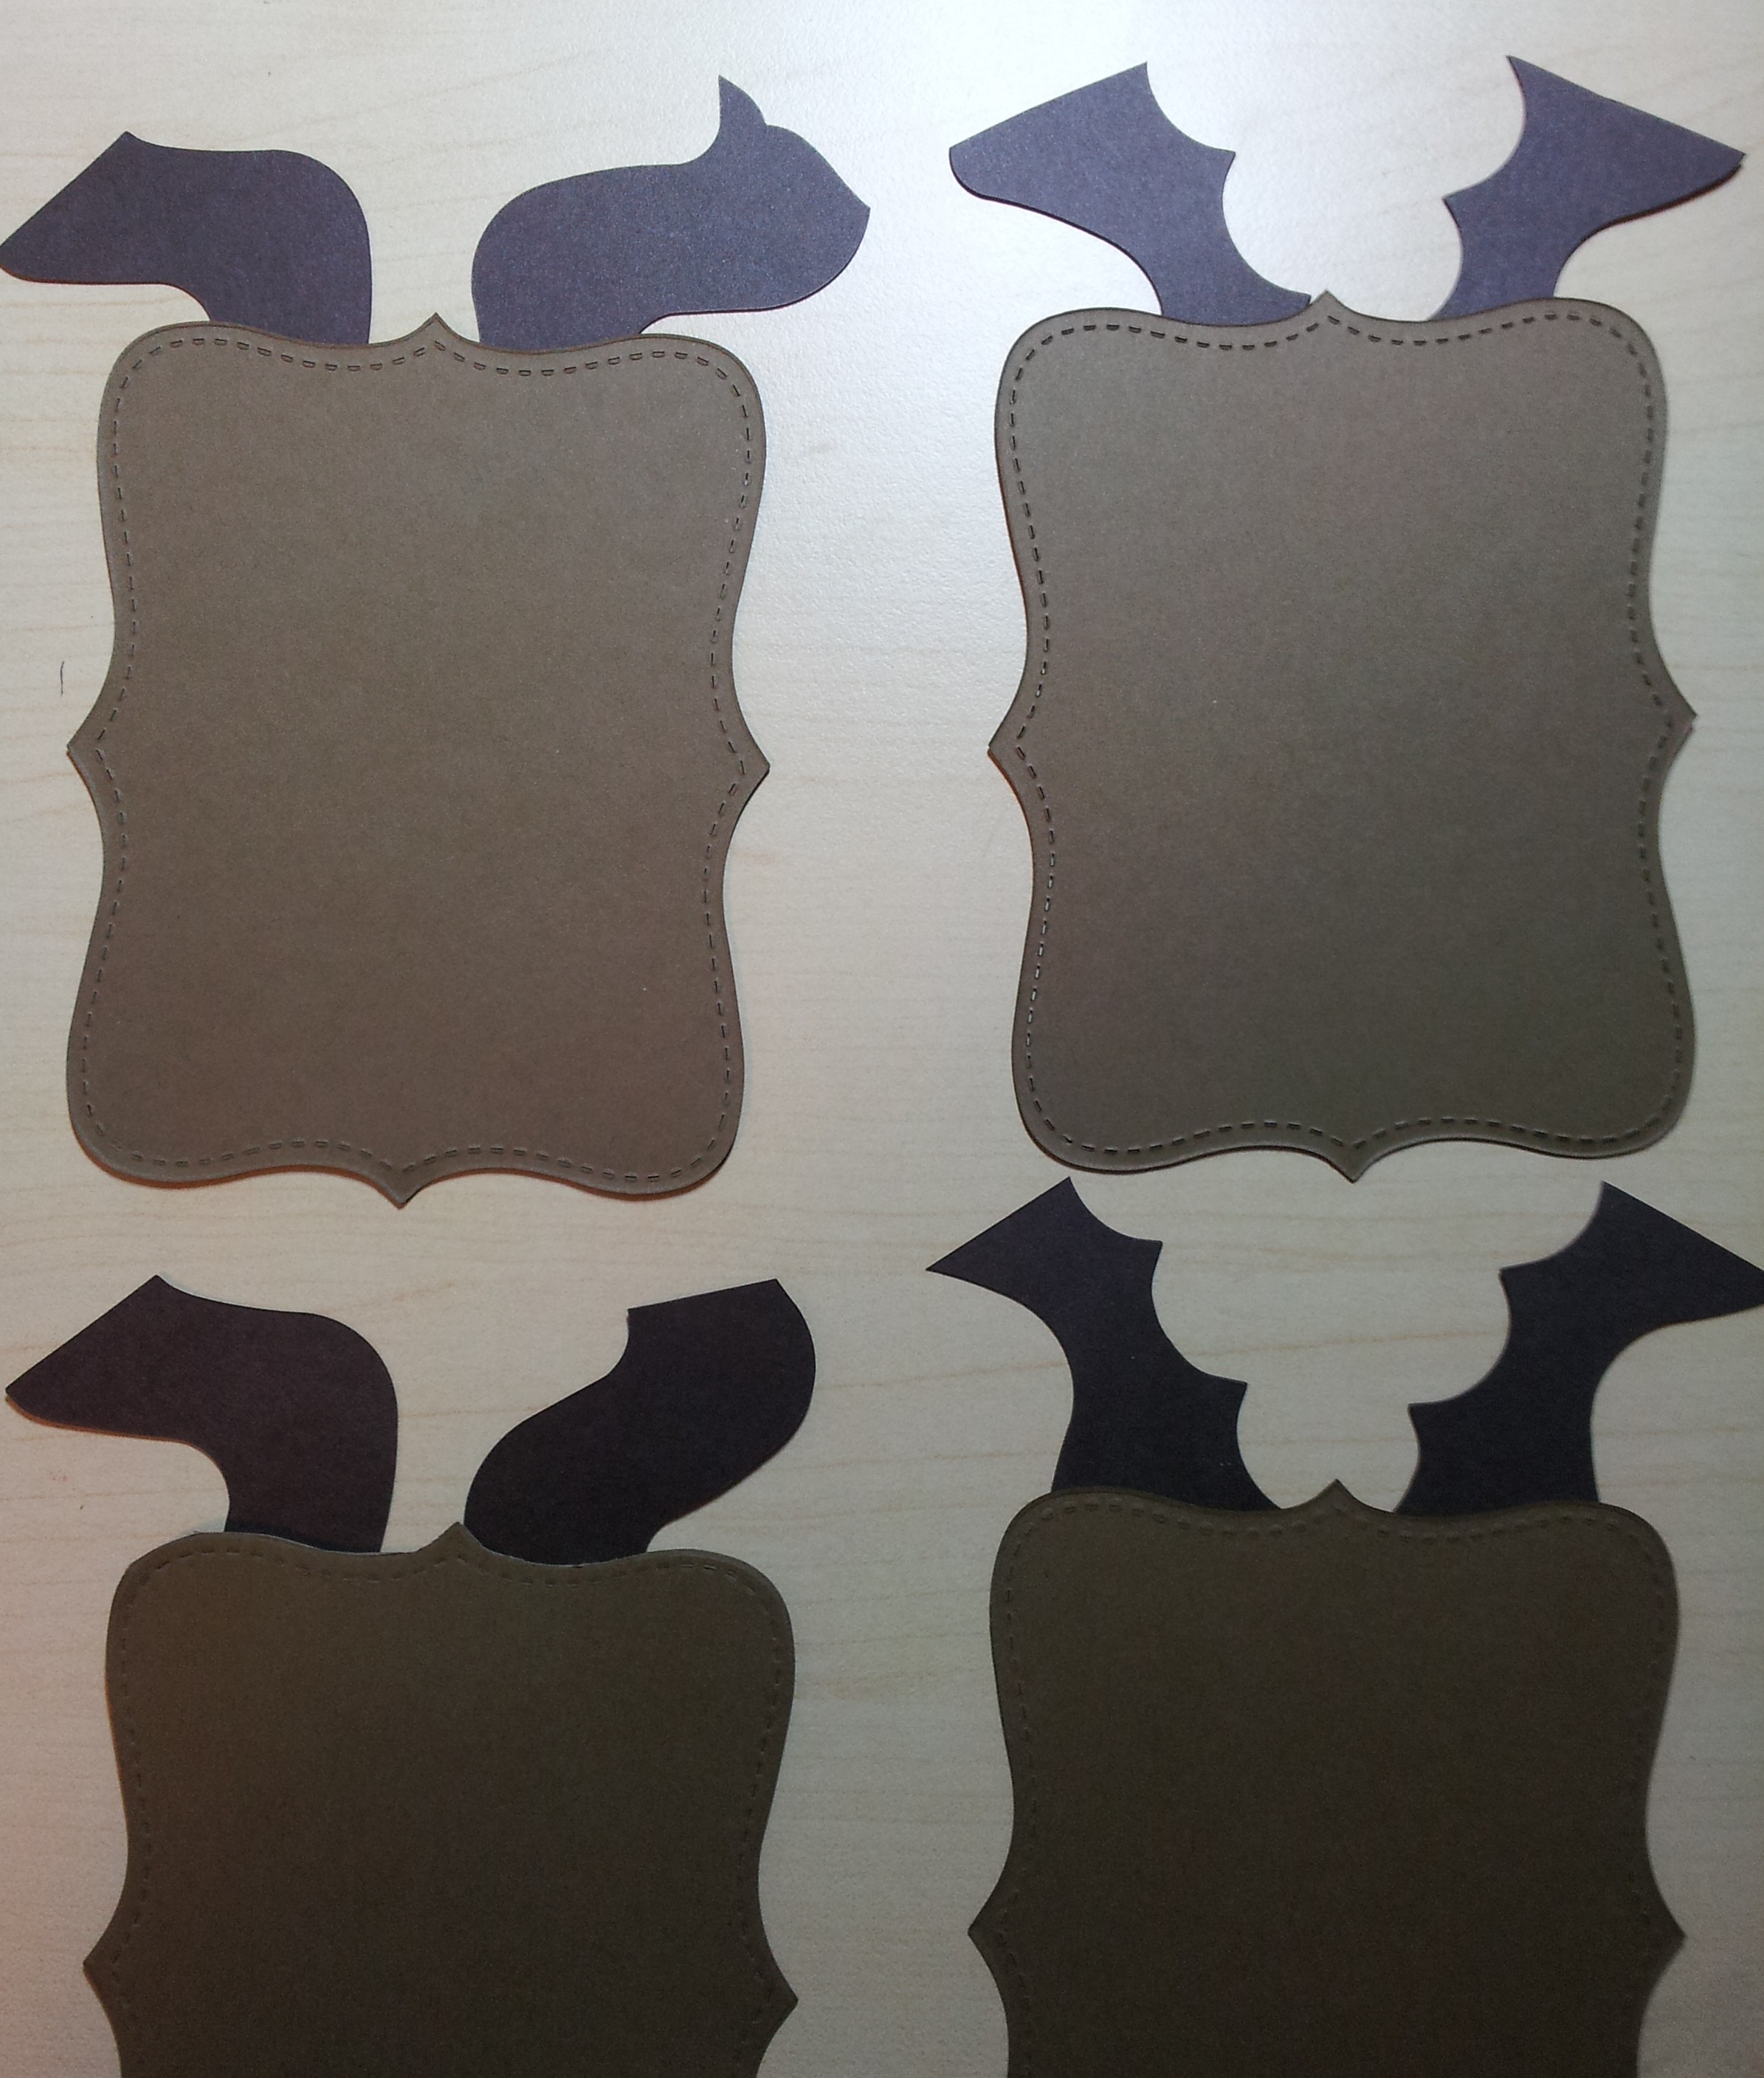
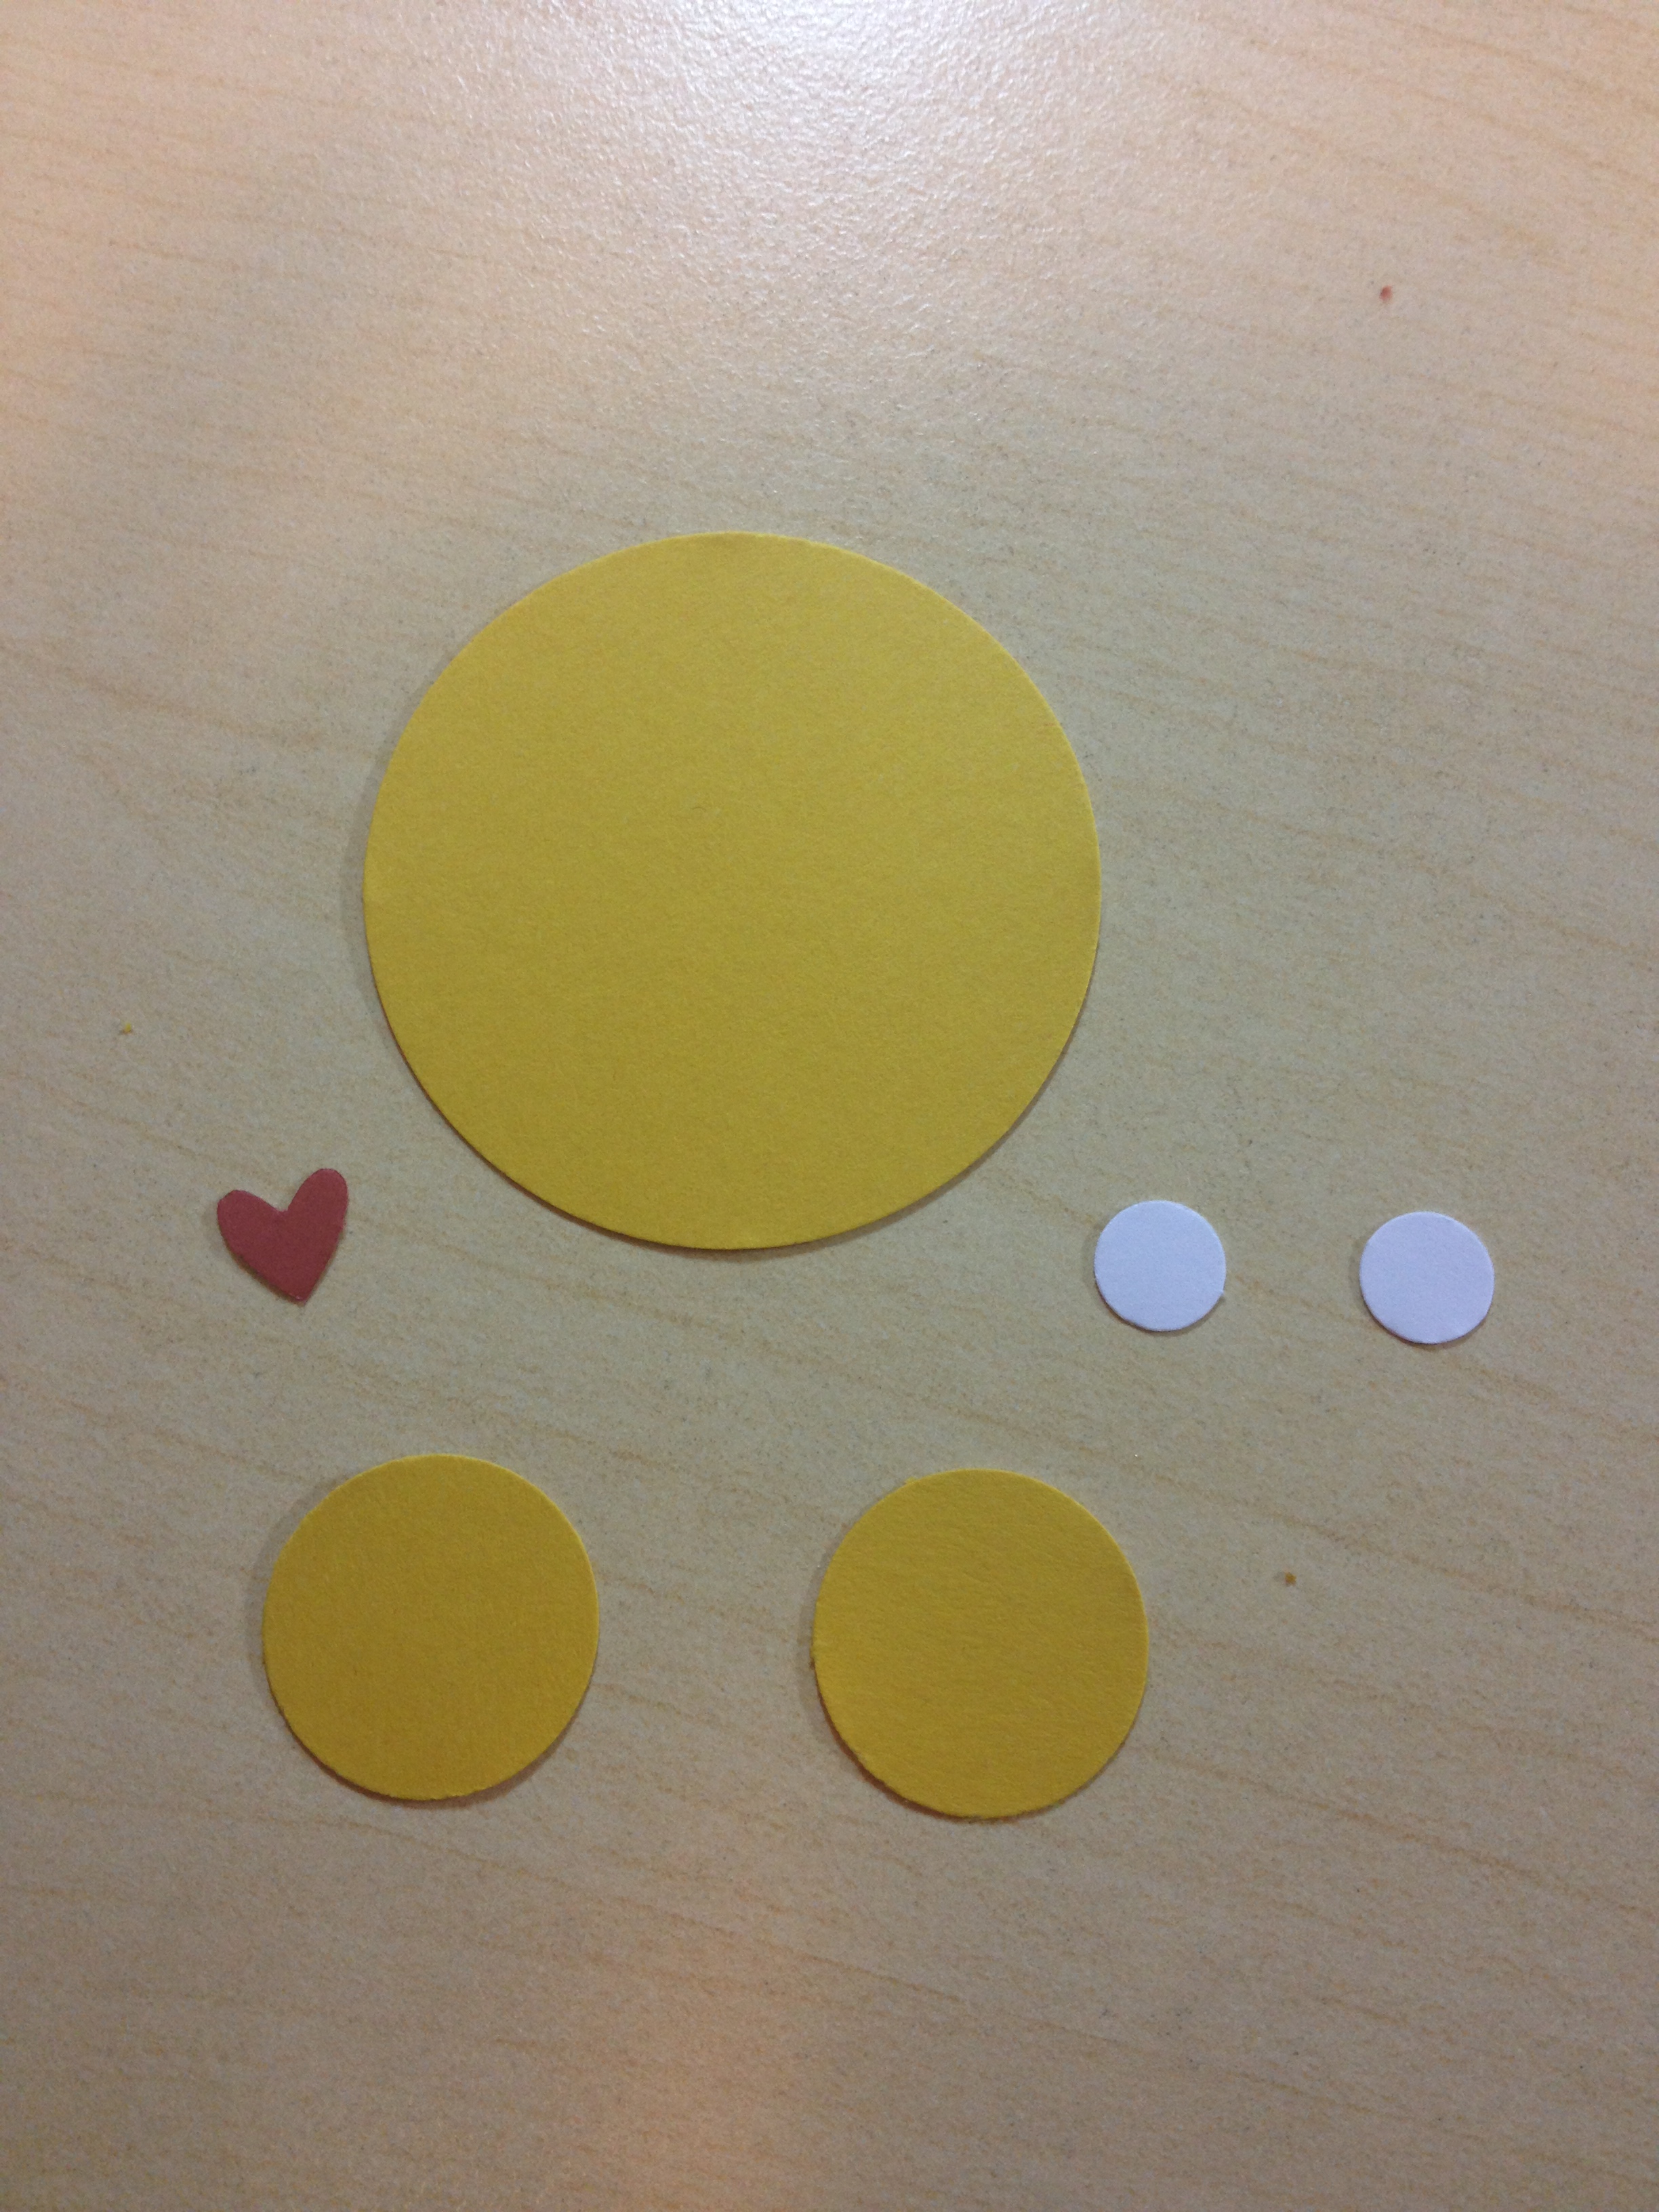
Step 1:  punch 2 flowers from the Blossom Punch in Cajun Craze.  Then punch out 3 petals from the Blossom Punch in Crushed Curry.   The Cajun Craze pieces will be the mane and the Crushed Curry will be the lion’s paws.

photo-1

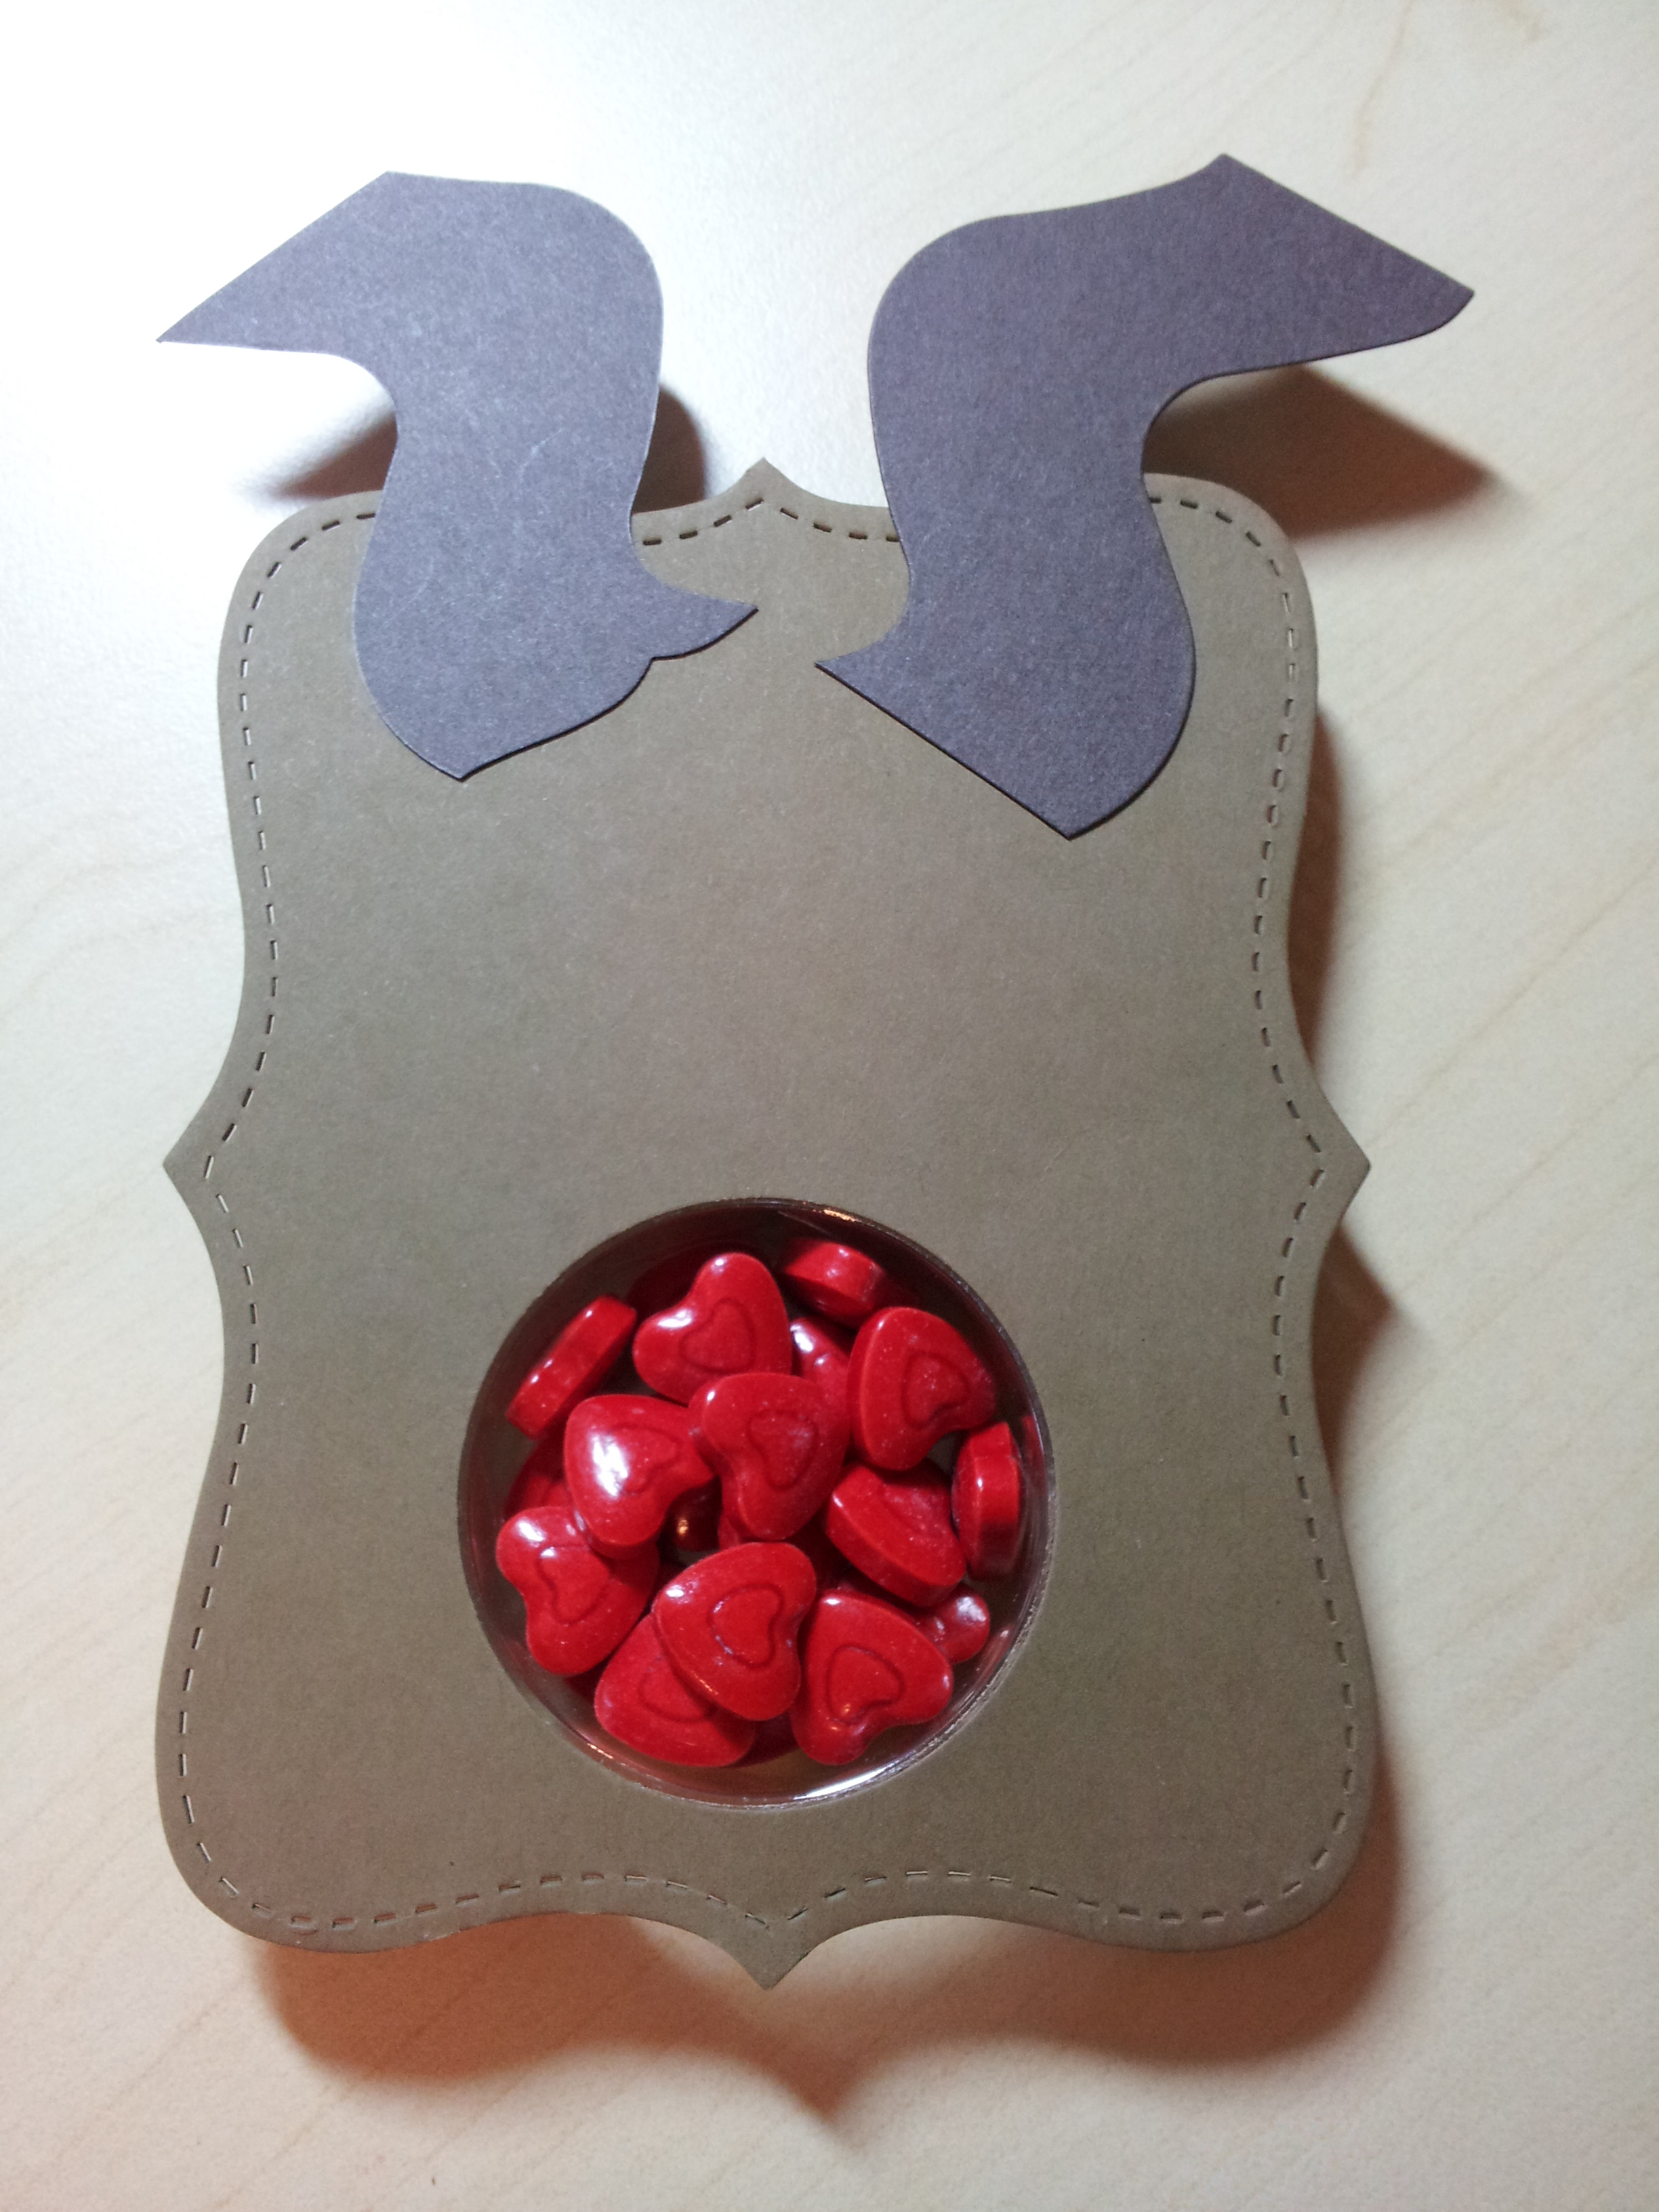
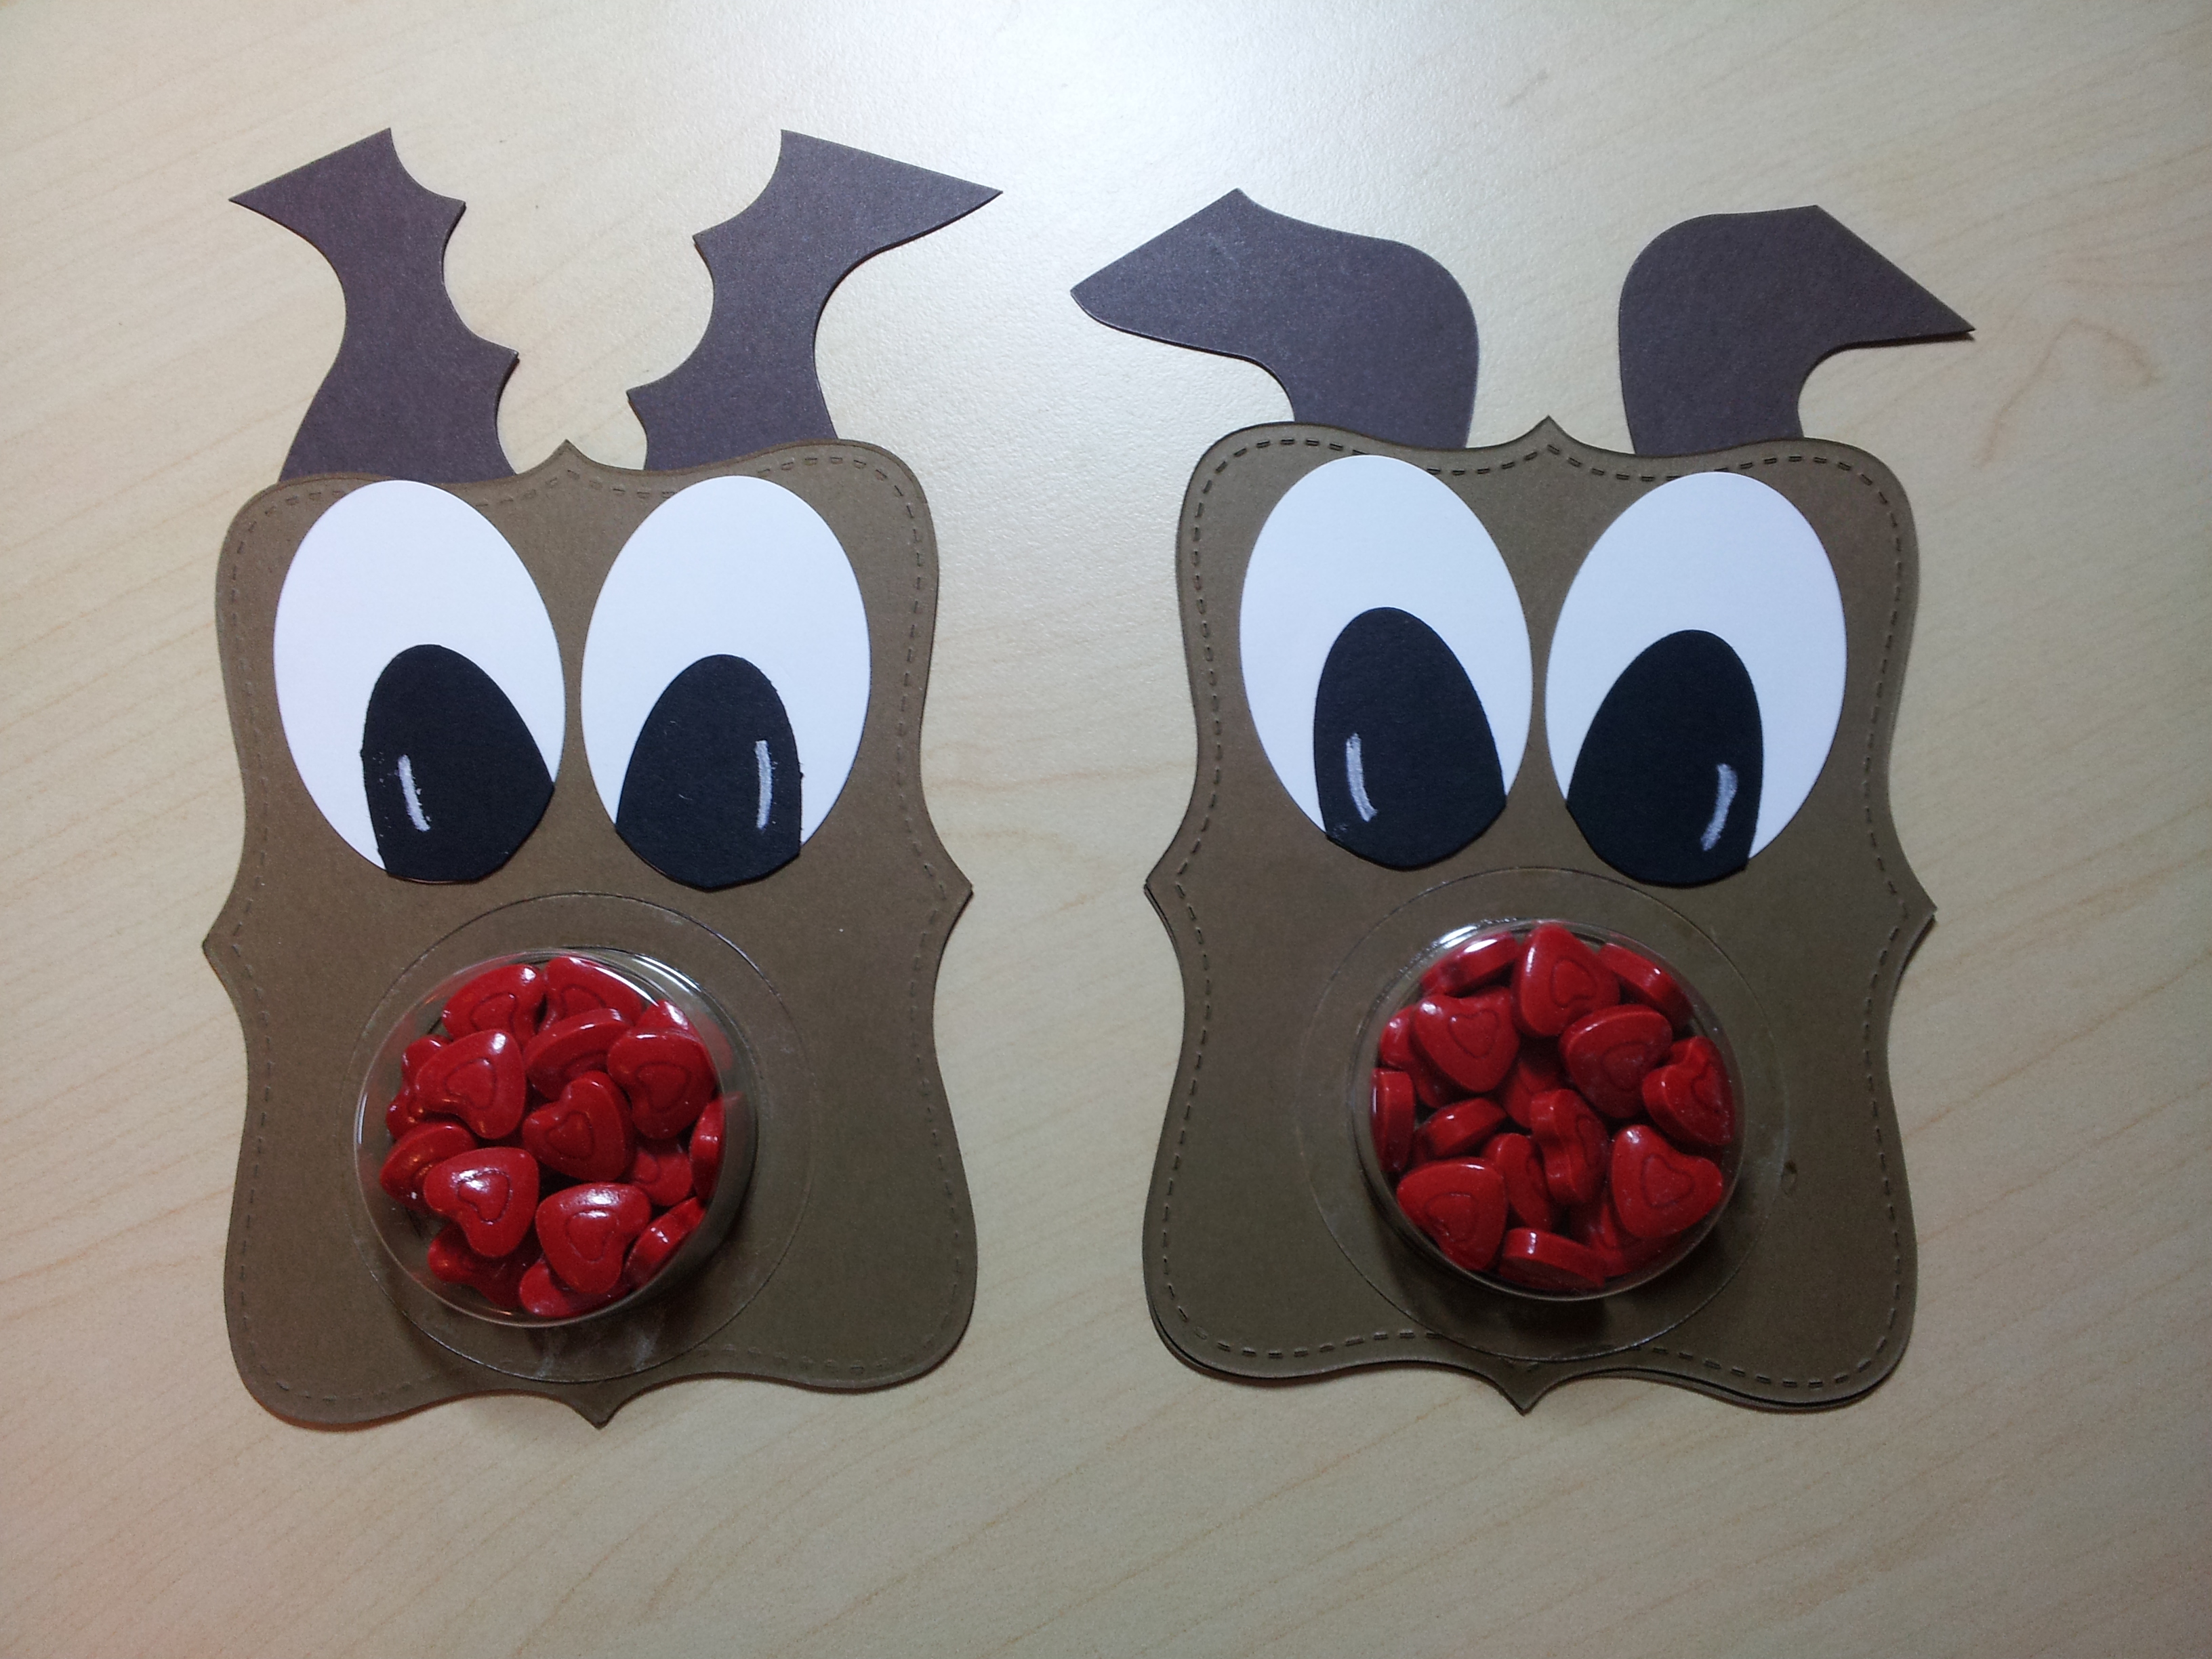
Step 2: punching pieces for the face.   I used a 1 3/4″ circle for the face and 2 x 3/4 inch circles for the cheeks.   I cut the eyes and nose using the Owl builder punch.

photo-4

Step 3: assembling the lion!!    I stuck the 2 Cajun Craze pieces together using dimensionals so the second layer of the mane had some height.  I then stuck the 1 3/4 circle on top and stuck on the pieces for the face.  I added goggley eyes for a bit of extra cuteness.  You could also use black eye centres from the owl punch, or even just draw black dots with a pen.

Step 4: adding the lions paws.   I cut the centre petal out of the Crushed Curry Blossom Punch piece like this:

mail.google

This worked well as 2 lion paws.

Here is the finished lion:

photo-3

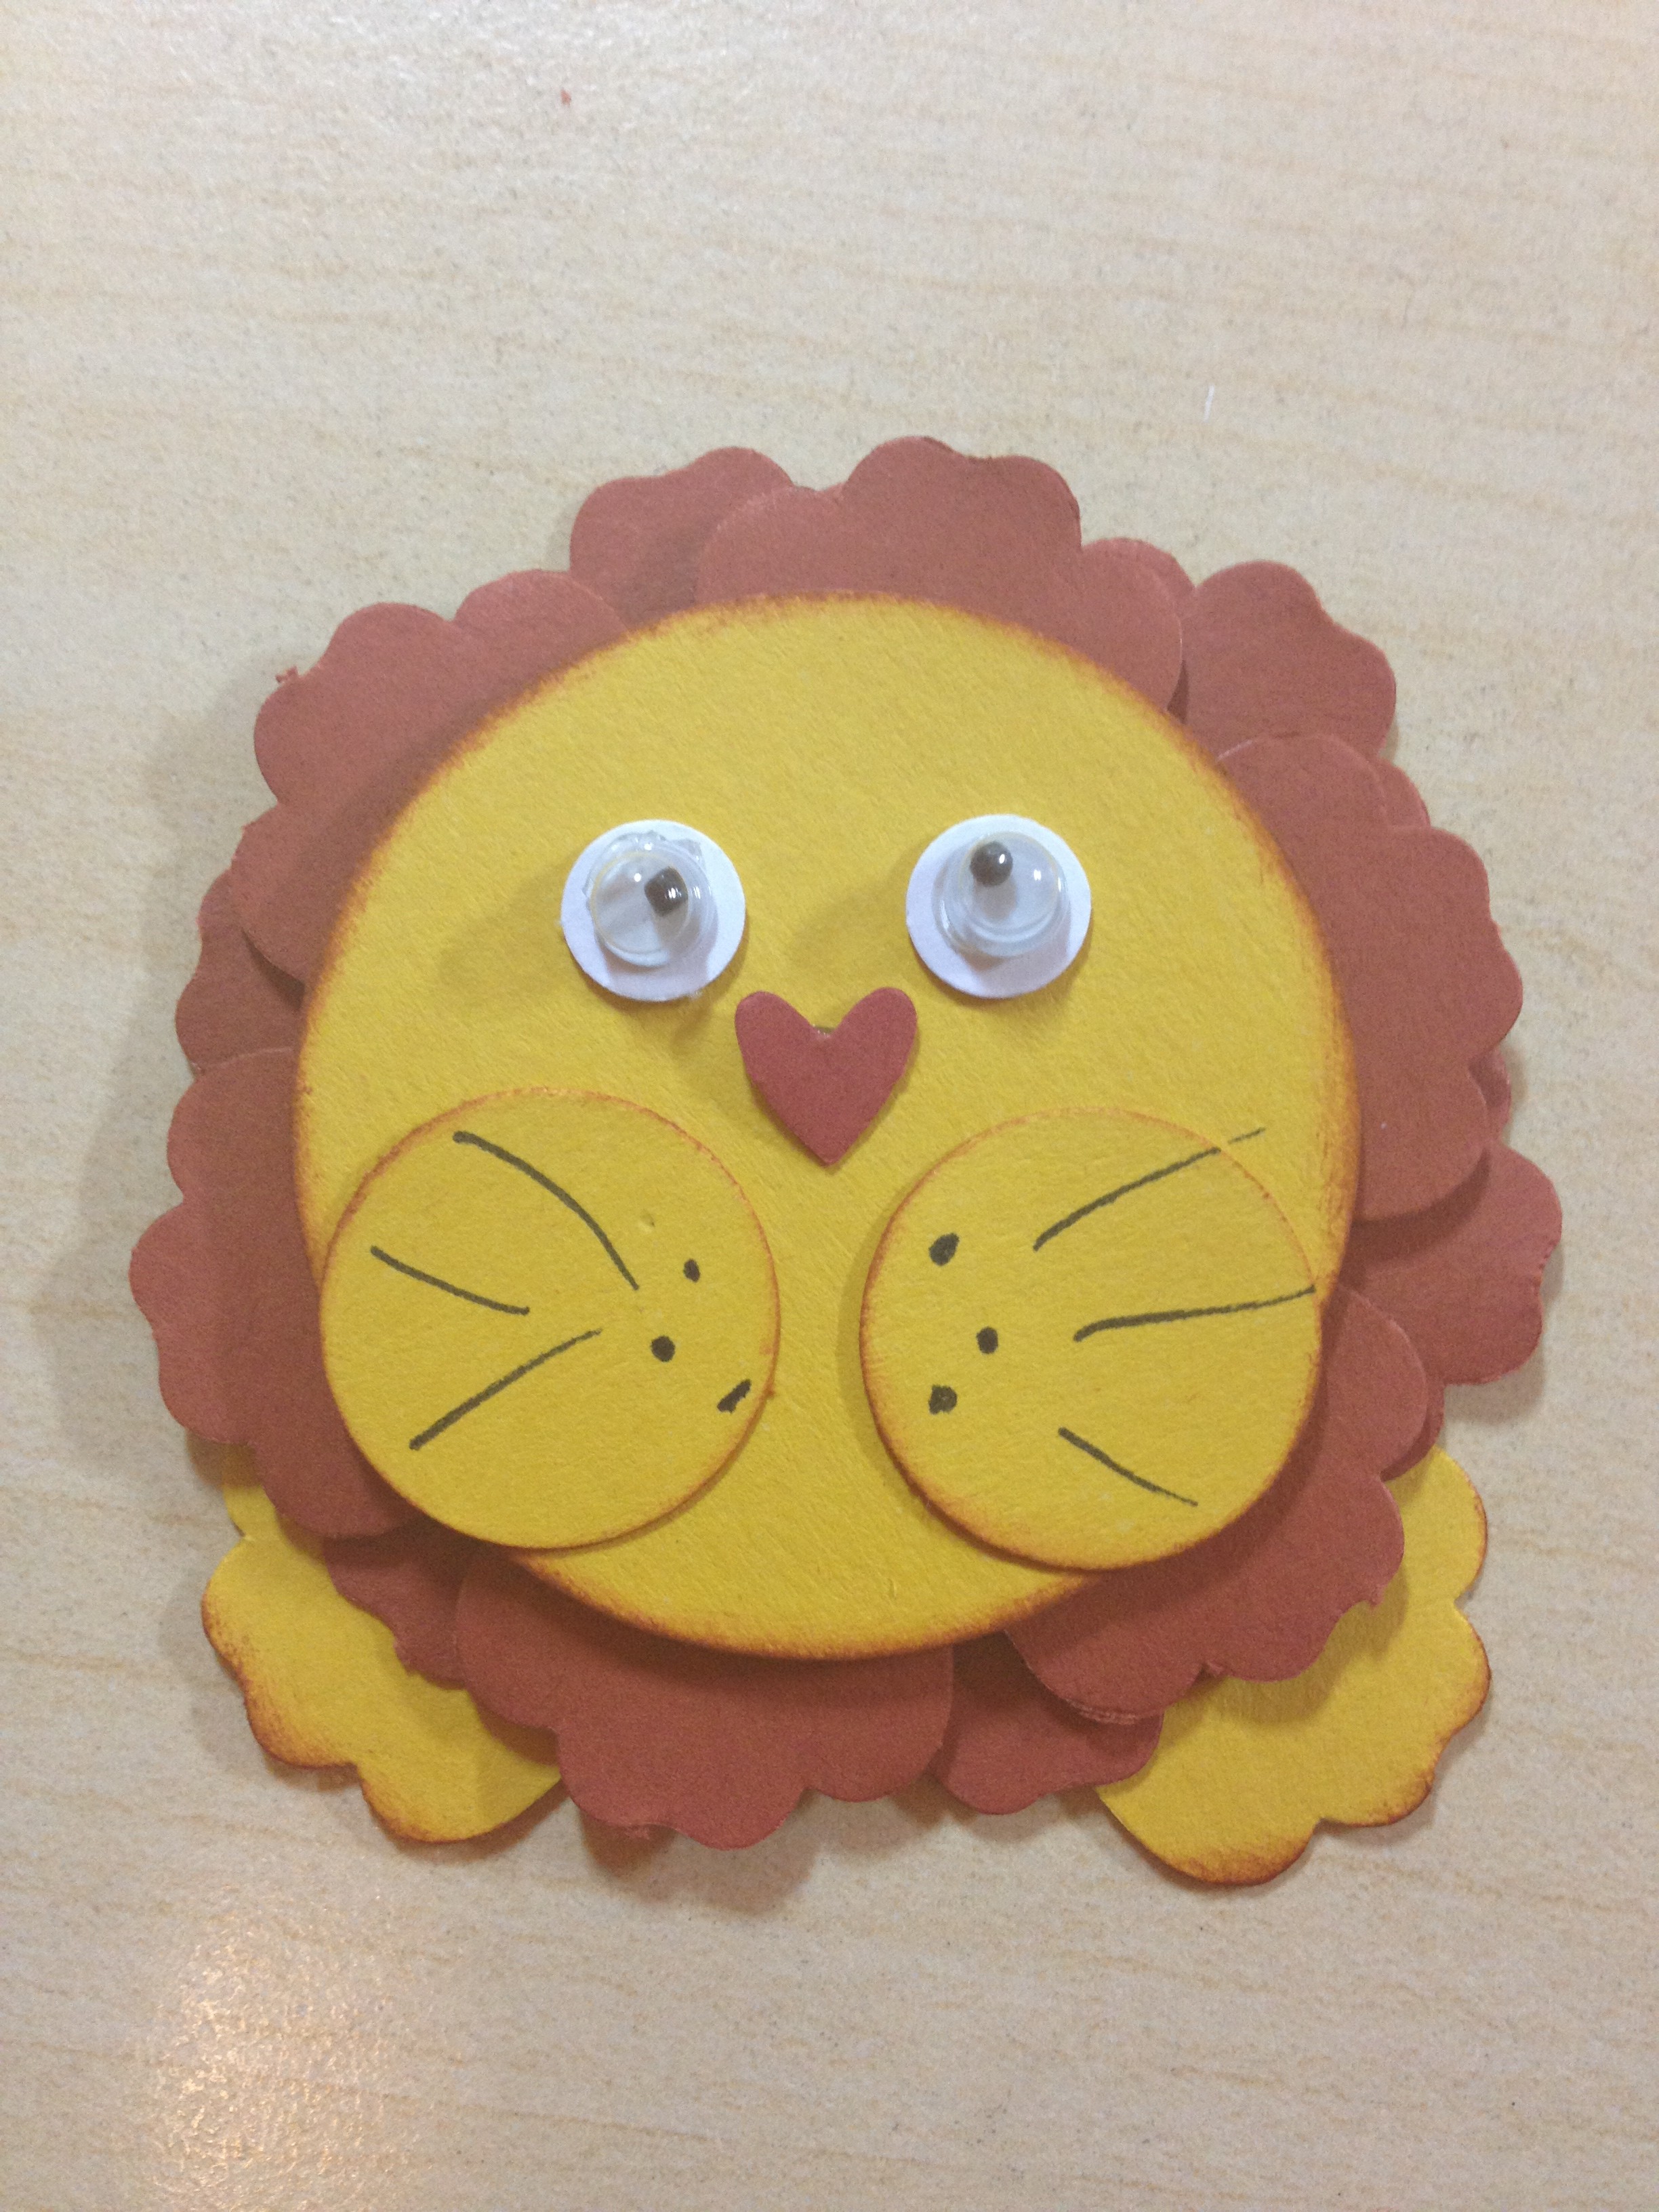
I used a sponge dipped in Cajun Craze ink to dab around the paws and face for a little extra colour.   A black pen for the whiskers and freckles and I was done.

I matted a Happy Birthday greeting in Cajun Craze on a Crushed Curry background and put it on an angle so it looked like the lion was holding a sign with its paws.

photo-2

I think the birthday boy thought it was very cute (even though not exactly your traditional 40th birthday card!)

Thanks for reading

Caro

Share this:

  • Click to share on Pinterest (Opens in new window) Pinterest
  • Click to share on X (Opens in new window) X
  • Click to share on Facebook (Opens in new window) Facebook
  • Click to email a link to a friend (Opens in new window) Email
  • More
  • Click to share on Reddit (Opens in new window) Reddit
  • Click to share on Tumblr (Opens in new window) Tumblr
Like Loading...

Rudolph sweet treats

22 Thursday Aug 2013

Posted by Carolyn in 1 3/4 circle, Big Shot, Dies, Sweet treat cups, Tasteful Trim, Top Note, Tutorial

≈ 2 Comments

Tags

Christmas in July, Rudolph the Red Nosed Reindeer, sweet treat cups

You’ll have seen from my last few posts I may have gone a little overboard on the decorations for our Christmas in July (in August) weekend?     I have another type to share with you today!

As part of my “research” I came across this  Rudolph ornament by Marie Shaughnessy using Stampin’ Up’s sweet treat cups.   My husband also bought me some red heart shaped lollies during the week, which got me thinking of red noses and Rudolph and what I could do.

I ended up making a table centre piece of Rudolph’s in a vase, with lollies for each guest to eat:

photo-4Here’s a closer look:

photo-1

The faces were made of a Top Note die cut out of Soft Suede card stock.  I cut 2 for each Rudolph.

I was hunting around for things that could work as antlers and thought about using my Tasteful Trim die.   When I cut it out however, I actually thought that the spaces between the cut out trim might actually work better as reindeer antlers than the trim itself!

20130815_173041

I cut up little bits of the trim and stuck them to the back of the card piece I was using for the front of the face:

20130815_181941

They all looked a little different.  I think the one on the bottom left probably looked the closest to real antlers?

20130815_173150

I then stuck on eyes* and cut a hole with my 1 3/4 inch circle punch (which is the size that perfectly matches the sweet treat cups)

20130815_182033

Next step was to stick the sweet treat cup on the front and then turn it over and fill up with lollies.   (Tip: make sure you stick the cup on really well.  Run your fingers around it a few times sticking it down.  I let my little boy stick a couple on and they needed to be restuck later!)

20130815_182153

I then stuck another top note on the back of the first one to hold the lollies in – and ta da, some Rudolph the Red Nosed Reindeers!

20130815_182533

Please contact me if you’d like to get your hands on some sweet treat cups and try some of these for yourselves 🙂

Caro

* I will show you how to make the eyes in a separate post.   I played around with a few different methods so I’ll save you the time 🙂

Share this:

  • Click to share on Pinterest (Opens in new window) Pinterest
  • Click to share on X (Opens in new window) X
  • Click to share on Facebook (Opens in new window) Facebook
  • Click to email a link to a friend (Opens in new window) Email
  • More
  • Click to share on Reddit (Opens in new window) Reddit
  • Click to share on Tumblr (Opens in new window) Tumblr
Like Loading...

Dinosaur punch art cards

13 Saturday Jul 2013

Posted by Carolyn in 1 3/4 circle, 3/4 inch circle, Birthday, Cupcake Builder, Kids cards

≈ 2 Comments

Hello

Sorry for the long delay between posts.  Work has been very busy.  Add into that a 4 year old’s birthday party and some overseas work travel and there hasn’t been a lot of spare time lately!

I finally got to do some card making today though – with my 4 year old, which is always nice and can be challenging!  He is off to his friend’s dinosaur themed birthday party tomorrow, so we decided to try and make a dinosaur themed card.

We started by a little Google searching for inspiration, and he decided he’d like to try and make a dinosaur a bit like this one (made by Sandra Jayne Wingate).

First we tried a prototype:

photo-4

He was quite pleased with that one (as was I!) – but then he decided we could do better!

So here is Dinosaur Mark II – with added spots, buttons for nostrils and bigger whites behind the googly eyes.

photo-2

Here they are side by side:

photo-3

These were pretty easy to make.

The orange card blanks were standard C6 size.  The pale blue was cut 10cm x 14.3cm.

The dinosaur body was a strip of paper approx 1 inch x 4 inches (they are slightly different on each one as I was using up scraps).  The rest of the shapes were punched from Stampin’ Up! punches:

Head –  1 3/4″ circle

Mouth – Extra large oval

Eyes (on Dinosaur Mark II) – 3/4″ circle

Nostrils (on Dinosaur Mark I) – circles cut from the Cupcake Builder punch

Clouds – cupcake top from the Cupcake Builder punch

Spines & teeth – edges cut from a star punch (retired).  You could also use petals from any flower punch, the tip of the bird’s wing or tail from the Bird Builder punch or just cut some triangles from a strip of paper (or divide a square punch into 4).  You could even use the ends of the Modern Label or Word Window punches … the possibilities are endless really.

I hope the birthday boy enjoys his dinosaur card!

Thanks for reading.  I’ll try not to have such a long break before the next post

Caro

Share this:

  • Click to share on Pinterest (Opens in new window) Pinterest
  • Click to share on X (Opens in new window) X
  • Click to share on Facebook (Opens in new window) Facebook
  • Click to email a link to a friend (Opens in new window) Email
  • More
  • Click to share on Reddit (Opens in new window) Reddit
  • Click to share on Tumblr (Opens in new window) Tumblr
Like Loading...

Rudolph bottle topper

01 Saturday Jun 2013

Posted by Carolyn in 1 3/4 circle, 3/4 inch circle, 3D projects, Bird Builder, Gift bags, Gift tags & wrapping, Large Oval, Word Window

≈ Leave a comment

Tags

Bottle topper, gifts, punch art

HI there

As you have probably noticed, most of my blog posts so far have been the result of sorting through all photos of things I’ve made and sharing them with you.  This post is similar!

At Christmas time we always seem to have lots of bottles of wine as gifts for family and friends.  (I’m not sure if that says more about them or us!)  I got a bit sick of buying bottle gift bags this year so thought I’d come up with something a little more personal.

The result was this little Rudolph bottle topper, and I think it’s pretty cute (even if I do say so myself!)

20121223_161603

I used some offcuts of Riding hood Red card stock I had lying around so didn’t measure the width but it was roughly 7 cm wide.    I used my largest circle punch to punch a hole for the bottle to go through and then scored below it and folded.

To make the Rudolph I used my small oval punch for the head, a 3/4 inch circle punch for the red nose, half of a 1 3/4 inch circle for the body, the ends of a word window punch for the ears and the leaves from the bird builder punch for the antlers.

I used a snowflake image from a retired stamp set to decorate the background, but any small flower stamp in white ink would probably look like snowflakes?

The bottles looked really cute under the tree with their little Rudolph neck covers 🙂

20121223_161716

Next time I might try making birthday or general occasion bottle toppers – I may never buy a bottle bag again!

Thanks for reading

Caro

Share this:

  • Click to share on Pinterest (Opens in new window) Pinterest
  • Click to share on X (Opens in new window) X
  • Click to share on Facebook (Opens in new window) Facebook
  • Click to email a link to a friend (Opens in new window) Email
  • More
  • Click to share on Reddit (Opens in new window) Reddit
  • Click to share on Tumblr (Opens in new window) Tumblr
Like Loading...
Newer posts →

Carolyn Dalton

Independent Stampin Up! Demonstrator

Recent Posts

  • Pretty butterfly birthday card 
  • Adding an extra touch to a homemade envelope
  • Quick and easy masculine card 
  • Quick and easy kids card
  • Butterfly soap card

Archives

  • March 2016
  • February 2016
  • January 2016
  • December 2015
  • November 2015
  • October 2015
  • September 2015
  • August 2015
  • July 2015
  • June 2015
  • May 2015
  • April 2015
  • September 2014
  • July 2014
  • April 2014
  • March 2014
  • February 2014
  • November 2013
  • October 2013
  • September 2013
  • August 2013
  • July 2013
  • June 2013
  • May 2013
  • May 2012

Categories

  • 1 1/4 inch circle
  • 1 3/4 circle
  • 1 3/4 inch scallop circle
  • 1 3/8 circle
  • 1 inch circle
  • 1 inch square
  • 2 3/8 inch scallop punch
  • 3/4 inch circle
  • 3D / pop up
  • 3D projects
  • Anniversary
  • Baby cards
  • Beautiful Butterflies
  • Big Shot
  • Bird Builder
  • Birthday
  • Bitty Butterfly
  • Blossom
  • Blossom Builder
  • Boho Blossoms
  • Boxes
  • Butterfly (retired)
  • Candy Wrapper
  • Card sets
  • Cards
  • Chalk Talk
  • Christmas
  • Circle Thinlits
  • Circle treat cups
  • Circles #2
  • Corner rounder
  • Cupcake Builder
  • Cupcakes and other tasty treats
  • Curly label
  • Decorative Label
  • Dies
  • Elegant Butterly
  • Embossing folders
  • Envelopes
  • Extra Large Oval
  • Fancy Flower
  • Framelits
  • Full heart
  • General occasion
  • Gift bags
  • Gift bow
  • Gift card holders
  • Gift tags & wrapping
  • Home decorating
  • Horizontal Slot
  • Invitations
  • Jewellery tag
  • Kids cards
  • Kids craft ideas
  • Kids party
  • Labels collection
  • Large Oval
  • Love notes
  • Masculine
  • Mini scallop
  • Modern Label
  • Music Notes
  • Notebooks
  • Owl
  • Perfect Polka Dots
  • Petite curly label
  • Pinwheel die
  • Punches
  • Scallop circle
  • Scallop edge
  • Scallop envelope
  • Scallop oval
  • Scallop Tag Topper
  • Small Heart
  • Square Lattice
  • Star
  • Sweet treat cups
  • Tag
  • Tasteful Trim
  • Thank you
  • Thoughts and comments
  • Top Note
  • Tutorial
  • Uncategorized
  • Using up scraps
  • Washi tape
  • Wedding cards
  • Wheels
  • Wildflower Meadow
  • Word Window

Pinterest

Follow Me on Pinterest

Follow me on Twitter

My Tweets

Enter your email address to follow this blog and receive notifications of new posts by email.

Join 26 other subscribers

Blog at WordPress.com.

Privacy & Cookies: This site uses cookies. By continuing to use this website, you agree to their use.
To find out more, including how to control cookies, see here: Cookie Policy
  • Subscribe Subscribed
    • Caro's Pretty Things
    • Join 26 other subscribers
    • Already have a WordPress.com account? Log in now.
    • Caro's Pretty Things
    • Subscribe Subscribed
    • Sign up
    • Log in
    • Report this content
    • View site in Reader
    • Manage subscriptions
    • Collapse this bar
 

Loading Comments...
 

    %d