• About

Caro's Pretty Things

~ My papercraft blog

Category Archives: Using up scraps

Cute cards using up old DSP

29 Sunday Sep 2013

Posted by Carolyn in Bitty Butterfly, Cards, Elegant Butterly, General occasion, Punches, Using up scraps

≈ Leave a comment

Tags

cards, DSP, pretty paper, simple card layouts, using up scraps

HI there

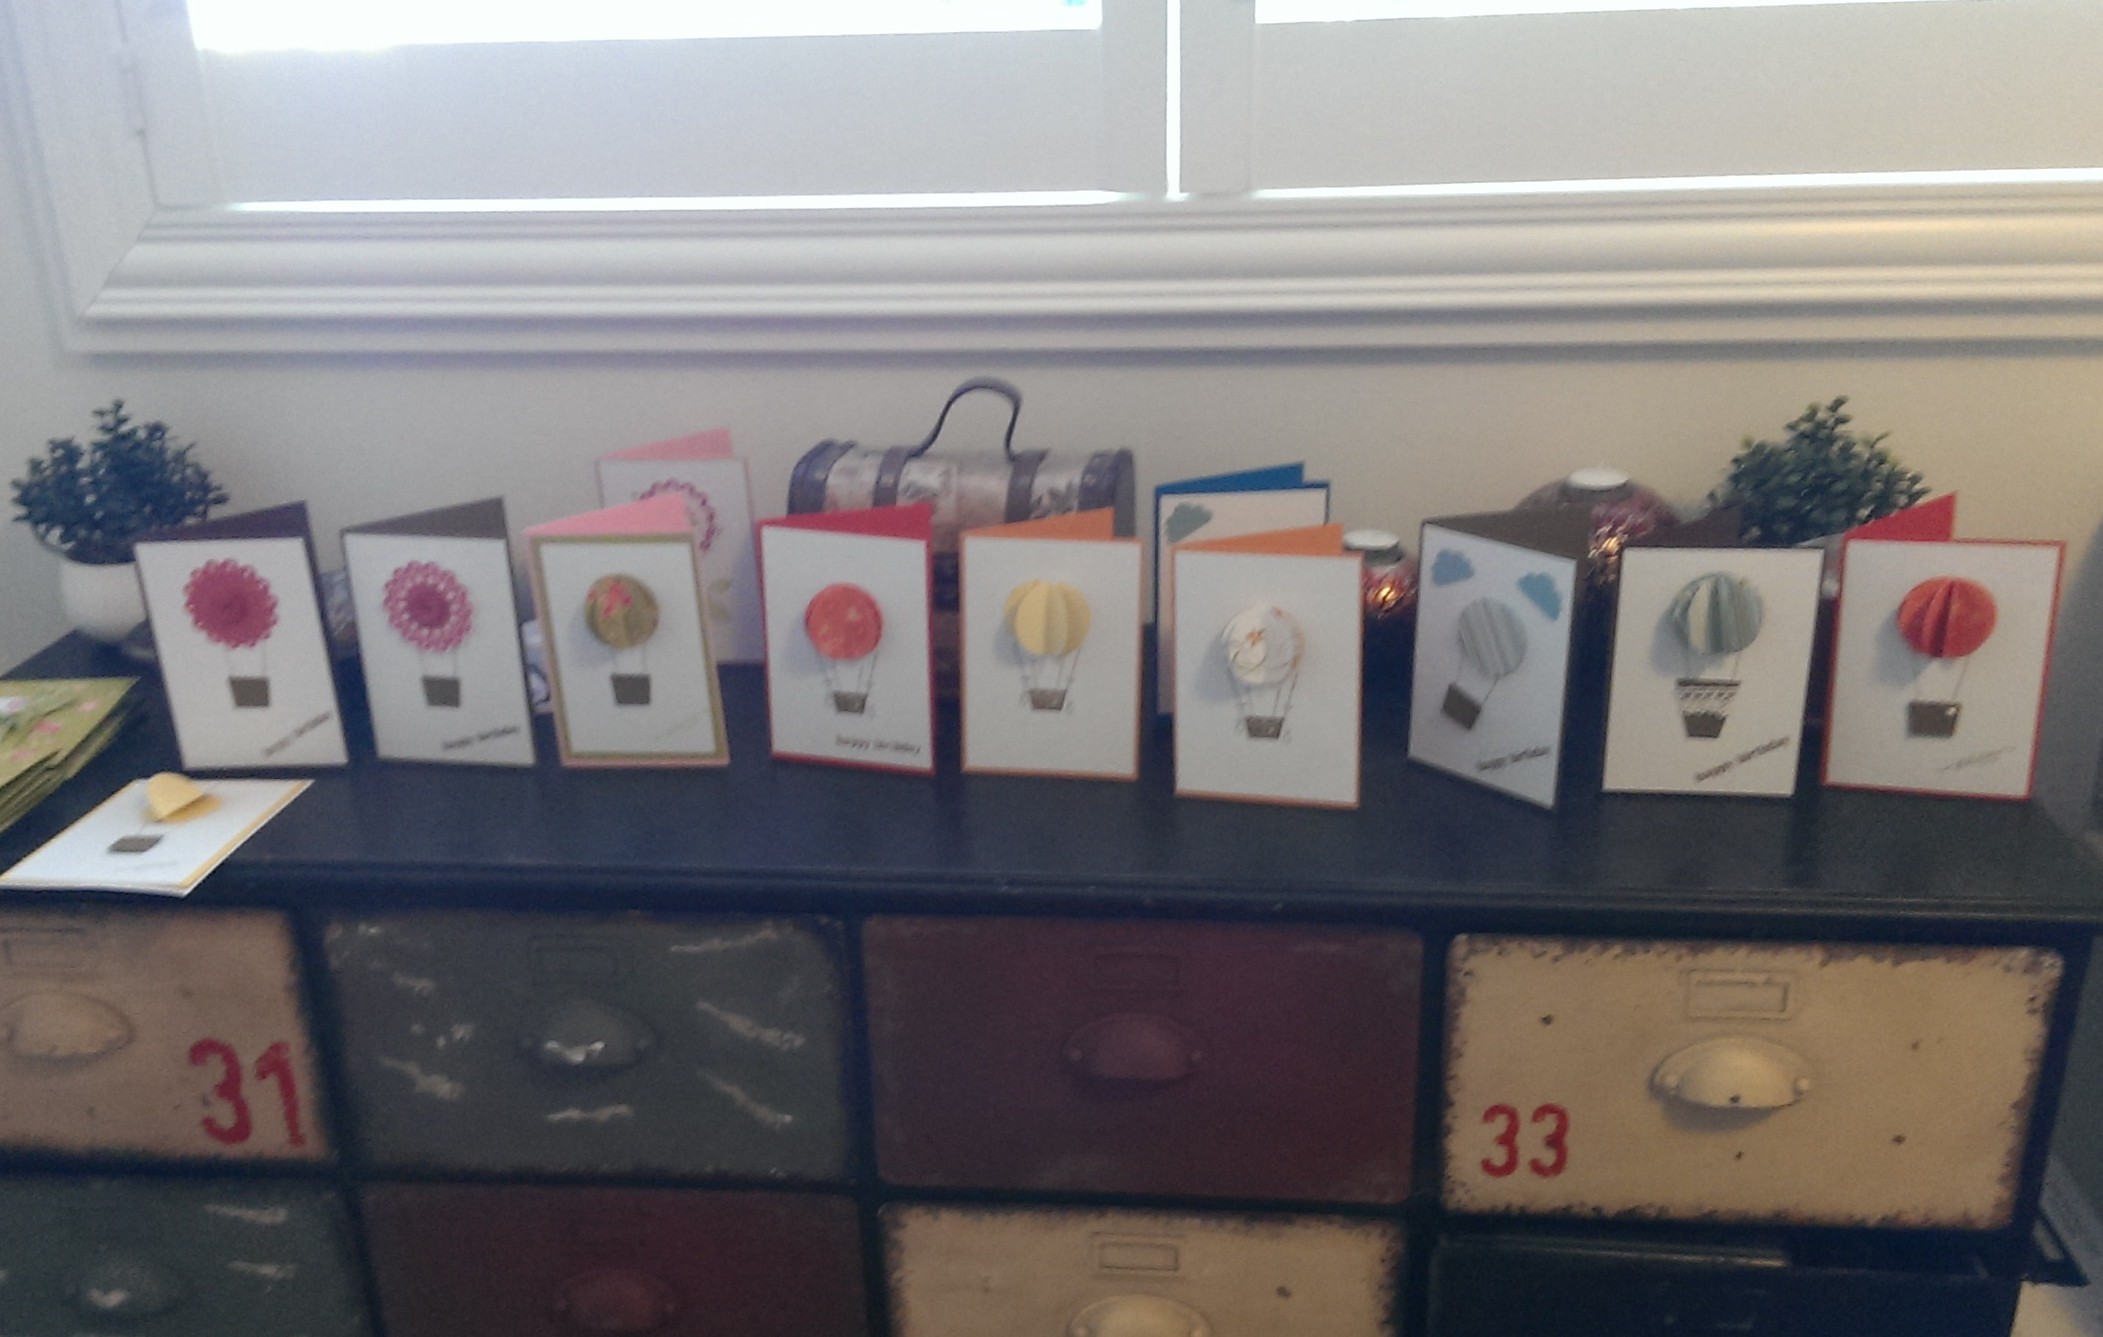
Sorry for the little break in posting.  I haven’t been doing much blogging – but I have been making lots of cards over the last few weeks so stay tuned.  I will try and find some time to show them to you soon.

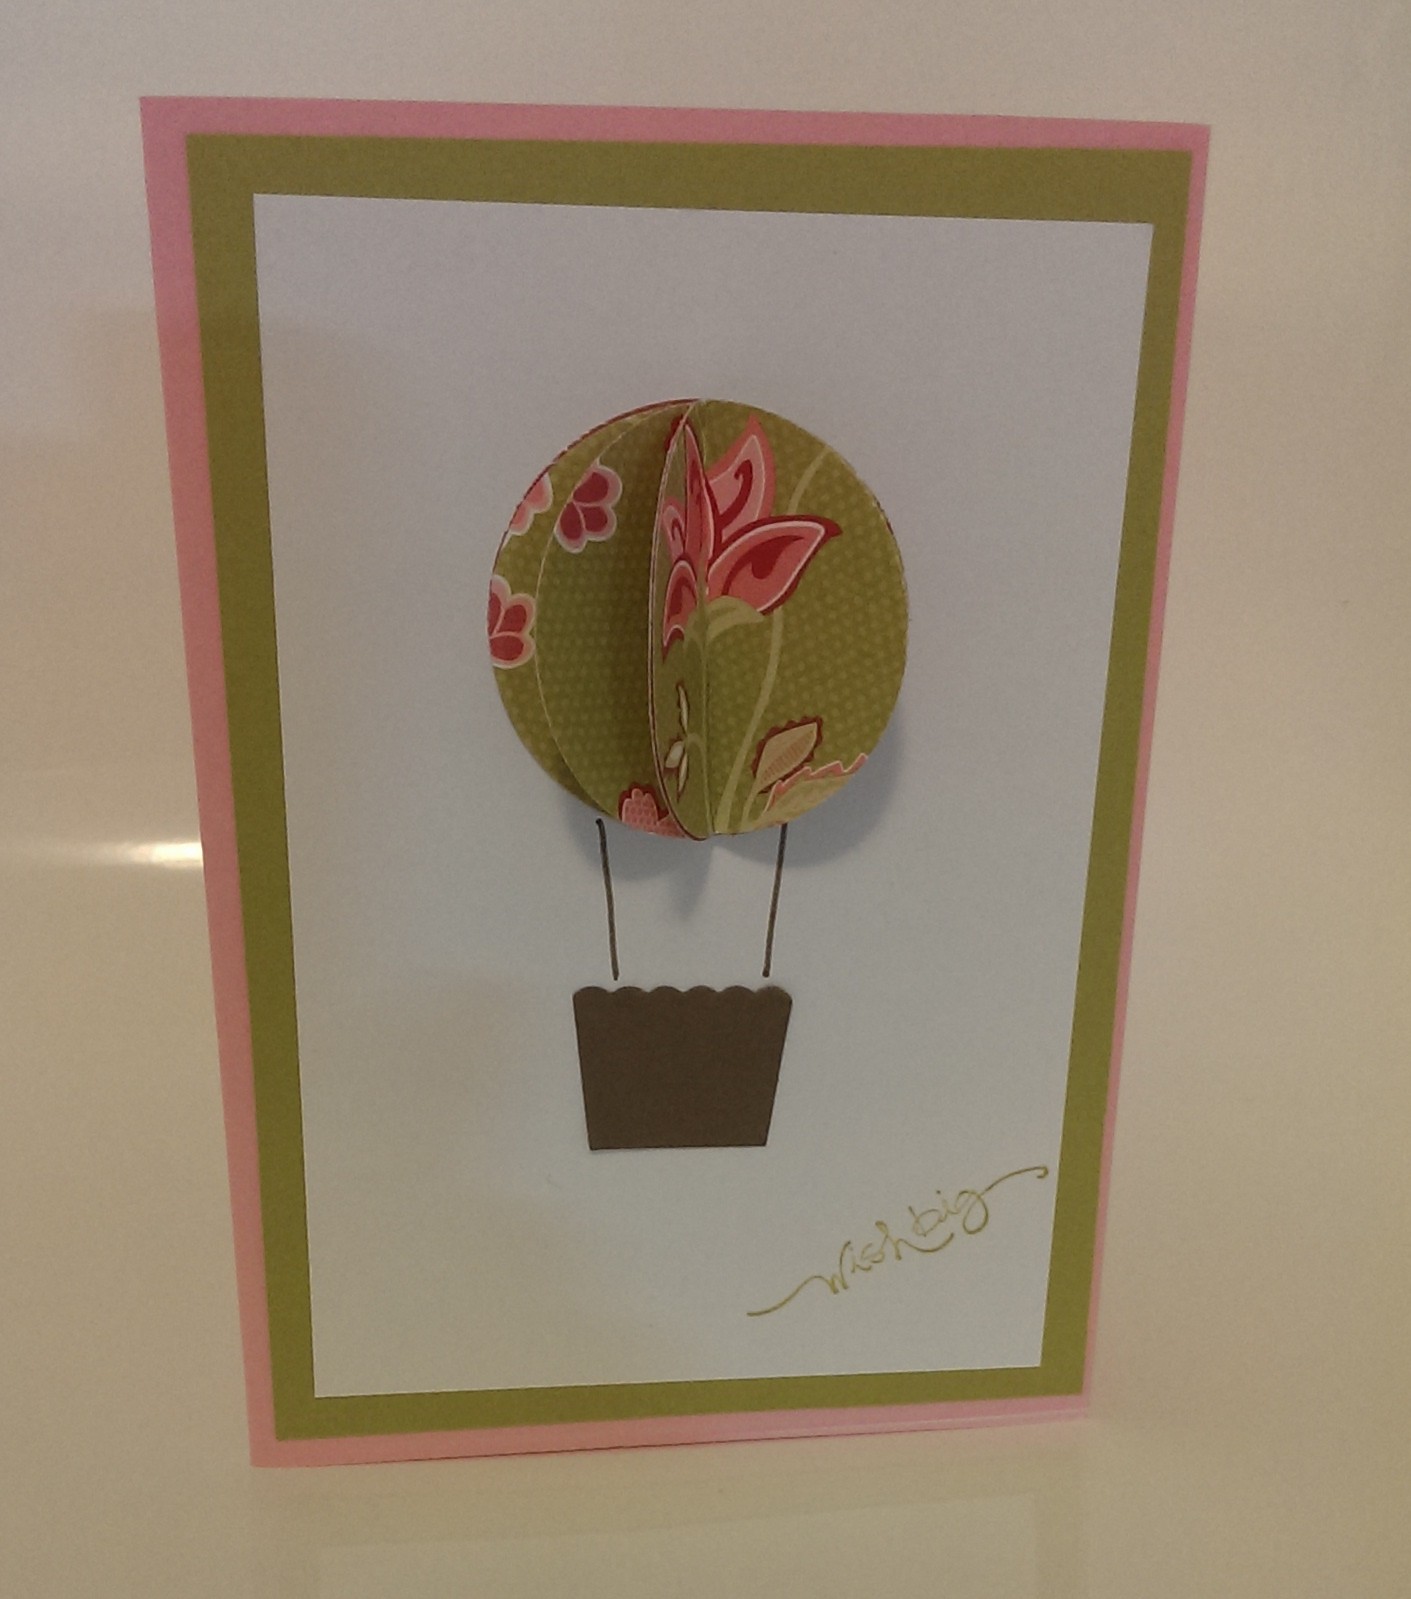
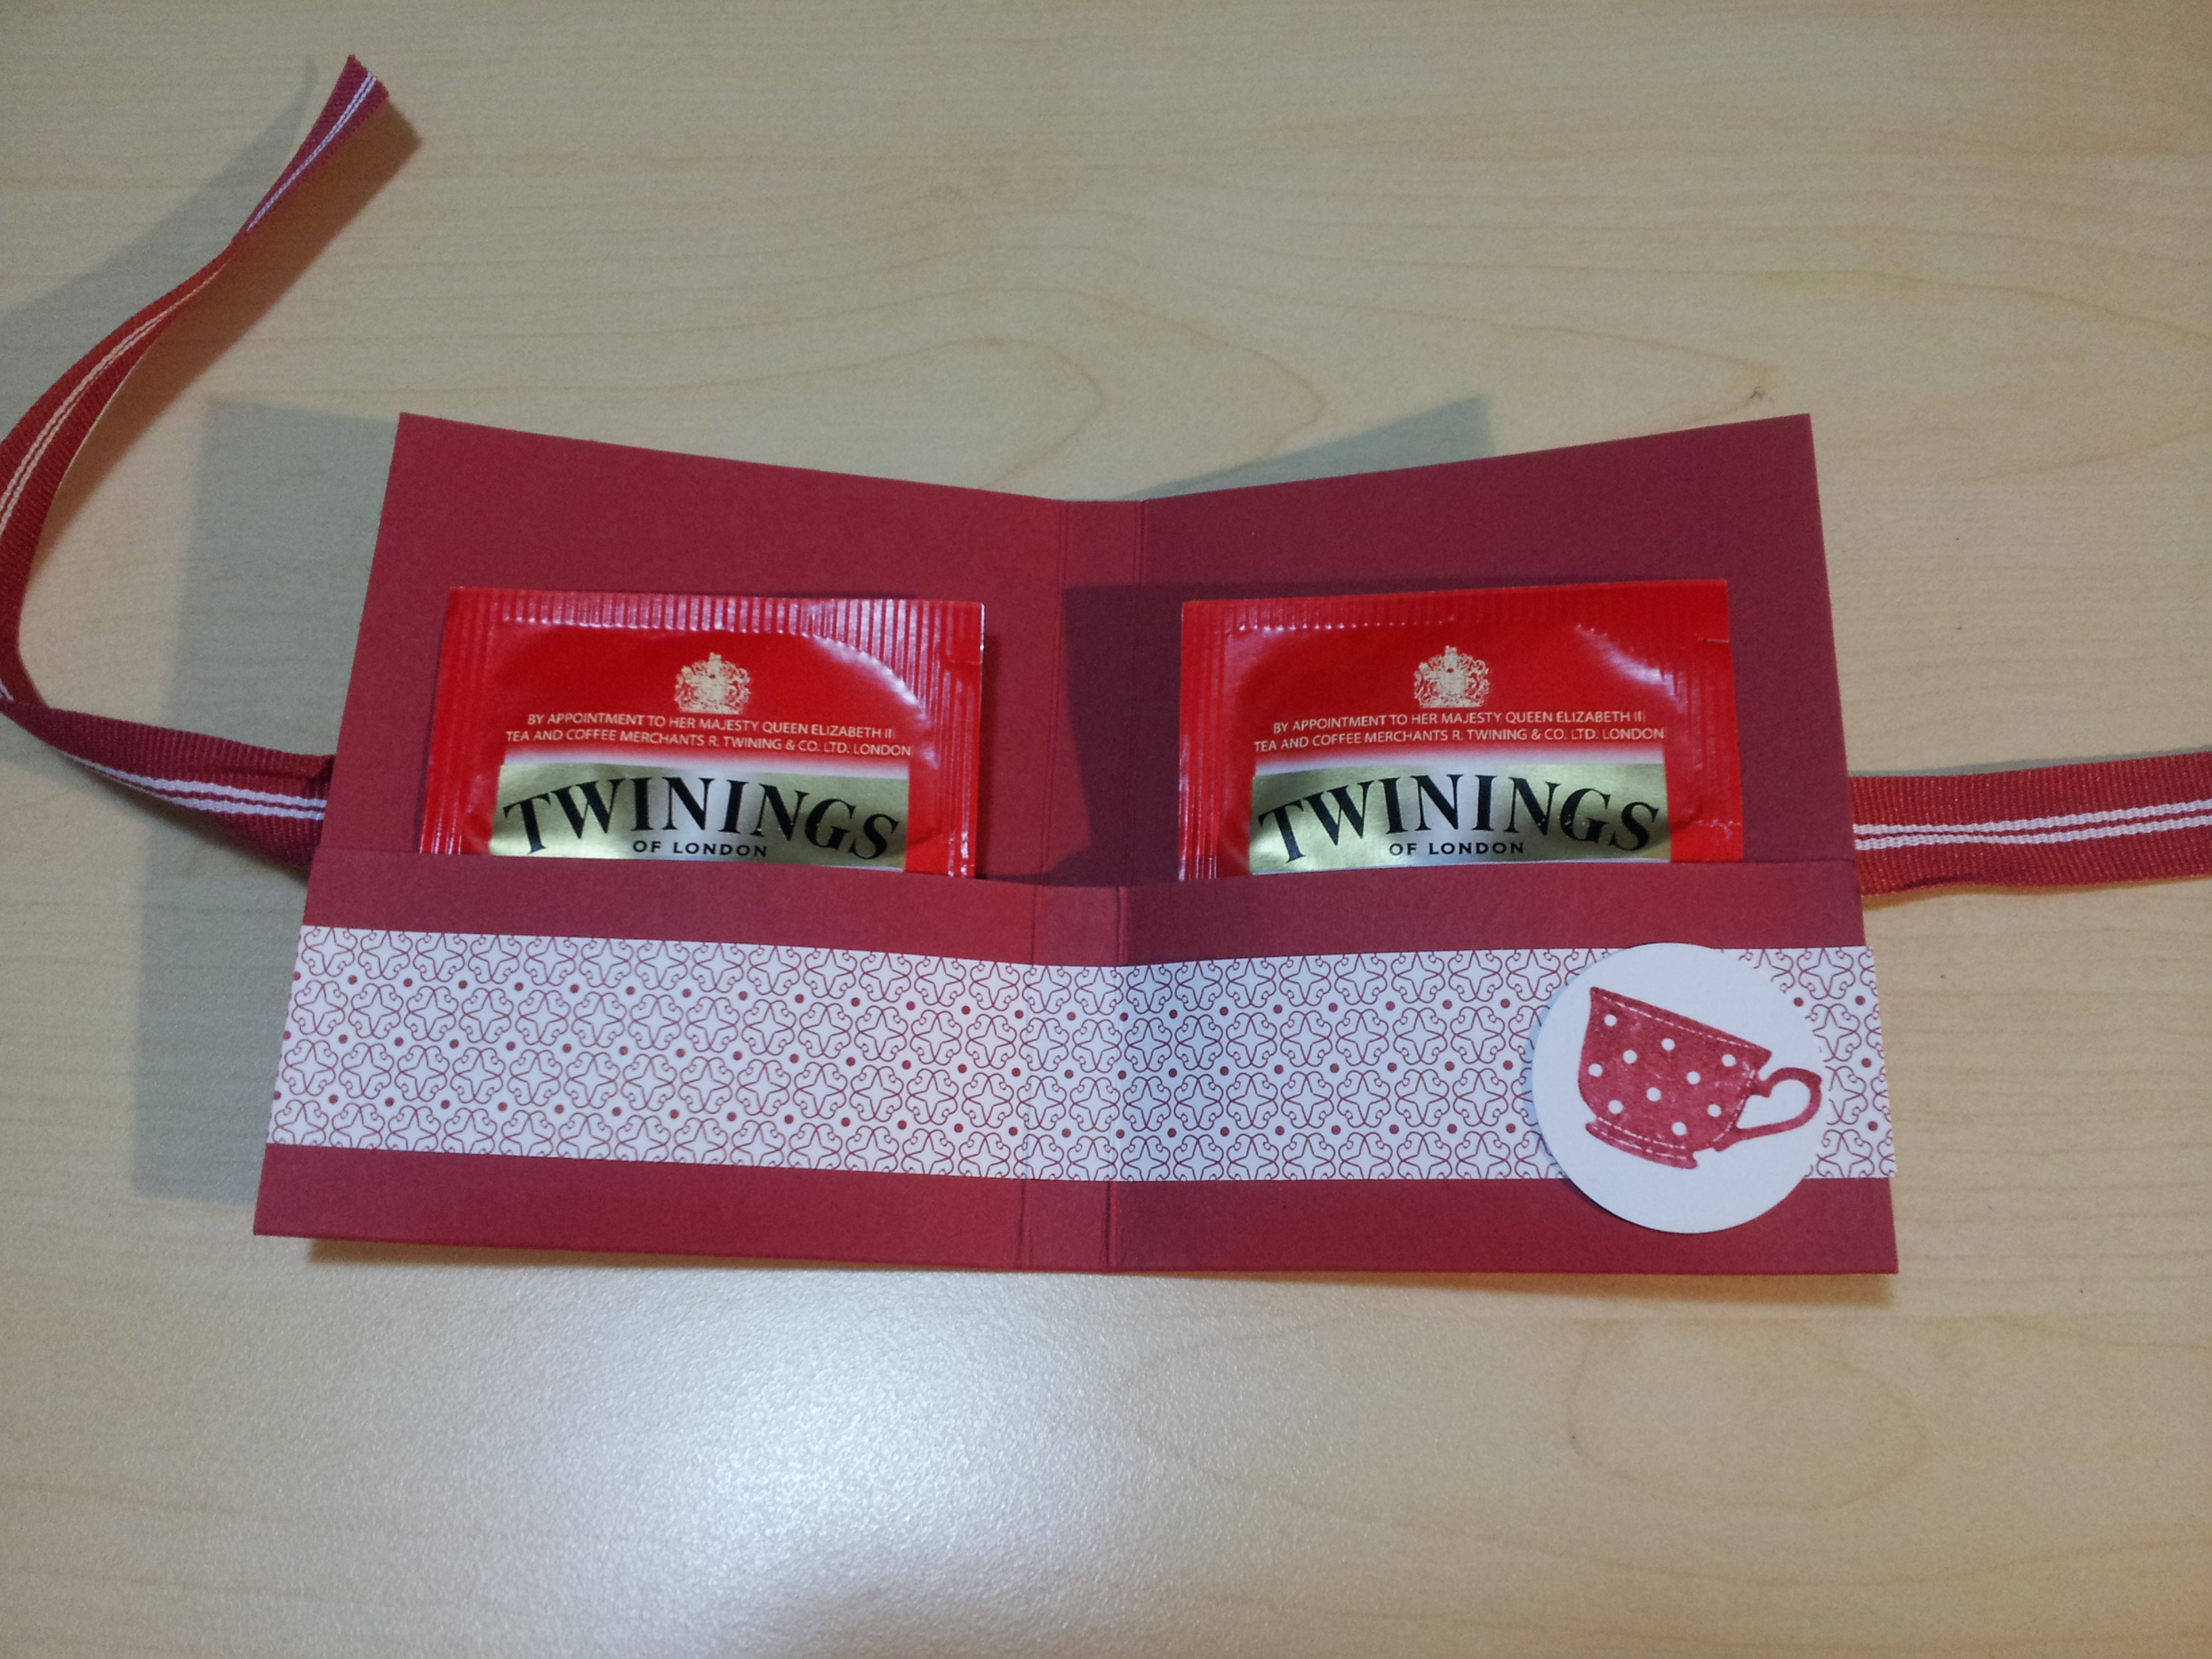
You’ve probably figured out from this blog that a) I have quite the stash of pretty paper I’ve collected over the years and b) I’m trying to figure out ways to use it all up!  I’ve been setting myself a bit of a challenge lately of pulling out an old packet of DSP and trying to randomly pick a piece of paper and then trying to make some cards out of it.

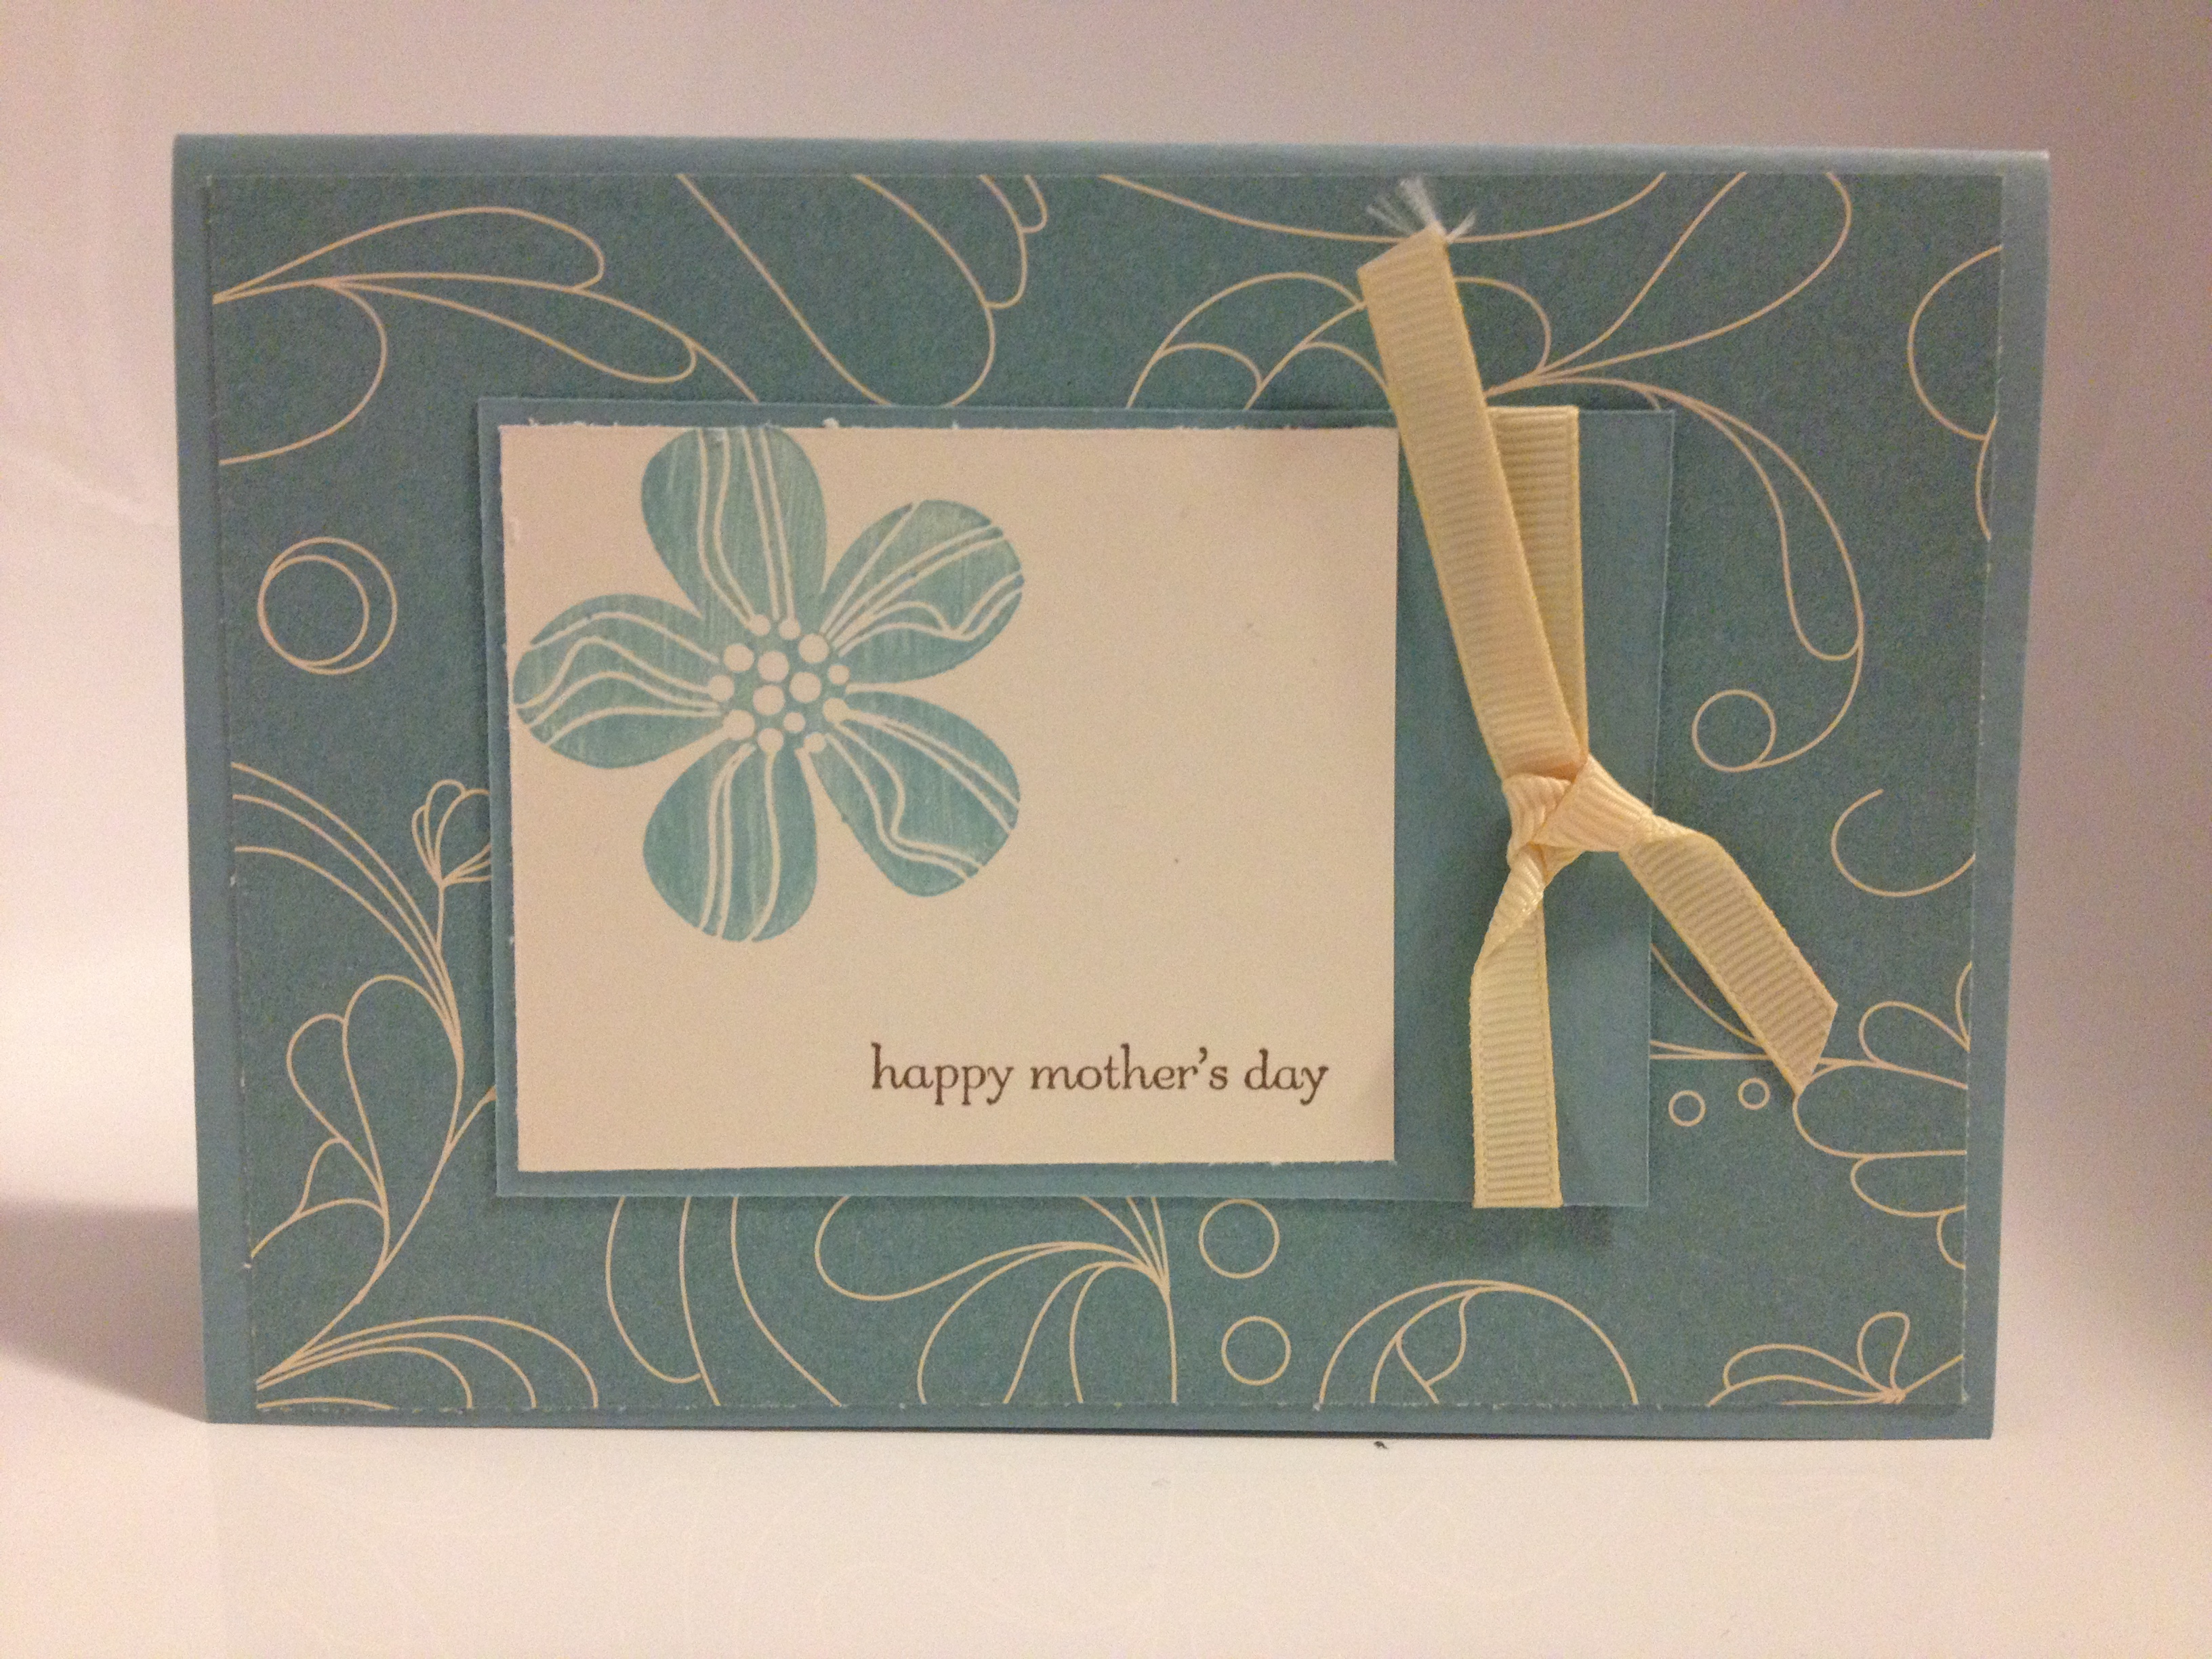
Here’s an example.  I picked a piece of old DSP from a retired Stampin’ Up! set called Haiku.  Here’s the result:

IMAG0166

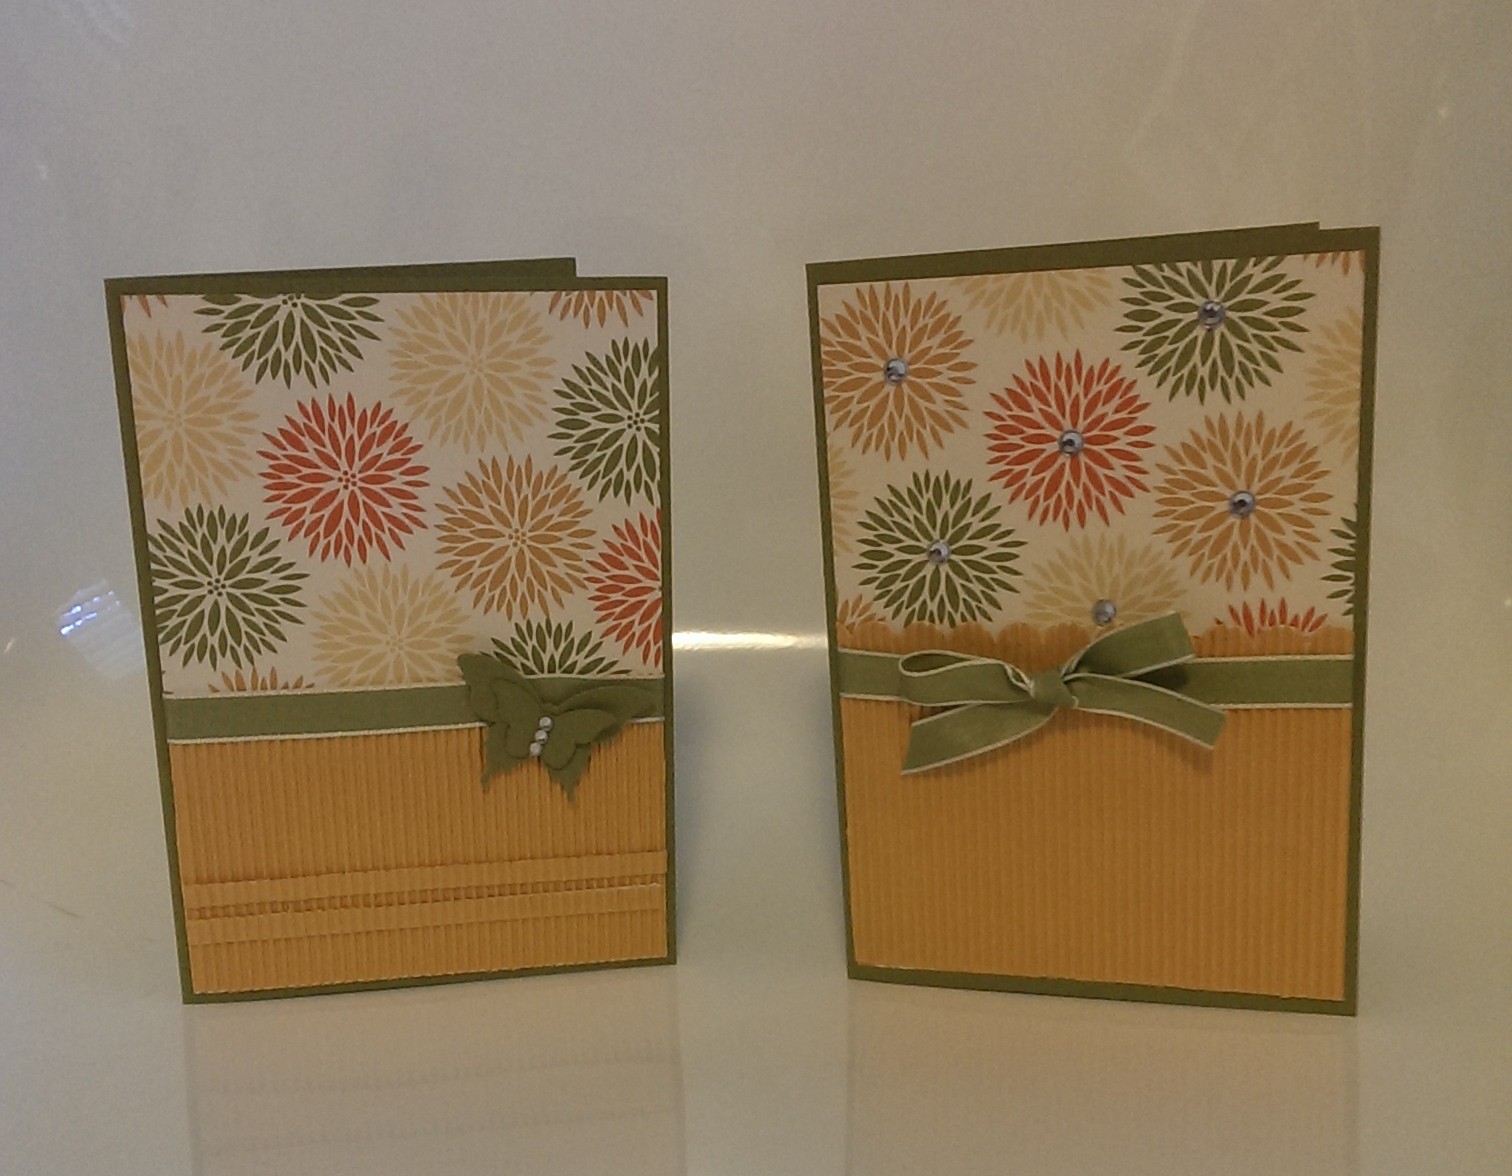
The card on the left uses the Elegant Butterfly and Bitty Butterfly punches with some rhinestone ‘bling’ as an embellishment.  Also note the horizontal lines from sticking 2 extra strips of card stock I had left over.

The card on the right is quite simple – but the scallop edge border punch gives it a bit of extra ‘something’ as do the rhinestones at the centre of each flower.

These were really simple to make – and used up a piece of paper in about 5 mins.  Nice!

I’ll try and post some more soon

Thanks for reading

Caro

Share this:

  • Share on Pinterest (Opens in new window) Pinterest
  • Share on X (Opens in new window) X
  • Share on Facebook (Opens in new window) Facebook
  • Email a link to a friend (Opens in new window) Email
  • More
  • Share on Reddit (Opens in new window) Reddit
  • Share on Tumblr (Opens in new window) Tumblr
Like Loading...

Another handy card layout

21 Saturday Sep 2013

Posted by Carolyn in Birthday, Cards, General occasion, Tutorial, Using up scraps

≈ Leave a comment

Tags

card layouts, cards, tutorials, using up scraps

Hi.  Thanks for dropping by!

Today I wanted to show you another handy card layout that you can adapt for a whole range of occasions.  For example, Mothers’ Day:

photo-1

Or birthdays:

IMAG0074

Or just general occasion:

photo

To make these you need the following pieces:

Base card – A6 card

DSP layer – 14.2 x 10 cm

Layer to mat the white/tie ribbon – 9.5 x 7 cm

White/vanilla layer – 7 x 5.5 cm

Ribbon

Decorate the white/vanilla layer however you like and tie the ribbon onto the mat layer and you have a simple card.

One tip for tying a ribbon bow on the card.   I find it easier to glue the ribbon to the back of the mat layer and then stick the mat layer onto the card before tying the bow.

IMAG0073It’s harder to put glue on the back of the mat layer when the bow is already tied – plus you will probably squish your beautiful bow!  I also find it much easier to tie a bow when the ribbon is already securely attached to the card stock so it doesn’t wriggle about!

Hopefully this has given you some ideas for another simple card to make when you’re a bit short on time.

Thanks for reading

Caro

Share this:

  • Share on Pinterest (Opens in new window) Pinterest
  • Share on X (Opens in new window) X
  • Share on Facebook (Opens in new window) Facebook
  • Email a link to a friend (Opens in new window) Email
  • More
  • Share on Reddit (Opens in new window) Reddit
  • Share on Tumblr (Opens in new window) Tumblr
Like Loading...

A quintessential balloon

18 Wednesday Sep 2013

Posted by Carolyn in 3D / pop up, Birthday, Cards, General occasion, Using up scraps

≈ Leave a comment

Tags

cards, hot air balloon, Quintessential flower, simple cards

Hello. Thanks for reading Caro’s Pretty Things!

One of my first ever posts was showing you some layered cards I made with the Stampin’ Up! Quintessential Flower stamp.    Unfortunately this stamp is now retired, but there is a similar one in this year’s catalogue called Five Way Flower.  (Here’s a great video tutorial on how you can use these sorts of stamps by Karen Titus).

I have a box on my bookshelf with lots of extra embellishments or half finished projects.  Ever since I made those cards I have had a few layers of the quintessential flower sitting in the box waiting for me to figure out what to do with them.

And so now I present – some quintessential hot air balloons!

IMAG0060

IMAG0064

IMAG0062

I loved how these turned out so much I wanted to show you them separately.   The button in the middle (stuck on with a mini glue dot) just seemed to add that little bit extra for some reason?

I think that is the end of my hot air balloon obsession for a little while.  I wonder what I’ll obsess about next?!?

Thanks for reading 🙂

Caro x

Share this:

  • Share on Pinterest (Opens in new window) Pinterest
  • Share on X (Opens in new window) X
  • Share on Facebook (Opens in new window) Facebook
  • Email a link to a friend (Opens in new window) Email
  • More
  • Share on Reddit (Opens in new window) Reddit
  • Share on Tumblr (Opens in new window) Tumblr
Like Loading...

A tip for punching small pieces of card stock

18 Wednesday Sep 2013

Posted by Carolyn in 1 inch square, Cupcake Builder, Tutorial, Using up scraps

≈ Leave a comment

Tags

cards, hot air balloon basket, tutorial

Yesterday I showed you how I made some hot air balloon baskets with the Stampin’ Up! cupcake builder punch and the 1 inch square punch.

Making these baskets is a brilliant way to use up scraps of card stock.   Do you remember I made some Rudolph the Red Nosed Reindeer decorations a few weeks back?  Ever since then I have had 6 soft suede circles on my desk that I was trying to figure out what to do with, as well as a pile of off cuts.

IMAG0058

All very uninspiring … until I realised they could be hot air balloon baskets!

Today I wanted to show you a tip for punching small pieces out of scrap paper.  It can be very fiddly trying to get the small piece in the right place and keep it there long enough to punch.

IMAG0051

Solution?  Use a post it note to help you!

IMAG0052

This is a really handy tip for whenever you want to punch something out of a smaller piece of paper.

I hope this helps!

Caro

Share this:

  • Share on Pinterest (Opens in new window) Pinterest
  • Share on X (Opens in new window) X
  • Share on Facebook (Opens in new window) Facebook
  • Email a link to a friend (Opens in new window) Email
  • More
  • Share on Reddit (Opens in new window) Reddit
  • Share on Tumblr (Opens in new window) Tumblr
Like Loading...

More balloon cards

17 Tuesday Sep 2013

Posted by Carolyn in 1 3/4 circle, 1 inch square, 3D / pop up, Birthday, Cards, Cupcake Builder, General occasion, Kids cards, Punches, Using up scraps

≈ Leave a comment

Tags

Balloons, cards, Hot Air Balloons, Punches

Hello

Yesterday I showed you some hot air balloon cards I made using the Stampin’ Up! A Little Treat stamp, which is now retired.   I said I would show you how you could make one of these cards even if you didn’t have this stamp set.   I thought of 2 ways you could do this: using the Stampin’ Up! cupcake builder punch and a square punch with a pair of scissors.

Method 1 – the cupcake builder punch

The first way is to use the cupcake base from the cupcake builder punch as a basket.

IMAG0053

You can see that the base is not quite ‘square’.  That doesn’t bother me when I’m sticking the hot air balloon on the card at an angle, but you can always cut just a small amount off to make it straight:

IMAG0054

Here are some hot air balloon cards made with the cupcake builder punch baskets:

IMAG0057You can also use the cupcake tops as clouds!

IMAG0066You can also give your basket a little ‘bling’:

IMAG0075

Method 2 – Using a square punch

Another way to make a basket is to cut a square and cut down the sides to make a basket.

IMAG0067Here’s a balloon made out of a square punch basket:

IMAG0068

(I can’t help myself and had to use up a tiny scrap of lace I’d had lying in my scrap pile!)

I hope you enjoy making some of these.

Caro

Share this:

  • Share on Pinterest (Opens in new window) Pinterest
  • Share on X (Opens in new window) X
  • Share on Facebook (Opens in new window) Facebook
  • Email a link to a friend (Opens in new window) Email
  • More
  • Share on Reddit (Opens in new window) Reddit
  • Share on Tumblr (Opens in new window) Tumblr
Like Loading...

Balloon card

16 Monday Sep 2013

Posted by Carolyn in 1 3/4 circle, 3D / pop up, Birthday, Cards, General occasion, Kids cards, Using up scraps

≈ Leave a comment

Tags

Balloons, cards, Hot Air Balloons

Hello 🙂

I think I’ve mentioned before that a lot of my craft time these days is focused on making cards for my son’s various birthday parties?   He’s very interested in hot air balloons at the moment (no idea why!) so he thought he might like to give his friend a hot air balloon card.

I have a retired Stampin’ Up! stamp set called A Little Treat which has a hot air balloon at the base.  One of my quick ‘go to’ cards for several years has been to stamp the hot air balloon base and cut a 1 3/4″ circle out of DSP to act as the balloon.  Literally the 2 minute card to make and I’ve made many over the years.

This time I wanted to step it up a little and try for something a little fancier!   I had pinned these gorgeous cards several months ago so decided to make some of my own.   Here was the end result:

IMAG0030

They were so much fun to make I made a few!

IMAG0029

IMAG0031

IMAG0034OK, I’ll confess, I may have made more than a few … more like lots!

IMAG0078

You may have guessed that they are a) very easy and b) very addictive to make!   You just need to punch out several circles from your 1 3/4″ circle punch.  Another brilliant way to use up scraps of DSP!   Fold each circle in half and stick them together until you have a ‘ball’ of circles for your balloon.

Here’s a close up of a balloon:

IMAG0033

And of the stuck together circles:

IMAG0028

IMAG0027

These are so much fun to make it got me thinking – how could you make them if you didn’t have the basket stamp?    Interested?  Stay tuned tomorrow to find out 😉

Caro

Share this:

  • Share on Pinterest (Opens in new window) Pinterest
  • Share on X (Opens in new window) X
  • Share on Facebook (Opens in new window) Facebook
  • Email a link to a friend (Opens in new window) Email
  • More
  • Share on Reddit (Opens in new window) Reddit
  • Share on Tumblr (Opens in new window) Tumblr
Like Loading...

Tea bag gift holder

15 Sunday Sep 2013

Posted by Carolyn in 3D projects, Gift bags, Gift card holders, Using up scraps

≈ 1 Comment

Tags

3D projects, gift cards, tea bag gifts

Hello.  Thanks for dropping by!

Yesterday I showed you a little folder I made to give away some photos to some family members.    Today I want to show you something else I’ve made previously using a similar idea – a little tea bag holder you can give to someone as a ‘get well’ gift, welcome to the neighbourhood card etc.   My Mum liked the idea of having some of these at the op shop where she volunteers for people who come in for a chat.

Tea bag holders


20120727_185655


These are made using a very similar concept as yesterday’s folders.   You use a piece of card stock, fold it up to make a pouch to hold the tea bags and glue the sides of the folded up piece so they don’t fall out.    I spent a little more time decorating these using strips of DSP and ribbon to tie them closed.   The tea cup image here is  a retired Stampin’ Up! a la carte stamp called Tiny Teacup, but there are lots of beautiful images in the current Tea Party set which would look equally good (or probably better, I have had my eye on that set for ages!)

This size would be ideal for gift cards as well.

Enjoy!

Caro


Share this:

  • Share on Pinterest (Opens in new window) Pinterest
  • Share on X (Opens in new window) X
  • Share on Facebook (Opens in new window) Facebook
  • Email a link to a friend (Opens in new window) Email
  • More
  • Share on Reddit (Opens in new window) Reddit
  • Share on Tumblr (Opens in new window) Tumblr
Like Loading...

Gift folder for photos

14 Saturday Sep 2013

Posted by Carolyn in 3D projects, Gift bags, Gift card holders, Using up scraps

≈ 1 Comment

Tags

DSP, gift folder, gifts, ways to gift photos

Hello!   Sorry for the gap between posts.  I had some time off work (a lovely holiday to Daydream Island) and then a very busy first week back at work.

While we were on holidays I had some beautiful photos taken and have printed off copies to give to various friends and family.    After I’d organised the piles of reprints on my desk I decided I wanted to make something a bit nicer than a boring envelope to put them in to give to people.

I have a whole collection of retired Stampin’ Up! designer series paper (DSP) lying around (it’s so gorgeous it’s kinda addictive!) so decided to try using up some of my stash.   Here’s what I came up with – some little gift folders just big enough to put photos and a small note card/message in:

IMAG0081

IMAG0082

IMAG0085

IMAG0086

These are so simple to make!   Take a piece of DSP wide enough to hold a 4 x 6″ photo when folded in half, fold up the bottom to make a pouch and then glue down the edges of the fold so the photos won’t fall out.

This is very good for using up DSP in a variety of sizes.    Here are some of the little folders I made:

IMAG0087

One tip!  If you are using a narrower piece, make sure you have enough room to hold the photo after you’ve glued the edge.   I made this one and didn’t stick the glue close enough to the edge and it was a very tight squeeze to get the photo in!

IMAG0084

You could also make a smaller version of these to hold gift vouchers/gift cards.   They really are very easy!

I kept the front of these plain (other than the gorgeous paper) as I was in a rush.  But you could also decorate them like the front of a card.

Enjoy!

Caro

Share this:

  • Share on Pinterest (Opens in new window) Pinterest
  • Share on X (Opens in new window) X
  • Share on Facebook (Opens in new window) Facebook
  • Email a link to a friend (Opens in new window) Email
  • More
  • Share on Reddit (Opens in new window) Reddit
  • Share on Tumblr (Opens in new window) Tumblr
Like Loading...

My favourite baby card

05 Monday Aug 2013

Posted by Carolyn in 1 3/4 inch scallop circle, 1 3/8 circle, Baby cards, Cards, Tutorial, Using up scraps

≈ 1 Comment

Tags

baby cards, cards, Punches, scraps

One of my favourite things to make is a card for a new baby.   Today I wanted to show you my favourite card to make of all time – a little “onesie” baby card.

IMG_1402

It might look a little tricky, but it’s really quite straightforward once you get the hang of it.   The main tools you’ll need here are a craft knife and ruler and/or straight hands with scissors!, a scallop punch and a circle punch that is just slightly smaller.   I’ve used the Stampin’ Up! 1 3/4″ scallop circle punch and 1 3/8″ circle punch.

I’d love to say I came up with this idea all by myself – but I used a tutorial kindly shared by Stampin’ Up! demonstrator Becky Jensen.    This is such a great tutorial – step by step instructions with pictures of each step.

The only changes I’ve made to Becky’s basic design (which is in inches) are:

  • I’ve used standard Australian sized card (10.5 x 14.8 cm)
  • I’ve cut the arms at 4.5cm
  • I cut small strips of scrap designer series paper to decorate the arms instead of using the scallop edge punch for the arms.
    I have made these cards using the scallop edge punch to decorate the arms as well (it matches the scallops at the neck and legs) but I must have given them away so don’t have any pictures.  I’ll have to make some more!

Once you’ve made a few of these, you will probably feel you can use your trimmer to cut the section out to make the arms and body (ie, cut in 4.5cm and then cut down to the leg).  Once you master that, these cards are ridiculously quick to make.

These are so much fun to make I always seem to make them in batches.  These cards are another good way to use up little scraps of paper you don’t want to throw out.

Here are a few more pictures:

IMG_1403

IMG_1404

Here are some packaged up for sale.  They look so cute all lined up together!

IMG_1401

I hope you enjoy making one of these cards next time you have a new arrival to celebrate!

Caro

Share this:

  • Share on Pinterest (Opens in new window) Pinterest
  • Share on X (Opens in new window) X
  • Share on Facebook (Opens in new window) Facebook
  • Email a link to a friend (Opens in new window) Email
  • More
  • Share on Reddit (Opens in new window) Reddit
  • Share on Tumblr (Opens in new window) Tumblr
Like Loading...

Pirate birthday party card

05 Monday Aug 2013

Posted by Carolyn in Big Shot, Cards, Cupcake Builder, Decorative Label, Dies, Kids cards, Kids party, Modern Label, Owl, Punches, Top Note, Using up scraps, Word Window

≈ Leave a comment

Hi

It seems that lately the only crafting I get to do is with a 4 year old sitting on my lap being the artistic director!  (I’m not complaining, I love it!)  It does mean though that most of my craft time is spent thinking up fun ideas for cards for kid’s birthday parties! This past weekend’s challenge was a card for a pirate themed birthday party.

So off to my office/craft room we went and did a little Google searching for inspiration.   Mr 4 was most impressed by the idea of an owl pirate – and he thought we should make a pirate like this one on Lynn Starzi’s blog.

I’m not too sure about this card (remember Mr 4 was the artistic director!) but here it is:

photo


Most importantly, both my munchkin and the lucky recipient thought it was great – so I guess that’s what matters!

The waves were made from some scraps of Pacific Point.  I’d saved some off cuts from cutting out some Top Note shapes, and the edges of where I’d cut out the Top Note actually worked quite well as waves!

The rest was the card was a mix of free hand cutting and Stampin’ Up! punches.

The pirate was made from the owl punch.   The pirate’s shirt had to be “red and stripey” apparently, so I found an old bit of Poppy Parade DSP (now retired).   Please note the peg leg!   Made from the candle from the cupcake builder punch.  The eyes were cut from the owl punch with “goggly eyes” stuck on top with mini glue dots.

The pirate’s hat was the side of the decorative label punch, flipped horizontally.

The boat was a large oval punch cut off across the top (Soft Suede card stock).  I cut the mast, the sail and ‘the plank’ freehand.   And a white Signo pen was perfect for drawing on the crossbones (no skulls for me).

Mr Artistic Controller was most insistent that the card had to say “Ahoy, me heartie!”, not “Happy Birthday”.    Given that my stamp collection doesn’t quite stretch to pirate messages, I wrote in on in pen.  (I’m still not convinced I spelled ‘heartie’ correctly but what can you do?!?)

The frame for the message is a modern label punch and the white is a word window punch.

There you go – our owl pirate card!

Caro x


Share this:

  • Share on Pinterest (Opens in new window) Pinterest
  • Share on X (Opens in new window) X
  • Share on Facebook (Opens in new window) Facebook
  • Email a link to a friend (Opens in new window) Email
  • More
  • Share on Reddit (Opens in new window) Reddit
  • Share on Tumblr (Opens in new window) Tumblr
Like Loading...
← Older posts
Newer posts →

Carolyn Dalton

Independent Stampin Up! Demonstrator

Recent Posts

  • Pretty butterfly birthday card 
  • Adding an extra touch to a homemade envelope
  • Quick and easy masculine card 
  • Quick and easy kids card
  • Butterfly soap card

Archives

  • March 2016
  • February 2016
  • January 2016
  • December 2015
  • November 2015
  • October 2015
  • September 2015
  • August 2015
  • July 2015
  • June 2015
  • May 2015
  • April 2015
  • September 2014
  • July 2014
  • April 2014
  • March 2014
  • February 2014
  • November 2013
  • October 2013
  • September 2013
  • August 2013
  • July 2013
  • June 2013
  • May 2013
  • May 2012

Categories

  • 1 1/4 inch circle
  • 1 3/4 circle
  • 1 3/4 inch scallop circle
  • 1 3/8 circle
  • 1 inch circle
  • 1 inch square
  • 2 3/8 inch scallop punch
  • 3/4 inch circle
  • 3D / pop up
  • 3D projects
  • Anniversary
  • Baby cards
  • Beautiful Butterflies
  • Big Shot
  • Bird Builder
  • Birthday
  • Bitty Butterfly
  • Blossom
  • Blossom Builder
  • Boho Blossoms
  • Boxes
  • Butterfly (retired)
  • Candy Wrapper
  • Card sets
  • Cards
  • Chalk Talk
  • Christmas
  • Circle Thinlits
  • Circle treat cups
  • Circles #2
  • Corner rounder
  • Cupcake Builder
  • Cupcakes and other tasty treats
  • Curly label
  • Decorative Label
  • Dies
  • Elegant Butterly
  • Embossing folders
  • Envelopes
  • Extra Large Oval
  • Fancy Flower
  • Framelits
  • Full heart
  • General occasion
  • Gift bags
  • Gift bow
  • Gift card holders
  • Gift tags & wrapping
  • Home decorating
  • Horizontal Slot
  • Invitations
  • Jewellery tag
  • Kids cards
  • Kids craft ideas
  • Kids party
  • Labels collection
  • Large Oval
  • Love notes
  • Masculine
  • Mini scallop
  • Modern Label
  • Music Notes
  • Notebooks
  • Owl
  • Perfect Polka Dots
  • Petite curly label
  • Pinwheel die
  • Punches
  • Scallop circle
  • Scallop edge
  • Scallop envelope
  • Scallop oval
  • Scallop Tag Topper
  • Small Heart
  • Square Lattice
  • Star
  • Sweet treat cups
  • Tag
  • Tasteful Trim
  • Thank you
  • Thoughts and comments
  • Top Note
  • Tutorial
  • Uncategorized
  • Using up scraps
  • Washi tape
  • Wedding cards
  • Wheels
  • Wildflower Meadow
  • Word Window

Pinterest

Follow Me on Pinterest

Follow me on Twitter

My Tweets

Enter your email address to follow this blog and receive notifications of new posts by email.

Join 26 other subscribers

Create a free website or blog at WordPress.com.

Privacy & Cookies: This site uses cookies. By continuing to use this website, you agree to their use.
To find out more, including how to control cookies, see here: Cookie Policy
  • Subscribe Subscribed
    • Caro's Pretty Things
    • Join 26 other subscribers
    • Already have a WordPress.com account? Log in now.
    • Caro's Pretty Things
    • Subscribe Subscribed
    • Sign up
    • Log in
    • Report this content
    • View site in Reader
    • Manage subscriptions
    • Collapse this bar
 

Loading Comments...
 

    %d