More uses for scraps – present cards

Tags

, , , , ,

I’ve done a few posts over the past few days on how I’ve been trying to use up all the little bits and pieces of card stock and DSP I have lying about my office/craft room.

I have been on a mission lately and made a pile of cards from the paper cluttering up my desk.  I donated them to a local op shop which makes me feel good as well as well as having an (almost) clean desk!

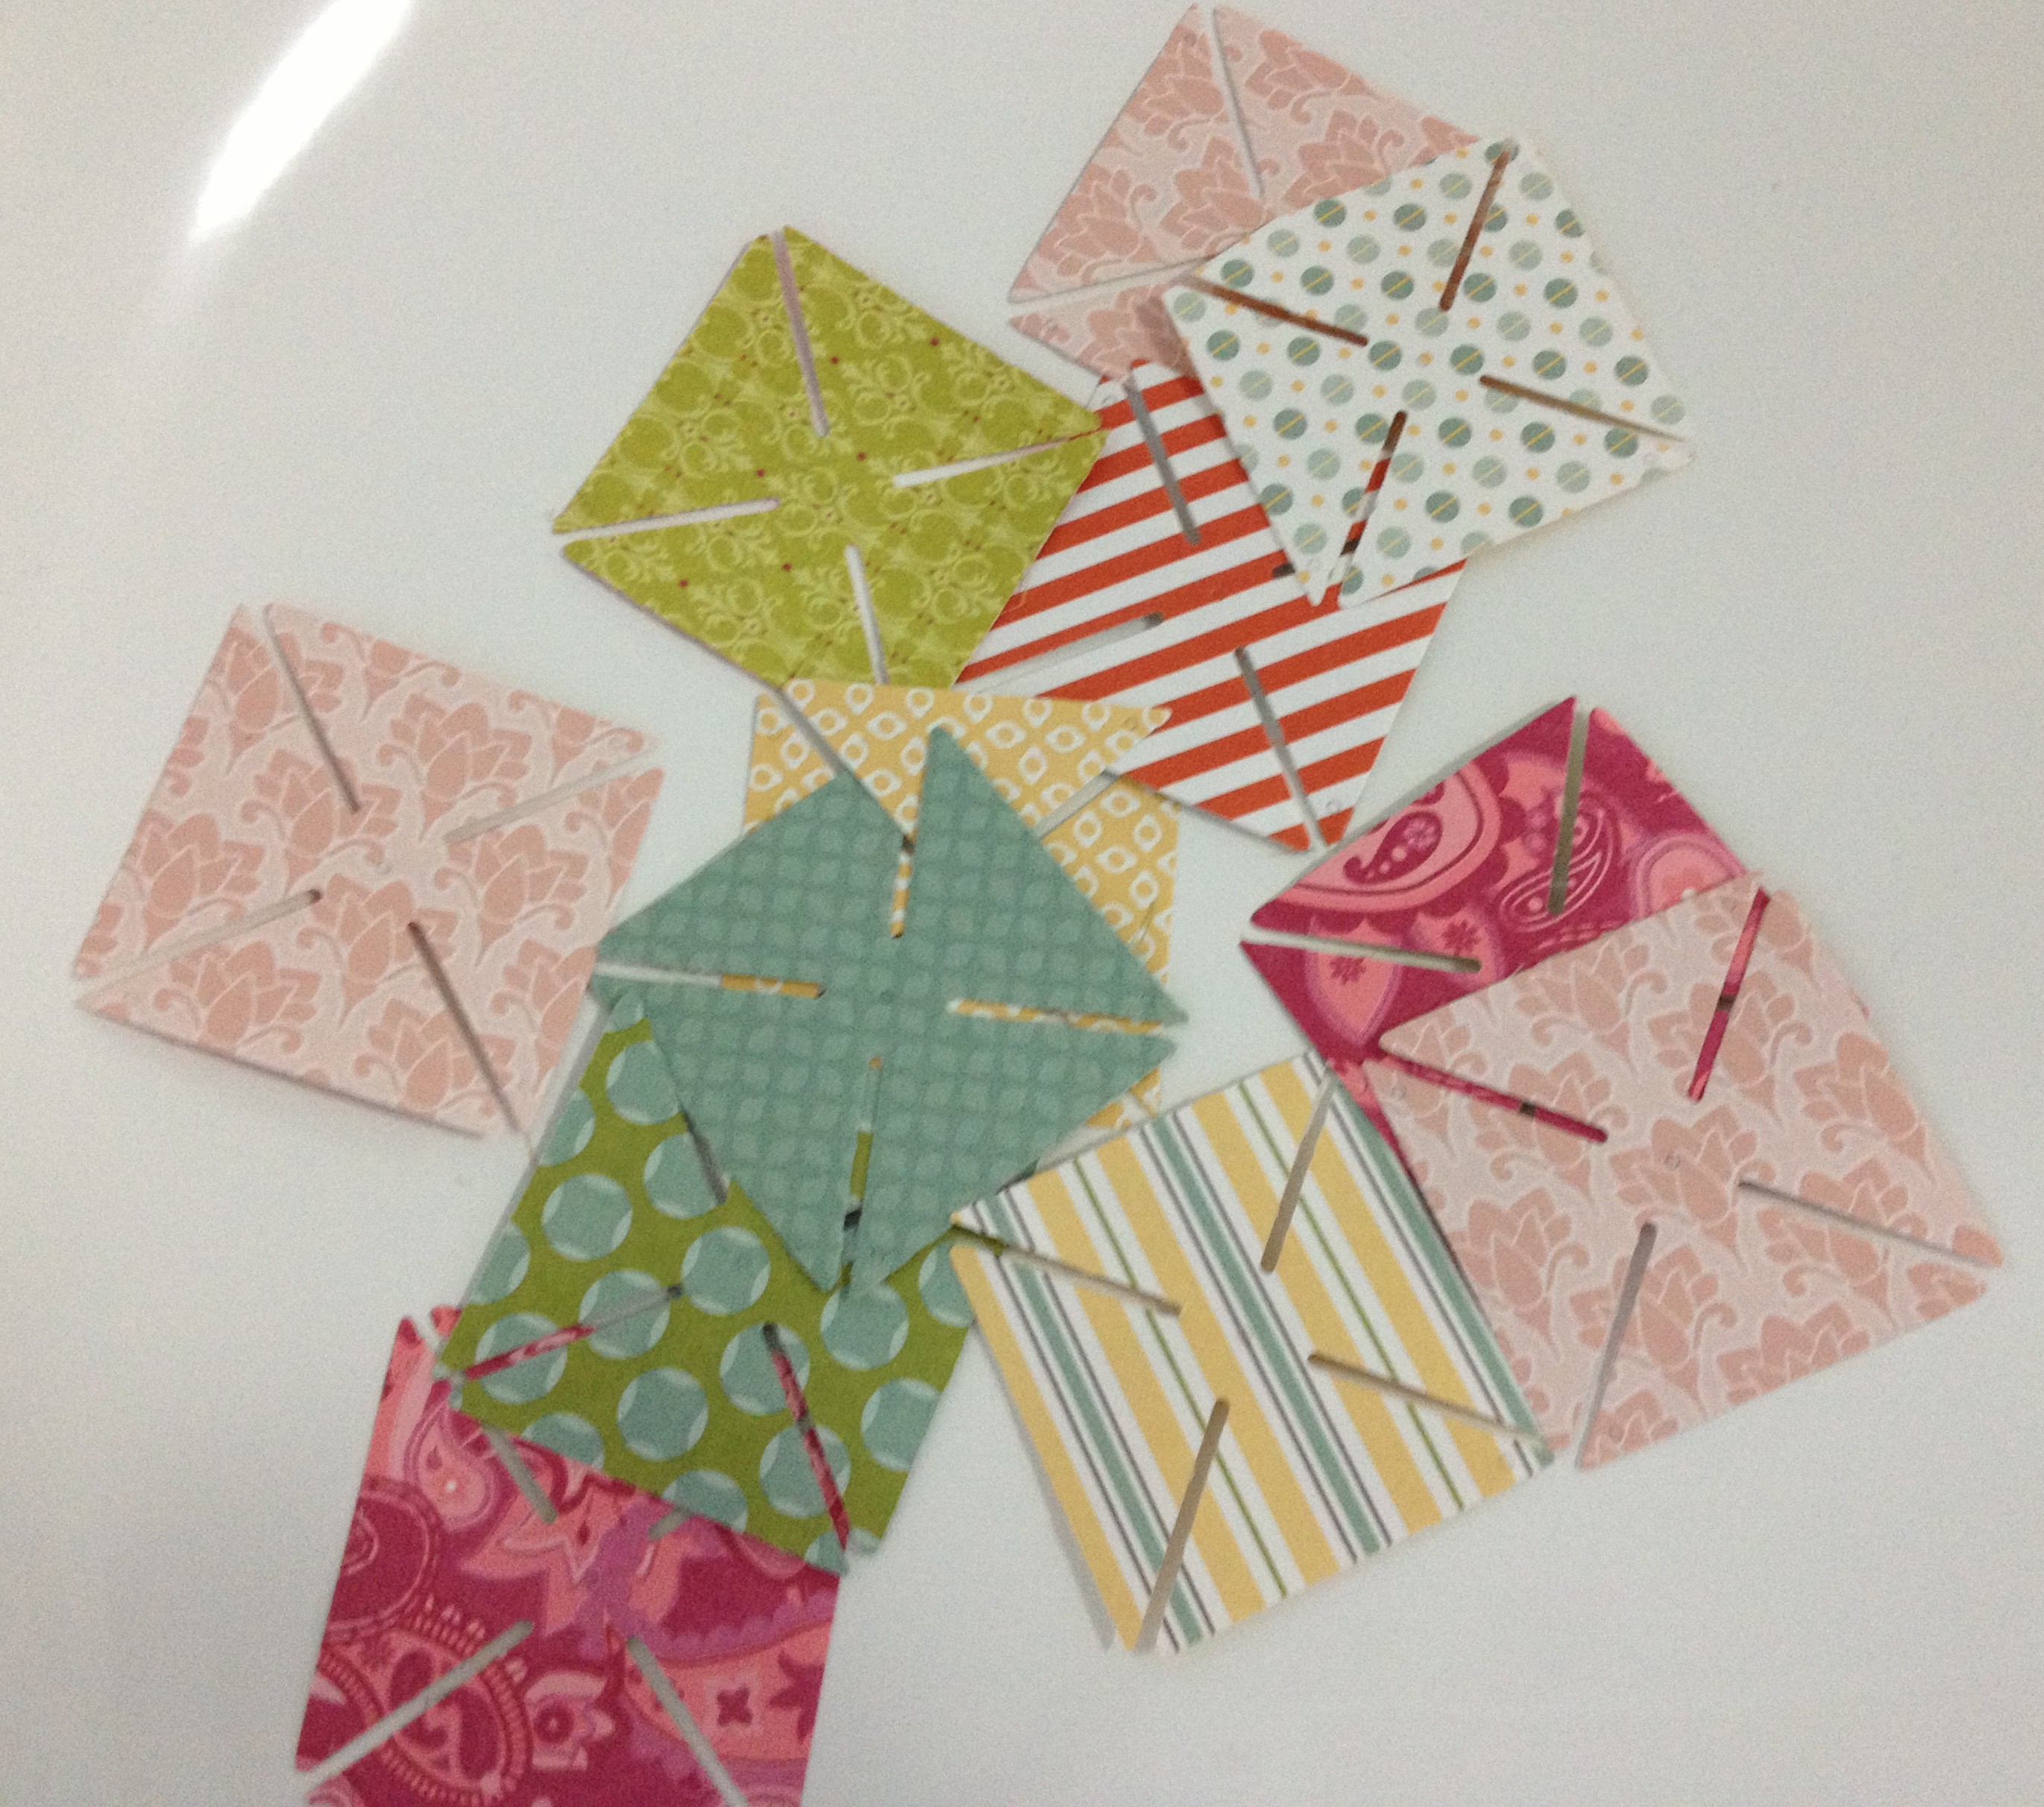
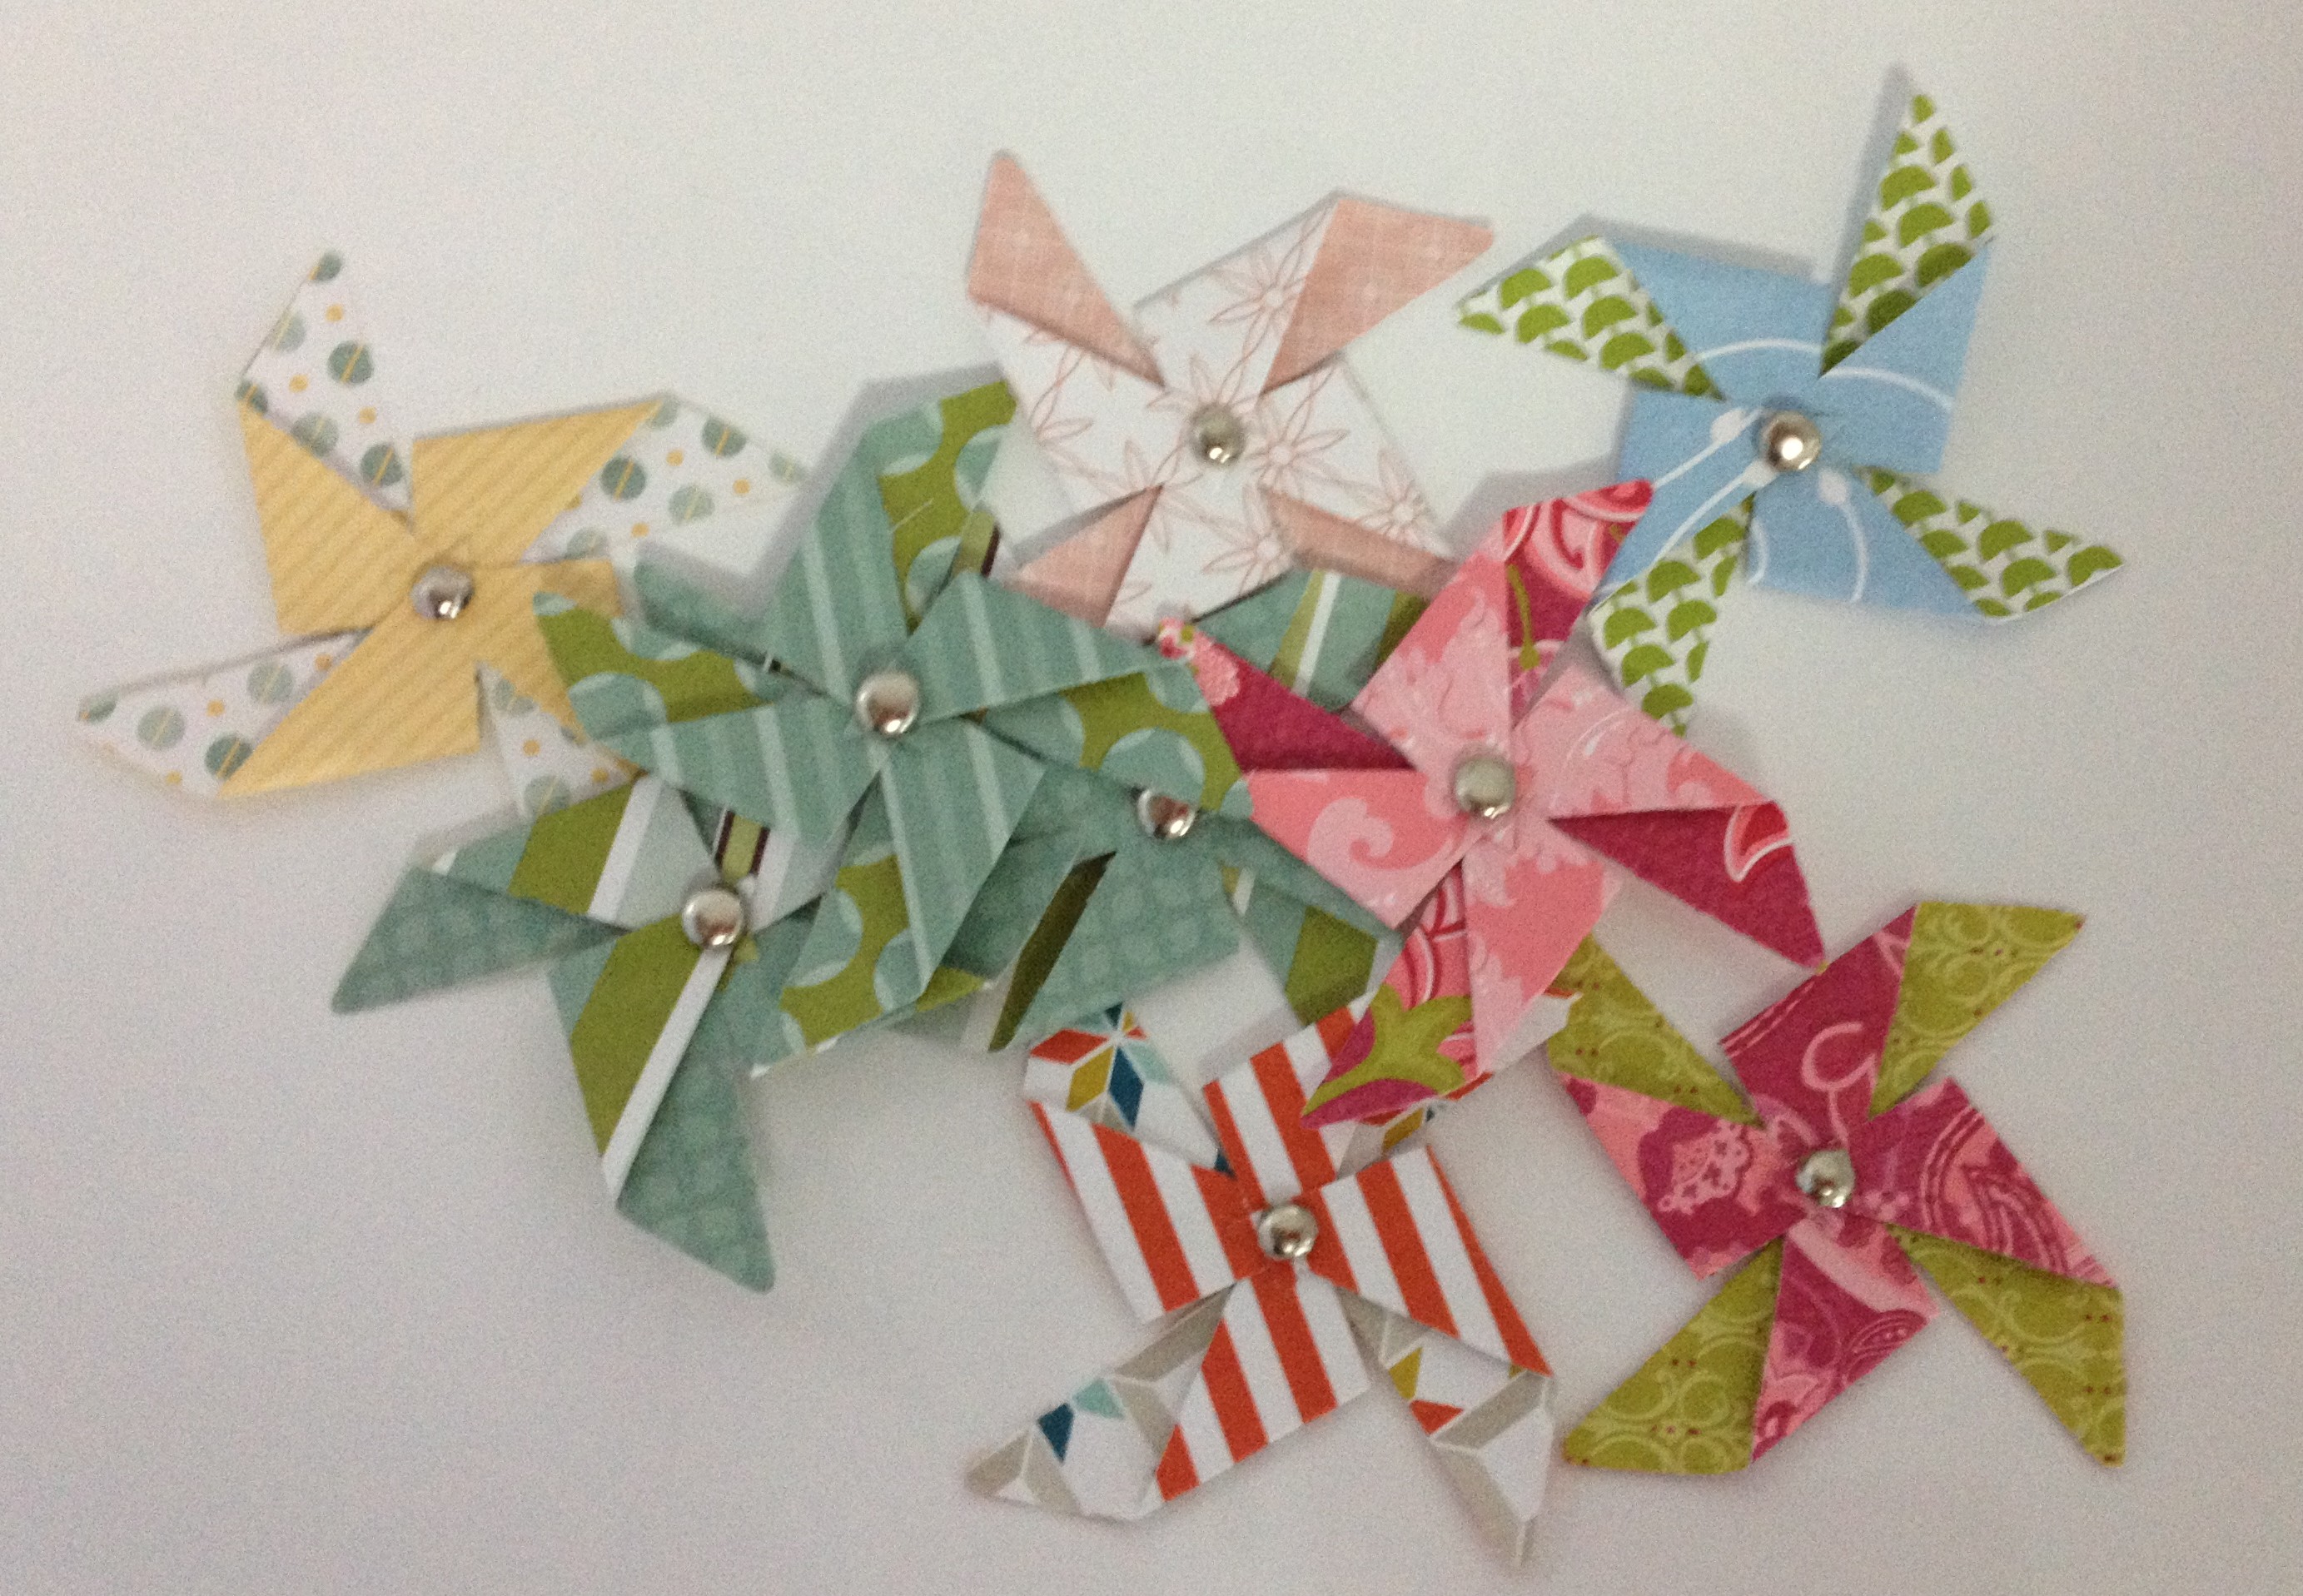
Here’s another card design which is great for using up scraps.   I’ve used Tangerine Tango (14cm x 14 cm) and Whisper White (13cm x 13cm) card stock with scraps in varying sizes from the Sycamore Street DSP & Tangerine Tango ribbon from this year’s Sale-A-Bration.

photo-1

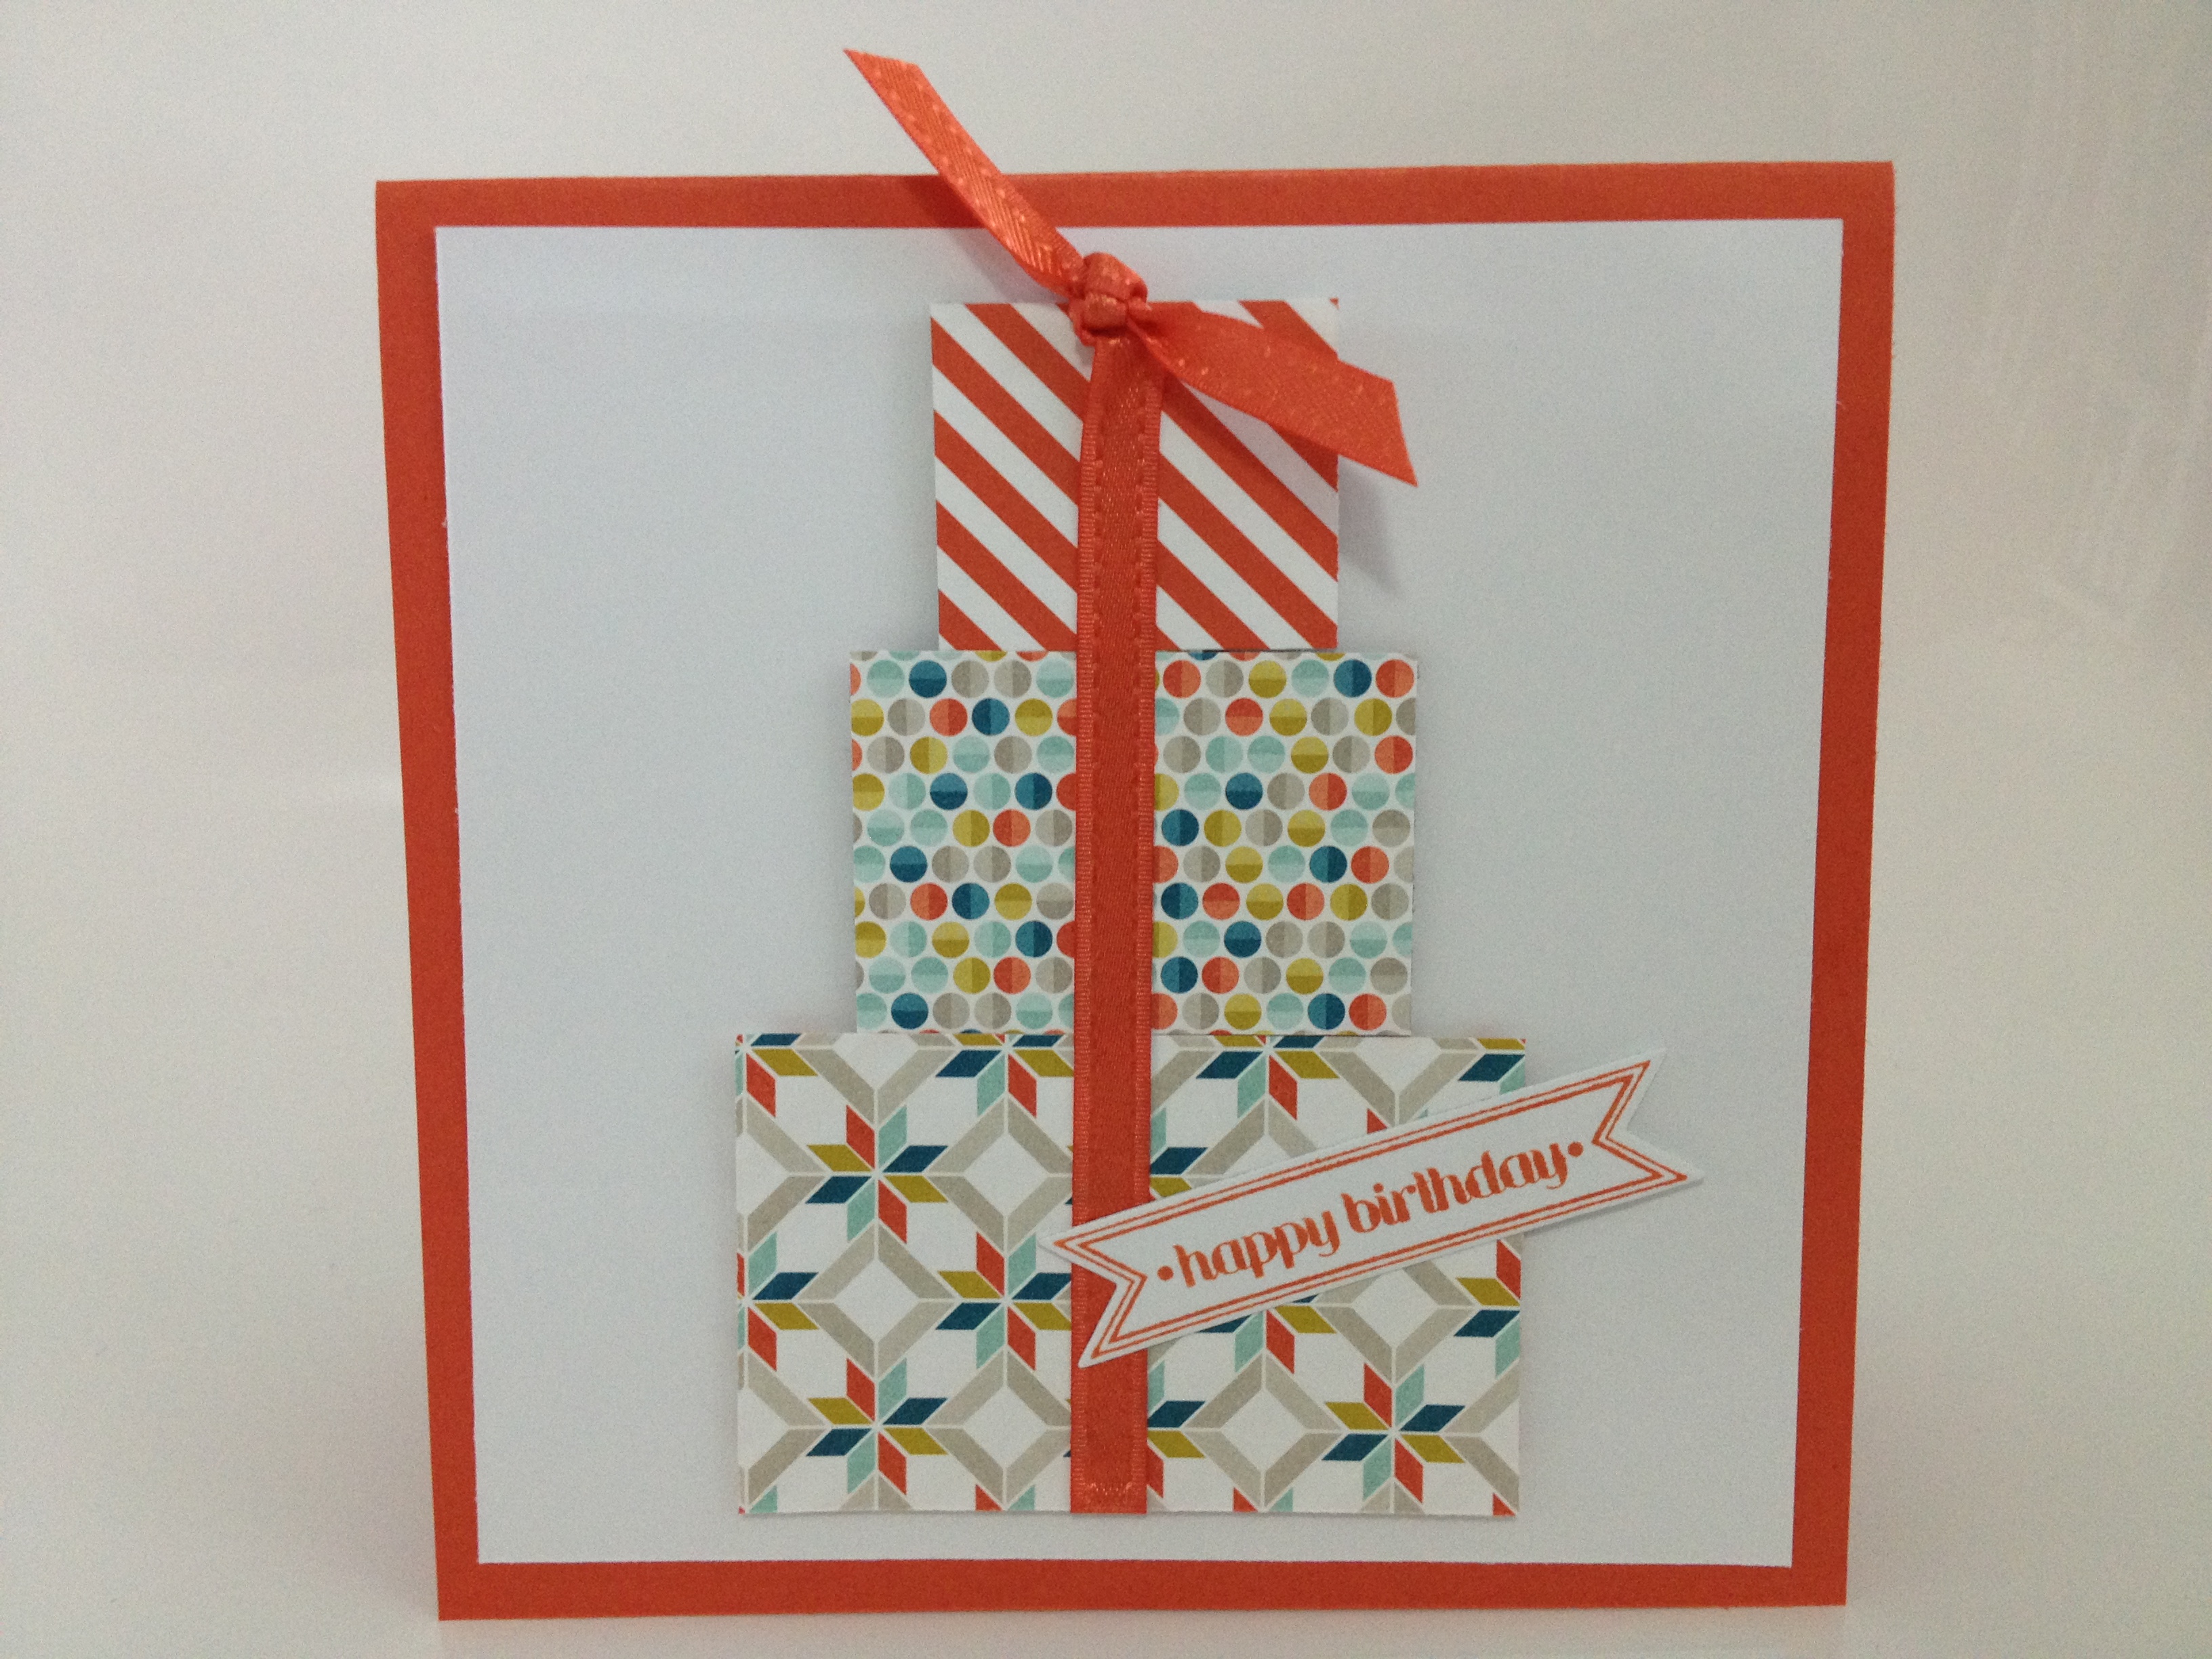
One tip – when assembling the presents I used a small scrap of offcut paper and stuck the rectangle “presents” to the scrap.  This made it really easy to keep the rectangles aligned and tie the ribbon before attaching the “presents” to the Whisper White card.

I also made a version where I ran the Whisper White version through the Big Shot with the Square Lattice embossing folder.

photo-8

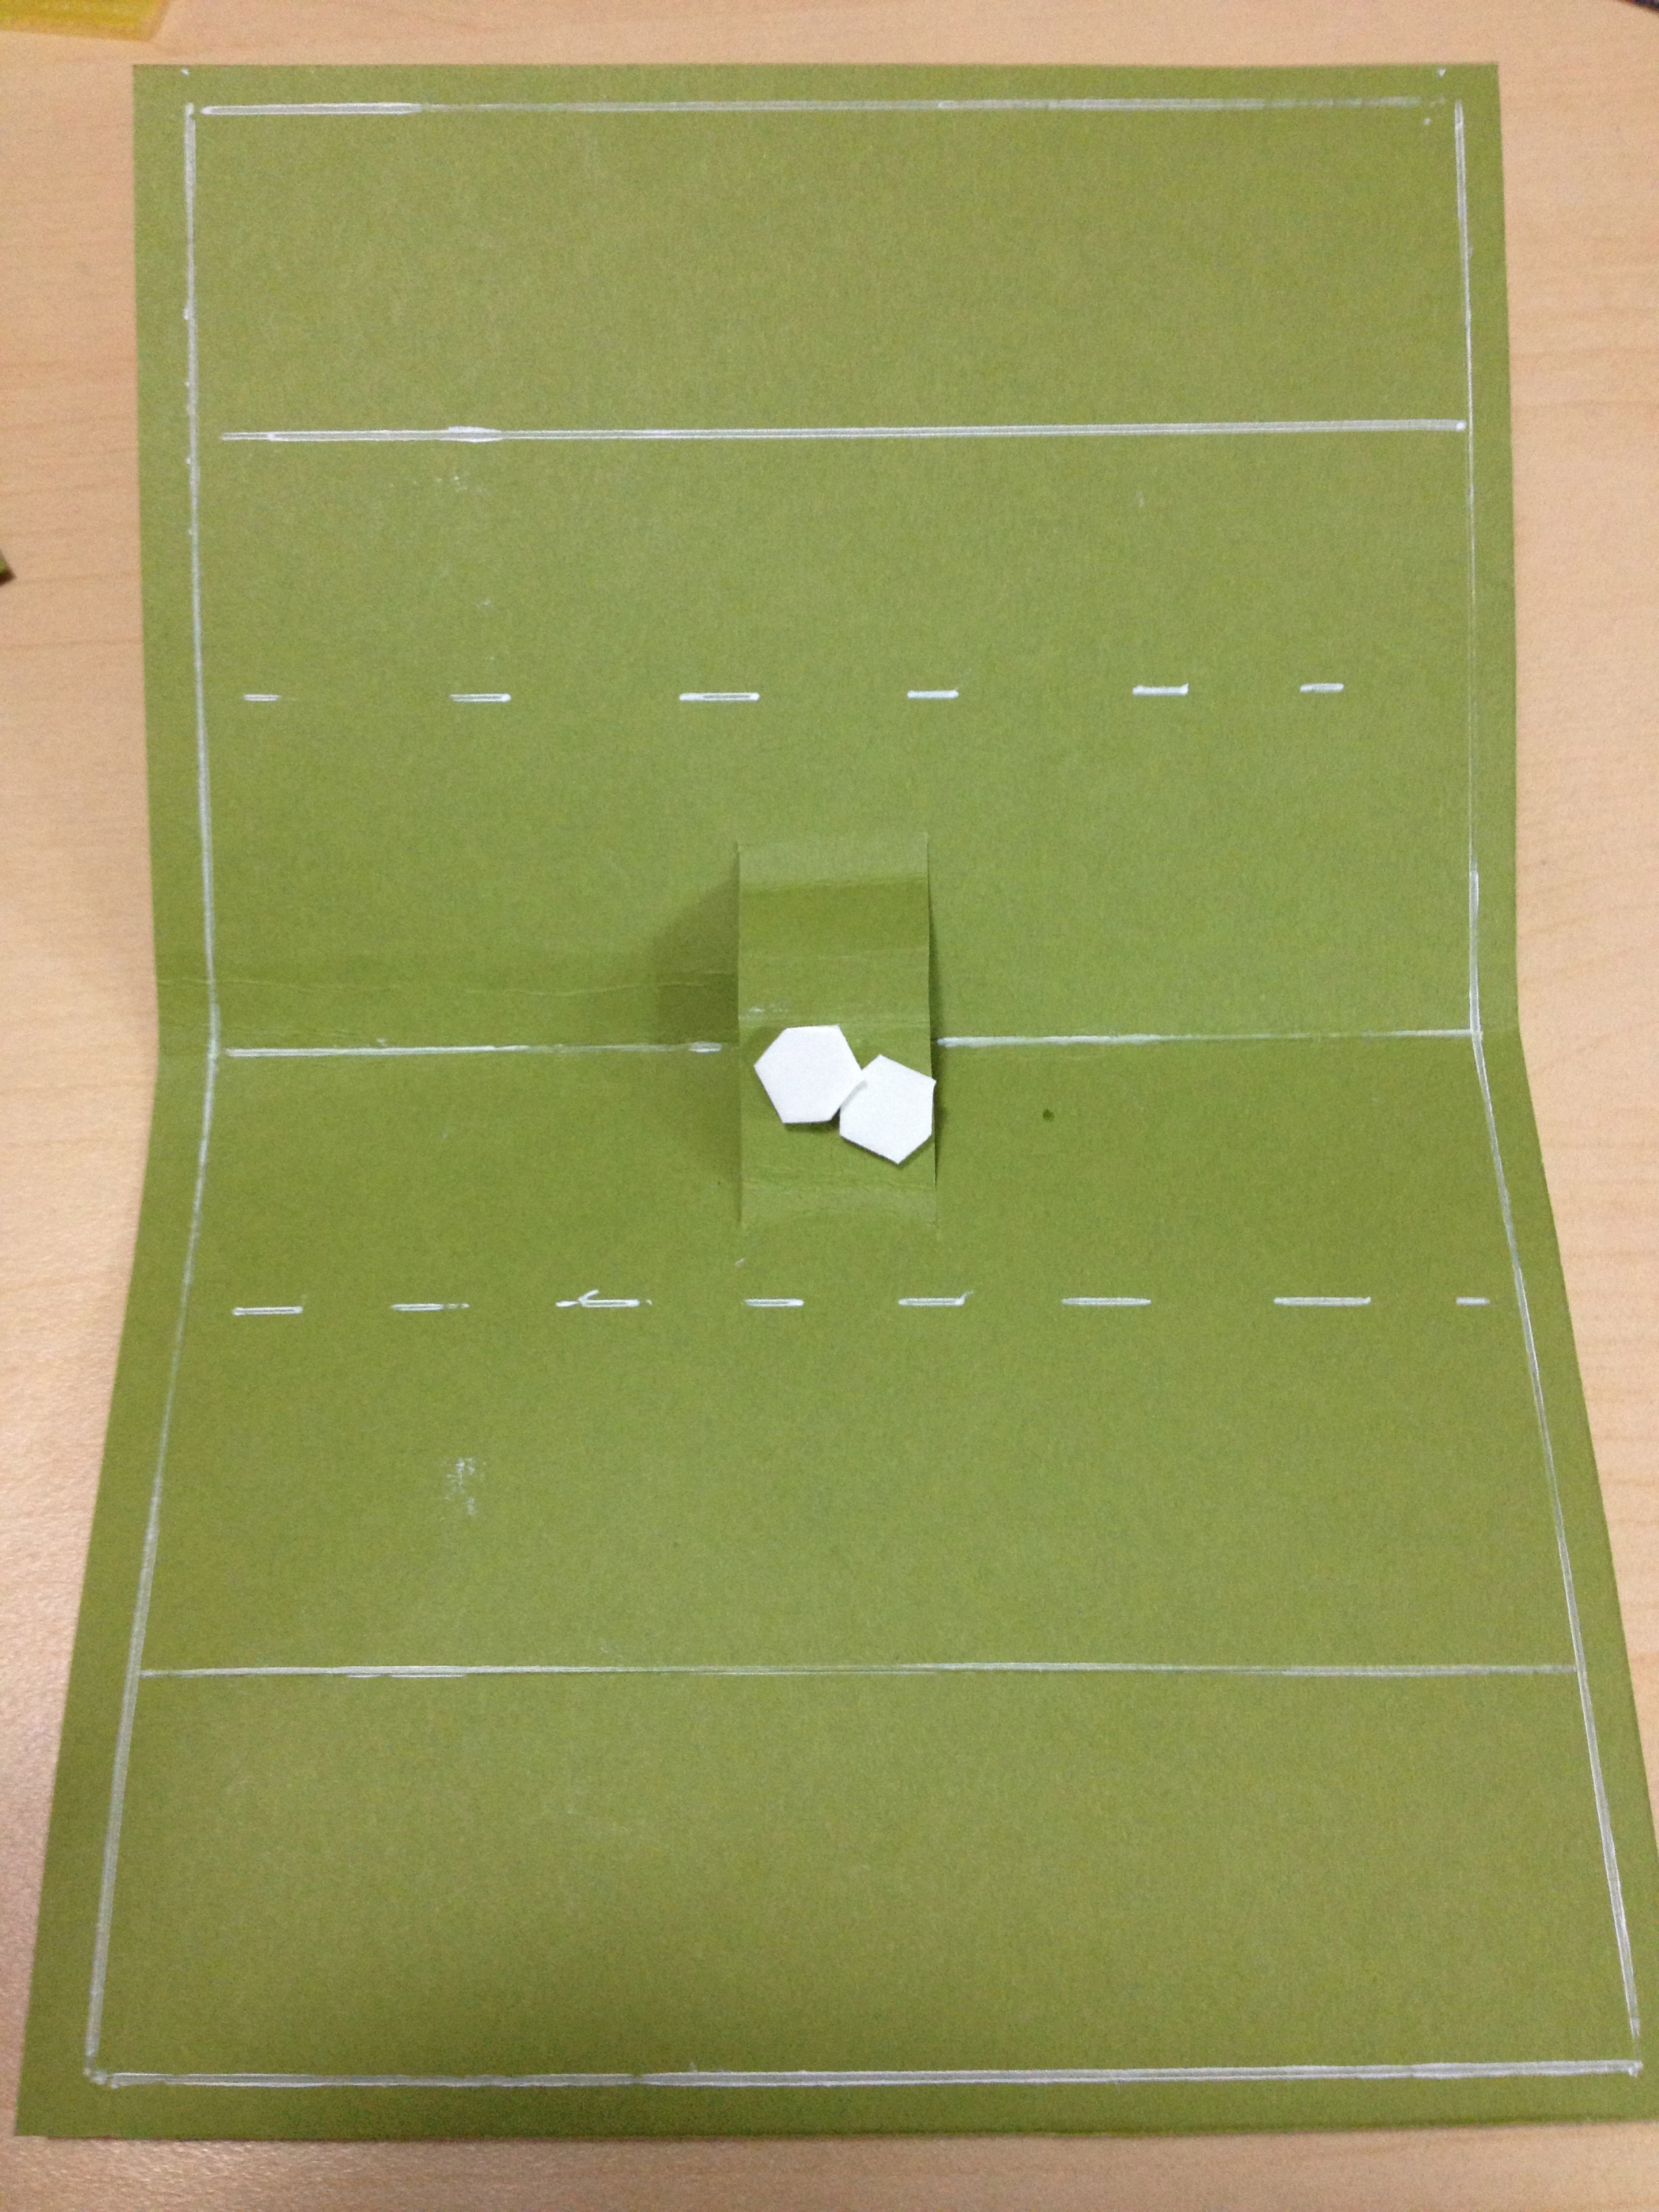
I also made a 7cm x 7 cm gift card:

photo-2

The Happy Birthday label is stamped in Tangerine Tango on Whisper White from the Itty Bitty Banners stamp set and cut out with the matching framelits.

This basic design could be used in any colour scheme – I think it would look great in ‘Christmassey’ colours as an easy but effective Christmas card too.

Thanks for stopping by!

Caro

Pinwheel die cards and gift tags

Tags

, , , , ,

My last post confessed to a slightly unhealthy obsession with the Stampin’ Up! pinwheel die.    I wanted to use this post to show you how I’ve been using up some of my scrap paper with the pinwheel die and the odd toothpick.

photo-3In this card I’ve used some Tangerine Tango card stock, a scrap of paper from some Sycamore Street DSP and Tangerine Tango ribbon from the recent Sale-a-bration promotion, plus an Itty Bitty Banner stamped and cut out with the matching framelit.    The toothpick is stuck on the back of the pinwheel using a Glue Dot and the pinwheel is stuck to the Whisper White card stock using a dimensional.

Here’s a similar card with 3 pinwheels:

photo-7

And a little 7cm x 7cm matching love note I used to go with the card when I gift wrapped the present for the recipient of the card:

photo-6

I think I like the ‘single pinwheel’ design best – what do you think?

Thanks for reading 🙂


Using up scraps – Stampin Up pinwheel die

Tags

, , , ,

You may know I’ve been on a mission to use up all my bits and pieces of DSP I’ve been hoarding for years.   One of my favourite ways at the moment is the Sizzlets Pinwheel die from the current Stampin’ Up! Seasonal Catalogue.   At just $8.95 I have to confess to buying two – so I can make 2 pinwheels at the same time.   One just wasn’t enough!

And why would it be when just like magic you can take a bag of old paper scraps …

photo-11

run them through the Big Shot to get some cute little die cuts like this …

photo-9

Which turn into gorgeous little pinwheels like this!

photo-10

If you Google “stampin up pinwheel die tutorial” you will see lots of YouTube videos shared by kind demonstrators who will show you how to put the dies together to make the pinwheel.

In summary though – fold in each corner and secure in the middle with a brad – too easy!

The Pinwheel die is available in the current Seasonal Catalogue page 33 – item no 129411, $8.95.

Pop up rugby themed birthday party invitations

Tags

, , , , ,

My 3 year old son is obsessed with rugby union.  And I mean obsessed.  Instead of a story, he wants me to read him the Brumbies rugby season guide most nights.    And for his birthday party he wants a – you guessed it! – rugby themed birthday party, with rugby themed invitations.

After much thought, I came up with a pop-up rugby themed birthday party invitation for my little rugby obsessed munchkin.    I thought I would share the steps in case anyone else needs to come up with a football related card or invitation anytime soon.

I made a C6 sized card blank in Stampin Up! Night of Navy, which is pretty close to the Brumbies team colours of navy, white and yellow.   I cut and pasted some rugby jerseys on Whisper White card stock for the front of the card – and we wrote the names of the people invited on the jerseys.

IMG_1349

For the pop up card I cut a 20.5 x 14 cm piece of Stampin Up! Old Olive card stock for the inside ‘pop up’.   Here is a photo of my rough sketch in case my instructions aren’t clear!

IMG_1351

I folded the Old Olive piece in half and scored it, then made a 2cm cut at 6 cm and 8cm to make the pop up.

IMG_1345

Now for the “field!”

I used my white Signo pen to mark the side lines – 0.5cm all around the inside, and then try lines, centre lines and “22” lines as shown in this photo (I did the solid lines with a ruler and the dashed lines by hand)

IMG_1337

I added 2 Stampin’ Dimensionals onto the pop up to hold the “piece de resistance” – the pop up rugby ball!     I made this on my computer so I could add his name on the ball, but you could equally use an oval cut from the extra large oval punch or an ovals die.

IMG_1348

James had a fantastic time sticking on the dimensionals and adding the balls to the inside of the cards.   Just like magic!   One tip: make sure the base of the rugby ball is just touching the base of the pop up section so it can close easily.

We wrote the party details on the “field”, stuck the Old Olive insert inside the Night of Navy card base and we were done.

I’m posting them tomorrow so here’s hoping they’re a hit!

Enjoy!

Using up some scrap paper

Tags

, , , ,

If you’re anything like me, you probably have a ton of left over paper lying around that is too pretty to throw away, but you’re also not quite sure what to do with?

I’ve recently started donating some of my extra paper to my son’s daycare – the kids love using it in their craft and I’m sure they get more happiness out of using it than having it stashed away in my stash!

I’ve also started hunting around for ways to use up small bits of paper in my crafting.    One really simple idea is these small gift cards made out of some scrap paper and the Stampin Up blossom punch.

Blossomflower1

I made a 7 cm x 7 cm card in Whisper White and punched a blossom shape out of some retired Stampin Up designer series paper (DSP).   I then used my 3/4 inch circle punch and a spare button I had lying around to make the centre of a flower.

Another variation is to us a scrap of DSP (I used 6 cm x 6 cm) and overlay with a white punched blossom image.    A small circle of DSP in the middle (3/4 or 1 inch punches work best) and you’re done.  You could add a button or another punched flower in the middle to give it some extra dimension.

Blossomflower2

Very simple, but I think they are quite effective.  What do you think?

Blossomflowersgroup

I’ll try to always put the ‘ingredients’ for any cards at the bottom of a post.  If you would like to buy any of the products I use on the blog, please email me at caroprettythings@gmail.com

Thanks for reading 🙂

Ingredients:

Whisper White card stock

DSP (retired)

Blossom Punch (item no 125603 Stampin Up! Annual Catalogue p185)

3/4 inch circle punch (item no 119873, catalogue p184)

So it’s been a while ….

So, I came on here about a year ago with an intention to start a craft blog.  What happened I hear you ask? (if there are any of you out there!)  Well, life happened.   Busy job, busy family, busy busy busy.  So craft gets pushed to the bottom of the pile.

I have been doing some crafting in that time though, so I might share some of the stuff I have made over the past year.   Please go easy on me – most of the photos are taken on my mobile phone (“Fix Camera” is also on the ‘to do’ list!) and I’m still figuring out how to blog.

I get so much inspiration from all the generous and clever people who post their creations on the web  I thought it was time I tried to do my part, even just a little.

So stay tuned!

I am also collecting some of the ideas that inspire me over on Pinterest so please look me up over there as well – my user name is “Caro’s Pretty’.   I’m also on Twitter – @prettythingsau.

Thanks for reading 🙂

Caro


Welcome to Caro’s Pretty Things!

Welcome to Caro’s Pretty Things!  Thanks for stopping by.

I’m a little bit of a paper craft addict, and decided I might start blogging about some of my creations.  I get so many good ideas from other wonderful blogs so I thought maybe it was time to share some ideas of my own.

I am also an independent Stampin Up! demonstrator so I’m happy to help you find any of the products I’ve used in the projects I blog about.

This is my first attempt at blogging so please bear with me while I figure this out!

Thanks for reading 🙂

Caro