Yoda birthday card 

Tags

, , , ,

It’s a good friend of mine’s birthday tomorrow and he is a bit of a Star Wars fan.  So I decided to update a Yoda card I made a few months ago for his birthday.  


All of the instructions you need to make Yoda are in my previous post here.  

Here is a close up of Yoda, as well as some of my jewel stars and planets:

  
And a close up of the greeting, written over an image of the Death Star.  

  
I am a little bit chuffed with this – I made it in Microsoft Word to fit inside my 1 3/4 inch circle punch.  I’ve uploaded the image to Dropbox in case you’d like to use it yourself.  The text in the image is white, and I printed it out on Very Vanilla card stock to match Yoda’s robe.  

A 12 x 12 cm Very Vanilla piece on the inside sponged in silver ink finished the card off. 

  
I hope you enjoy!

  
Caro x 

Ninjago birthday card

Tags

, , ,

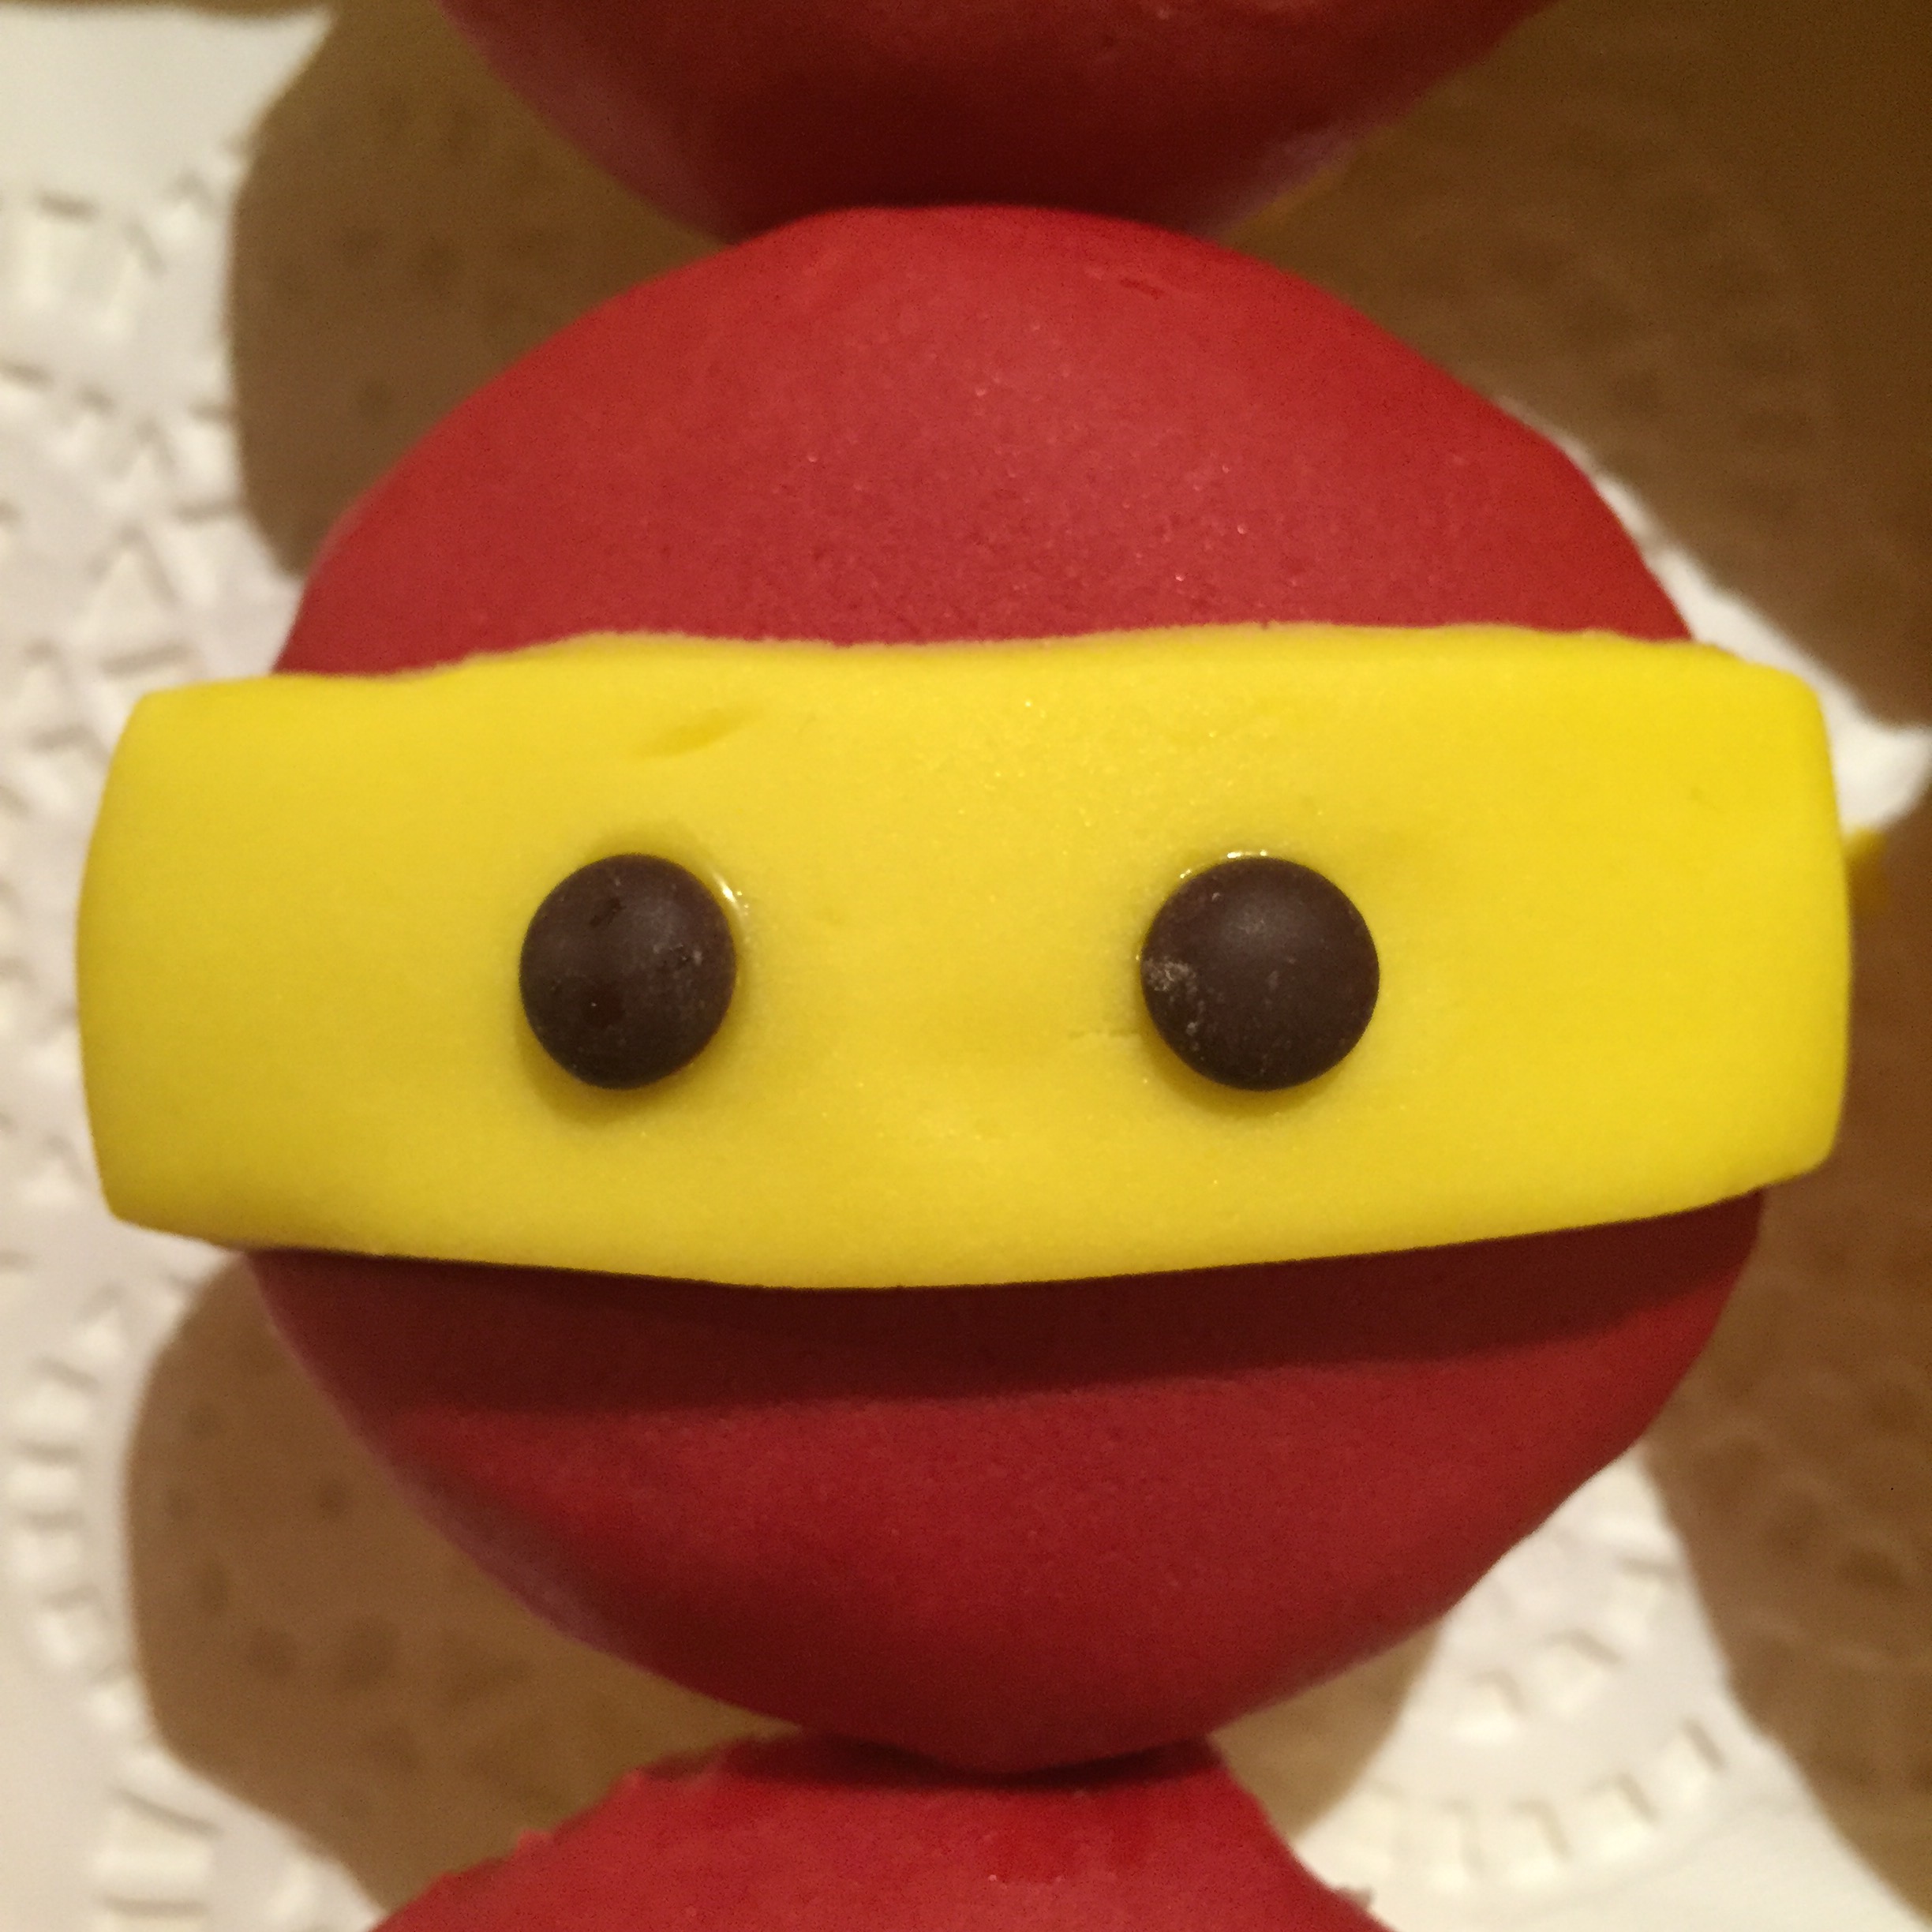
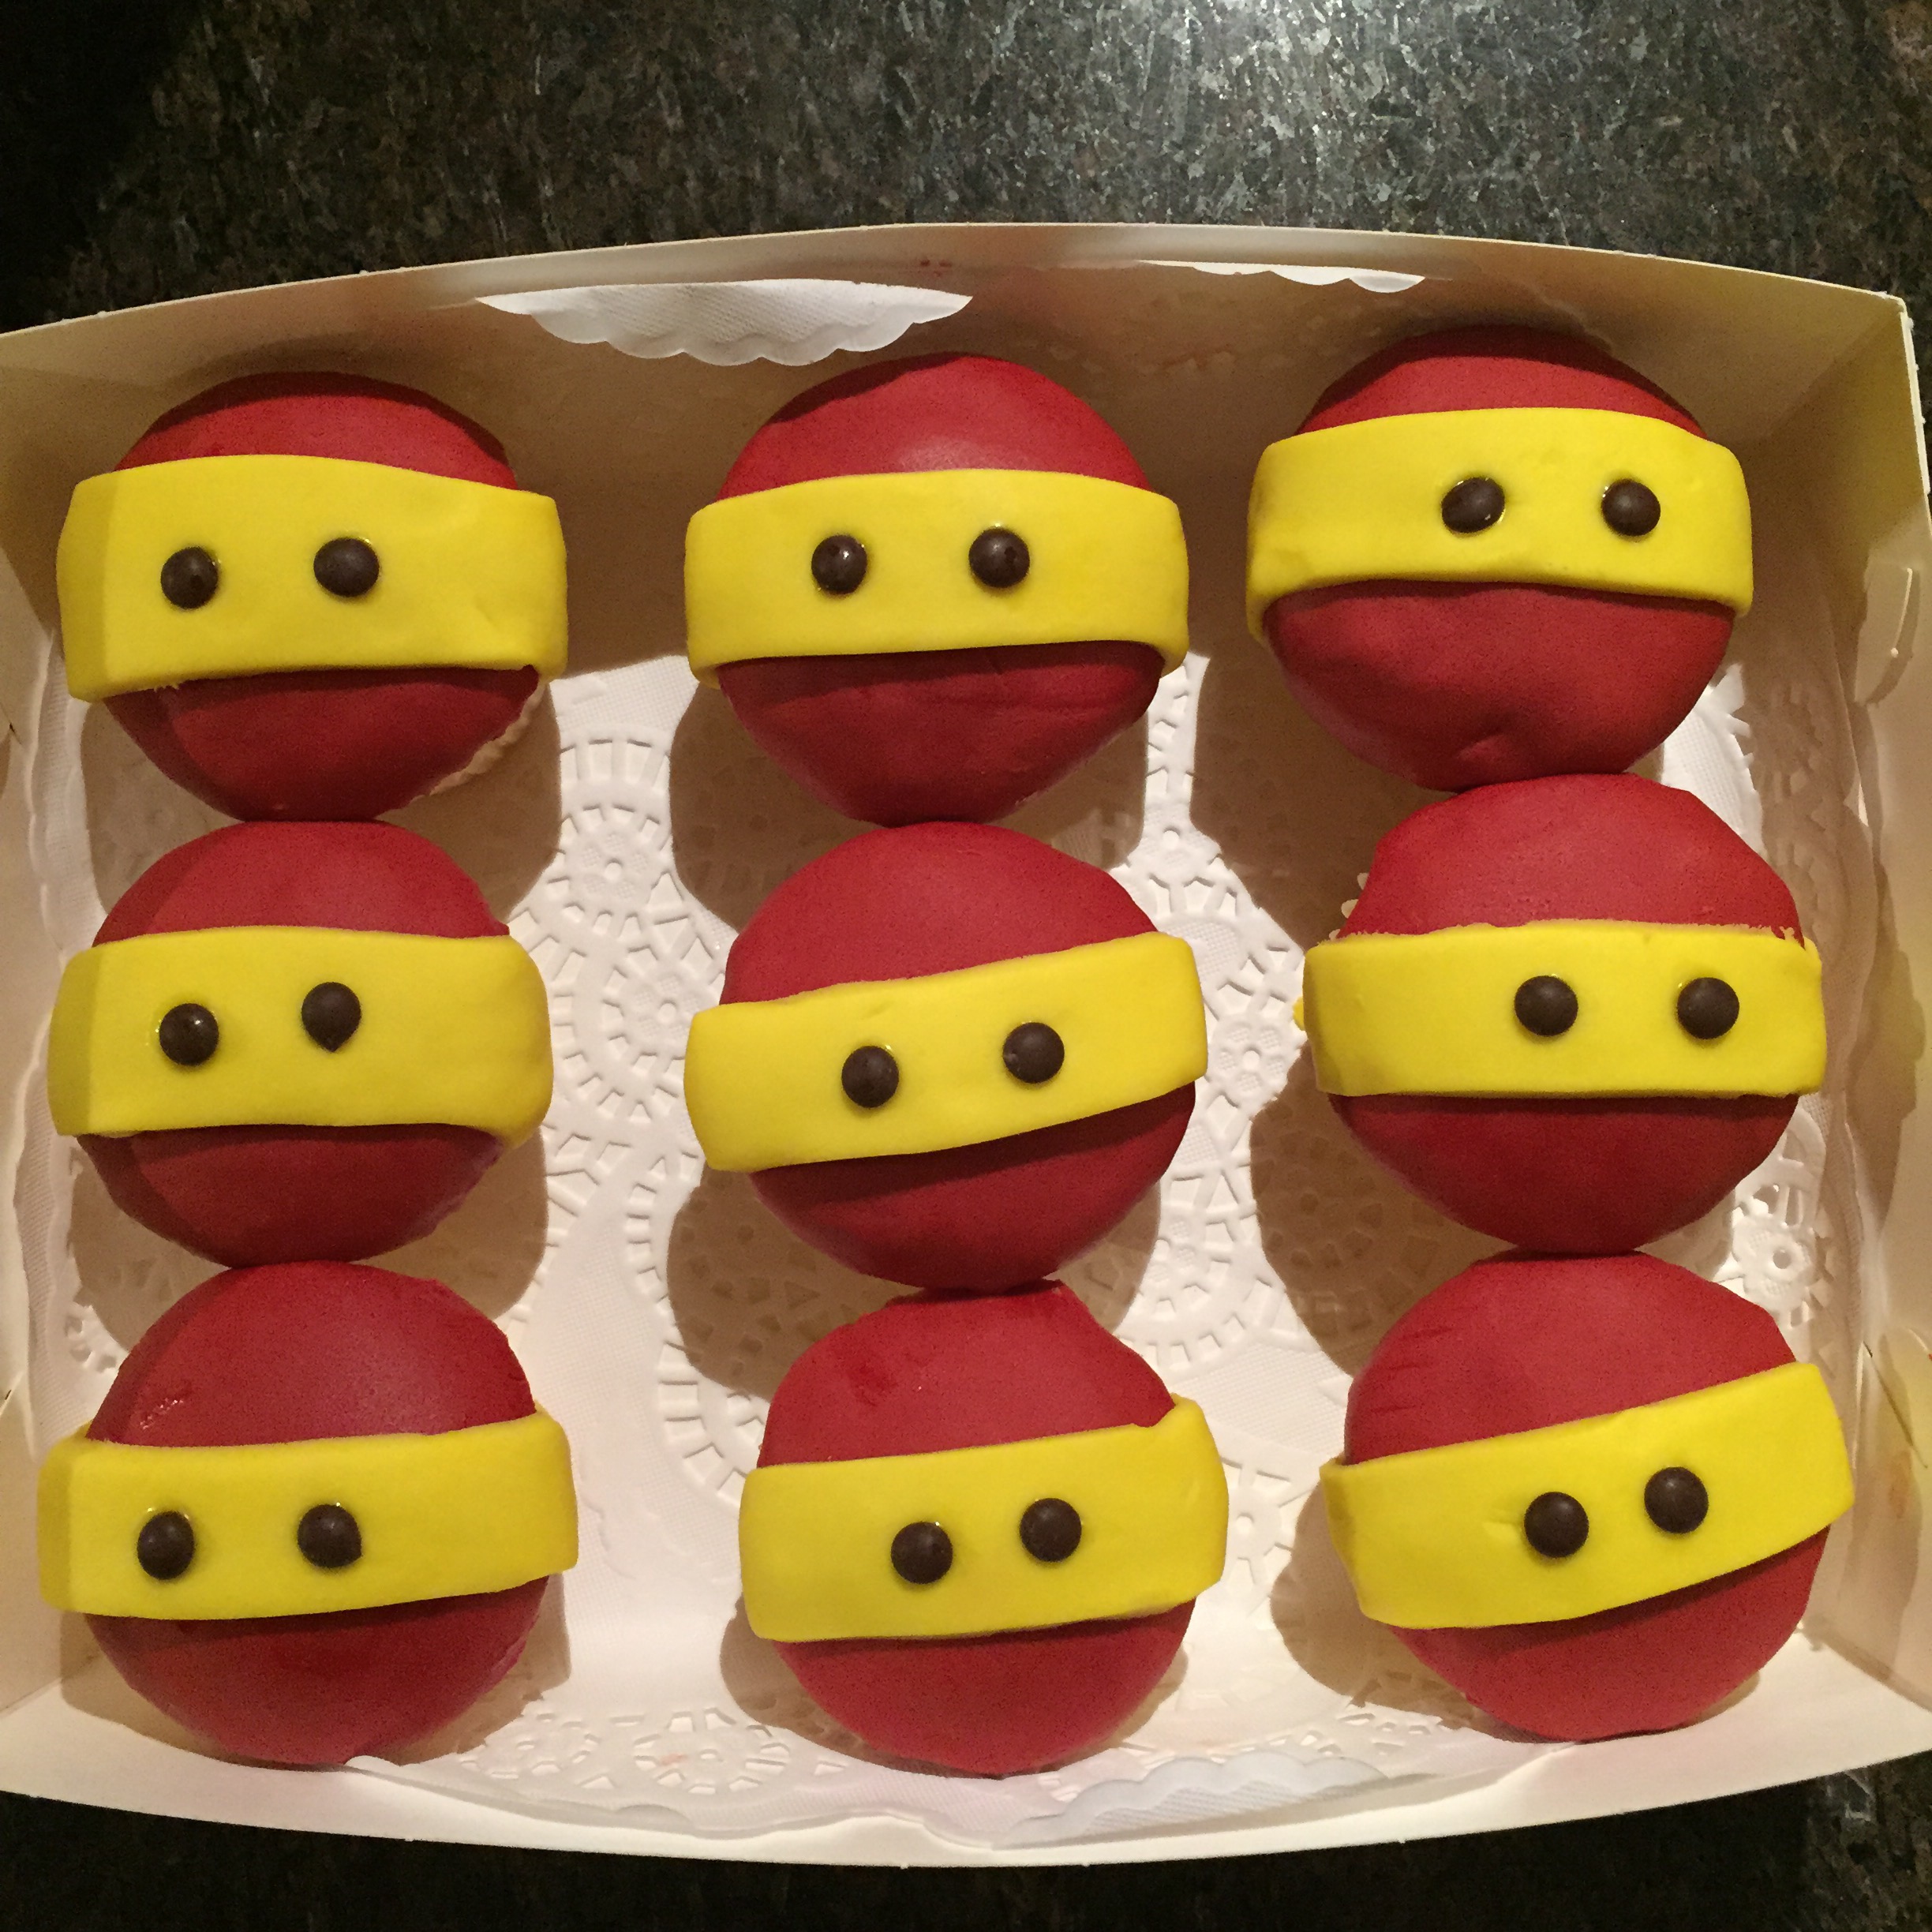
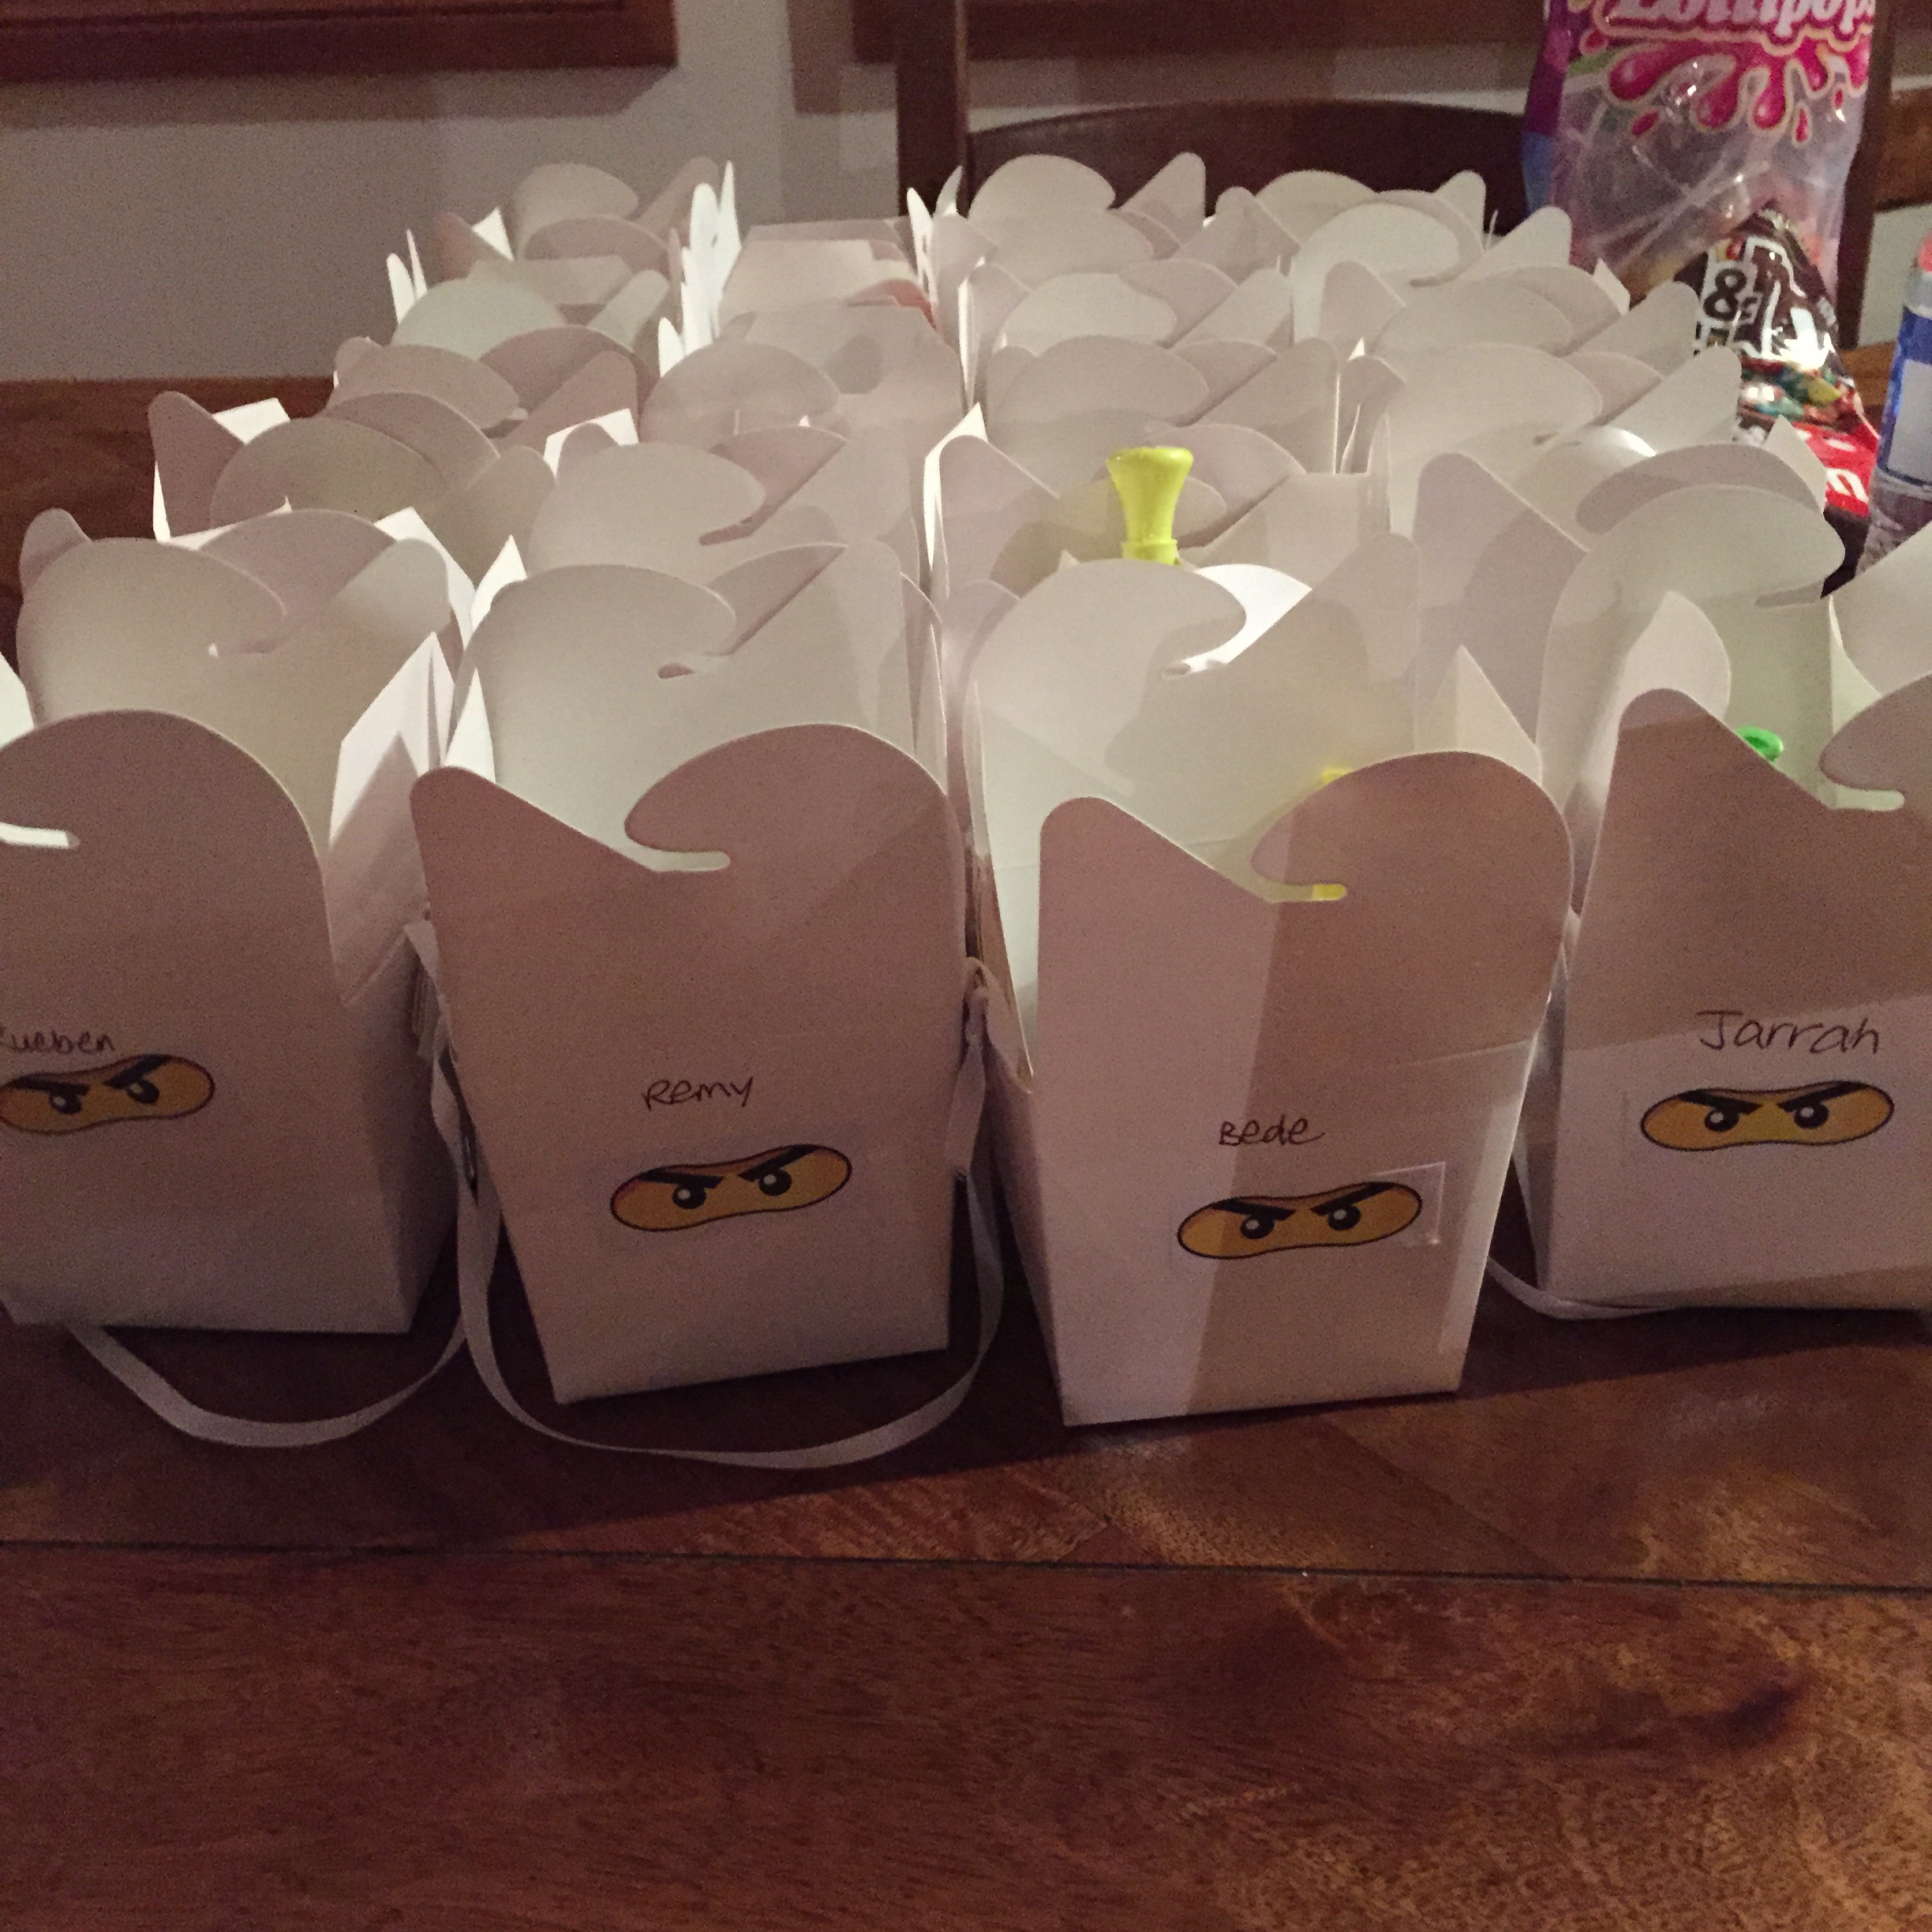
Today I want to share with you the card I made for my son’s birthday.  We’ve had Ninjago invitations, Ninjago cupcakes, and Ninjago party stuff – so there’s no way I was going to get away without a Ninjago birthday card!   


After being a bit “Ninjago’d out”, I wanted to step it up a notch for the birthday card, and I’m pretty happy with how it turned out. 
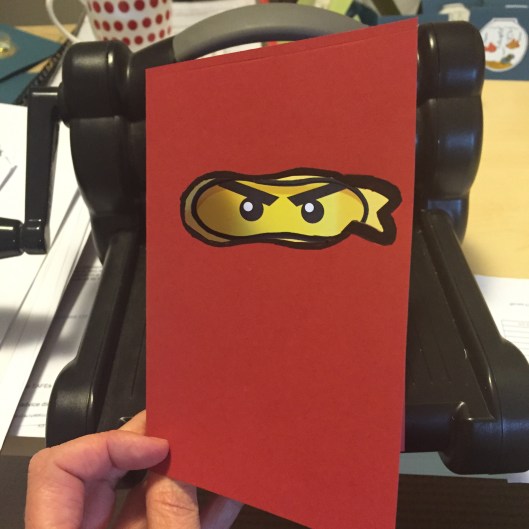
It took me a little while to figure out how I was going to get the peek-a-boo effect so I’ll show you how I did it. 

I used a normal C6 card base and cut a 9 x 13cm piece of yellow for the inside. 

 
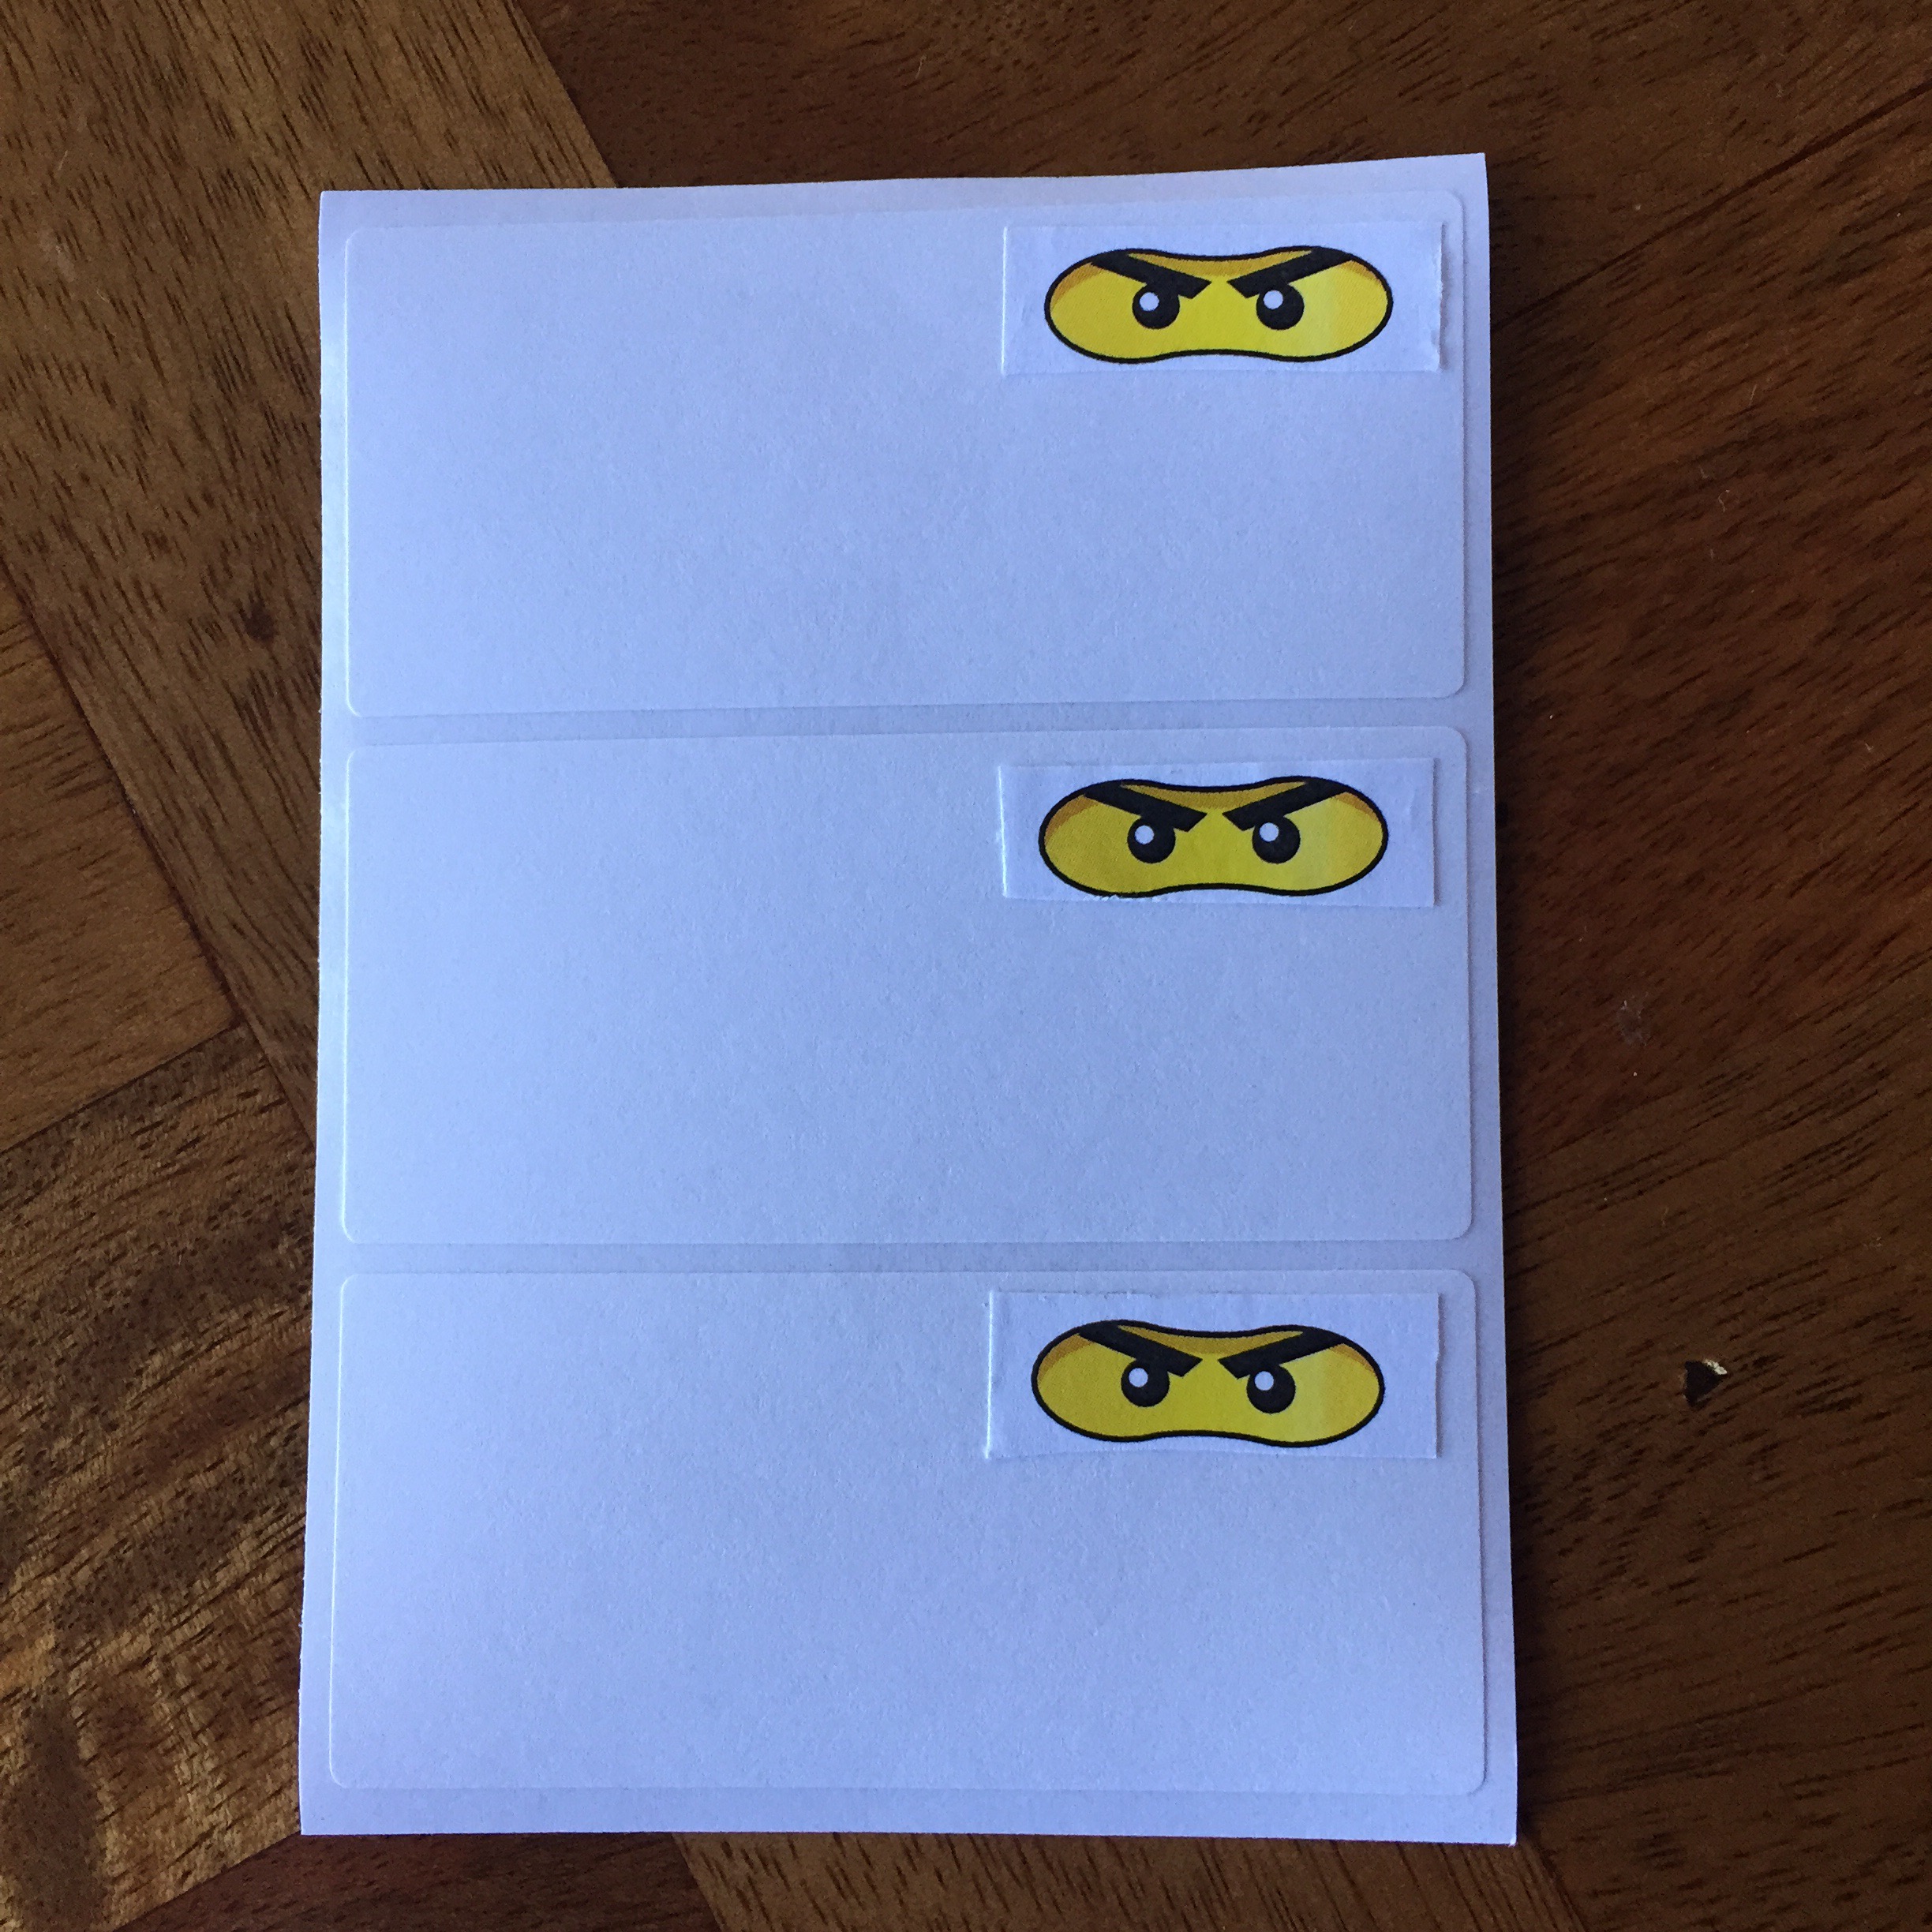
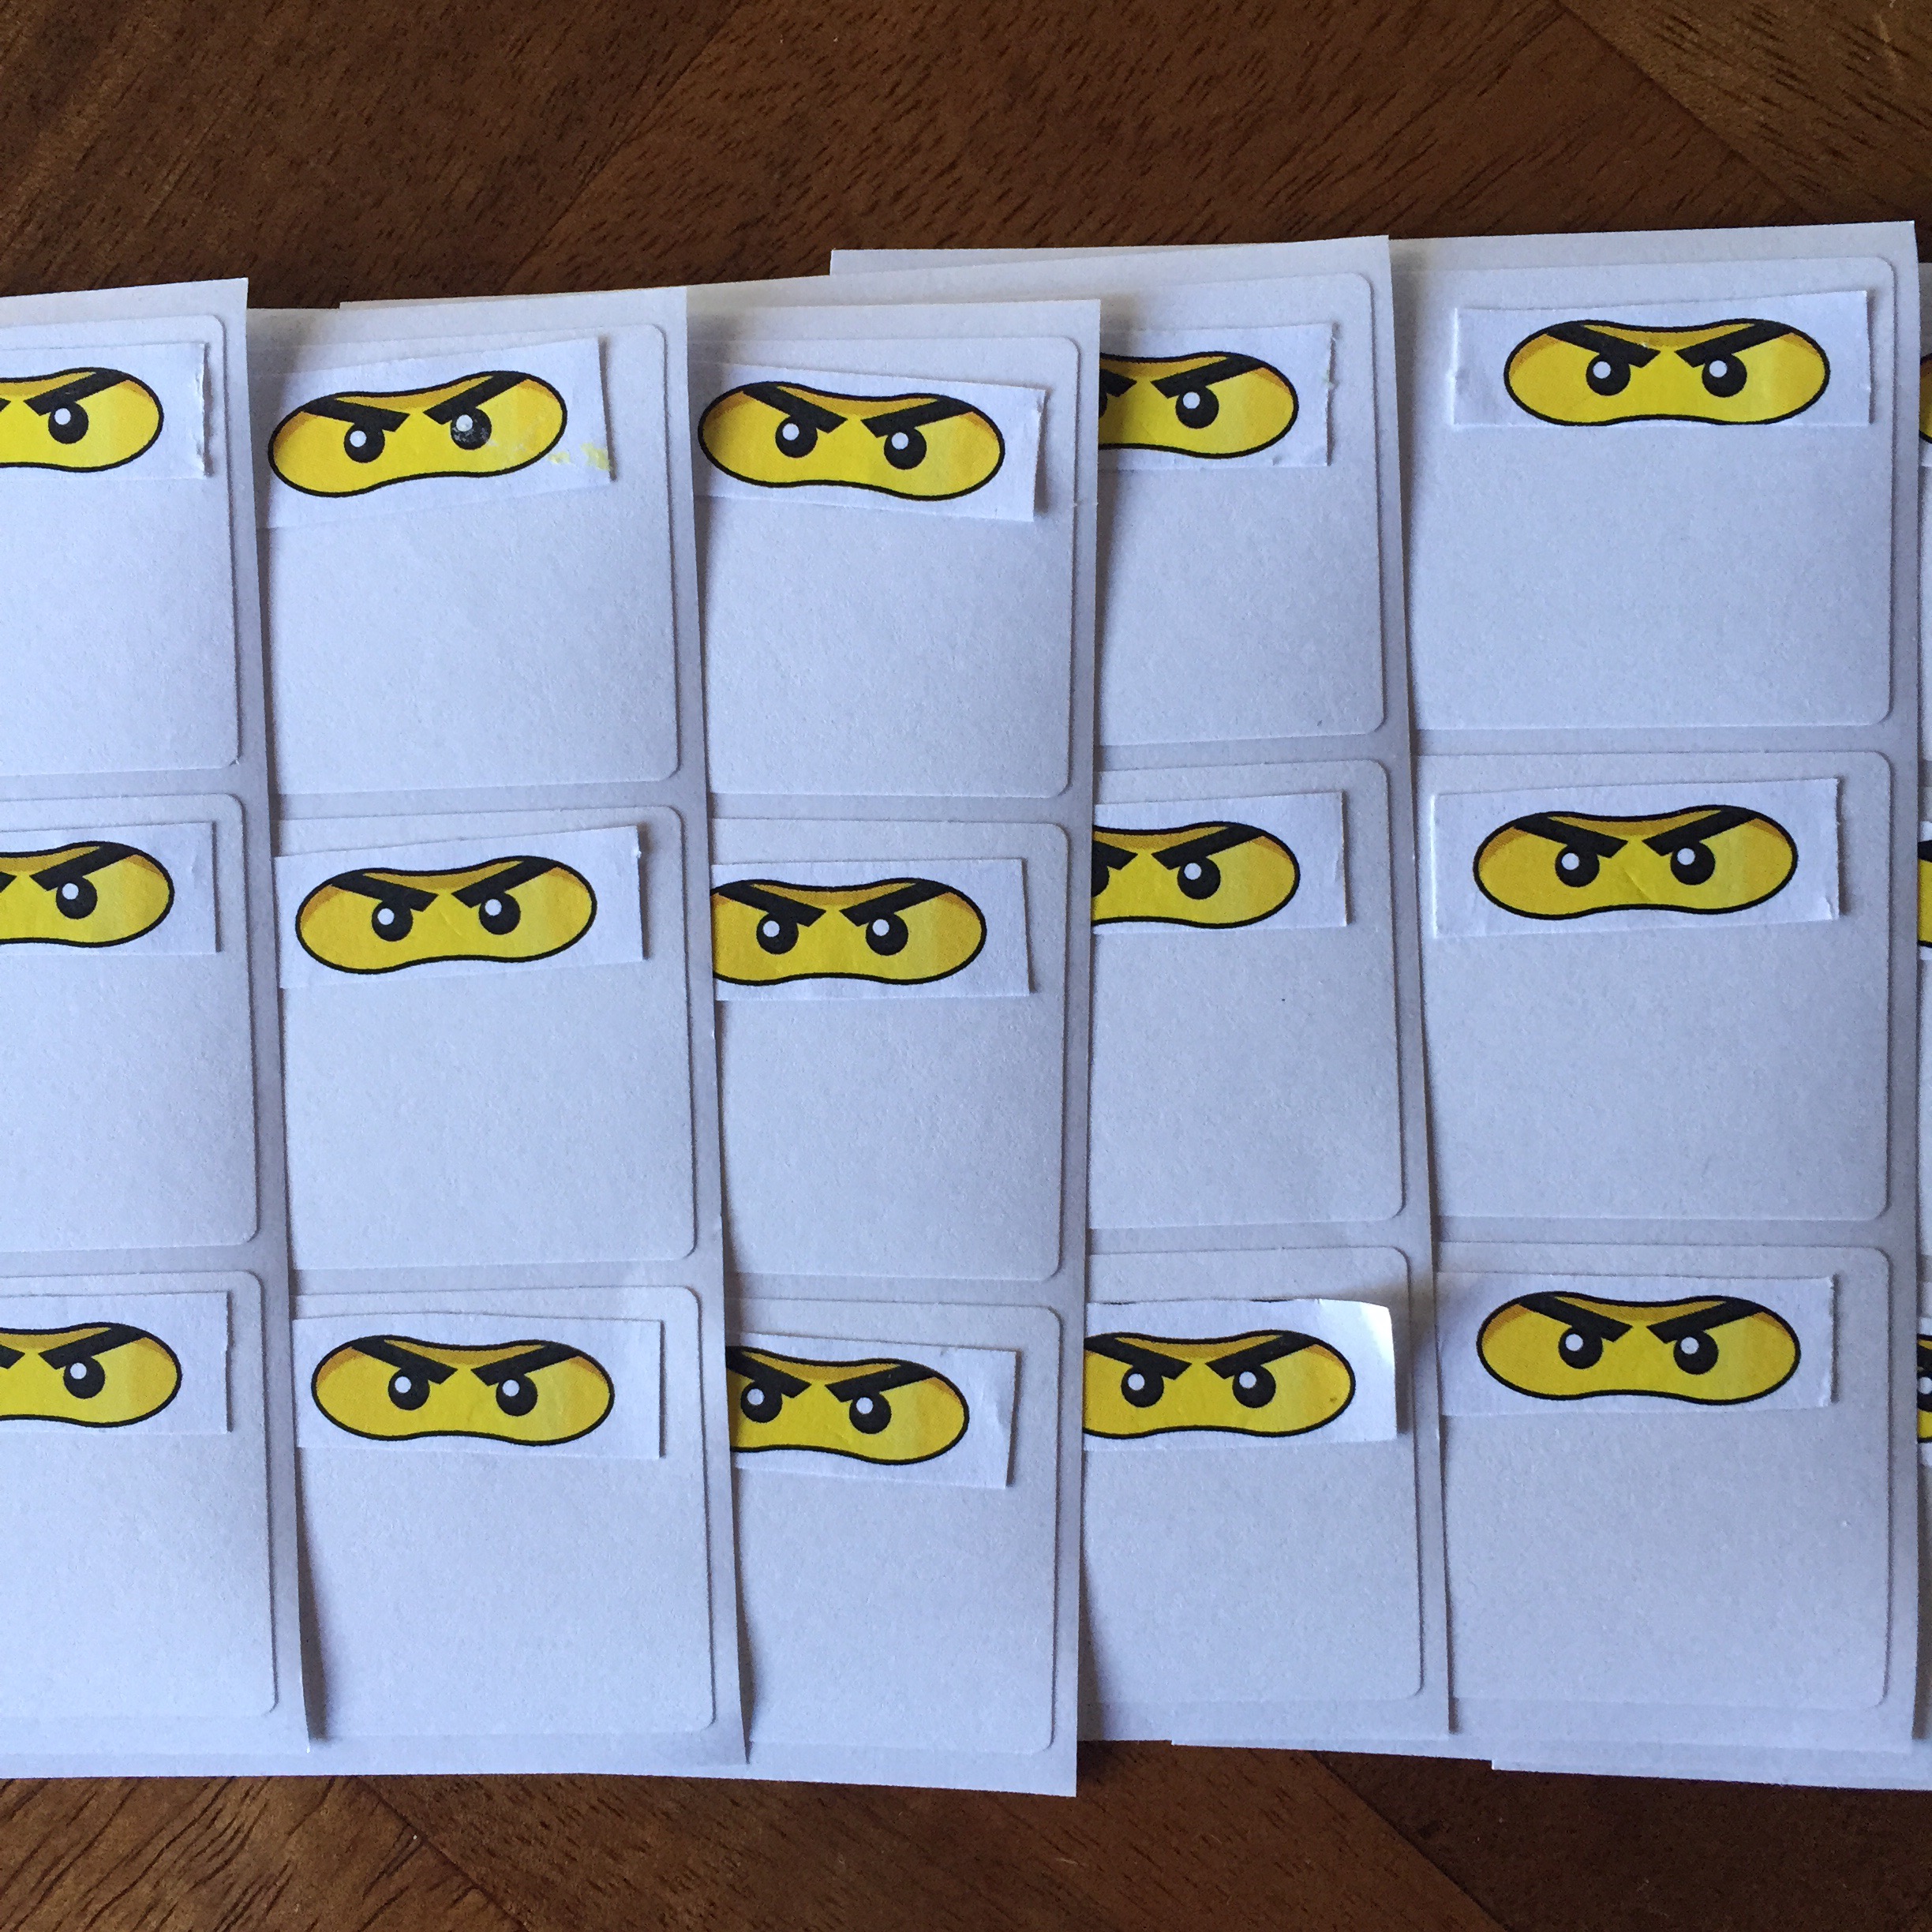
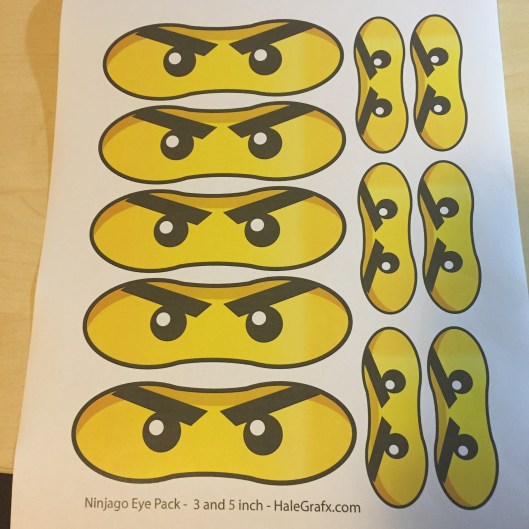
I was thinking about just drawing / using circle punches for the eyes on the inside of the card, but had some printable eyes left over from the party (web address in the photo)


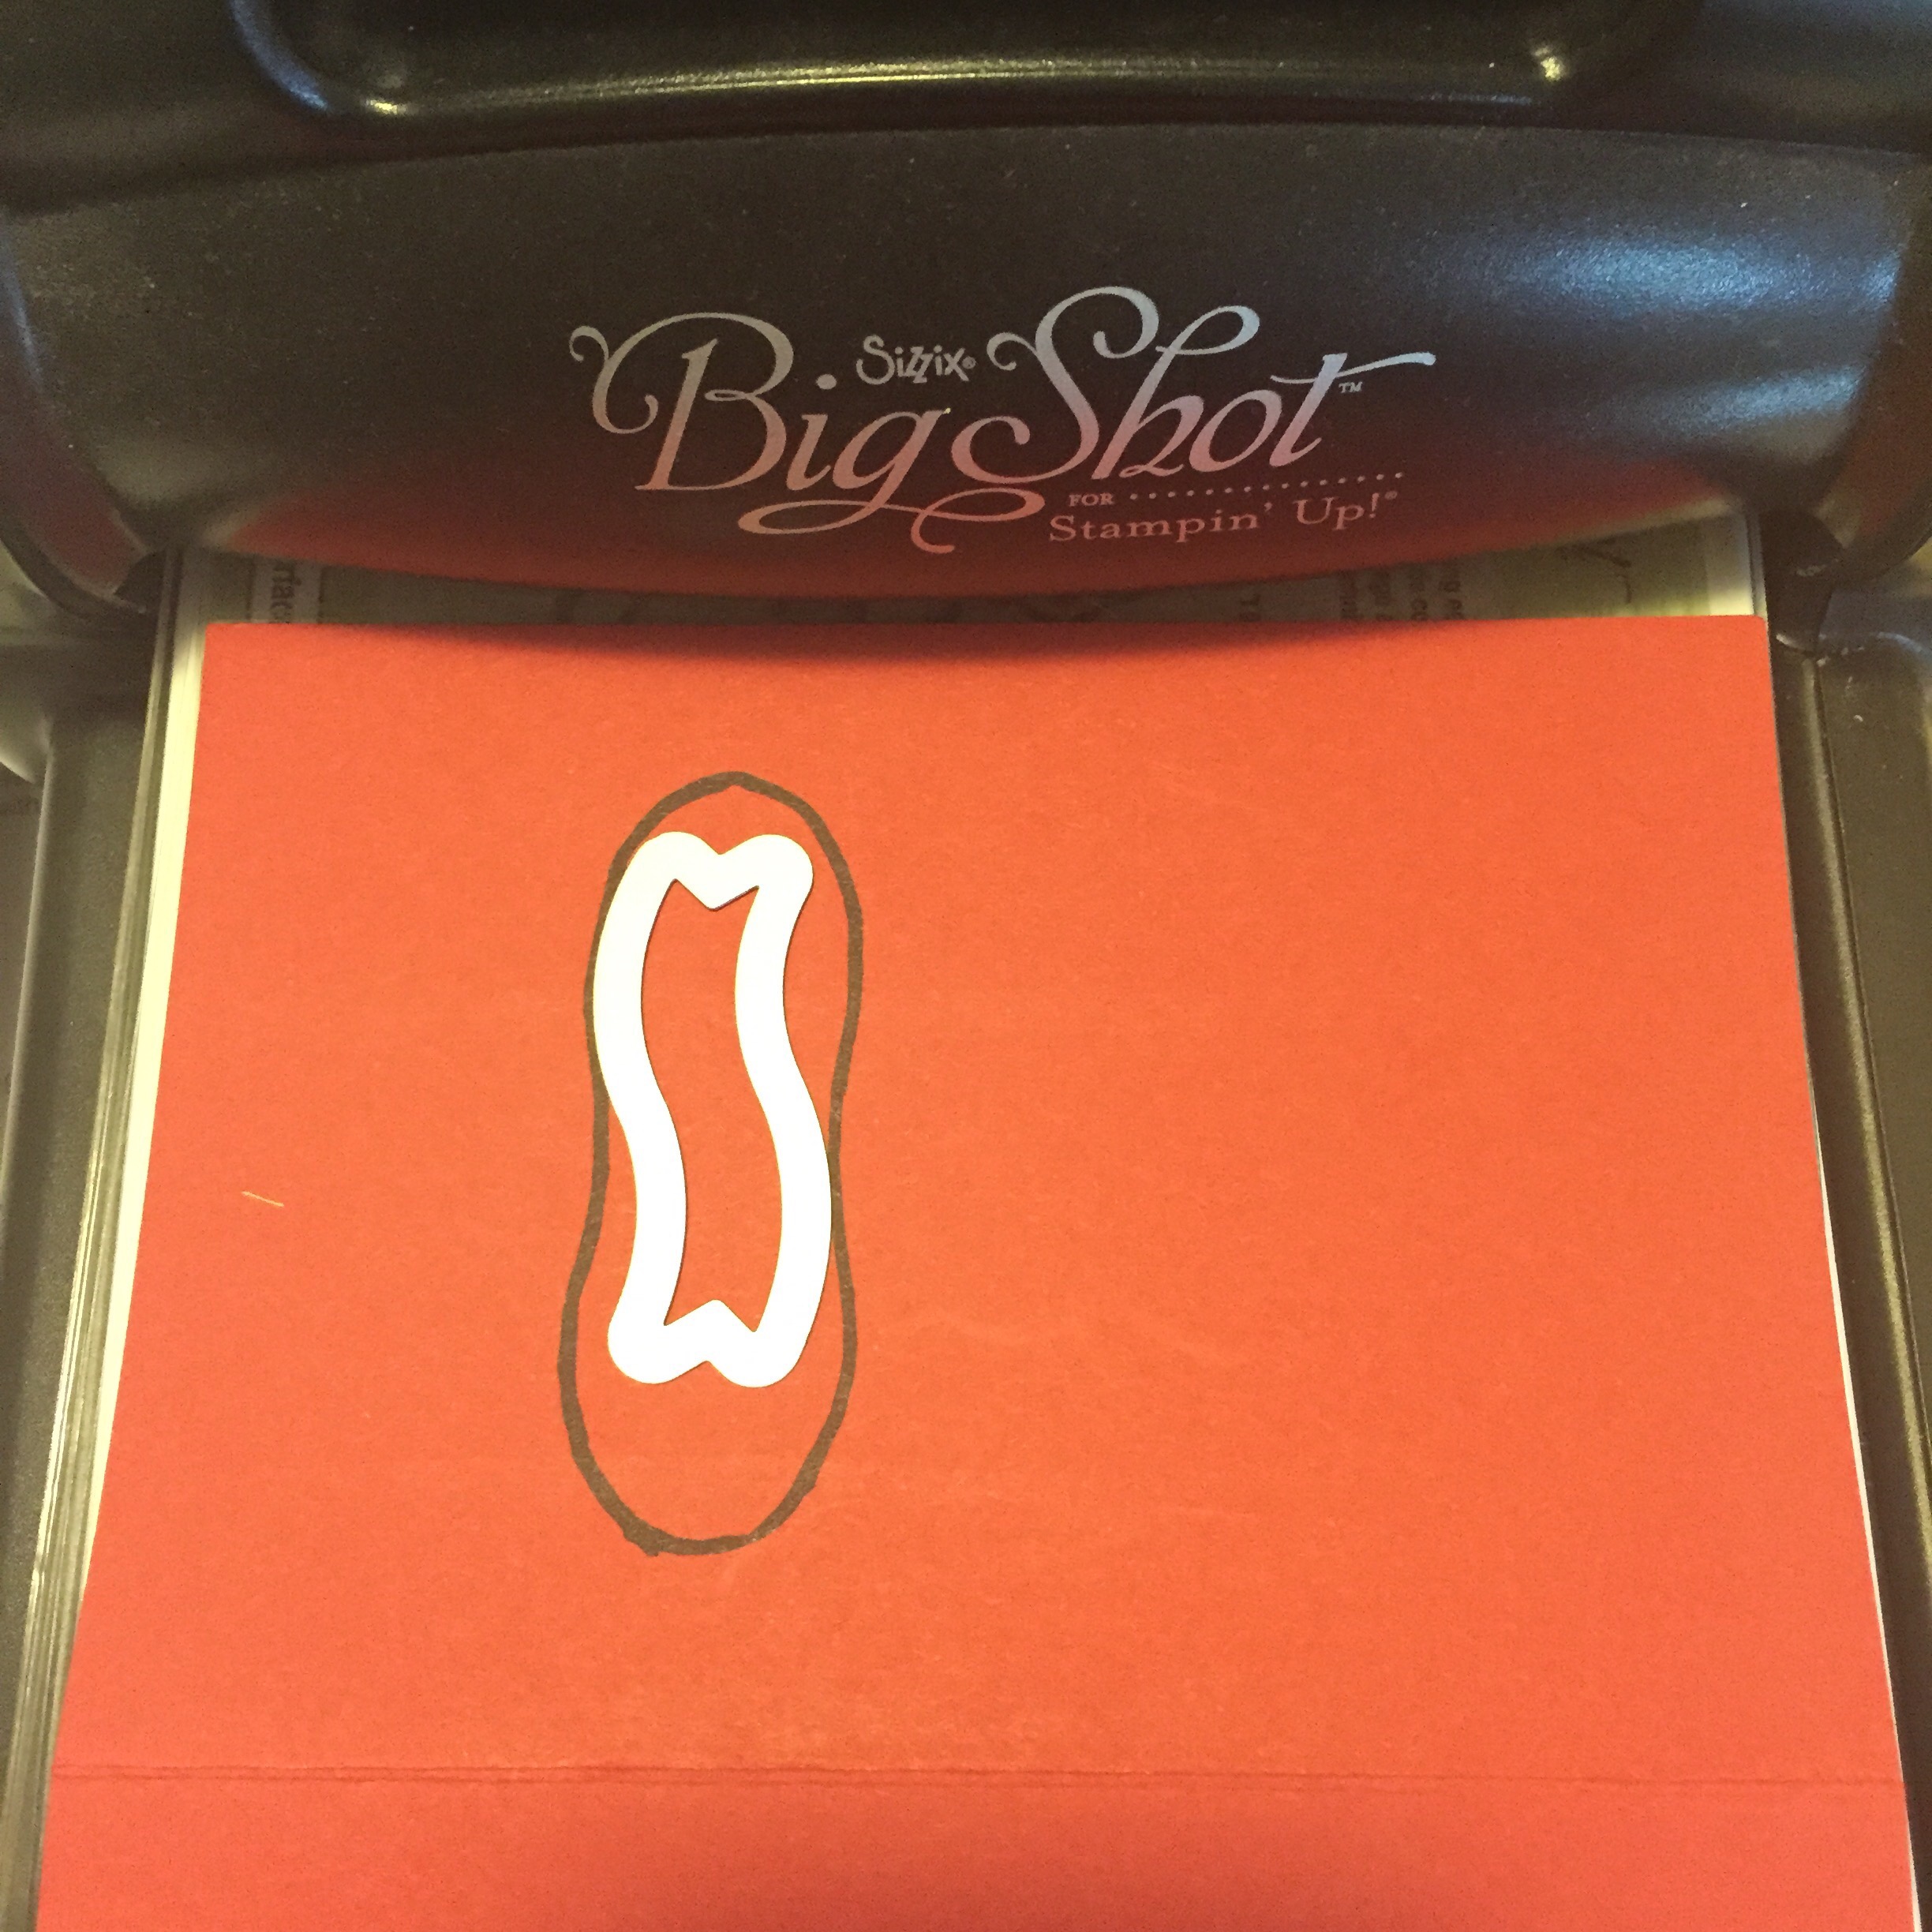
First I cut out an eye mask, then traced around the shape onto the front of the card  (I recommend you cut two – one to trace around and one that will still be neat to use inside the card) 


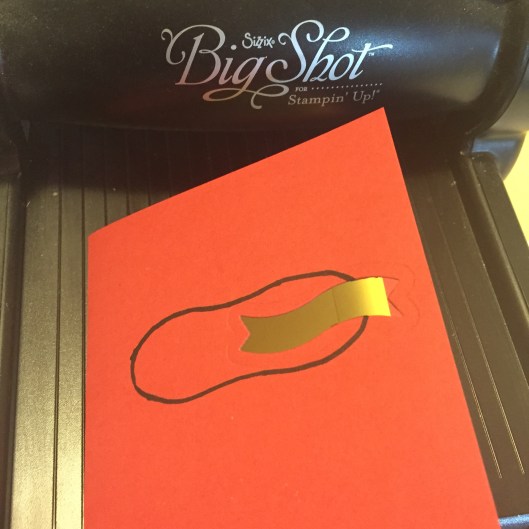
I then needed to be able to cut out the shape. I thought I would use my big shot with a small die just to cut a hole in the centre of the traced area to be able to start cutting out neatly.   


Then inspiration struck! The curvy image from the Banner framelits set worked perfectly to get a “tie” at the edge of the face mask area! So instead of just cutting out some space for starting off my cutting, I shifted it off to the side to get this shape: 


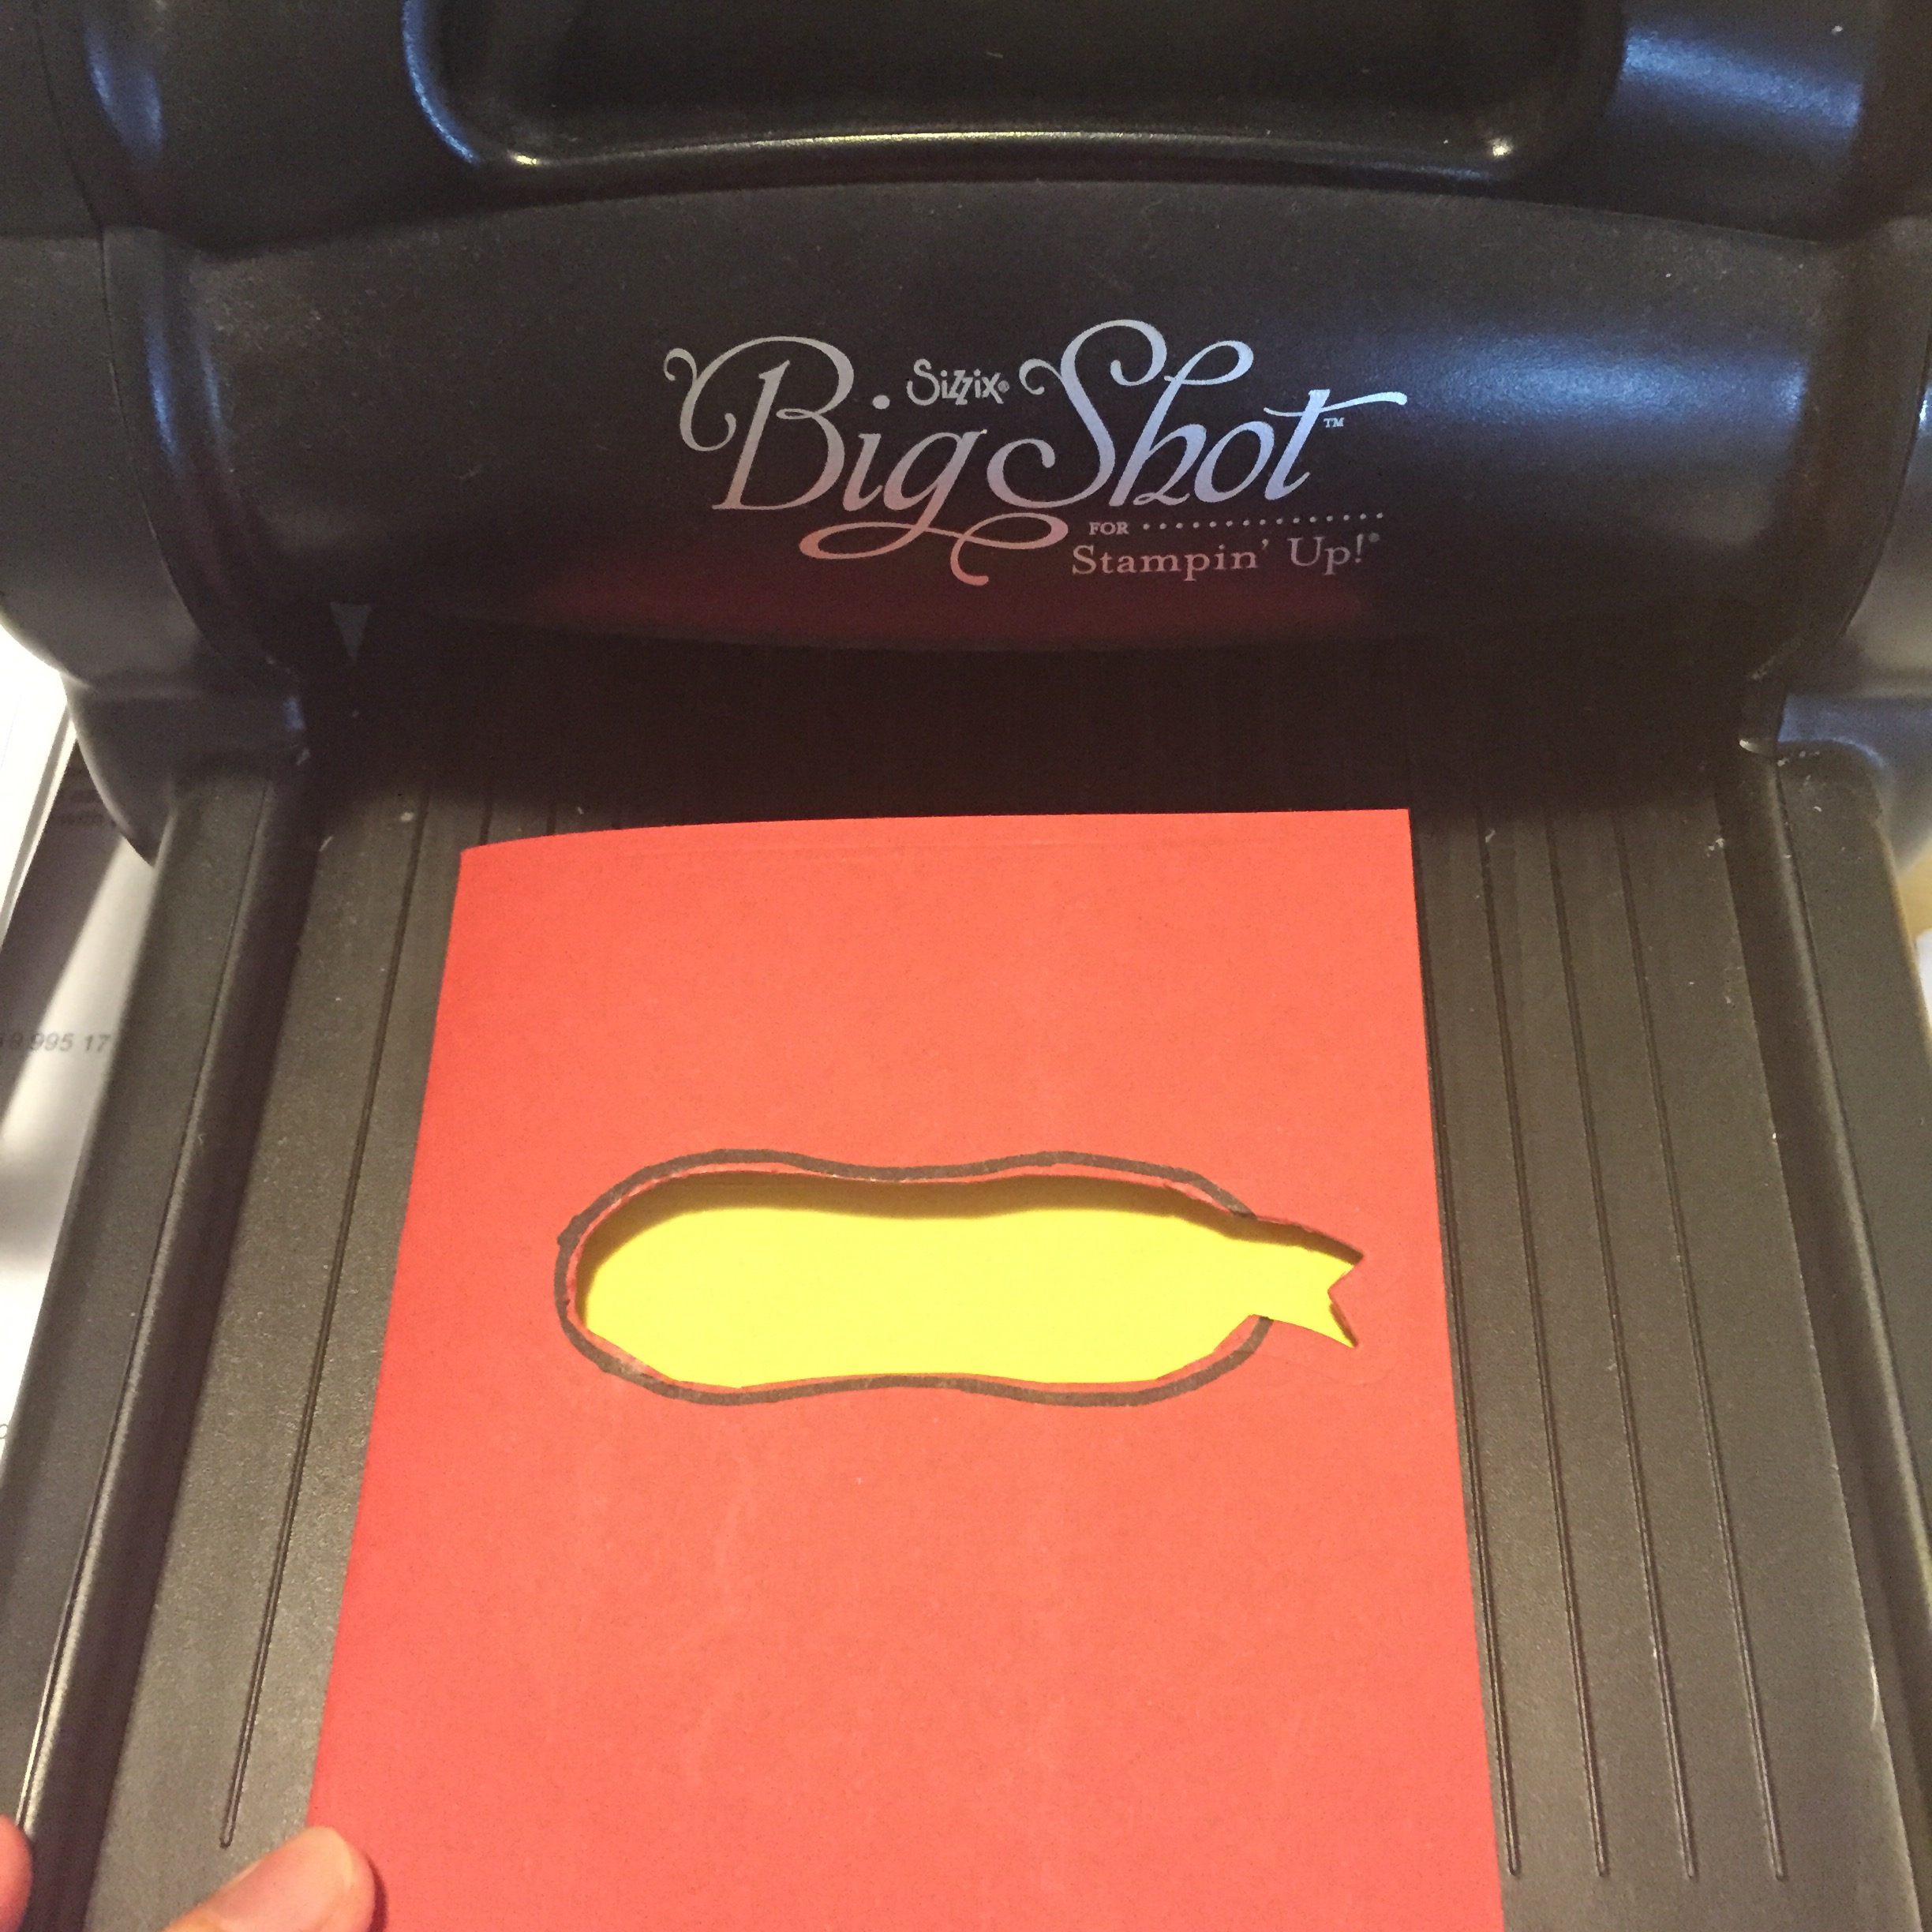
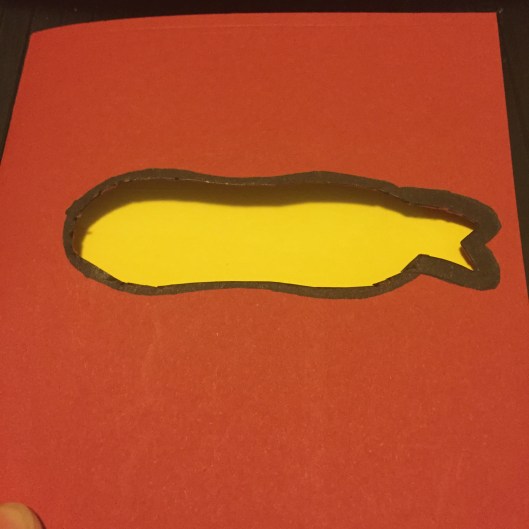
Cutting out the rest and voila! 


The next step was to grab a Sharpie and trace around the edges to neaten them up  – but also to colour in the area marked by the impression of the edge of the die (you can see the faint impression in this next picture)

 
And the end result!


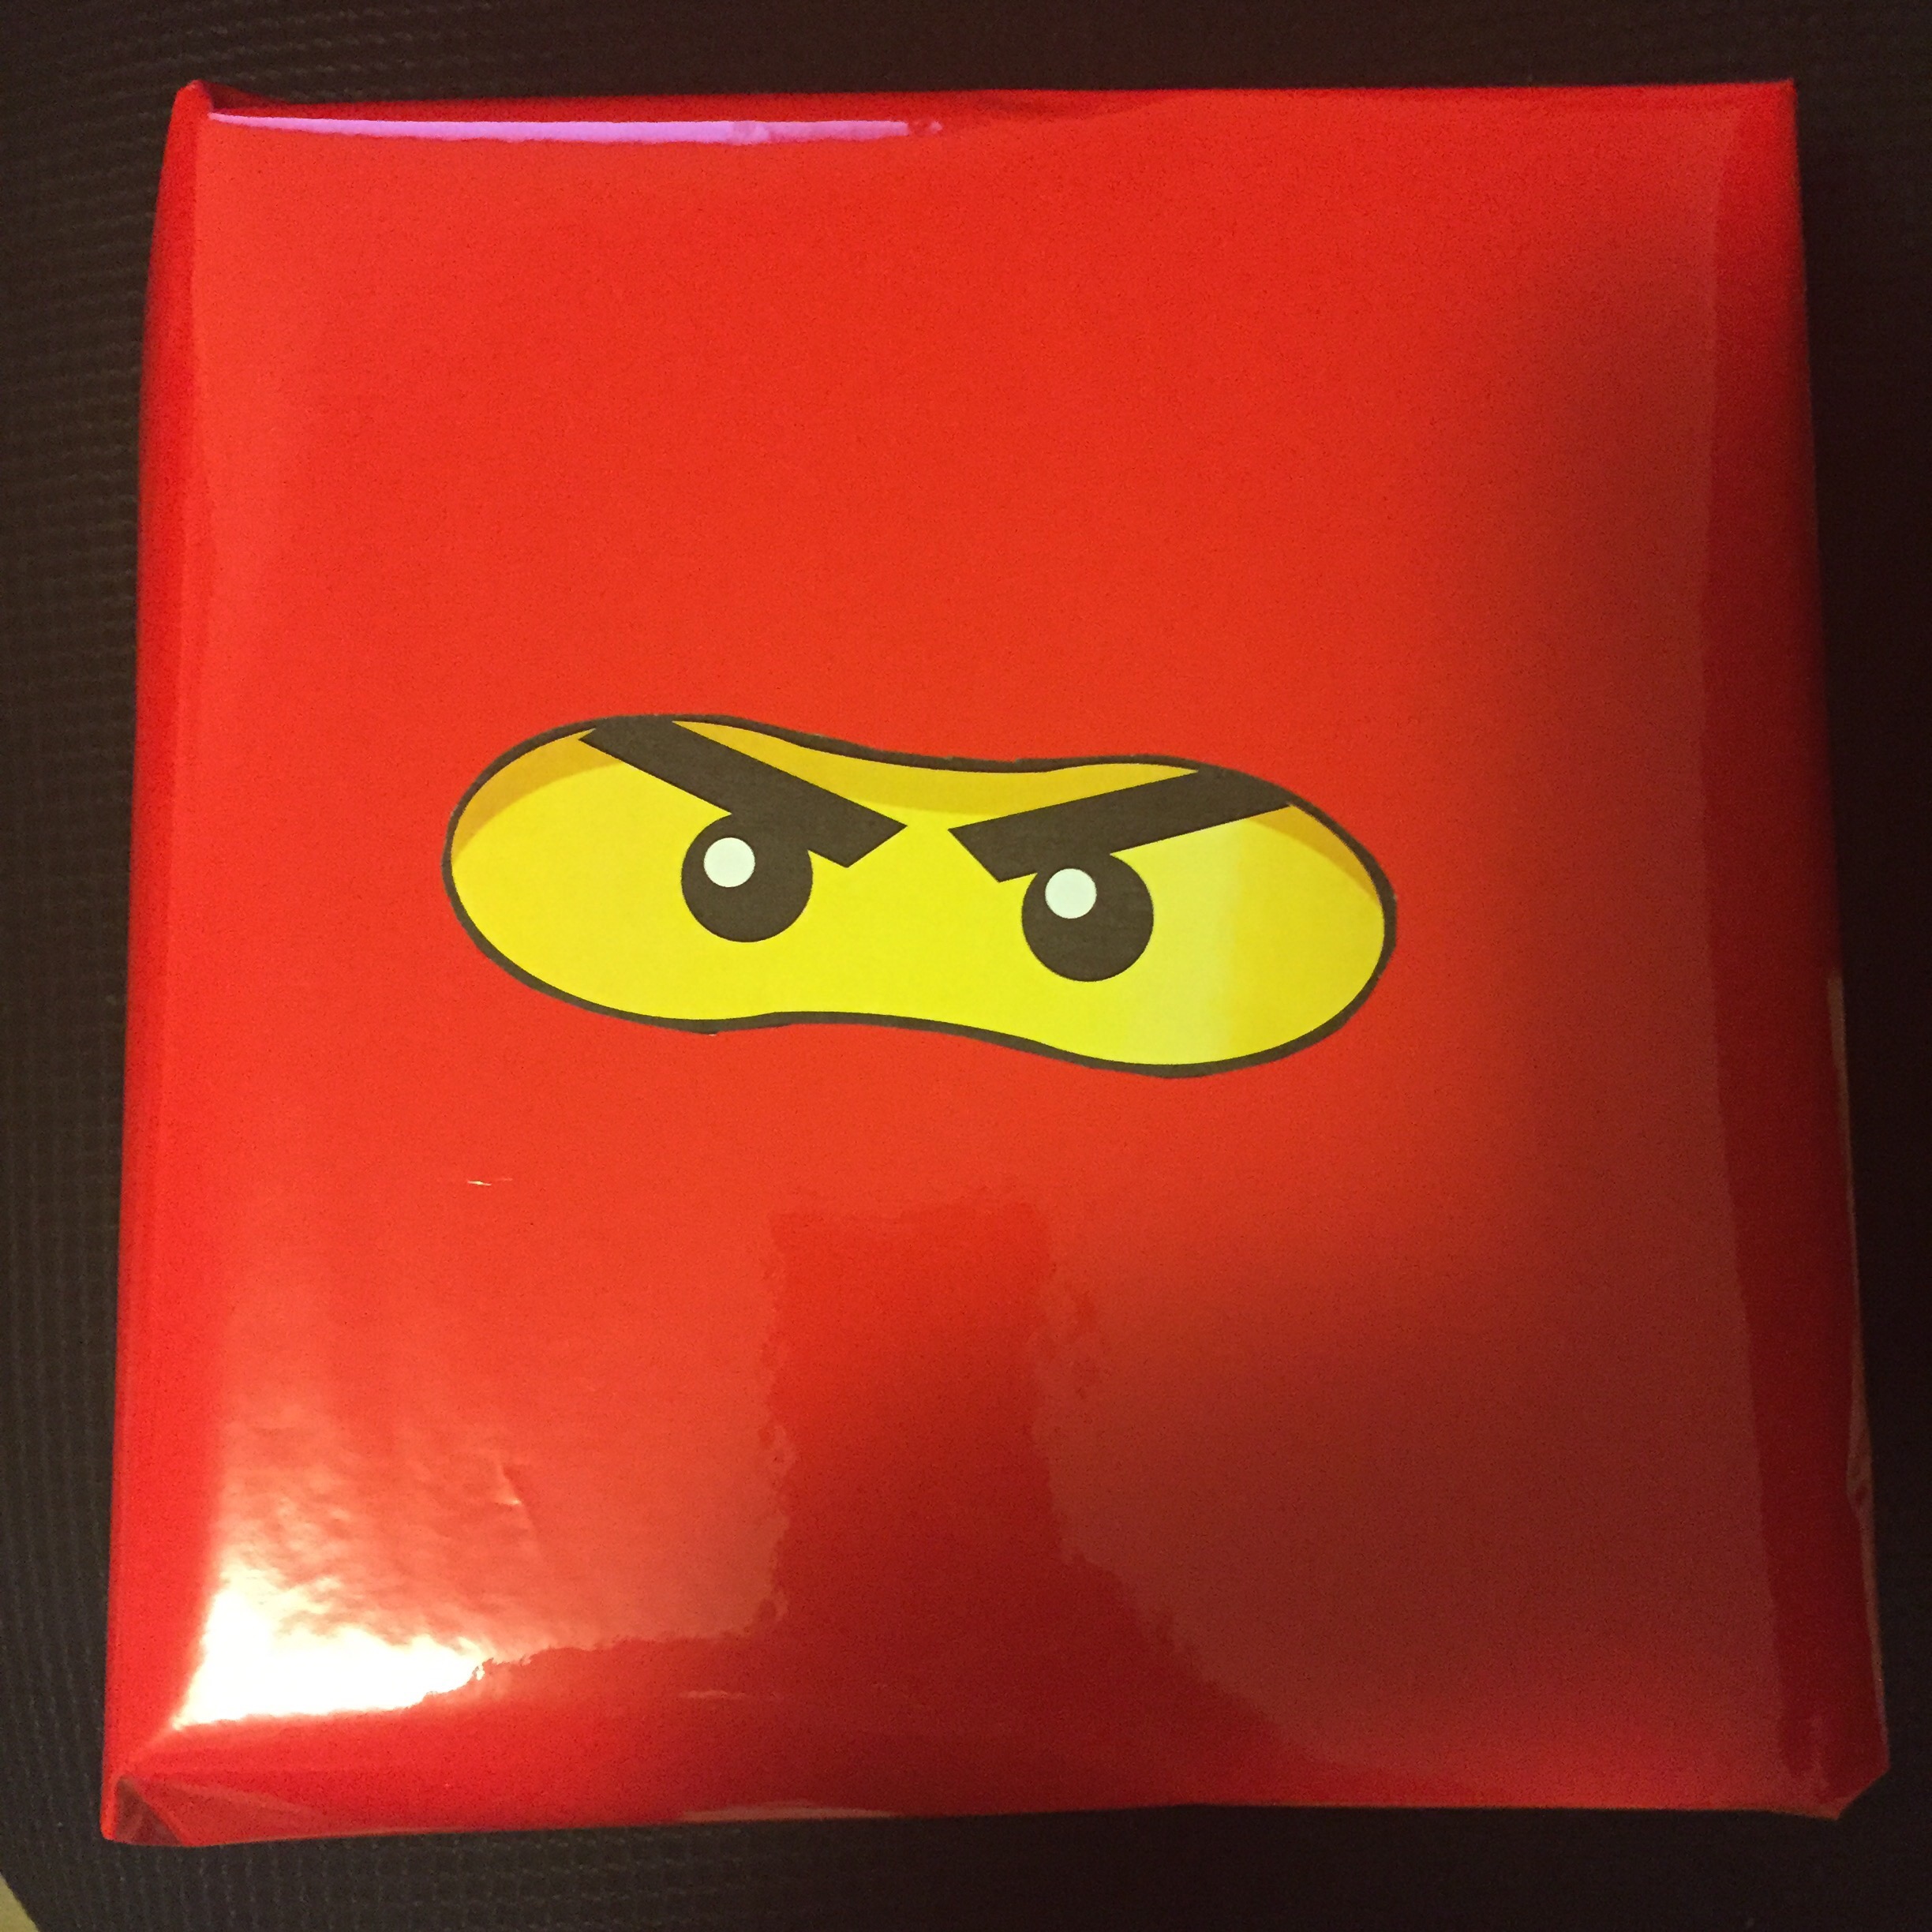
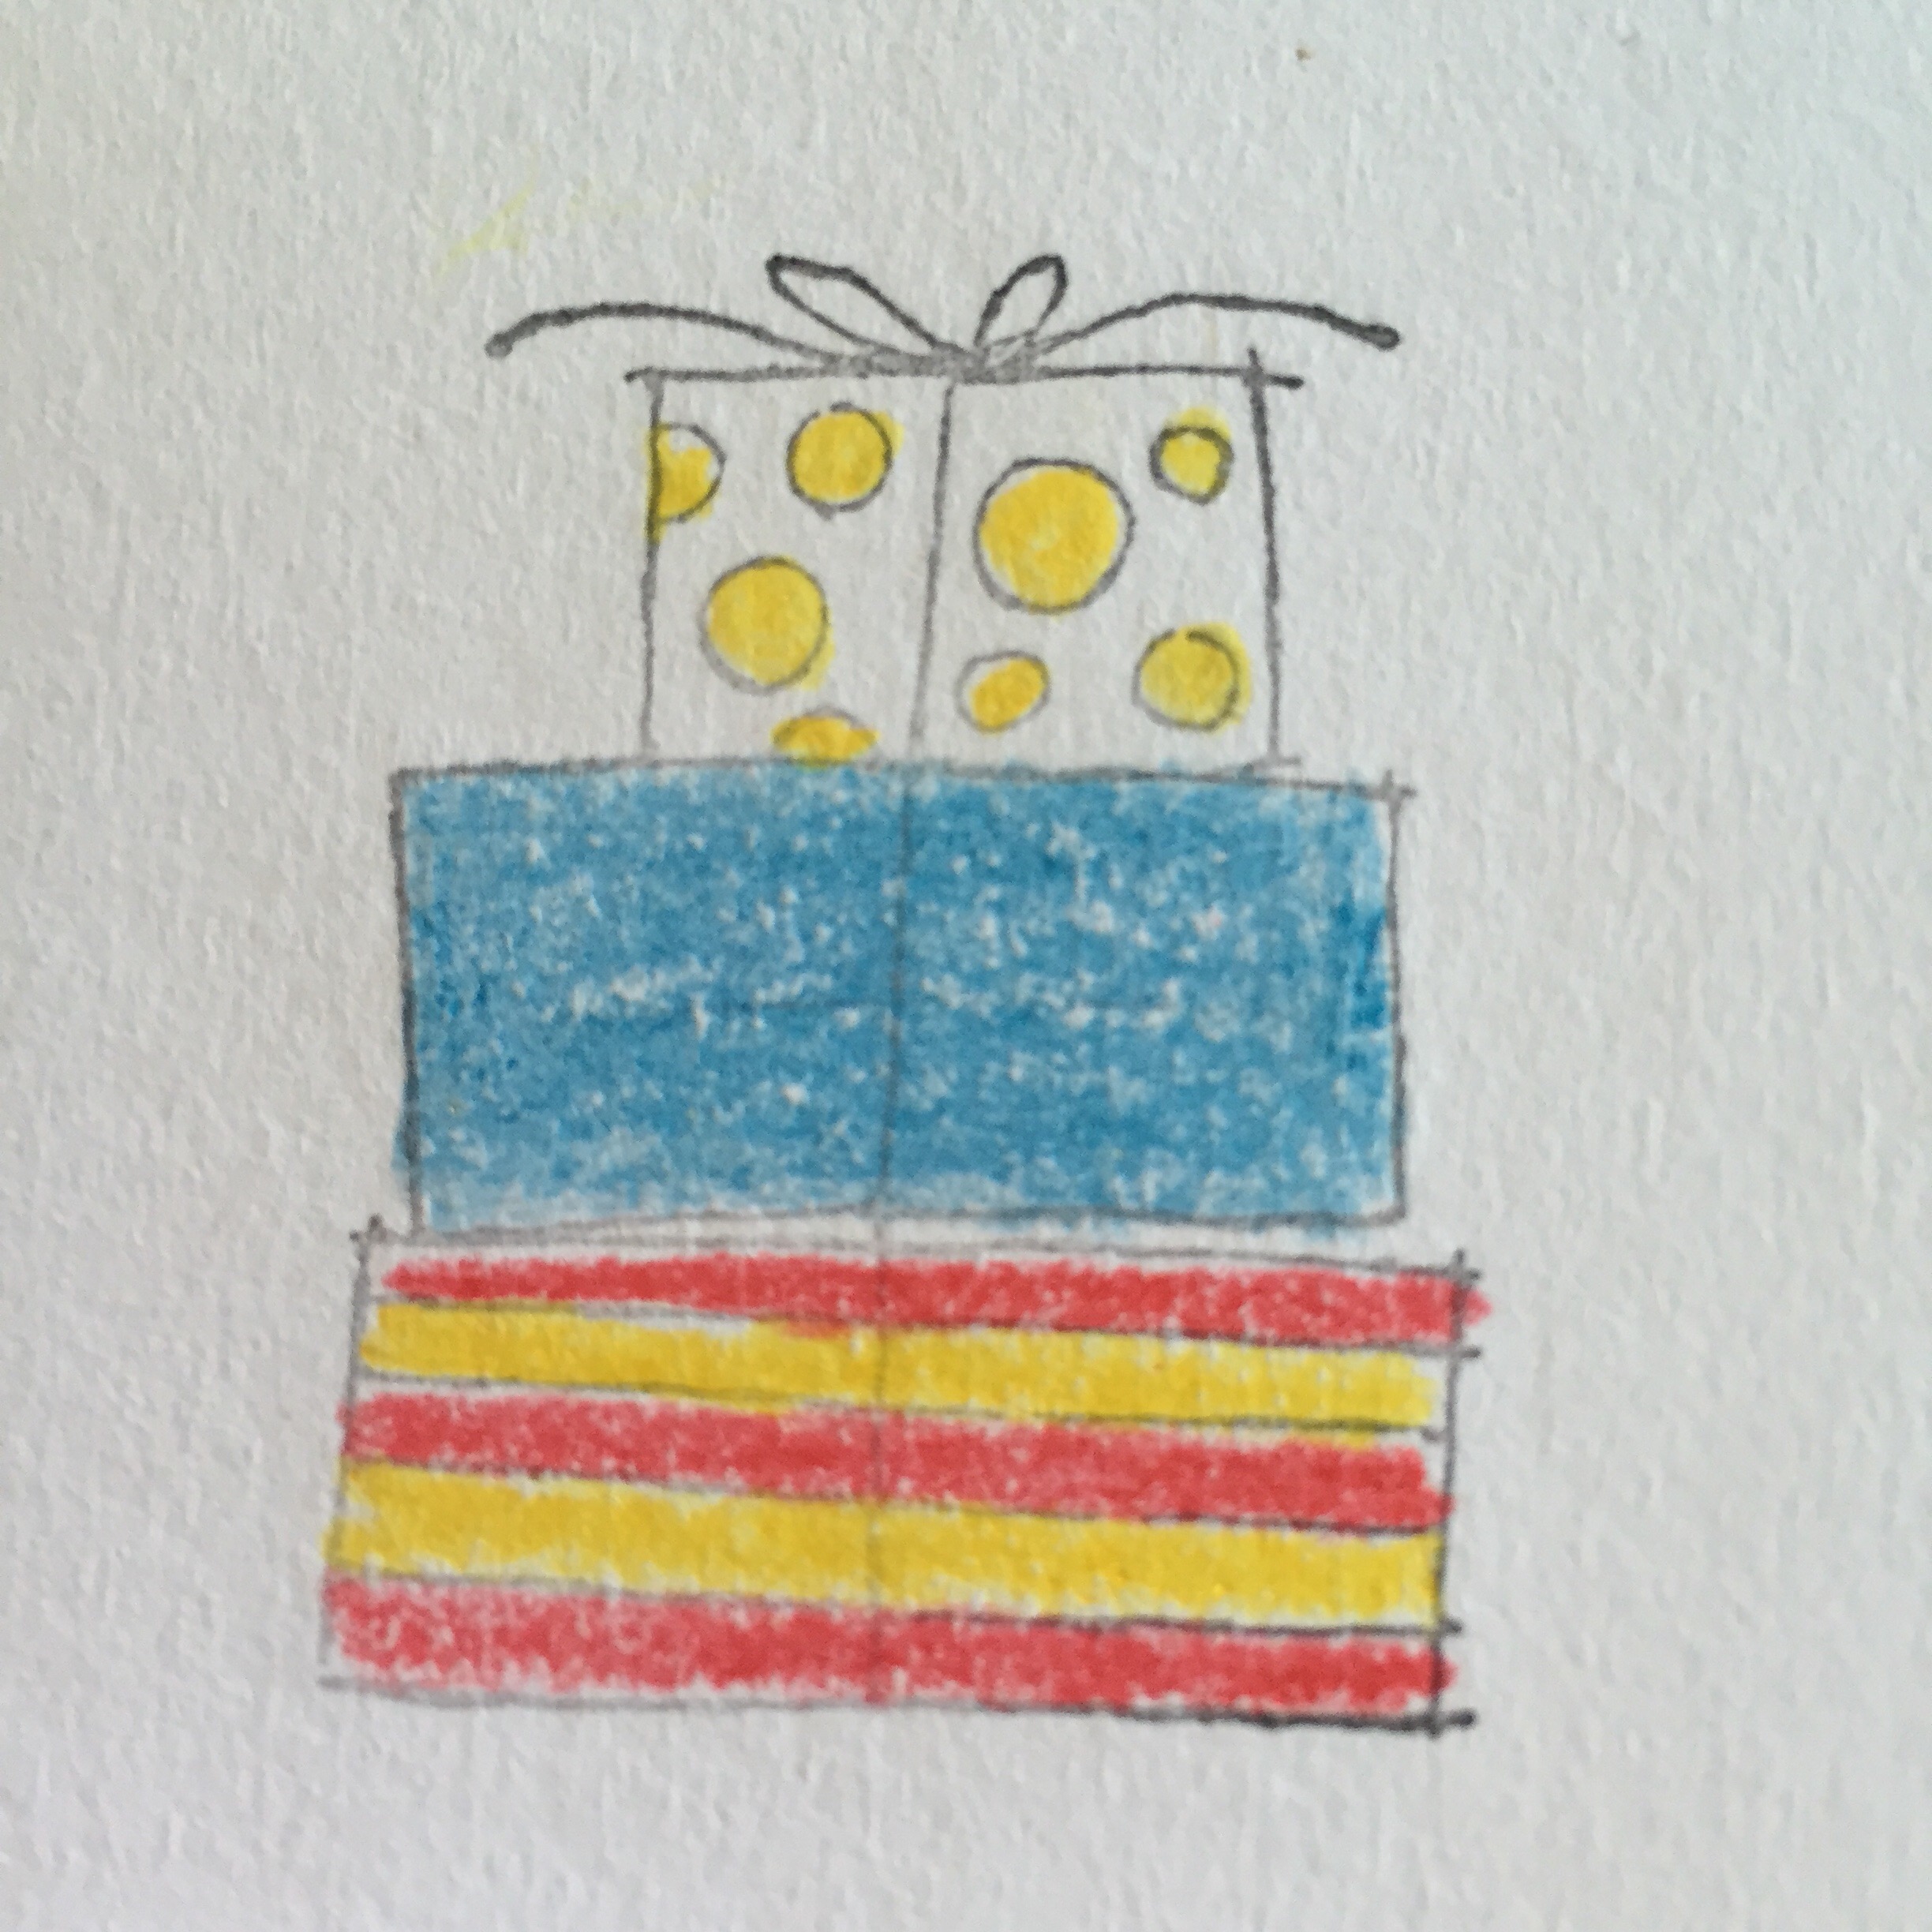
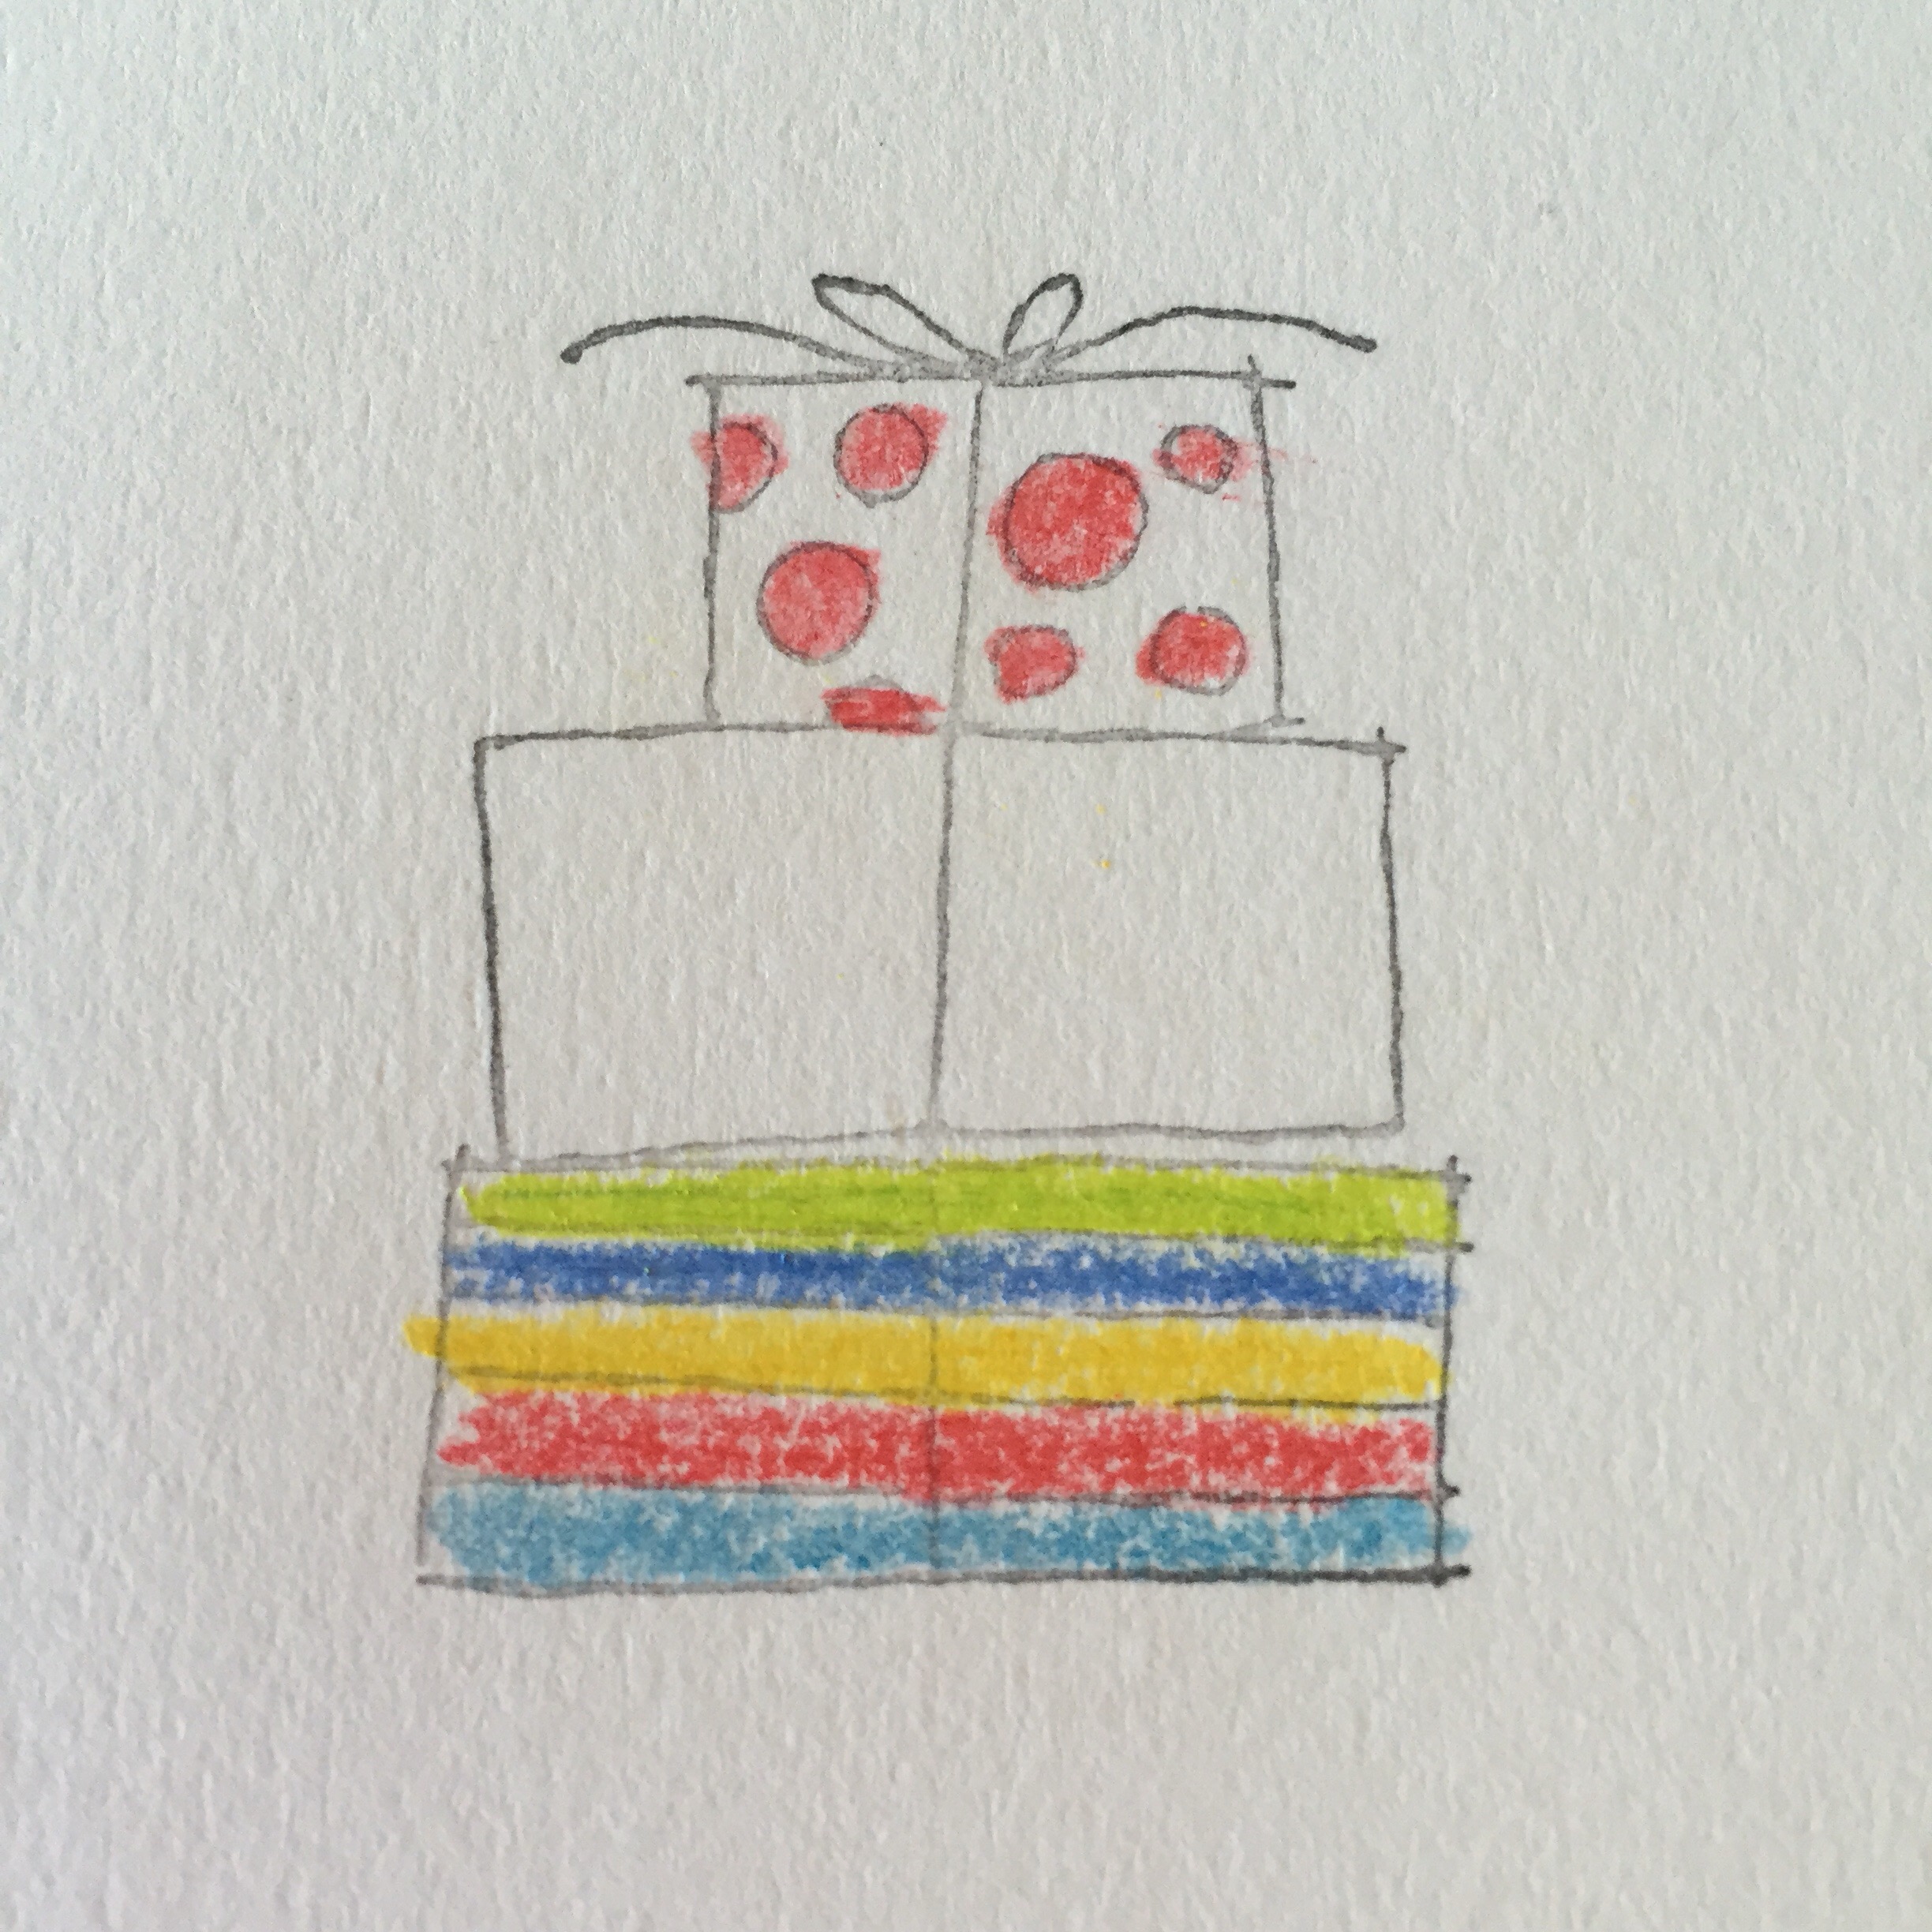
And of course, no little Ninjago fan’s birthday present could be complete without Ninjago wrapping on his present!

 
(I dropped the glued eyes on the present, so they are not straight, but I’m pretty sure he won’t mind!)

I think it will be a while before I feel like making Ninjago themed anything again, but the little guy has absolutely loved everything,  so it’s all been worth it. I can’t wait to give him his card tomorrow on his actual birthday!

Thanks for reading. 

Caro x

Ninjago cupcakes

Tags

,

Tomorrow is the big birthday party. He wanted a Ninjago cake, but I’ve gone with Ninjago cupcakes instead. 


I used pre-made red fondant but we mixed the yellow ourselves. The eyes are chocolate chips. 

He is very happy with his line up of little Kais (Kai is the red ninja in Ninjago for those of you without small boys!)

Here’s hoping he loves eating them tomorrow!

Ninjago themed 6 year old birthday party 

Tags

, , , ,

Hi! 

A couple of weeks ago I showed you the Ninjago themed invitations my son and I made for his birthday party.  His friends loved them and ours has been in pride of place on the fridge ever since. 

On the weekend I was looking for ideas for lolly bags and other things for his party. The party is on Saturday and I have approximately zero hours of free time between now and then, so any ideas needed to be quick and easy!

If you google “free Ninjago printables”, you will get lots of options for printing off Ninjago eyes in a range of different sizes. A few minutes today with a printer, some scissors and a glue runner and Ta Da!!  I present to you, “white ninja” lolly bags:


Add some mini eyes on white label stickers, and voila! Blue ninja water bottles for each child: 


Most glueing and sticking was lovingly done by Mr Soon-to-be-six himself. 

My next challenge is Ninjago cupcakes for the party.  Stay tuned! 

Thanks for reading. 

Caro x 

Fishin’ Around snow globe cards

Tags

, , , ,

As you know if you’ve been reading this blog for a while, when I’m not feeling well I like to sit on my couch and colour in.  Which then leads to a bulk card making session at some future time. Today turned out to be one of those times!

I had to pop into my office and stumbled across a pile of images from the Stampin’ Up! fishing around stamp (now retired) which I’d coloured in and cut out a few months ago, but never got around to making into cards.  

I decided they’d look really cute as snow globe cards, so pulled out a few circle treat cups and some glitter and voila!!


A tip for doing this without getting glitter ALL over your desk (just SOME of your desk!) is to fill the cups and stick the image on as a lid, then add extra glue before sticking the cup onto the card. 


I stuck the “snow globes” onto 13 x 13 cm square cards. Cutting these (26 x 13cm) from an A4 piece of card stock leaves a nice strip to make an extra  7 x 7 cm notecards at the same time.  Here are some of those:

   
         Images used up, next batch of kids’ cards done, sorted!

Thanks for reading 🙂

Caro 

Ninjago party invitations

Tags

, , , , ,

We’ve spent this afternoon making birthday invitations for my son’s upcoming birthday party.  He decided on Ninjago invitations (for those not up with small boys, that is a type of Lego based on ninjas!) His favourite Ninjago is Kai “the red guy”. 

 
I had a grand vision for how these might look, but then had to tone it down to match the vision of the birthday boy.  Which is after all the point (allegedly!!)

I was planning on using the top note die to get a nice curve on the yellow mask top and bottom, making the eye brows from the branch of the bird punch as the eye brows, and layering black and white circles from the owl punch for the eyes.   However small boy was most insistent that we should draw the eyes and eyebrows ourselves, and it turns out that dropping liquid paper onto the eye balls to make the whites of the eyes is super fun when you’re 5!!

So, here they are in all their glory. Perhaps not as glossy as I’d planned, but made with love by the birthday boy 🙂 


Next challenge: Ninjago cup cakes for the big day.  Red icing anyone? 😉

Thanks for reading. 

Caro

Btw I cut the yellow strips with one of the labels from chalk talk framelits.   I was very happy with the pretty rounded edges but he decided they should all be chopped off!


Some more colouring in /water colour therapy

Tags

,

Another day of being sick on the couch, another day of some colouring in therapy! (I guess it makes a change from washi tape though!)

It’s good to do a bunch of images at once though so you can do a bulk card making session later on!


I think these flowers are my favourite:


  And these are kinda cute too:


I’m looking forward to feeling well enough to start making some cards with all these pretty pictures! 

Watercolour butterflies 

Tags

, , , ,

I have been sick for a few days and really can’t do anything other than lie in bed or on the couch.  I was going a little stir crazy and decided to do some water colouring. 

I got out my Papillon Potpourri set from Stampin’ Up! and made myself some colouring in sheets. 

  
The best part of this stamp set is the matching punches, so I wasn’t too fussed about being neat about the stamping or colouring as I will be punching them out for some future card making.  

I used my blender pen with some pastels and water colour pencils.   A nice way to feel like I was doing something a little bit active while still lying down.  I didn’t get too far before needing another sleep, but here are my butterflies:
   
              I try to use a few colours and then blend them together to look a bit more realistic. 

Stay tuned for these showing up on some cards soon 🙂

Thanks for reading.  

Caro x 

Washi tea lights 

Tags

, ,

Ok at some point I will find some time to do some card making and stop writing about washi tape, but I’m on w bit of a roll at present (ha ha ….) 

I have had a few tea light candles sitting on my bench for a few weeks and looking at them just then I decided they could do with some prettying up. 

  
Much better! 

I’m thinking a bunch of these scattered around at my next BBQ/dinner party would look awesome! 

Caro x

Another custom stool

Tags

, , ,

Just a quick post today to show you another stool I covered with washi tape. Yellow tones this time. 


I’m not normally a fan of yellow and red together, but they do look kind of cute side by side! 

  
Thanks for reading 🙂

Caro x