• About

Caro's Pretty Things

~ My papercraft blog

Category Archives: Birthday

Simple quintessential flower card

20 Friday Sep 2013

Posted by Carolyn in 3D / pop up, Birthday, Cards, General occasion, Punches

≈ Leave a comment

Tags

cards, flowers, Punches, simple cards

Hi

Just a quick post today to show you another way to use the Quintessential flower stamp from Stampin’ Up! (or the Five Way Flower stamp in the current catalogue).

IMAG0076

I love the layers you can achieve with a stamp like this and coordinating punches.  And I always love to put a little button in the middle 🙂

Enjoy!

Caro x

Share this:

  • Share on Pinterest (Opens in new window) Pinterest
  • Share on X (Opens in new window) X
  • Share on Facebook (Opens in new window) Facebook
  • Email a link to a friend (Opens in new window) Email
  • More
  • Share on Reddit (Opens in new window) Reddit
  • Share on Tumblr (Opens in new window) Tumblr
Like Loading...

A quintessential balloon

18 Wednesday Sep 2013

Posted by Carolyn in 3D / pop up, Birthday, Cards, General occasion, Using up scraps

≈ Leave a comment

Tags

cards, hot air balloon, Quintessential flower, simple cards

Hello. Thanks for reading Caro’s Pretty Things!

One of my first ever posts was showing you some layered cards I made with the Stampin’ Up! Quintessential Flower stamp.    Unfortunately this stamp is now retired, but there is a similar one in this year’s catalogue called Five Way Flower.  (Here’s a great video tutorial on how you can use these sorts of stamps by Karen Titus).

I have a box on my bookshelf with lots of extra embellishments or half finished projects.  Ever since I made those cards I have had a few layers of the quintessential flower sitting in the box waiting for me to figure out what to do with them.

And so now I present – some quintessential hot air balloons!

IMAG0060

IMAG0064

IMAG0062

I loved how these turned out so much I wanted to show you them separately.   The button in the middle (stuck on with a mini glue dot) just seemed to add that little bit extra for some reason?

I think that is the end of my hot air balloon obsession for a little while.  I wonder what I’ll obsess about next?!?

Thanks for reading 🙂

Caro x

Share this:

  • Share on Pinterest (Opens in new window) Pinterest
  • Share on X (Opens in new window) X
  • Share on Facebook (Opens in new window) Facebook
  • Email a link to a friend (Opens in new window) Email
  • More
  • Share on Reddit (Opens in new window) Reddit
  • Share on Tumblr (Opens in new window) Tumblr
Like Loading...

More balloon cards

17 Tuesday Sep 2013

Posted by Carolyn in 1 3/4 circle, 1 inch square, 3D / pop up, Birthday, Cards, Cupcake Builder, General occasion, Kids cards, Punches, Using up scraps

≈ Leave a comment

Tags

Balloons, cards, Hot Air Balloons, Punches

Hello

Yesterday I showed you some hot air balloon cards I made using the Stampin’ Up! A Little Treat stamp, which is now retired.   I said I would show you how you could make one of these cards even if you didn’t have this stamp set.   I thought of 2 ways you could do this: using the Stampin’ Up! cupcake builder punch and a square punch with a pair of scissors.

Method 1 – the cupcake builder punch

The first way is to use the cupcake base from the cupcake builder punch as a basket.

IMAG0053

You can see that the base is not quite ‘square’.  That doesn’t bother me when I’m sticking the hot air balloon on the card at an angle, but you can always cut just a small amount off to make it straight:

IMAG0054

Here are some hot air balloon cards made with the cupcake builder punch baskets:

IMAG0057You can also use the cupcake tops as clouds!

IMAG0066You can also give your basket a little ‘bling’:

IMAG0075

Method 2 – Using a square punch

Another way to make a basket is to cut a square and cut down the sides to make a basket.

IMAG0067Here’s a balloon made out of a square punch basket:

IMAG0068

(I can’t help myself and had to use up a tiny scrap of lace I’d had lying in my scrap pile!)

I hope you enjoy making some of these.

Caro

Share this:

  • Share on Pinterest (Opens in new window) Pinterest
  • Share on X (Opens in new window) X
  • Share on Facebook (Opens in new window) Facebook
  • Email a link to a friend (Opens in new window) Email
  • More
  • Share on Reddit (Opens in new window) Reddit
  • Share on Tumblr (Opens in new window) Tumblr
Like Loading...

Balloon card

16 Monday Sep 2013

Posted by Carolyn in 1 3/4 circle, 3D / pop up, Birthday, Cards, General occasion, Kids cards, Using up scraps

≈ Leave a comment

Tags

Balloons, cards, Hot Air Balloons

Hello 🙂

I think I’ve mentioned before that a lot of my craft time these days is focused on making cards for my son’s various birthday parties?   He’s very interested in hot air balloons at the moment (no idea why!) so he thought he might like to give his friend a hot air balloon card.

I have a retired Stampin’ Up! stamp set called A Little Treat which has a hot air balloon at the base.  One of my quick ‘go to’ cards for several years has been to stamp the hot air balloon base and cut a 1 3/4″ circle out of DSP to act as the balloon.  Literally the 2 minute card to make and I’ve made many over the years.

This time I wanted to step it up a little and try for something a little fancier!   I had pinned these gorgeous cards several months ago so decided to make some of my own.   Here was the end result:

IMAG0030

They were so much fun to make I made a few!

IMAG0029

IMAG0031

IMAG0034OK, I’ll confess, I may have made more than a few … more like lots!

IMAG0078

You may have guessed that they are a) very easy and b) very addictive to make!   You just need to punch out several circles from your 1 3/4″ circle punch.  Another brilliant way to use up scraps of DSP!   Fold each circle in half and stick them together until you have a ‘ball’ of circles for your balloon.

Here’s a close up of a balloon:

IMAG0033

And of the stuck together circles:

IMAG0028

IMAG0027

These are so much fun to make it got me thinking – how could you make them if you didn’t have the basket stamp?    Interested?  Stay tuned tomorrow to find out 😉

Caro

Share this:

  • Share on Pinterest (Opens in new window) Pinterest
  • Share on X (Opens in new window) X
  • Share on Facebook (Opens in new window) Facebook
  • Email a link to a friend (Opens in new window) Email
  • More
  • Share on Reddit (Opens in new window) Reddit
  • Share on Tumblr (Opens in new window) Tumblr
Like Loading...

Masculine birthday card

18 Sunday Aug 2013

Posted by Carolyn in Birthday, Cards, Extra Large Oval, Masculine, Uncategorized

≈ Leave a comment

Tags

cards, masculine cards

Hi

A quick post tonight to show you a picture of the card I made for my Dad’s birthday, which was today:

photo-9I used Stampin’ Up! Chocolate Chip card stock and DSP.  I punched the happy birthday greeting using white ink on brown card, punched it out with my large oval punch and raised it on dimensionals:

photo-2The other details I love on this card are the scored lines on the right:

photo-3

I made these using a stylus and my Simply Scored scoring tool.

I sometimes struggle to make masculine cards, but I think I might make this one again as it was pretty simple but still effective (I think?!?)  Dad seemed to like it, so i guess that’s all that matters 🙂

Share this:

  • Share on Pinterest (Opens in new window) Pinterest
  • Share on X (Opens in new window) X
  • Share on Facebook (Opens in new window) Facebook
  • Email a link to a friend (Opens in new window) Email
  • More
  • Share on Reddit (Opens in new window) Reddit
  • Share on Tumblr (Opens in new window) Tumblr
Like Loading...

A music note card

18 Thursday Jul 2013

Posted by Carolyn in Big Shot, Birthday, Music Notes, Perfect Polka Dots, Wheels

≈ Leave a comment

Tags

card layout, cards, wheel

Hi

Just a short post today to show you one of my favourite card layouts.  I have made this in lots of different colours – this one is Stampin’ Up! Crumb Cake and Marina Mist.

IMG_1398 I used a Marina Mist C6 card blank and ribbon with a Crumb Cake card stock layer and ink.   The music notes come from a Stampin’ Up! wheel (“Music Notes” with a little happy birthday greeting.   I ran the top of my Crumb Cake layer through the Big Shot with my Perfect Polka Dots embossing folder for a little extra texture.

I’ve made this card with Night of Navy, Melon Mambo and Bravo Burgundy (now retired) – but I can’t really think of too many colours this wouldn’t work with!

Caro

PS This was a card I had wrapped up in a cellophane bag to give to an Op Shop to sell.  Next time I’ll photograph it OUT of the bag!

Share this:

  • Share on Pinterest (Opens in new window) Pinterest
  • Share on X (Opens in new window) X
  • Share on Facebook (Opens in new window) Facebook
  • Email a link to a friend (Opens in new window) Email
  • More
  • Share on Reddit (Opens in new window) Reddit
  • Share on Tumblr (Opens in new window) Tumblr
Like Loading...

Rugby “Jesse Mogg” birthday card

13 Saturday Jul 2013

Posted by Carolyn in Birthday, Home decorating, Kids cards, Kids party, Uncategorized

≈ 2 Comments

Tags

cardmaking, Kids cards, kids party, Kids party ideas, rugby

Hello!

A while ago I showed you the invitations I made for my rugby obsessed little boy’s rugby themed birthday party.    The party was a great success and he had a ball.

He told me he wanted a Jesse Mogg birthday card (for those of you – most of you! – who have no idea who Jesse Mogg is, he plays for the Brumbies, my son’s favourite team)

Here is my effort:

photo-5

I used a paper cut out doll from a 2 dollar shop and coloured in the Brumbies colours.  Jesse Mogg is number 15.   A large oval punch substituted for a rugby ball shape – and he was very pleased with the end result!

In case any of you ever have to host a rugby/sports themed birthday party, I had a brain wave and turned a piece of green felt into a “field” table cloth:

photo

A few straws, some masking tape and some blu tak and we had some goal posts:

photo-1

I also have to show you the cake – I don’t even want to tell you how long it took to colour the blue icing and cut out all the letters!  My hands looked like Smurf hands by the end of it!

photo-2

Still – he had a *ball* (groan!) so all the effort was worth it in the end 🙂

Thanks for reading

Caro

Share this:

  • Share on Pinterest (Opens in new window) Pinterest
  • Share on X (Opens in new window) X
  • Share on Facebook (Opens in new window) Facebook
  • Email a link to a friend (Opens in new window) Email
  • More
  • Share on Reddit (Opens in new window) Reddit
  • Share on Tumblr (Opens in new window) Tumblr
Like Loading...

Dinosaur punch art cards

13 Saturday Jul 2013

Posted by Carolyn in 1 3/4 circle, 3/4 inch circle, Birthday, Cupcake Builder, Kids cards

≈ 2 Comments

Hello

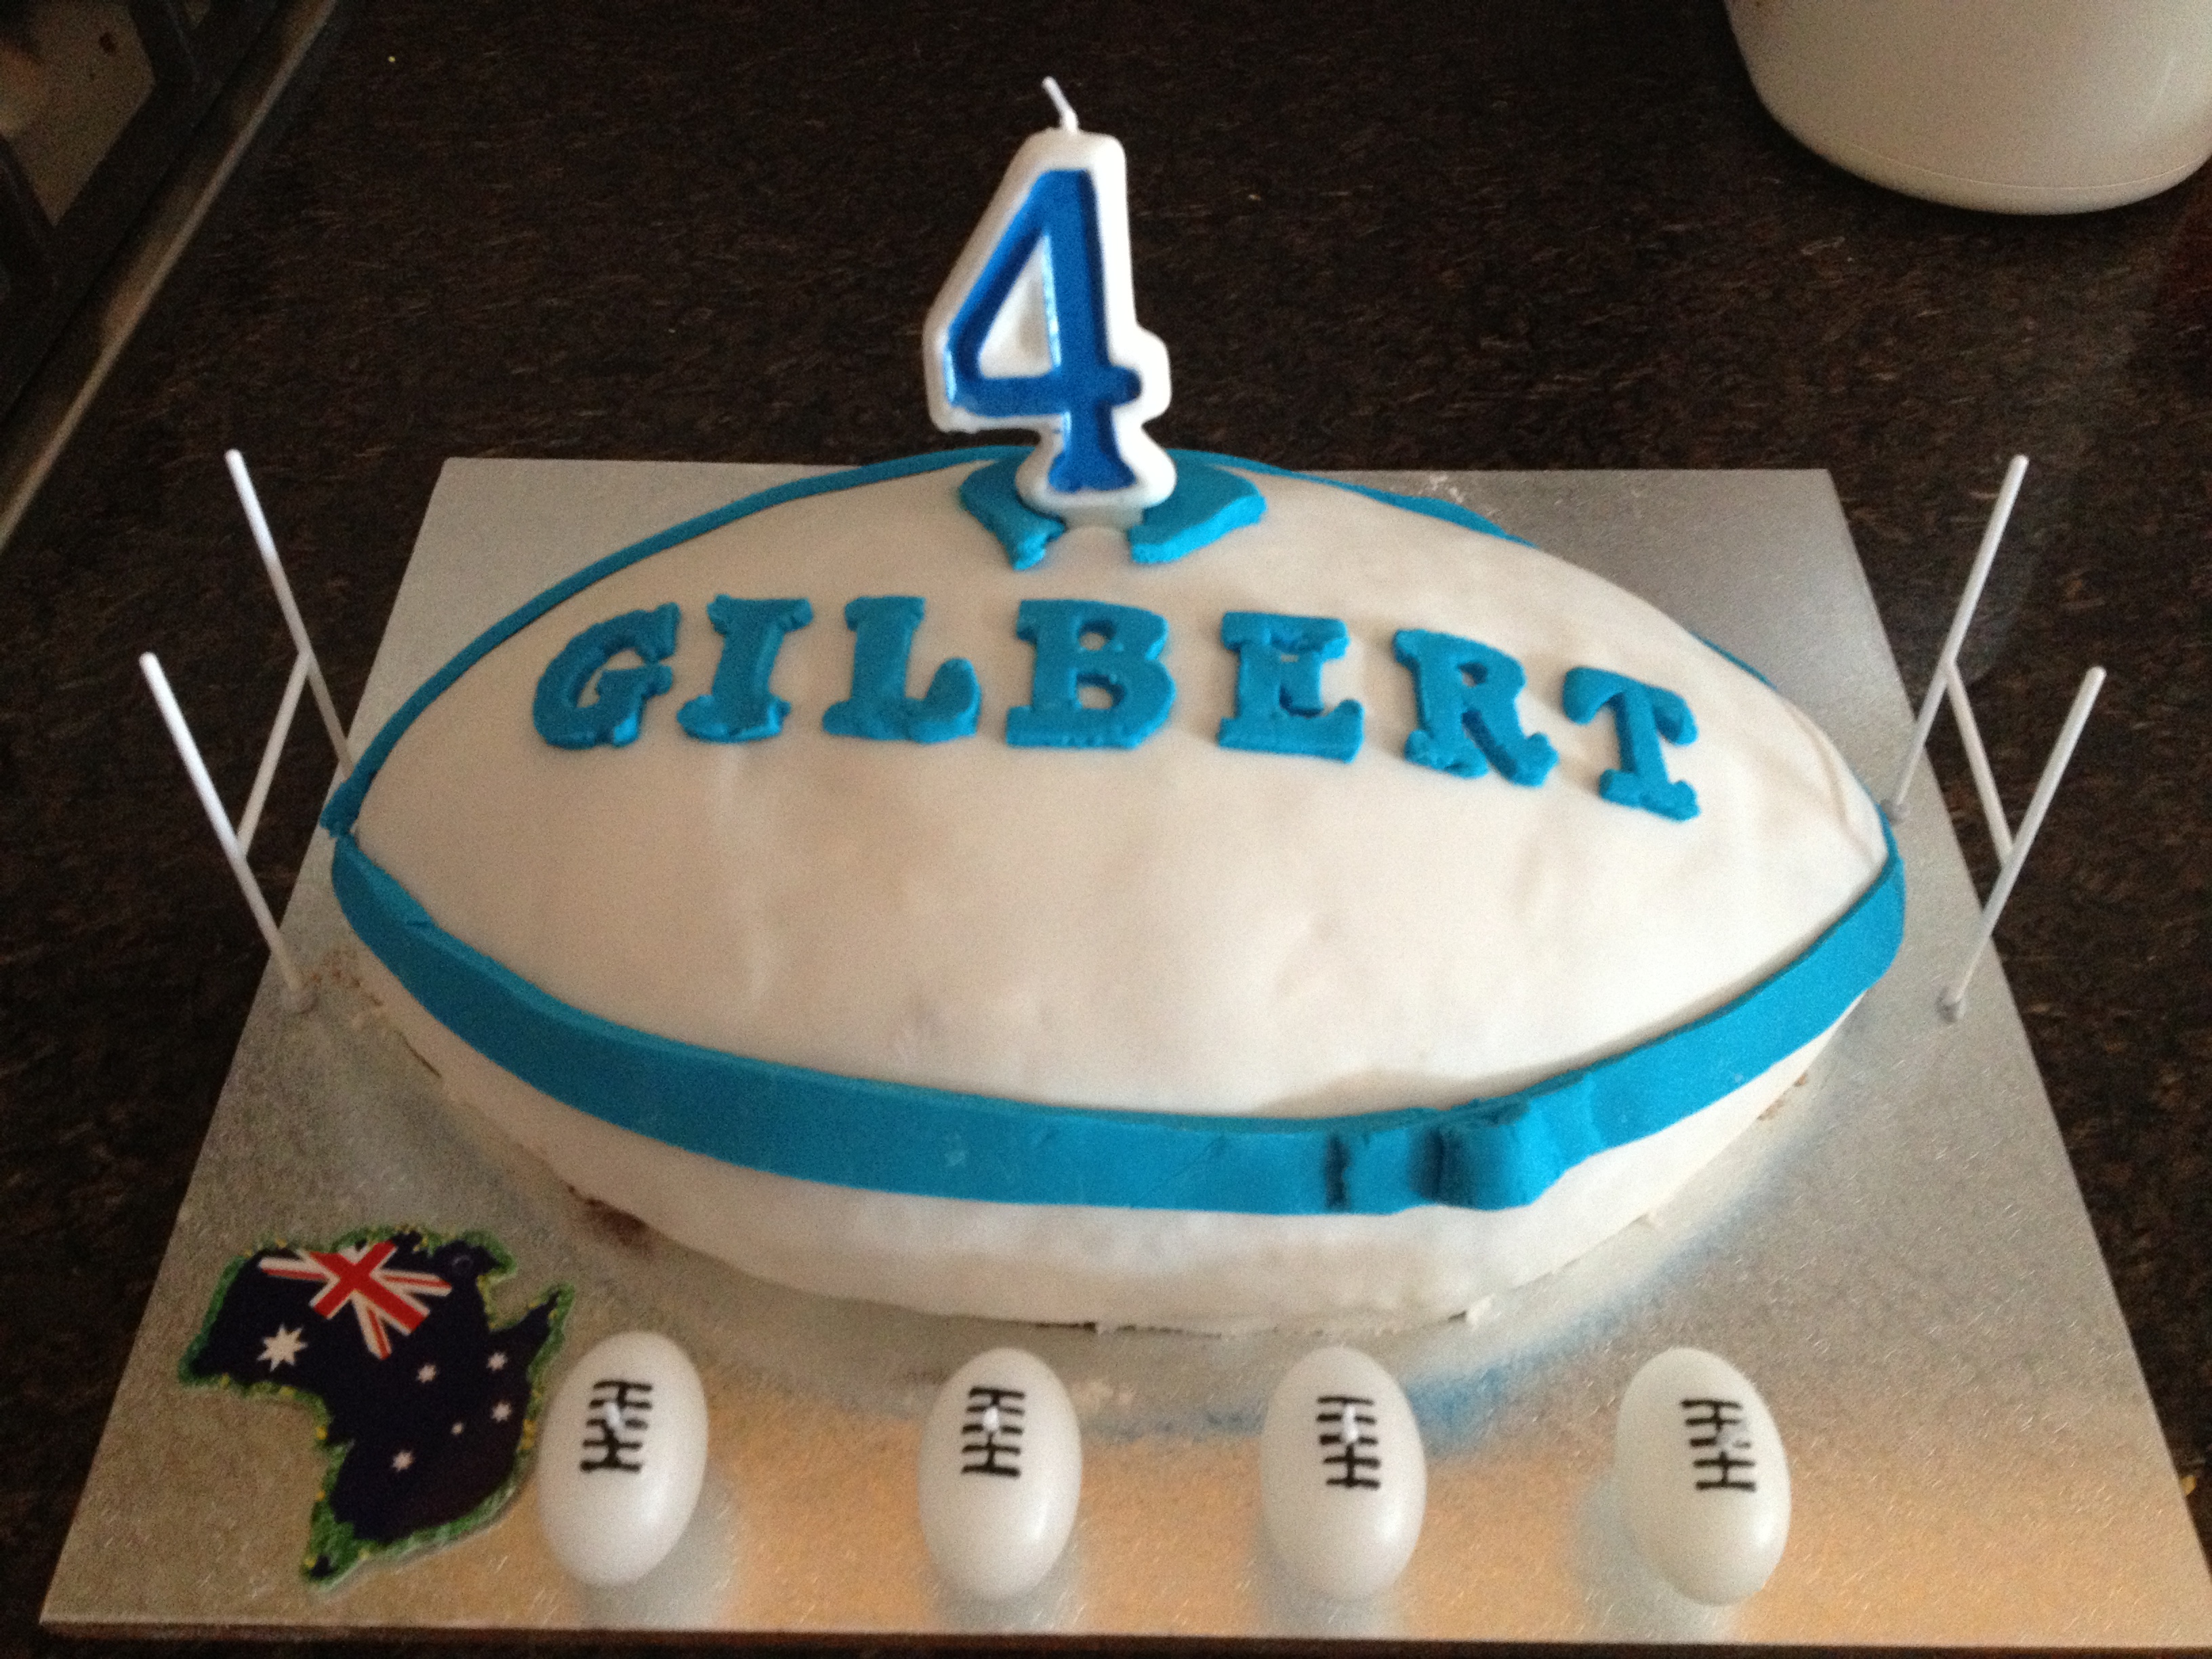
Sorry for the long delay between posts.  Work has been very busy.  Add into that a 4 year old’s birthday party and some overseas work travel and there hasn’t been a lot of spare time lately!

I finally got to do some card making today though – with my 4 year old, which is always nice and can be challenging!  He is off to his friend’s dinosaur themed birthday party tomorrow, so we decided to try and make a dinosaur themed card.

We started by a little Google searching for inspiration, and he decided he’d like to try and make a dinosaur a bit like this one (made by Sandra Jayne Wingate).

First we tried a prototype:

photo-4

He was quite pleased with that one (as was I!) – but then he decided we could do better!

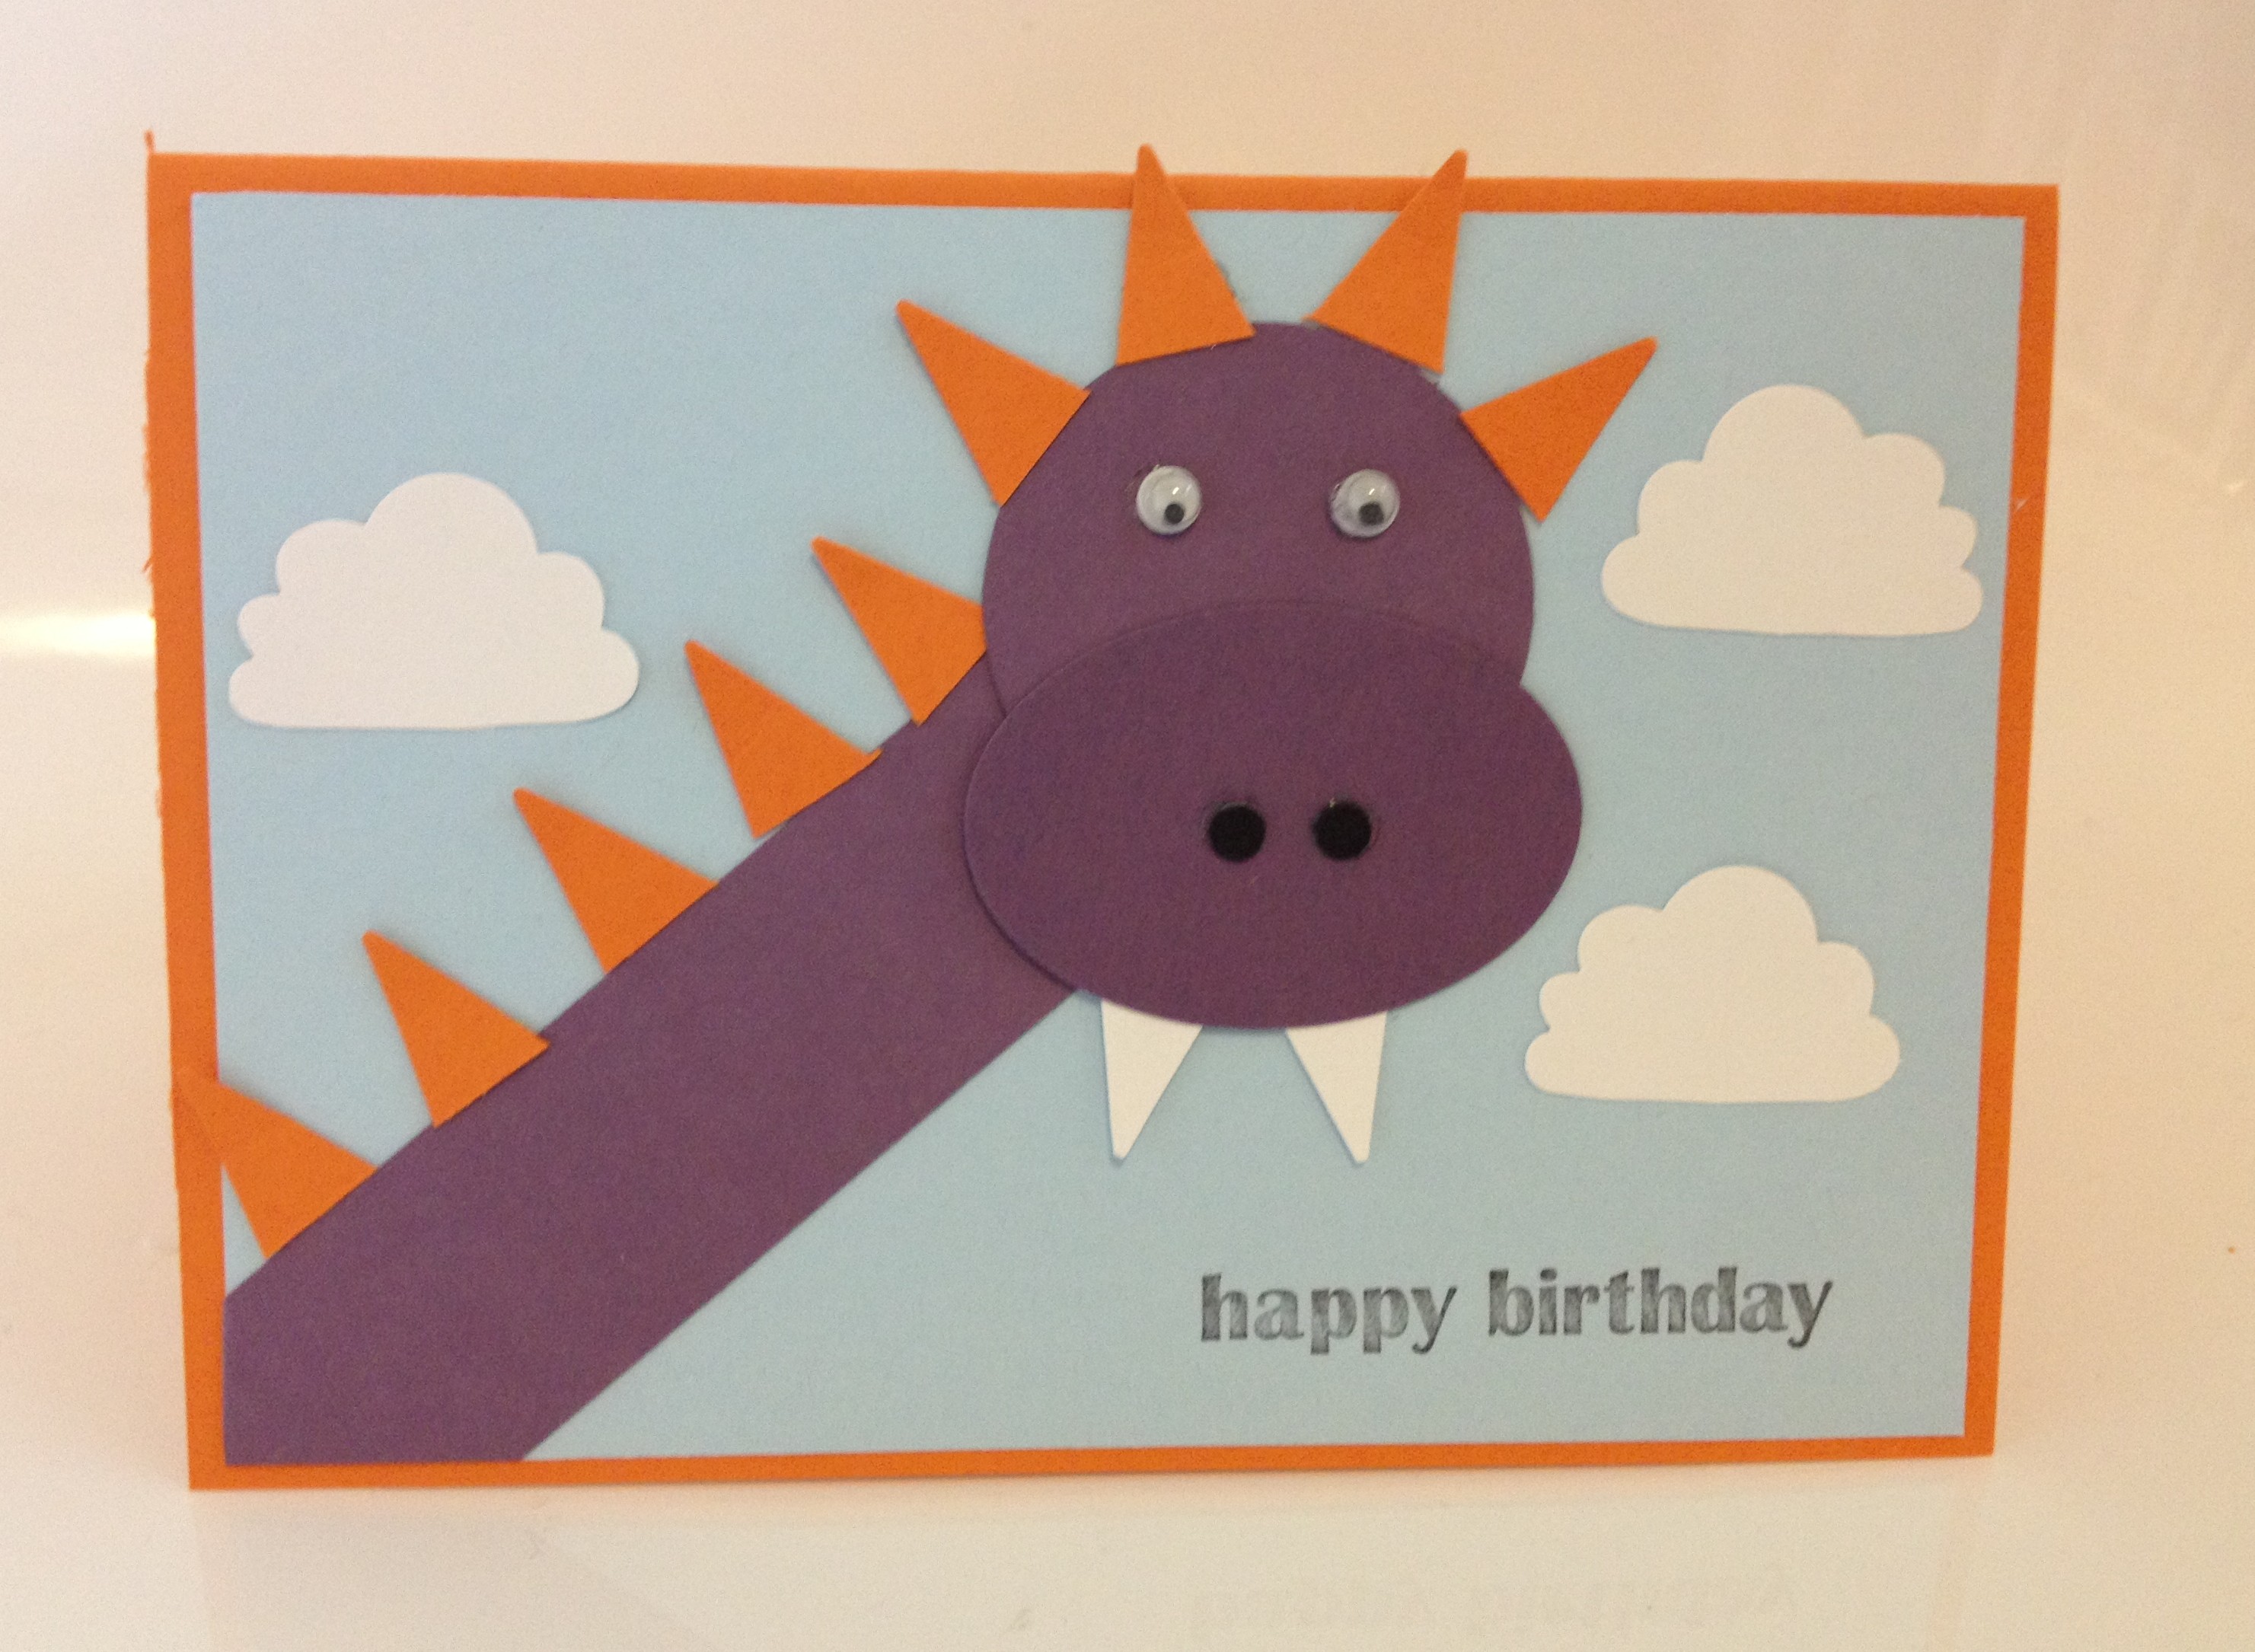
So here is Dinosaur Mark II – with added spots, buttons for nostrils and bigger whites behind the googly eyes.

photo-2

Here they are side by side:

photo-3

These were pretty easy to make.

The orange card blanks were standard C6 size.  The pale blue was cut 10cm x 14.3cm.

The dinosaur body was a strip of paper approx 1 inch x 4 inches (they are slightly different on each one as I was using up scraps).  The rest of the shapes were punched from Stampin’ Up! punches:

Head –  1 3/4″ circle

Mouth – Extra large oval

Eyes (on Dinosaur Mark II) – 3/4″ circle

Nostrils (on Dinosaur Mark I) – circles cut from the Cupcake Builder punch

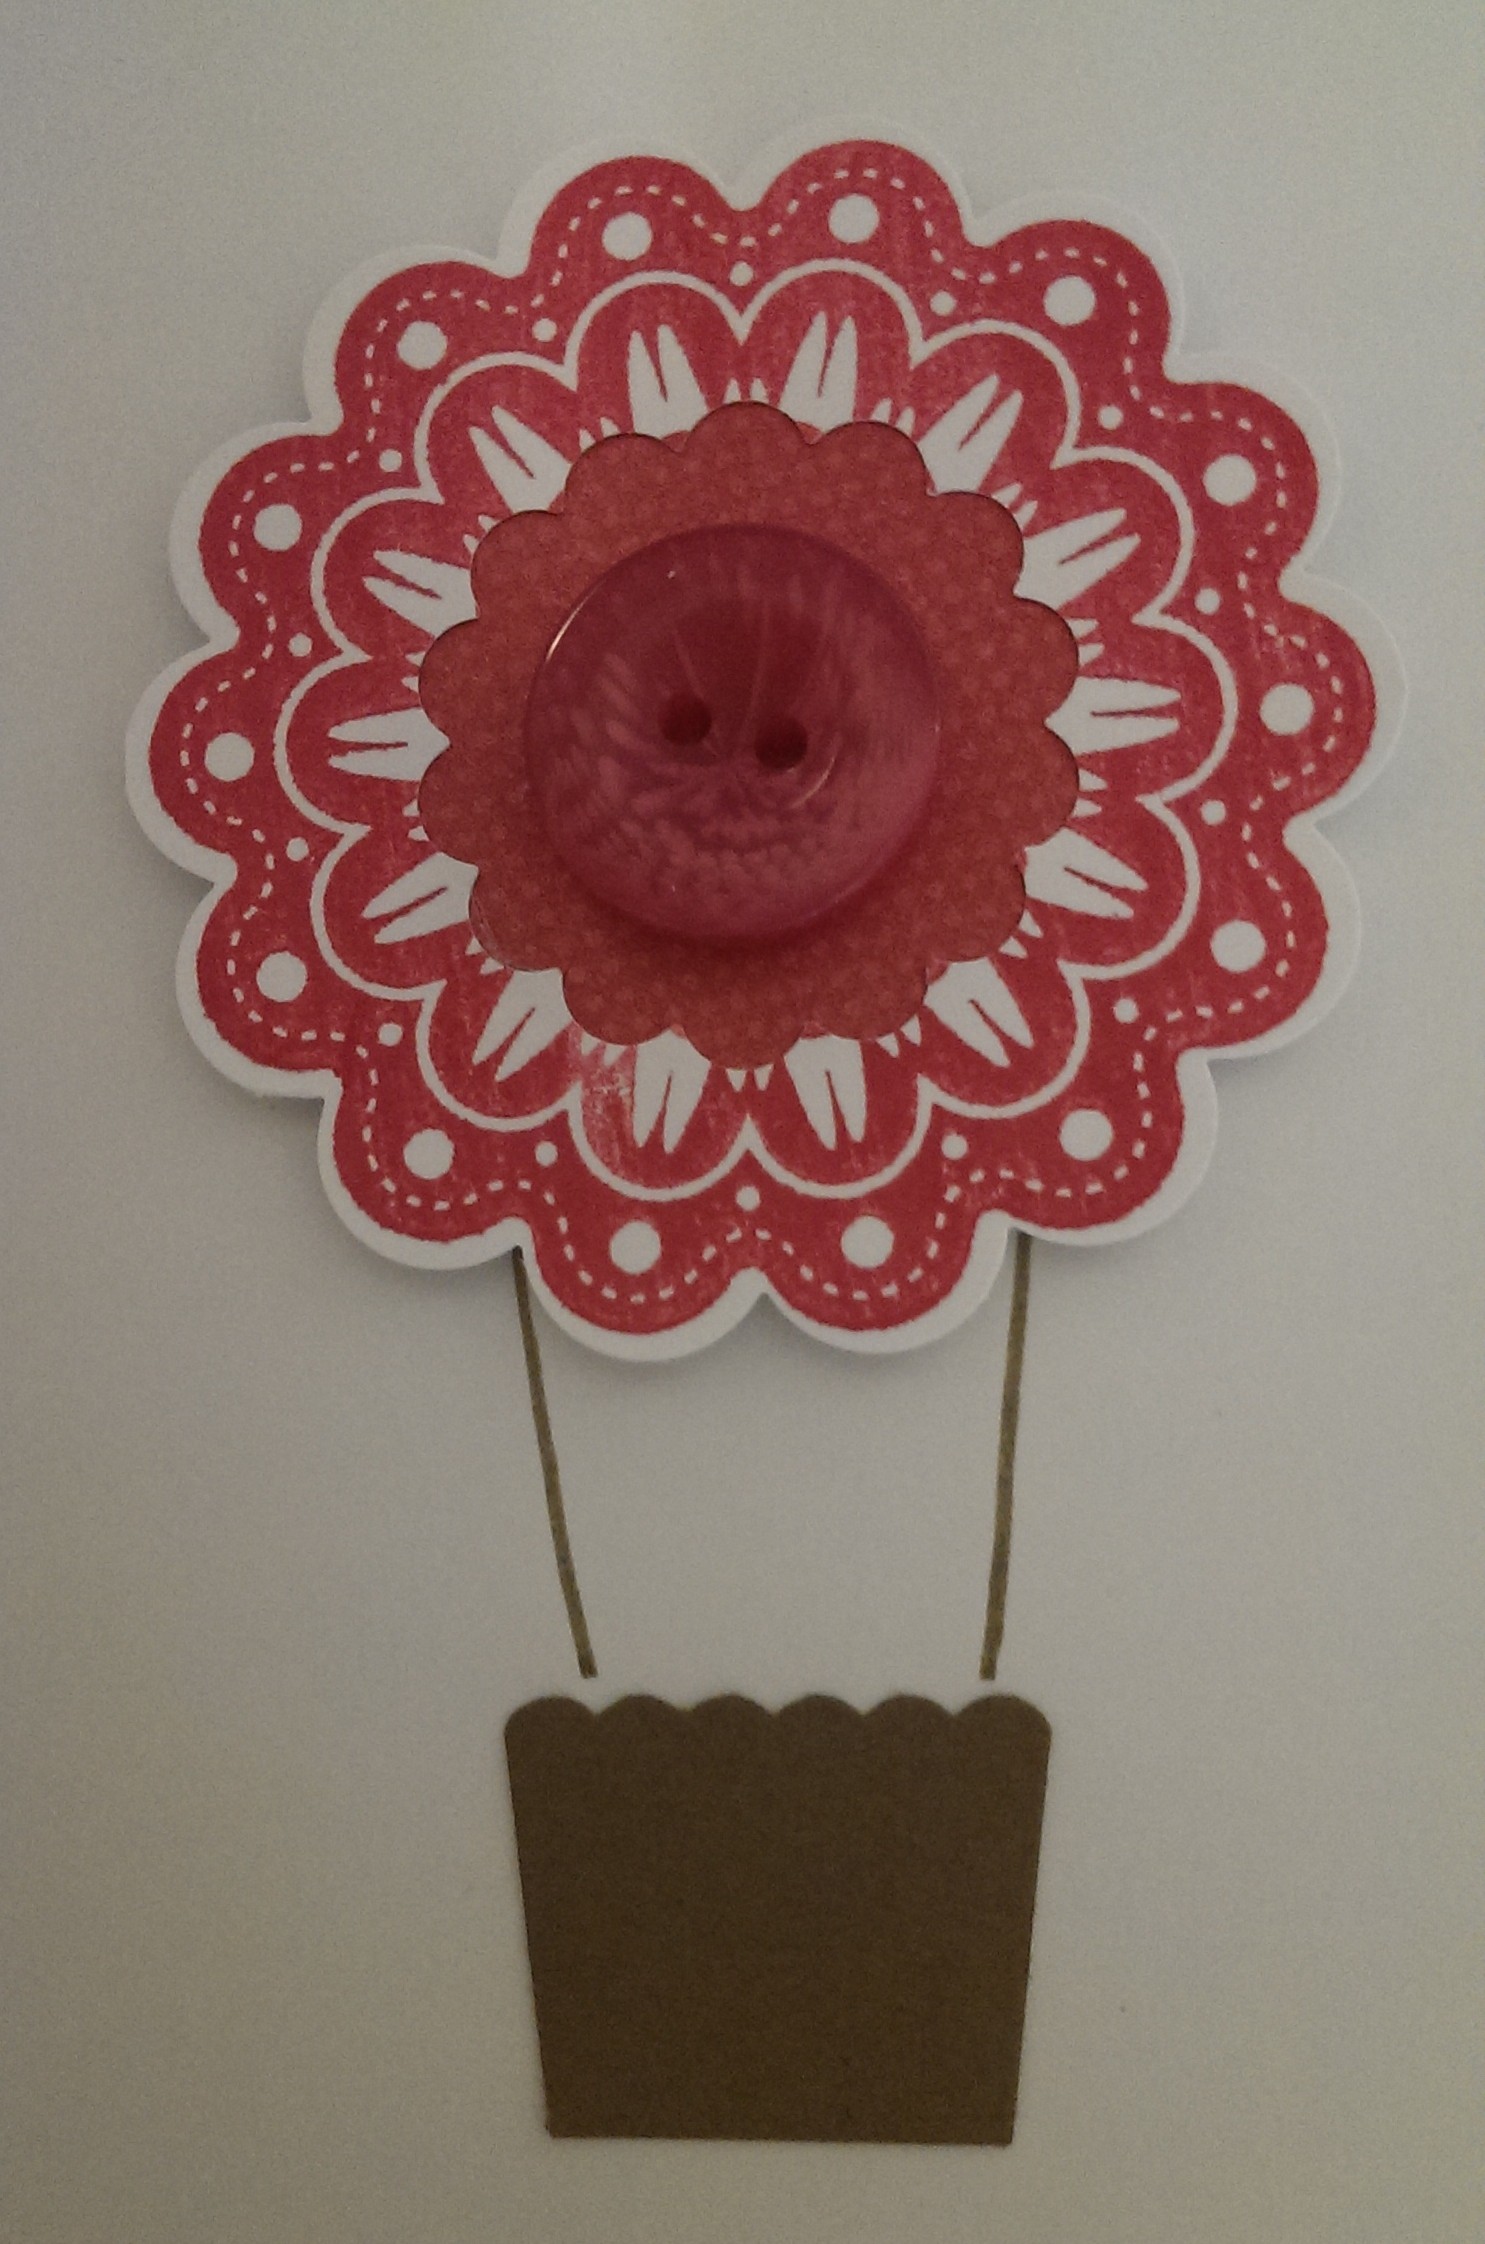
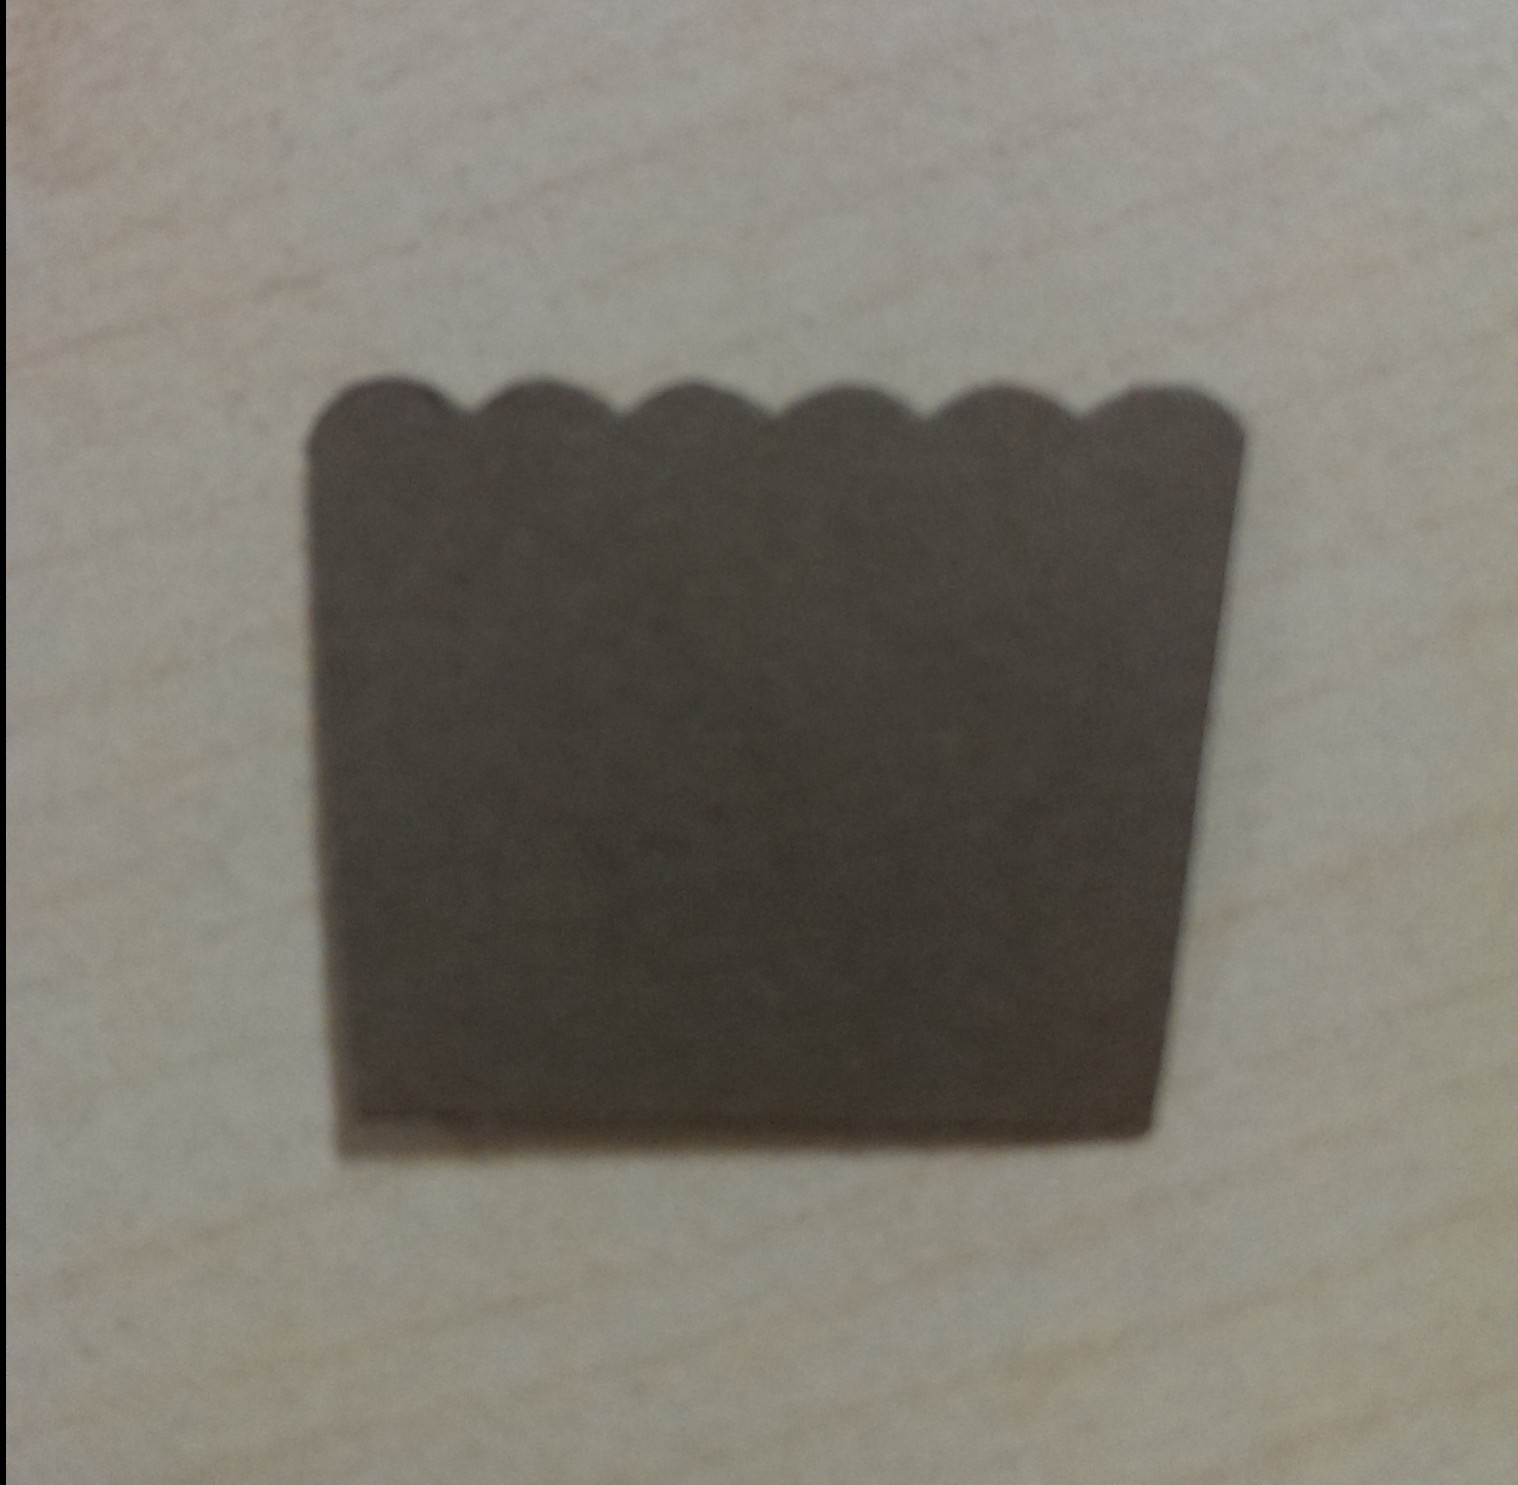
Clouds – cupcake top from the Cupcake Builder punch

Spines & teeth – edges cut from a star punch (retired).  You could also use petals from any flower punch, the tip of the bird’s wing or tail from the Bird Builder punch or just cut some triangles from a strip of paper (or divide a square punch into 4).  You could even use the ends of the Modern Label or Word Window punches … the possibilities are endless really.

I hope the birthday boy enjoys his dinosaur card!

Thanks for reading.  I’ll try not to have such a long break before the next post

Caro

Share this:

  • Share on Pinterest (Opens in new window) Pinterest
  • Share on X (Opens in new window) X
  • Share on Facebook (Opens in new window) Facebook
  • Email a link to a friend (Opens in new window) Email
  • More
  • Share on Reddit (Opens in new window) Reddit
  • Share on Tumblr (Opens in new window) Tumblr
Like Loading...

More uses for scraps – present cards

22 Wednesday May 2013

Posted by Carolyn in Big Shot, Birthday, Cards, Embossing folders, Framelits, Gift tags & wrapping, Square Lattice, Using up scraps

≈ Leave a comment

Tags

birthday, cards, gift card, Itty Bitty Banners, scraps, square lattice

I’ve done a few posts over the past few days on how I’ve been trying to use up all the little bits and pieces of card stock and DSP I have lying about my office/craft room.

I have been on a mission lately and made a pile of cards from the paper cluttering up my desk.  I donated them to a local op shop which makes me feel good as well as well as having an (almost) clean desk!

Here’s another card design which is great for using up scraps.   I’ve used Tangerine Tango (14cm x 14 cm) and Whisper White (13cm x 13cm) card stock with scraps in varying sizes from the Sycamore Street DSP & Tangerine Tango ribbon from this year’s Sale-A-Bration.

photo-1

One tip – when assembling the presents I used a small scrap of offcut paper and stuck the rectangle “presents” to the scrap.  This made it really easy to keep the rectangles aligned and tie the ribbon before attaching the “presents” to the Whisper White card.

I also made a version where I ran the Whisper White version through the Big Shot with the Square Lattice embossing folder.

photo-8

I also made a 7cm x 7 cm gift card:

photo-2

The Happy Birthday label is stamped in Tangerine Tango on Whisper White from the Itty Bitty Banners stamp set and cut out with the matching framelits.

This basic design could be used in any colour scheme – I think it would look great in ‘Christmassey’ colours as an easy but effective Christmas card too.

Thanks for stopping by!

Caro

Share this:

  • Share on Pinterest (Opens in new window) Pinterest
  • Share on X (Opens in new window) X
  • Share on Facebook (Opens in new window) Facebook
  • Email a link to a friend (Opens in new window) Email
  • More
  • Share on Reddit (Opens in new window) Reddit
  • Share on Tumblr (Opens in new window) Tumblr
Like Loading...

Pinwheel die cards and gift tags

22 Wednesday May 2013

Posted by Carolyn in Big Shot, Birthday, Cards, Framelits, Gift tags & wrapping, Kids cards, Love notes, Pinwheel die, Using up scraps

≈ Leave a comment

Tags

cards, framelits, gift cards, Itty Bitty Banners, pinwheel, stampinup

My last post confessed to a slightly unhealthy obsession with the Stampin’ Up! pinwheel die.    I wanted to use this post to show you how I’ve been using up some of my scrap paper with the pinwheel die and the odd toothpick.

photo-3In this card I’ve used some Tangerine Tango card stock, a scrap of paper from some Sycamore Street DSP and Tangerine Tango ribbon from the recent Sale-a-bration promotion, plus an Itty Bitty Banner stamped and cut out with the matching framelit.    The toothpick is stuck on the back of the pinwheel using a Glue Dot and the pinwheel is stuck to the Whisper White card stock using a dimensional.

Here’s a similar card with 3 pinwheels:

photo-7

And a little 7cm x 7cm matching love note I used to go with the card when I gift wrapped the present for the recipient of the card:

photo-6

I think I like the ‘single pinwheel’ design best – what do you think?

Thanks for reading 🙂


Share this:

  • Share on Pinterest (Opens in new window) Pinterest
  • Share on X (Opens in new window) X
  • Share on Facebook (Opens in new window) Facebook
  • Email a link to a friend (Opens in new window) Email
  • More
  • Share on Reddit (Opens in new window) Reddit
  • Share on Tumblr (Opens in new window) Tumblr
Like Loading...
Newer posts →

Carolyn Dalton

Independent Stampin Up! Demonstrator

Recent Posts

  • Pretty butterfly birthday card 
  • Adding an extra touch to a homemade envelope
  • Quick and easy masculine card 
  • Quick and easy kids card
  • Butterfly soap card

Archives

  • March 2016
  • February 2016
  • January 2016
  • December 2015
  • November 2015
  • October 2015
  • September 2015
  • August 2015
  • July 2015
  • June 2015
  • May 2015
  • April 2015
  • September 2014
  • July 2014
  • April 2014
  • March 2014
  • February 2014
  • November 2013
  • October 2013
  • September 2013
  • August 2013
  • July 2013
  • June 2013
  • May 2013
  • May 2012

Categories

  • 1 1/4 inch circle
  • 1 3/4 circle
  • 1 3/4 inch scallop circle
  • 1 3/8 circle
  • 1 inch circle
  • 1 inch square
  • 2 3/8 inch scallop punch
  • 3/4 inch circle
  • 3D / pop up
  • 3D projects
  • Anniversary
  • Baby cards
  • Beautiful Butterflies
  • Big Shot
  • Bird Builder
  • Birthday
  • Bitty Butterfly
  • Blossom
  • Blossom Builder
  • Boho Blossoms
  • Boxes
  • Butterfly (retired)
  • Candy Wrapper
  • Card sets
  • Cards
  • Chalk Talk
  • Christmas
  • Circle Thinlits
  • Circle treat cups
  • Circles #2
  • Corner rounder
  • Cupcake Builder
  • Cupcakes and other tasty treats
  • Curly label
  • Decorative Label
  • Dies
  • Elegant Butterly
  • Embossing folders
  • Envelopes
  • Extra Large Oval
  • Fancy Flower
  • Framelits
  • Full heart
  • General occasion
  • Gift bags
  • Gift bow
  • Gift card holders
  • Gift tags & wrapping
  • Home decorating
  • Horizontal Slot
  • Invitations
  • Jewellery tag
  • Kids cards
  • Kids craft ideas
  • Kids party
  • Labels collection
  • Large Oval
  • Love notes
  • Masculine
  • Mini scallop
  • Modern Label
  • Music Notes
  • Notebooks
  • Owl
  • Perfect Polka Dots
  • Petite curly label
  • Pinwheel die
  • Punches
  • Scallop circle
  • Scallop edge
  • Scallop envelope
  • Scallop oval
  • Scallop Tag Topper
  • Small Heart
  • Square Lattice
  • Star
  • Sweet treat cups
  • Tag
  • Tasteful Trim
  • Thank you
  • Thoughts and comments
  • Top Note
  • Tutorial
  • Uncategorized
  • Using up scraps
  • Washi tape
  • Wedding cards
  • Wheels
  • Wildflower Meadow
  • Word Window

Pinterest

Follow Me on Pinterest

Follow me on Twitter

My Tweets

Enter your email address to follow this blog and receive notifications of new posts by email.

Join 26 other subscribers

Create a free website or blog at WordPress.com.

Privacy & Cookies: This site uses cookies. By continuing to use this website, you agree to their use.
To find out more, including how to control cookies, see here: Cookie Policy
  • Subscribe Subscribed
    • Caro's Pretty Things
    • Join 26 other subscribers
    • Already have a WordPress.com account? Log in now.
    • Caro's Pretty Things
    • Subscribe Subscribed
    • Sign up
    • Log in
    • Report this content
    • View site in Reader
    • Manage subscriptions
    • Collapse this bar
 

Loading Comments...
 

    %d