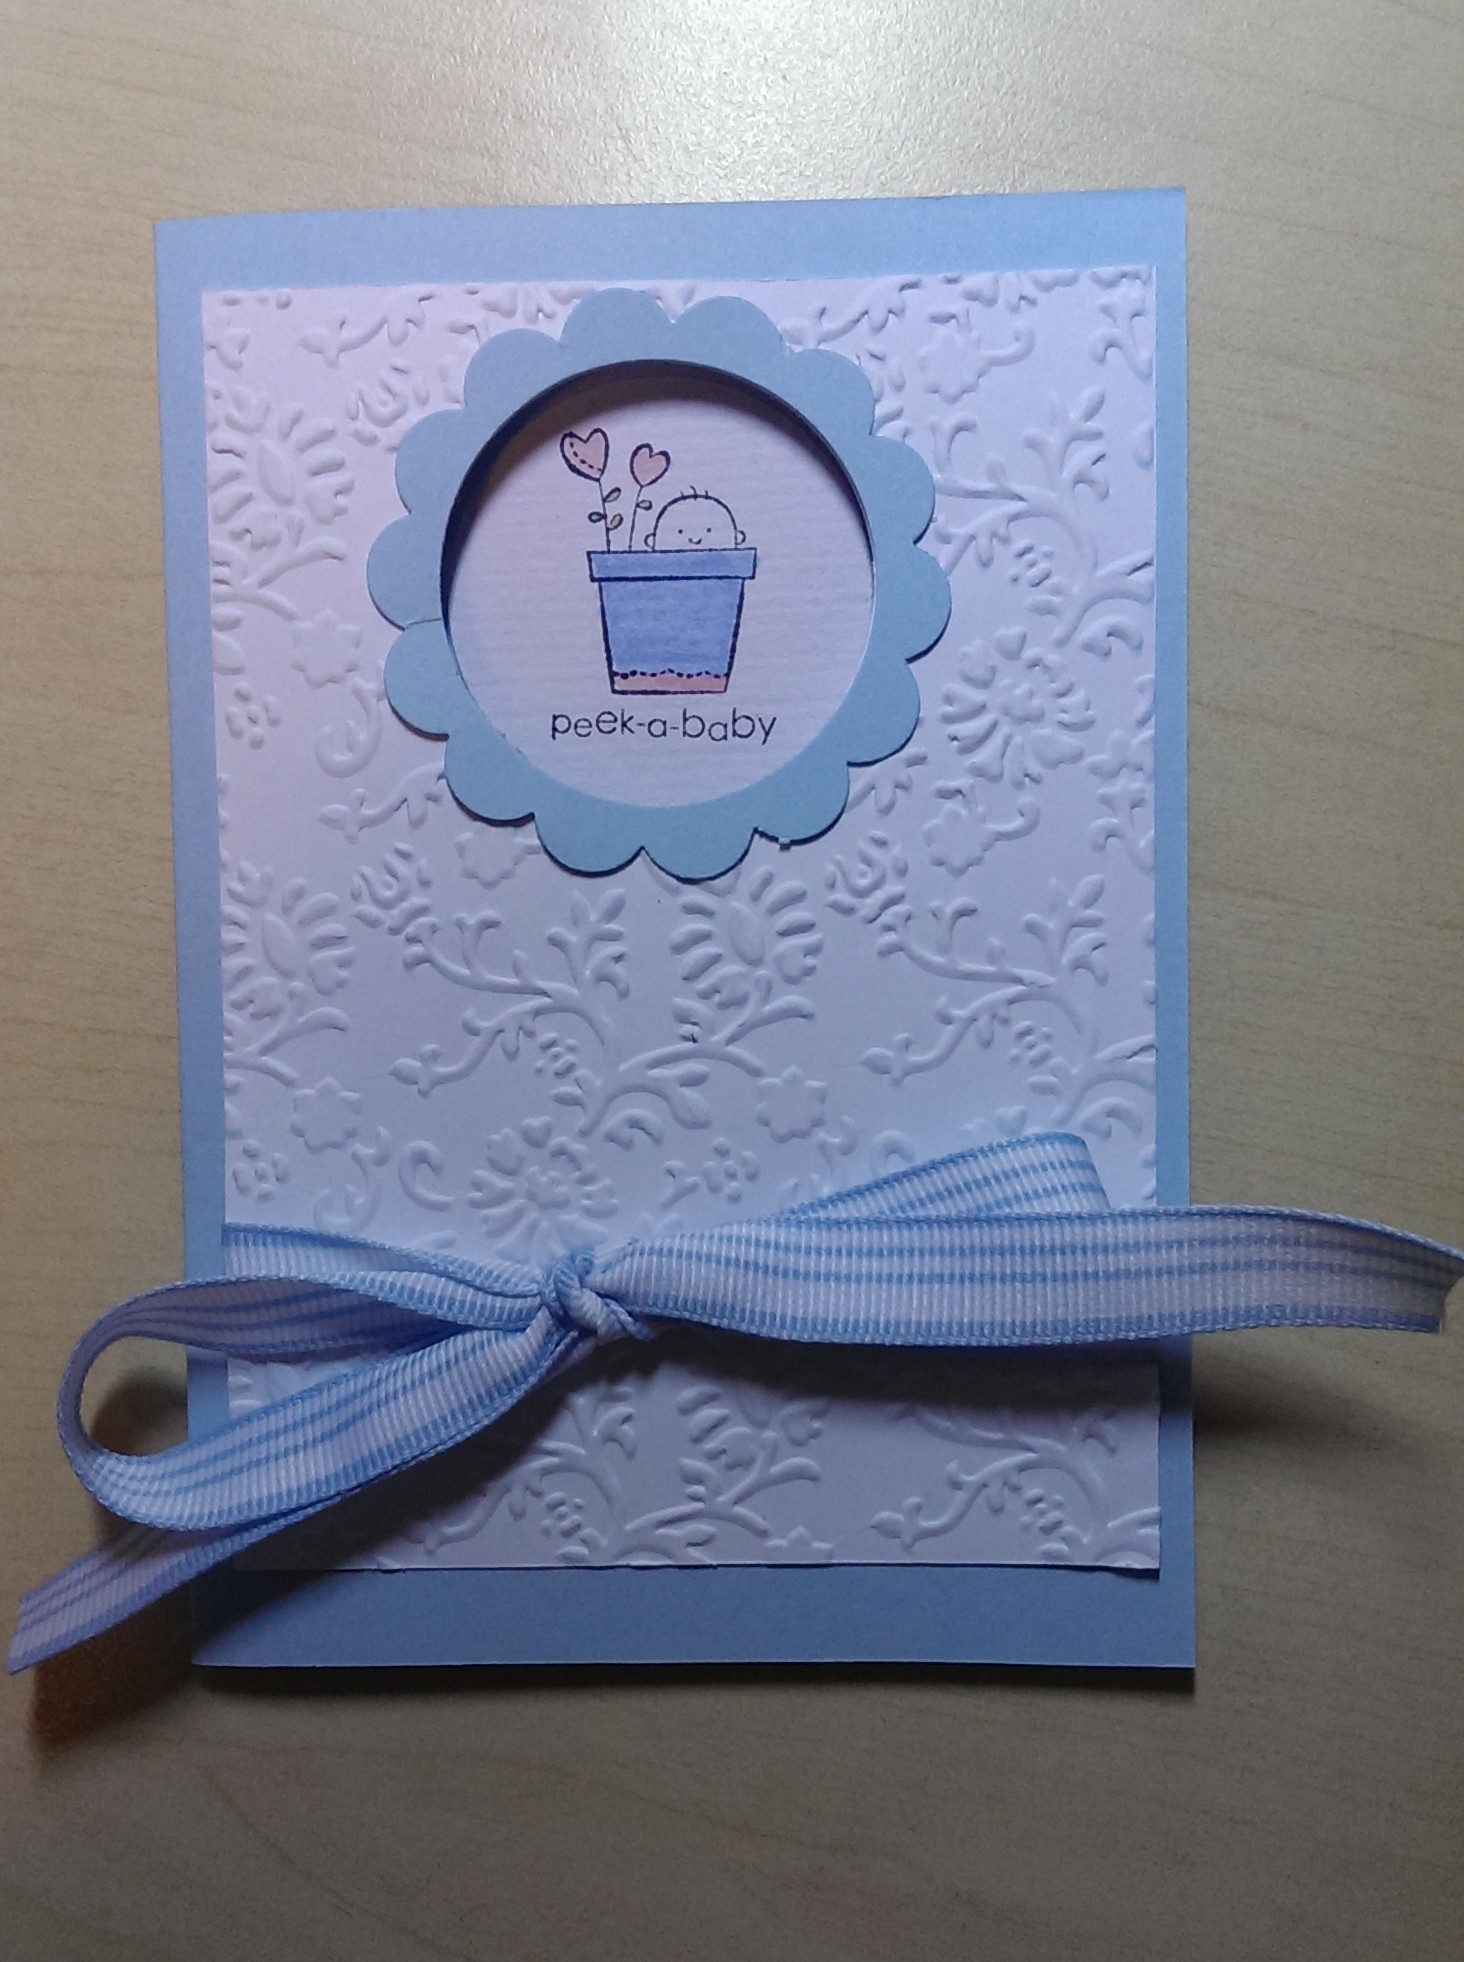
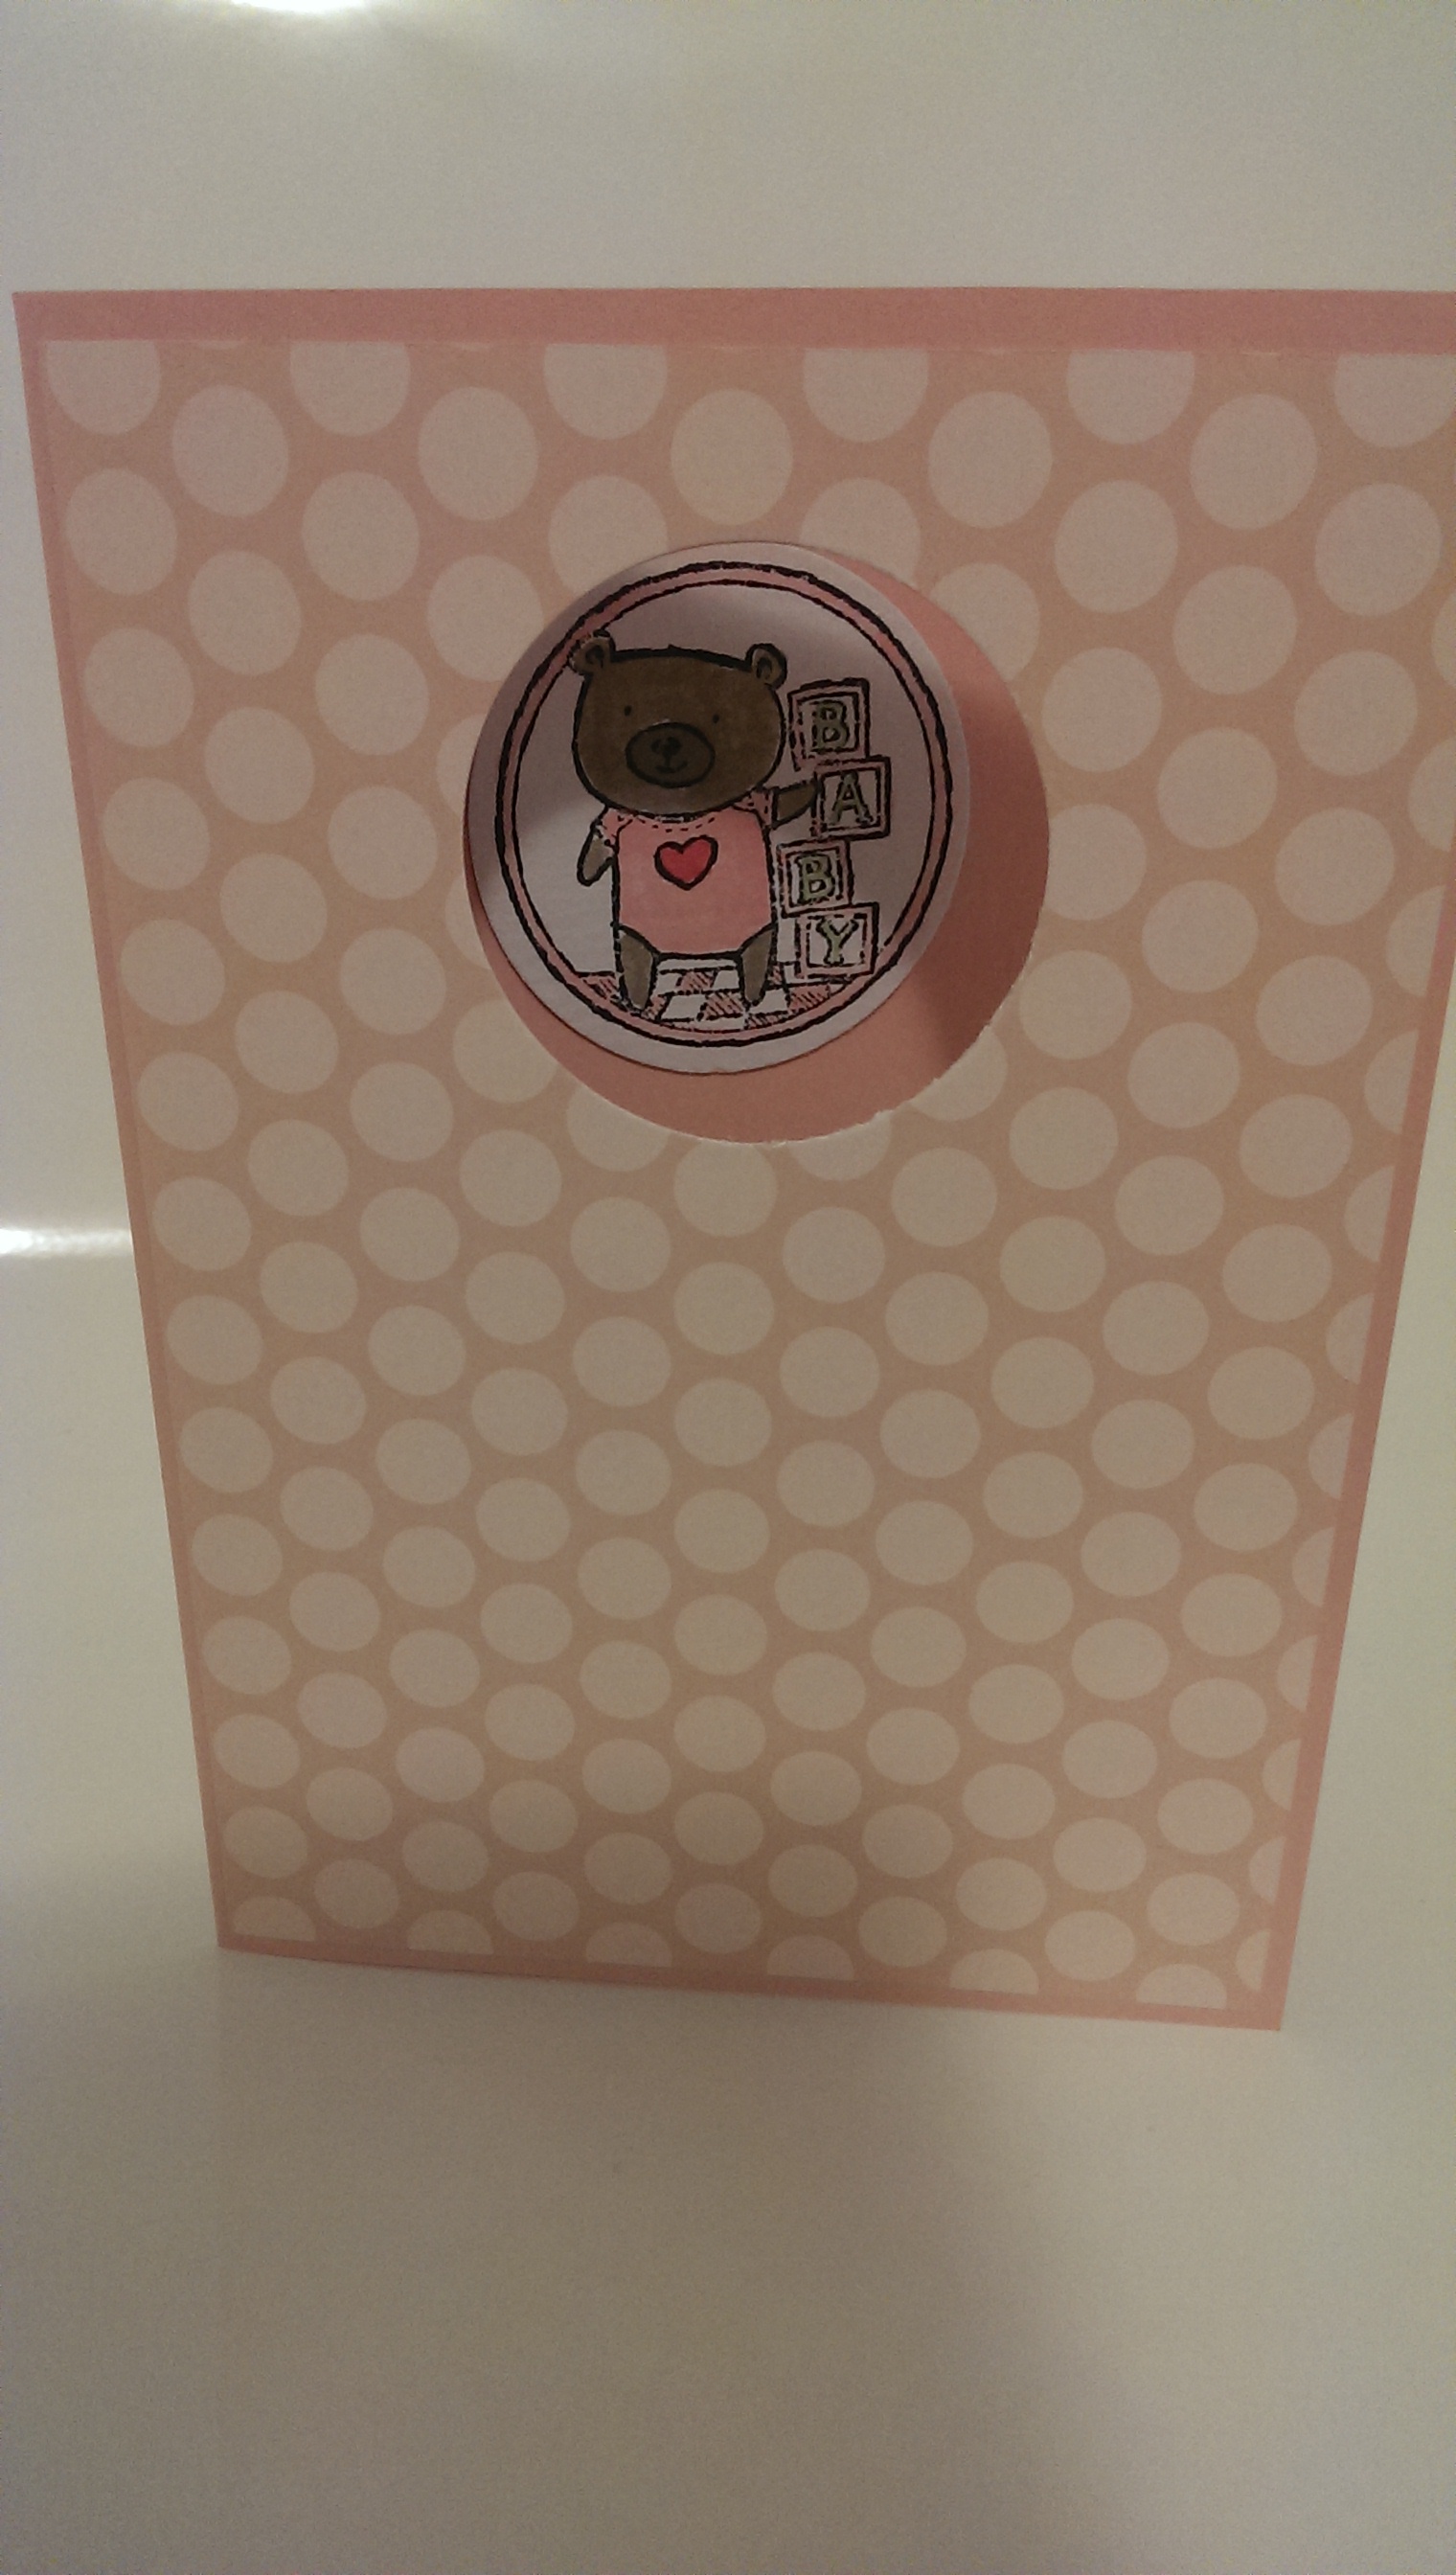
Yesterday I showed you a card I made with a cut out image in it. I think of this as a peek-a-boo card!

Today I wanted to show you how to make it.
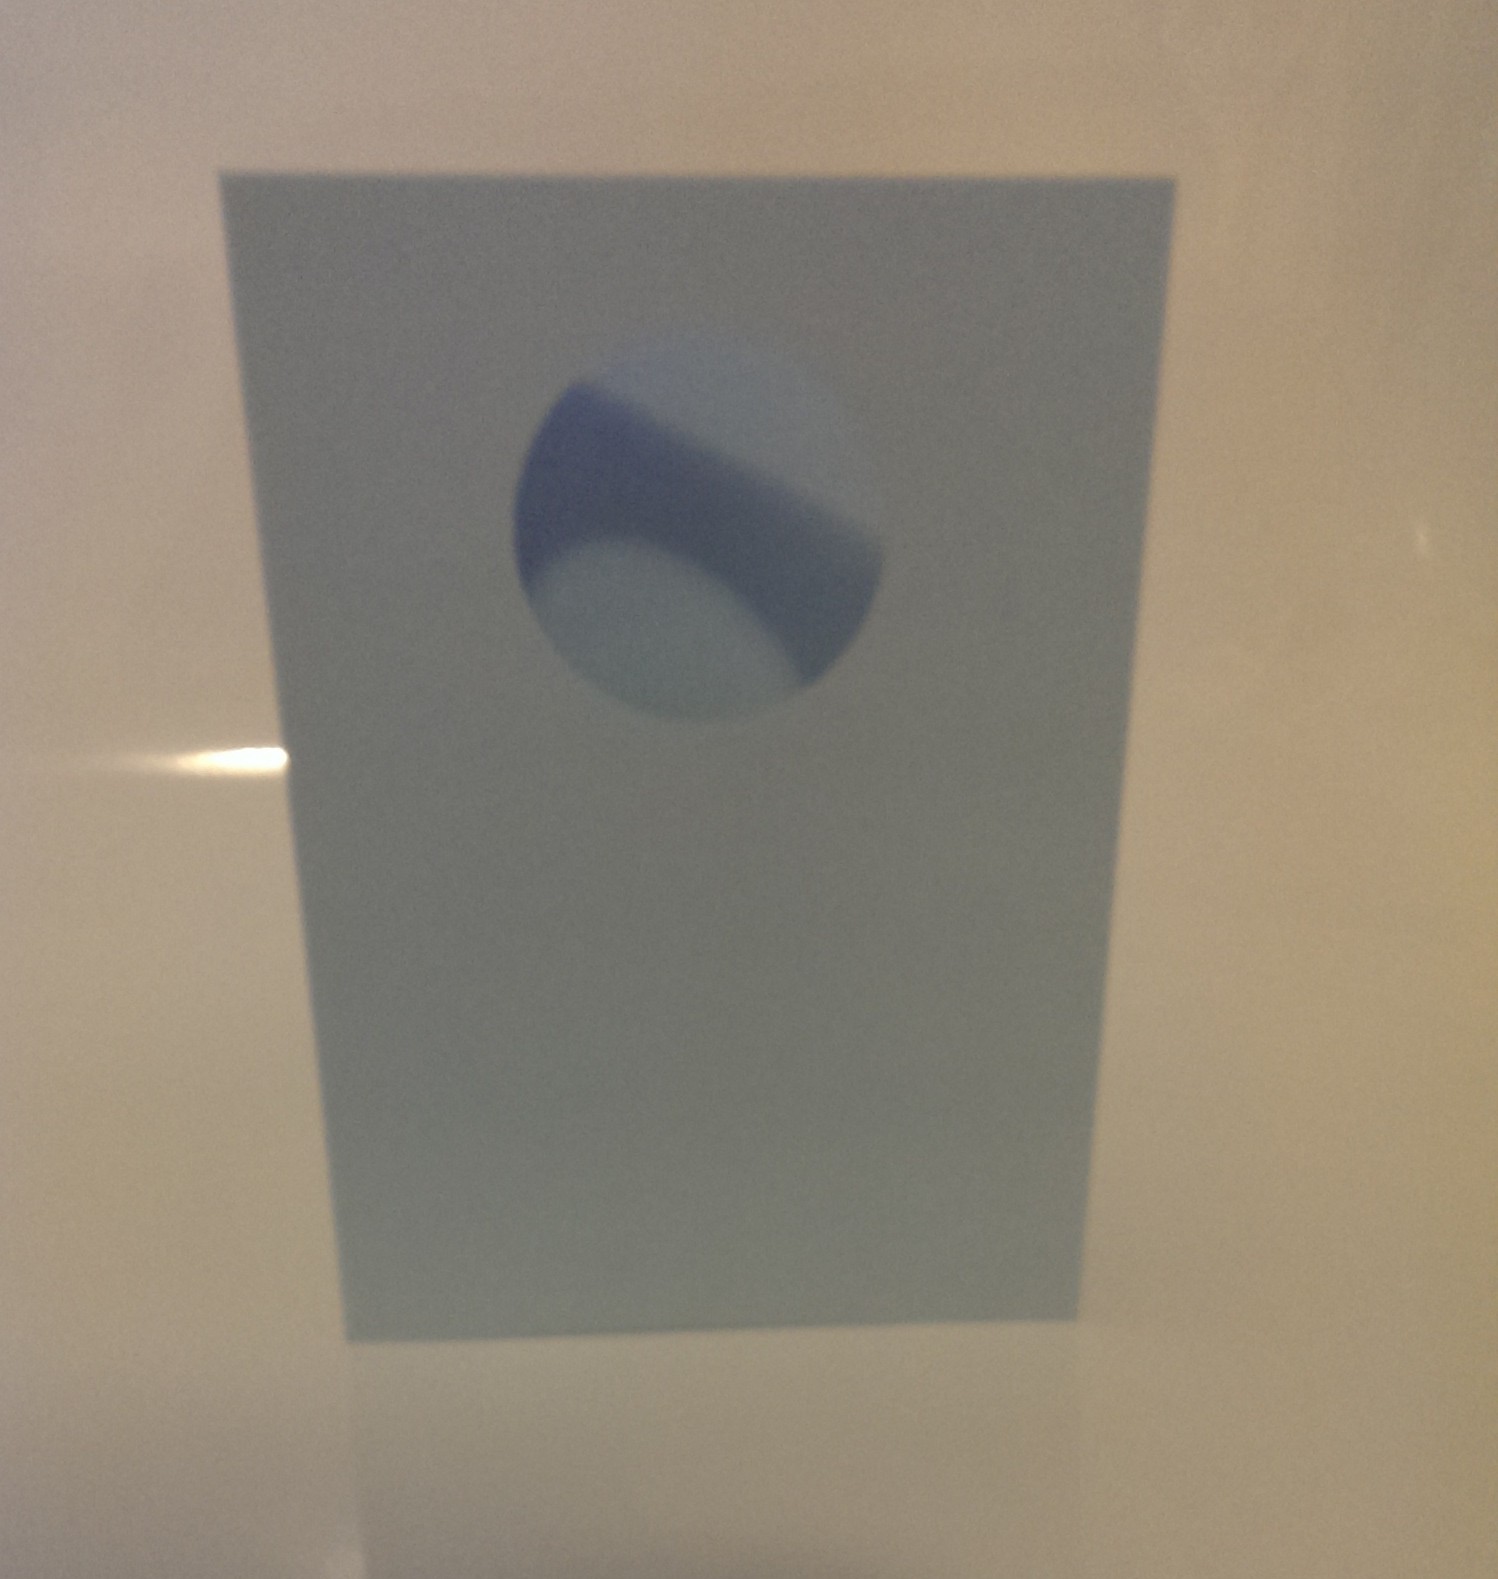
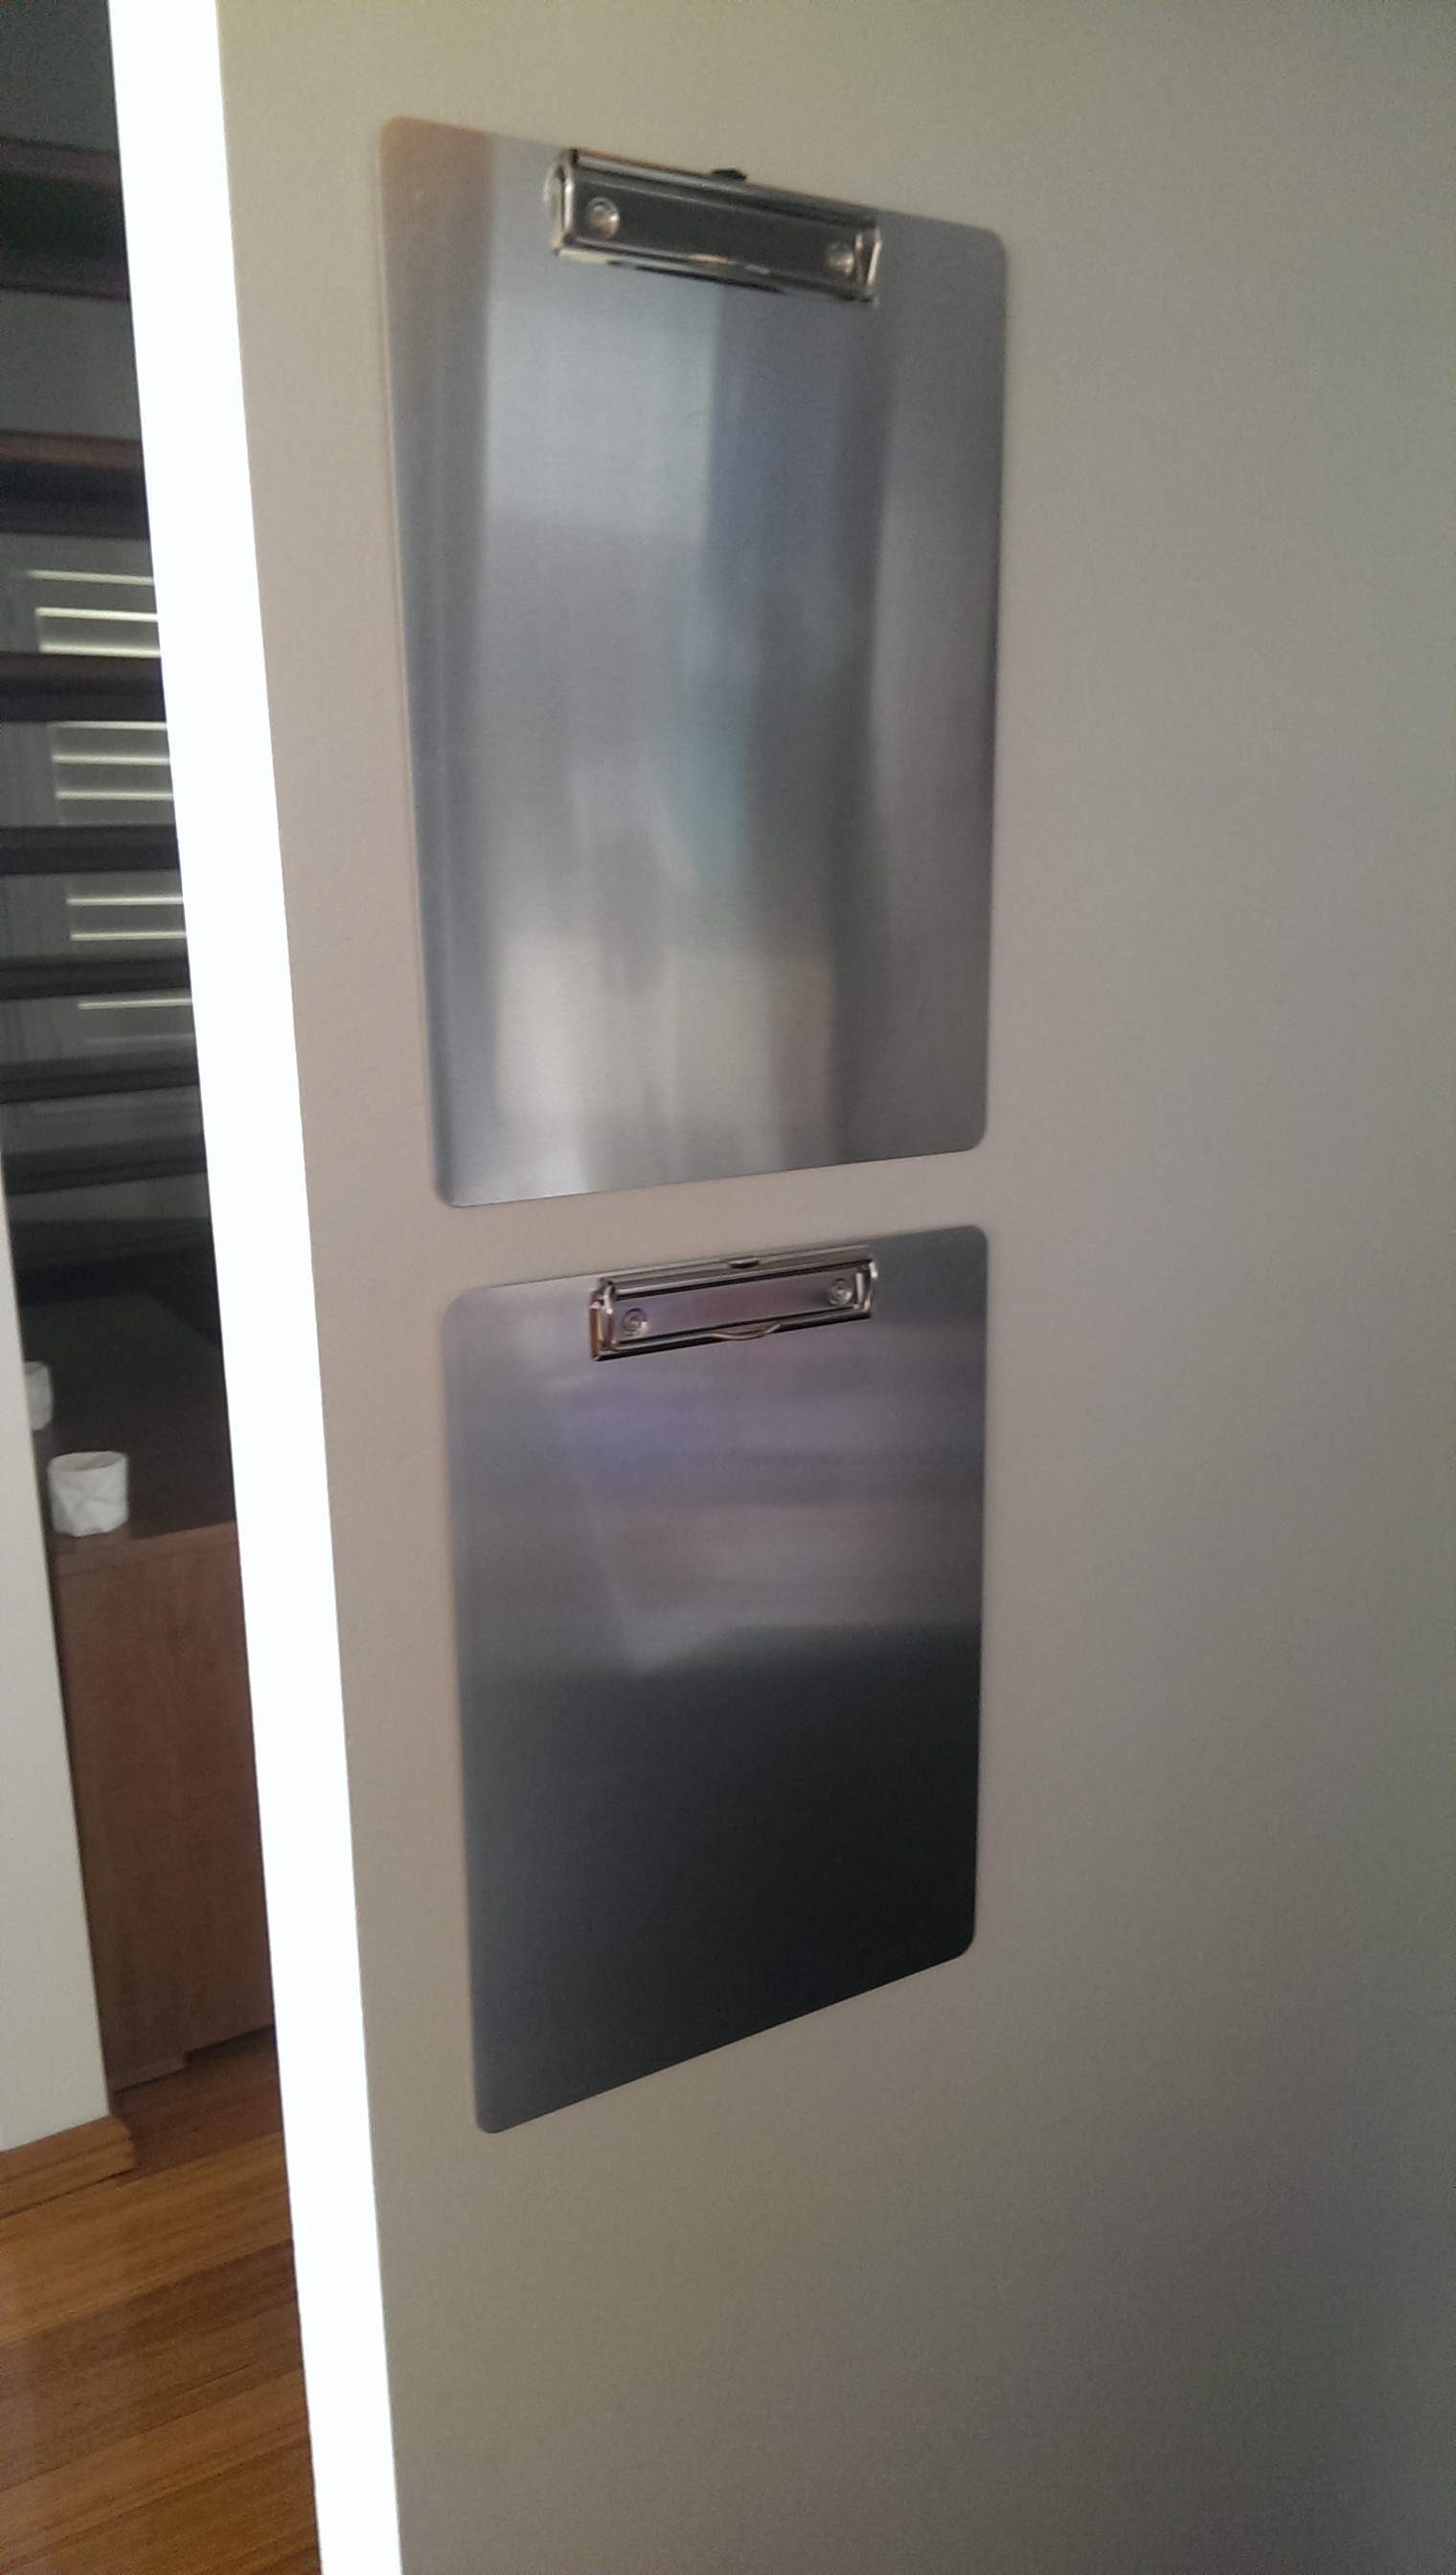
Step 1: fold a card blank. I used my 1 3/4 inch circle punch, but you could use any shape you like. Centre the punch at the top of the front of the card and punch out an image.
 Step 2: stick the image on the inside of the card so you can see it through the open circle on the front. Tip! Do not try and glue this from the inside. Close the card and stick the image to the inside of the card through the hole on the front. This will make sure you get a perfect alignment.


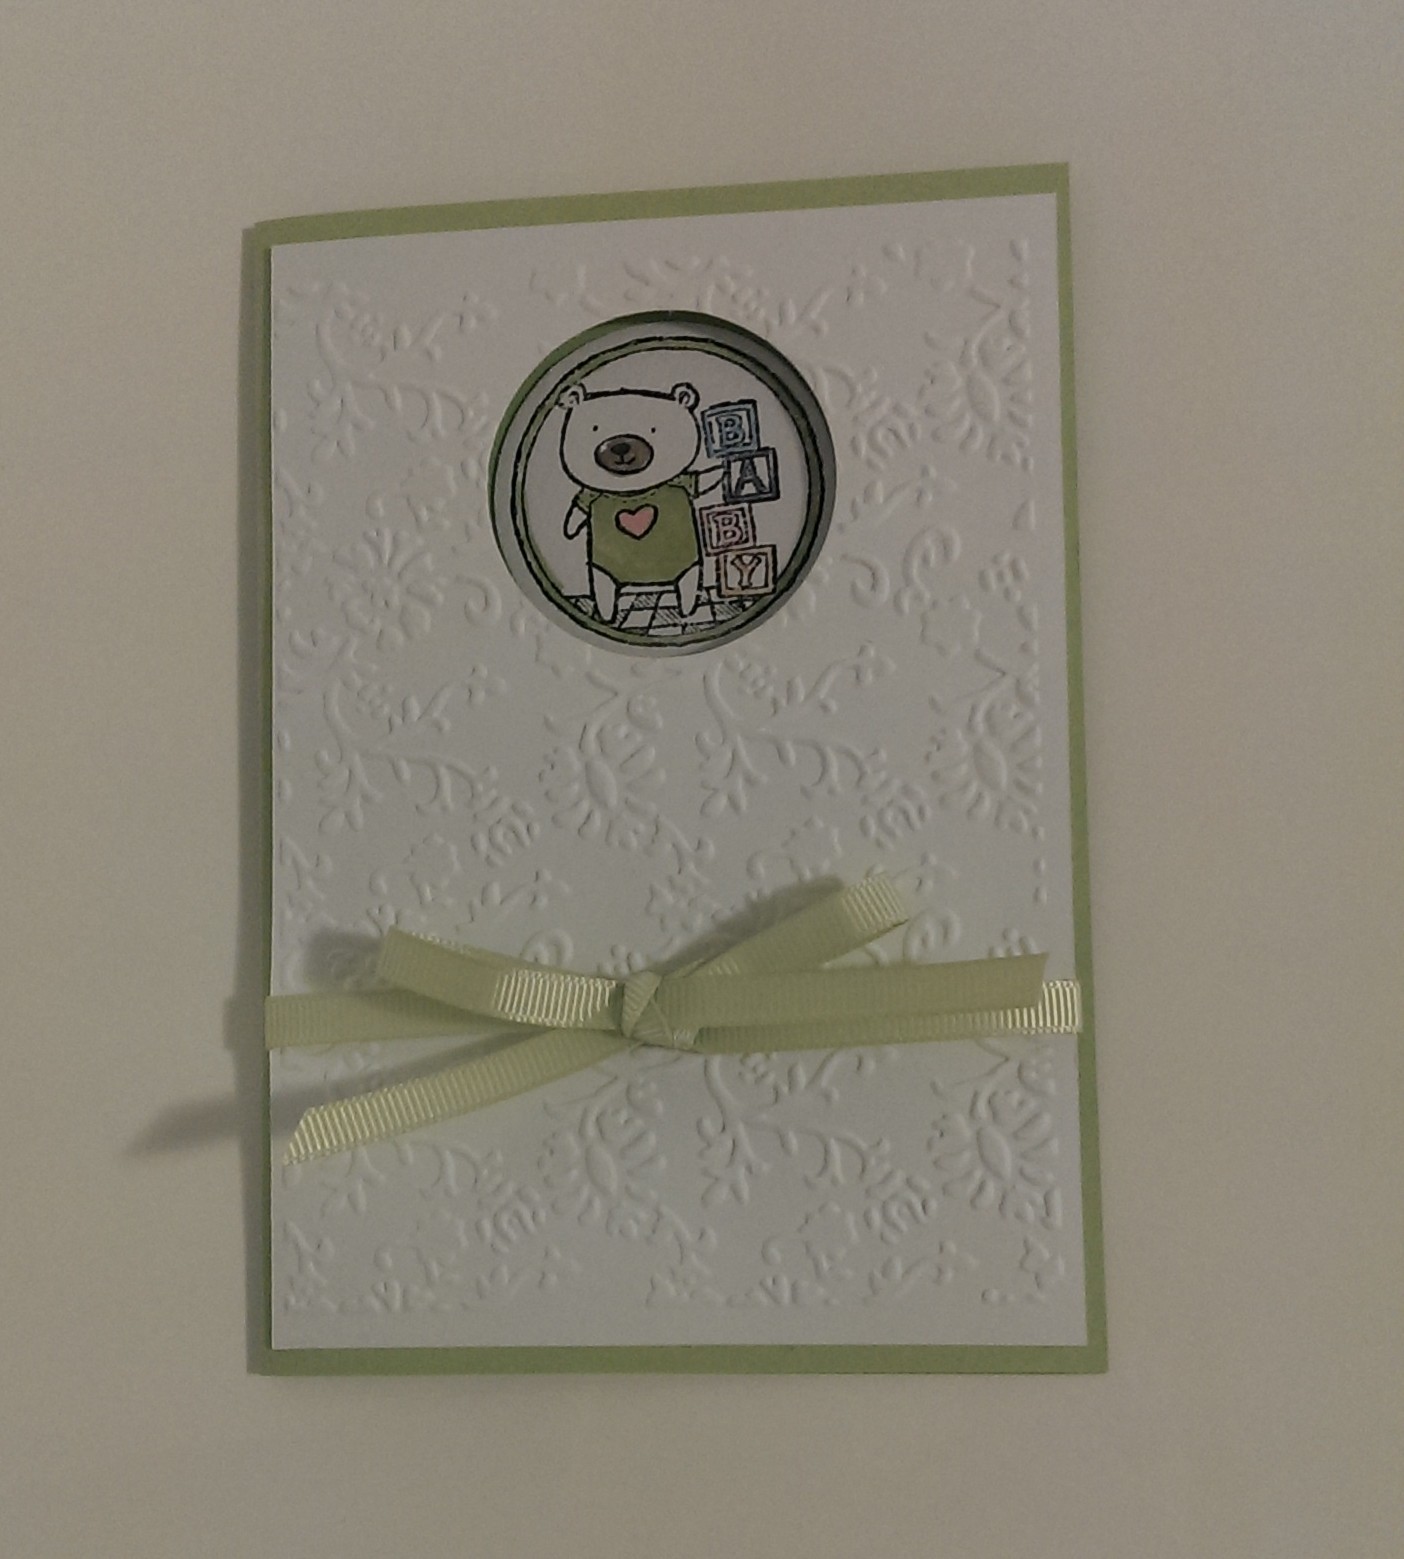
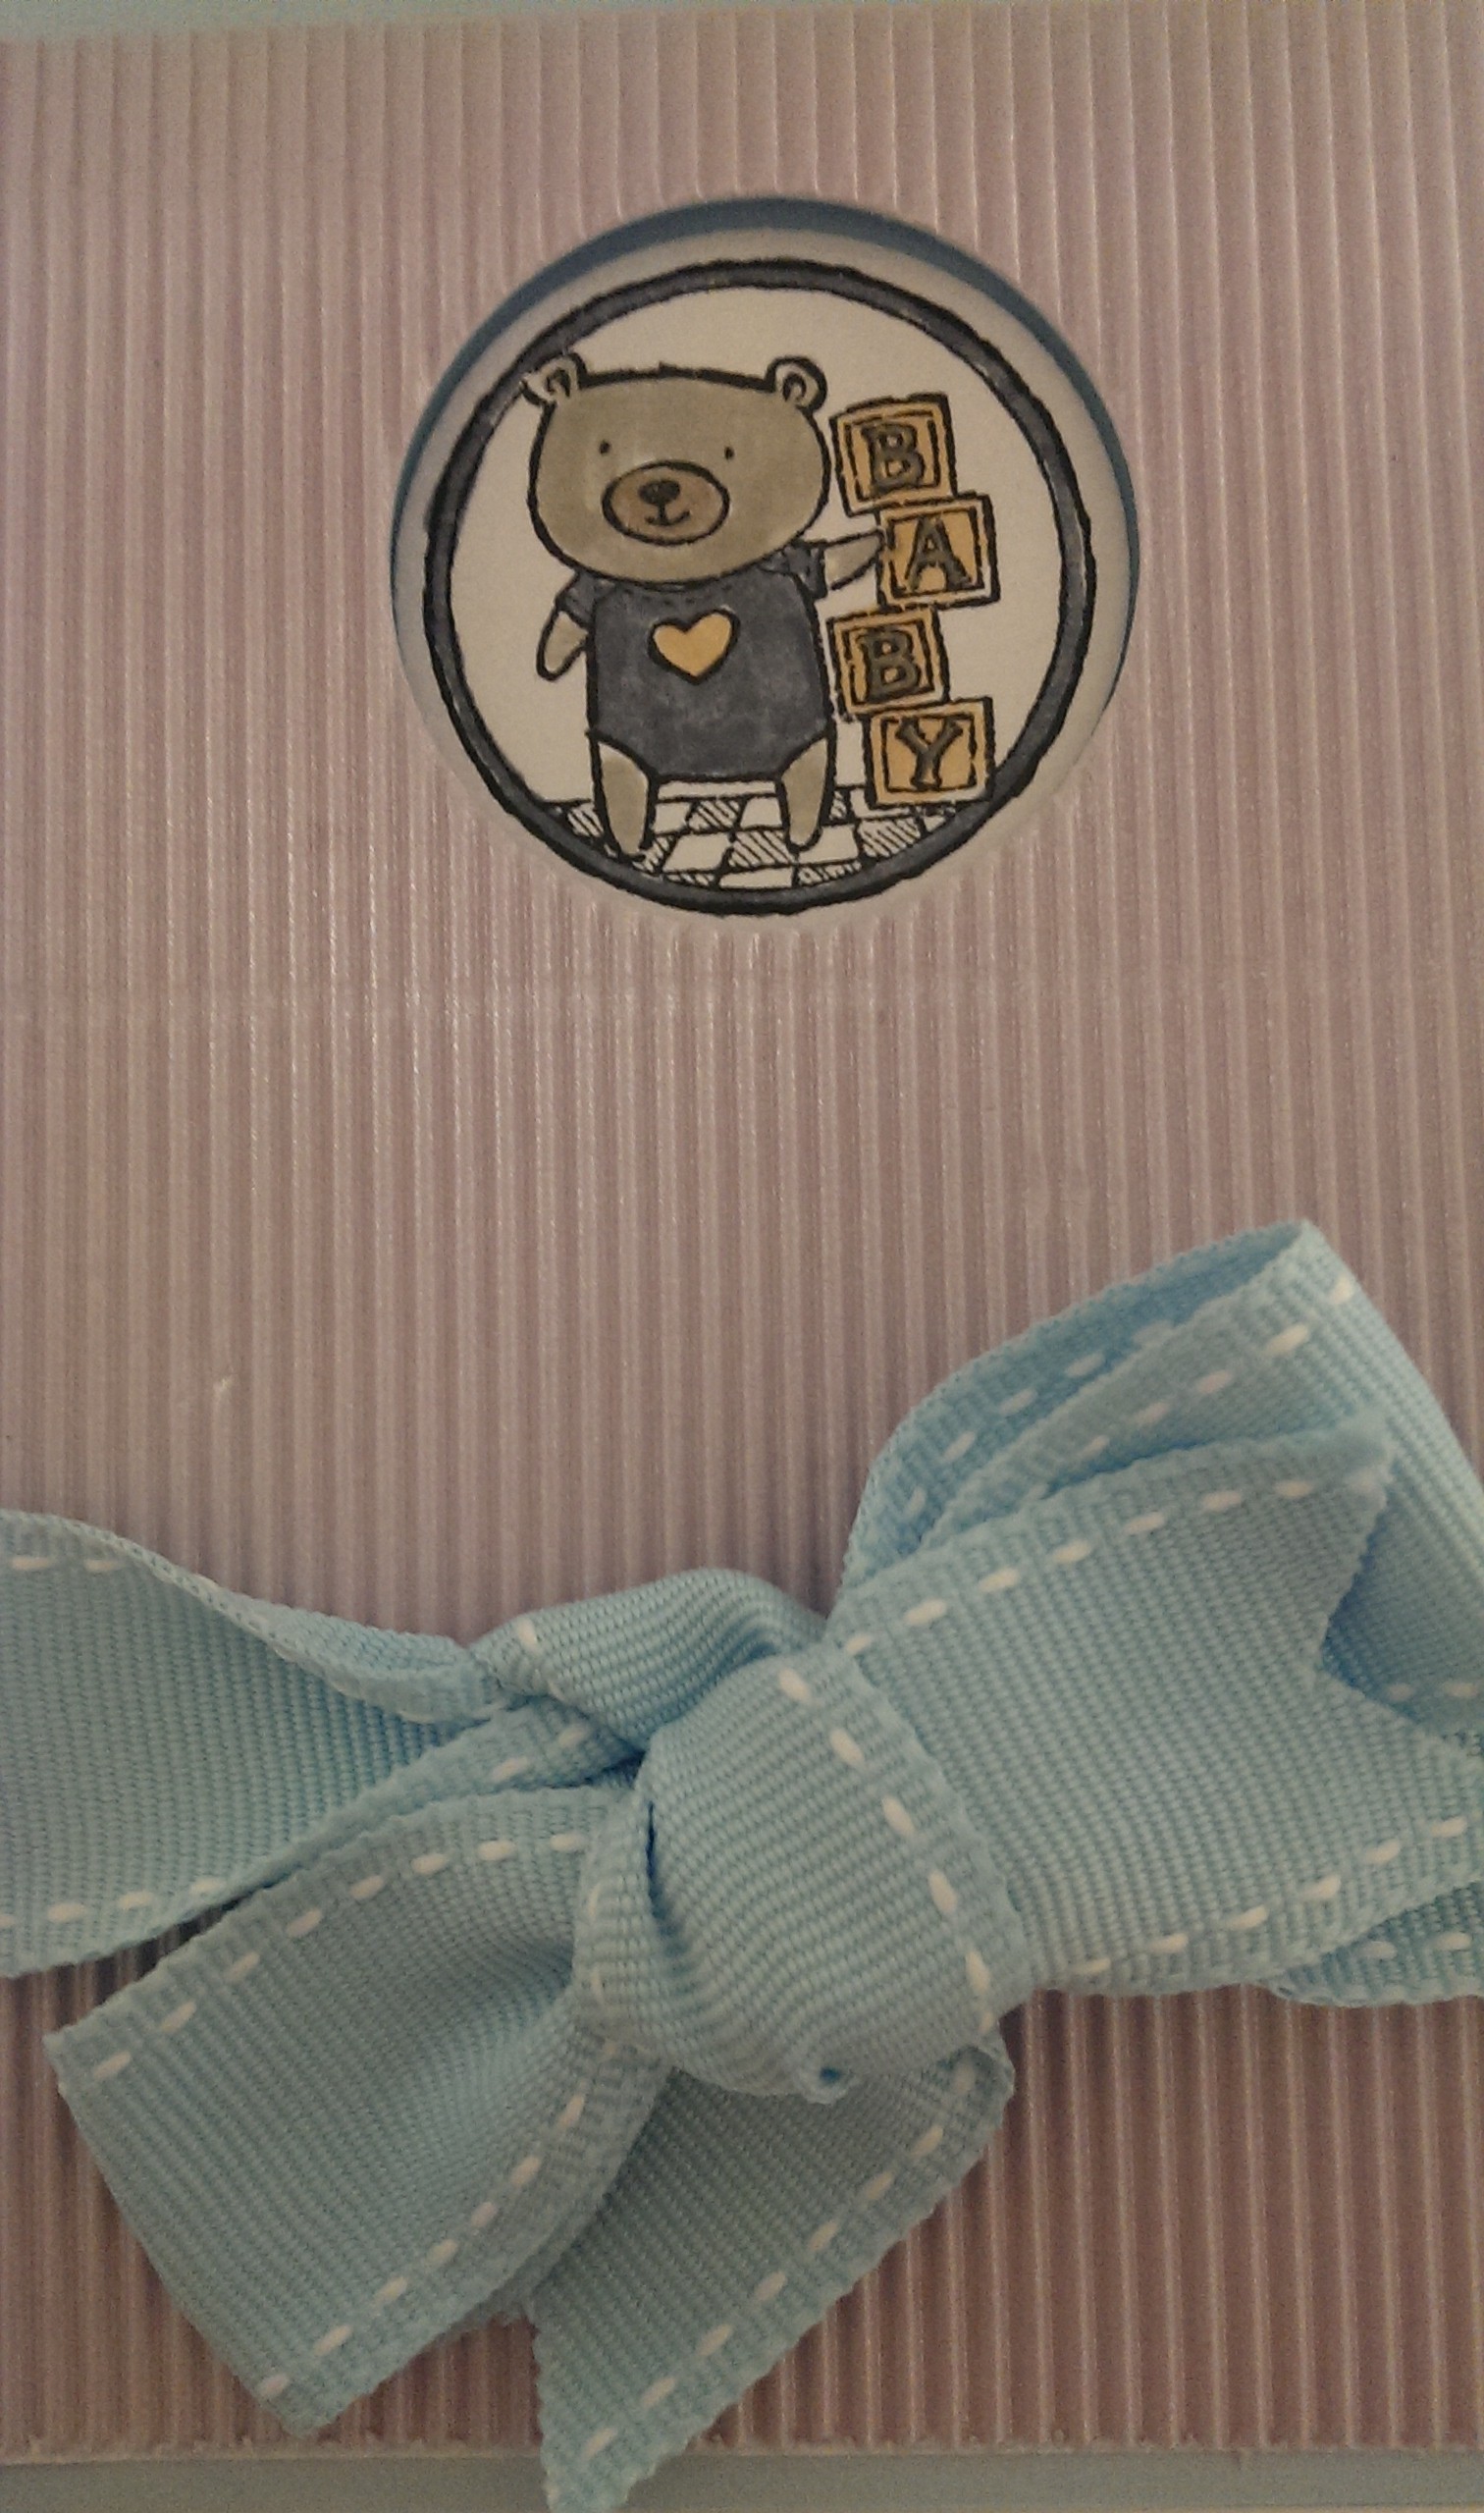
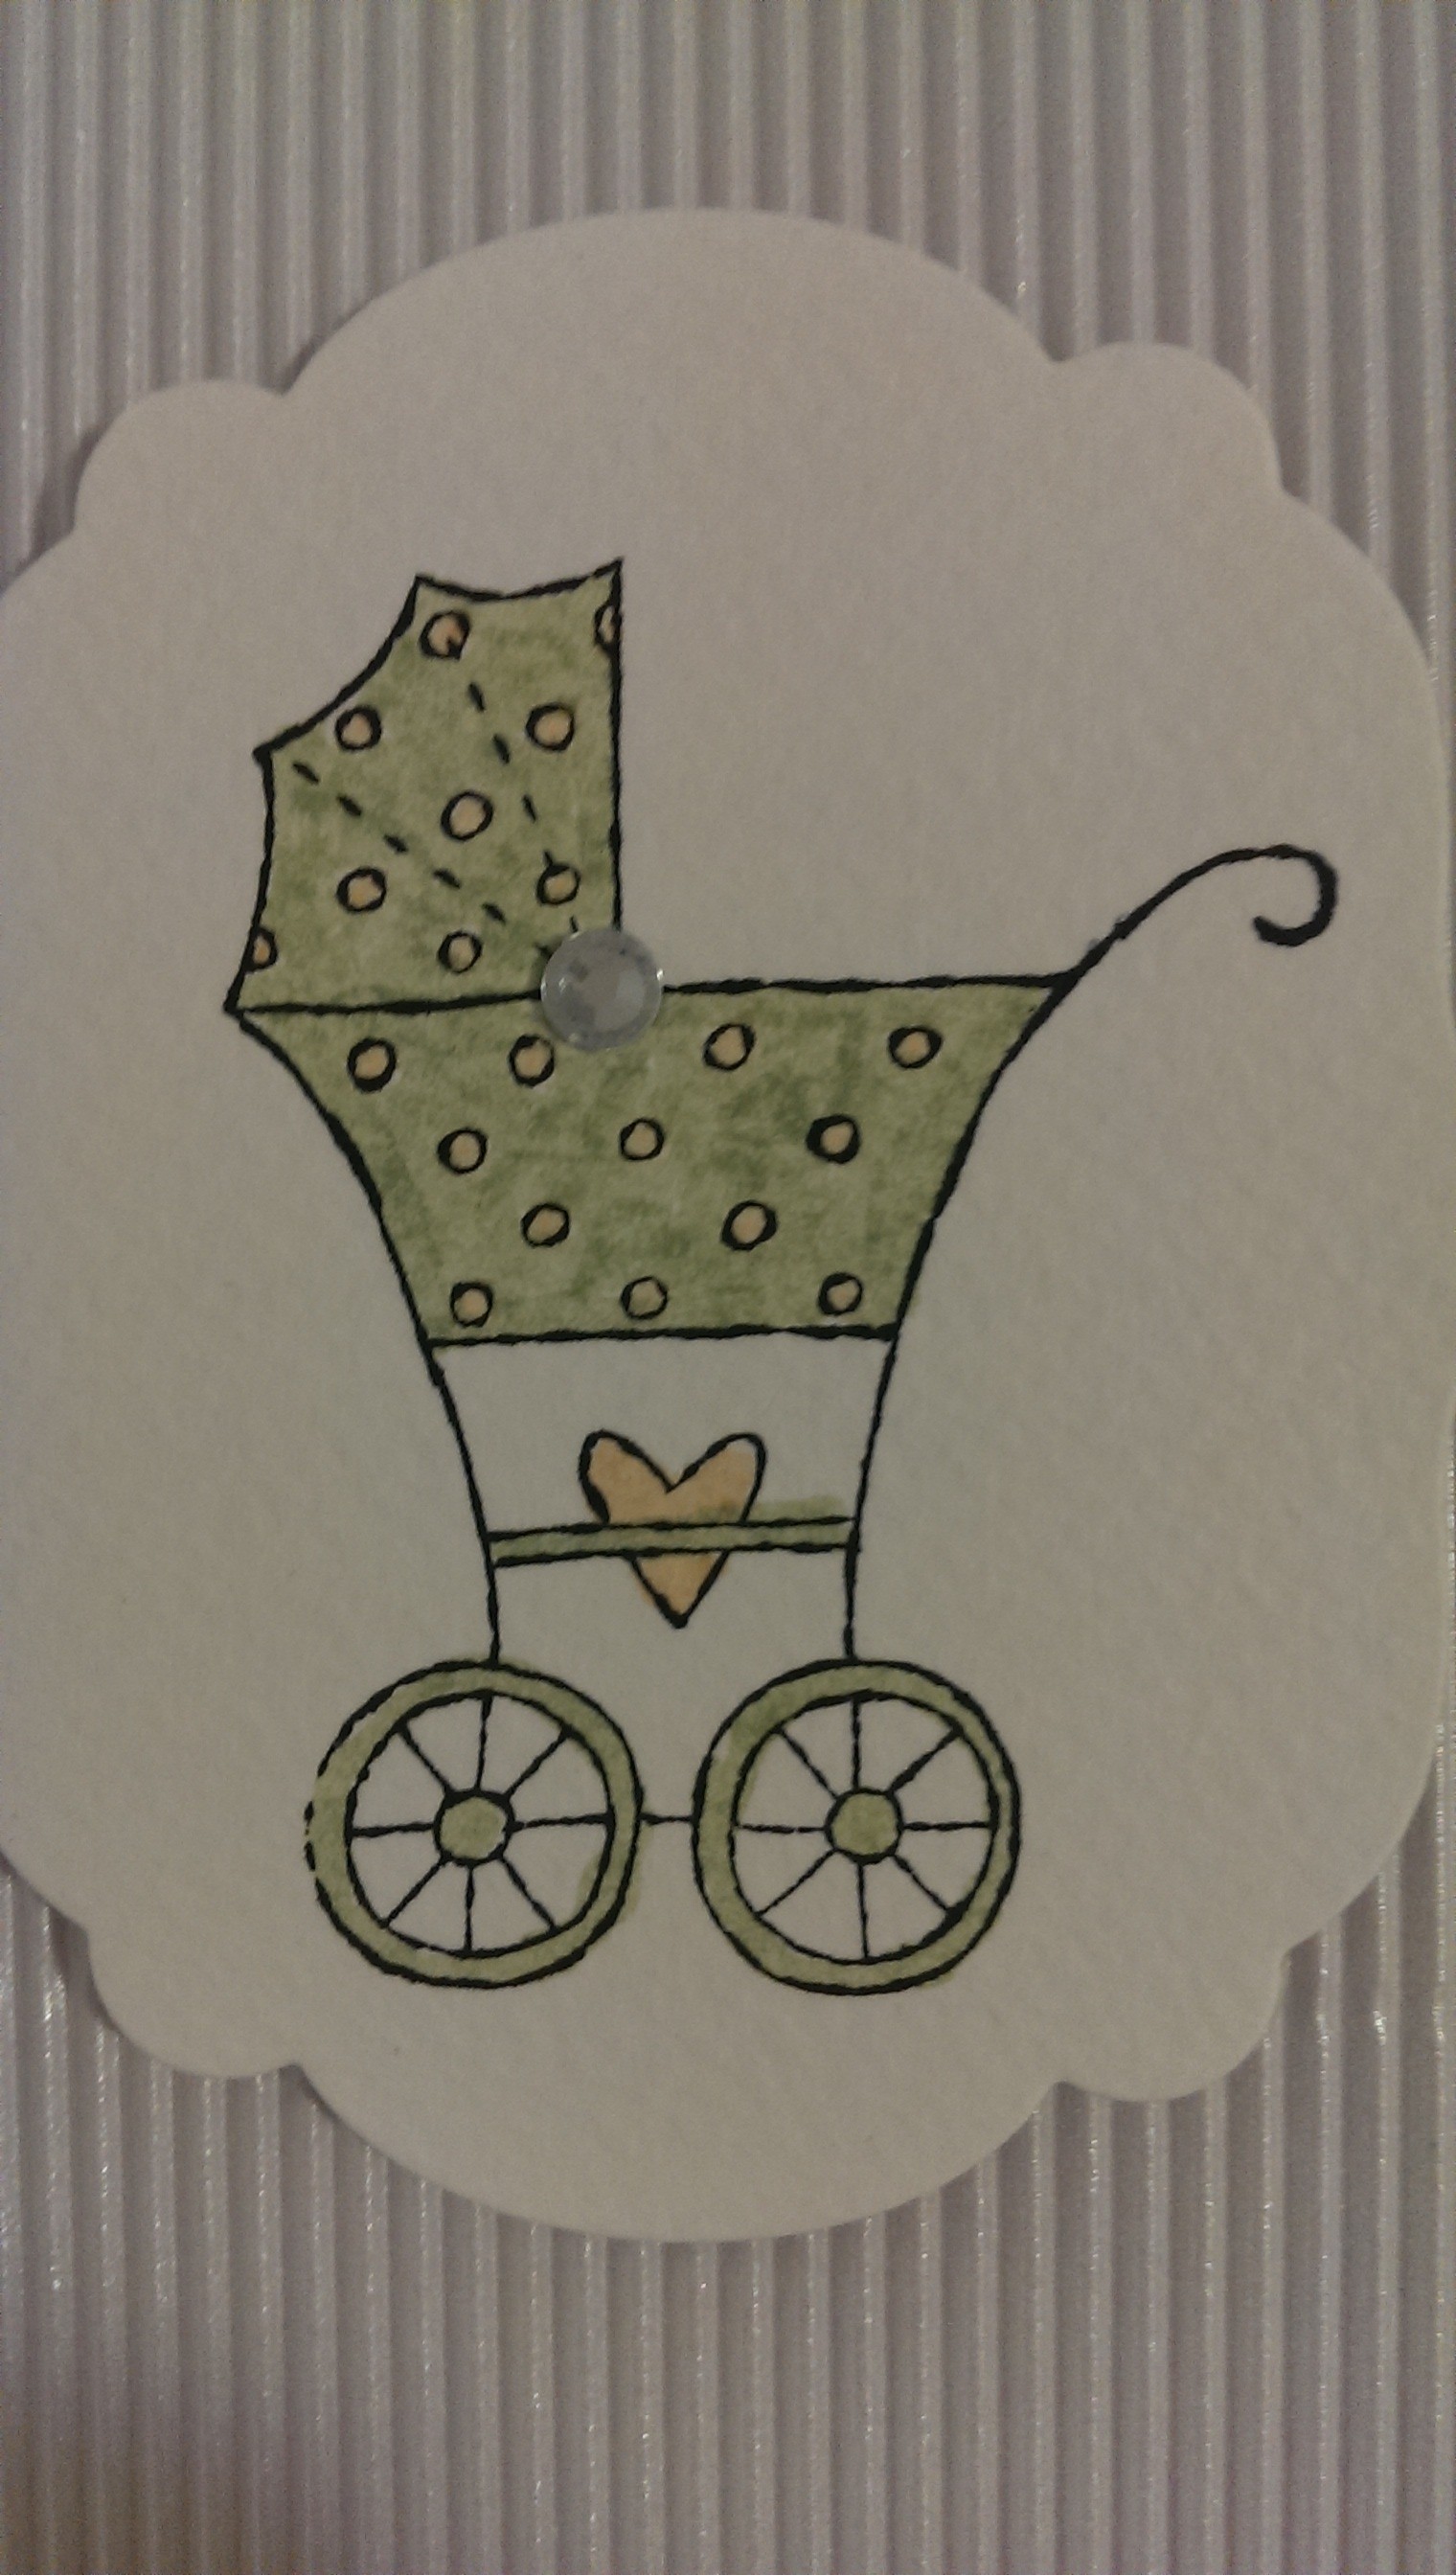
Step 3: decorate the front of the card however you like. This will probably mean covering over the circle you’ve cut out, but this doesn’t matter. We’ll fix that later. I’ve kept this card front really simple:

The hole is hiding there under the purple card stock.
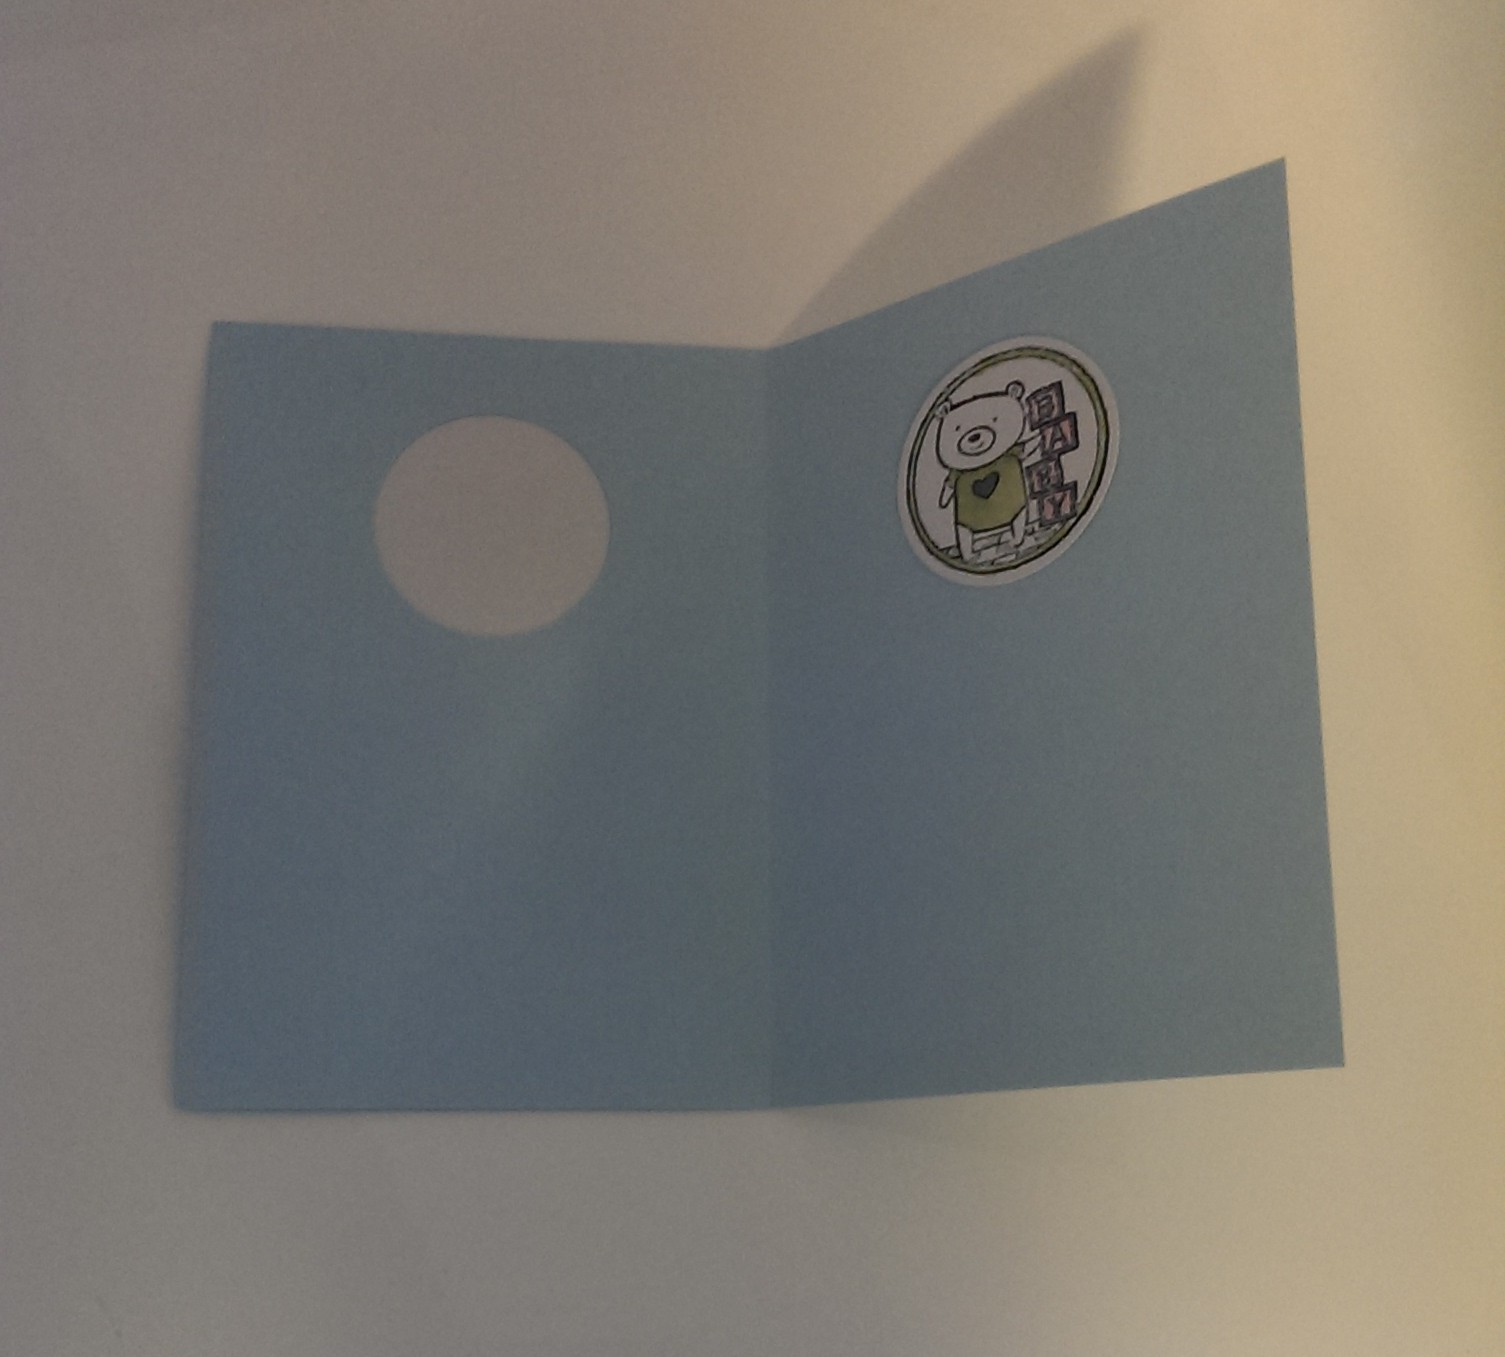
Step 4: Once you’ve decorated the card, open it, and cut a circle on the inside from the same hole as the first one you cut.

(Note: this picture is upside down from how you’d see it if you were punching yourself!)
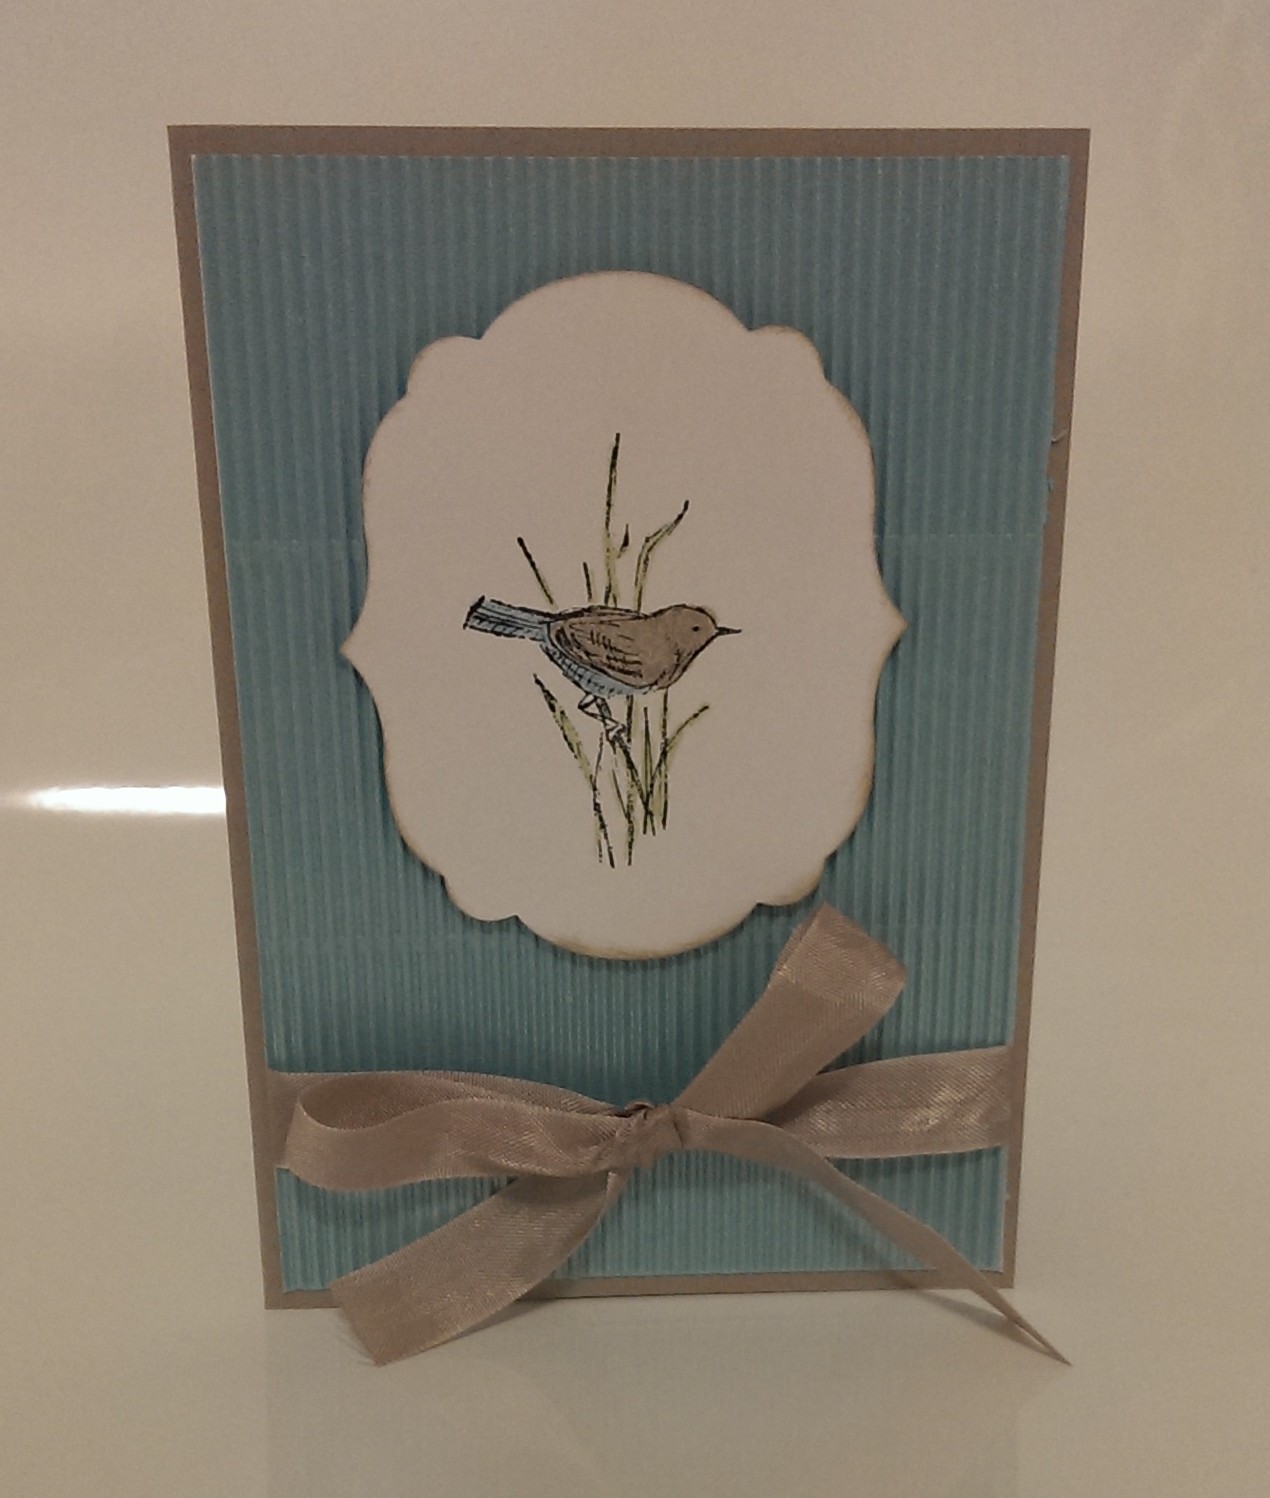
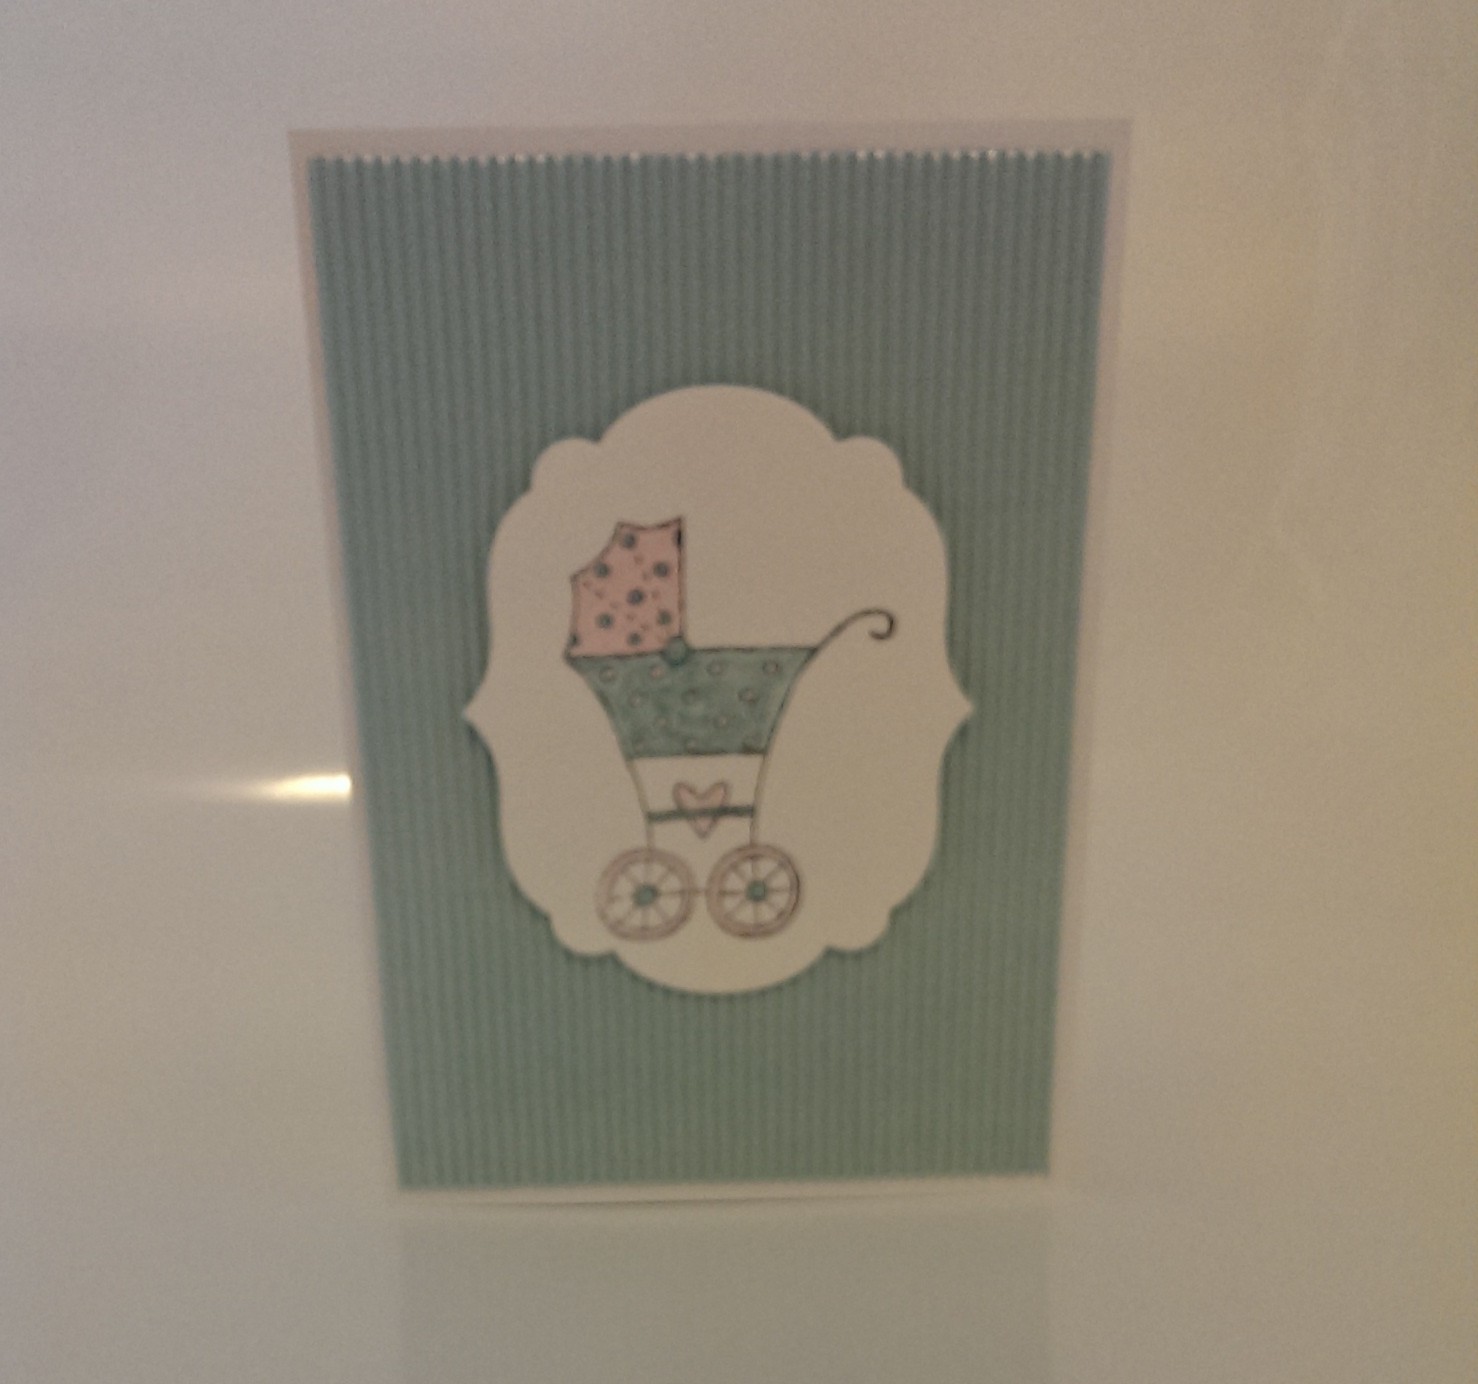
This is how it will look like when finished:

And you’re done! A very simple card but pretty effective I think?
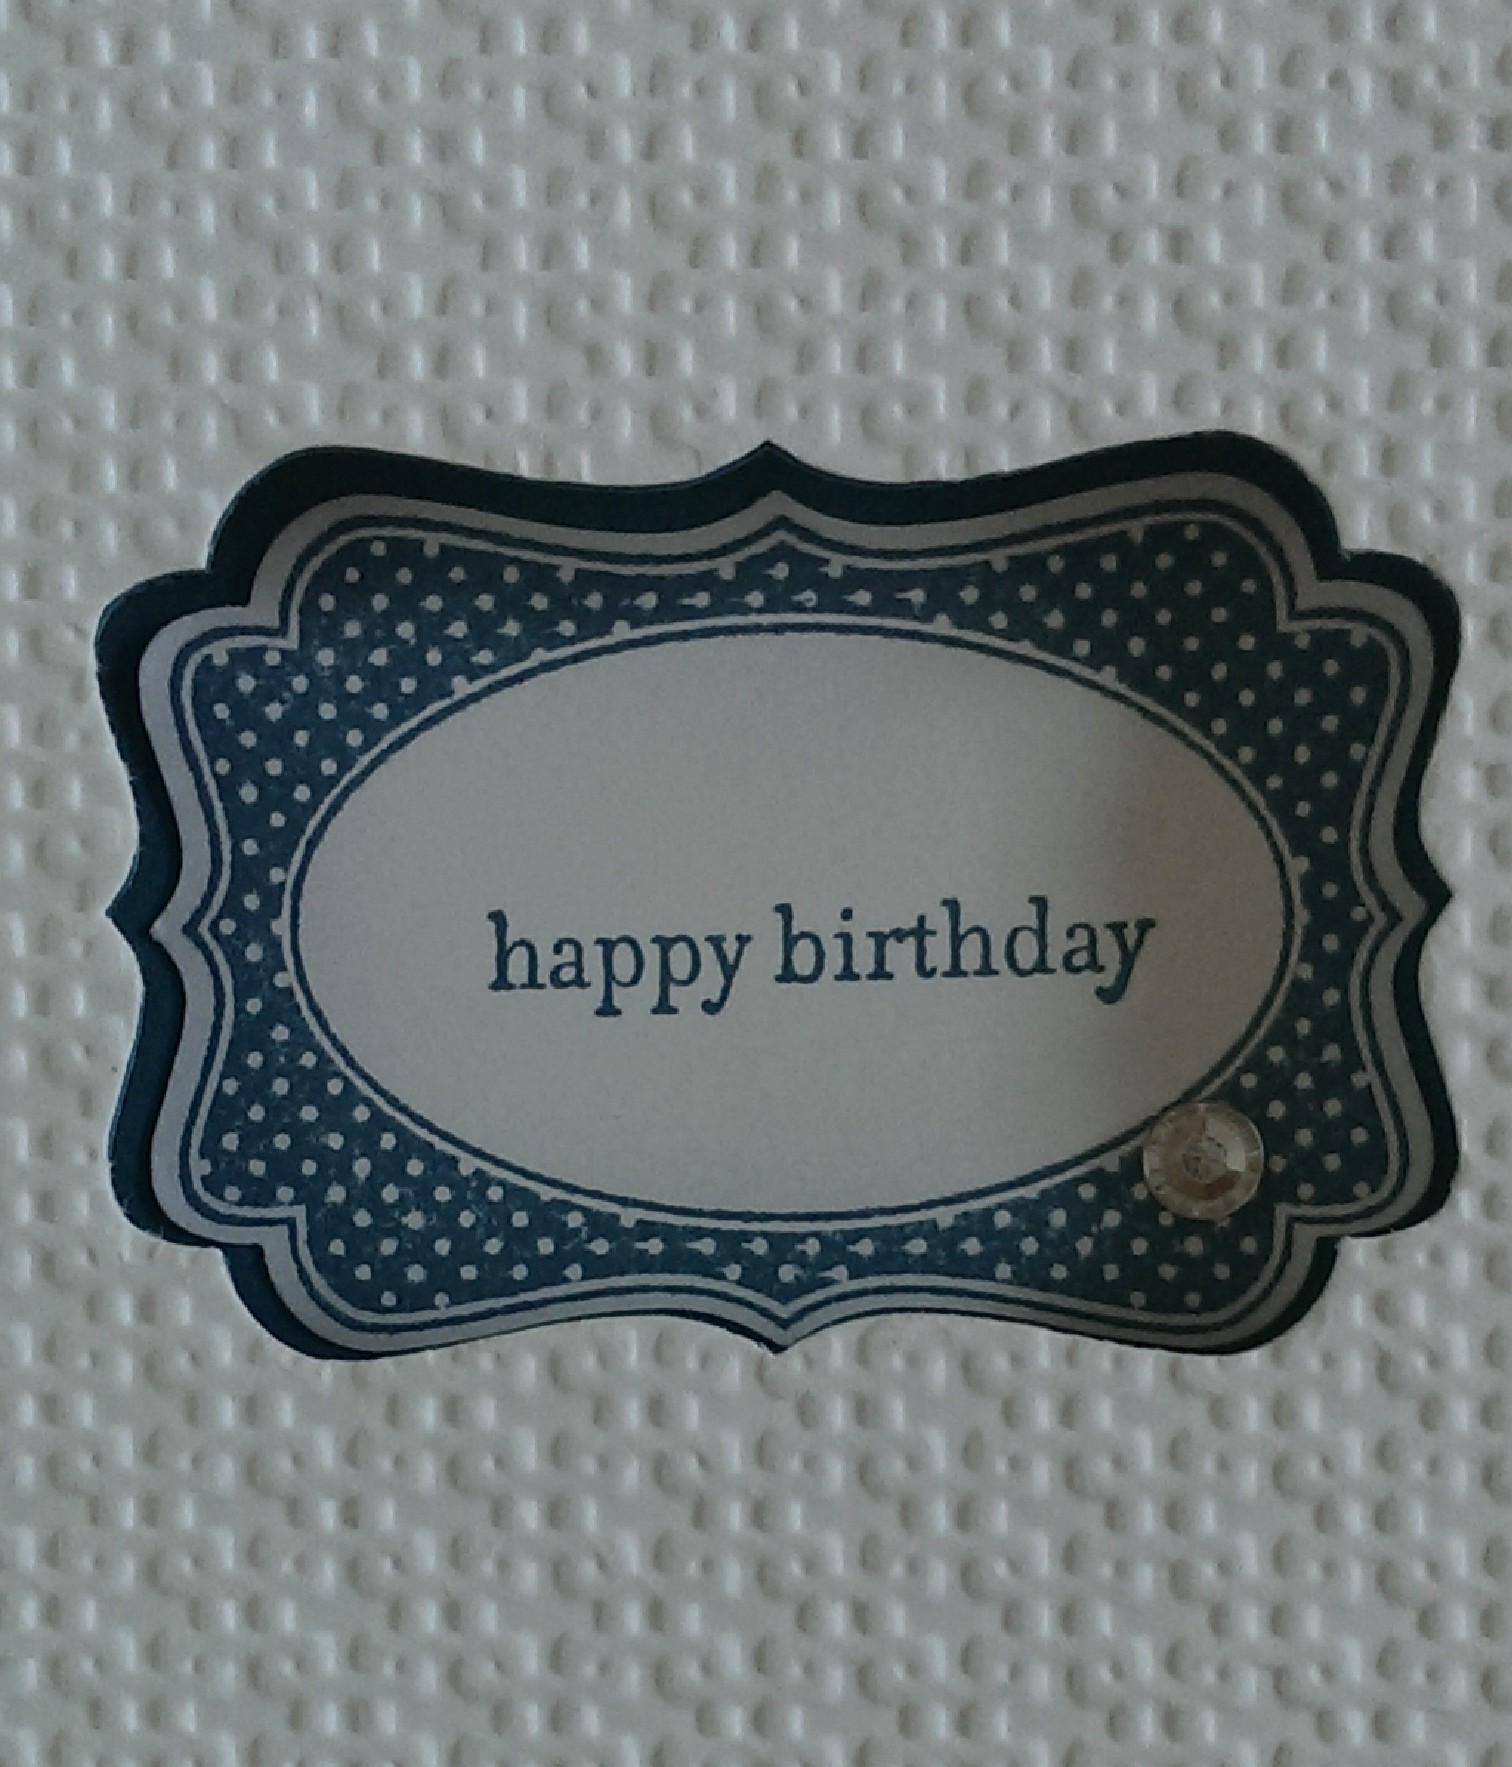
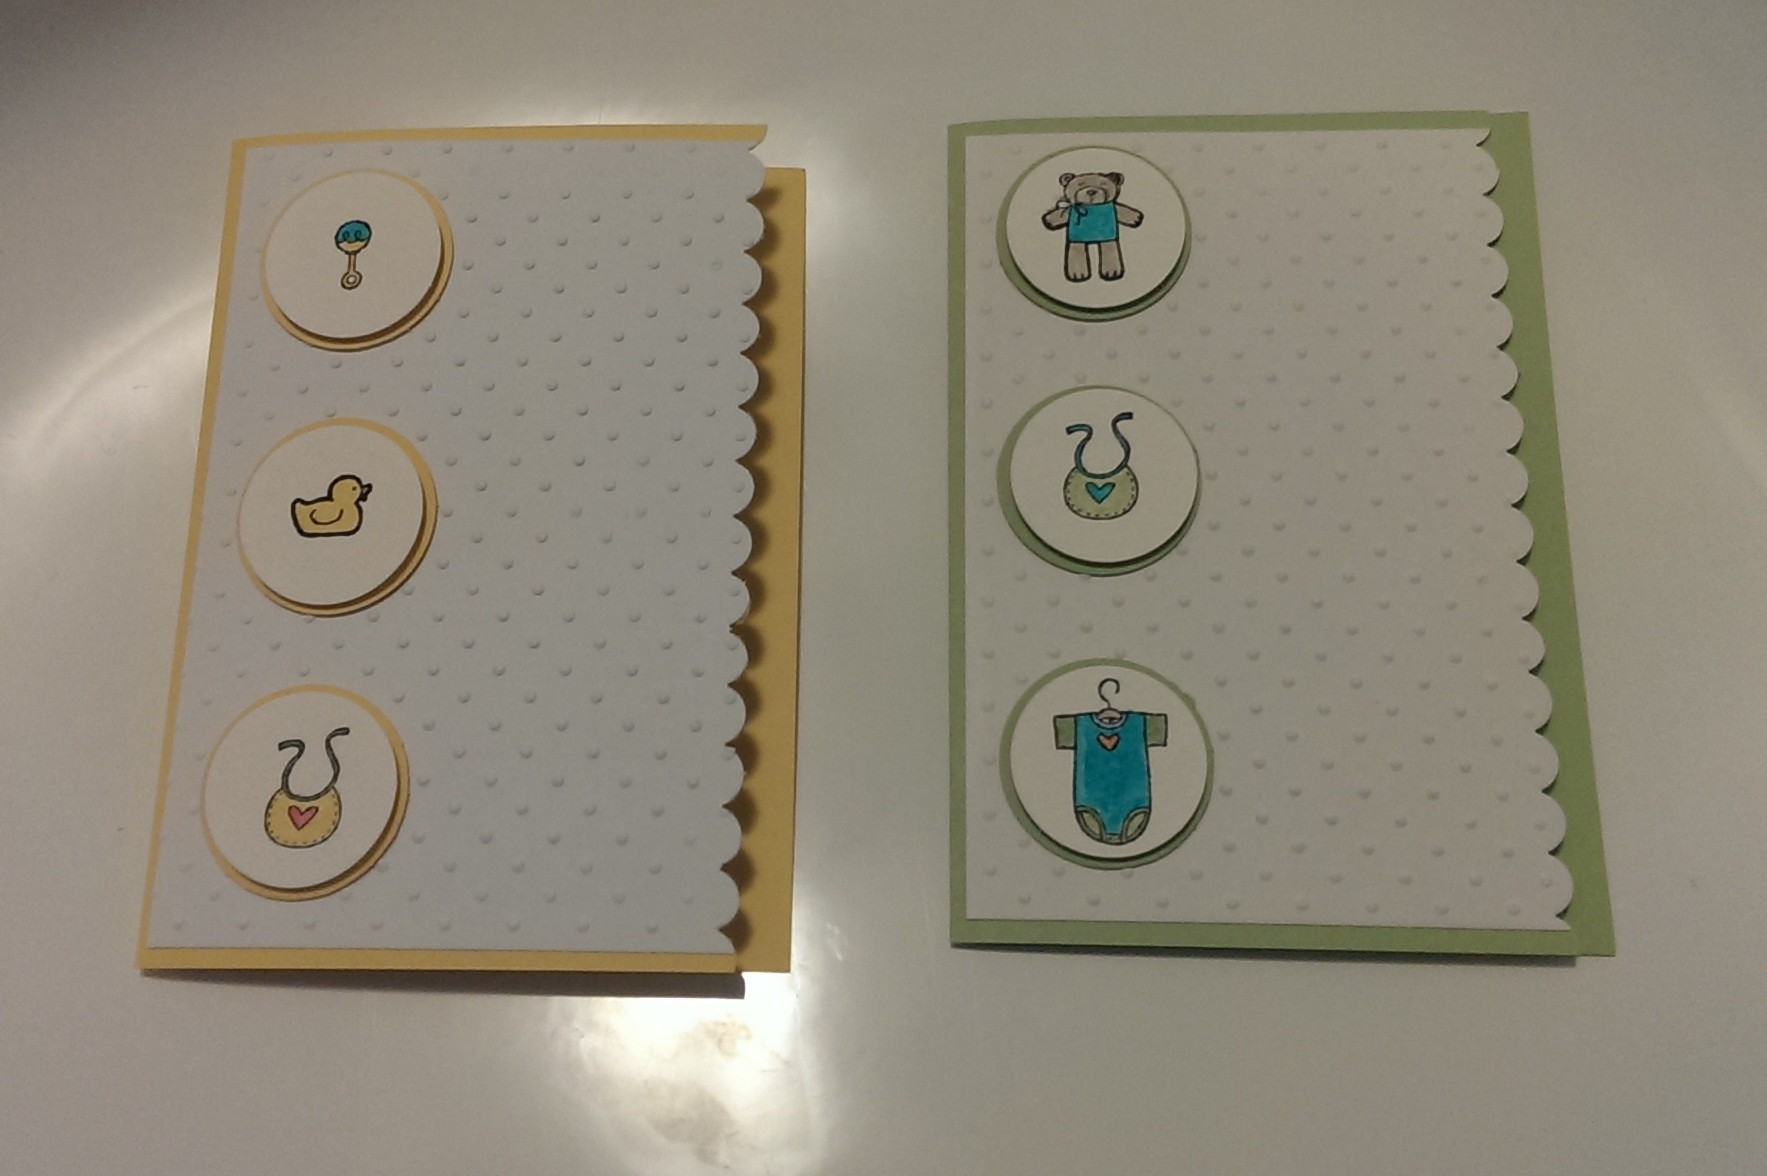
My mother is sitting here while I’m typing this and she says to say it’s so simple even your mother could make it! Here’s a picture of a card we made together this afternoon using the same technique:

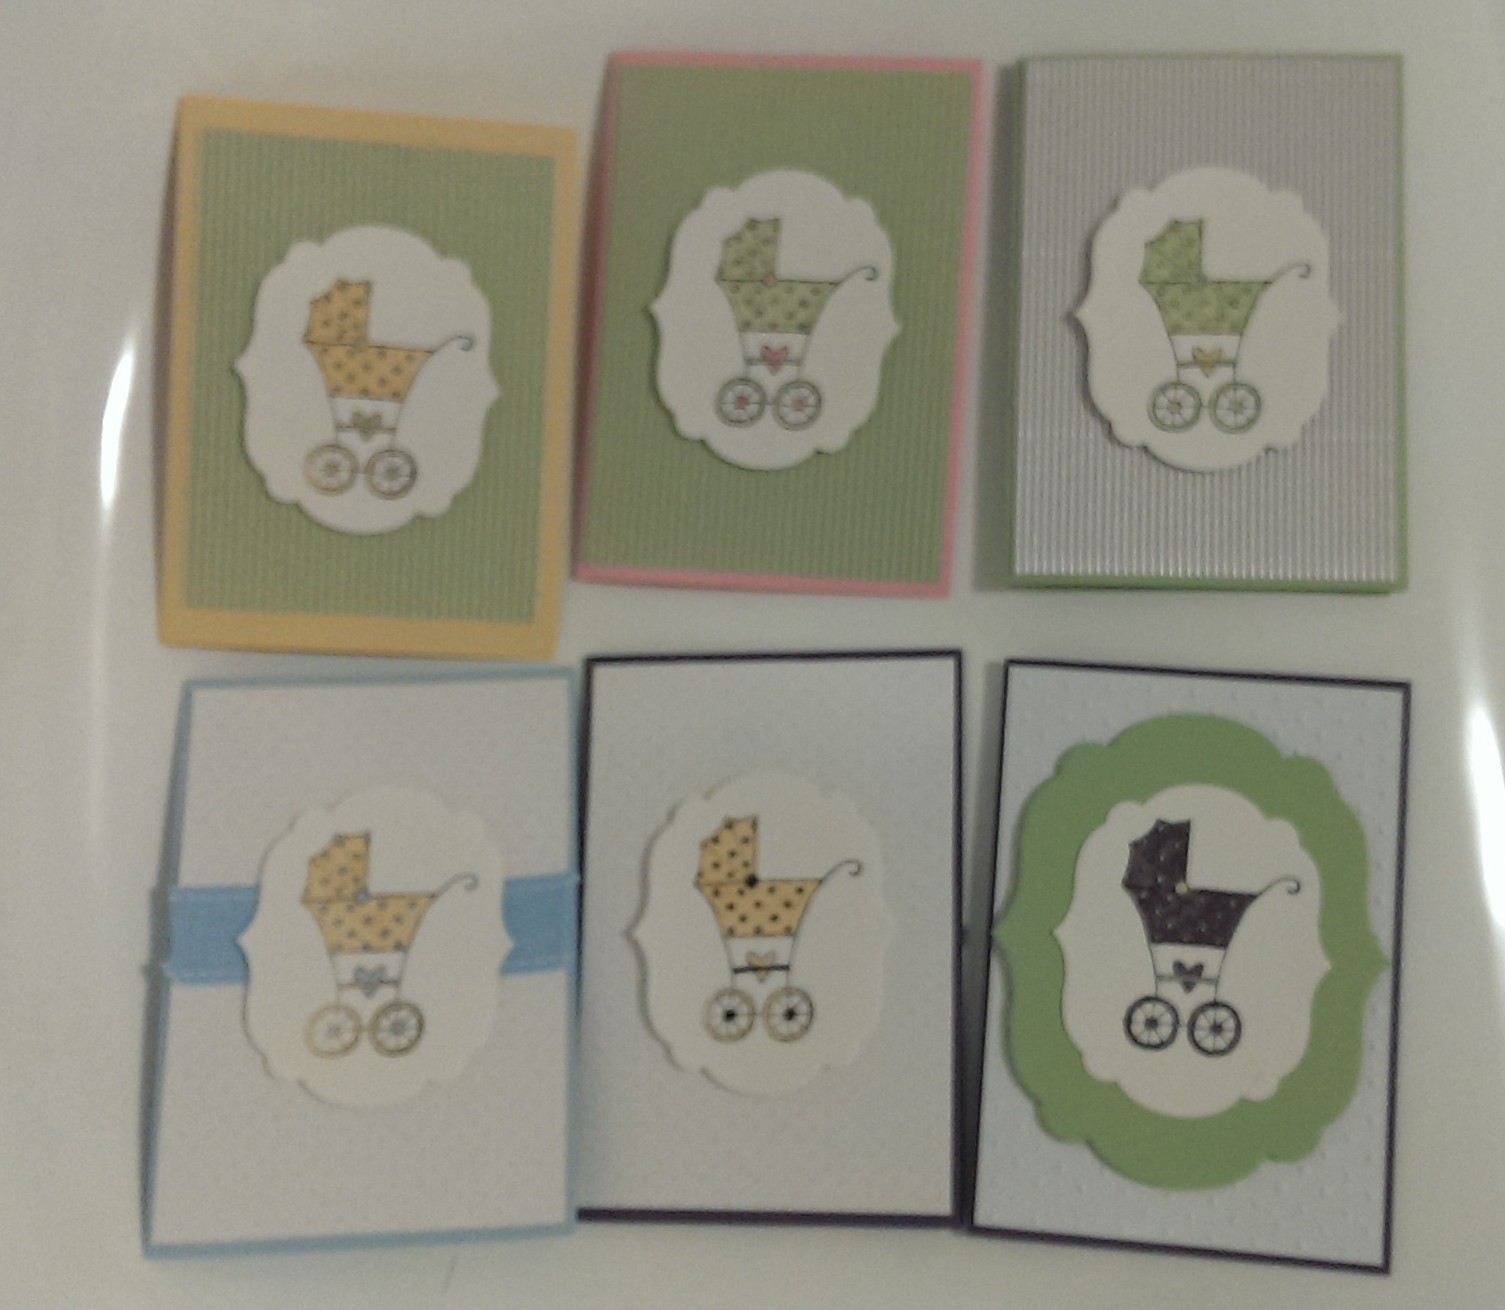
This technique also works with other punches. Tomorrow I will show you a couple of cards I’ve made using the same technique but a different punch.
I hope you enjoy making some of these.
Caro x

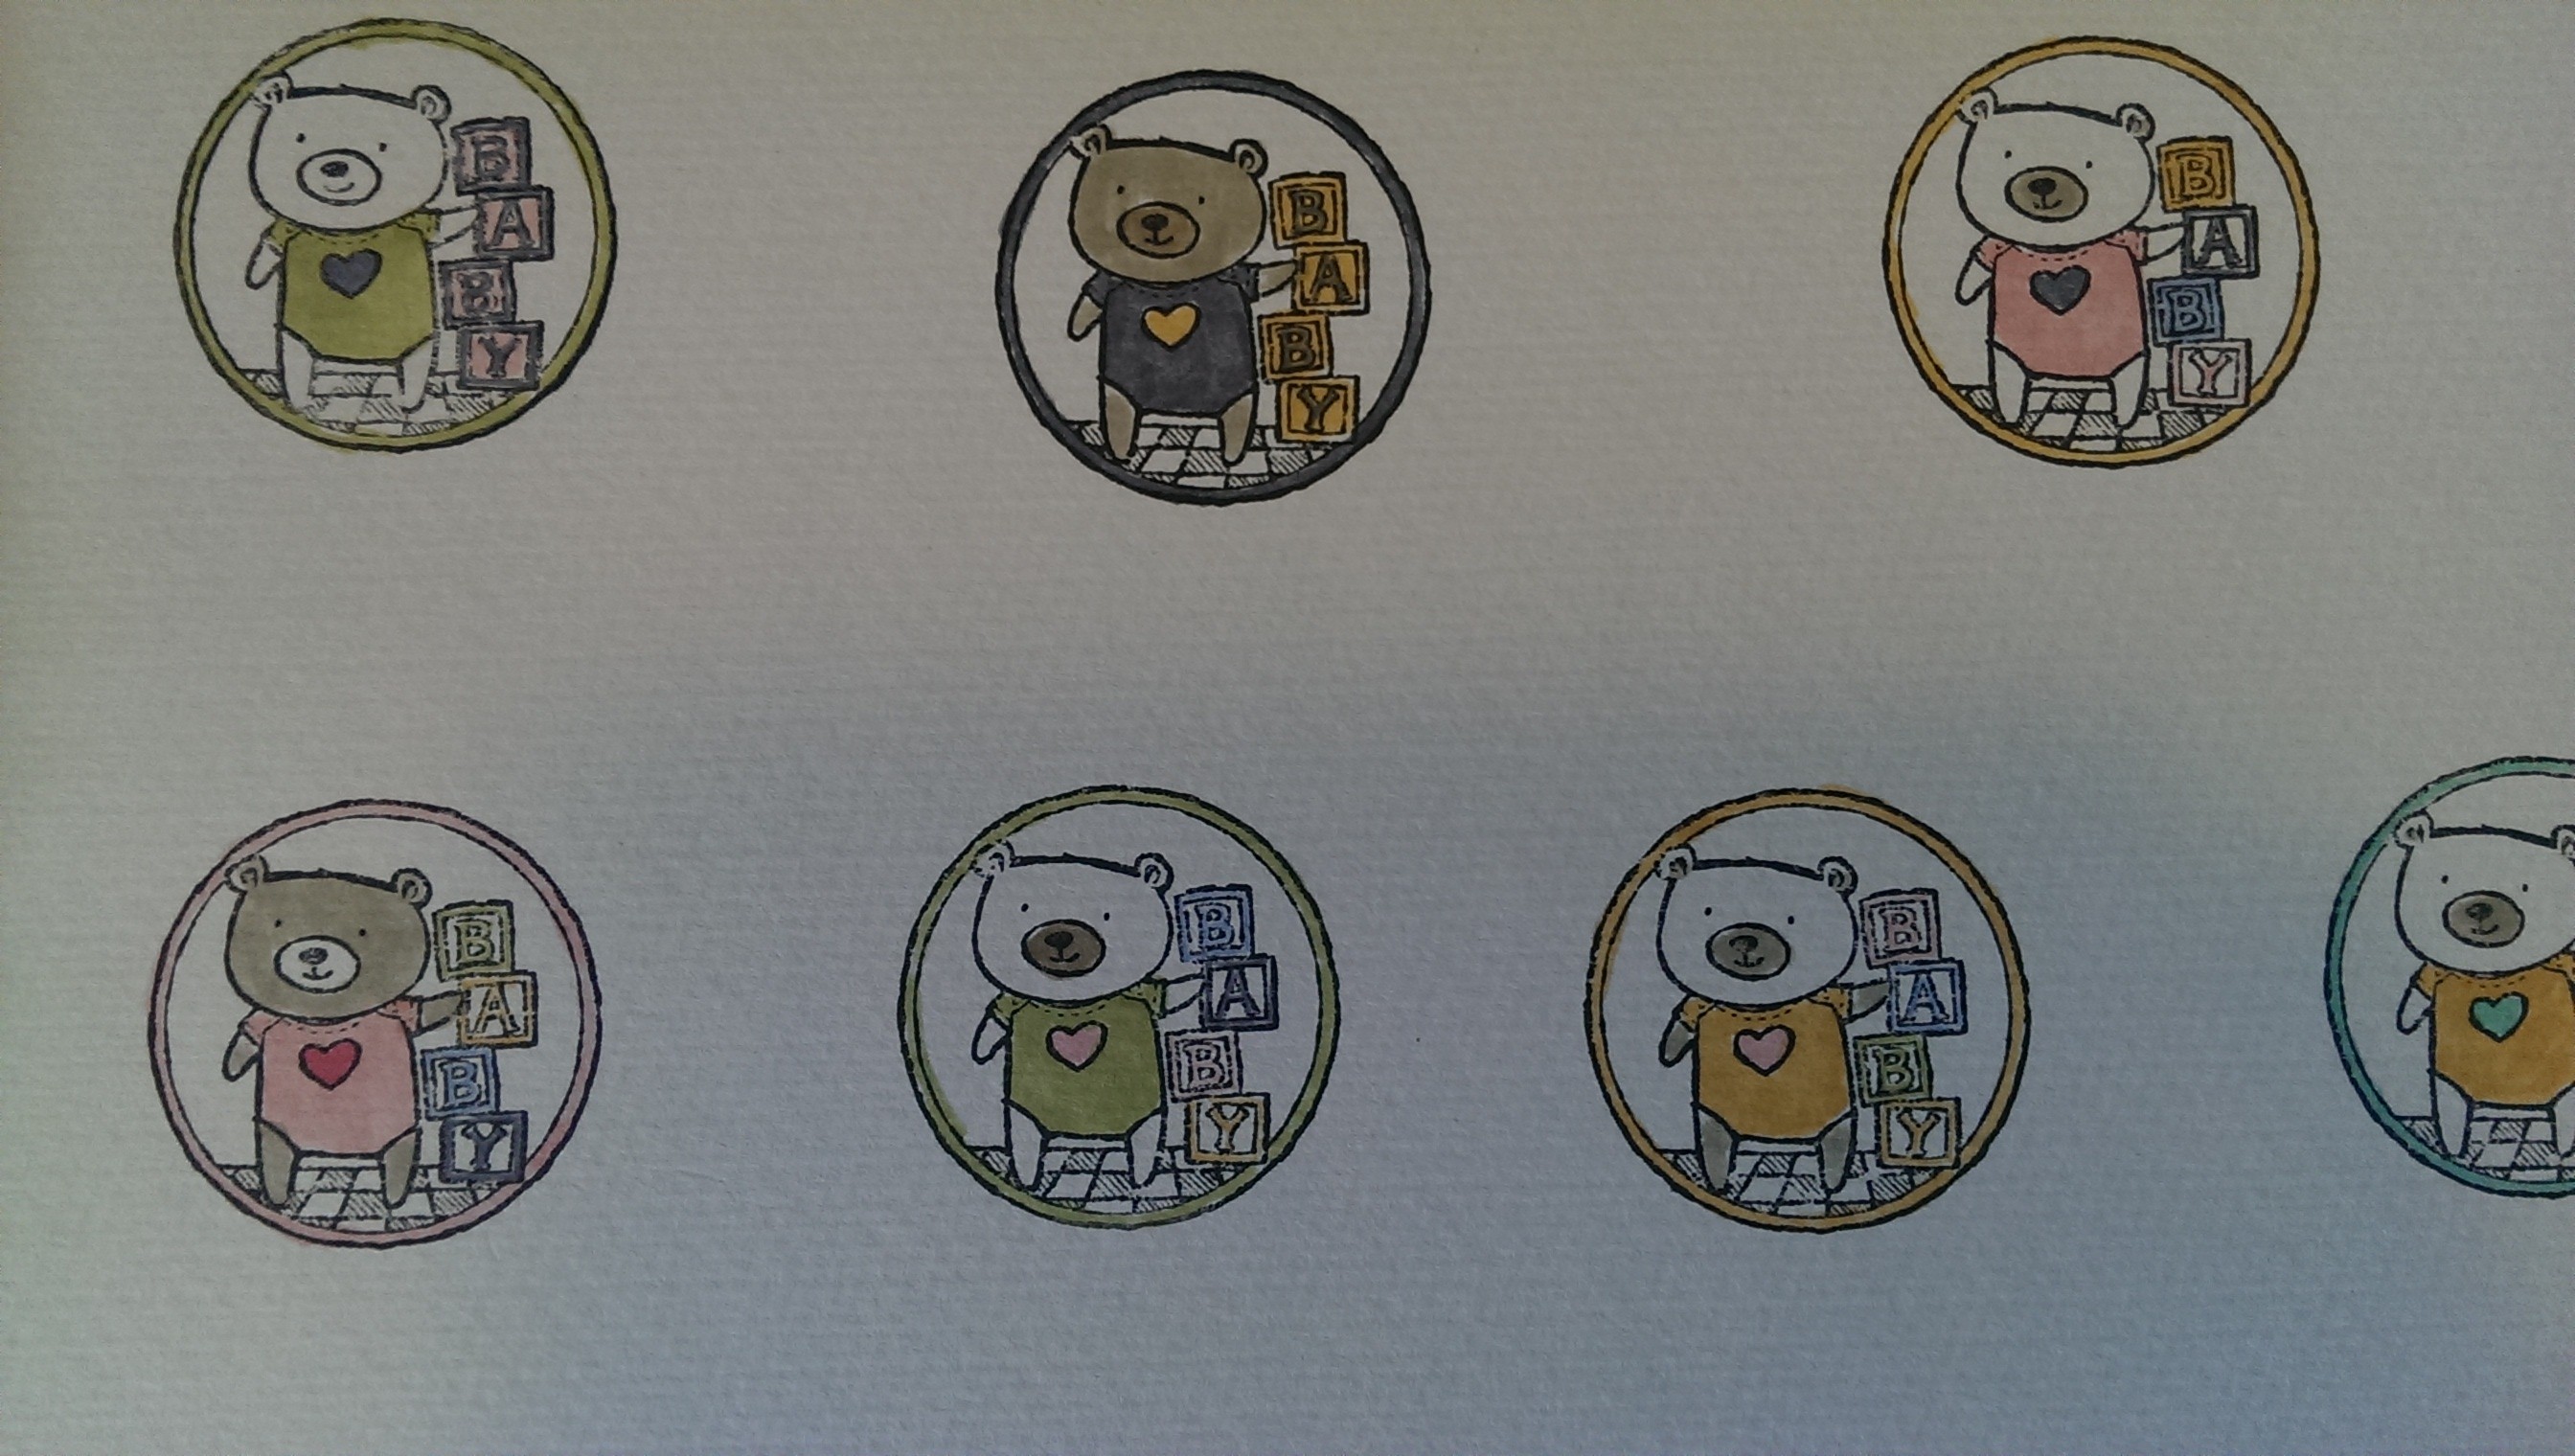
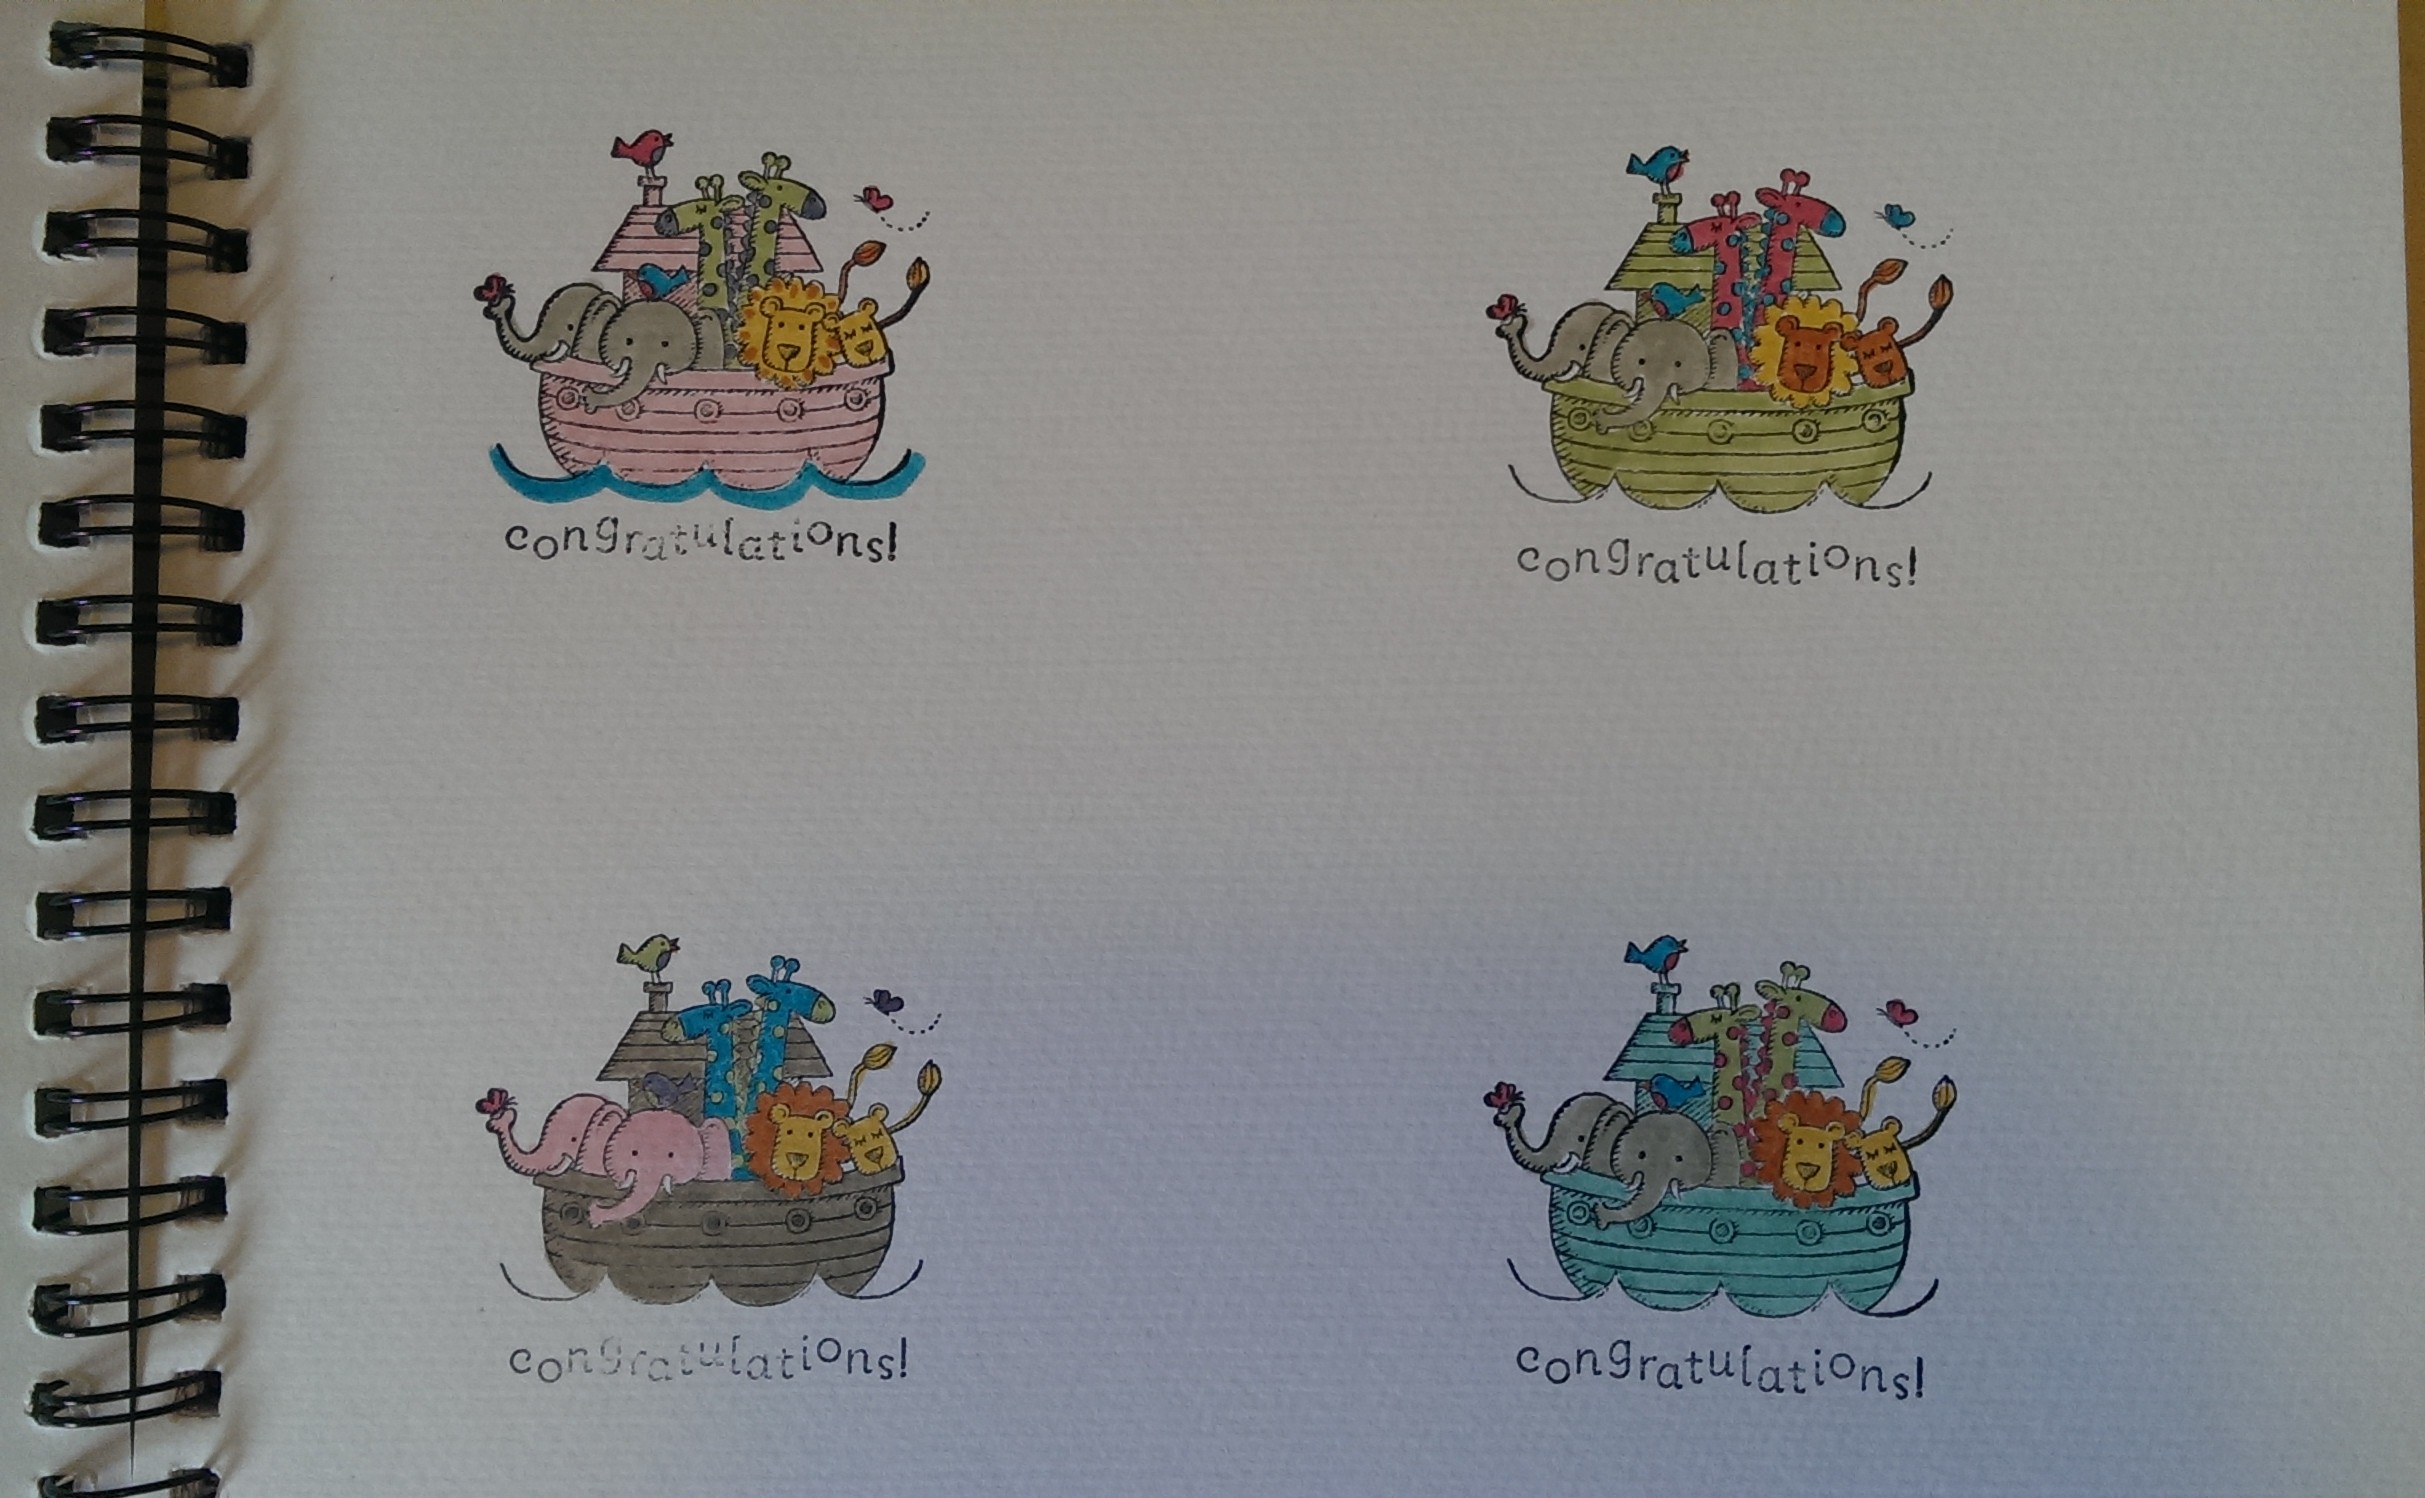
 Now I just need to figure out what to do with them – I’ll show you when I figure it out.