Happy New Year!
I’m back at my craft desk today after a nice break over Christmas and New Years. I am visiting a close friend who has had a new baby next week so wanted to make a special card.
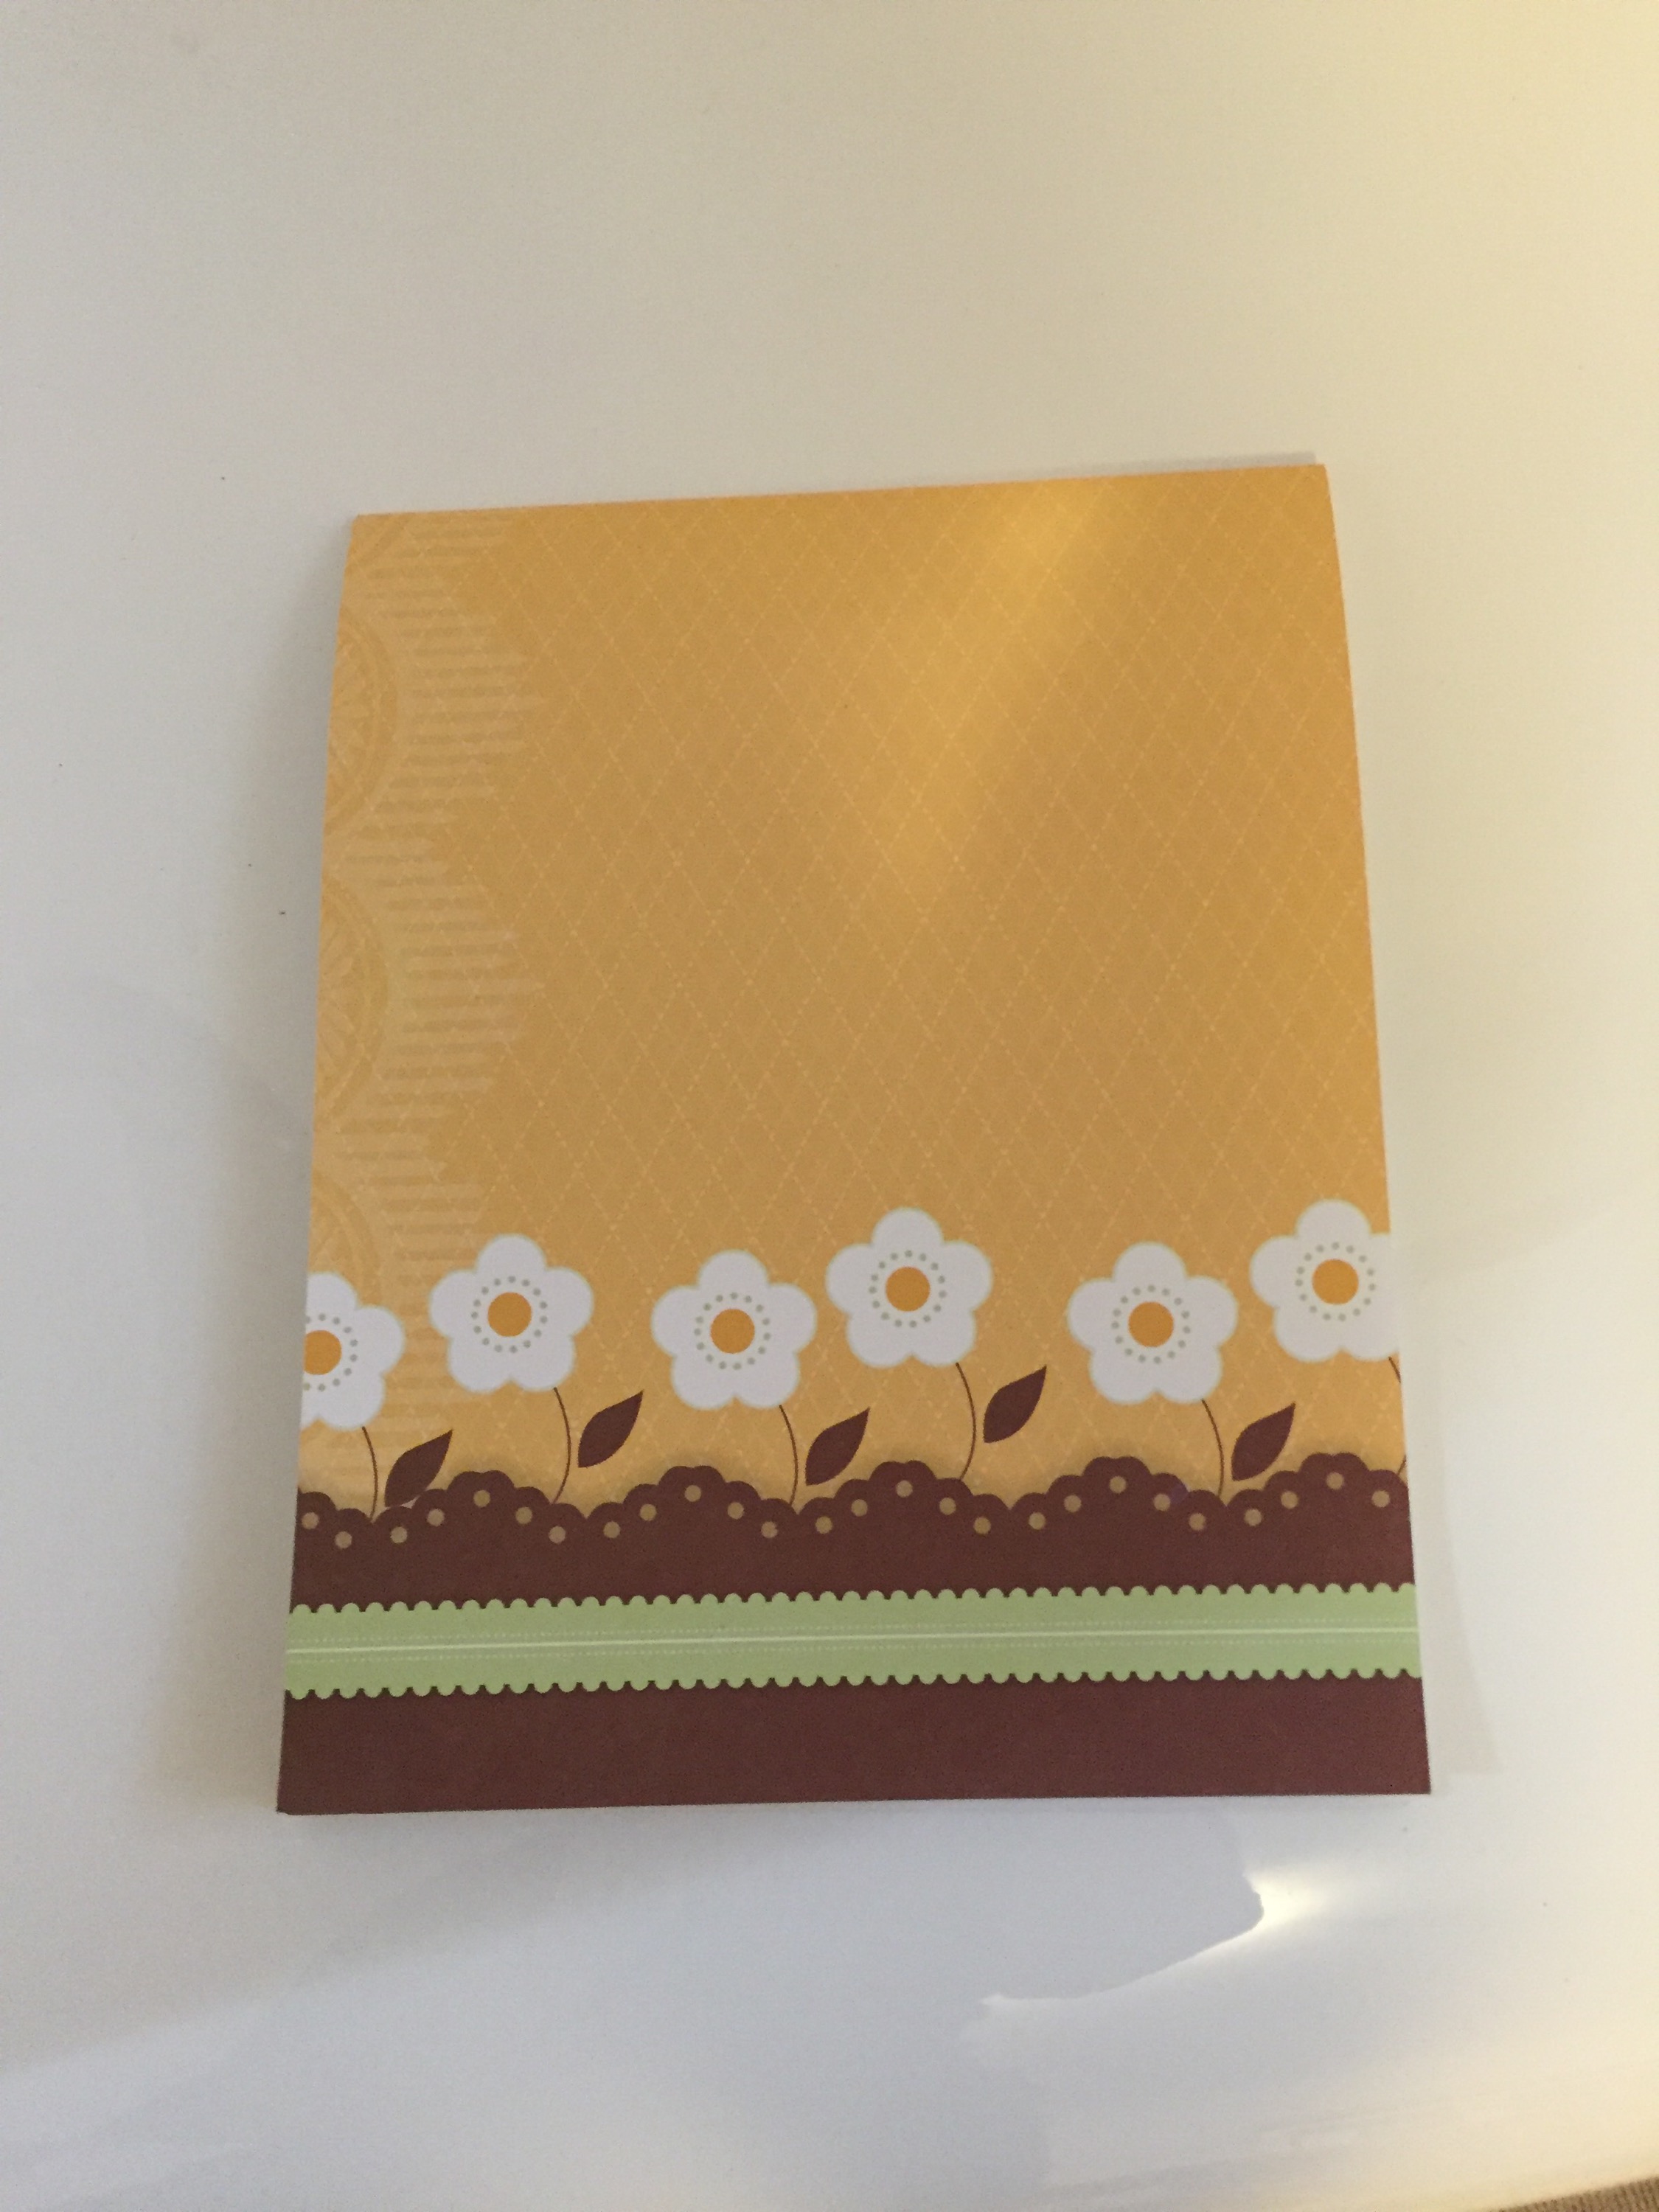
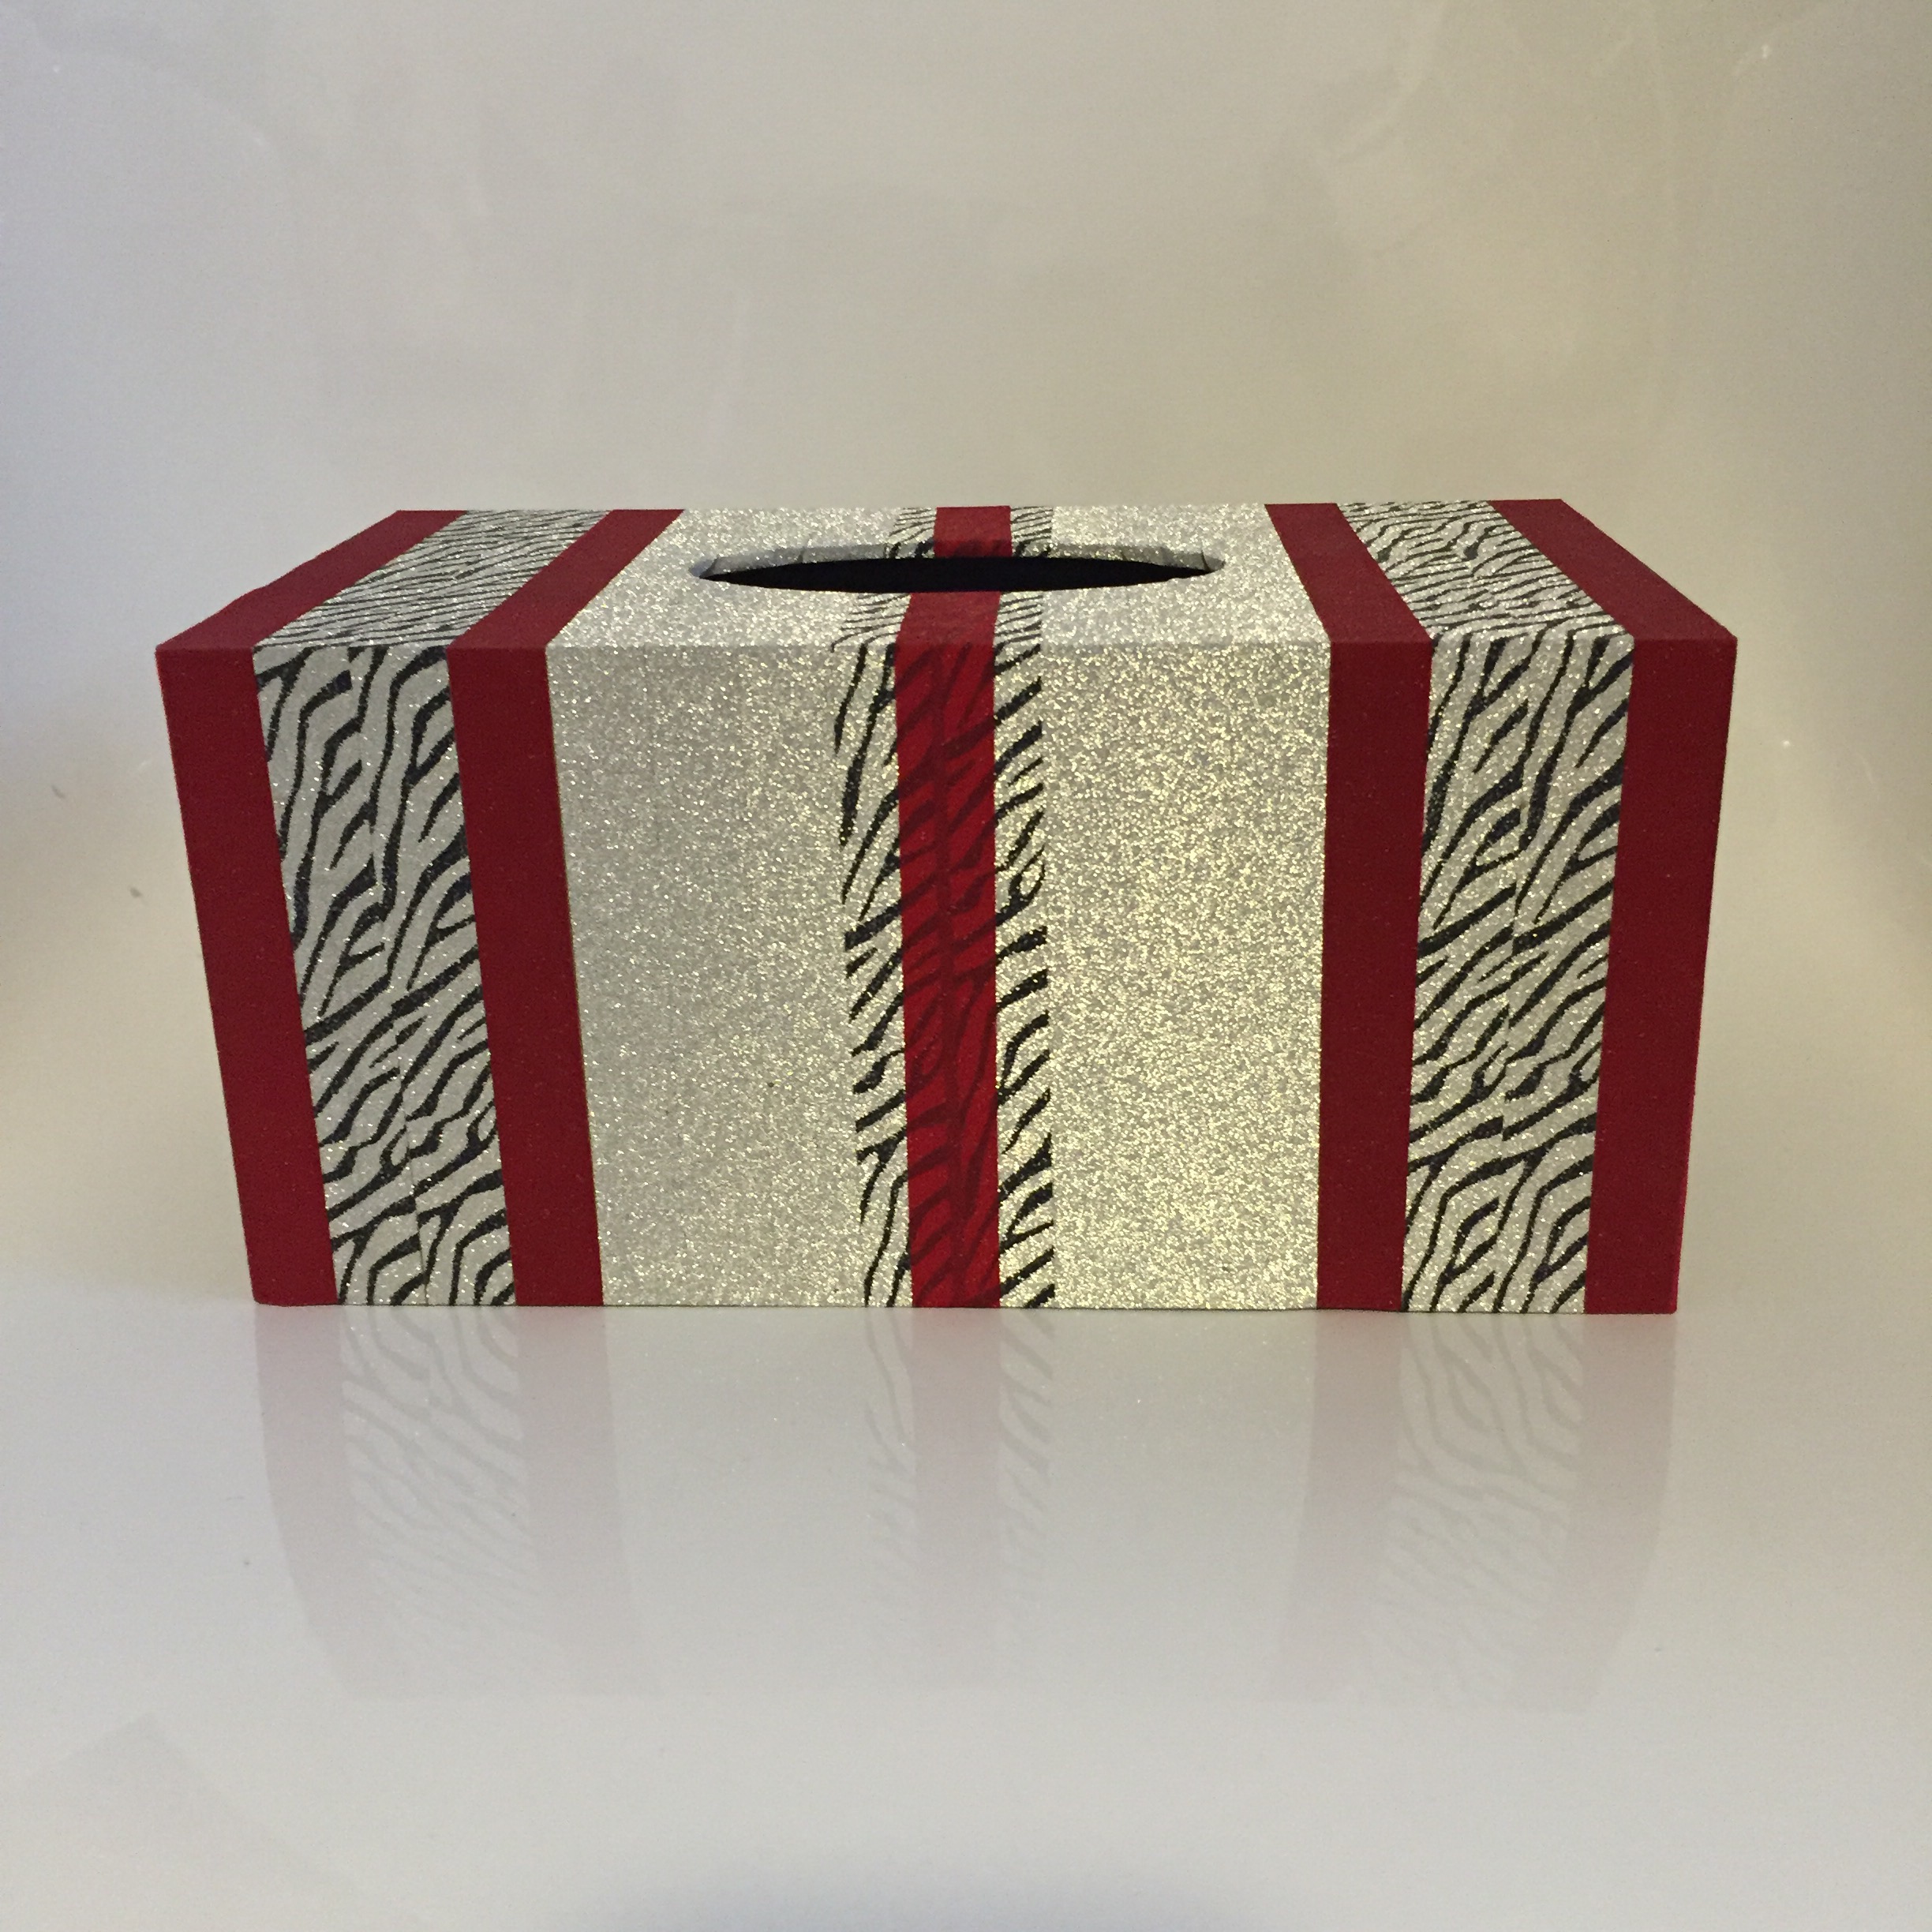
I have seen punch out baby drawer cards all over the Internet and have been itching to make one. So here’s my version:
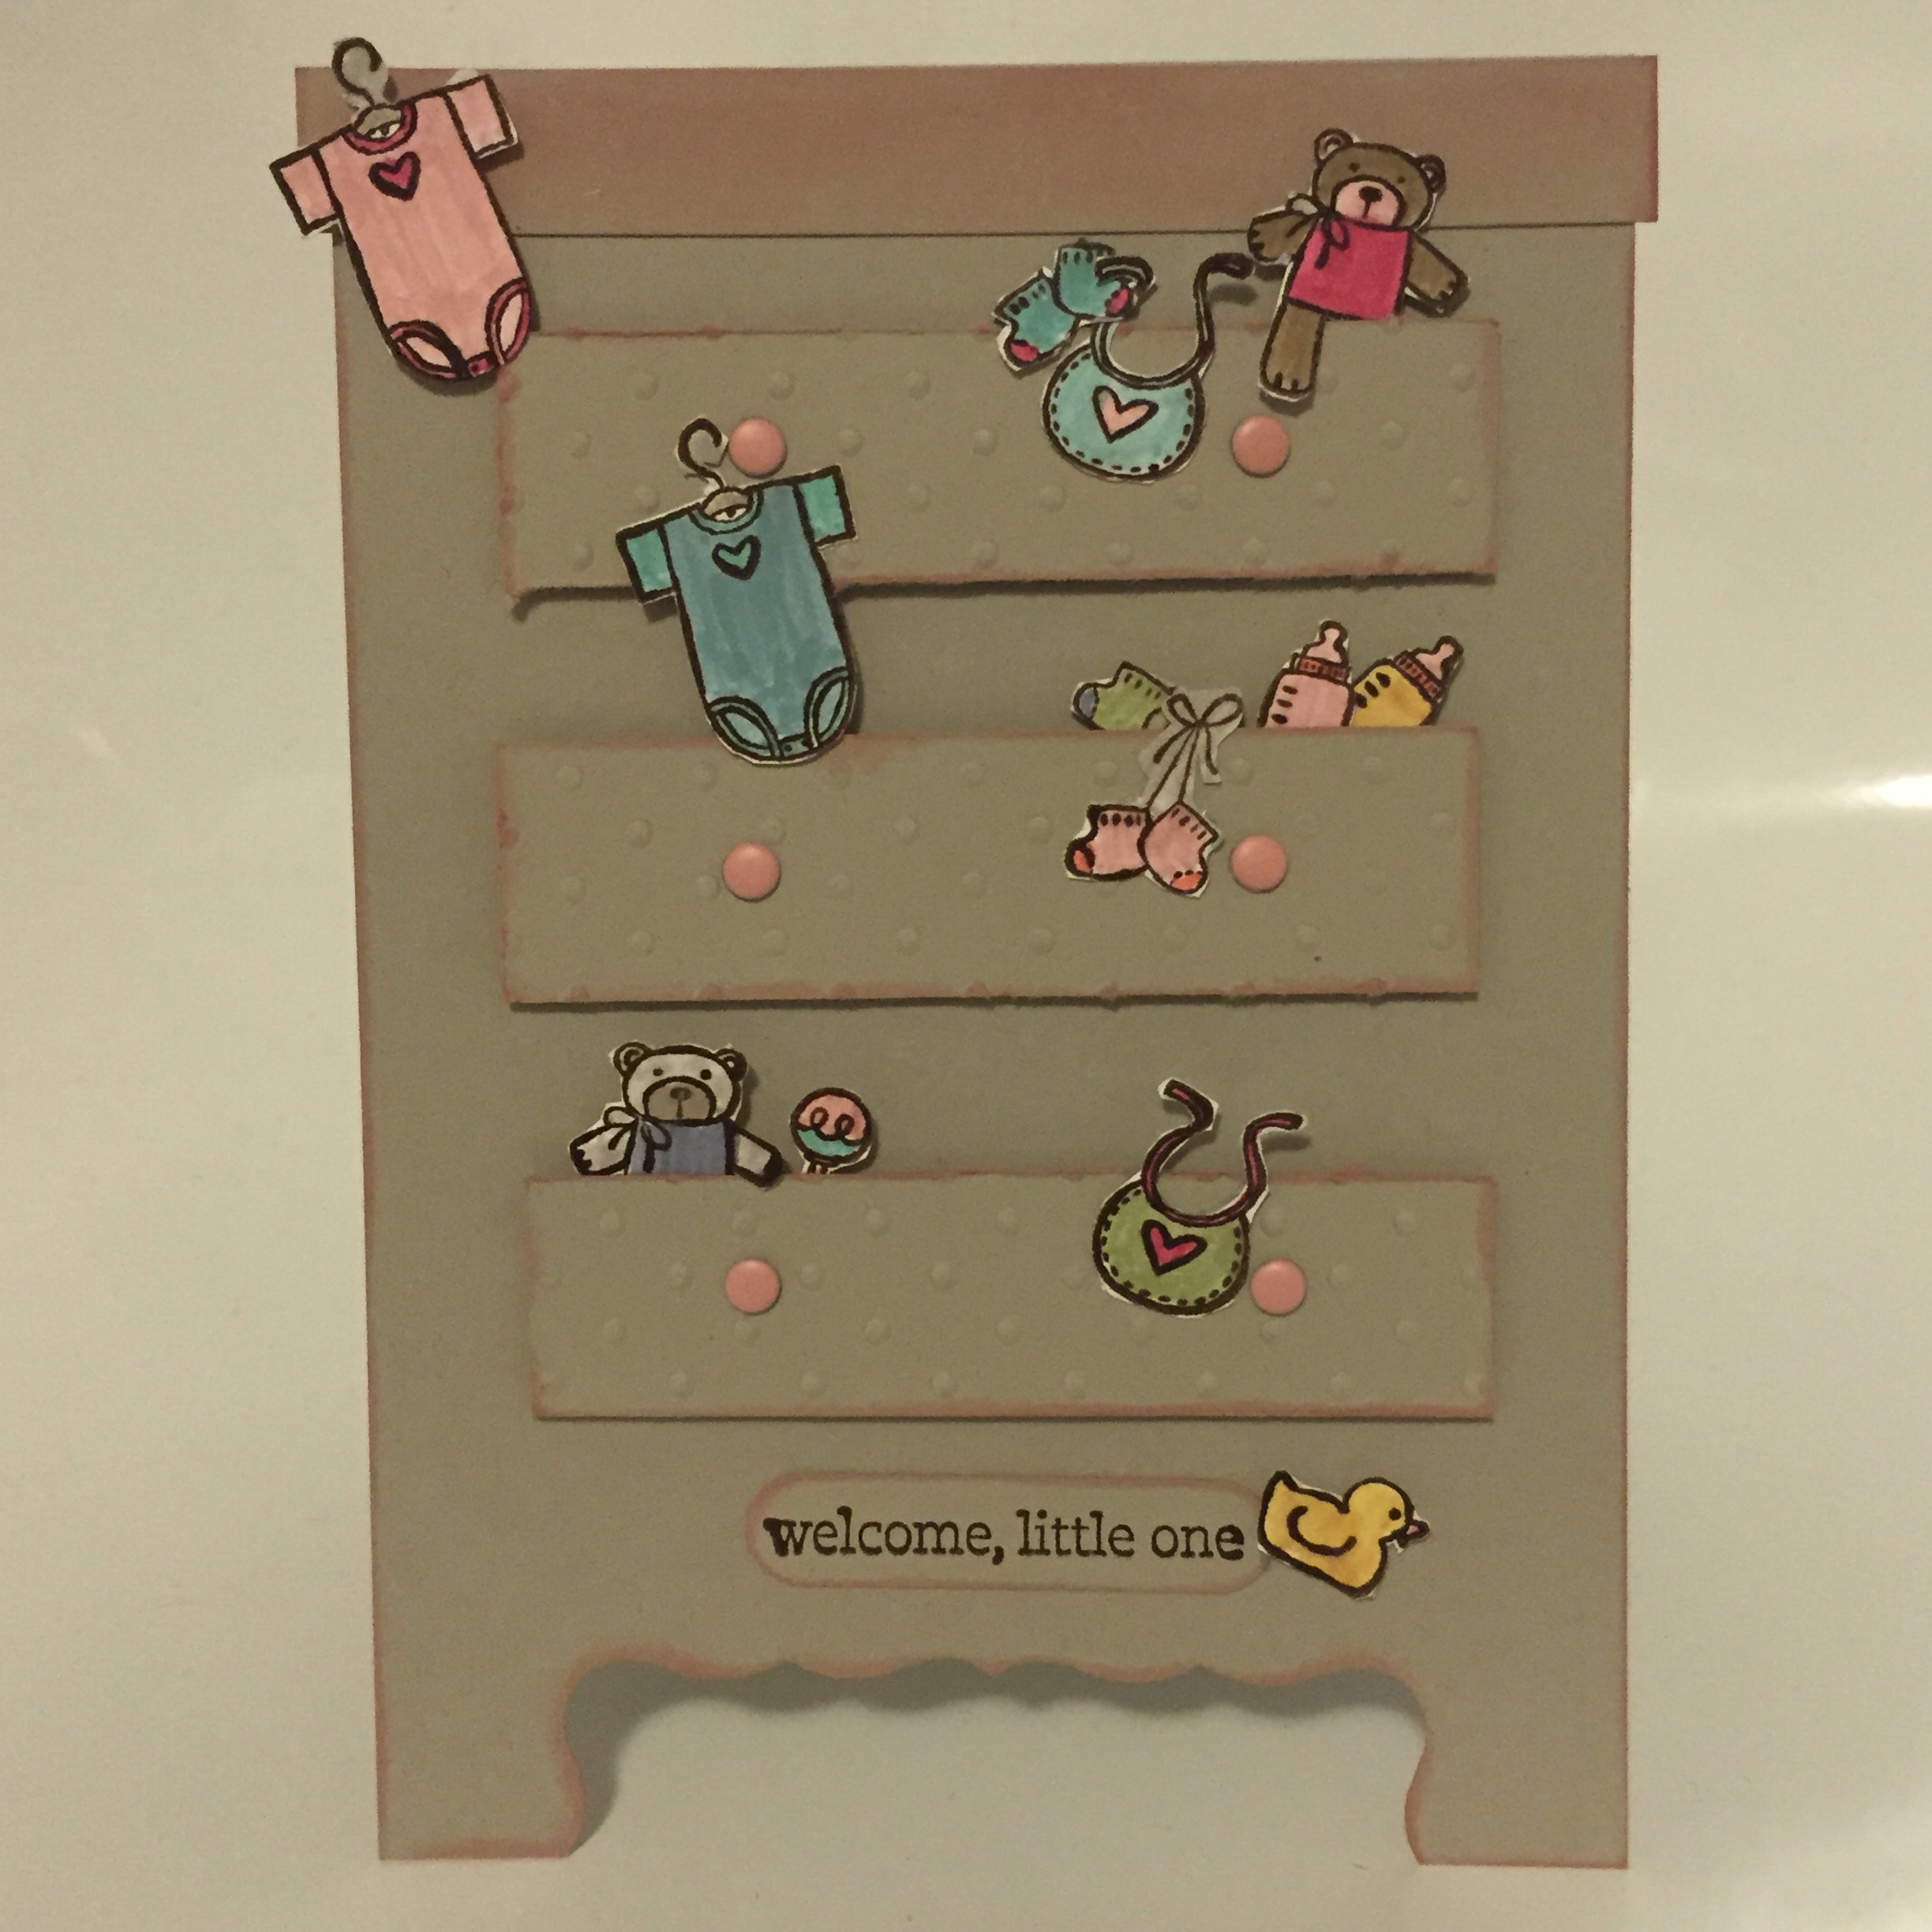
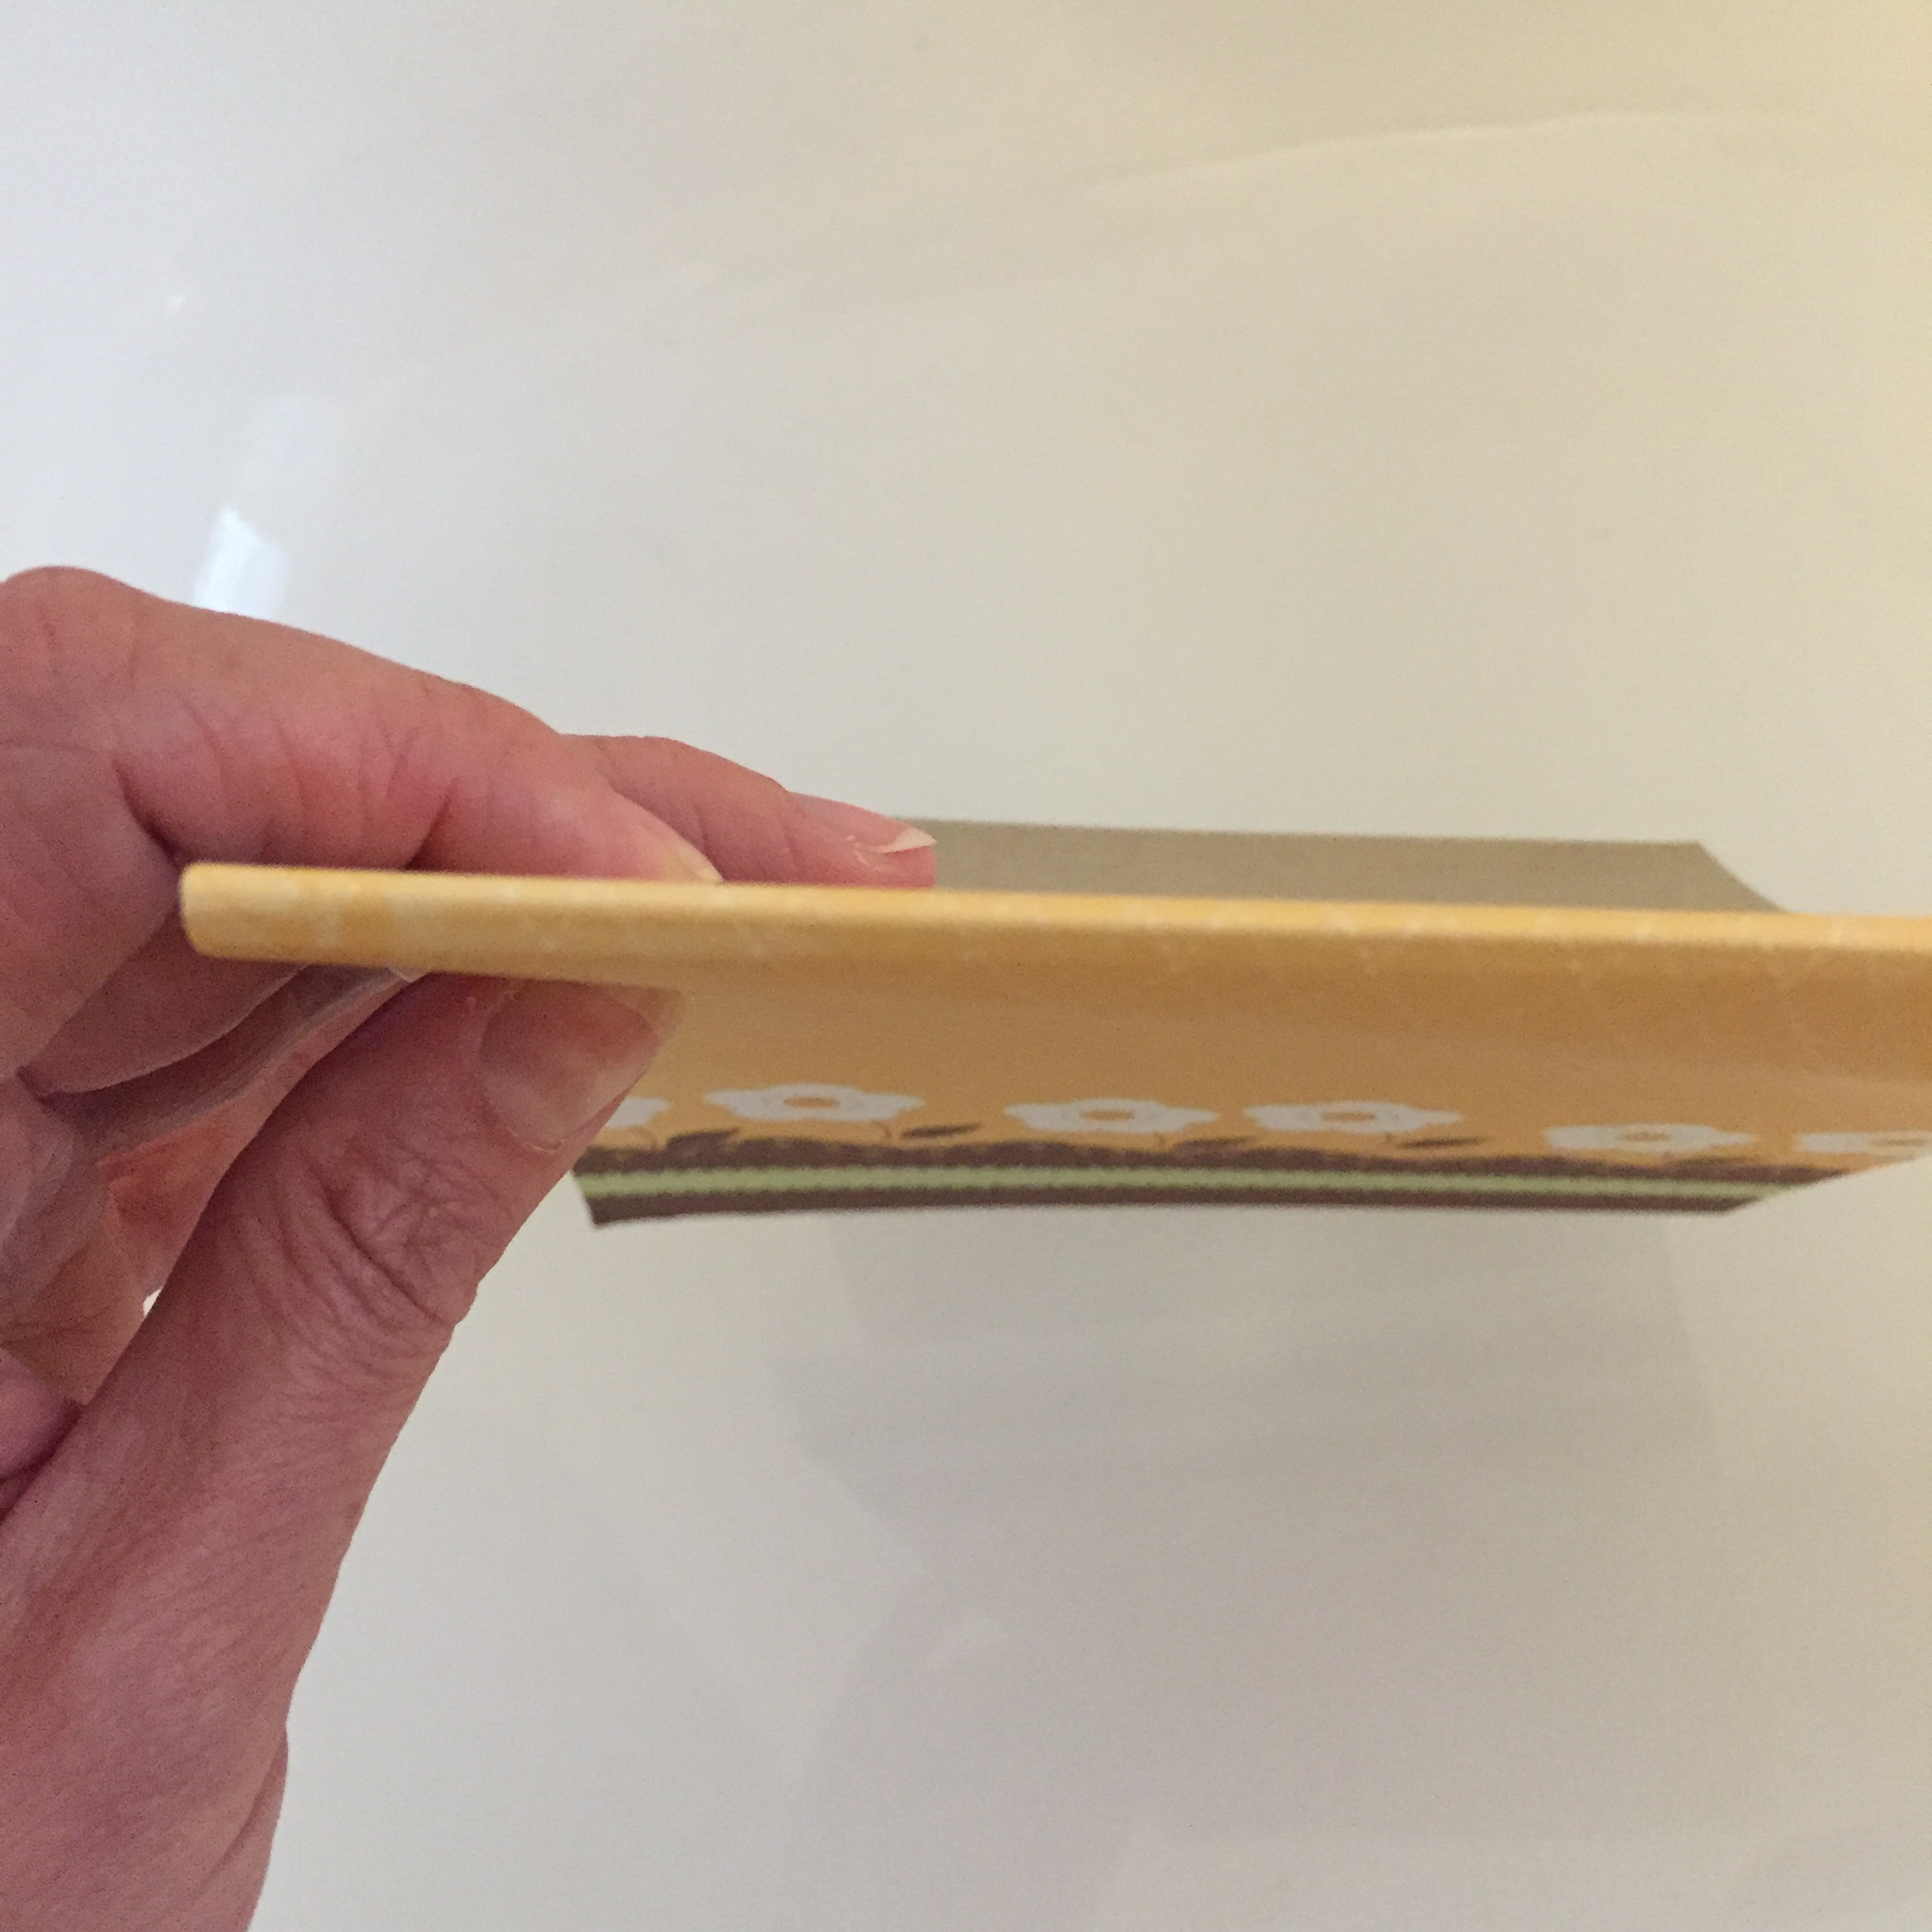
I used a top gold card blank (cut an A4 sheet in half vertically at 10.5cm) and then cut the shape from the bottom with 2 cuts of the curly label punch. The drawers are 8cm x 2cm and embossed with my spotty folder for added texture. The top of the drawers is 11cm x roughly 1.5cm (I just used up a scrap).
I used Sahara Sand card stock and sponged the edges with Blushing Bride.
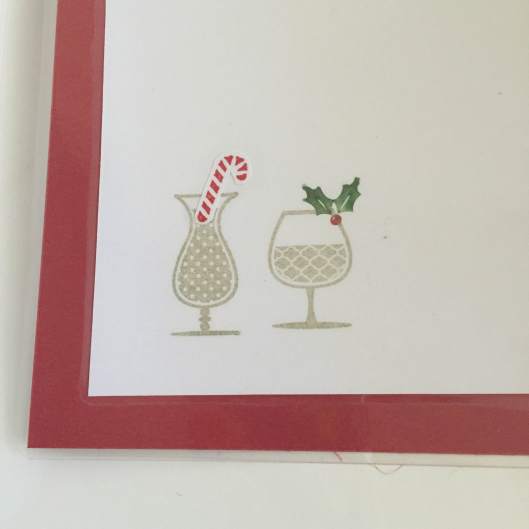
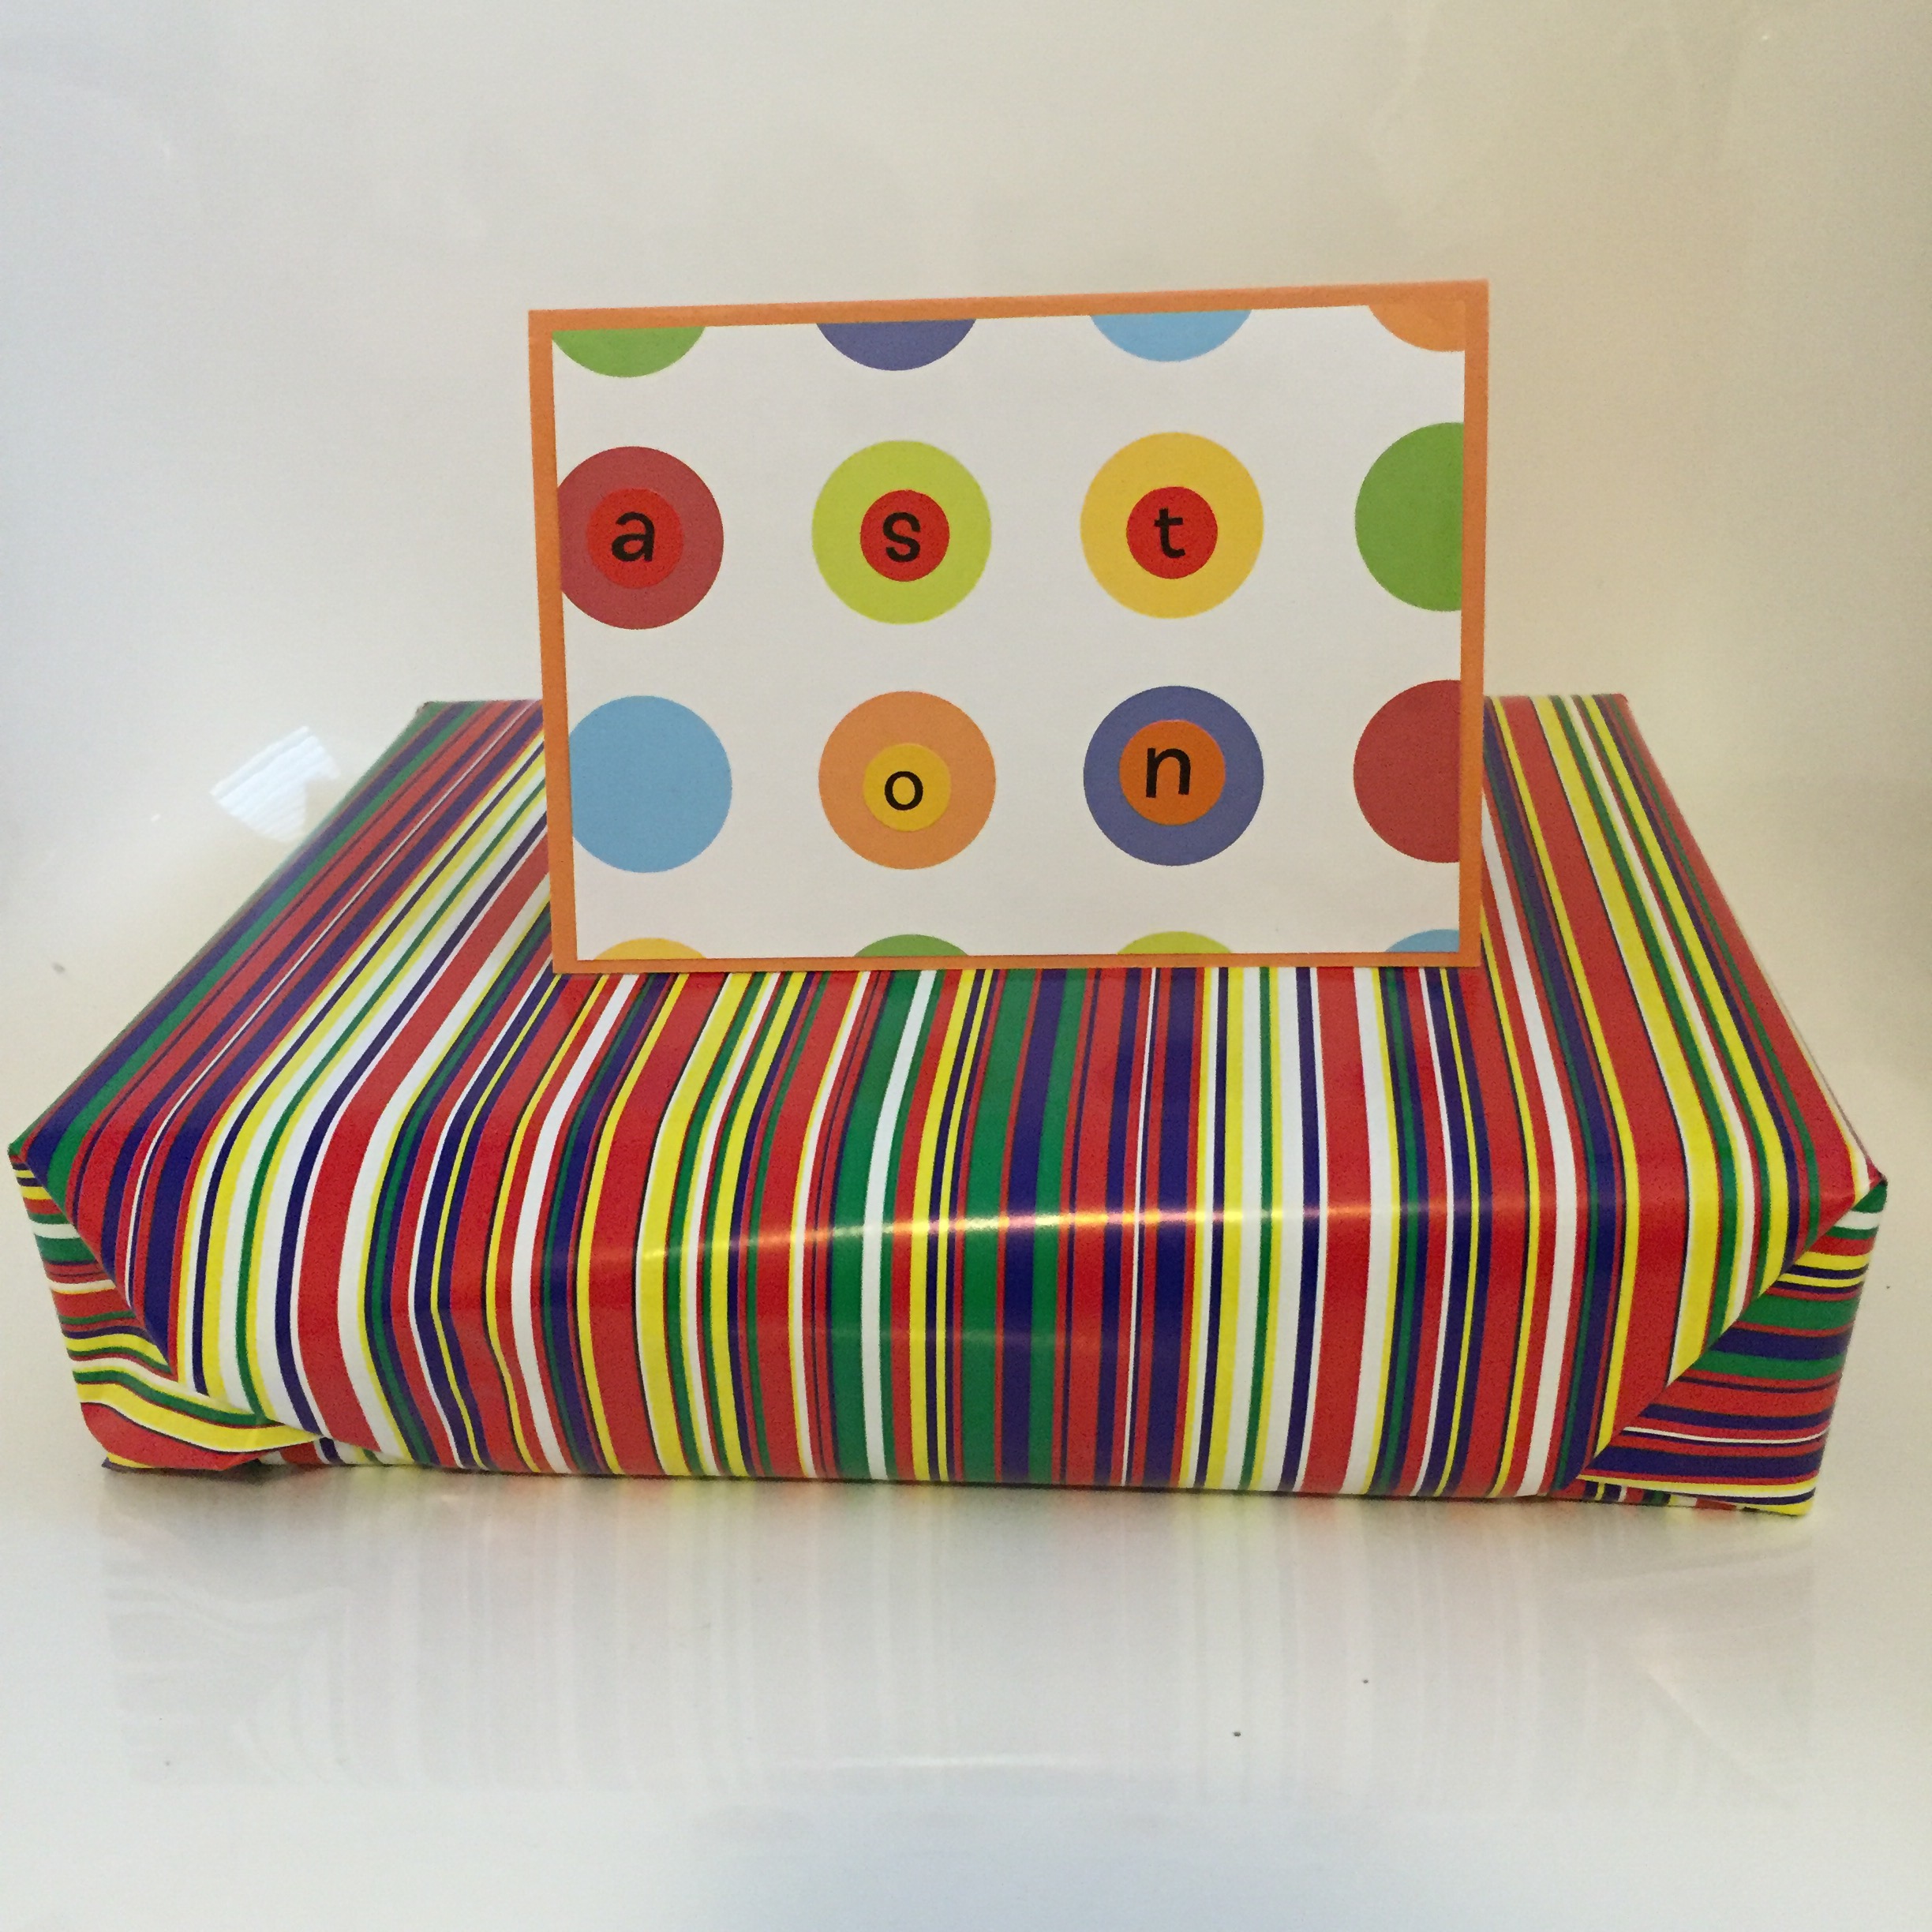
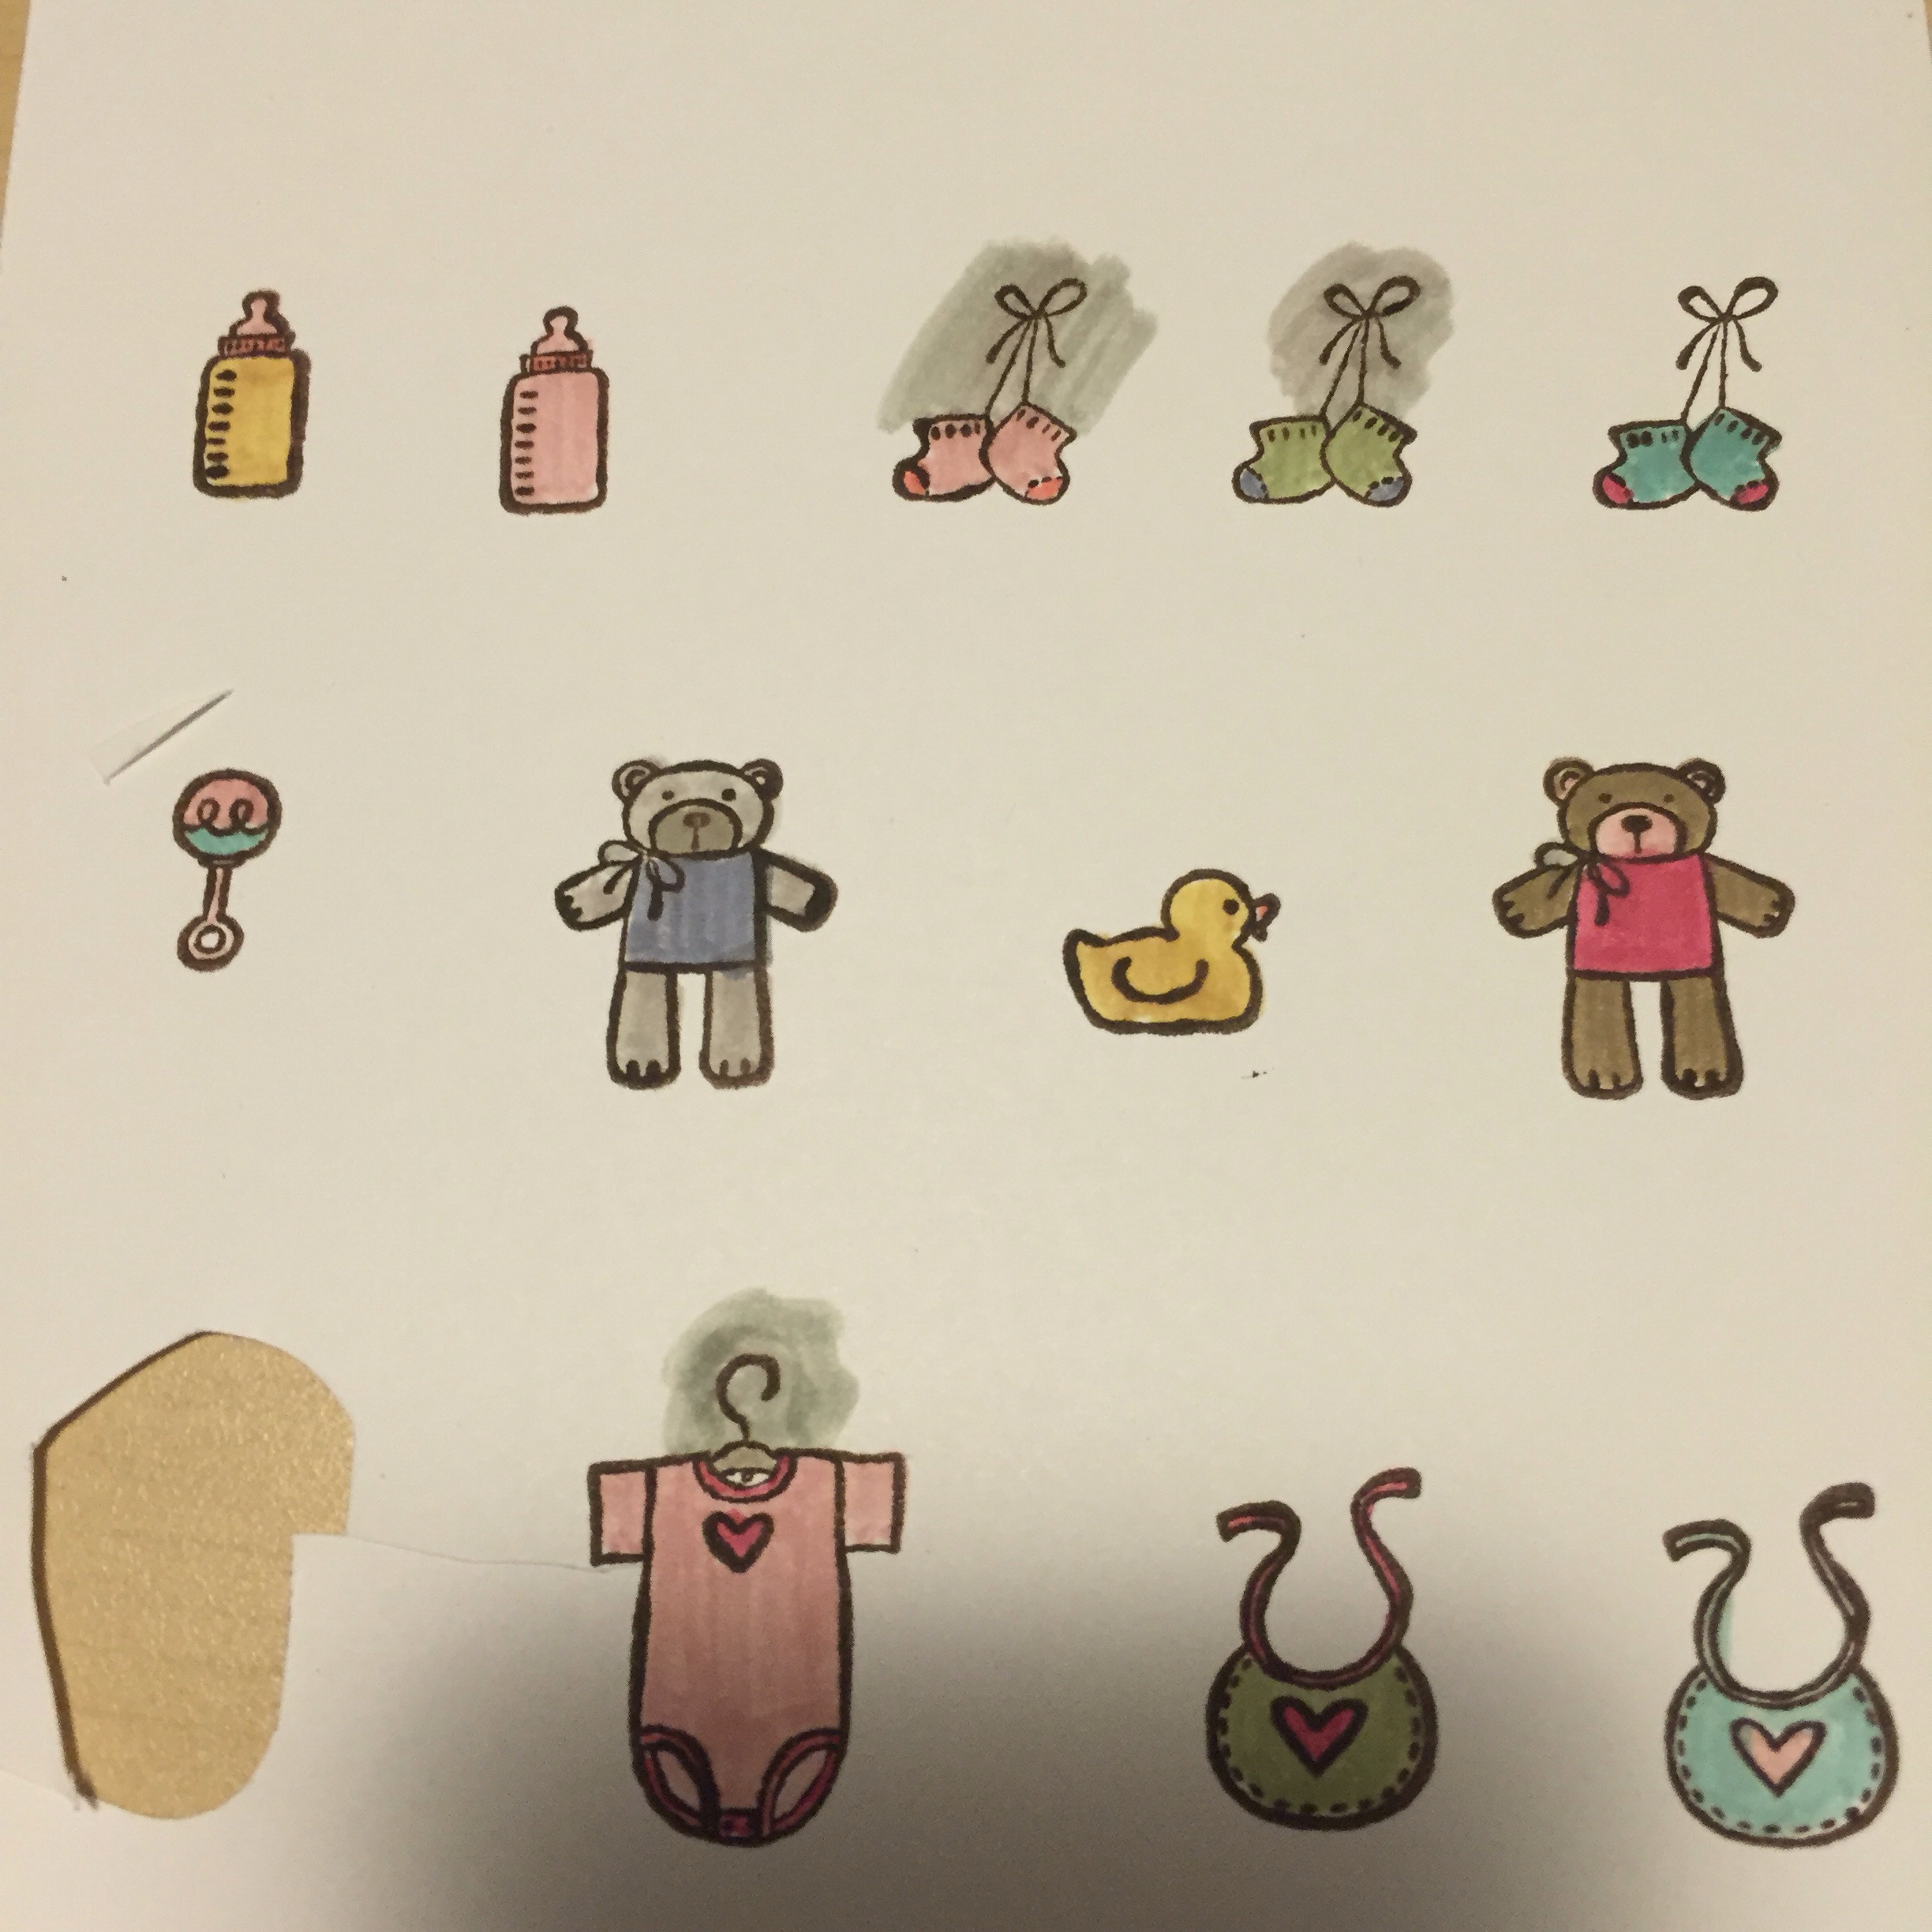
The images are from the Baby Bundle set and the sentiment is from Nursery Necessities (both retired Stampin’ Up! but there are lots of cute baby sets in the current catalogue that would work just as well).
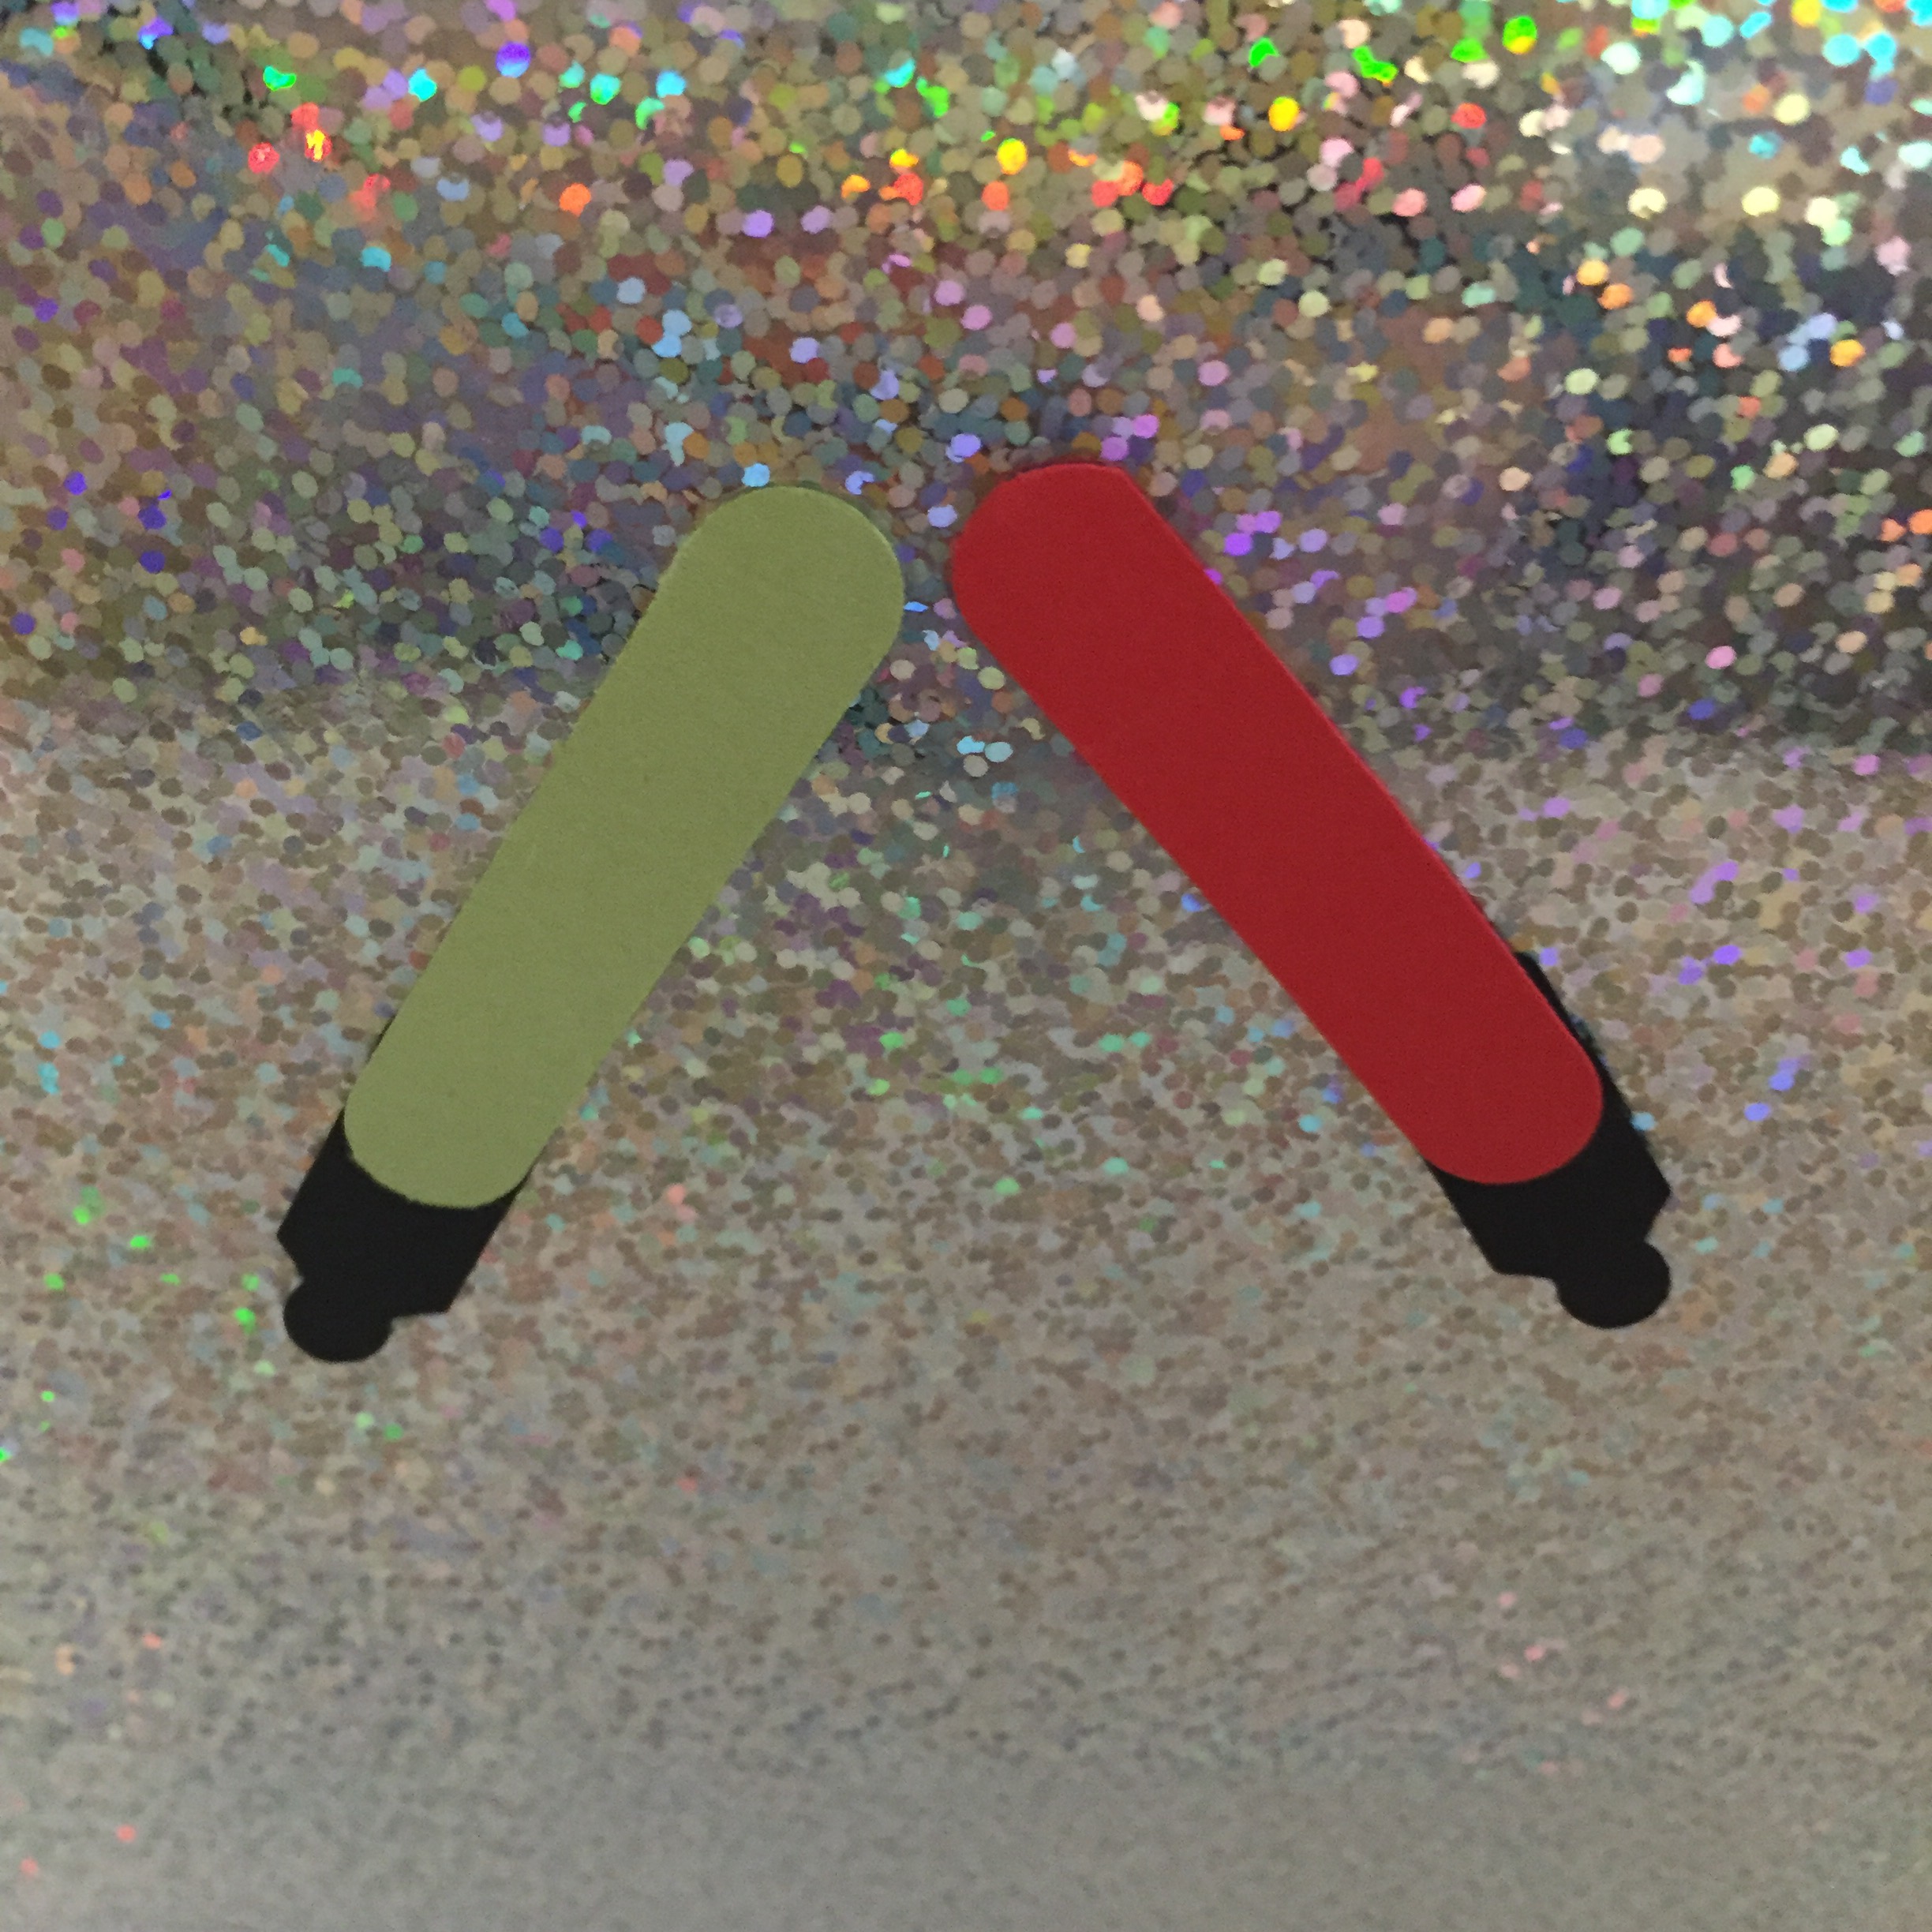
I cut out all the shapes. One tip for cutting really tiny shapes like the curve of the coat hanger – if you have a marker the same colour as your card stock just colour around so it’s not obvious if you leave a bit for added strength:
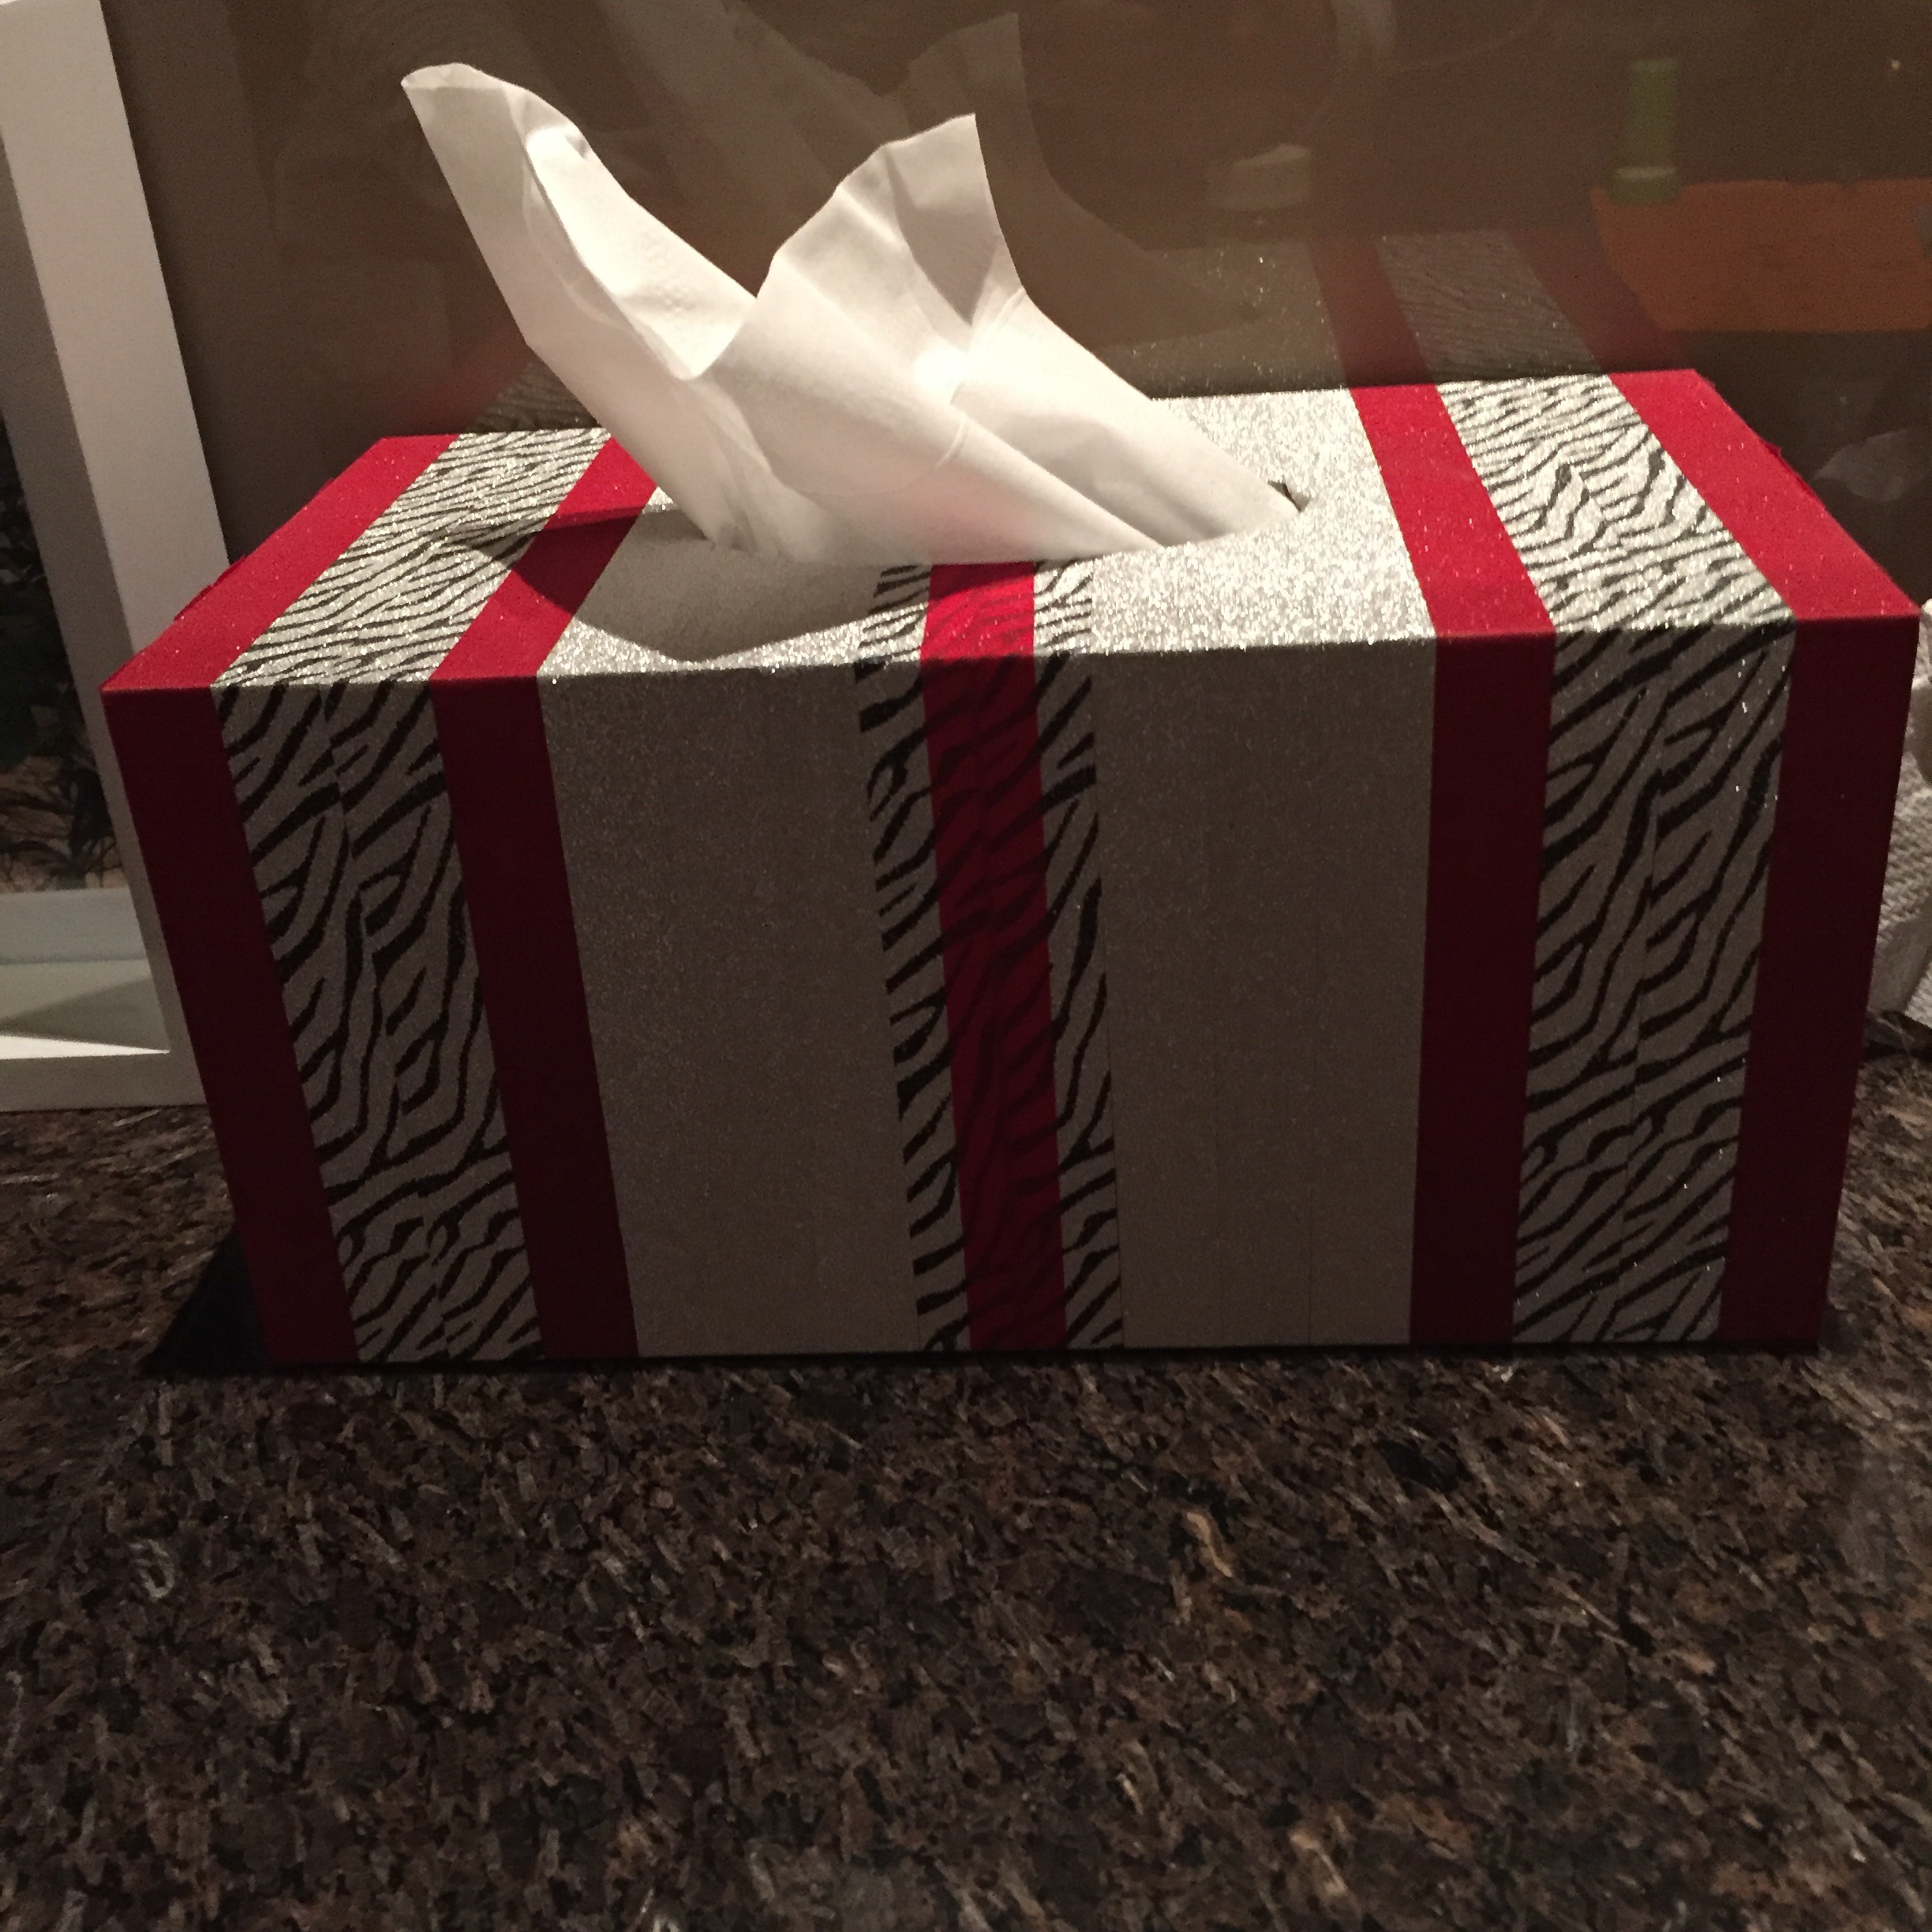
It’s a good idea to position the clothes etc before you stick down the drawers – I stuck a few behind the drawers:

(I used dimensionals to stick on the drawers and mini glue dots for the fiddly little cut outs).
I hope you enjoyed that card – and hopefully my friend will too!!!
Thanks for reading.
Caro