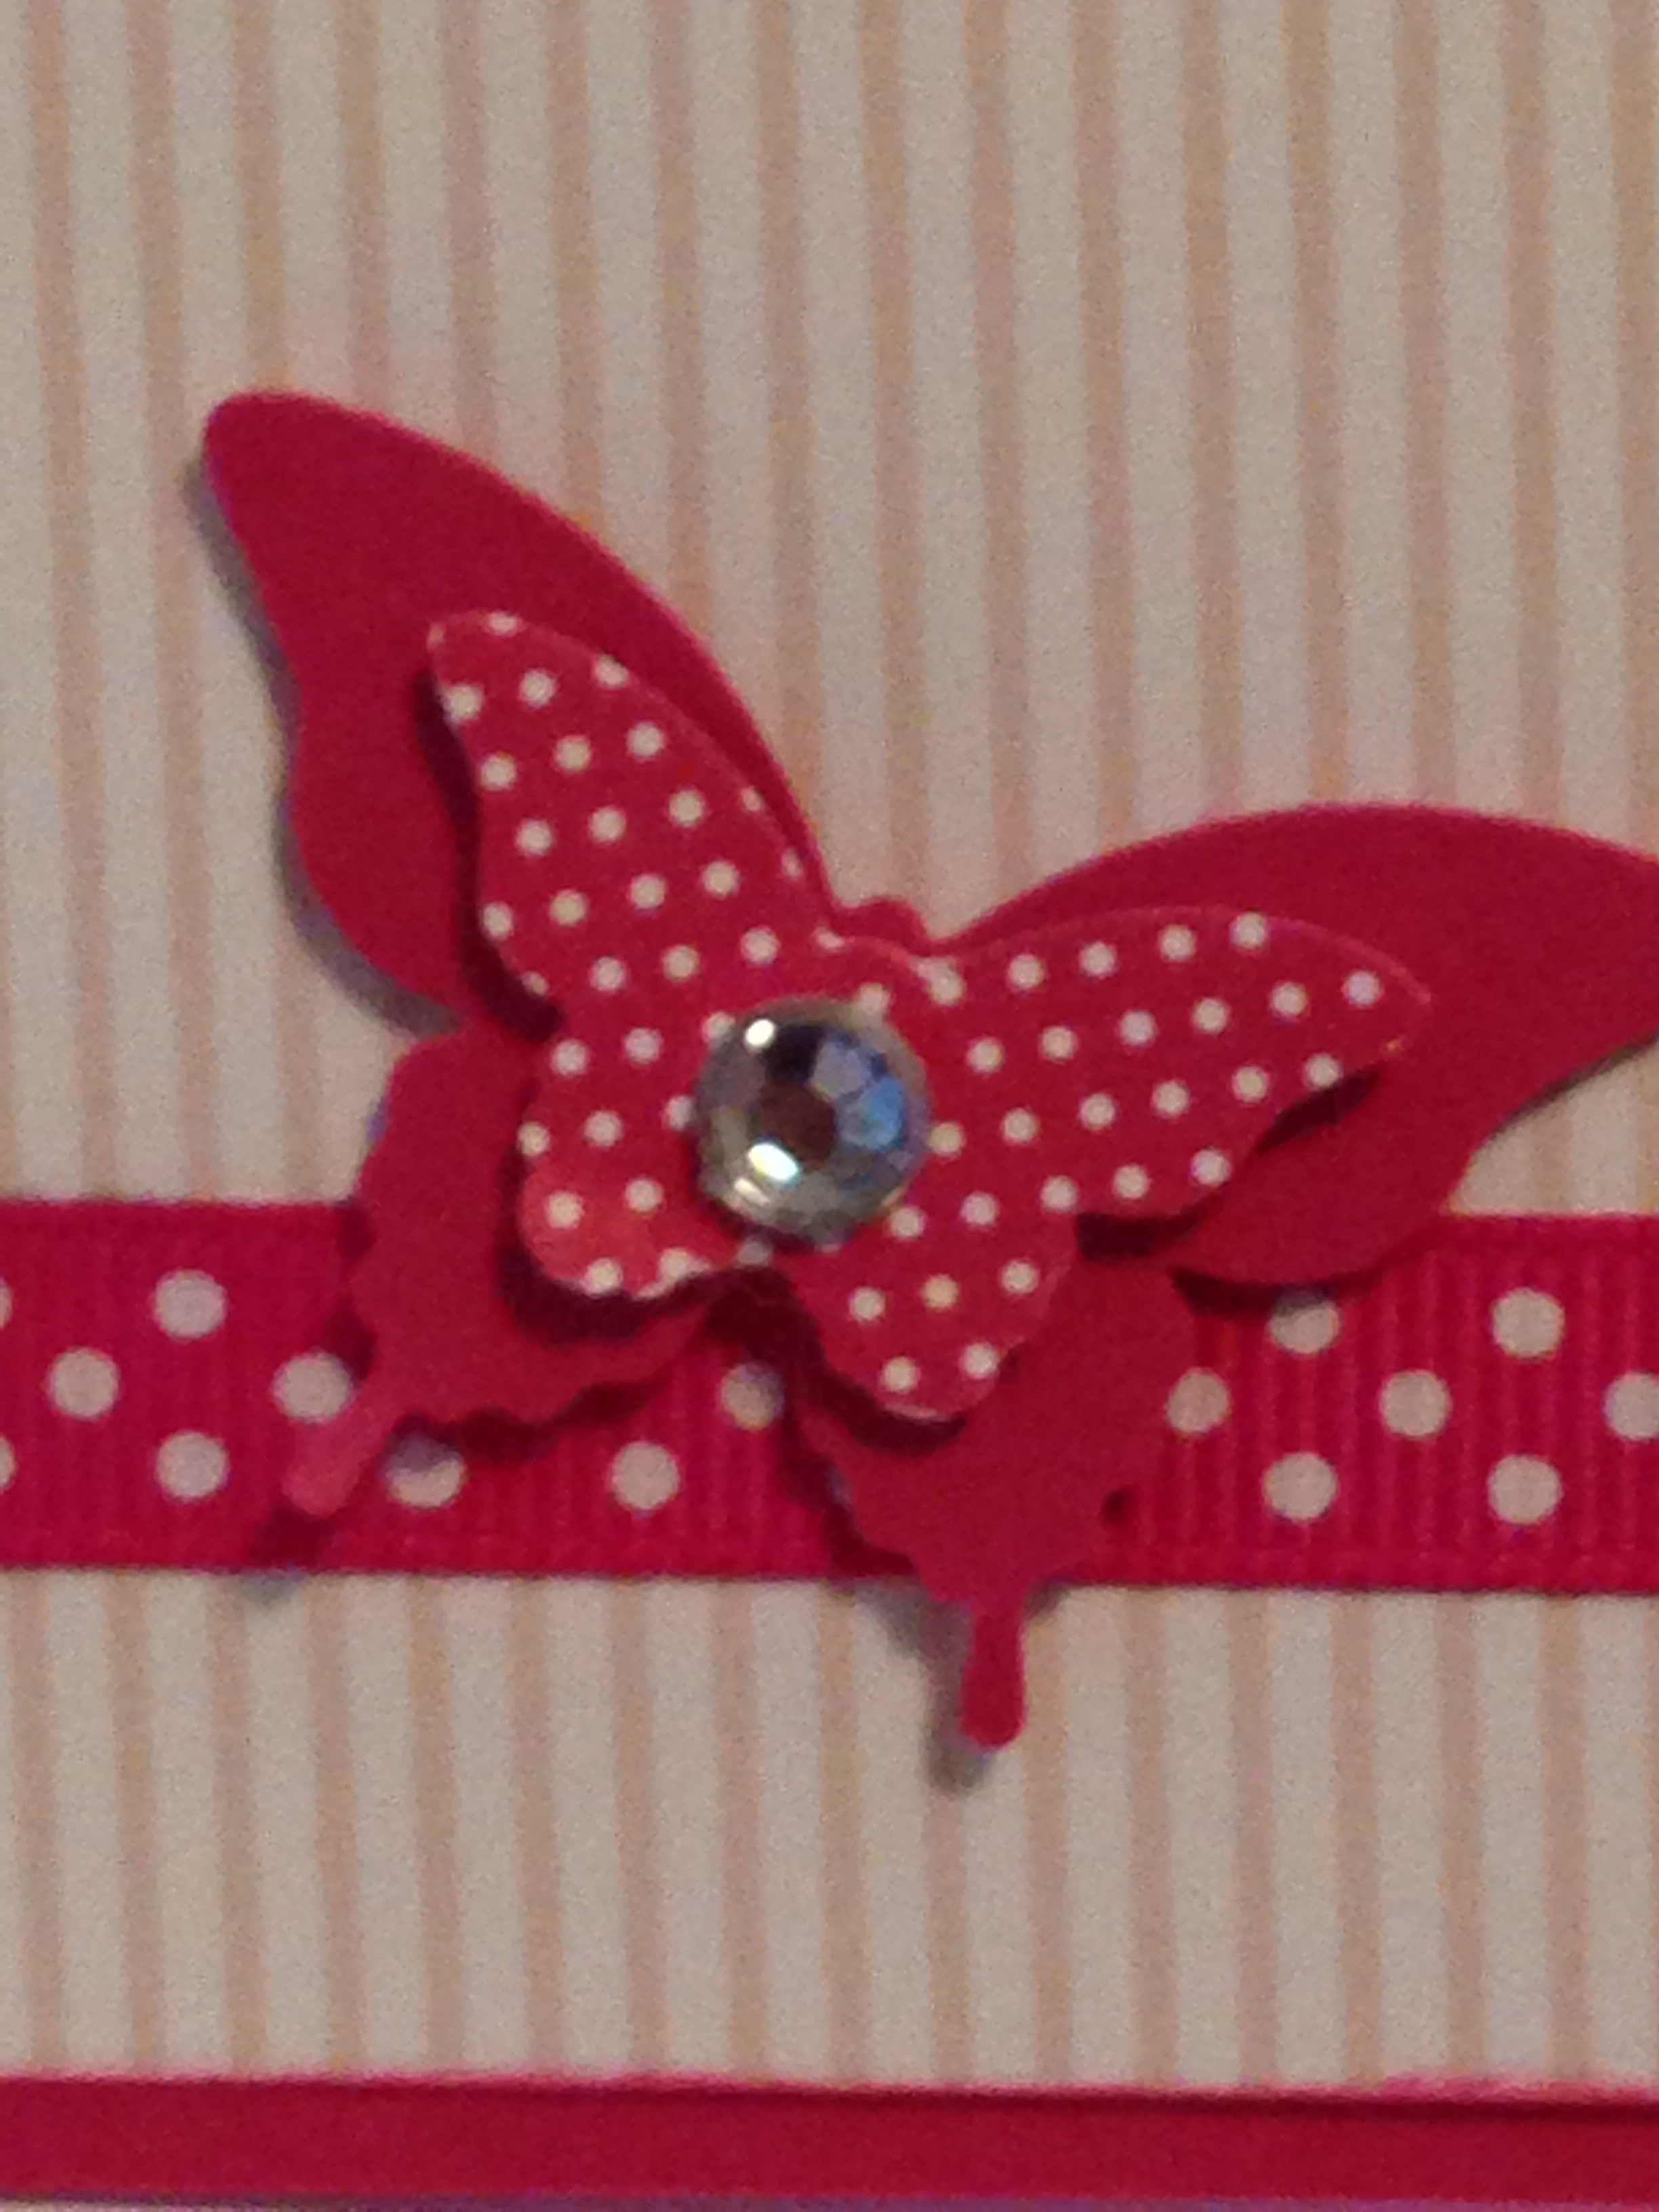
Yesterday I mentioned a card I’d made I was just a little bit excited about. This is it – a Star Wars Yoda card for my Star Wars obsessed brother.
 I got the basic idea from this post on a blog called Little Miss Scrappy.
It took me a while to figure out all the bits and pieces so I thought I’d share the ‘card menu’ with you in case you want to make it yourself. I used a retired colour called Certainly Celery for Yoda’s body as I have so much of it still, but there are lots of greens in the current Stampin’ Up! catalogue that would work well.
Yoda

Head – 1 3/8 inch circle punch. It is hard to see from the picture, but I used my bone folder to make score lines in the top half of the circle for his wrinkles.
Ears – 2 of the wings from the bird punch in Certainly Celery and 2 wings from Chocolate Chip
Eyes – I used 2 of the medium sized circles from the owl builder punch in Whisper White and 2 of the smallest sized circles in Chocolate Chip. I also cut one of the medium sized circles in Certainly Celery and cut it in half to make the eyelids.
Mouth – I drew this on with my Chocolate Chip Stampin’ Write marker.
Body – I used a retired extra large tag punch in Crumb Cake (the shape of the top of the tag gives him shoulders). The ticket duo builder punch, an oval punch or a trimmed off decorative label punch from the current catalogue could also work well. You could also just cut out a rectangle!
Belt – I used a Word Window punch in Basic Black and trimmed off the ends to fit.
Robe – I cut a tag punch out of Very Vanilla and cut it in half lengthwise. I then folded each piece in half lengthwise to make the flaps of his robe. I had to trim the folded part just slightly to make it perfectly match the shoulder line. The arms of the robe are a word window punch cut in half, with the rounded edges glued behind the main part of the robe.
Hands and feet – I used the feet from the owl in the owl builder punch. Tip: don’t try and cut and glue the teeny tiny owl feet! You will drive yourself mad! Far better to cut out an owl body and use the body as somewhere to stick the glue on and hide the body behind Yoda’s robe.
Light saber – I used the end of a piece cut from the (retired) jewellery tag punch in Basic Black for the handle. You could equally use the end of a word window punch. I used a word window punch in Coastal Cabana for the ‘sword’ part, but sponged it in Old Olive and silver ink to make it look like it was glowing.
Background
I tore a piece of Soft Suede card stock to look like the rough ground. I used my computer and printer to print the greeting on a piece of Bashful Blue card stock (this is also retired – I am using up my stash!) Soft Sky in the current catalogue would look just as good.
I hope you enjoy making one of these if you have a Star Wars fan in your life!
Caro x
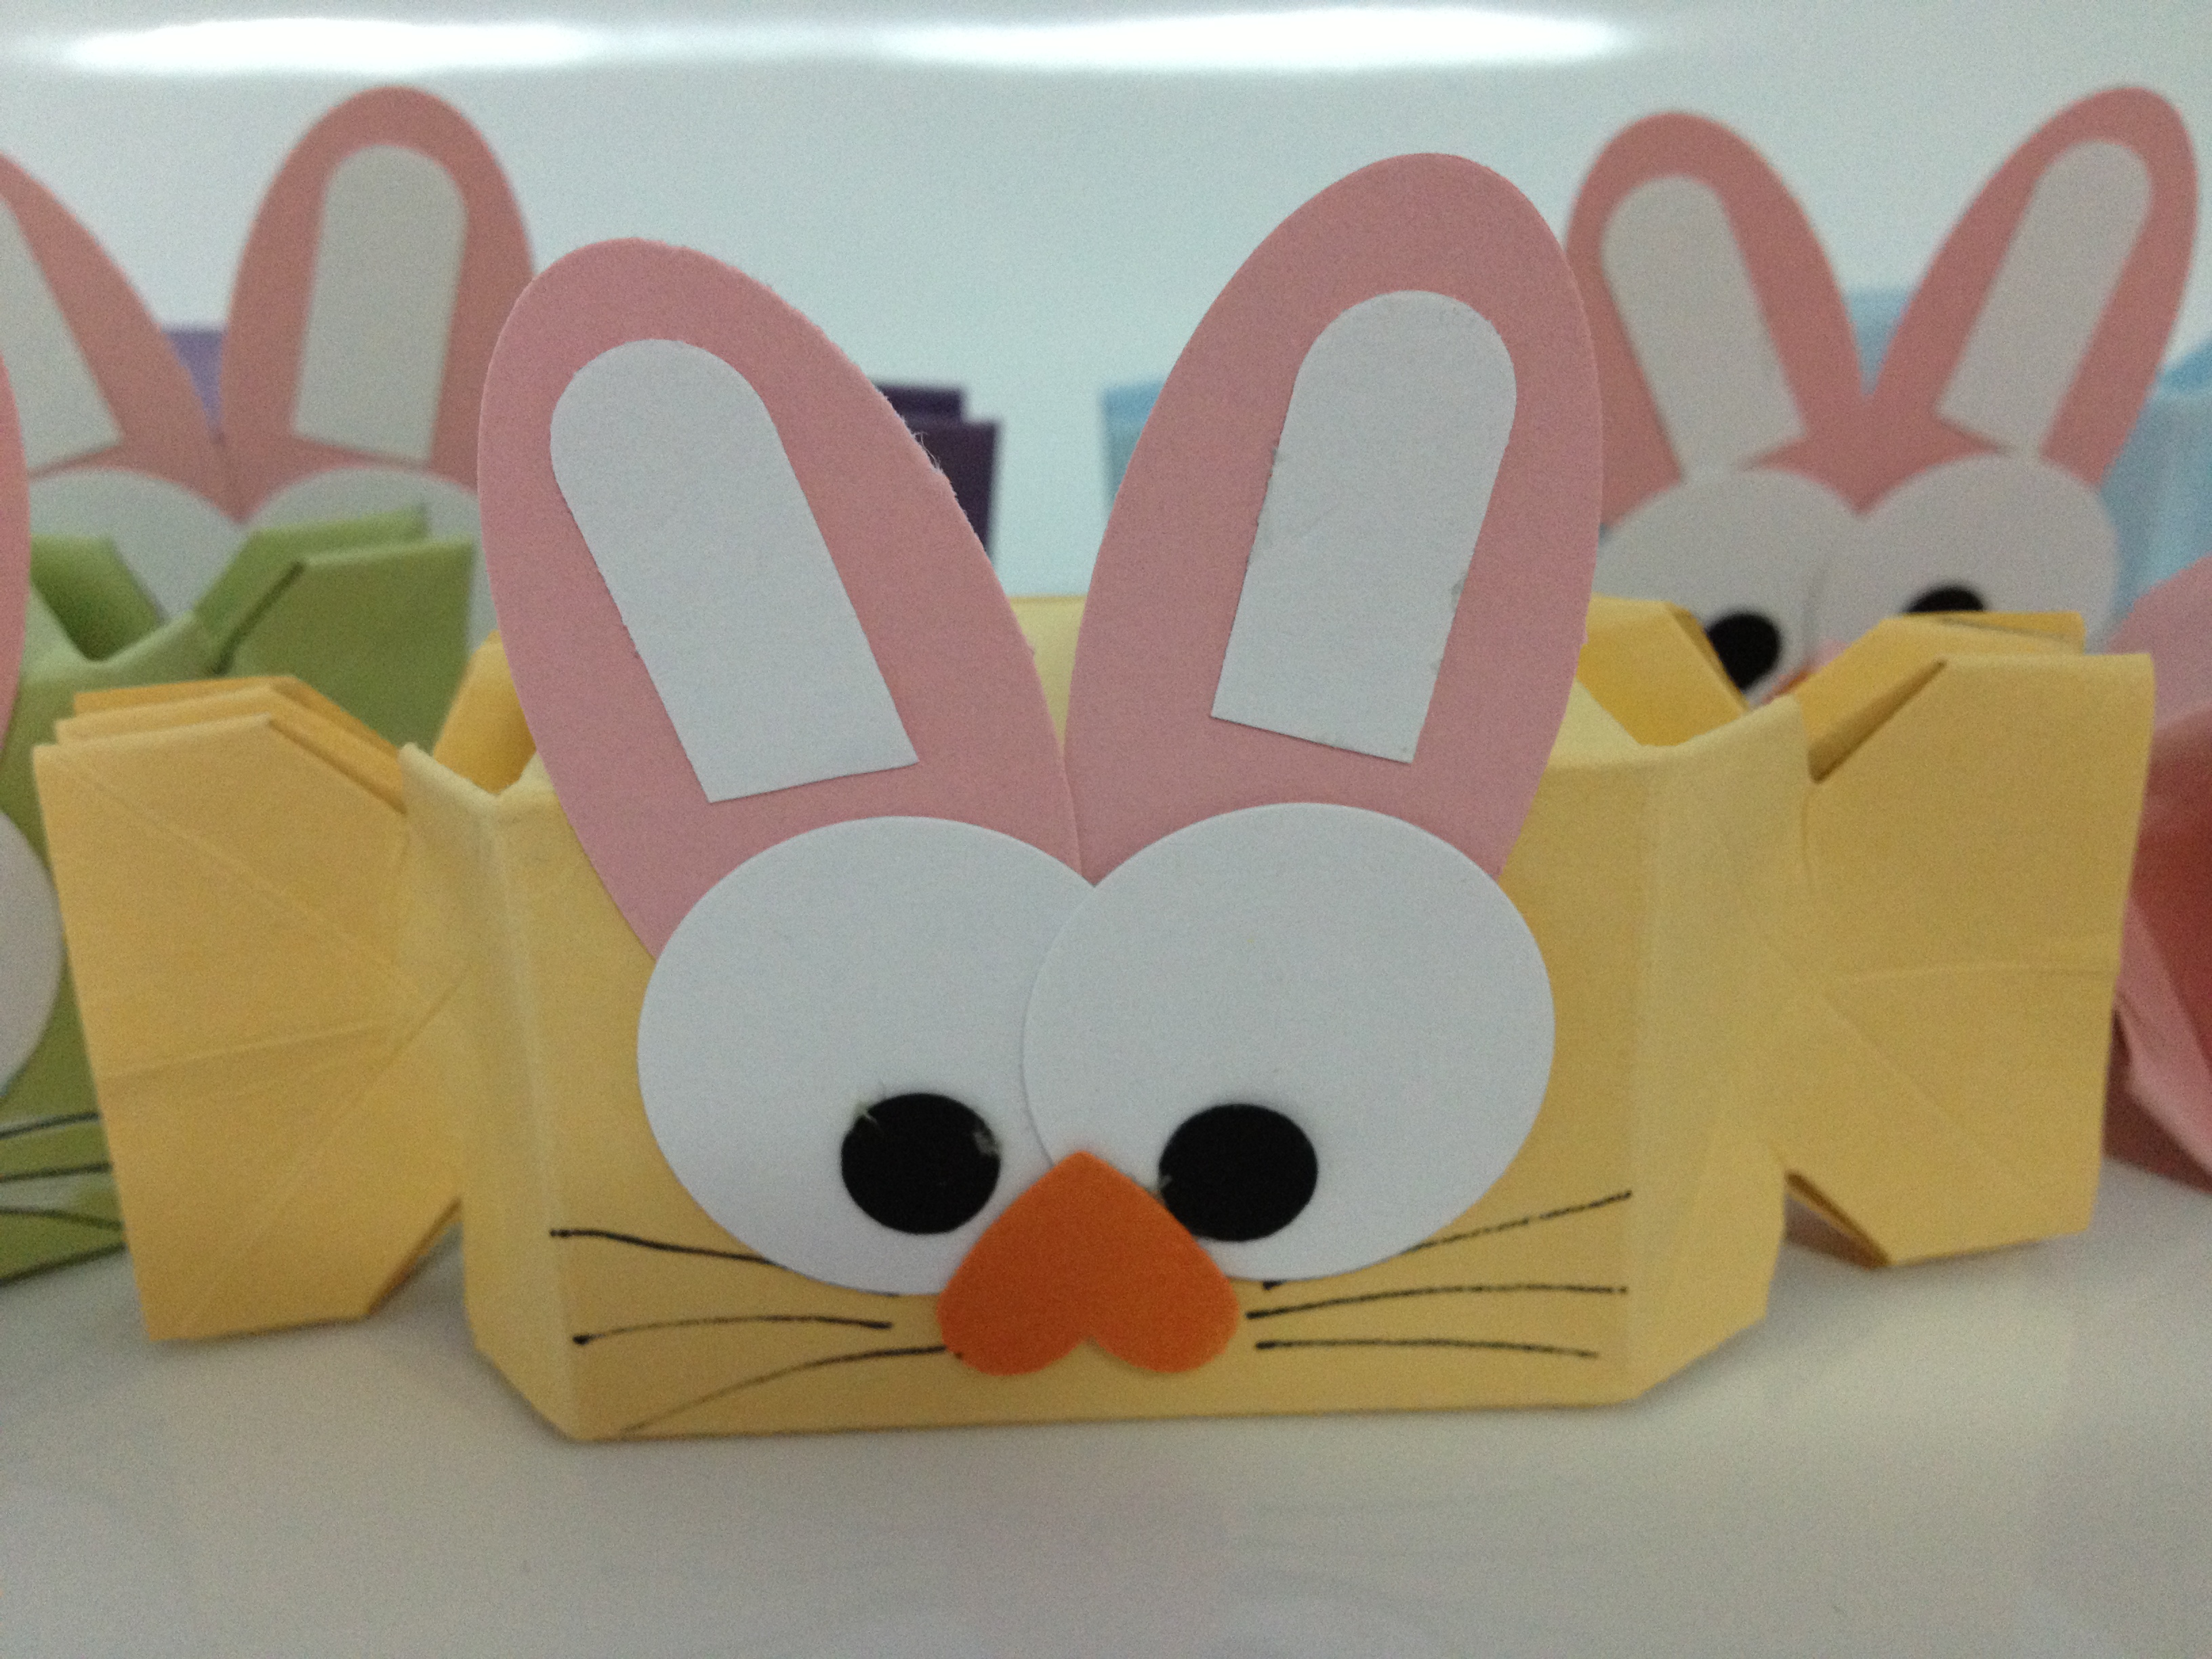
 These are made with the Stampin’ Up! Candy Wrapper Bigz Die which is retired from the current catalogue, but thankfully making a return at a whopping discount in the current Clearance Rack *.