• About

Caro's Pretty Things

~ My papercraft blog

Category Archives: 3D projects

Tea bag gift holder

15 Sunday Sep 2013

Posted by Carolyn in 3D projects, Gift bags, Gift card holders, Using up scraps

≈ 1 Comment

Tags

3D projects, gift cards, tea bag gifts

Hello.  Thanks for dropping by!

Yesterday I showed you a little folder I made to give away some photos to some family members.    Today I want to show you something else I’ve made previously using a similar idea – a little tea bag holder you can give to someone as a ‘get well’ gift, welcome to the neighbourhood card etc.   My Mum liked the idea of having some of these at the op shop where she volunteers for people who come in for a chat.

Tea bag holders


20120727_185655


These are made using a very similar concept as yesterday’s folders.   You use a piece of card stock, fold it up to make a pouch to hold the tea bags and glue the sides of the folded up piece so they don’t fall out.    I spent a little more time decorating these using strips of DSP and ribbon to tie them closed.   The tea cup image here is  a retired Stampin’ Up! a la carte stamp called Tiny Teacup, but there are lots of beautiful images in the current Tea Party set which would look equally good (or probably better, I have had my eye on that set for ages!)

This size would be ideal for gift cards as well.

Enjoy!

Caro


Share this:

  • Click to share on Pinterest (Opens in new window) Pinterest
  • Click to share on X (Opens in new window) X
  • Click to share on Facebook (Opens in new window) Facebook
  • Click to email a link to a friend (Opens in new window) Email
  • More
  • Click to share on Reddit (Opens in new window) Reddit
  • Click to share on Tumblr (Opens in new window) Tumblr
Like Loading...

Gift folder for photos

14 Saturday Sep 2013

Posted by Carolyn in 3D projects, Gift bags, Gift card holders, Using up scraps

≈ 1 Comment

Tags

DSP, gift folder, gifts, ways to gift photos

Hello!   Sorry for the gap between posts.  I had some time off work (a lovely holiday to Daydream Island) and then a very busy first week back at work.

While we were on holidays I had some beautiful photos taken and have printed off copies to give to various friends and family.    After I’d organised the piles of reprints on my desk I decided I wanted to make something a bit nicer than a boring envelope to put them in to give to people.

I have a whole collection of retired Stampin’ Up! designer series paper (DSP) lying around (it’s so gorgeous it’s kinda addictive!) so decided to try using up some of my stash.   Here’s what I came up with – some little gift folders just big enough to put photos and a small note card/message in:

IMAG0081

IMAG0082

IMAG0085

IMAG0086

These are so simple to make!   Take a piece of DSP wide enough to hold a 4 x 6″ photo when folded in half, fold up the bottom to make a pouch and then glue down the edges of the fold so the photos won’t fall out.

This is very good for using up DSP in a variety of sizes.    Here are some of the little folders I made:

IMAG0087

One tip!  If you are using a narrower piece, make sure you have enough room to hold the photo after you’ve glued the edge.   I made this one and didn’t stick the glue close enough to the edge and it was a very tight squeeze to get the photo in!

IMAG0084

You could also make a smaller version of these to hold gift vouchers/gift cards.   They really are very easy!

I kept the front of these plain (other than the gorgeous paper) as I was in a rush.  But you could also decorate them like the front of a card.

Enjoy!

Caro

Share this:

  • Click to share on Pinterest (Opens in new window) Pinterest
  • Click to share on X (Opens in new window) X
  • Click to share on Facebook (Opens in new window) Facebook
  • Click to email a link to a friend (Opens in new window) Email
  • More
  • Click to share on Reddit (Opens in new window) Reddit
  • Click to share on Tumblr (Opens in new window) Tumblr
Like Loading...

Scallop envelope gift box

25 Sunday Aug 2013

Posted by Carolyn in 3D projects, Boxes, Dies, Gift tags & wrapping, Scallop envelope, Tutorial

≈ Leave a comment

Tags

gift boxes, scallop envelope die

Today I wanted to show you a little gift box I made for a present.   Anyone who has been reading this blog lately would know we recently had a Christmas in July (in August!) party at our house.    We had a Secret Santa and one of the recipients loves orange (he says it’s his signature colour!).     I found some orange travel toiletries and wanted to make a little box to present them in.

I made this little box using the Stampin’ Up! scallop envelope die.

20130815_155308

You will need 4 pieces cut from the scallop envelope die to make the box.  You will also need one piece of card stock for the base of the box measuring 8 cm x 8 cm.

Step 1: identify the ‘outside’ and ‘inside’ of your box.  I like to use the scalloped edge on the outside.  If you’d like to do the same, fold each piece at the score lines like this:

20130815_153249

Step 2: cut one side flap from each envelope.   It doesn’t matter which side you choose – just make sure that you choose the same side on each piece!

20130815_153433-1

Step 3: stick a row of sticky strip (double sided tape) along the outside of the remaining flaps, like this:

20130815_153631

Step 4:  stick the 4 pieces together to make a long row, as shown. I could only fit 3 in the picture but you need to stick all 4 together in a row.  I also like to glue down the scallop edges, but I have also made the box leaving them as ‘flaps’.

20130815_153919

Step 5: fold in the base flaps to make the bottom of the box and stick the remaining sides together.   Glue the square of card stock to the base for extra strength.  I also glued some ribbon around the top for extra decoration.

20130815_154647

This is also a great sized box for storing things on your desk.  Post it notes fit really well!

If you don’t have the scallop envelope die you could try making a box using 4 of a normal envelope template.  There are lots of printable templates available on the web.

Thanks for reading!

Caro

PS: I know I have seen tutorials on the web for this box but I can’t recall where I saw them first so apologies for not crediting (please ping me if you know and I’ll happily edit this post!)

Share this:

  • Click to share on Pinterest (Opens in new window) Pinterest
  • Click to share on X (Opens in new window) X
  • Click to share on Facebook (Opens in new window) Facebook
  • Click to email a link to a friend (Opens in new window) Email
  • More
  • Click to share on Reddit (Opens in new window) Reddit
  • Click to share on Tumblr (Opens in new window) Tumblr
Like Loading...

Christmas place mats

21 Wednesday Aug 2013

Posted by Carolyn in 3D projects, Home decorating, Uncategorized

≈ 1 Comment

Tags

Christmas in July, Happy Hour, ideas for laminating machines, papercraft, place mats, stampinup

The last few days I’ve shown you some of the decorations I made for our recent Christmas in July (in August!) celebration with some friends.  Today I wanted to show you some place mats I made:

20130815_165302

(sorry, the photo is a little crooked)

I used the Happy Hour stamp set from Stampin’ Up! for the details.  I used a gold Versamark ink pad for the drink cups.  I hand cut the candy cane and stuck it on the drink.  I used my Stampin’ Write markers (Garden Green and Riding Hood Red) to colour the holly stamp before stamping it on the side of the glass.   Here’s a close up of the images:

20130815_165235 I used an A4 piece of card stock as the red backing (using up some retired Riding Hood Red card stock) and a white piece of A4 where I’d cut 2cm off one long and one short side (ie, to get a 1cm border around all 4 sides).   I then stuck the white and red card together and ran them through a laminator to make the place mat.   They looked really cute all lined up together!

20130815_165728


Here’s a picture of the table with all the decorations on it:

photo-8Did you notice the stars in the soup bowls?  We used a star cookie cutter to make toast stars to float on top of the soup.   (The reverse pieces of bread with star holes were fun to fill with scrambled eggs for brunch the next day!)

I had a great time making all the decorations and we had such a fun dinner 🙂

Thanks for reading

Caro

PS There may be a few more Christmas craft details to show you – stay tuned!


Share this:

  • Click to share on Pinterest (Opens in new window) Pinterest
  • Click to share on X (Opens in new window) X
  • Click to share on Facebook (Opens in new window) Facebook
  • Click to email a link to a friend (Opens in new window) Email
  • More
  • Click to share on Reddit (Opens in new window) Reddit
  • Click to share on Tumblr (Opens in new window) Tumblr
Like Loading...

Papercraft napkin rings

20 Tuesday Aug 2013

Posted by Carolyn in 3D projects, Curly label, Home decorating, Petite curly label, Punches, Uncategorized

≈ 1 Comment

Tags

Christmas in July, napkin ring, papercraft, Santa belt

Hello!

The last two posts I’ve showed you some of the craft I did for our recent delayed Christmas in July party.   Today I wanted to show you some more table decorations – this time Santa napkin rings!

photo-6

This idea came about when we were in a Christmas shop looking for Christmas crackers for our party.  I was looking at a Santa belt decoration and thought that it would make a great napkin ring.  I then went home and pulled out my punches to see whether I could come up with something similar.

The starting point was trying to figure out how to make the belt.   I tried my square punches and the decorative label punch but they weren’t quite right.  I then hit on the petite curly label and the curly label punch and they were perfect (all punches are by Stampin’ Up!).

A little while ago I showed you how to make a frame with a scallop punch and circle punch.   I used the same technique here to make Santa’s belt.   First, punch the petite curly label punch …

photo-2

… and then punch around it with the curly label punch:

photo-5

And hey presto – Santa’s belt buckle made out of glittery glimmer paper!

I then had to figure out how to make Santa’s shirt and belt.   I started out with a napkin and my pile of Riding Hood Red offcuts to see what width of red looked right with the buckle in the middle.    I ended up with a red piece 7.5cm wide and 21cm long.   After a bit of fiddling around trying to work out whether to thread the black through the belt or not, I decided it would look best (and be easier!!) to just stick the buckle over the top of the belt.  So the black strip for the belt needed to be slightly narrower than the buckle, which worked out to be 2.5cm wide and 21 cm long.

photo-3I then centred the black strip and stuck it down:

photo-4

I then folded a napkin into thirds and wrapped the card around so it was just slightly loose and stuck it down.   I used both sticky strip and snail adhesive to make sure it stayed stuck!

photo-7I stuck the buckle over the belt and “ta da” – a Santa napkin ring!  They looked very cute all lined up together.

photo-8

I think something like this could also work as a belly band on a gift card holder or gift box as well.  Perhaps just the black belt and buckle wrapped around a red box/card?

I must say I’d never thought of making a napkin ring out of card stock before! Funny how inspiration strikes in the strangest places.  I’m now starting to think about ribbons, flowers, brads … I need to throw some more dinner parties to come up with new decorating ideas!

Thanks for reading.

Caro

Share this:

  • Click to share on Pinterest (Opens in new window) Pinterest
  • Click to share on X (Opens in new window) X
  • Click to share on Facebook (Opens in new window) Facebook
  • Click to email a link to a friend (Opens in new window) Email
  • More
  • Click to share on Reddit (Opens in new window) Reddit
  • Click to share on Tumblr (Opens in new window) Tumblr
Like Loading...

Easel cards part 2

13 Tuesday Aug 2013

Posted by Carolyn in 3D / pop up, 3D projects, Cards, Extra Large Oval, General occasion, Kids cards, Punches, Tutorial, Uncategorized

≈ 1 Comment

Tags

3D, cards, Kids cards, Punches

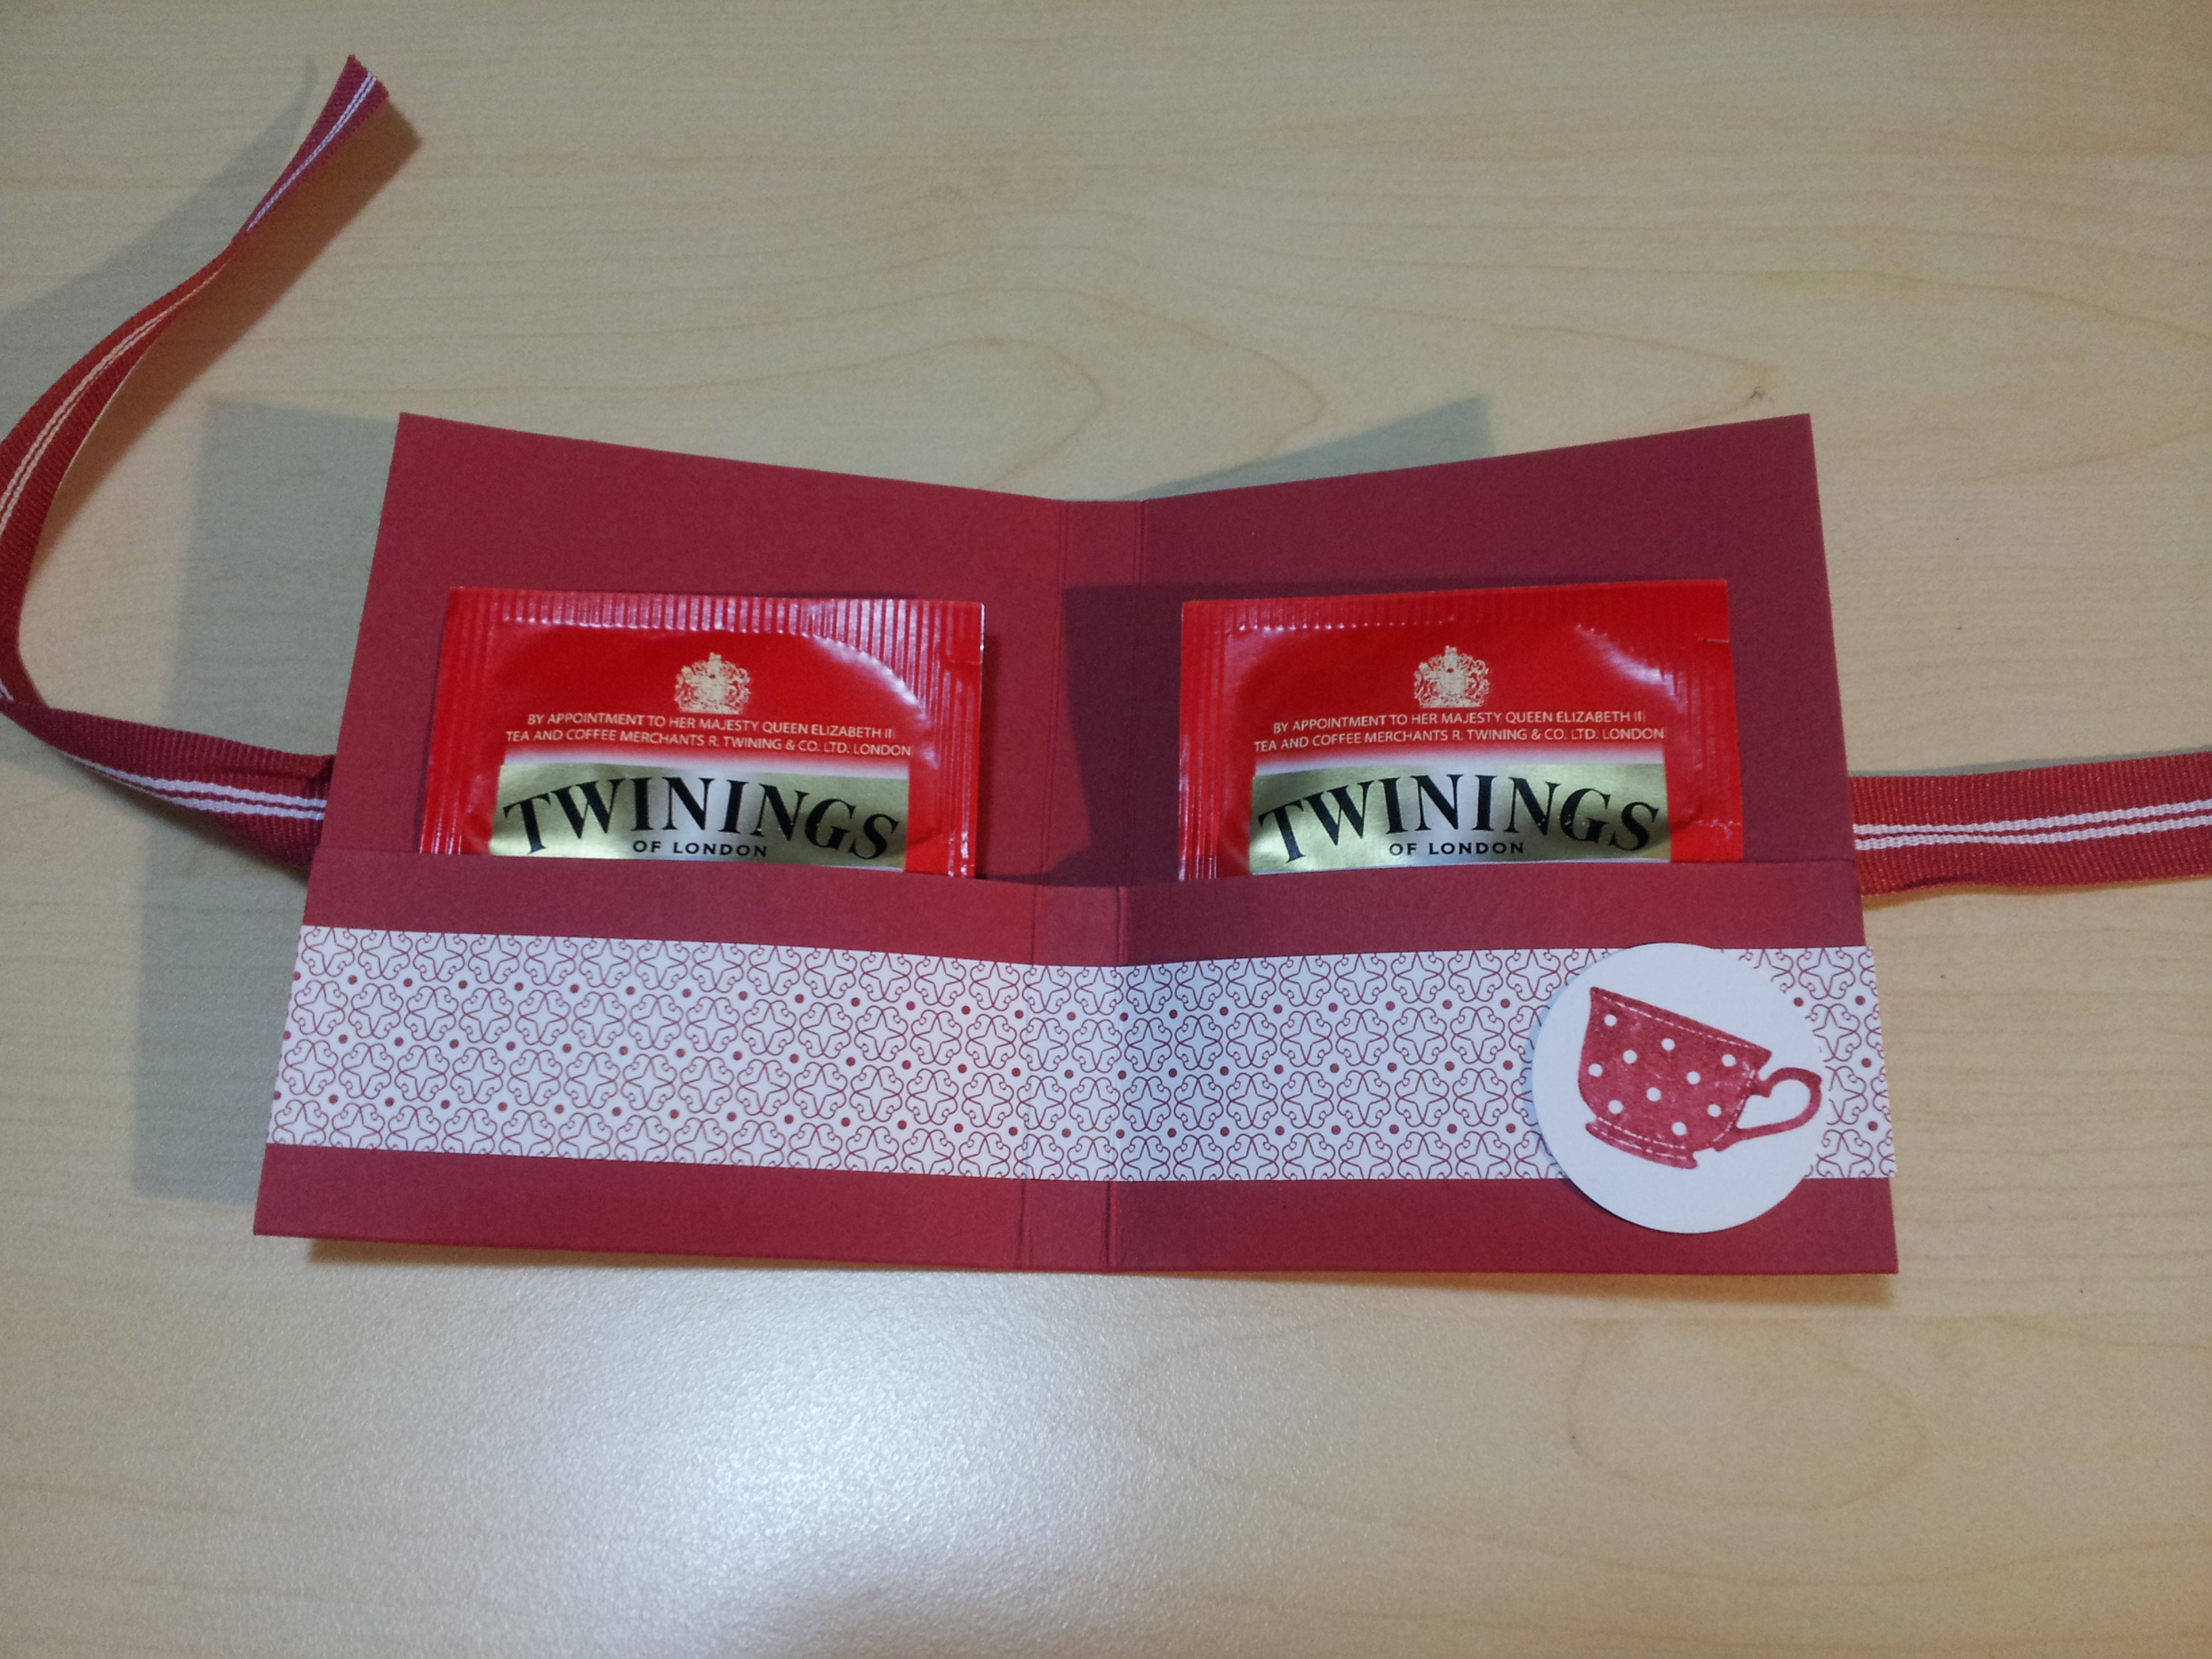
The other day I showed you some drink labels for a party I’d made using an easel card layout.  This is another card technique that is really quite simple – but usually gets a ‘wow’ from the person who opens it up.  Who doesn’t love minimum effort and maximum wow?!?

Easel cards are really versatile – labels, place settings, cards, grown up, kids … anything really! I’ve found that kids particularly love these because they have to figure out how they work.   It can also be a nice way to display a photo on your desk or kitchen bench.

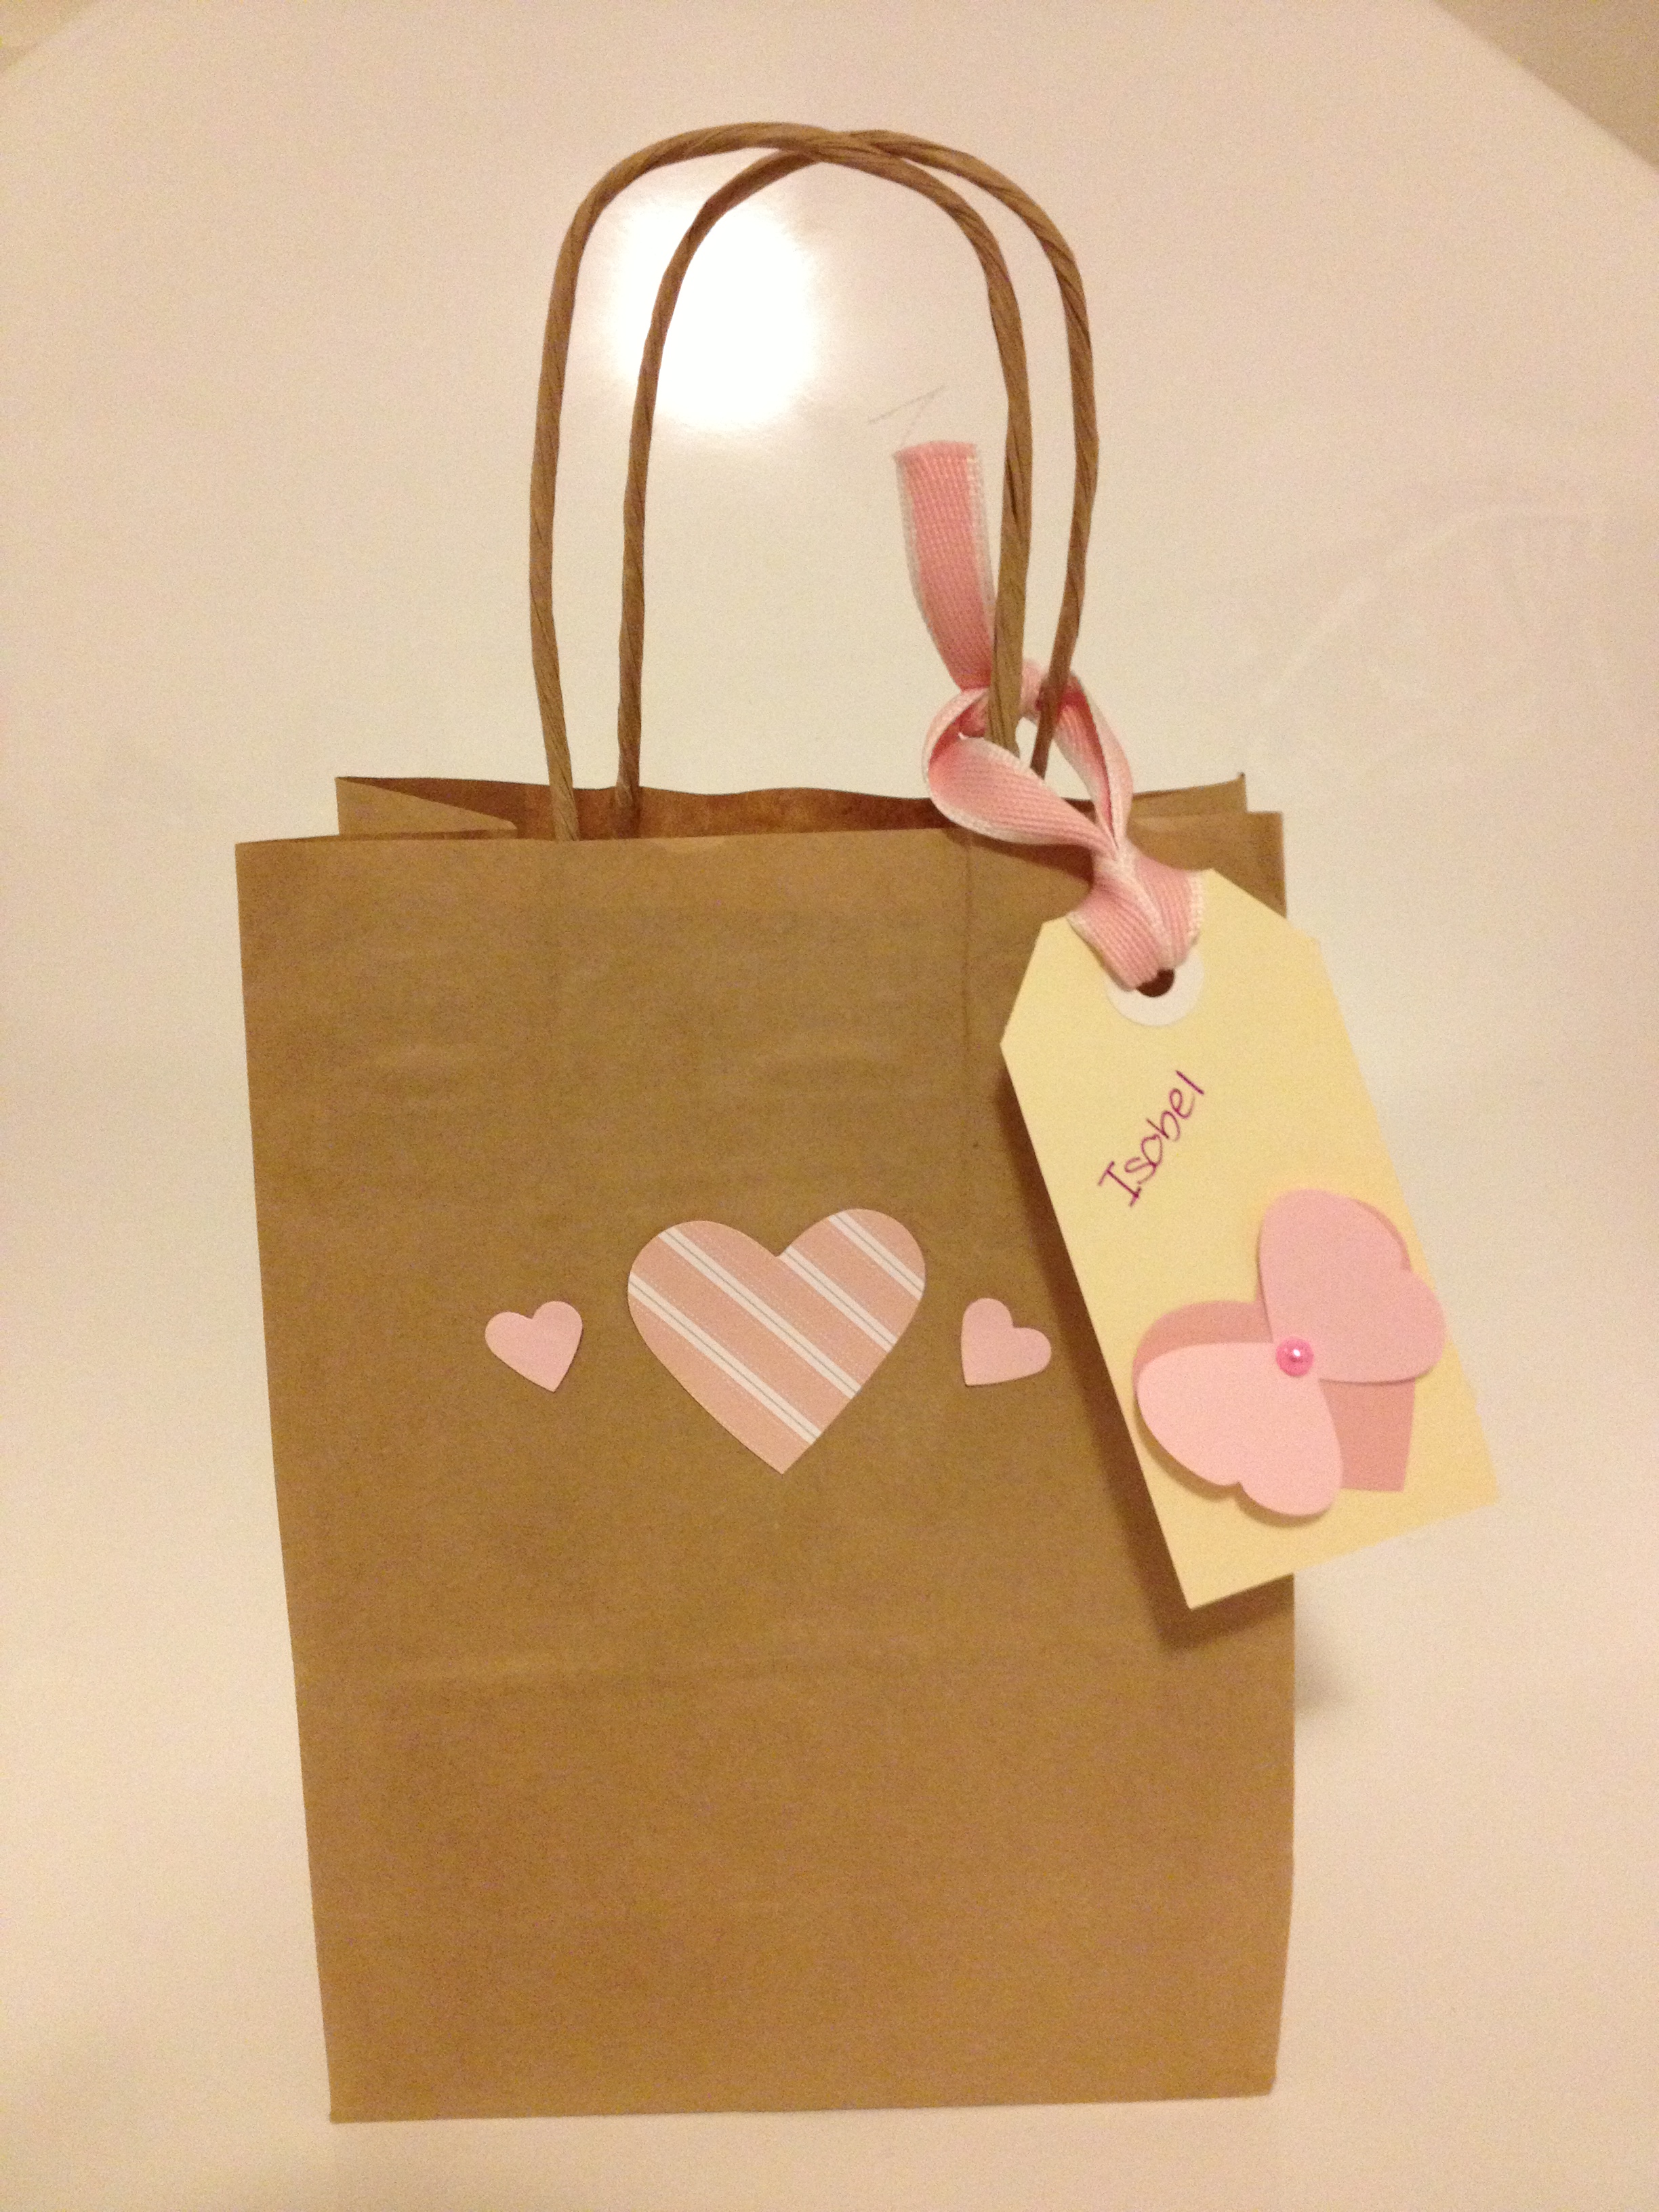
Today I want to show you how to make the card.  First though, some pictures!  Here’s an example of a kids one from the front:
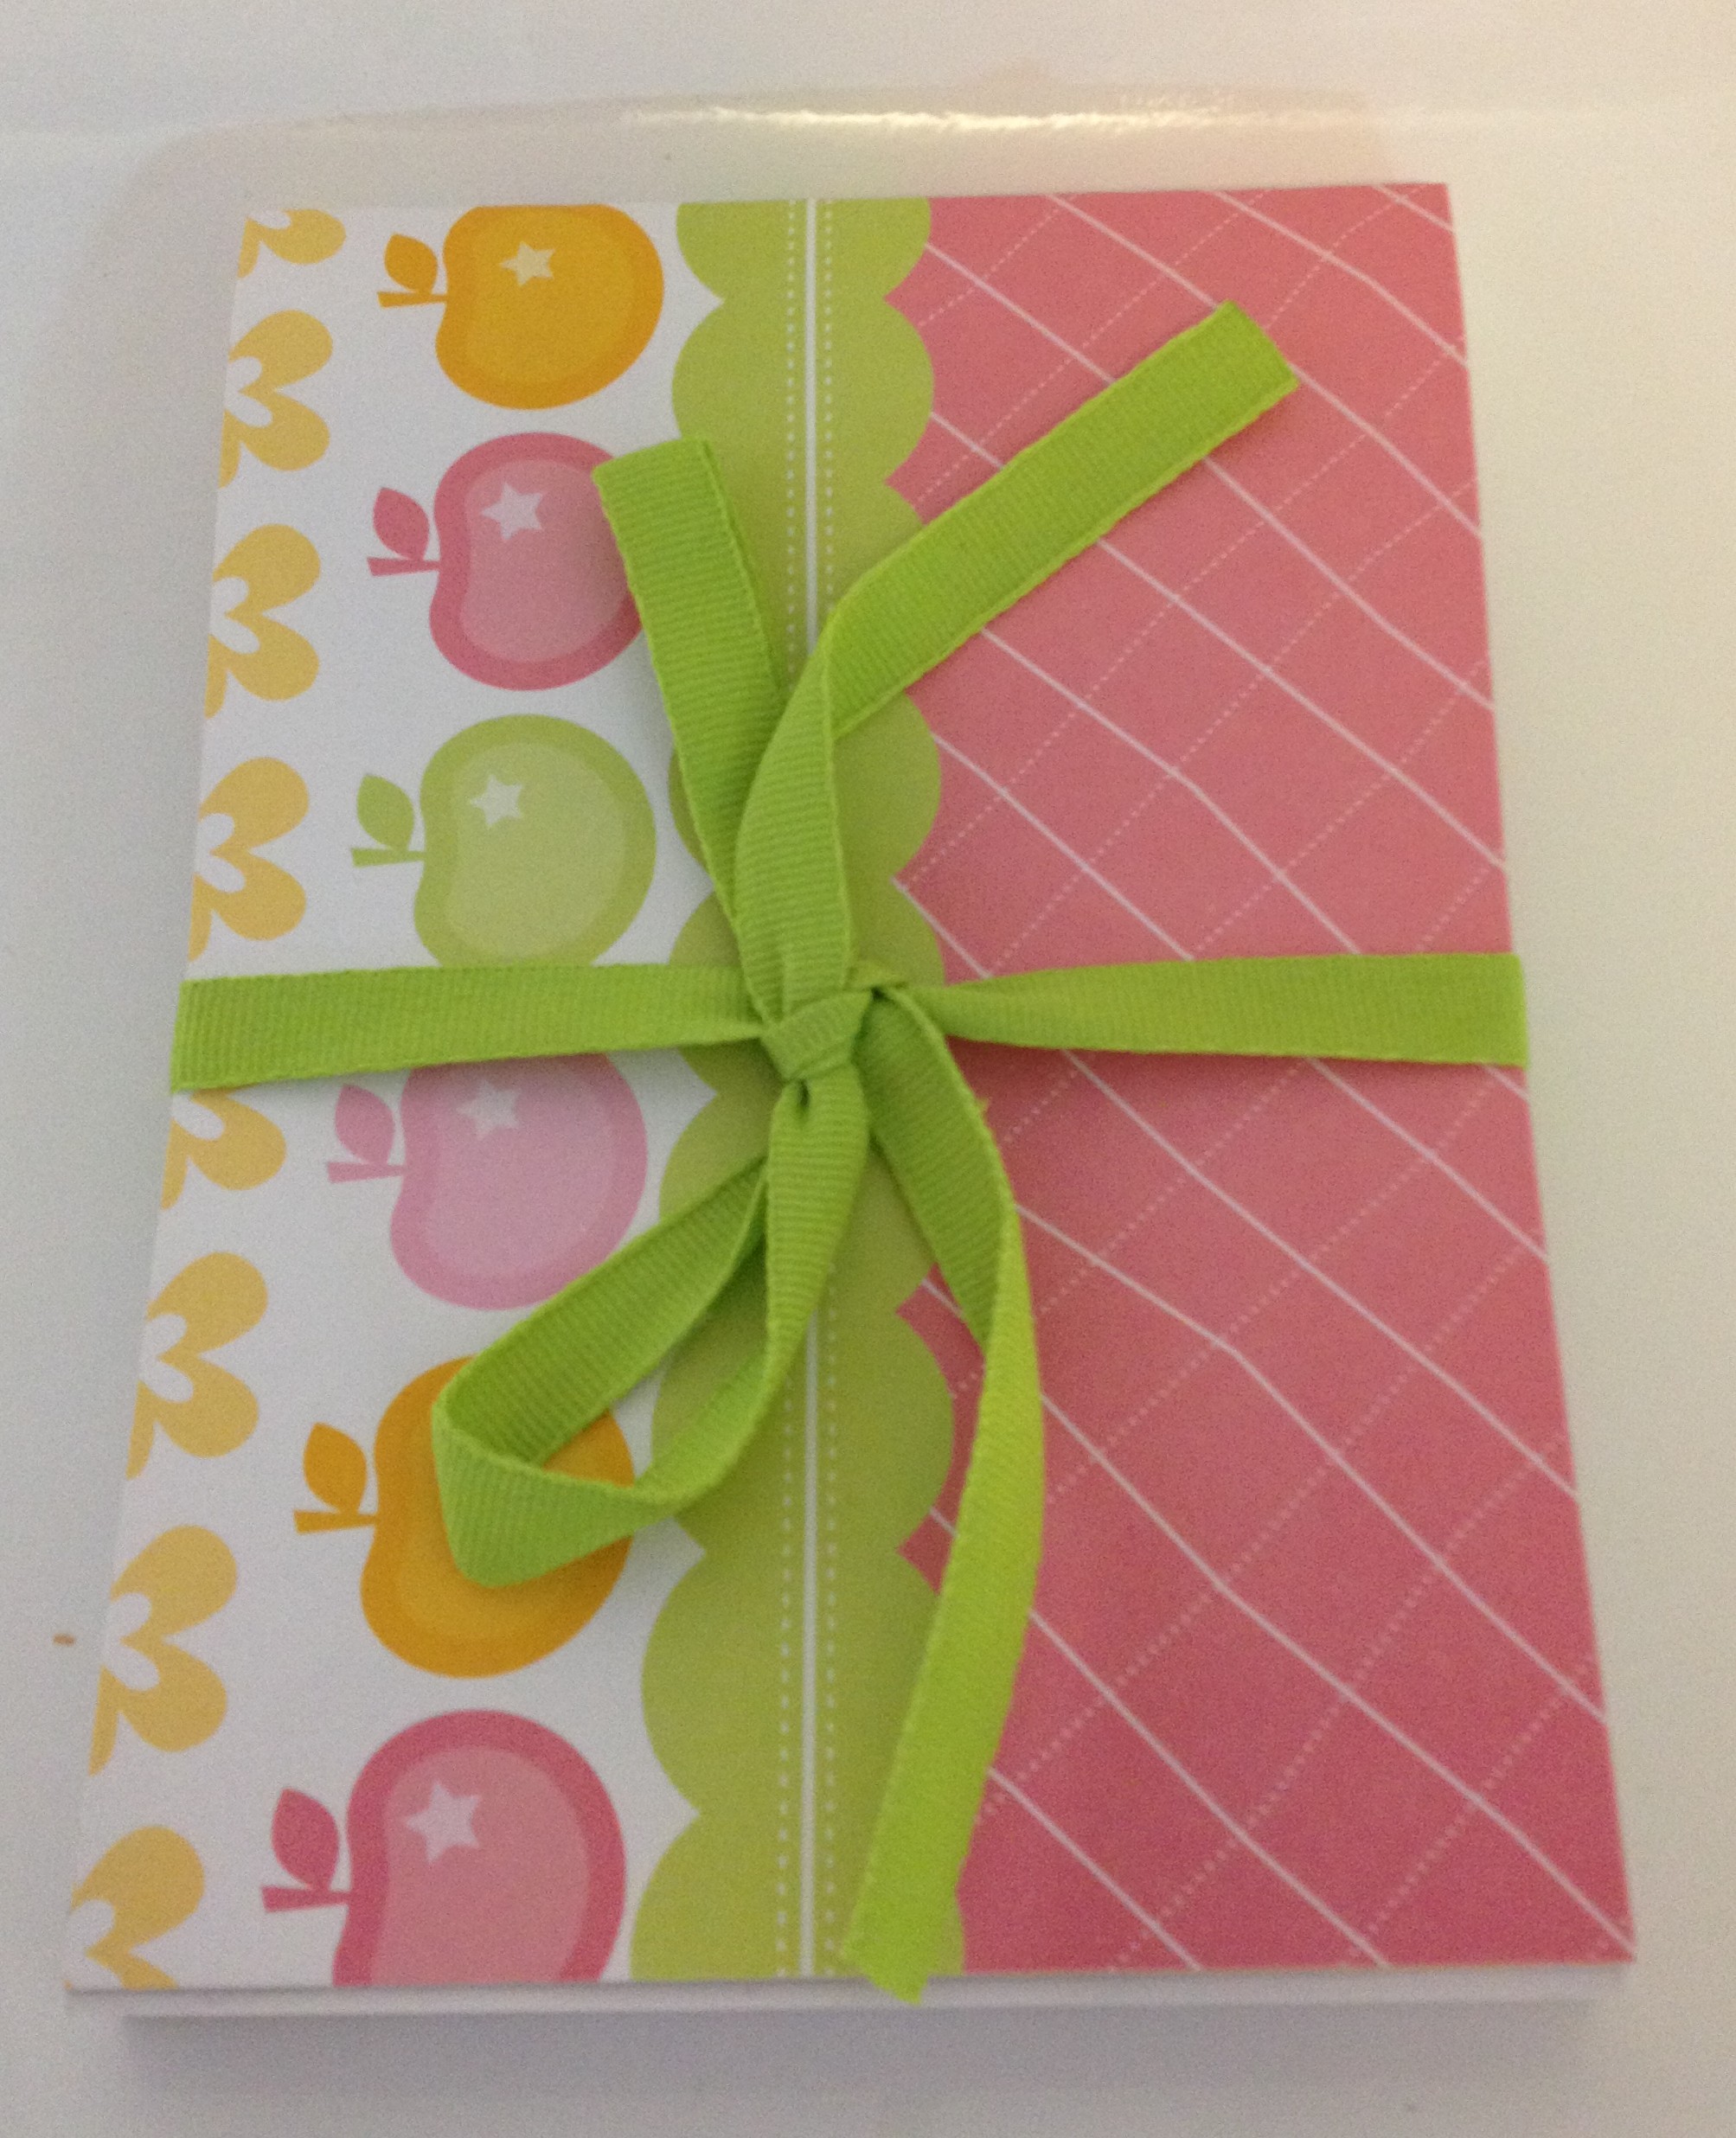
photo-1

And as an ‘easel’:

photo-7
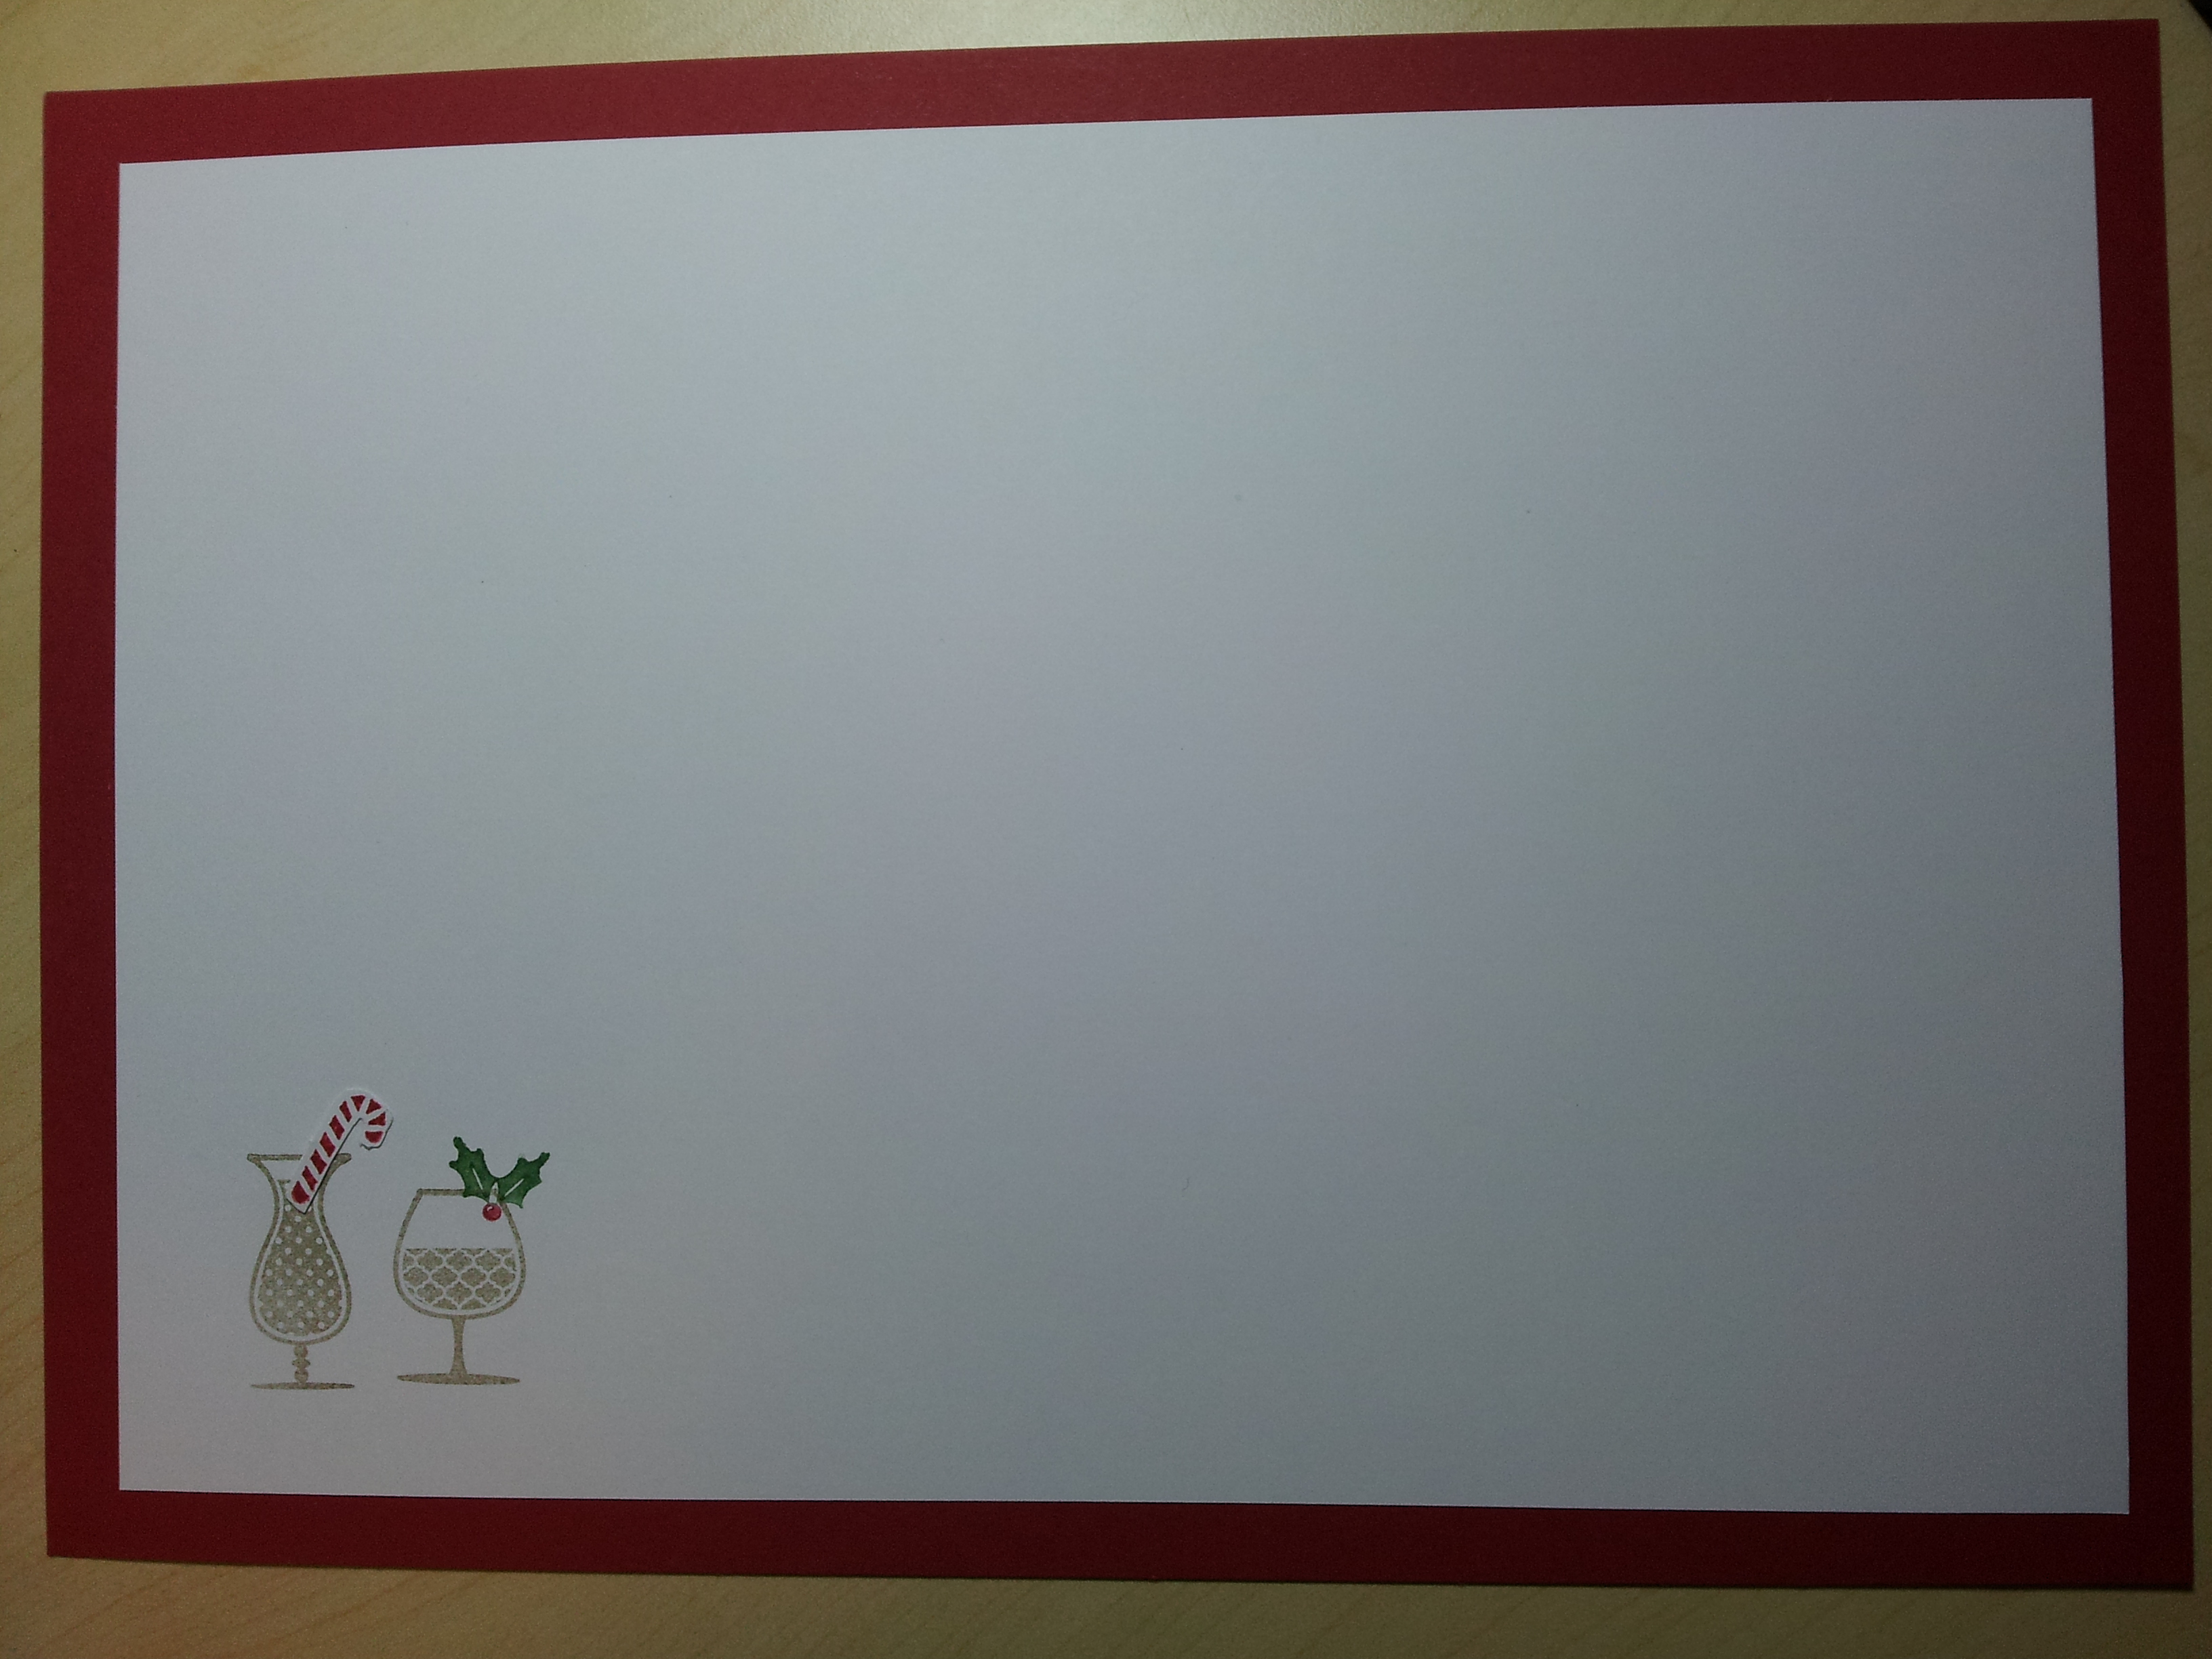
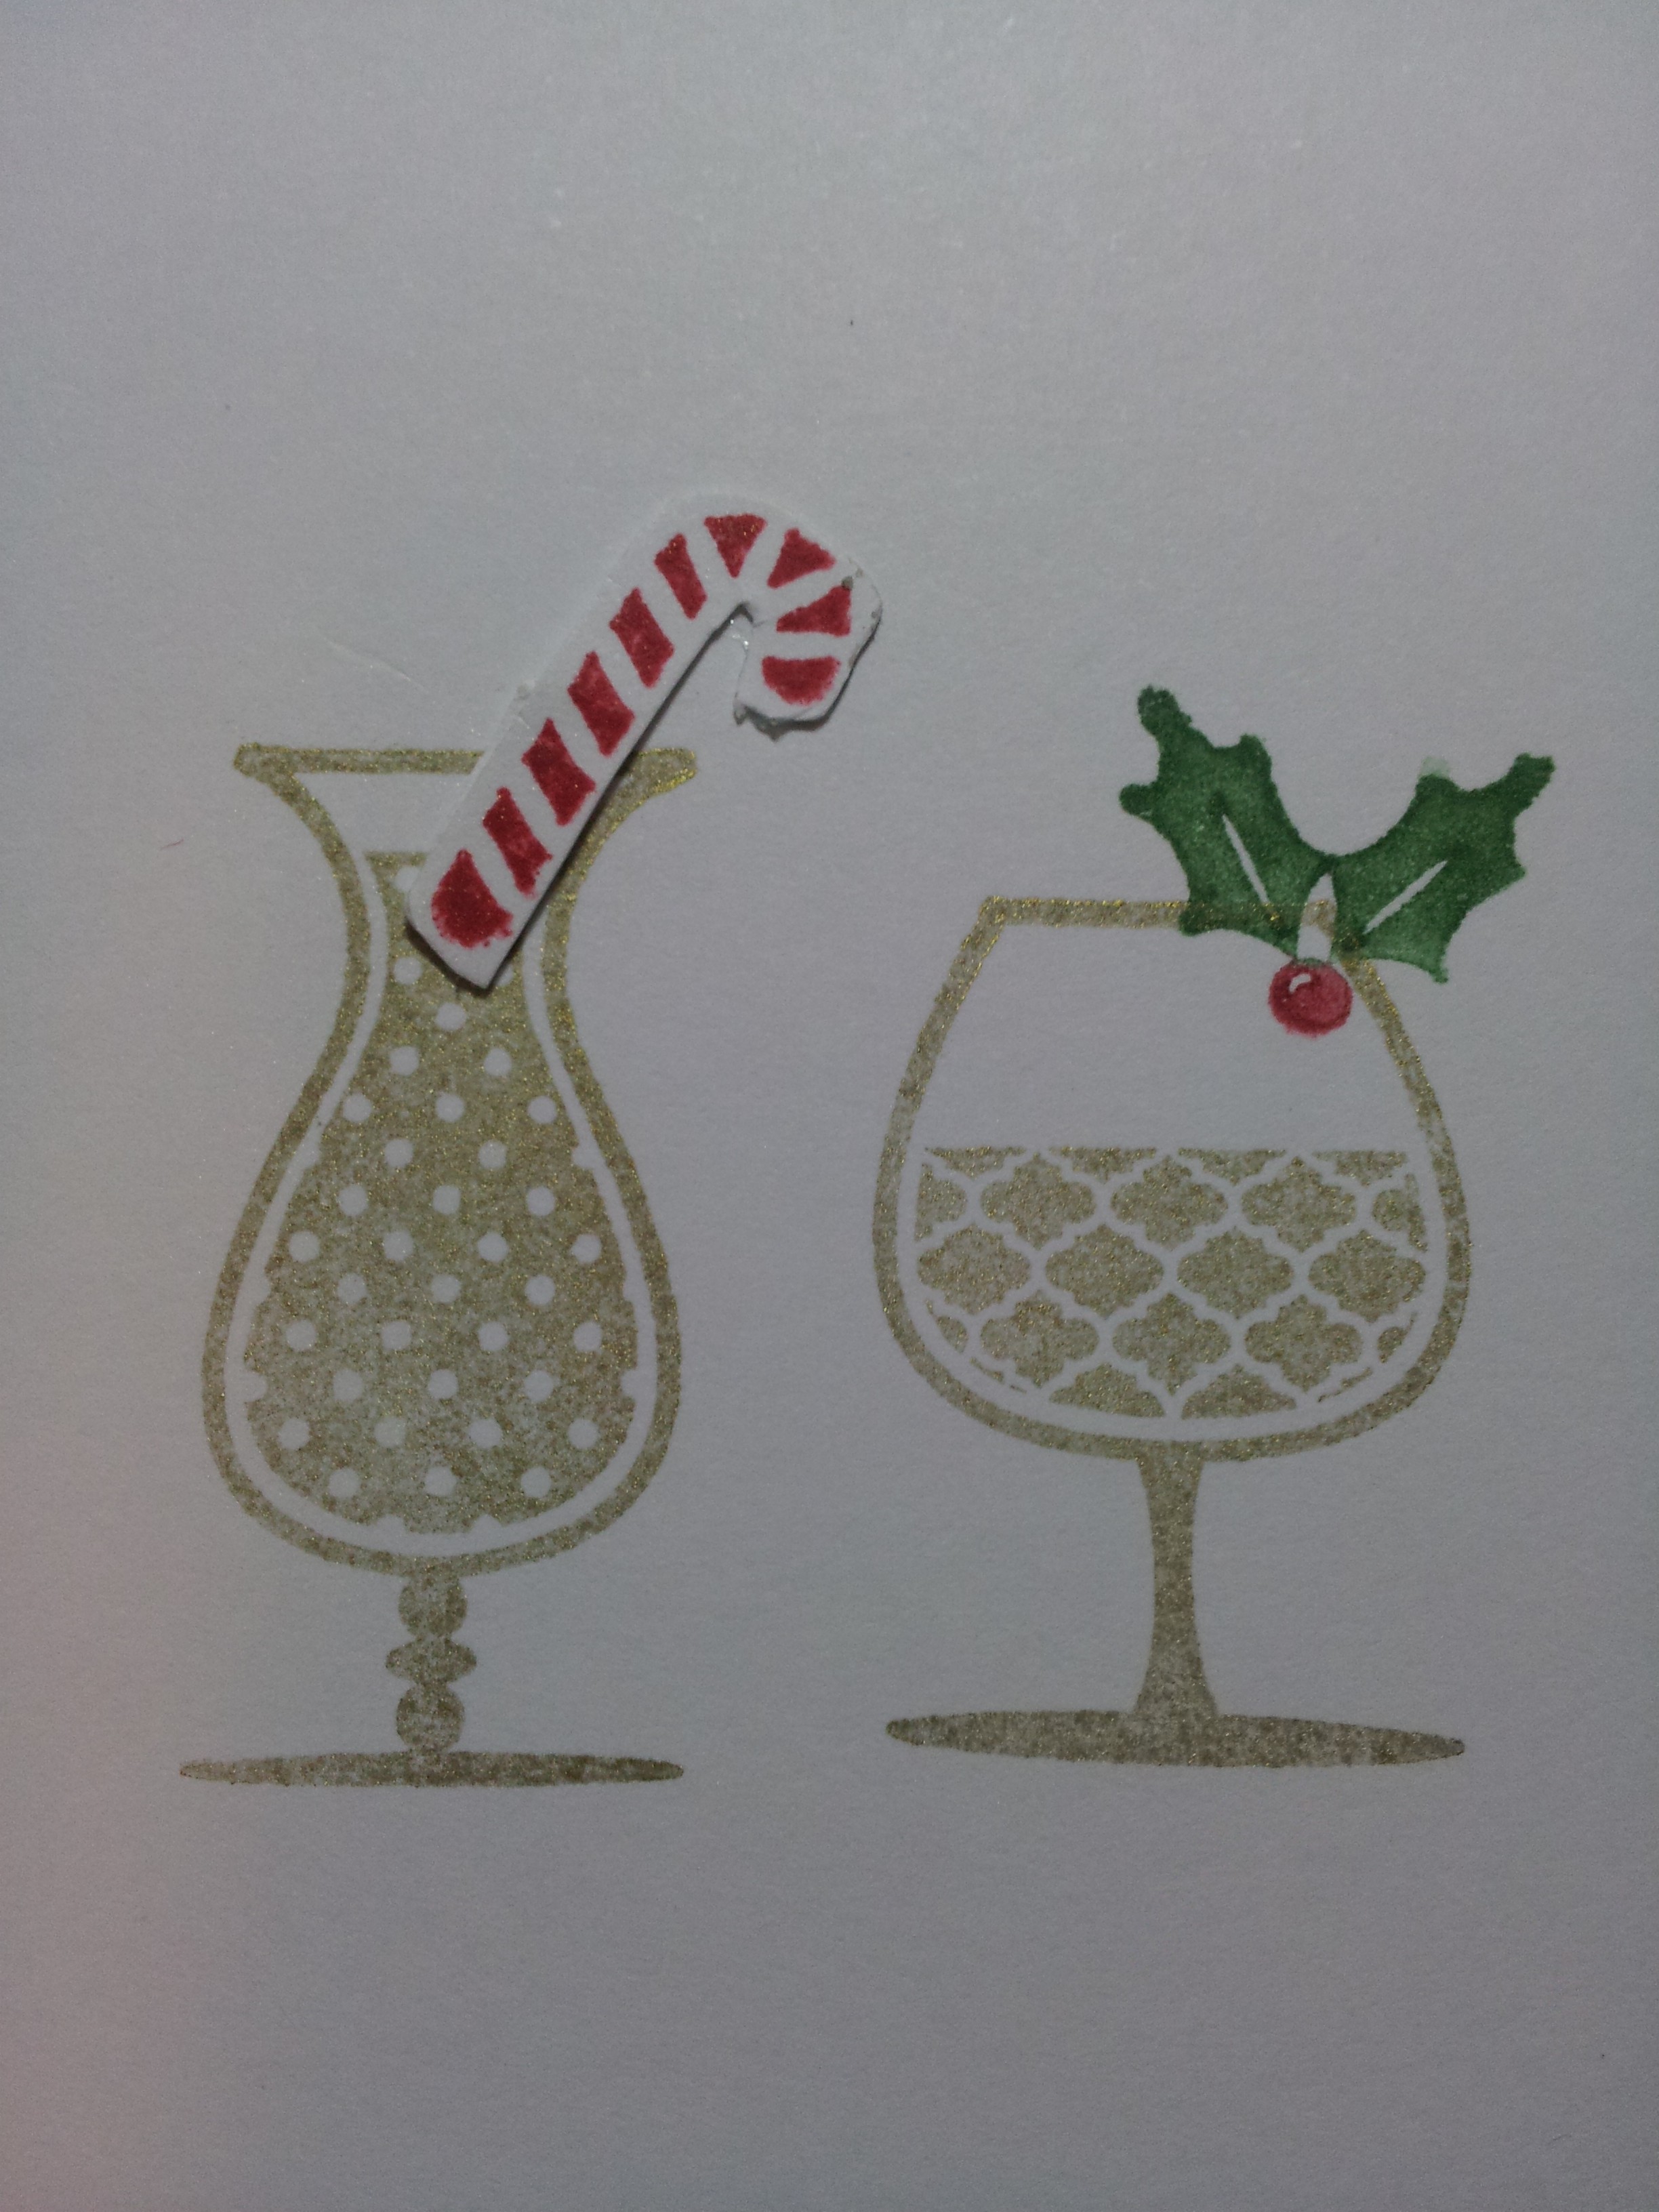
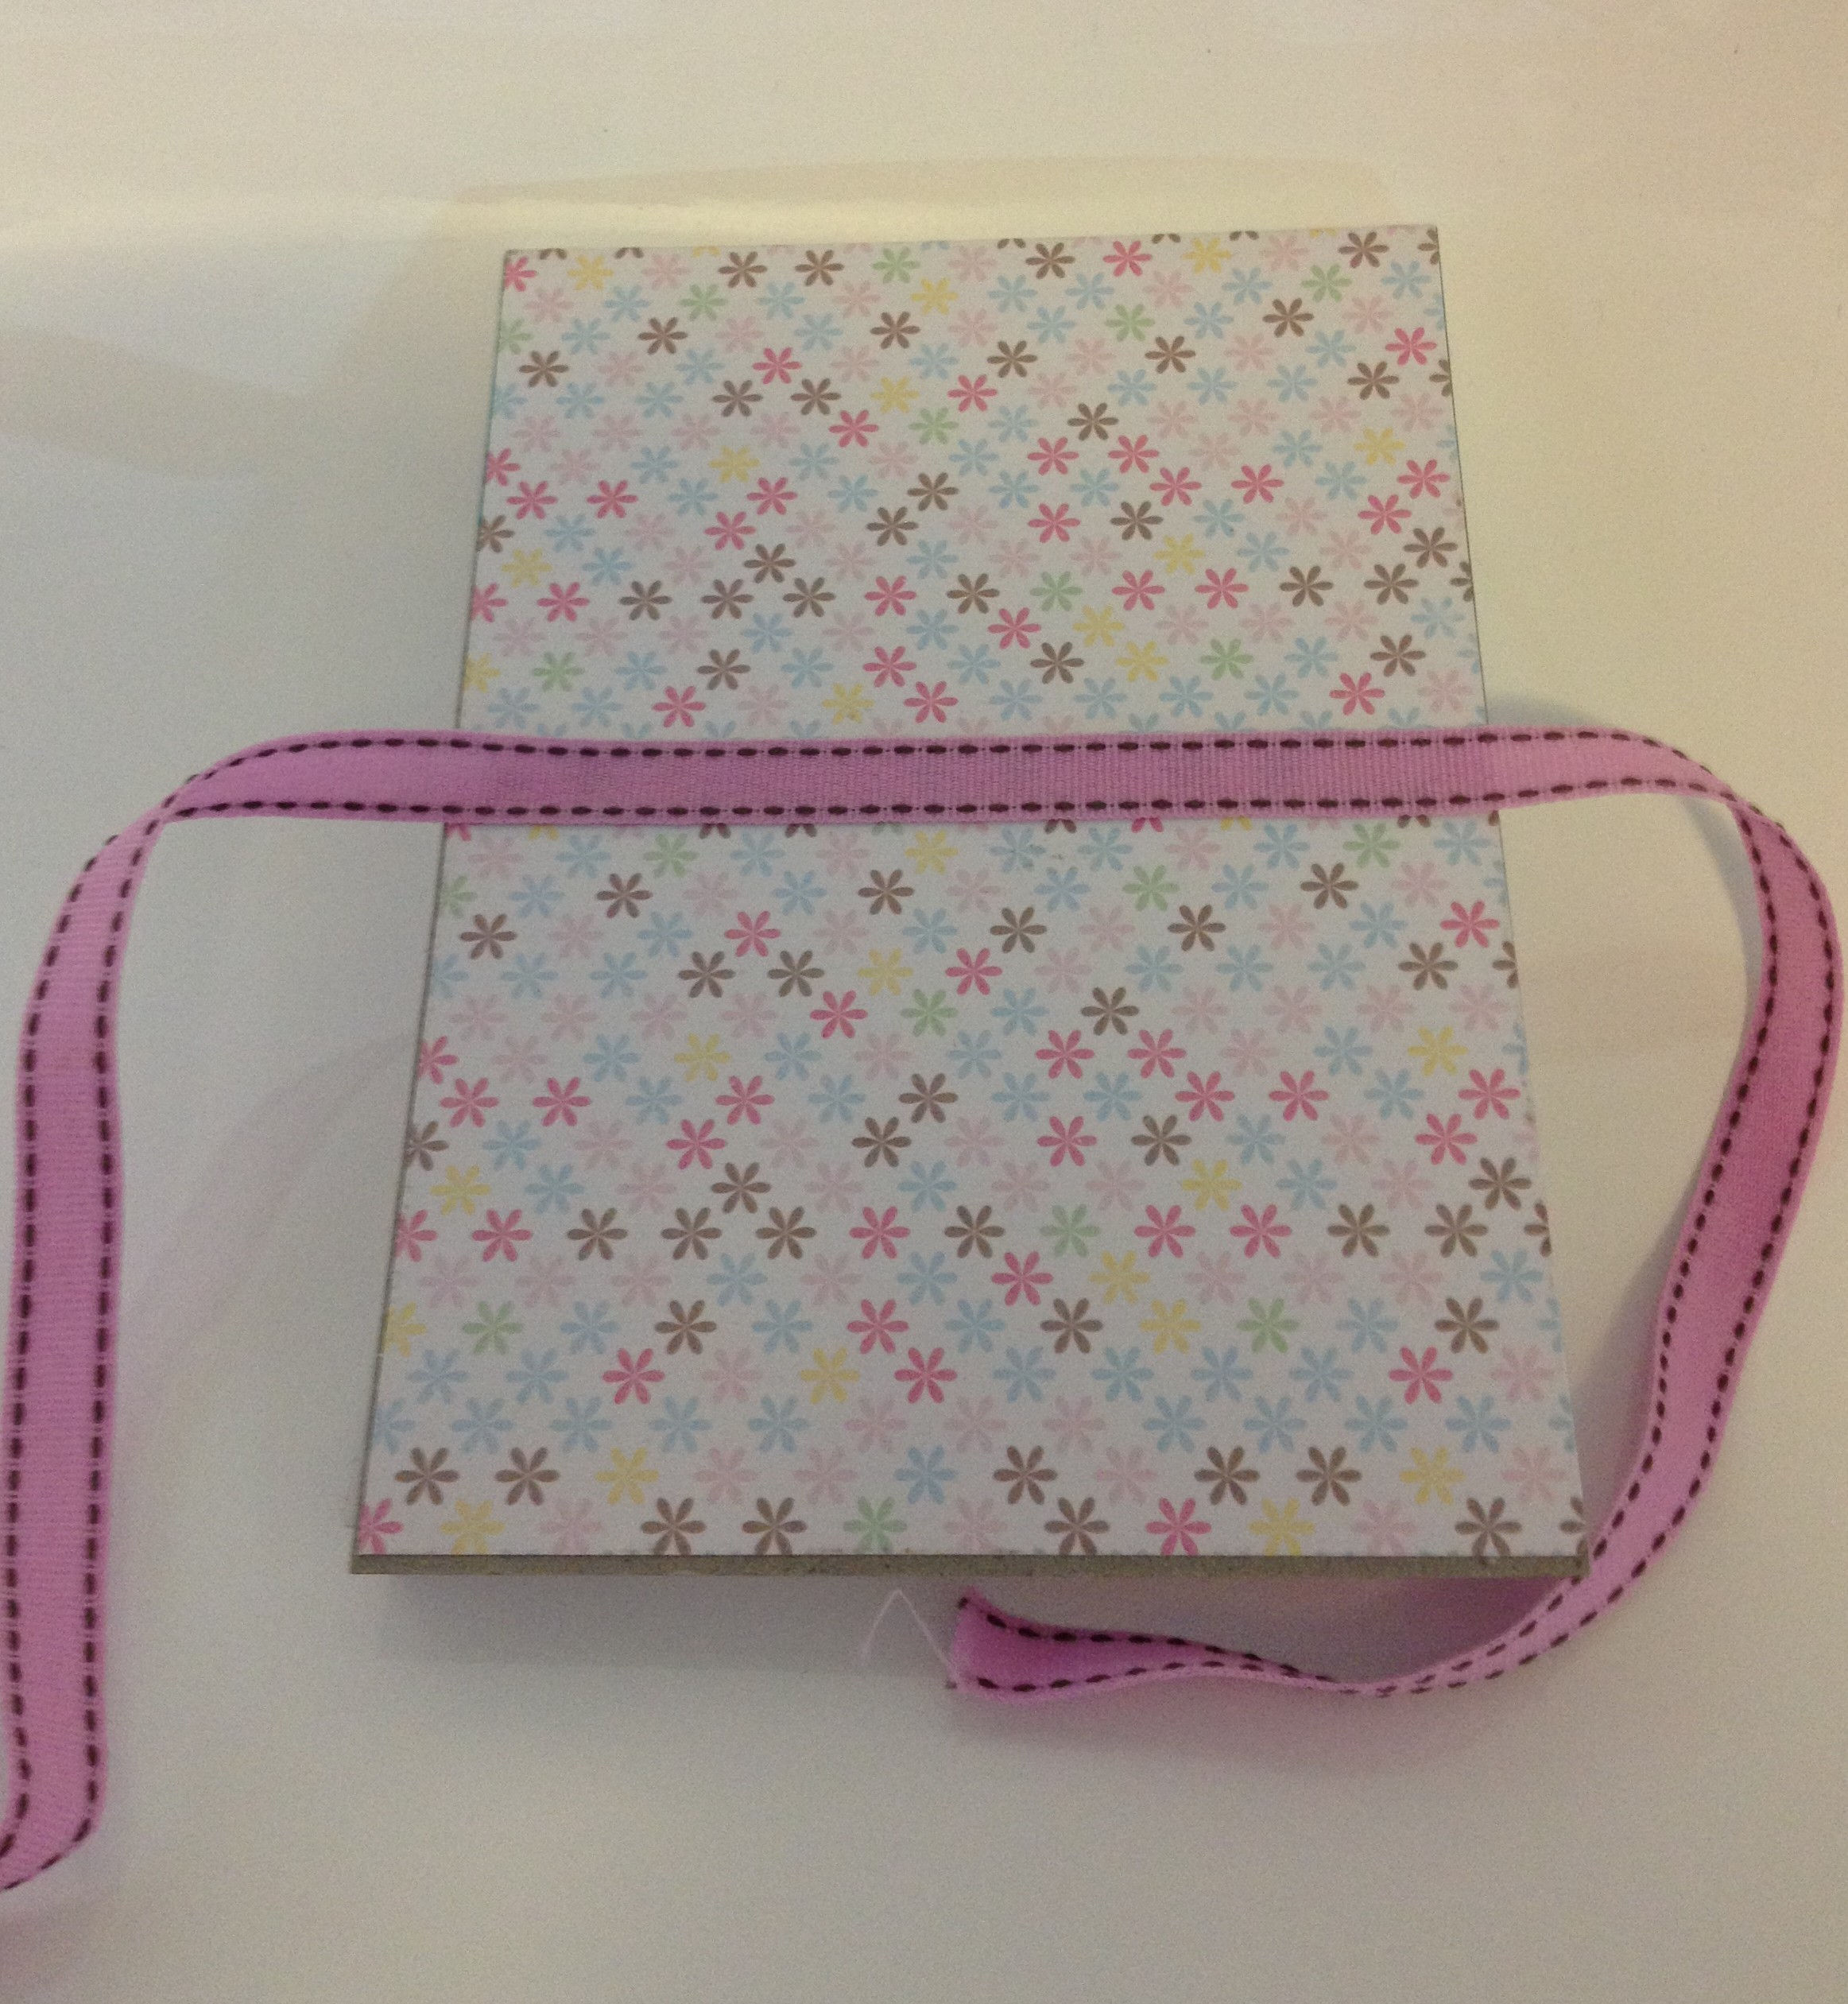
And some “grown up” butterfly ones:

photo-5photo-4I think this last one is the first card I ever made after going to a class run by the very talented Sally Ann Williams (check out Sally’s blog at http://www.sallycancraft.com)

[And yes, I’m still sorting through my old photos!!!]

Making the cards

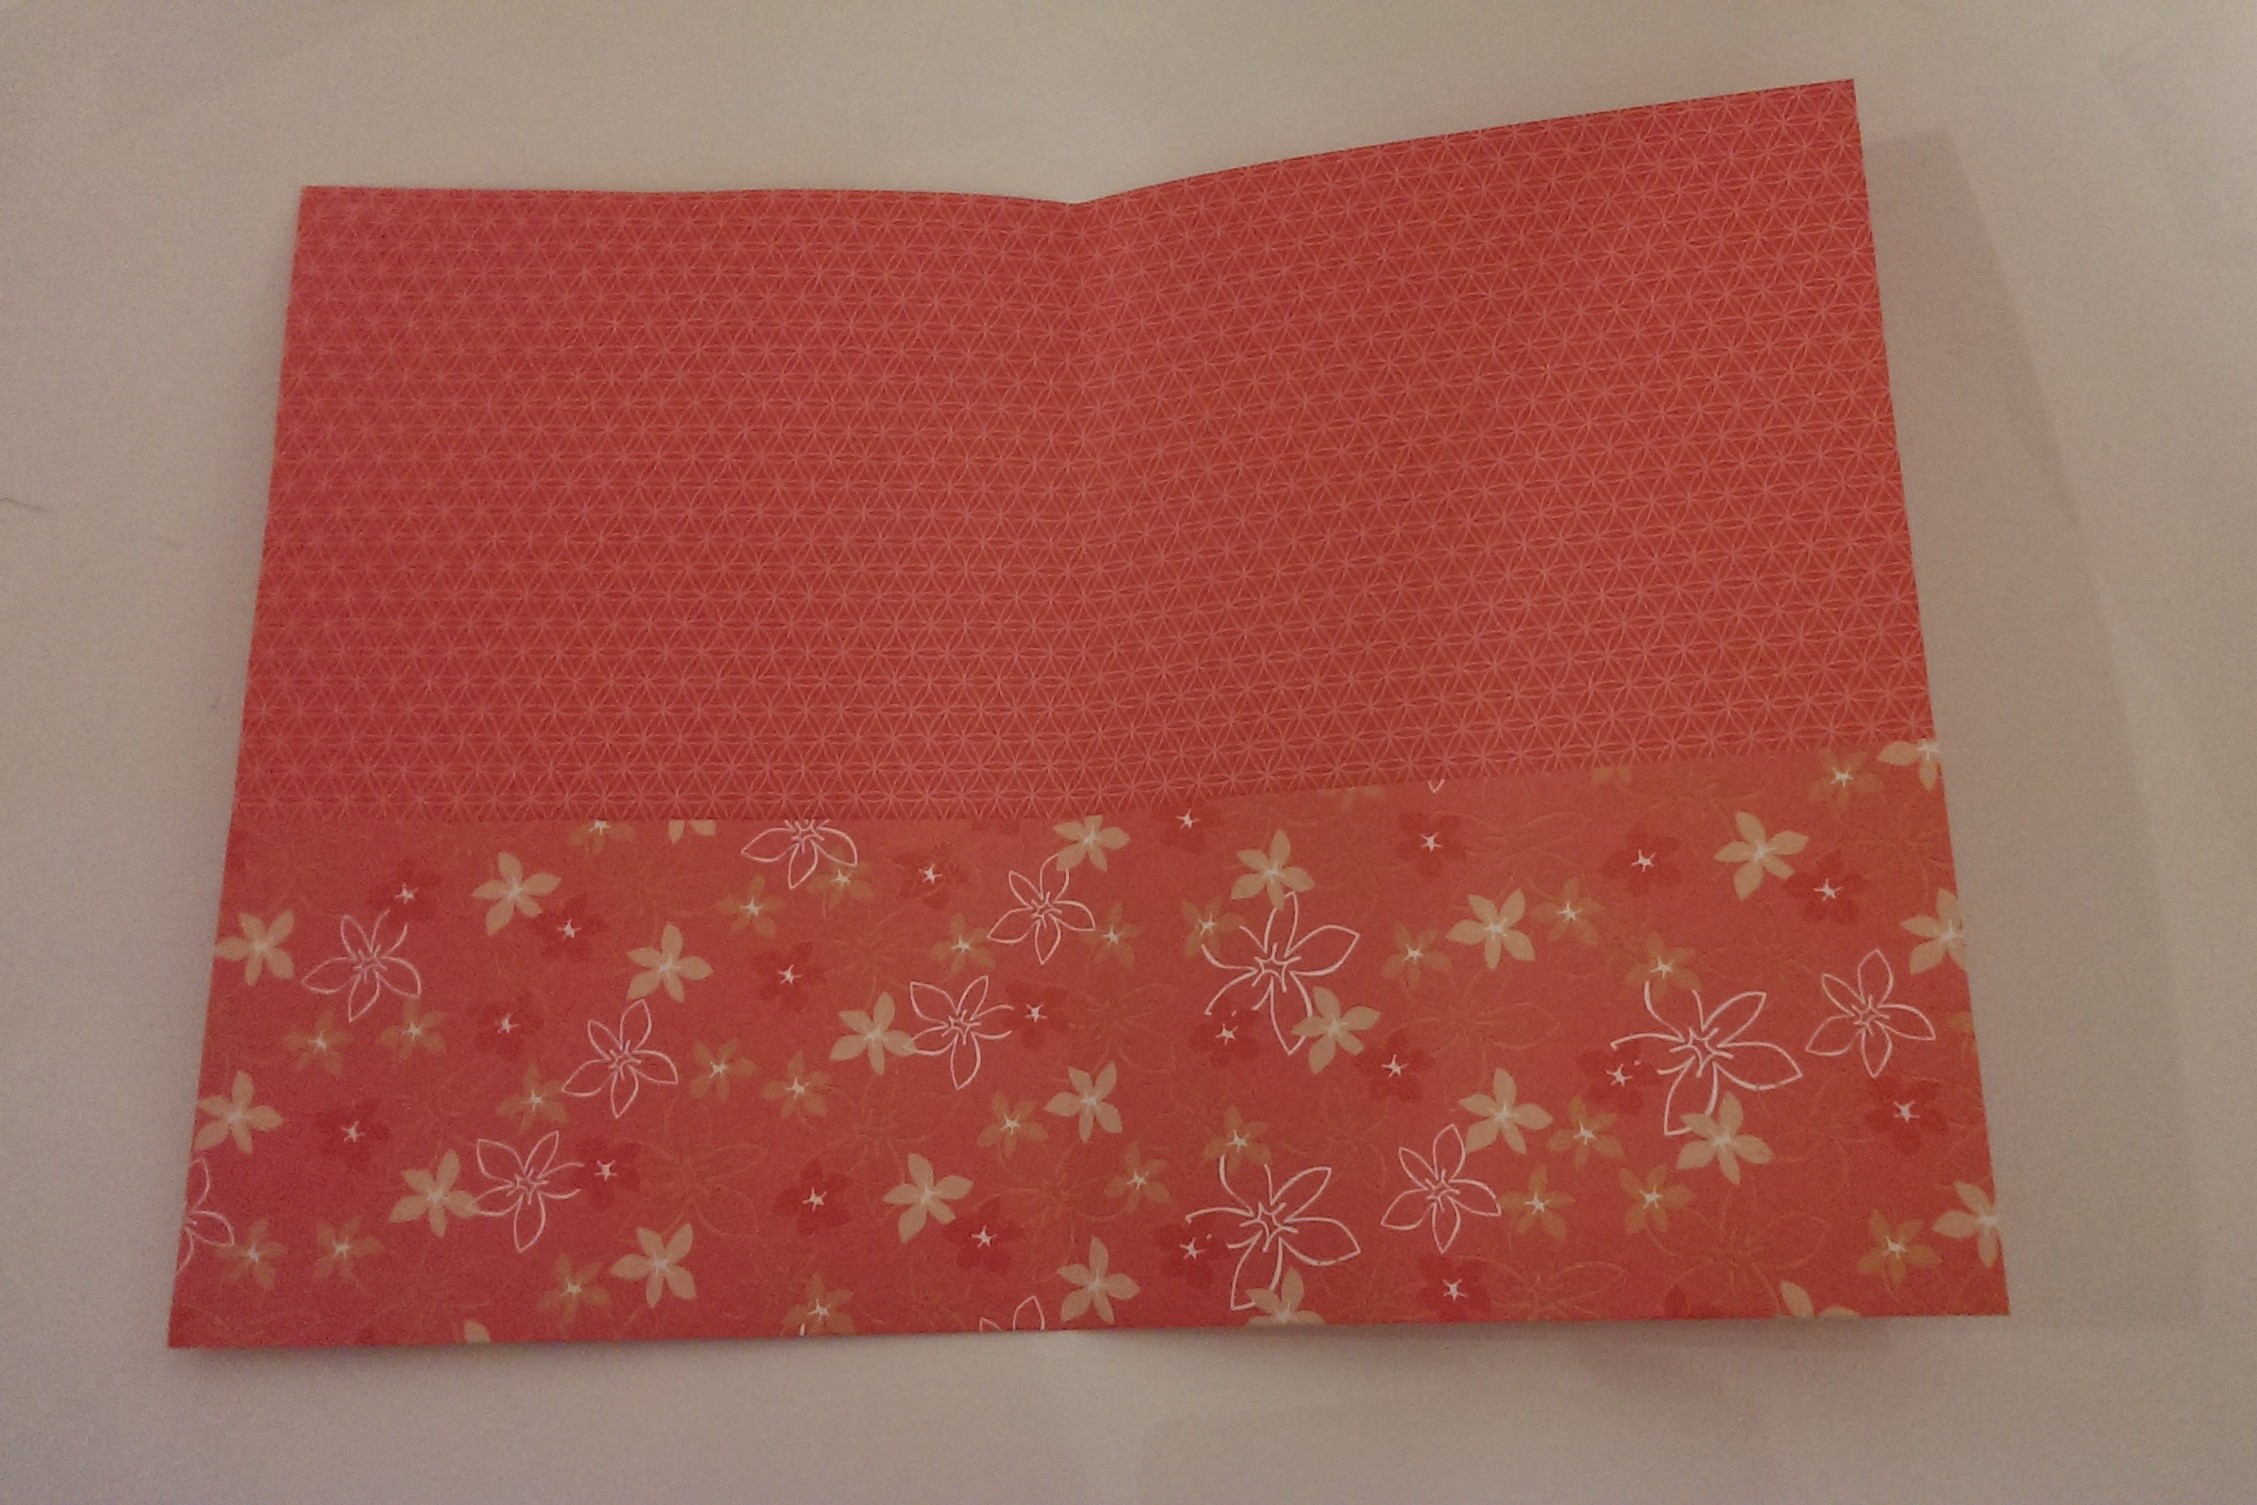
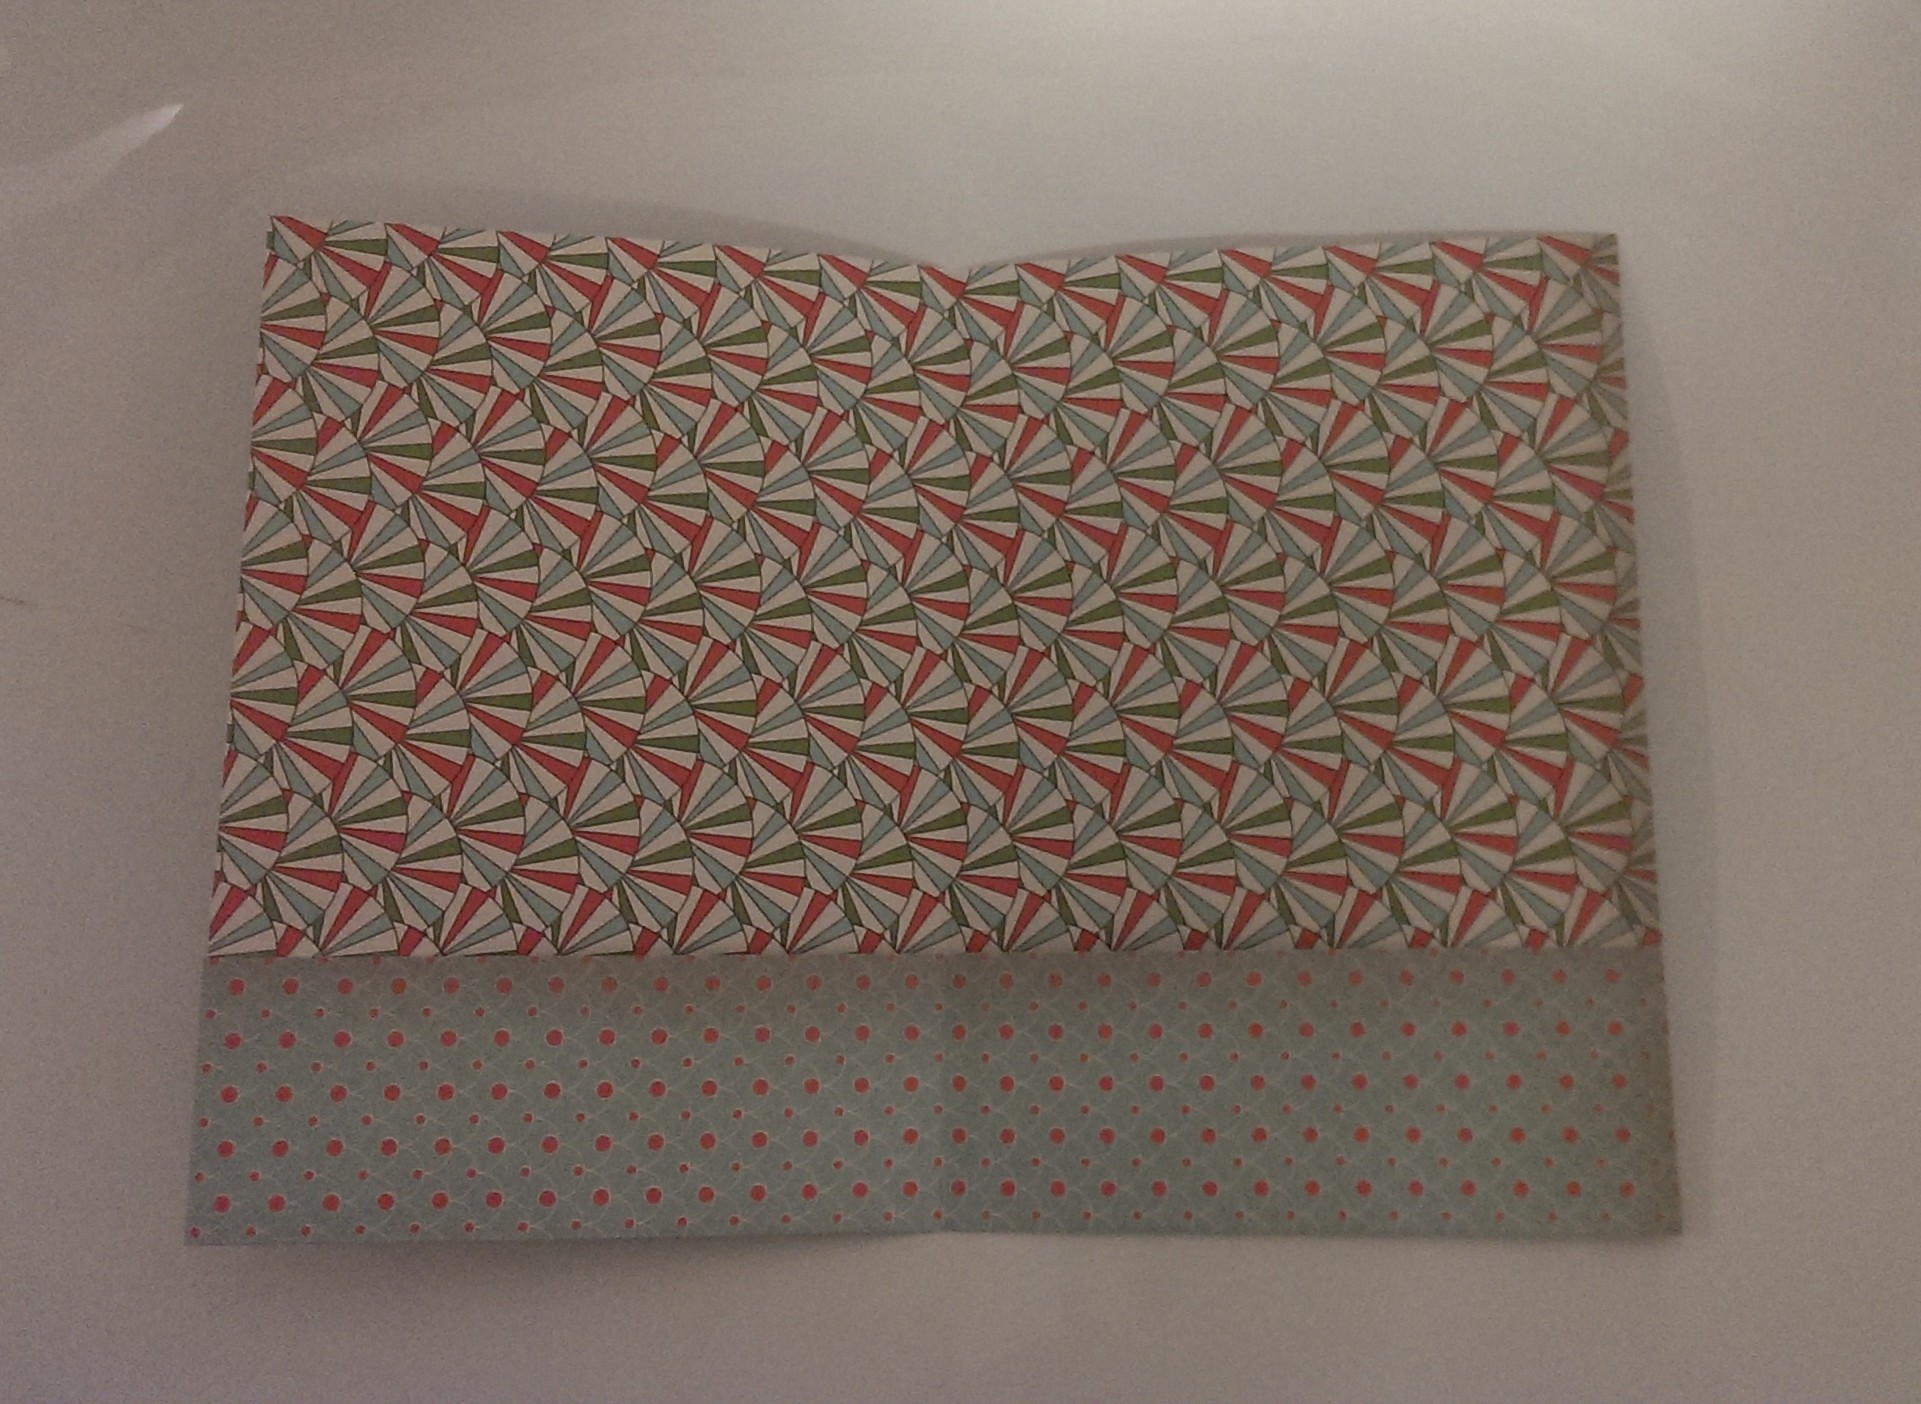
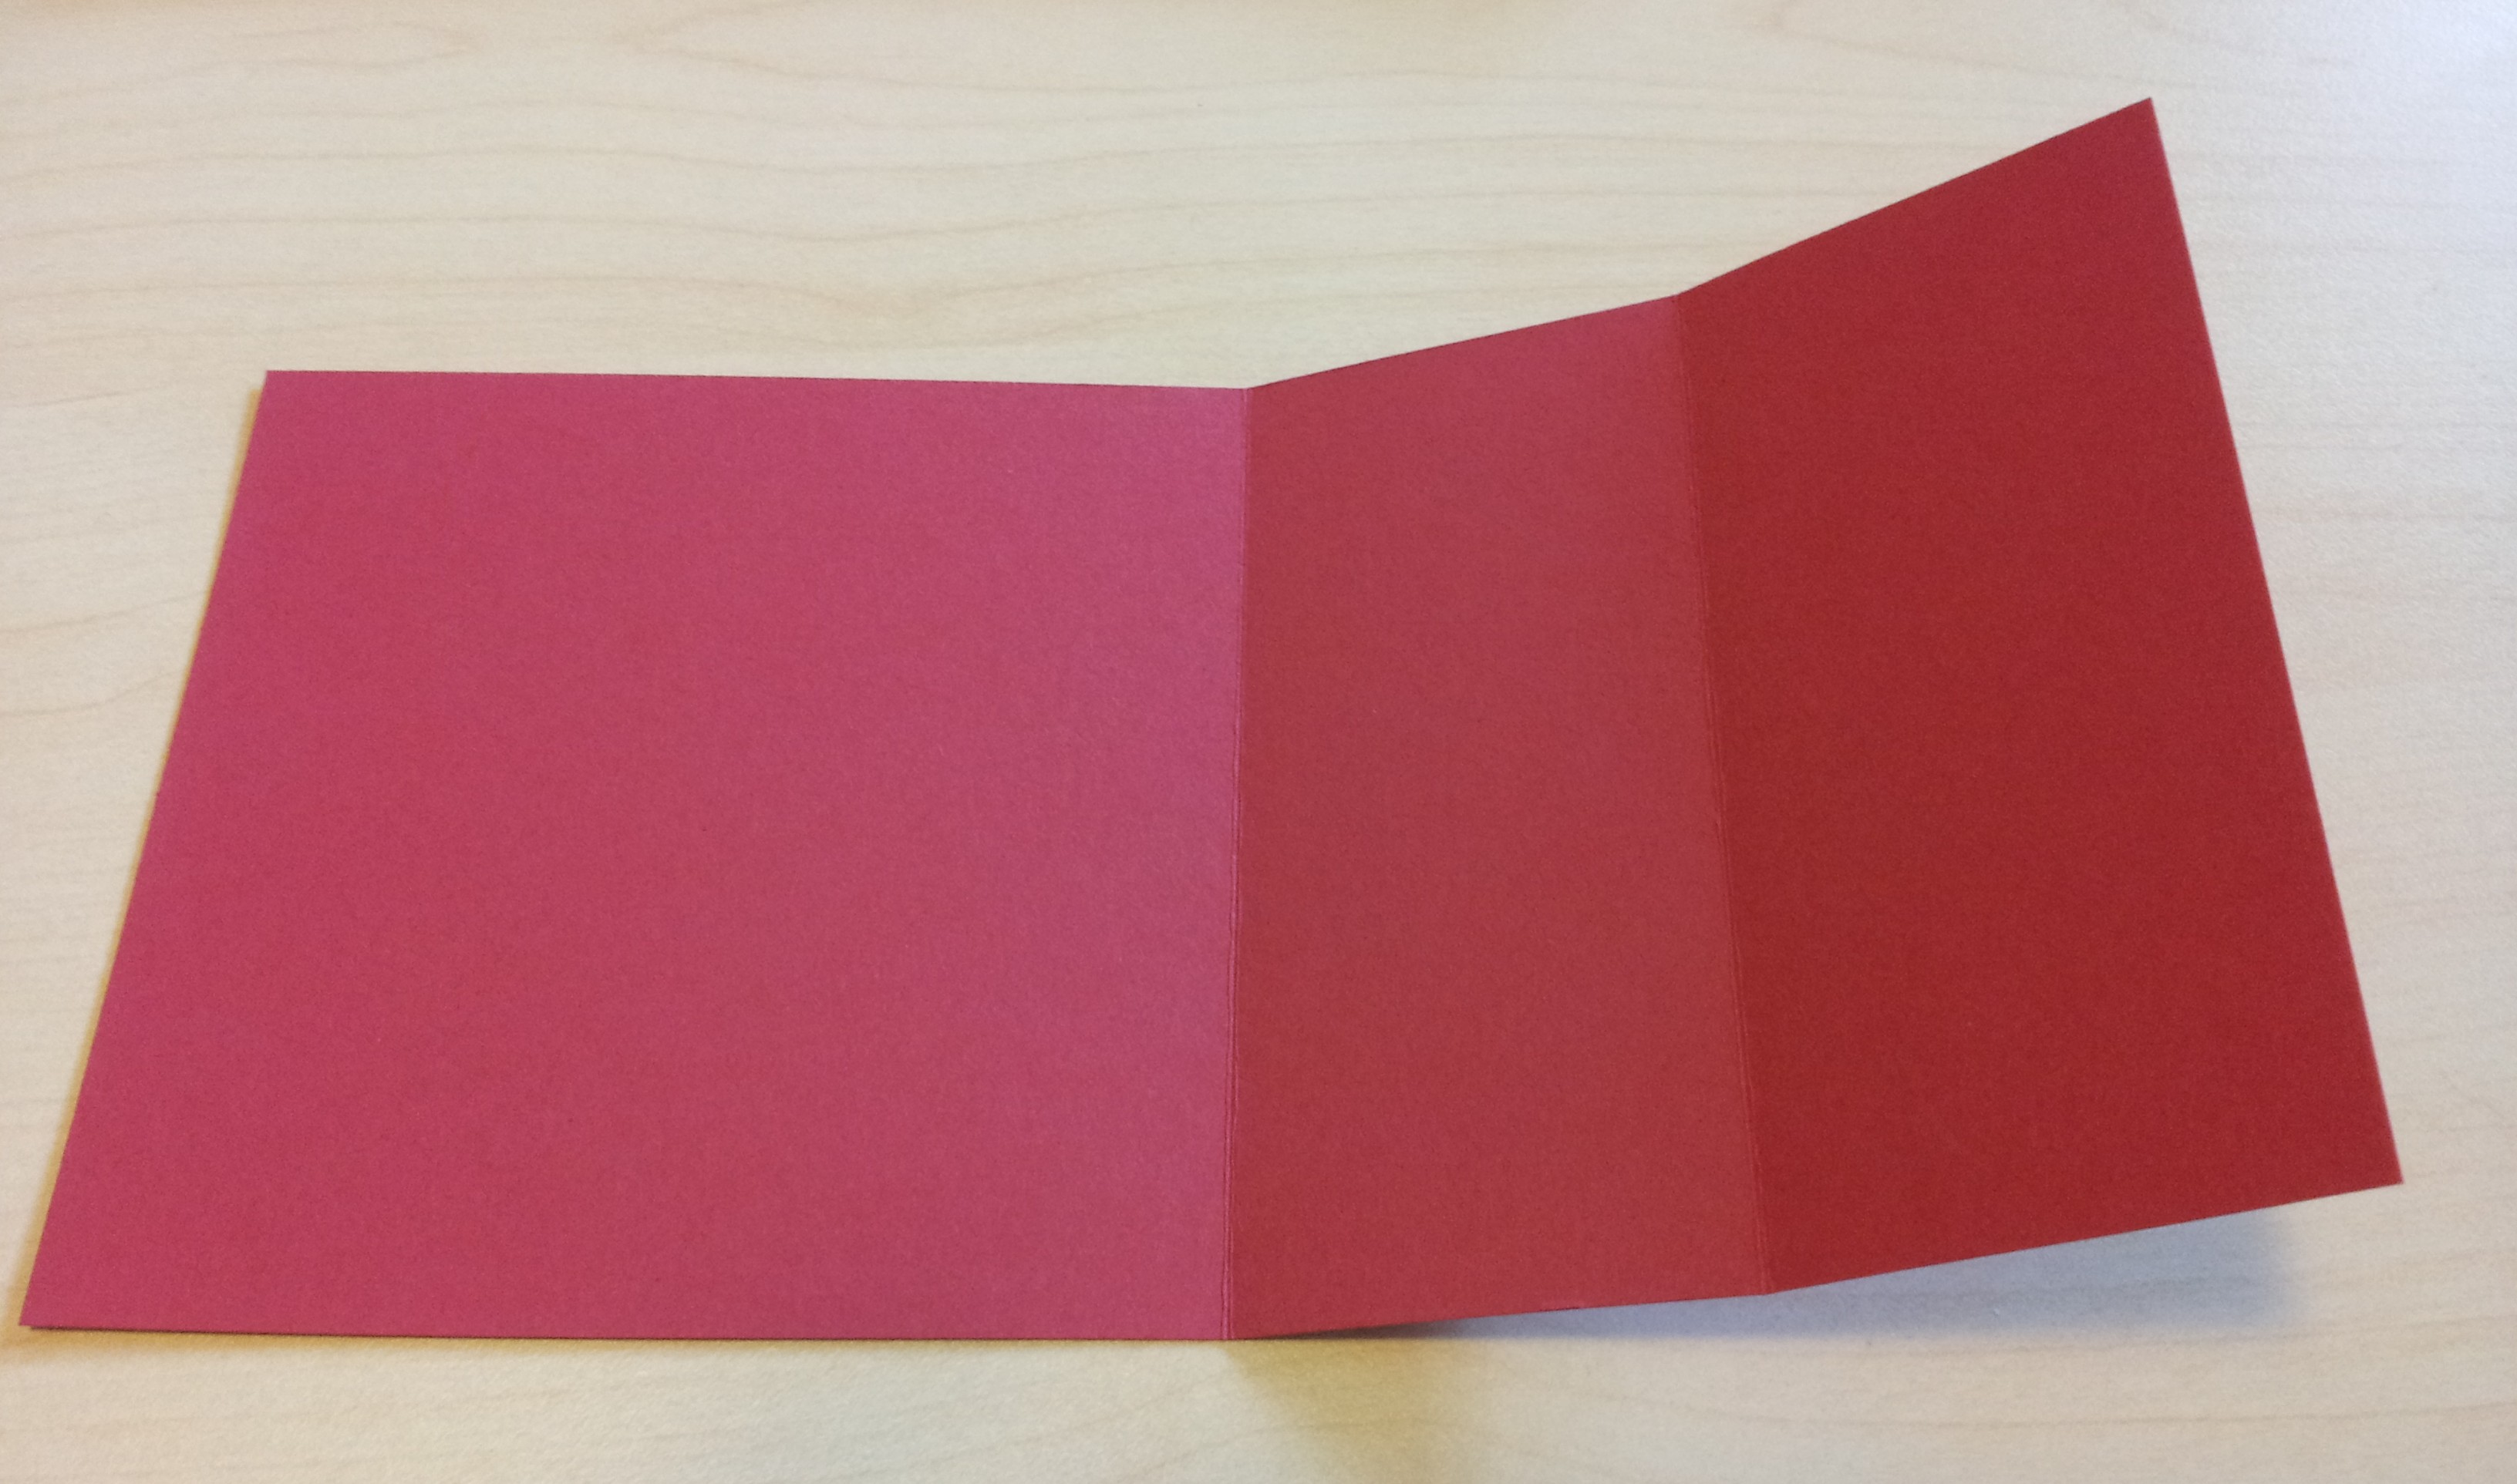
To make these cards you need 2 pieces of card stock.  I like to use these dimensions: Piece 1 – 21 x 11 cm and Piece 2 – 11 x 11cm.  Why these dimensions?  Well, an A4 piece of card stock is 21cm along the short side, so it’s easy to just cut at 11cm to make your first piece.

20130808_132625

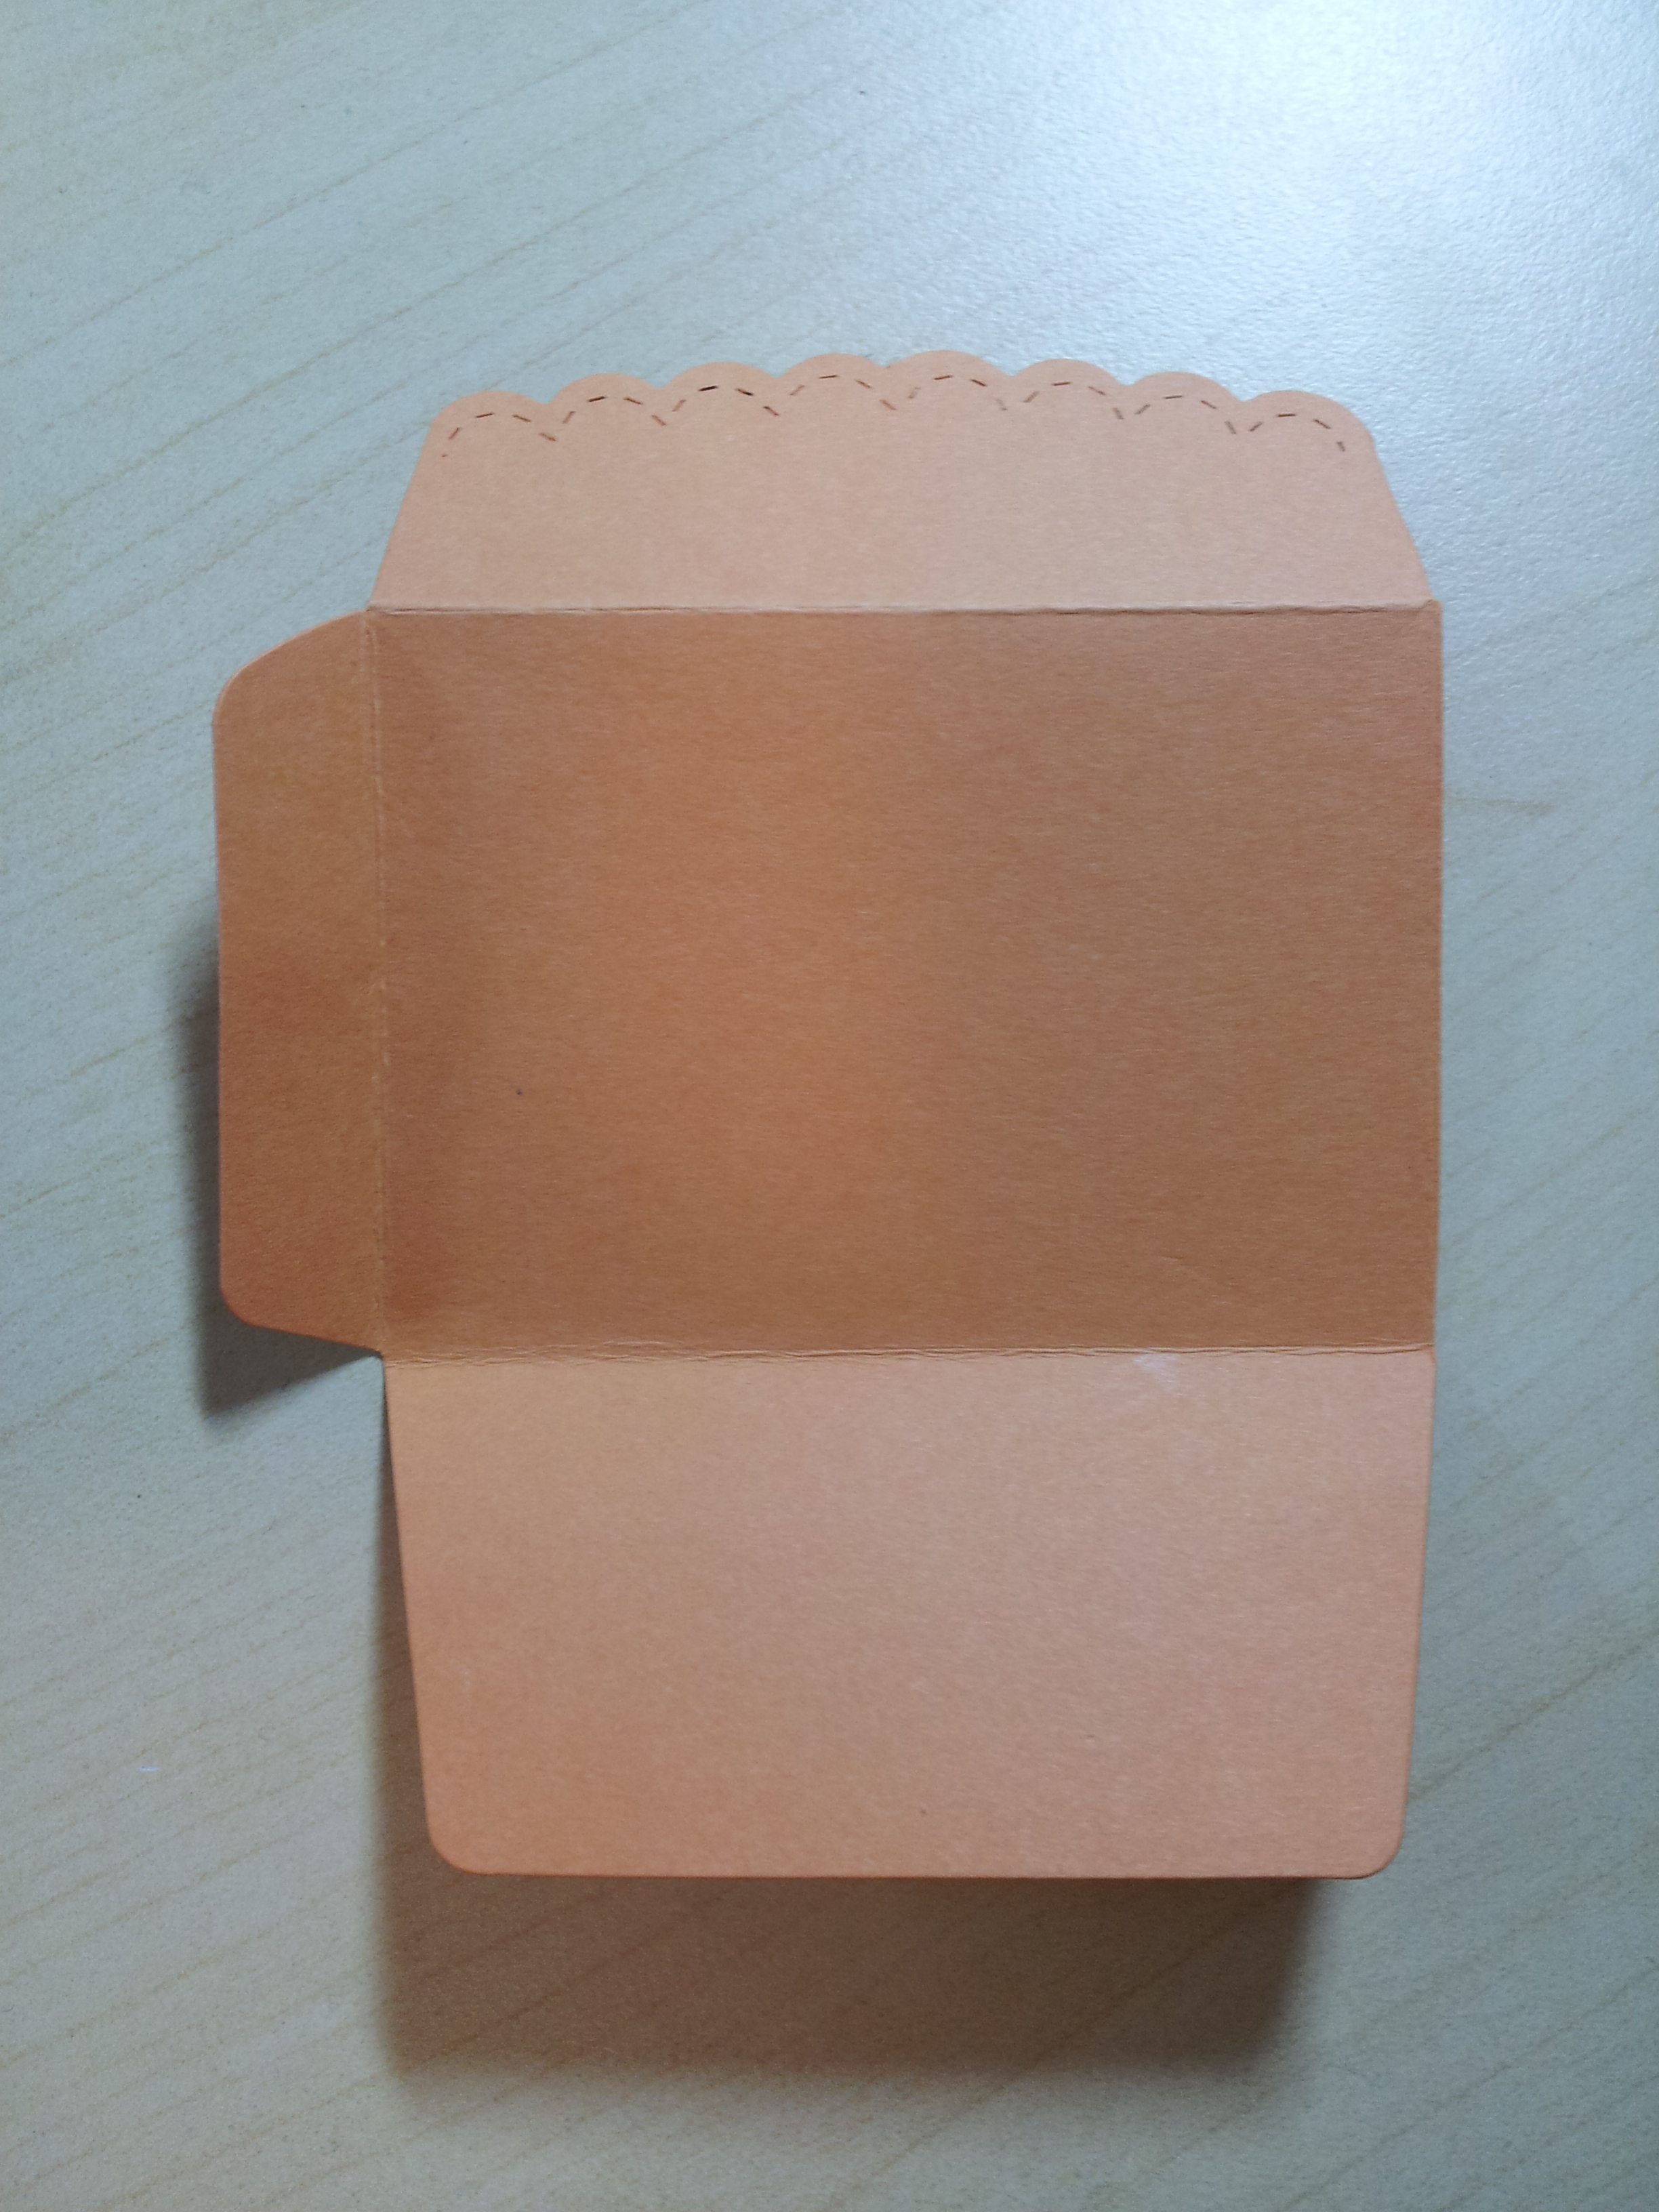
Step 1 – score Piece 1 across the short edge at 5cm and 10cm in from the long edge.

20130808_132802

Step 2 – fold the 10cm score line over as a valley fold.  Then fold the 5cm score line as a mountain fold (ie, back on itself)

20130808_132818

Step 3 – decorate Piece 2 (11cm square) however you like.  This will be the front of your card.  I’ve found it can be quite effective to leave your square plain and actually decorate a separate 10.5 x 10.5cm piece of card stock and layer that onto the front of the card. This gives you a nice layered/framed effect.  In the two butterfly cards I’ve shown you above I’ve done two layers – a 10cm x 10cm white piece and a 10.5 x 10.5cm mat.

Step 4 – put some glue onto the ‘folded back’ section.  This is where you will stick the front of the card.  I’d recommend using Snail Adhesive from Stampin’ Up!.  I’ve tried other glues from Officeworks and $2 shops but in my experience they are not strong enough for an easel card and lose their stick after a few days.

20130808_133102

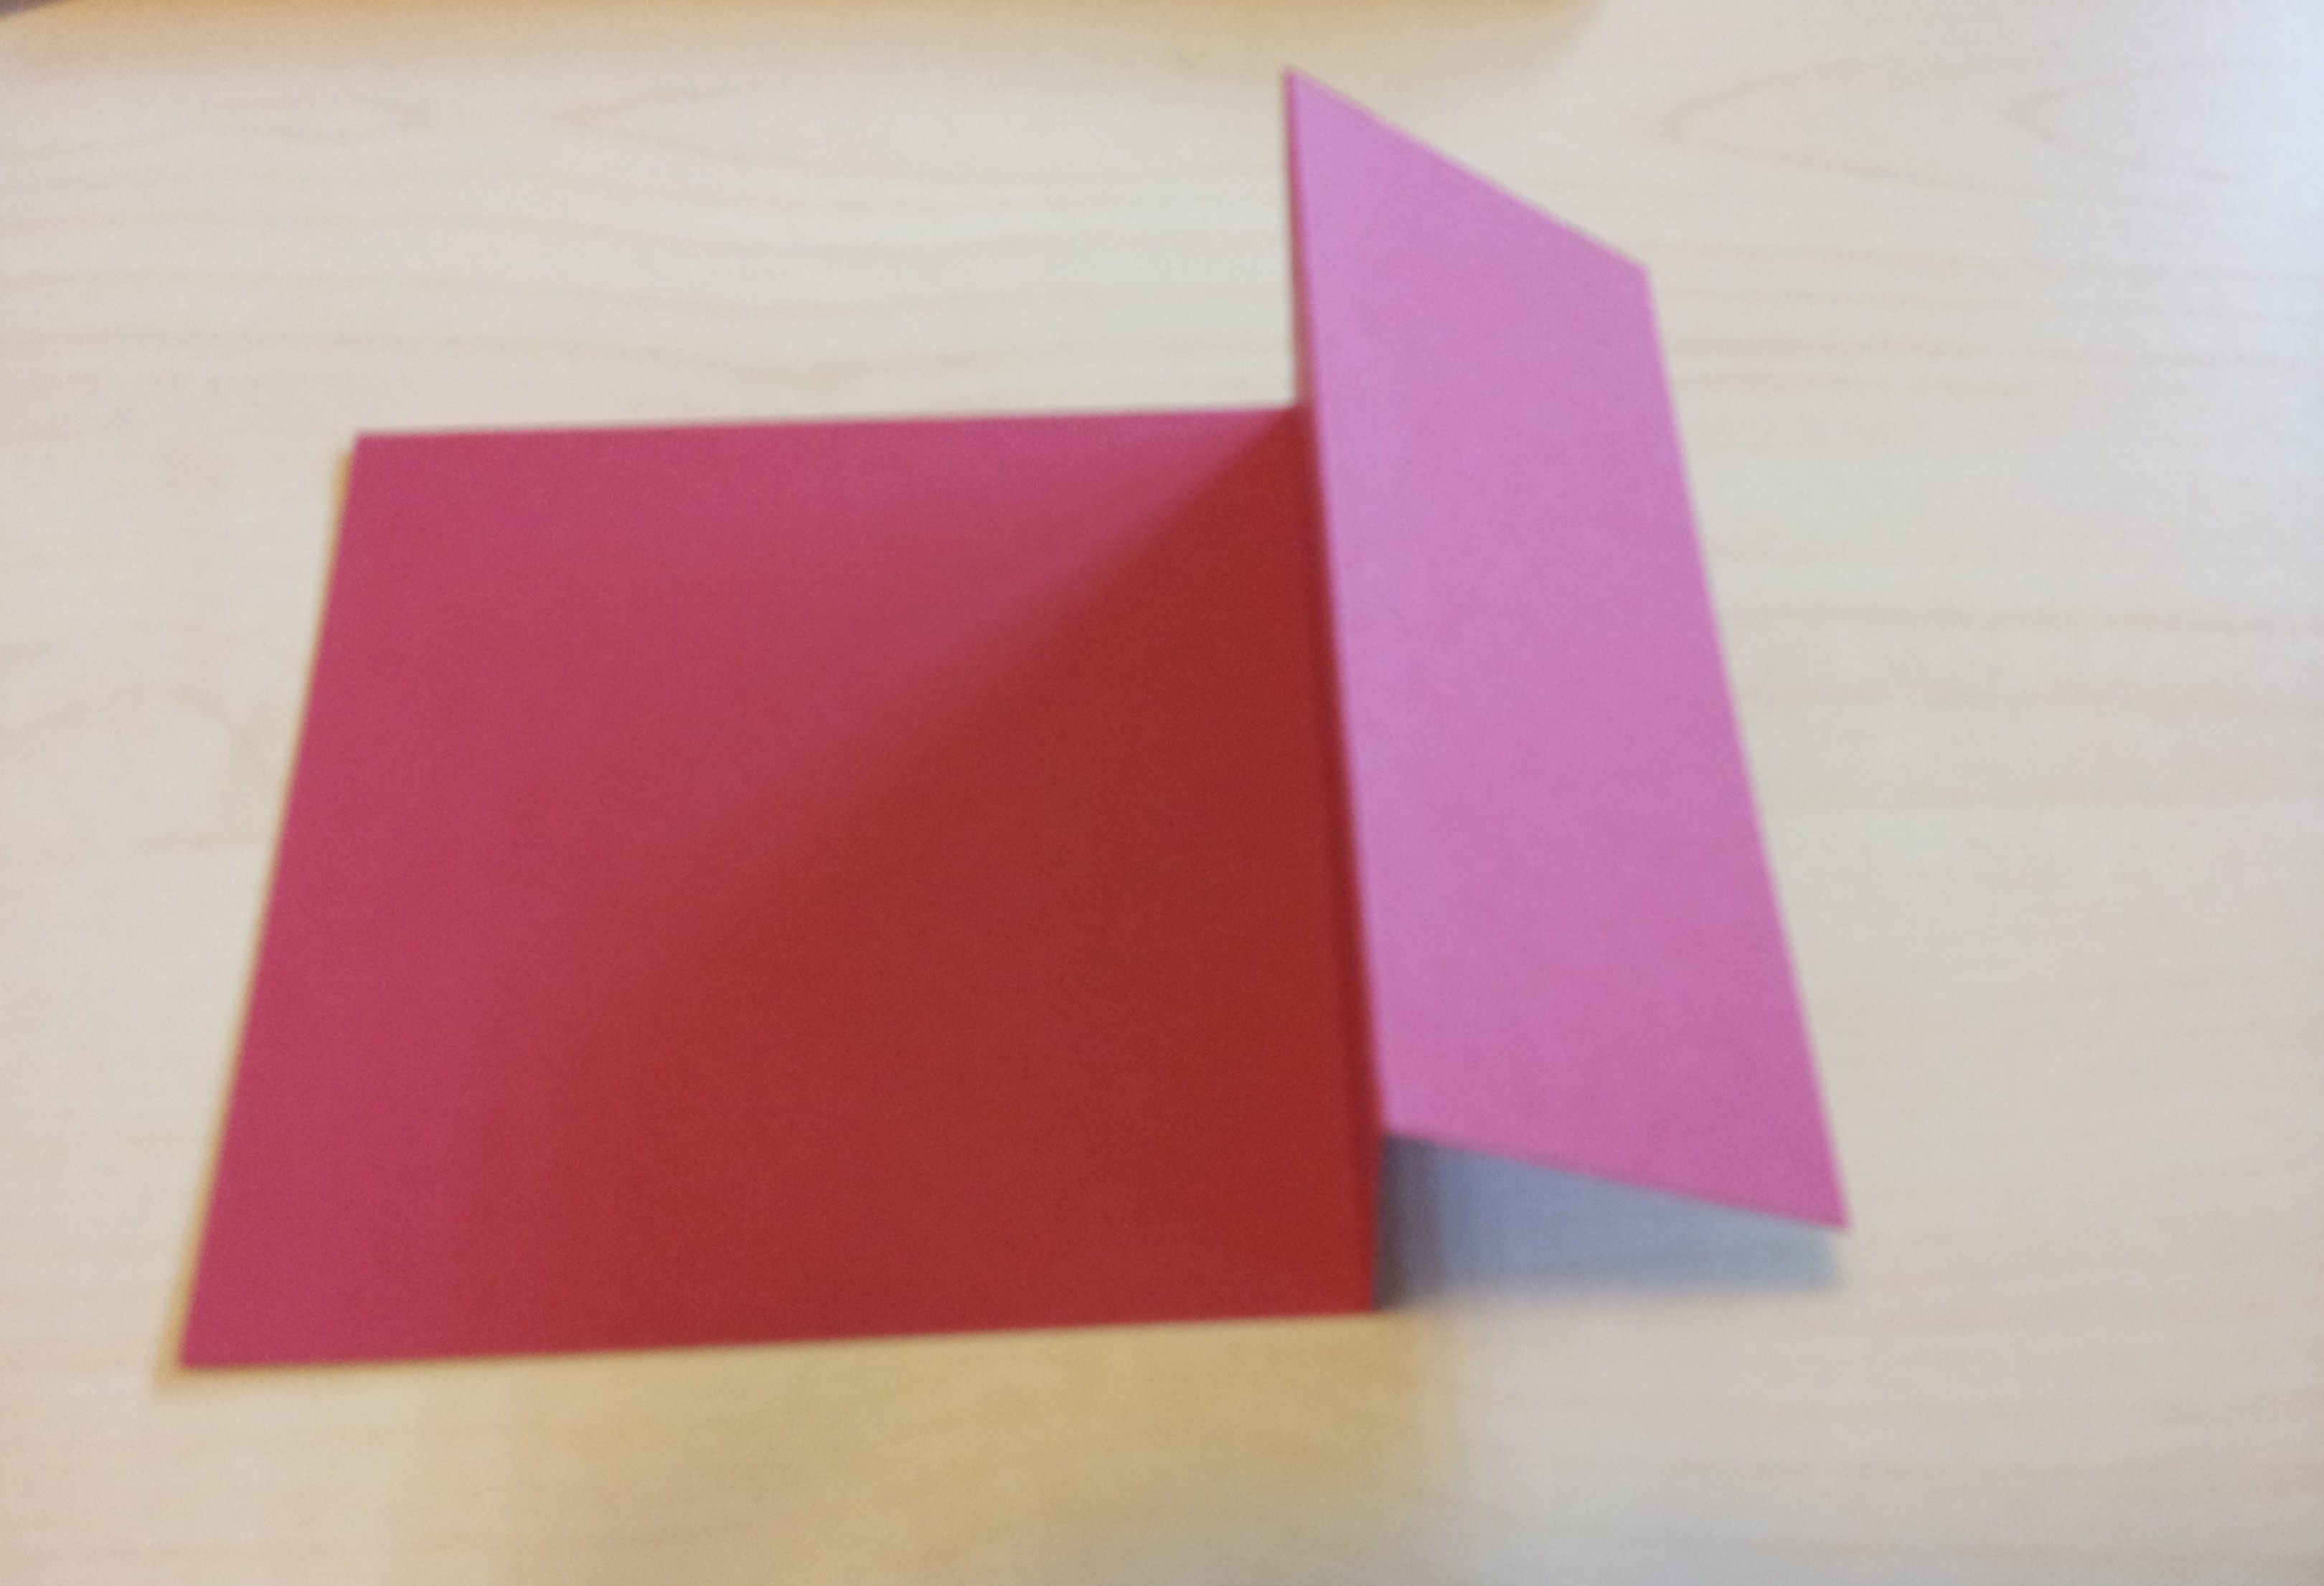
Step 5 – stick on your card front!  This picture gives you the idea of how the card is stuck together:

photo-6

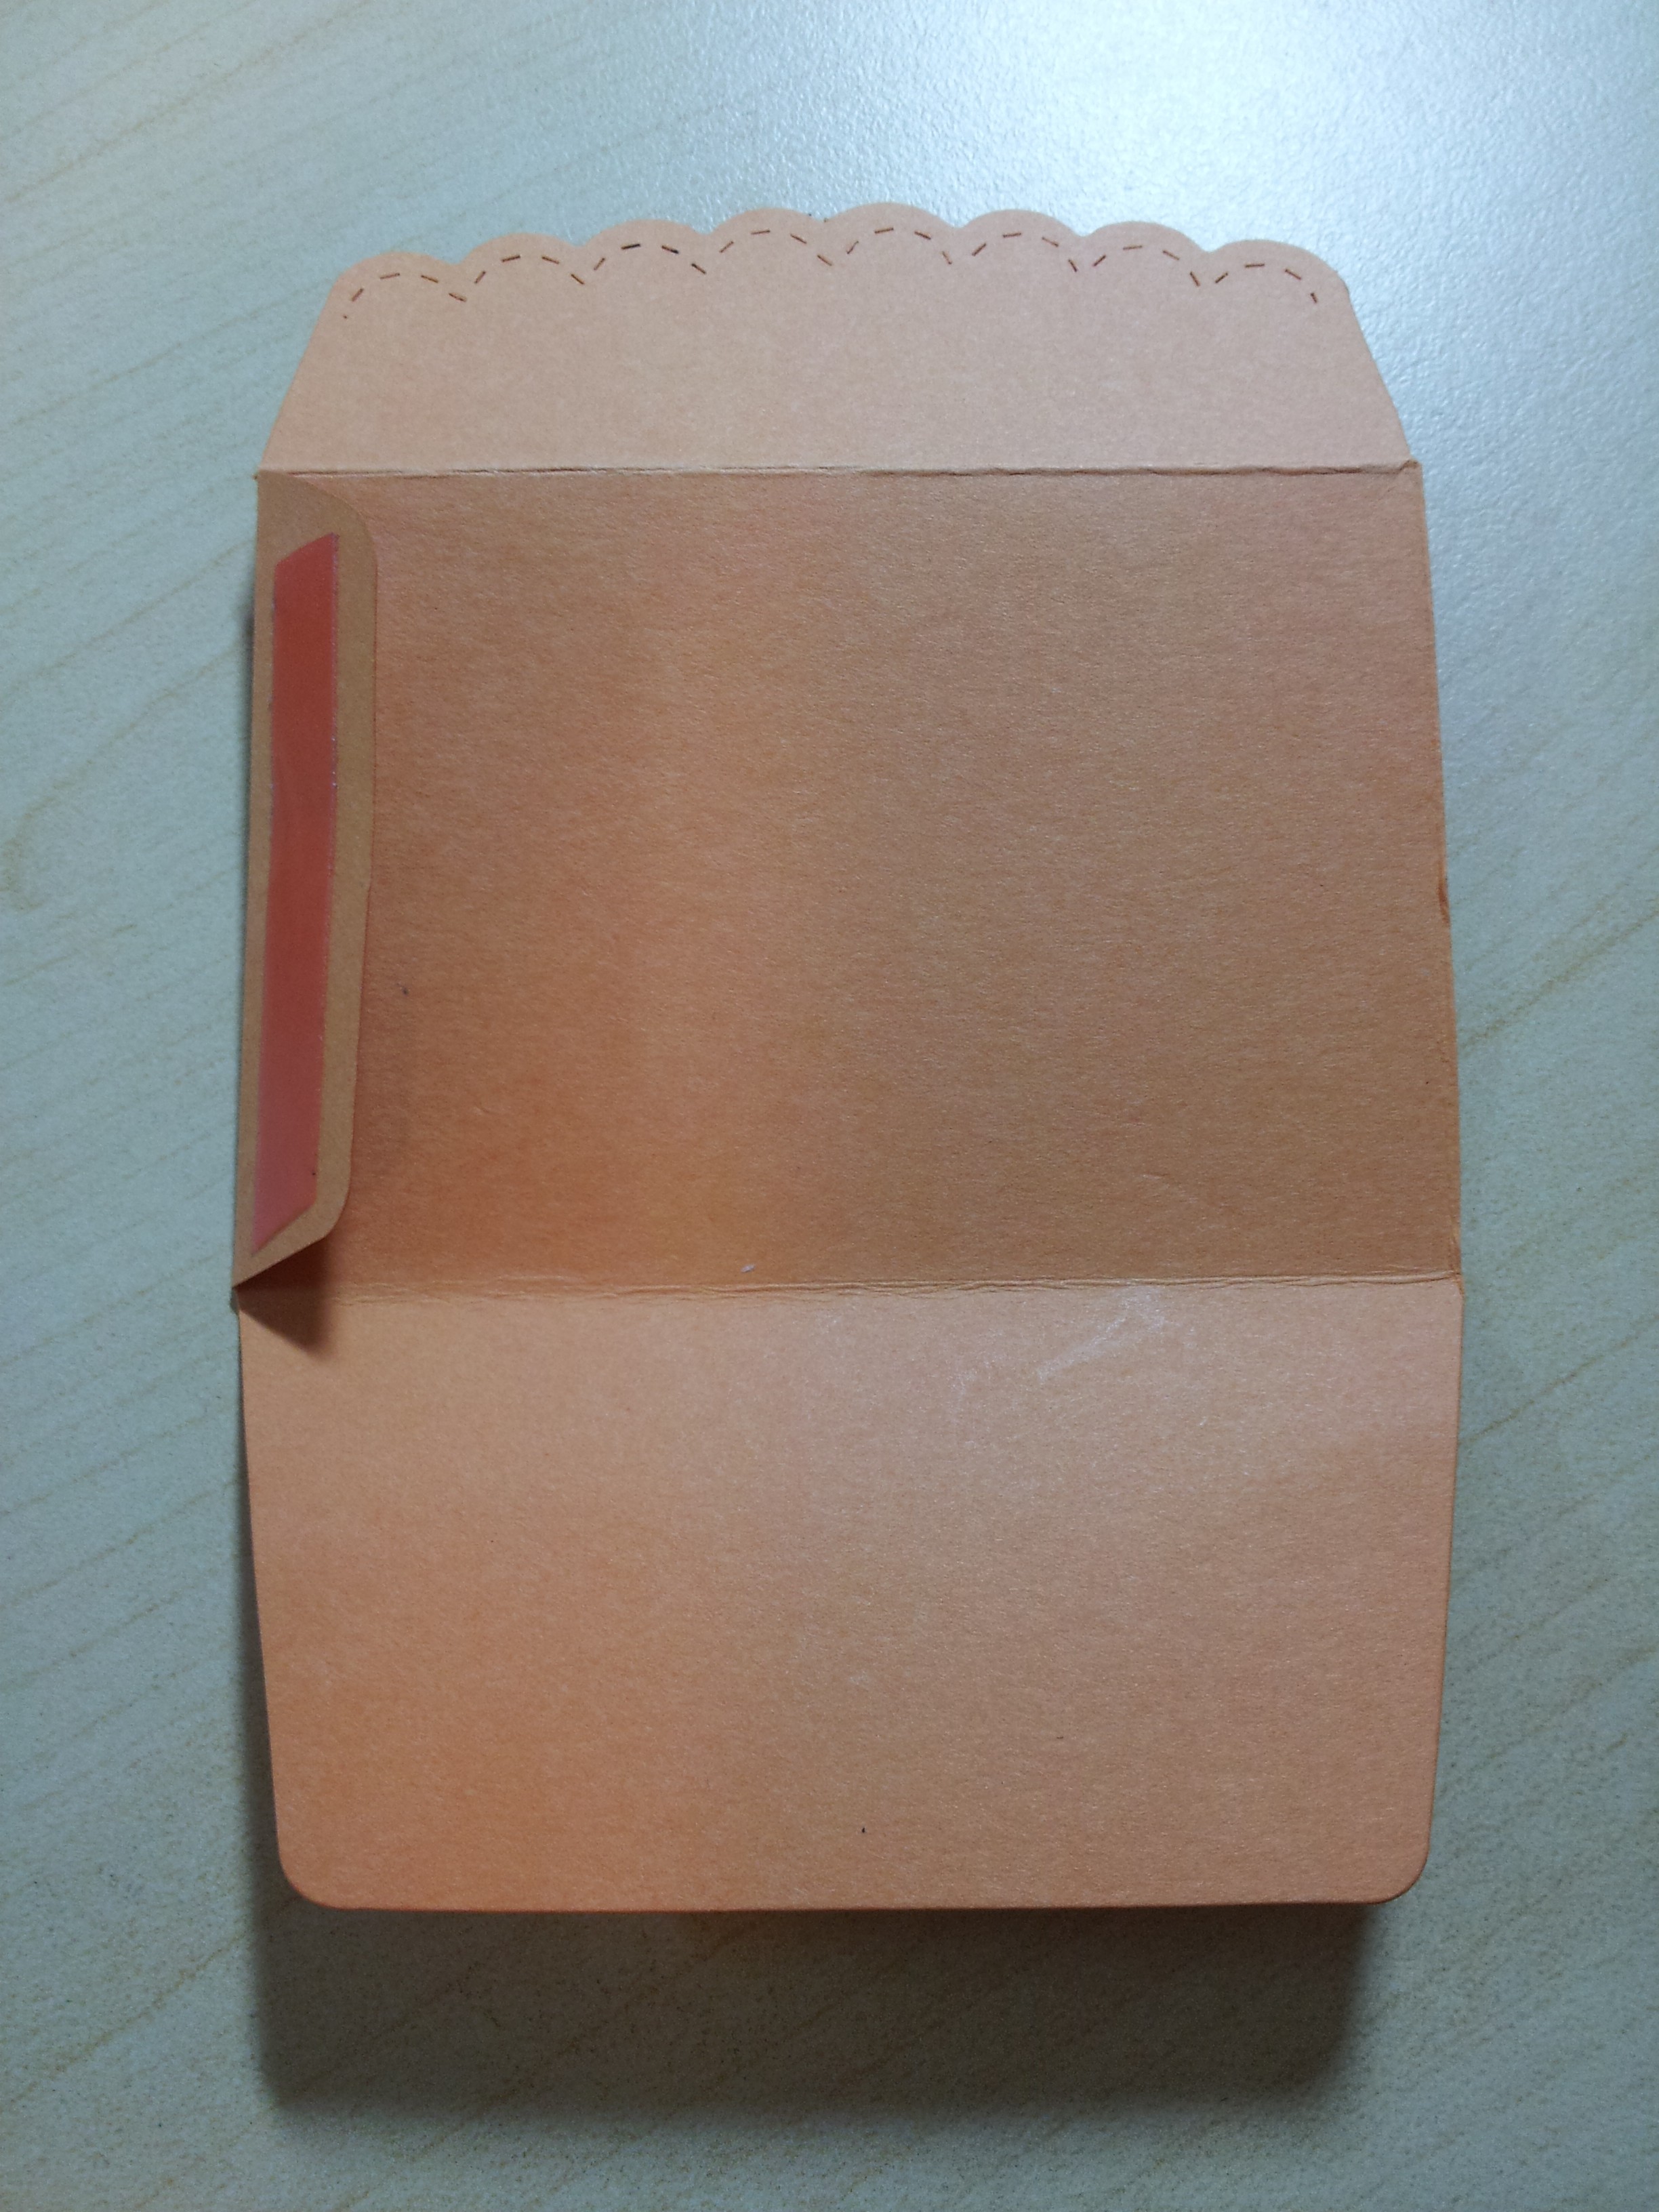
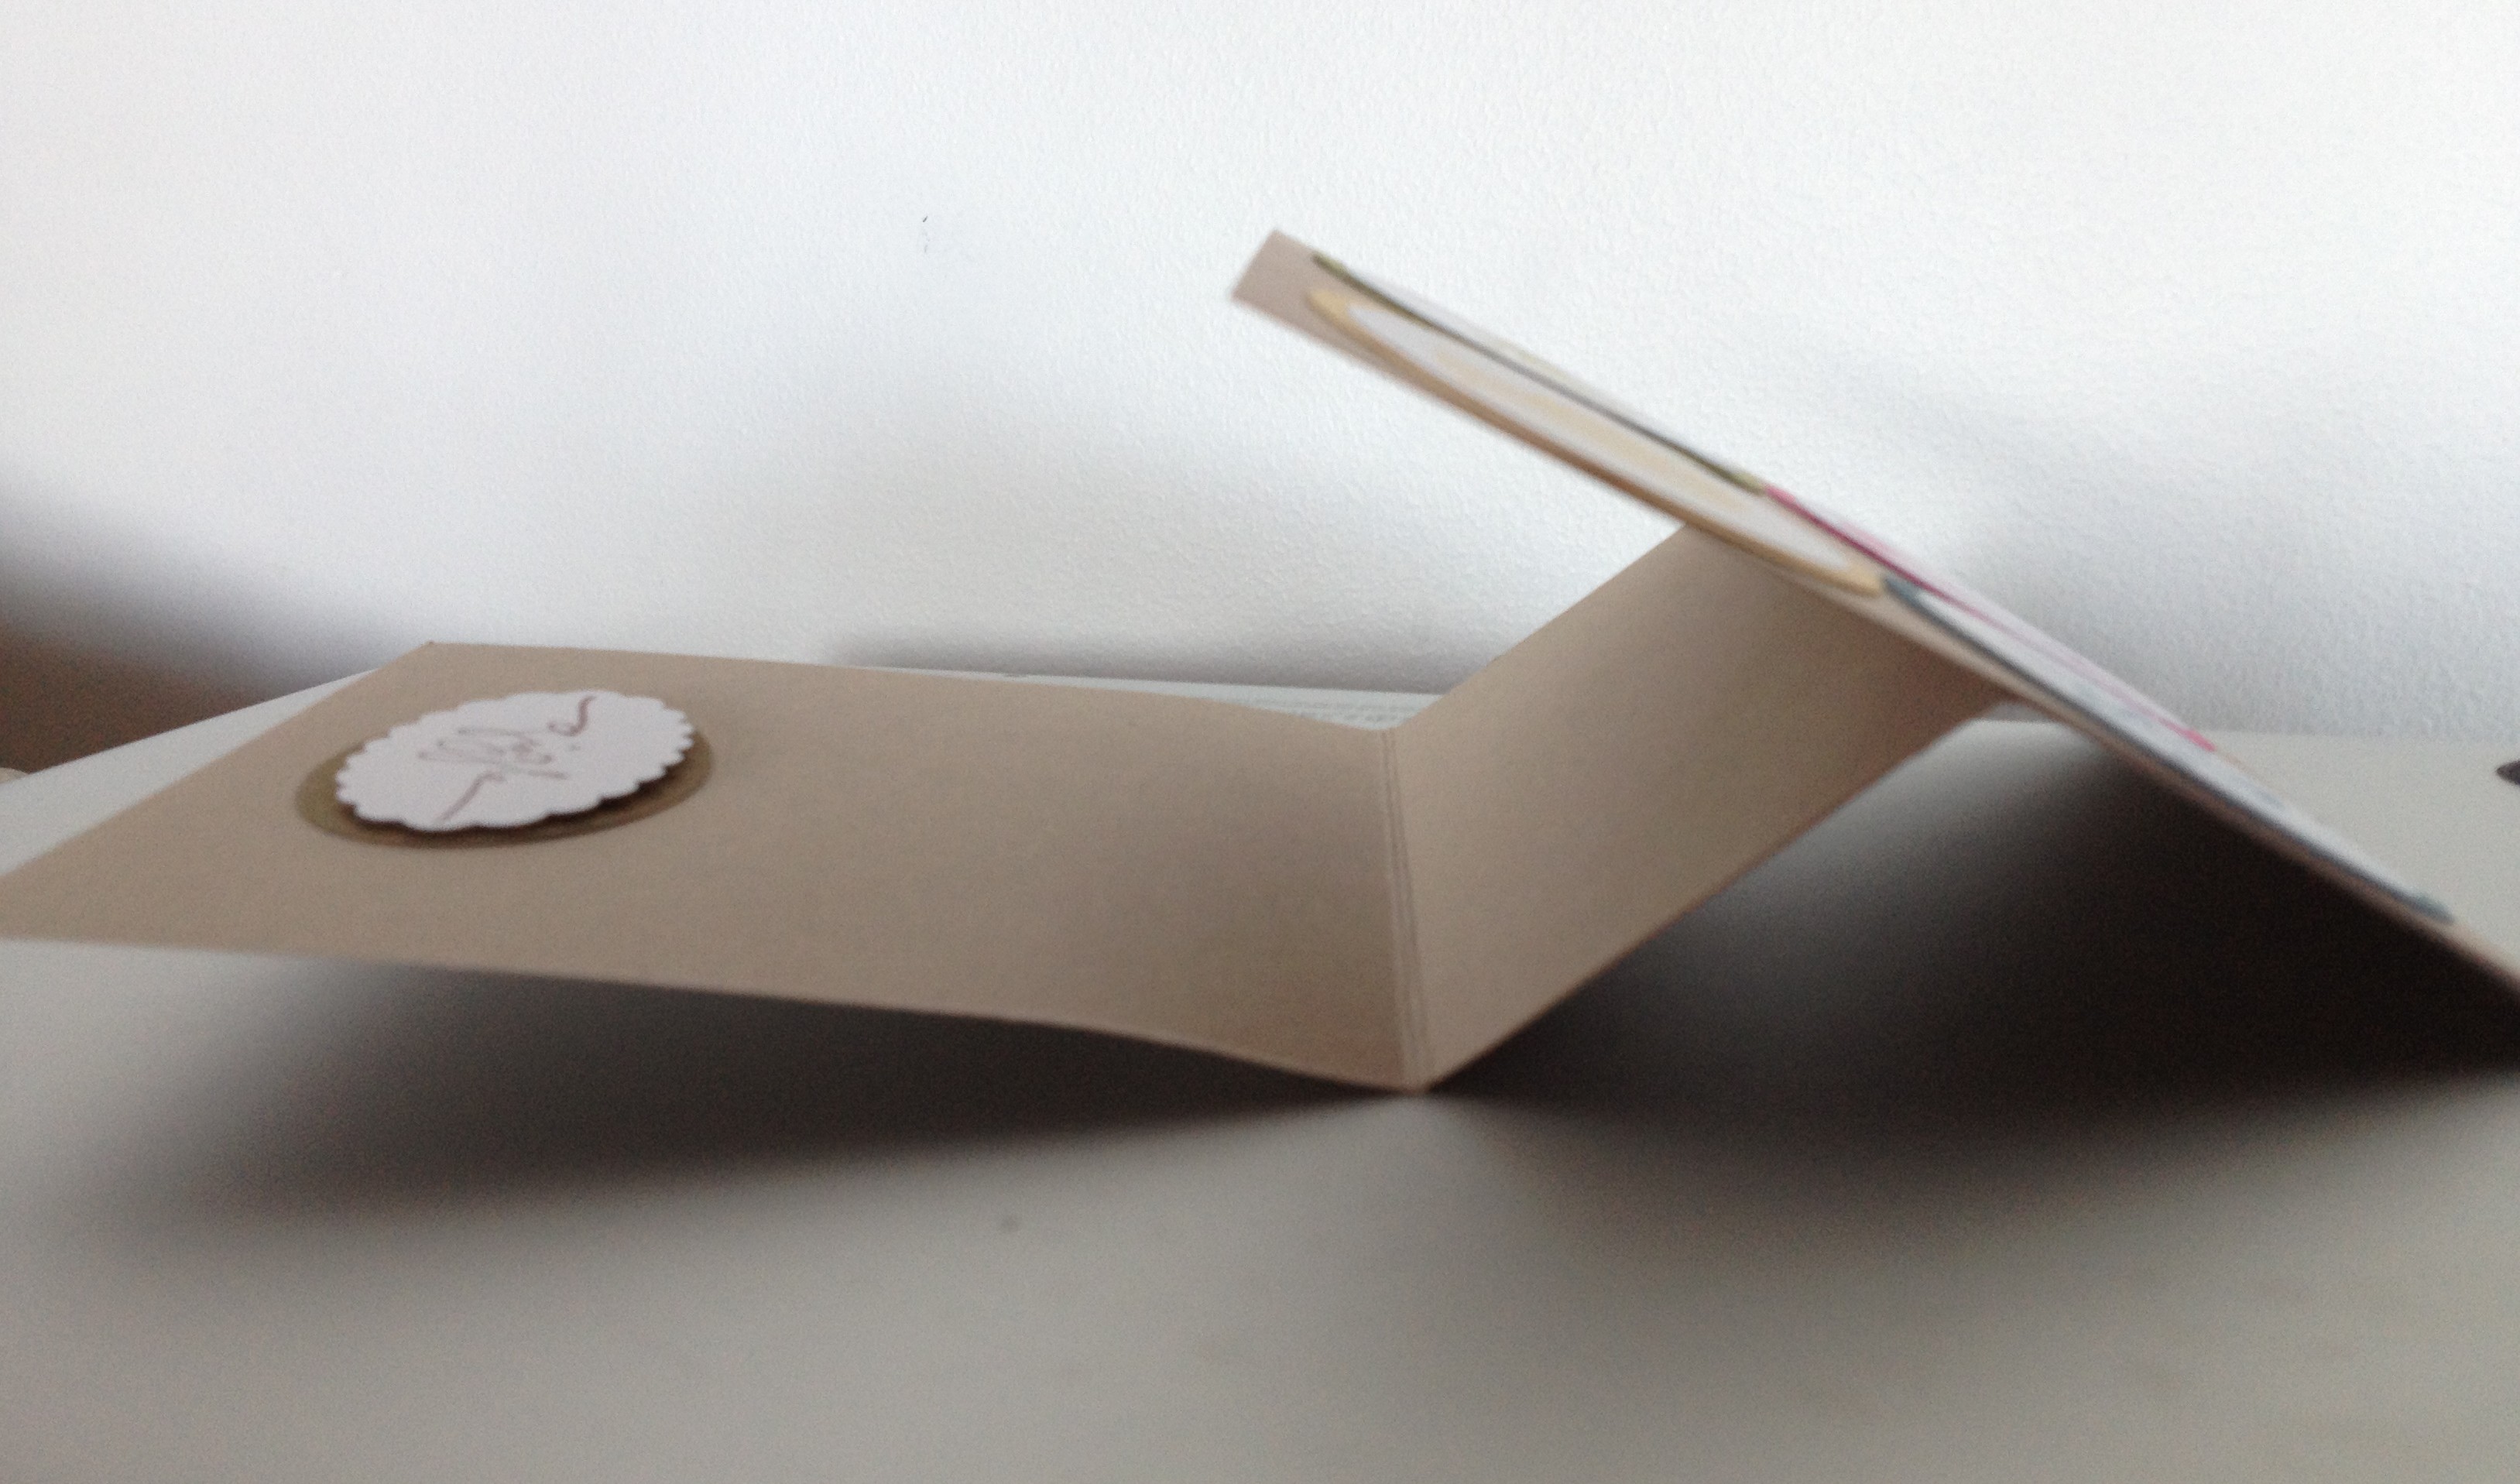
Step 6 – you need to add something to the base of your card to make the ‘easel’, ie, to prop the front of the card on so it will stand upright. You want a finished card that works like this:

photo-3What can you use to prop up the card?  It can be anything that is thick enough for the front layer to rest on and stay upright.  This could be a button, a piece of thick ribbon, or a punched shape raised on dimensionals as I’ve used here.  (Dimensionals are double sided sticky foam dots sold by Stampin’ Up! which add height to embellishments on your projects).

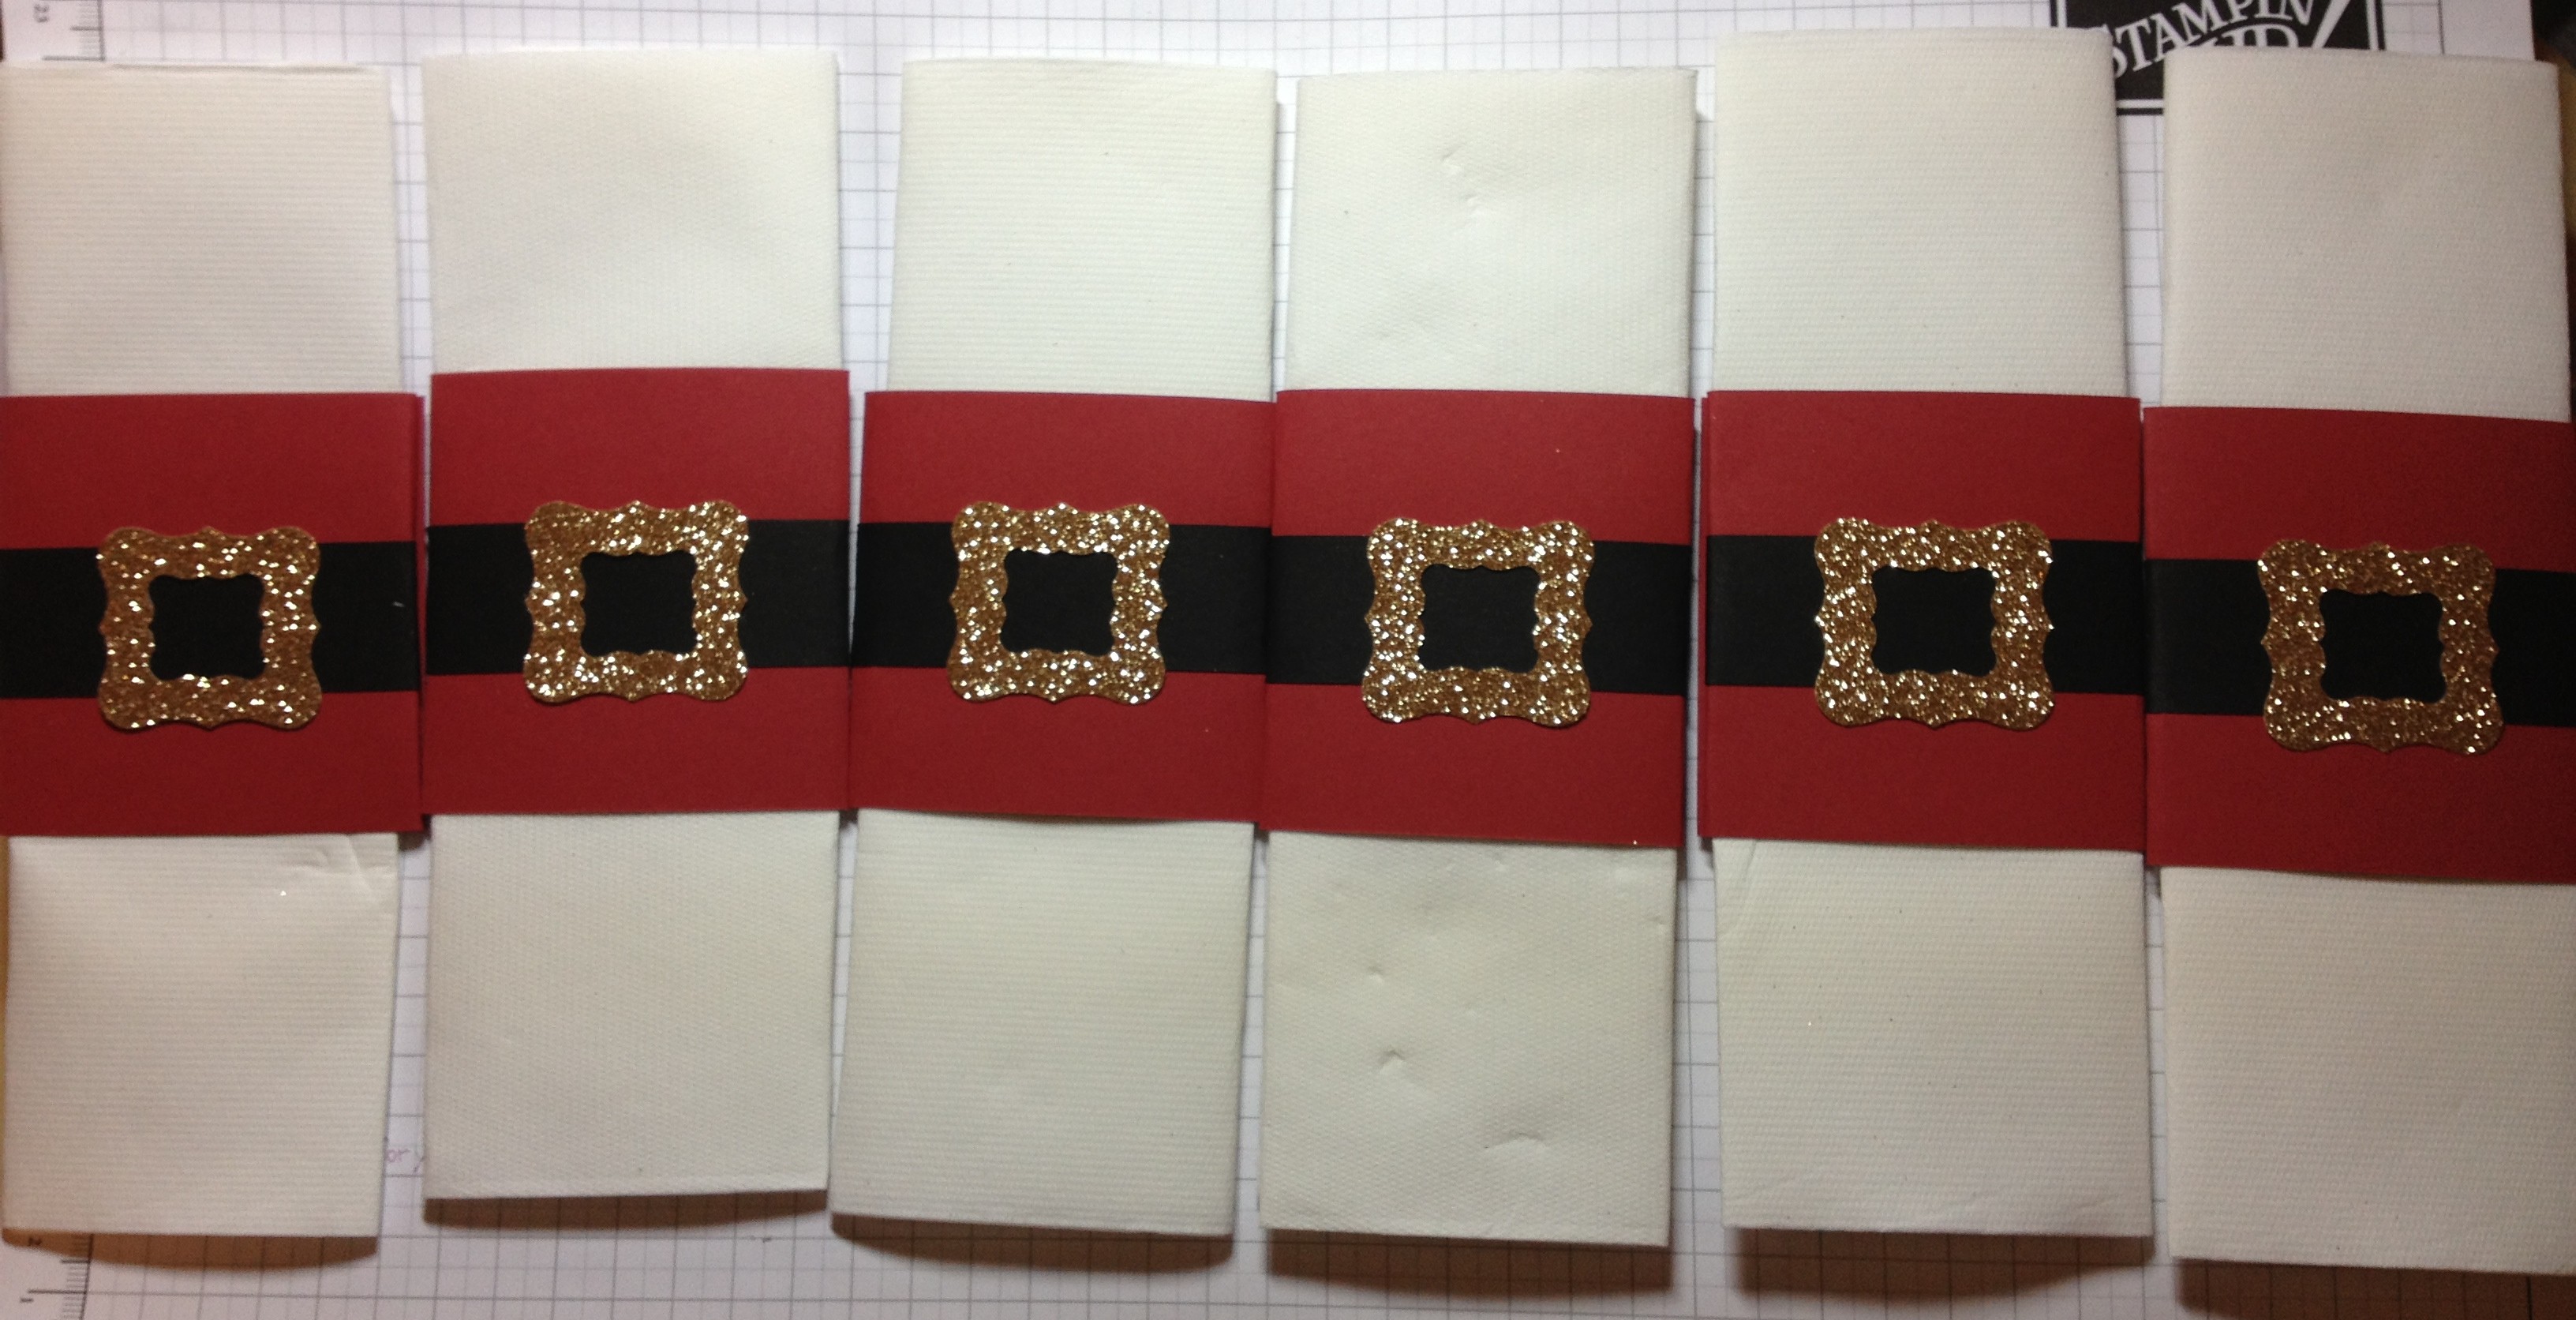
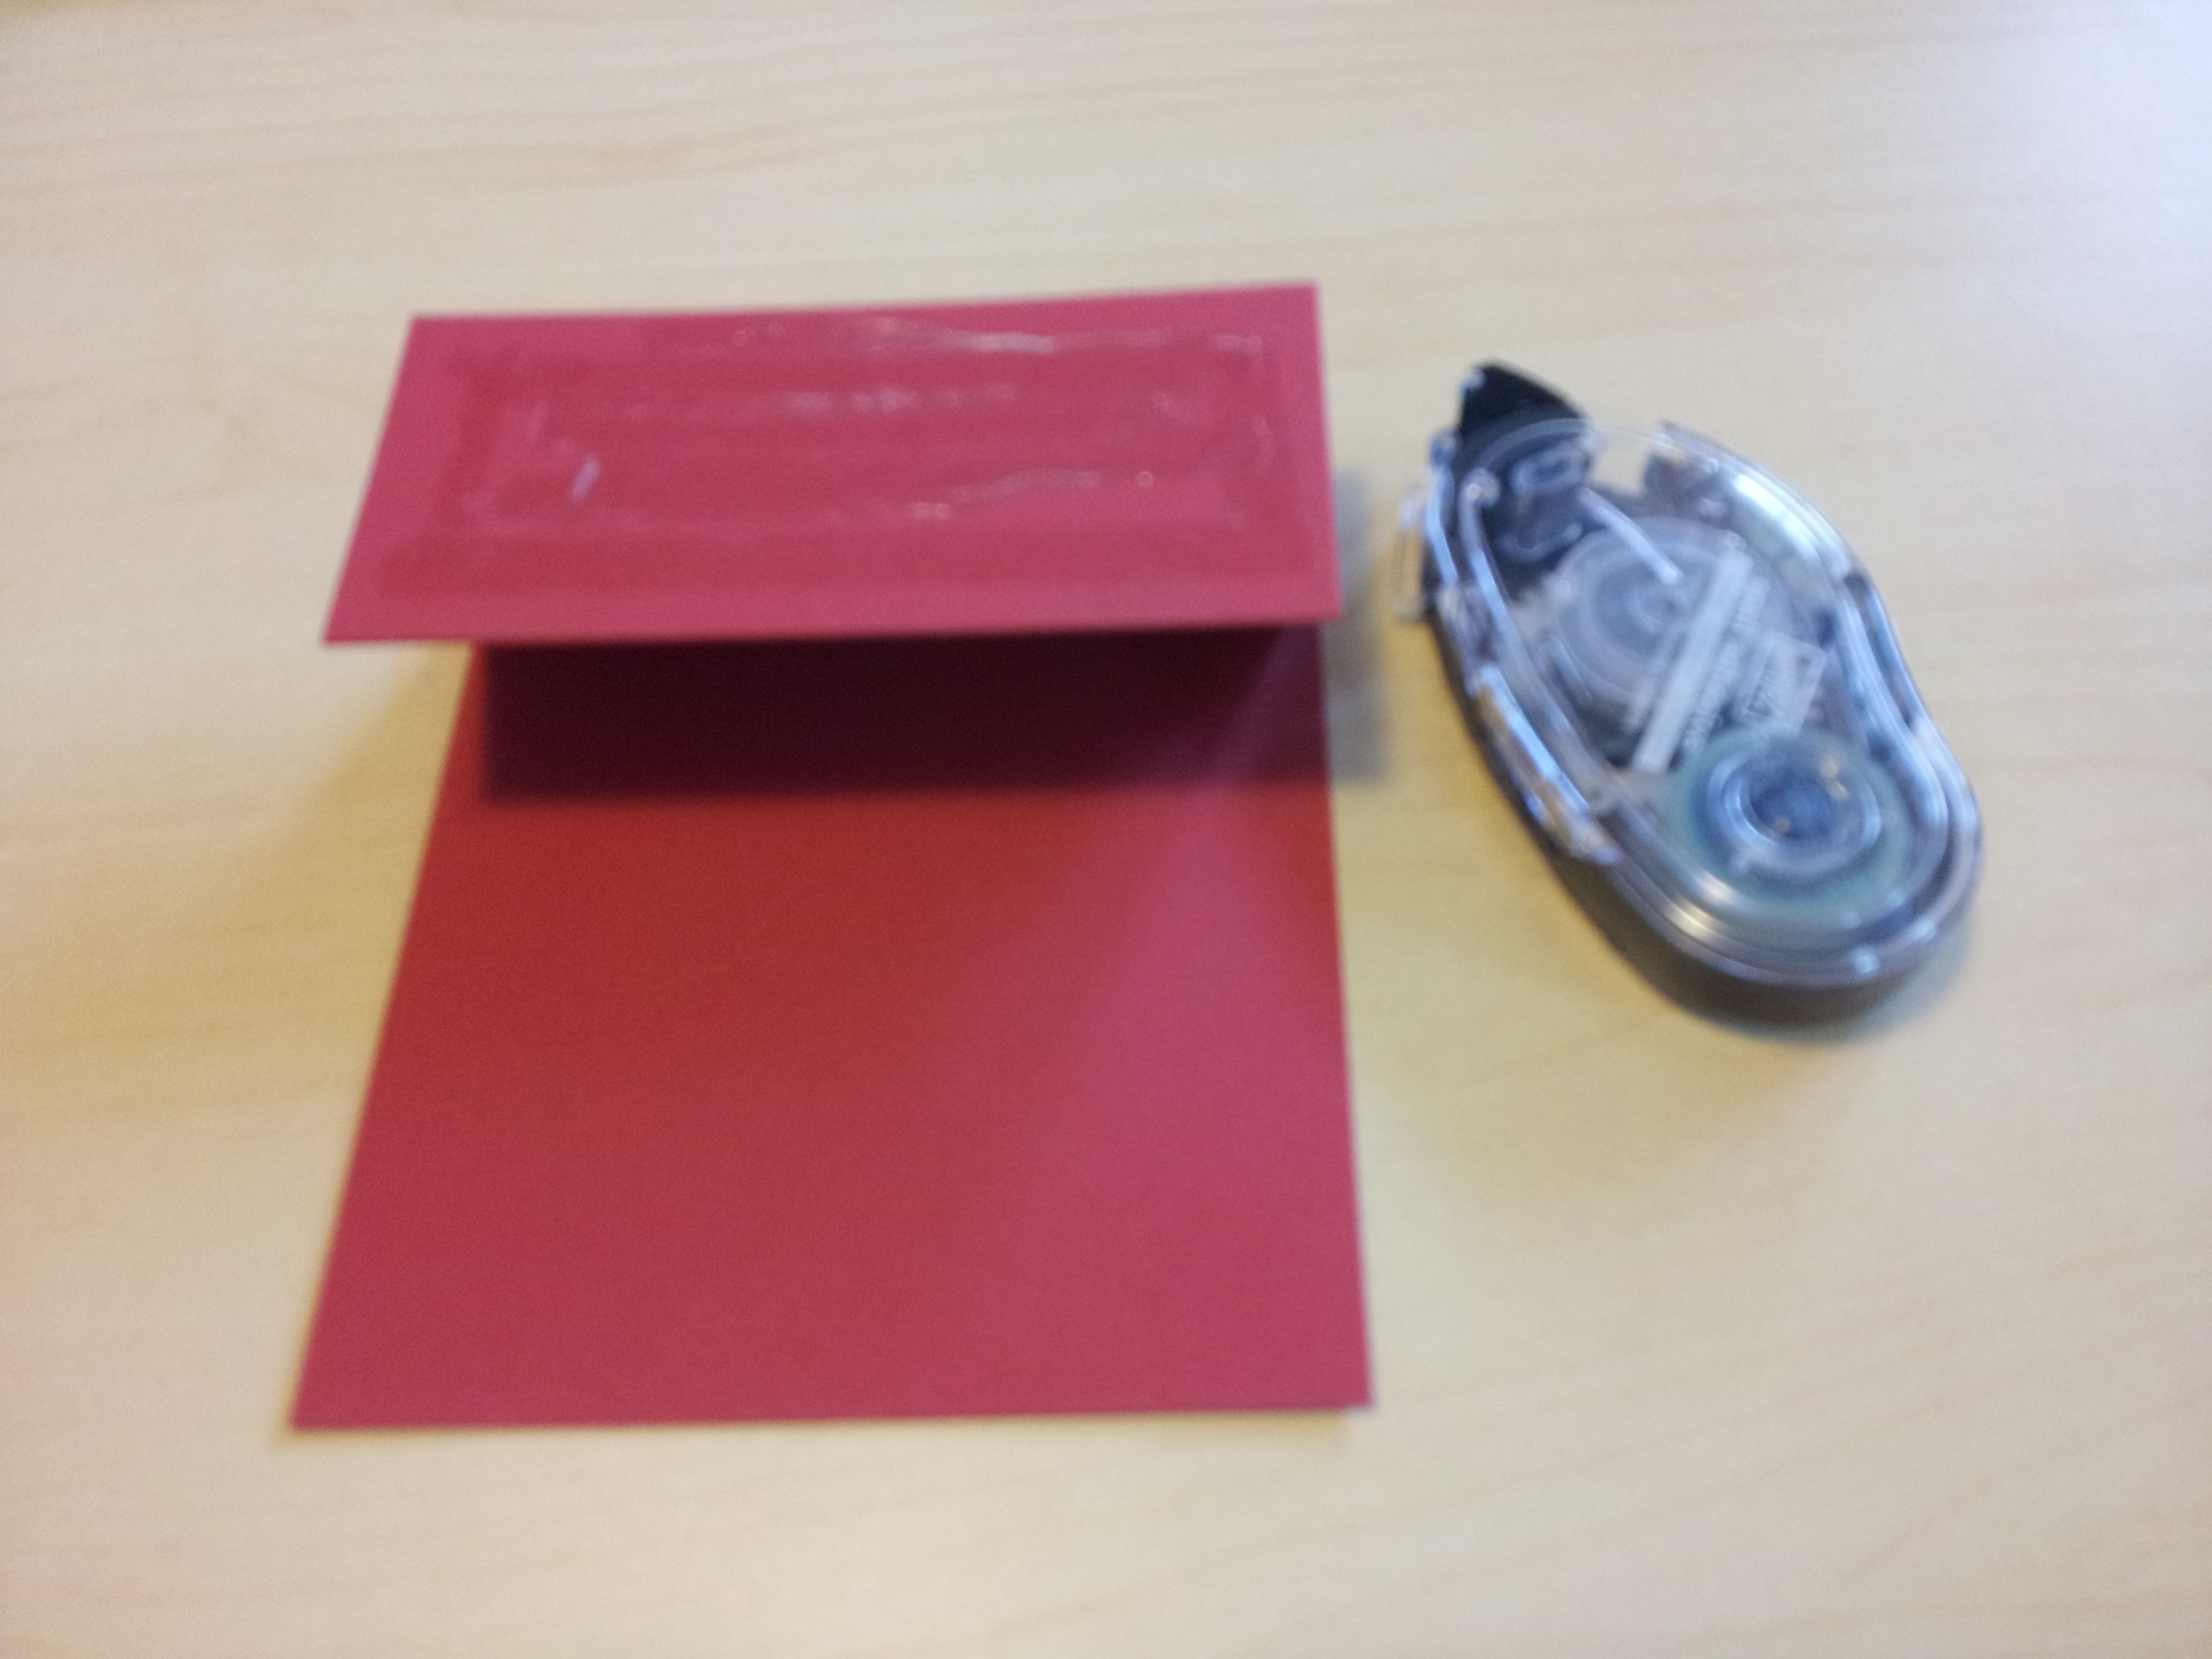
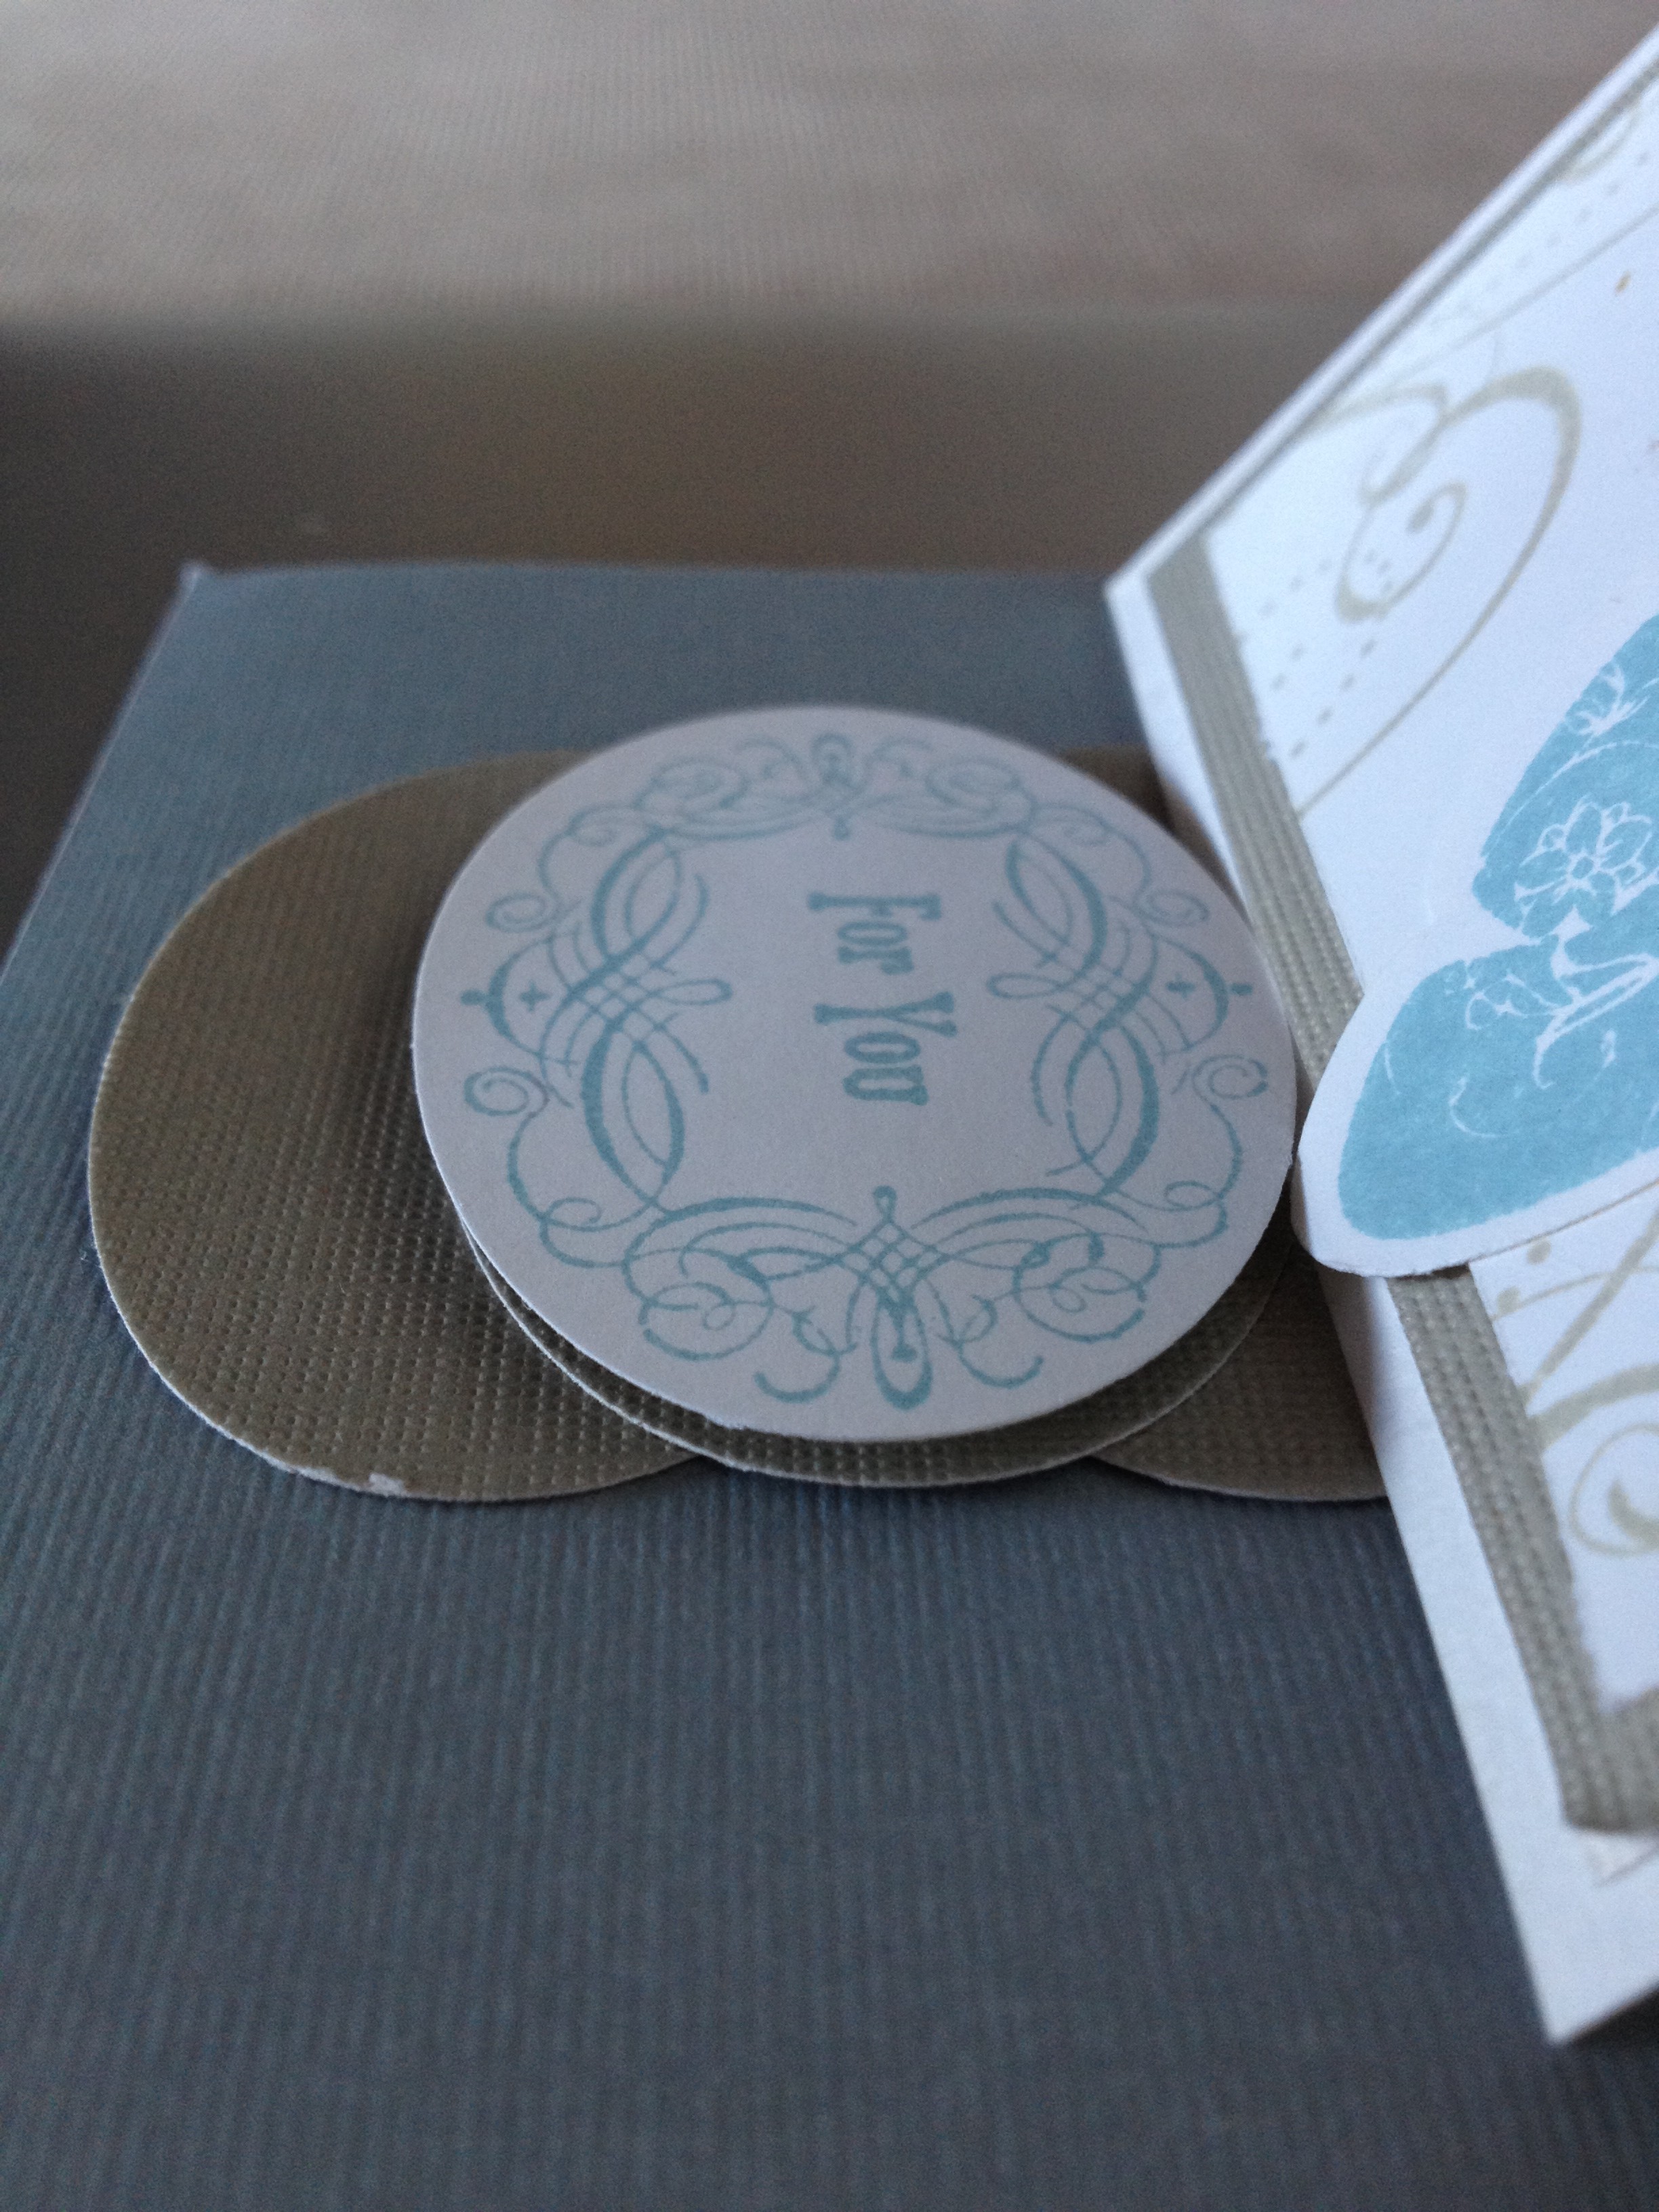
Here is an example of how I’ve used punches and dimensionals to make a “prop” for the easel card:

photo-2

I’ve cut 3 large oval punches in brown card stock and stuck them to the card base.  I’ve then stamped and punched a white ‘For you’ image and used dimensionals to stick it in the middle of the punched ovals to give some height to prop up the easel card.

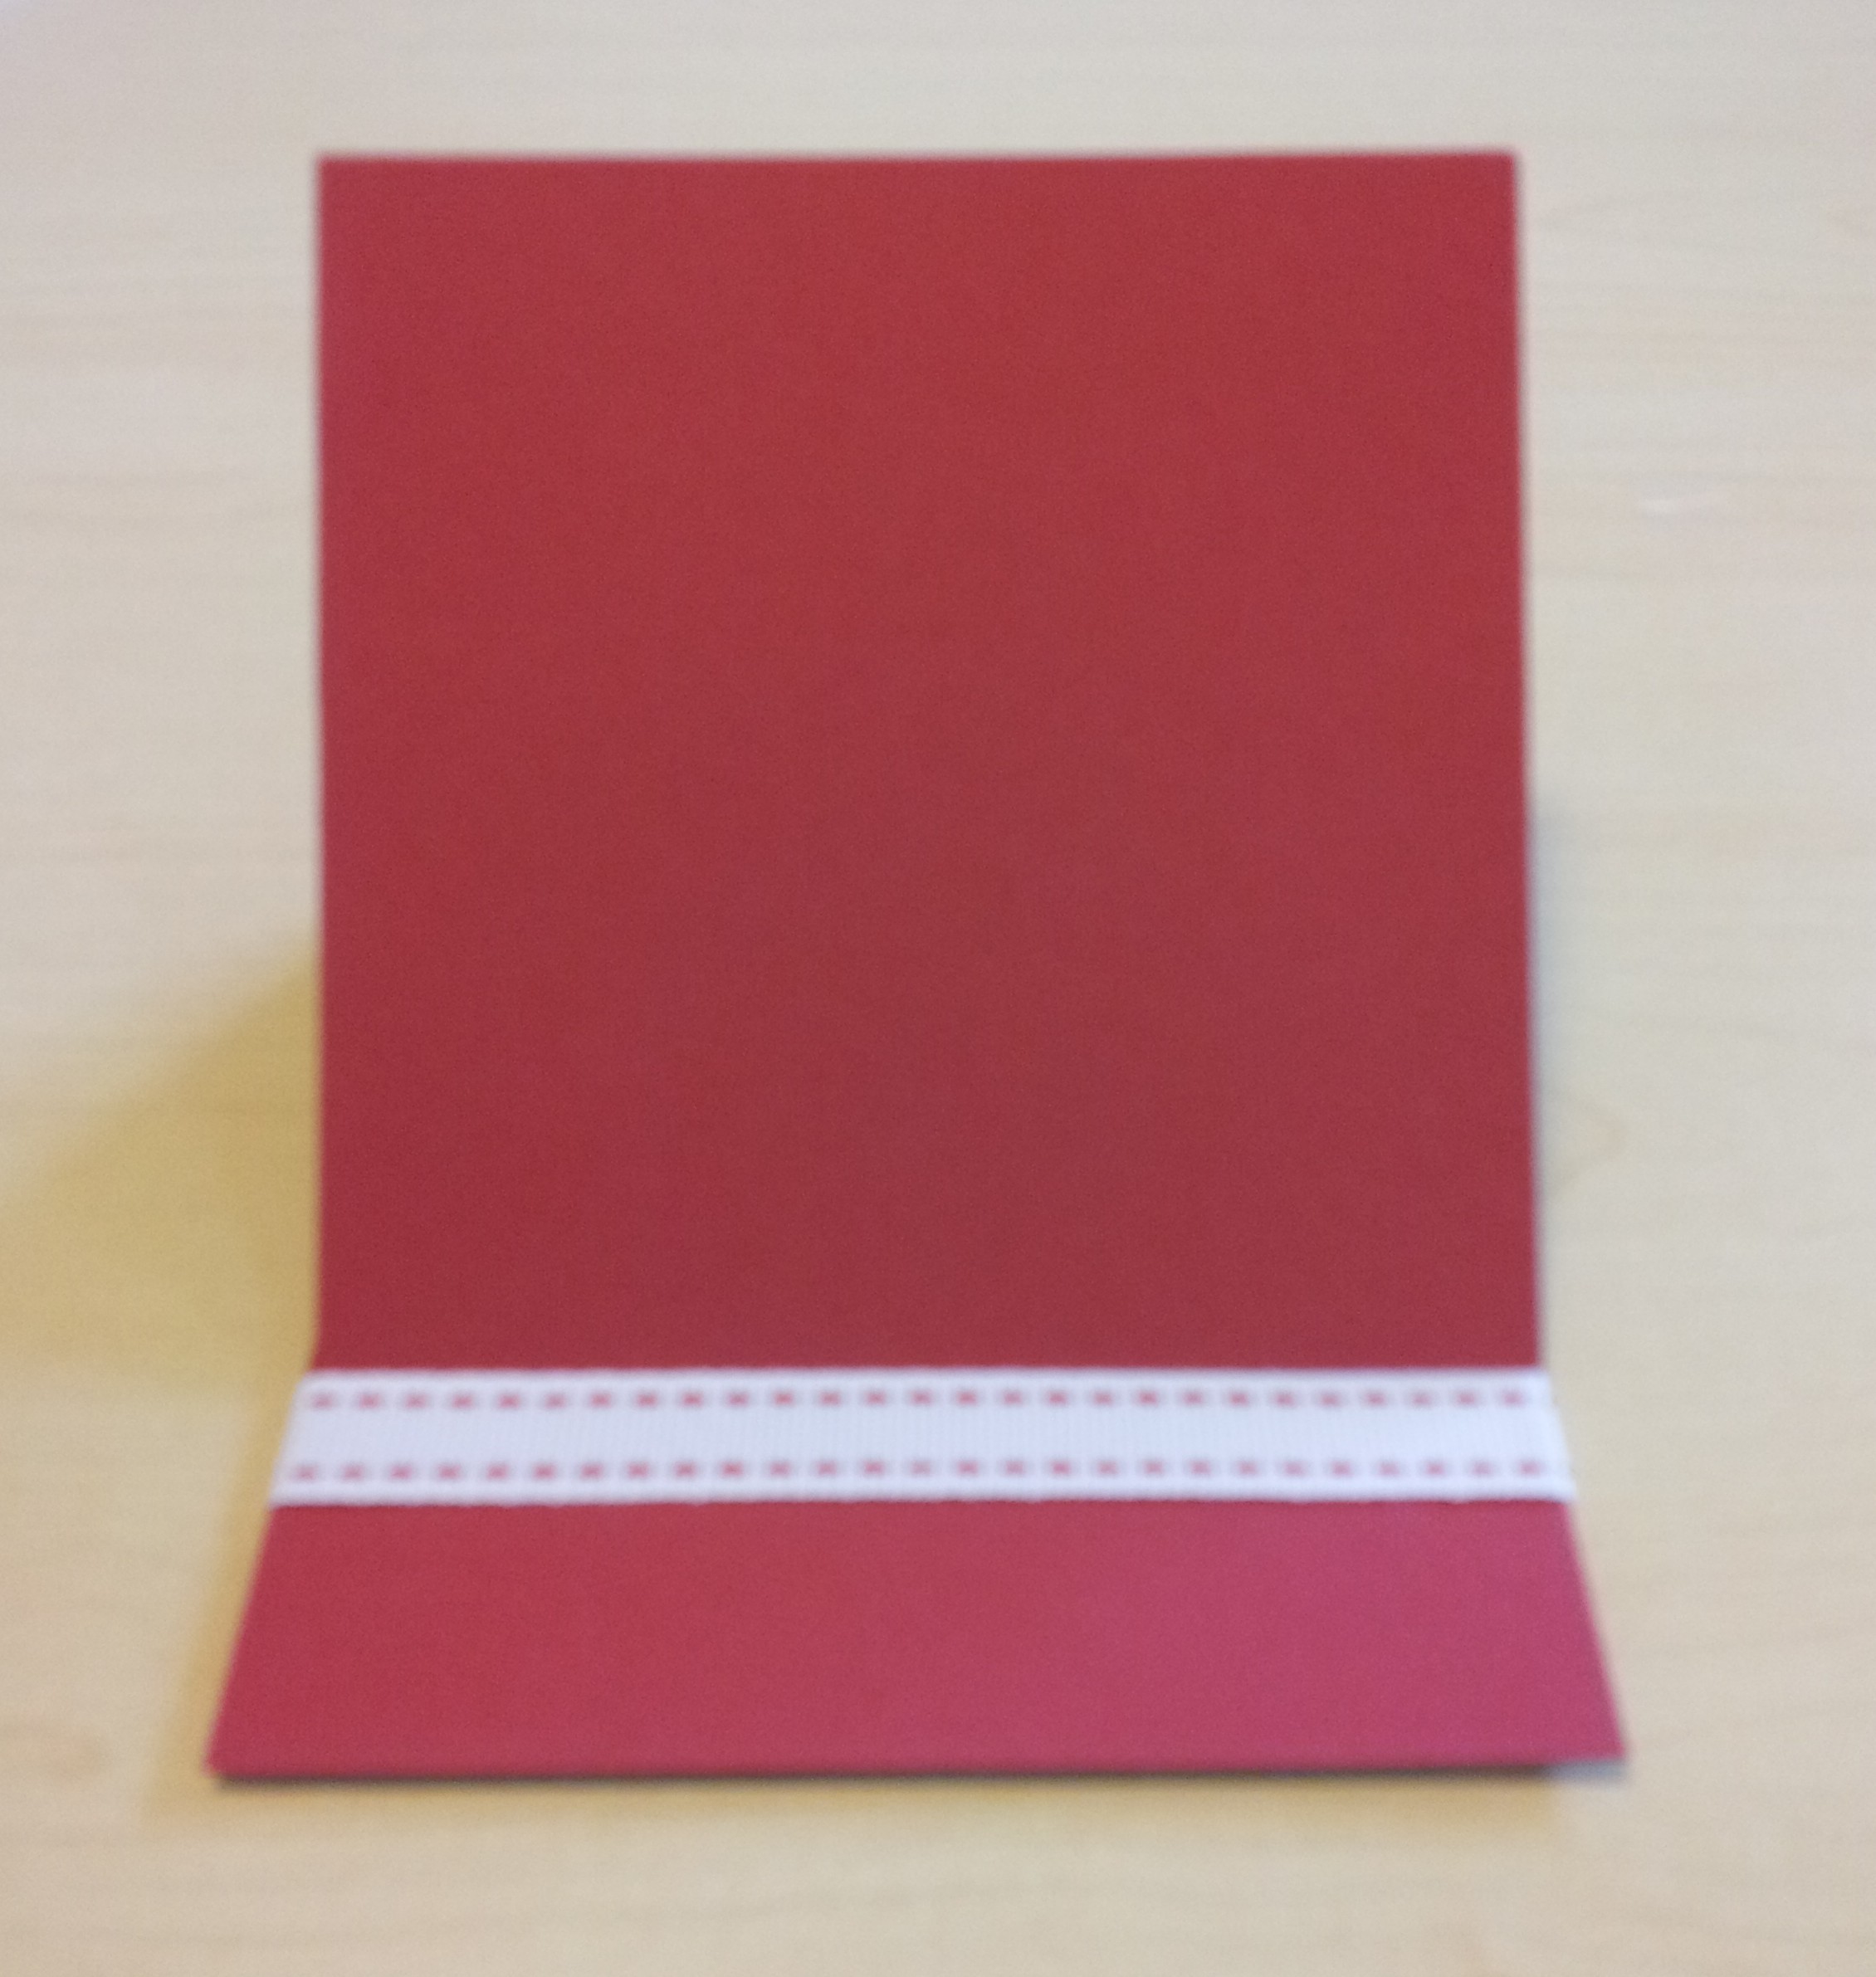
You can also use plain ribbon if it is thick enough, like this:

20130808_133422

Or a button, like this:

20130808_133520

Note: if you use a button the card won’t sit quite as nicely when the front is closed.

Hopefully that all made sense – feel free to leave me a comment if you’d like me to explain anything!

[BTW: The red card in the pictures is one I made while I was writing this post so I could take photos and demonstrate the steps.  I broke my own rules and stuck the square piece on before I decorated it, so I could show you another way to prop the card up.   I now have to figure out how to decorate the front!)

Thanks for reading – I hope you enjoy making your own easel card.  Or if you have tips on how I can make mine differently I’d love for you to share them!

Caro x

Share this:

  • Click to share on Pinterest (Opens in new window) Pinterest
  • Click to share on X (Opens in new window) X
  • Click to share on Facebook (Opens in new window) Facebook
  • Click to email a link to a friend (Opens in new window) Email
  • More
  • Click to share on Reddit (Opens in new window) Reddit
  • Click to share on Tumblr (Opens in new window) Tumblr
Like Loading...

Simple – but stylish – gift giving

15 Monday Jul 2013

Posted by Carolyn in Butterfly (retired), Full heart, Gift bags, Gift tags & wrapping, Punches, Small Heart, Using up scraps

≈ Leave a comment

Tags

gift cards, gifts, tags

Hello!  Thanks for stopping by my blog.

Yesterday I showed you some cards I made using the Stampin’ Up! full heart punch.  I mentioned that you shouldn’t throw away the spare punched heart – and here’s why not.

After making the cards yesterday I needed a quick and simple gift wrapping idea to go with the cards.   Here’s a simple idea for a gift tag:

photo-5I used the cut out from the heart punch and another cut out butterfly on top (see how the wings aren’t fully stuck down to make it look like it’s flying?)   A little faux pearl and I think it looks perfect for a little girl’s present.

The tag is a mailing tag I got at Officeworks – you can get a box of 100.  I normally like making my own tags, but sometimes when you’re in a hurry this is a pretty good alternative!

I also have a stash of blank gift bags I get from $2 shops for this kind of occasion.    A few punches from card stock and scraps of pretty paper and you’ve got a lovely gift with virtually no effort.

photo-3

photo-4I think they look gorgeous (if I do say so myself!) – and certainly they don’t look the result of 2 minute’s effort.

If you don’t have any punches, you can still make a really pretty gift bag just by cutting pieces of paper to cover the front of the bag.

Have a look at some bags I made for my son’s daycare teachers last Christmas.  The designs were just cut out with scissors from some Stampin’ Up! designer series paper.

20121213_162001

Again, simple and easy – but really nice to receive 🙂

Thanks for reading

Caro

Share this:

  • Click to share on Pinterest (Opens in new window) Pinterest
  • Click to share on X (Opens in new window) X
  • Click to share on Facebook (Opens in new window) Facebook
  • Click to email a link to a friend (Opens in new window) Email
  • More
  • Click to share on Reddit (Opens in new window) Reddit
  • Click to share on Tumblr (Opens in new window) Tumblr
Like Loading...

More covered notebooks!

02 Sunday Jun 2013

Posted by Carolyn in 3D projects, Notebooks, Uncategorized, Using up scraps

≈ Leave a comment

Tags

gifts, notebooks, scraps

Hopefully you saw my other 2 posts about using up left over paper to cover notebooks – either mini notebooks or larger ones.

Here is another idea – using a simple blank ‘jotter’ style notebook but making it a little more special with a bit of pretty paper and a ribbon.     These books take less than 5 minutes to cover but are so much nicer to have on your desk or kitchen bench than a plain old notepad.

photo-2

photo-4To work out the length of paper you need, all you need to do is measure the size of the notebook (measurement 1) and measure the size of the spine (measurement 2).  The length of your paper will be  1 + 1 + 2.   The width will be simply the width of your notebook.

You could just cover the notebook, but I like to add a ribbon tie to keep the cover closed when it’s not being used (and ‘cos it looks pretty!)

Again, this is very simple.  Turn your notebook onto the reverse side once covered, run a strip of glue (eg Snail adhesive) along where the ribbon will go and adhere.

photo-3

Once you have stuck on the ribbon, simply turn your notebook right side up and tie a bow!

Too easy 🙂

Share this:

  • Click to share on Pinterest (Opens in new window) Pinterest
  • Click to share on X (Opens in new window) X
  • Click to share on Facebook (Opens in new window) Facebook
  • Click to email a link to a friend (Opens in new window) Email
  • More
  • Click to share on Reddit (Opens in new window) Reddit
  • Click to share on Tumblr (Opens in new window) Tumblr
Like Loading...

Rudolph bottle topper

01 Saturday Jun 2013

Posted by Carolyn in 1 3/4 circle, 3/4 inch circle, 3D projects, Bird Builder, Gift bags, Gift tags & wrapping, Large Oval, Word Window

≈ Leave a comment

Tags

Bottle topper, gifts, punch art

HI there

As you have probably noticed, most of my blog posts so far have been the result of sorting through all photos of things I’ve made and sharing them with you.  This post is similar!

At Christmas time we always seem to have lots of bottles of wine as gifts for family and friends.  (I’m not sure if that says more about them or us!)  I got a bit sick of buying bottle gift bags this year so thought I’d come up with something a little more personal.

The result was this little Rudolph bottle topper, and I think it’s pretty cute (even if I do say so myself!)

20121223_161603

I used some offcuts of Riding hood Red card stock I had lying around so didn’t measure the width but it was roughly 7 cm wide.    I used my largest circle punch to punch a hole for the bottle to go through and then scored below it and folded.

To make the Rudolph I used my small oval punch for the head, a 3/4 inch circle punch for the red nose, half of a 1 3/4 inch circle for the body, the ends of a word window punch for the ears and the leaves from the bird builder punch for the antlers.

I used a snowflake image from a retired stamp set to decorate the background, but any small flower stamp in white ink would probably look like snowflakes?

The bottles looked really cute under the tree with their little Rudolph neck covers 🙂

20121223_161716

Next time I might try making birthday or general occasion bottle toppers – I may never buy a bottle bag again!

Thanks for reading

Caro

Share this:

  • Click to share on Pinterest (Opens in new window) Pinterest
  • Click to share on X (Opens in new window) X
  • Click to share on Facebook (Opens in new window) Facebook
  • Click to email a link to a friend (Opens in new window) Email
  • More
  • Click to share on Reddit (Opens in new window) Reddit
  • Click to share on Tumblr (Opens in new window) Tumblr
Like Loading...

Covered notebooks and matching pencils

28 Tuesday May 2013

Posted by Carolyn in 3D projects, Decorative Label, Gift tags & wrapping, Modern Label, Notebooks, Using up scraps

≈ 1 Comment

Tags

3D, covered pencil, DSP, gifts, Notebook

The other day I showed you how to make mini notebooks covered with DSP.  Today I wanted to show you how effective it can be to take ordinary A4 exercise books and decorate them with DSP.

20121207_140453

This was a little present we gave to a family friend who was starting university.   I covered a bundle of A4 exercise books in coordinating DSP and covered some matching pencils.

20121207_140522

I made a label where she could write her name or a subject name for each book.  The larger pink label is punched out in melon mambo using the Stampin’ Up! Decorative Label punch, and the smaller white label is punched out using the Stampin’ Up! Modern Label punch.

20121207_140528

To make the covered pencils, measure the distance between the end of the eraser and the beginning of the wood at the bottom.  Cut a piece of DSP to that width, with enough length to wrap around the pencil 2 or 3 times.    I’ve found it’s easier if you wrap the paper around the pencil a few times before trying to glue it on – it just works a bit better when you come to stick it down if it’s already a little bit “bendy”.    I run a line of Sticky Strip (double sided tape) along the edge of the paper which will be the last to stick down and use Snail adhesive to cover the rest of the DSP and stick it as I wrap around the pencil.

This is a really nice idea for a simple gift for someone – particularly someone like me who loves their stationery!

Thanks for reading 🙂

Share this:

  • Click to share on Pinterest (Opens in new window) Pinterest
  • Click to share on X (Opens in new window) X
  • Click to share on Facebook (Opens in new window) Facebook
  • Click to email a link to a friend (Opens in new window) Email
  • More
  • Click to share on Reddit (Opens in new window) Reddit
  • Click to share on Tumblr (Opens in new window) Tumblr
Like Loading...
← Older posts
Newer posts →

Carolyn Dalton

Independent Stampin Up! Demonstrator

Recent Posts

  • Pretty butterfly birthday card 
  • Adding an extra touch to a homemade envelope
  • Quick and easy masculine card 
  • Quick and easy kids card
  • Butterfly soap card

Archives

  • March 2016
  • February 2016
  • January 2016
  • December 2015
  • November 2015
  • October 2015
  • September 2015
  • August 2015
  • July 2015
  • June 2015
  • May 2015
  • April 2015
  • September 2014
  • July 2014
  • April 2014
  • March 2014
  • February 2014
  • November 2013
  • October 2013
  • September 2013
  • August 2013
  • July 2013
  • June 2013
  • May 2013
  • May 2012

Categories

  • 1 1/4 inch circle
  • 1 3/4 circle
  • 1 3/4 inch scallop circle
  • 1 3/8 circle
  • 1 inch circle
  • 1 inch square
  • 2 3/8 inch scallop punch
  • 3/4 inch circle
  • 3D / pop up
  • 3D projects
  • Anniversary
  • Baby cards
  • Beautiful Butterflies
  • Big Shot
  • Bird Builder
  • Birthday
  • Bitty Butterfly
  • Blossom
  • Blossom Builder
  • Boho Blossoms
  • Boxes
  • Butterfly (retired)
  • Candy Wrapper
  • Card sets
  • Cards
  • Chalk Talk
  • Christmas
  • Circle Thinlits
  • Circle treat cups
  • Circles #2
  • Corner rounder
  • Cupcake Builder
  • Cupcakes and other tasty treats
  • Curly label
  • Decorative Label
  • Dies
  • Elegant Butterly
  • Embossing folders
  • Envelopes
  • Extra Large Oval
  • Fancy Flower
  • Framelits
  • Full heart
  • General occasion
  • Gift bags
  • Gift bow
  • Gift card holders
  • Gift tags & wrapping
  • Home decorating
  • Horizontal Slot
  • Invitations
  • Jewellery tag
  • Kids cards
  • Kids craft ideas
  • Kids party
  • Labels collection
  • Large Oval
  • Love notes
  • Masculine
  • Mini scallop
  • Modern Label
  • Music Notes
  • Notebooks
  • Owl
  • Perfect Polka Dots
  • Petite curly label
  • Pinwheel die
  • Punches
  • Scallop circle
  • Scallop edge
  • Scallop envelope
  • Scallop oval
  • Scallop Tag Topper
  • Small Heart
  • Square Lattice
  • Star
  • Sweet treat cups
  • Tag
  • Tasteful Trim
  • Thank you
  • Thoughts and comments
  • Top Note
  • Tutorial
  • Uncategorized
  • Using up scraps
  • Washi tape
  • Wedding cards
  • Wheels
  • Wildflower Meadow
  • Word Window

Pinterest

Follow Me on Pinterest

Follow me on Twitter

My Tweets

Enter your email address to follow this blog and receive notifications of new posts by email.

Join 26 other subscribers

Blog at WordPress.com.

Privacy & Cookies: This site uses cookies. By continuing to use this website, you agree to their use.
To find out more, including how to control cookies, see here: Cookie Policy
  • Subscribe Subscribed
    • Caro's Pretty Things
    • Join 26 other subscribers
    • Already have a WordPress.com account? Log in now.
    • Caro's Pretty Things
    • Subscribe Subscribed
    • Sign up
    • Log in
    • Report this content
    • View site in Reader
    • Manage subscriptions
    • Collapse this bar
 

Loading Comments...
 

    %d