• About

Caro's Pretty Things

~ My papercraft blog

Category Archives: Uncategorized

Rugby “Jesse Mogg” birthday card

13 Saturday Jul 2013

Posted by Carolyn in Birthday, Home decorating, Kids cards, Kids party, Uncategorized

≈ 2 Comments

Tags

cardmaking, Kids cards, kids party, Kids party ideas, rugby

Hello!

A while ago I showed you the invitations I made for my rugby obsessed little boy’s rugby themed birthday party.    The party was a great success and he had a ball.

He told me he wanted a Jesse Mogg birthday card (for those of you – most of you! – who have no idea who Jesse Mogg is, he plays for the Brumbies, my son’s favourite team)

Here is my effort:

photo-5

I used a paper cut out doll from a 2 dollar shop and coloured in the Brumbies colours.  Jesse Mogg is number 15.   A large oval punch substituted for a rugby ball shape – and he was very pleased with the end result!

In case any of you ever have to host a rugby/sports themed birthday party, I had a brain wave and turned a piece of green felt into a “field” table cloth:

photo

A few straws, some masking tape and some blu tak and we had some goal posts:

photo-1

I also have to show you the cake – I don’t even want to tell you how long it took to colour the blue icing and cut out all the letters!  My hands looked like Smurf hands by the end of it!

photo-2

Still – he had a *ball* (groan!) so all the effort was worth it in the end 🙂

Thanks for reading

Caro

Share this:

  • Click to share on Pinterest (Opens in new window) Pinterest
  • Click to share on X (Opens in new window) X
  • Click to share on Facebook (Opens in new window) Facebook
  • Click to email a link to a friend (Opens in new window) Email
  • More
  • Click to share on Reddit (Opens in new window) Reddit
  • Click to share on Tumblr (Opens in new window) Tumblr
Like Loading...

More covered notebooks!

02 Sunday Jun 2013

Posted by Carolyn in 3D projects, Notebooks, Uncategorized, Using up scraps

≈ Leave a comment

Tags

gifts, notebooks, scraps

Hopefully you saw my other 2 posts about using up left over paper to cover notebooks – either mini notebooks or larger ones.

Here is another idea – using a simple blank ‘jotter’ style notebook but making it a little more special with a bit of pretty paper and a ribbon.     These books take less than 5 minutes to cover but are so much nicer to have on your desk or kitchen bench than a plain old notepad.

photo-2

photo-4To work out the length of paper you need, all you need to do is measure the size of the notebook (measurement 1) and measure the size of the spine (measurement 2).  The length of your paper will be  1 + 1 + 2.   The width will be simply the width of your notebook.

You could just cover the notebook, but I like to add a ribbon tie to keep the cover closed when it’s not being used (and ‘cos it looks pretty!)

Again, this is very simple.  Turn your notebook onto the reverse side once covered, run a strip of glue (eg Snail adhesive) along where the ribbon will go and adhere.

photo-3

Once you have stuck on the ribbon, simply turn your notebook right side up and tie a bow!

Too easy 🙂

Share this:

  • Click to share on Pinterest (Opens in new window) Pinterest
  • Click to share on X (Opens in new window) X
  • Click to share on Facebook (Opens in new window) Facebook
  • Click to email a link to a friend (Opens in new window) Email
  • More
  • Click to share on Reddit (Opens in new window) Reddit
  • Click to share on Tumblr (Opens in new window) Tumblr
Like Loading...

Kids robot cards

31 Friday May 2013

Posted by Carolyn in Cards, Decorative Label, Horizontal Slot, Kids cards, Modern Label, Owl, Punches, Small Heart, Tag, Uncategorized, Word Window

≈ Leave a comment

Tags

cards, Kids, punch art, Punches

I while ago my little boy was invited to his friend’s robot birthday party.  So of course me being me, I had to think of a cute little robot card I could make for him.     After a bit of hunting around on Google, I saw this cute little card by Teneale Williams (someone else who’s blog gives me lots of great inspiration).

Modifying Teneale’s idea a bit, here is what I came up with:

20120713_122609

20120713_123506

20120713_122014

20120713_121956

I used some corrugated paper I found at a $2 shop as it seemed to be very ‘robot-ey’, but normal card stock would work too.

My little robots are put together out of Stampin’ Up! punches:

Head – Tag punch

Body – Decorative Label punch

Arms and ears – Word Window punch (Tip: glue a word window on the reverse side of the head to make the ears)

Legs – Modern Label punch or Word Window punch

Mouth – Horizontal Slot punch (this is retired now but you could use a smaller circle (eg the eyes from the owl punch), the candles from the cupcake punch, or cut down the word window punch or draw on a mouth)

Eyes – I used the eyes from the Owl punch with some googly eyes stuck on, but any small circles would work.

For decorations I used the Small Heart punch, the heart and waistcoat from the Owl Builder punch.   One one of them I stuck lollies on the body.

These were so fun to make I soon had a little robot army!

20120713_122033

Share this:

  • Click to share on Pinterest (Opens in new window) Pinterest
  • Click to share on X (Opens in new window) X
  • Click to share on Facebook (Opens in new window) Facebook
  • Click to email a link to a friend (Opens in new window) Email
  • More
  • Click to share on Reddit (Opens in new window) Reddit
  • Click to share on Tumblr (Opens in new window) Tumblr
Like Loading...

Covered mini notebooks

27 Monday May 2013

Posted by Carolyn in 3D projects, Notebooks, Tutorial, Uncategorized, Using up scraps

≈ 3 Comments

Tags

3D, DSP, notebooks, scraps

Hi.  Thanks for stopping by my blog!

I wanted to show you another cute use for some bits and pieces of DSP (designer series paper) or other pretty scrap paper you have lying about.

20120725_081836

I got this idea from the very talented Tanya Bell, who posted some gorgeous covered notebooks, as well as a YouTube tutorial on how she made them.  I get a lot of inspiration from Tanya’s blog, so encourage you to check it out.

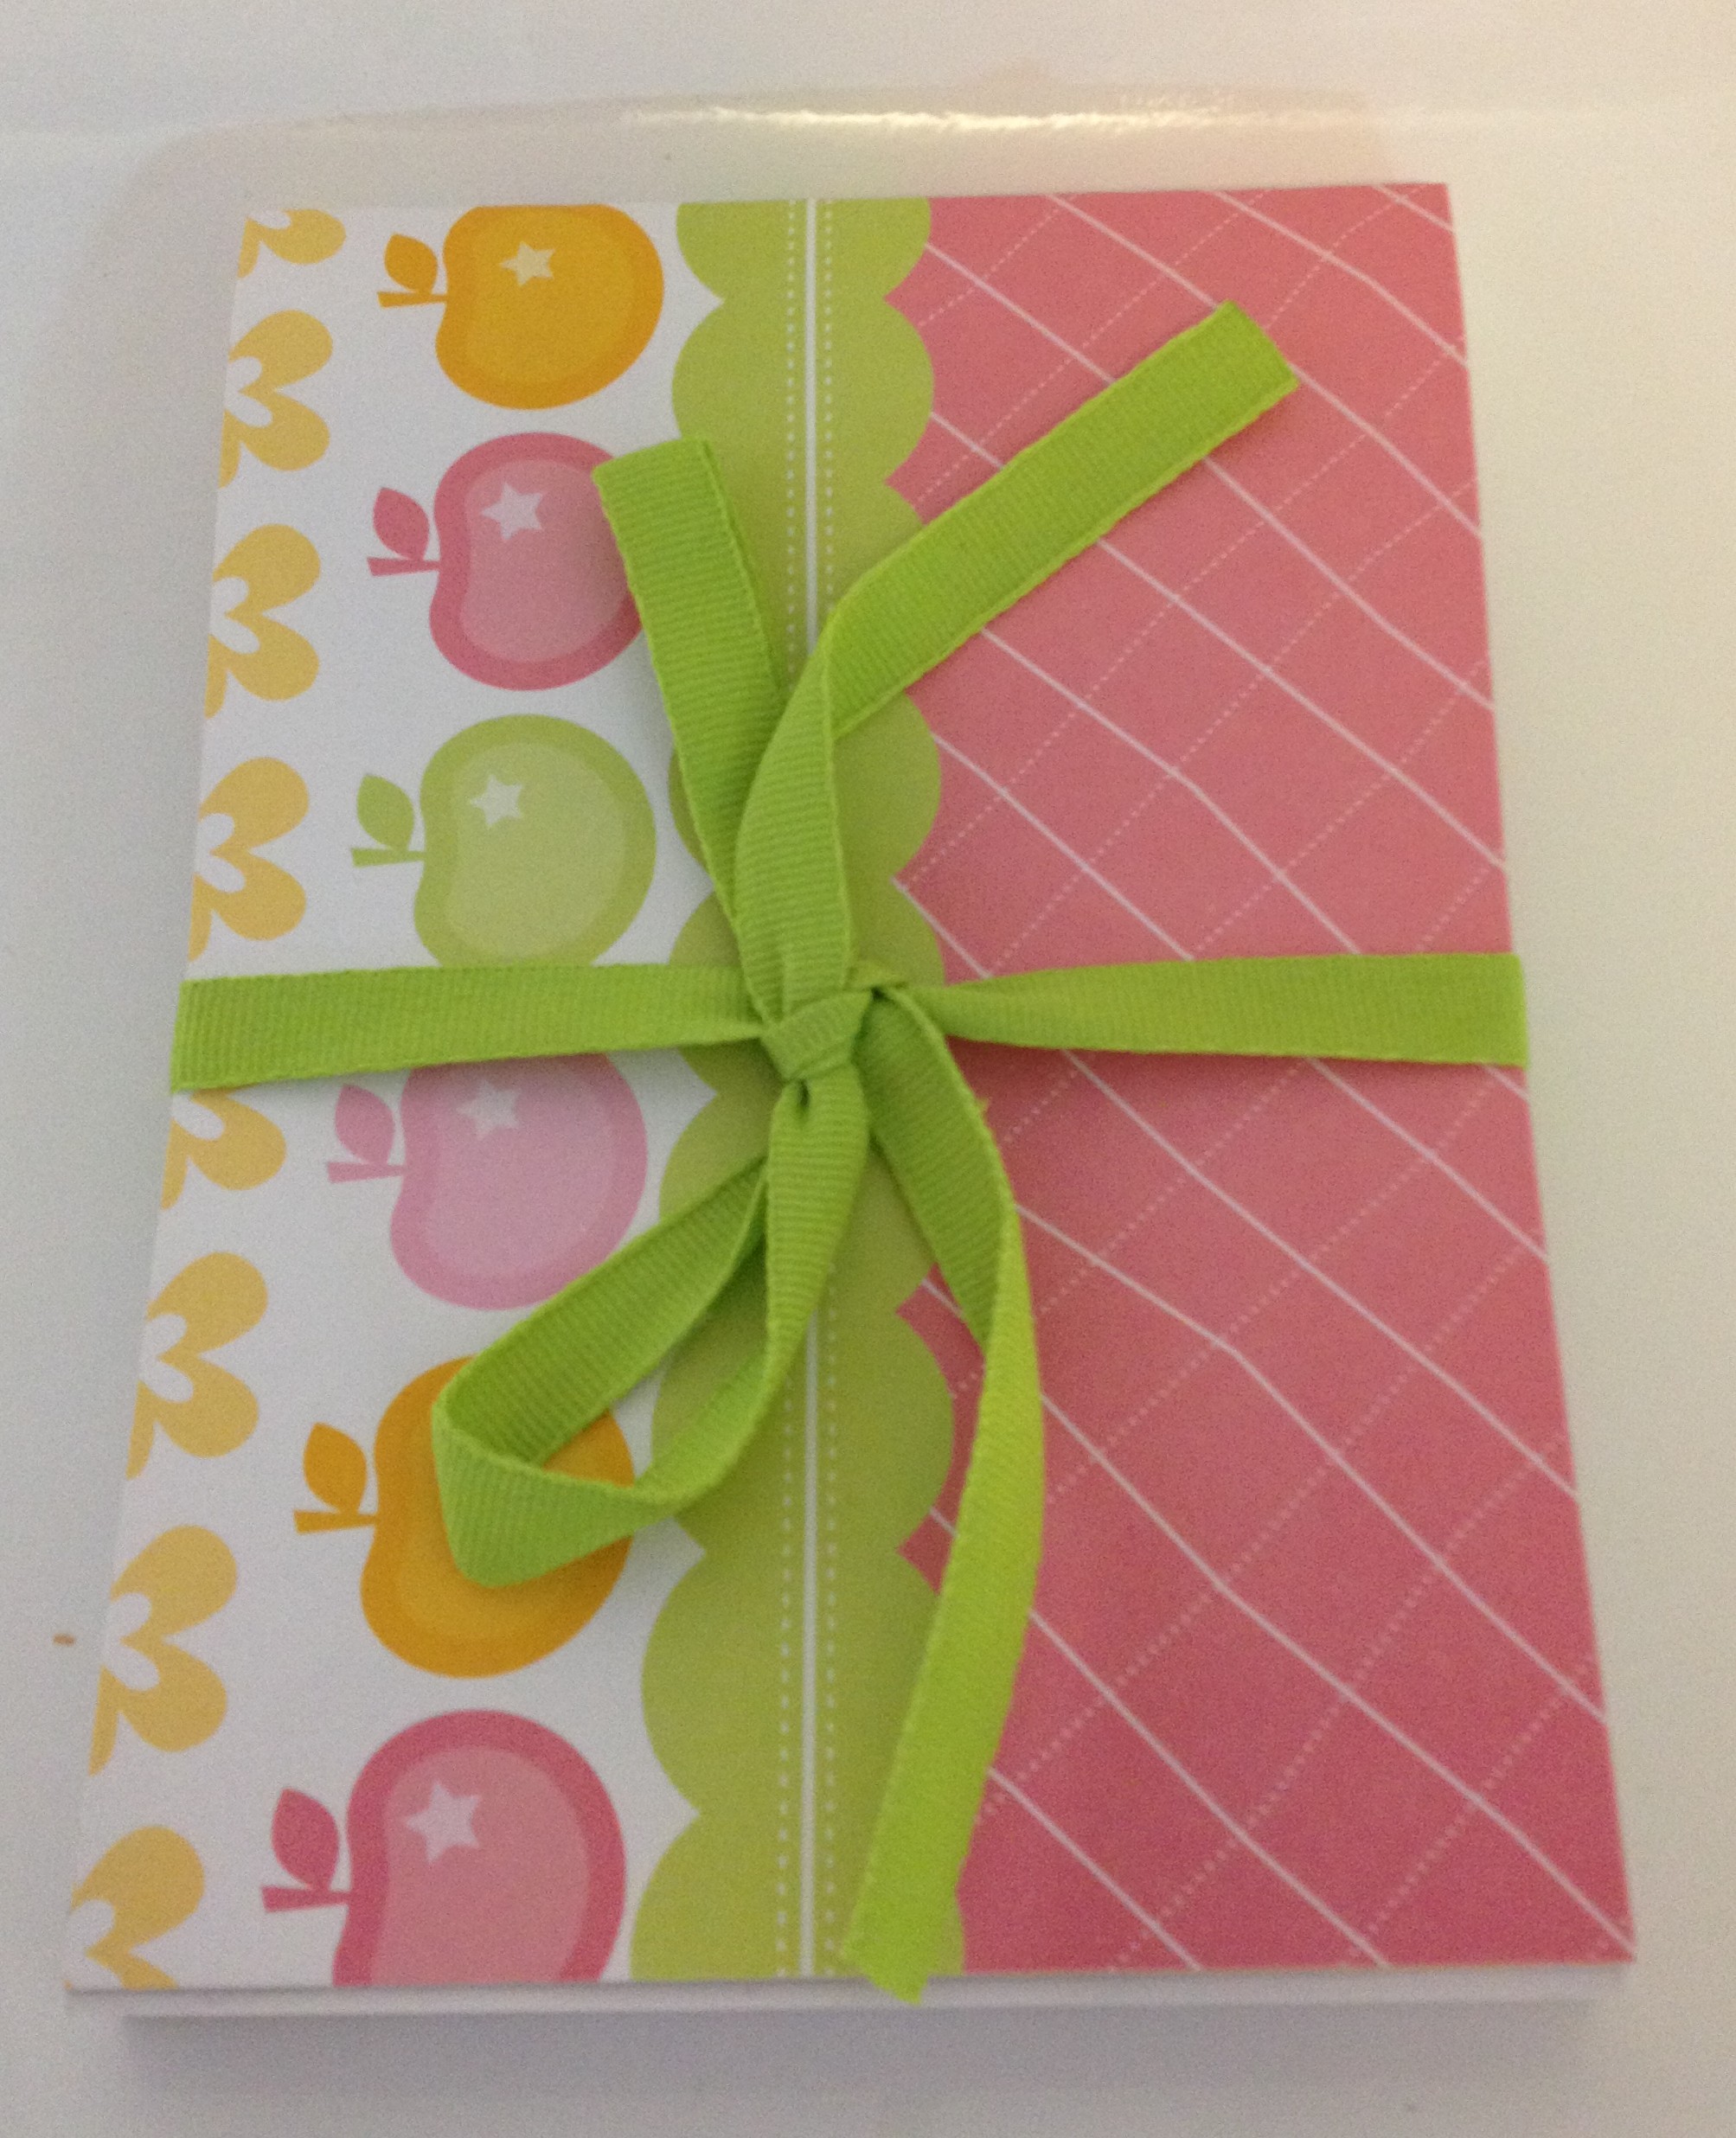
I made mine a little differently, but the basic idea is the same.    I bought some little notebooks from a $2 shop (I think I got 8 little books for $3?).   Rather than covering the books just with DSP like Tanya’s tutorial, I wanted to make the cover a little sturdier so covered it with card stock first and then decorated with rectangles of DSP.

To make the card stock cover, I measured the size of the width of the front of the notebook and added 2mm on either side.   This is the width of the card stock you’ll need to cut.    To figure out the length you need to:

1 –  measure the length of the front of your notebook (eg 8cm) and double it (ie, 16cm)

2 – measure the depth of the notebook (ie, the size of the ‘spine’) (eg 0.5 cm)

3 – add 2mm overhang for the front and back (ie, 0.4cm)

The total length would be 1 + 2 + 3 (using the dimensions in my example, this works out to be 16.9cm)

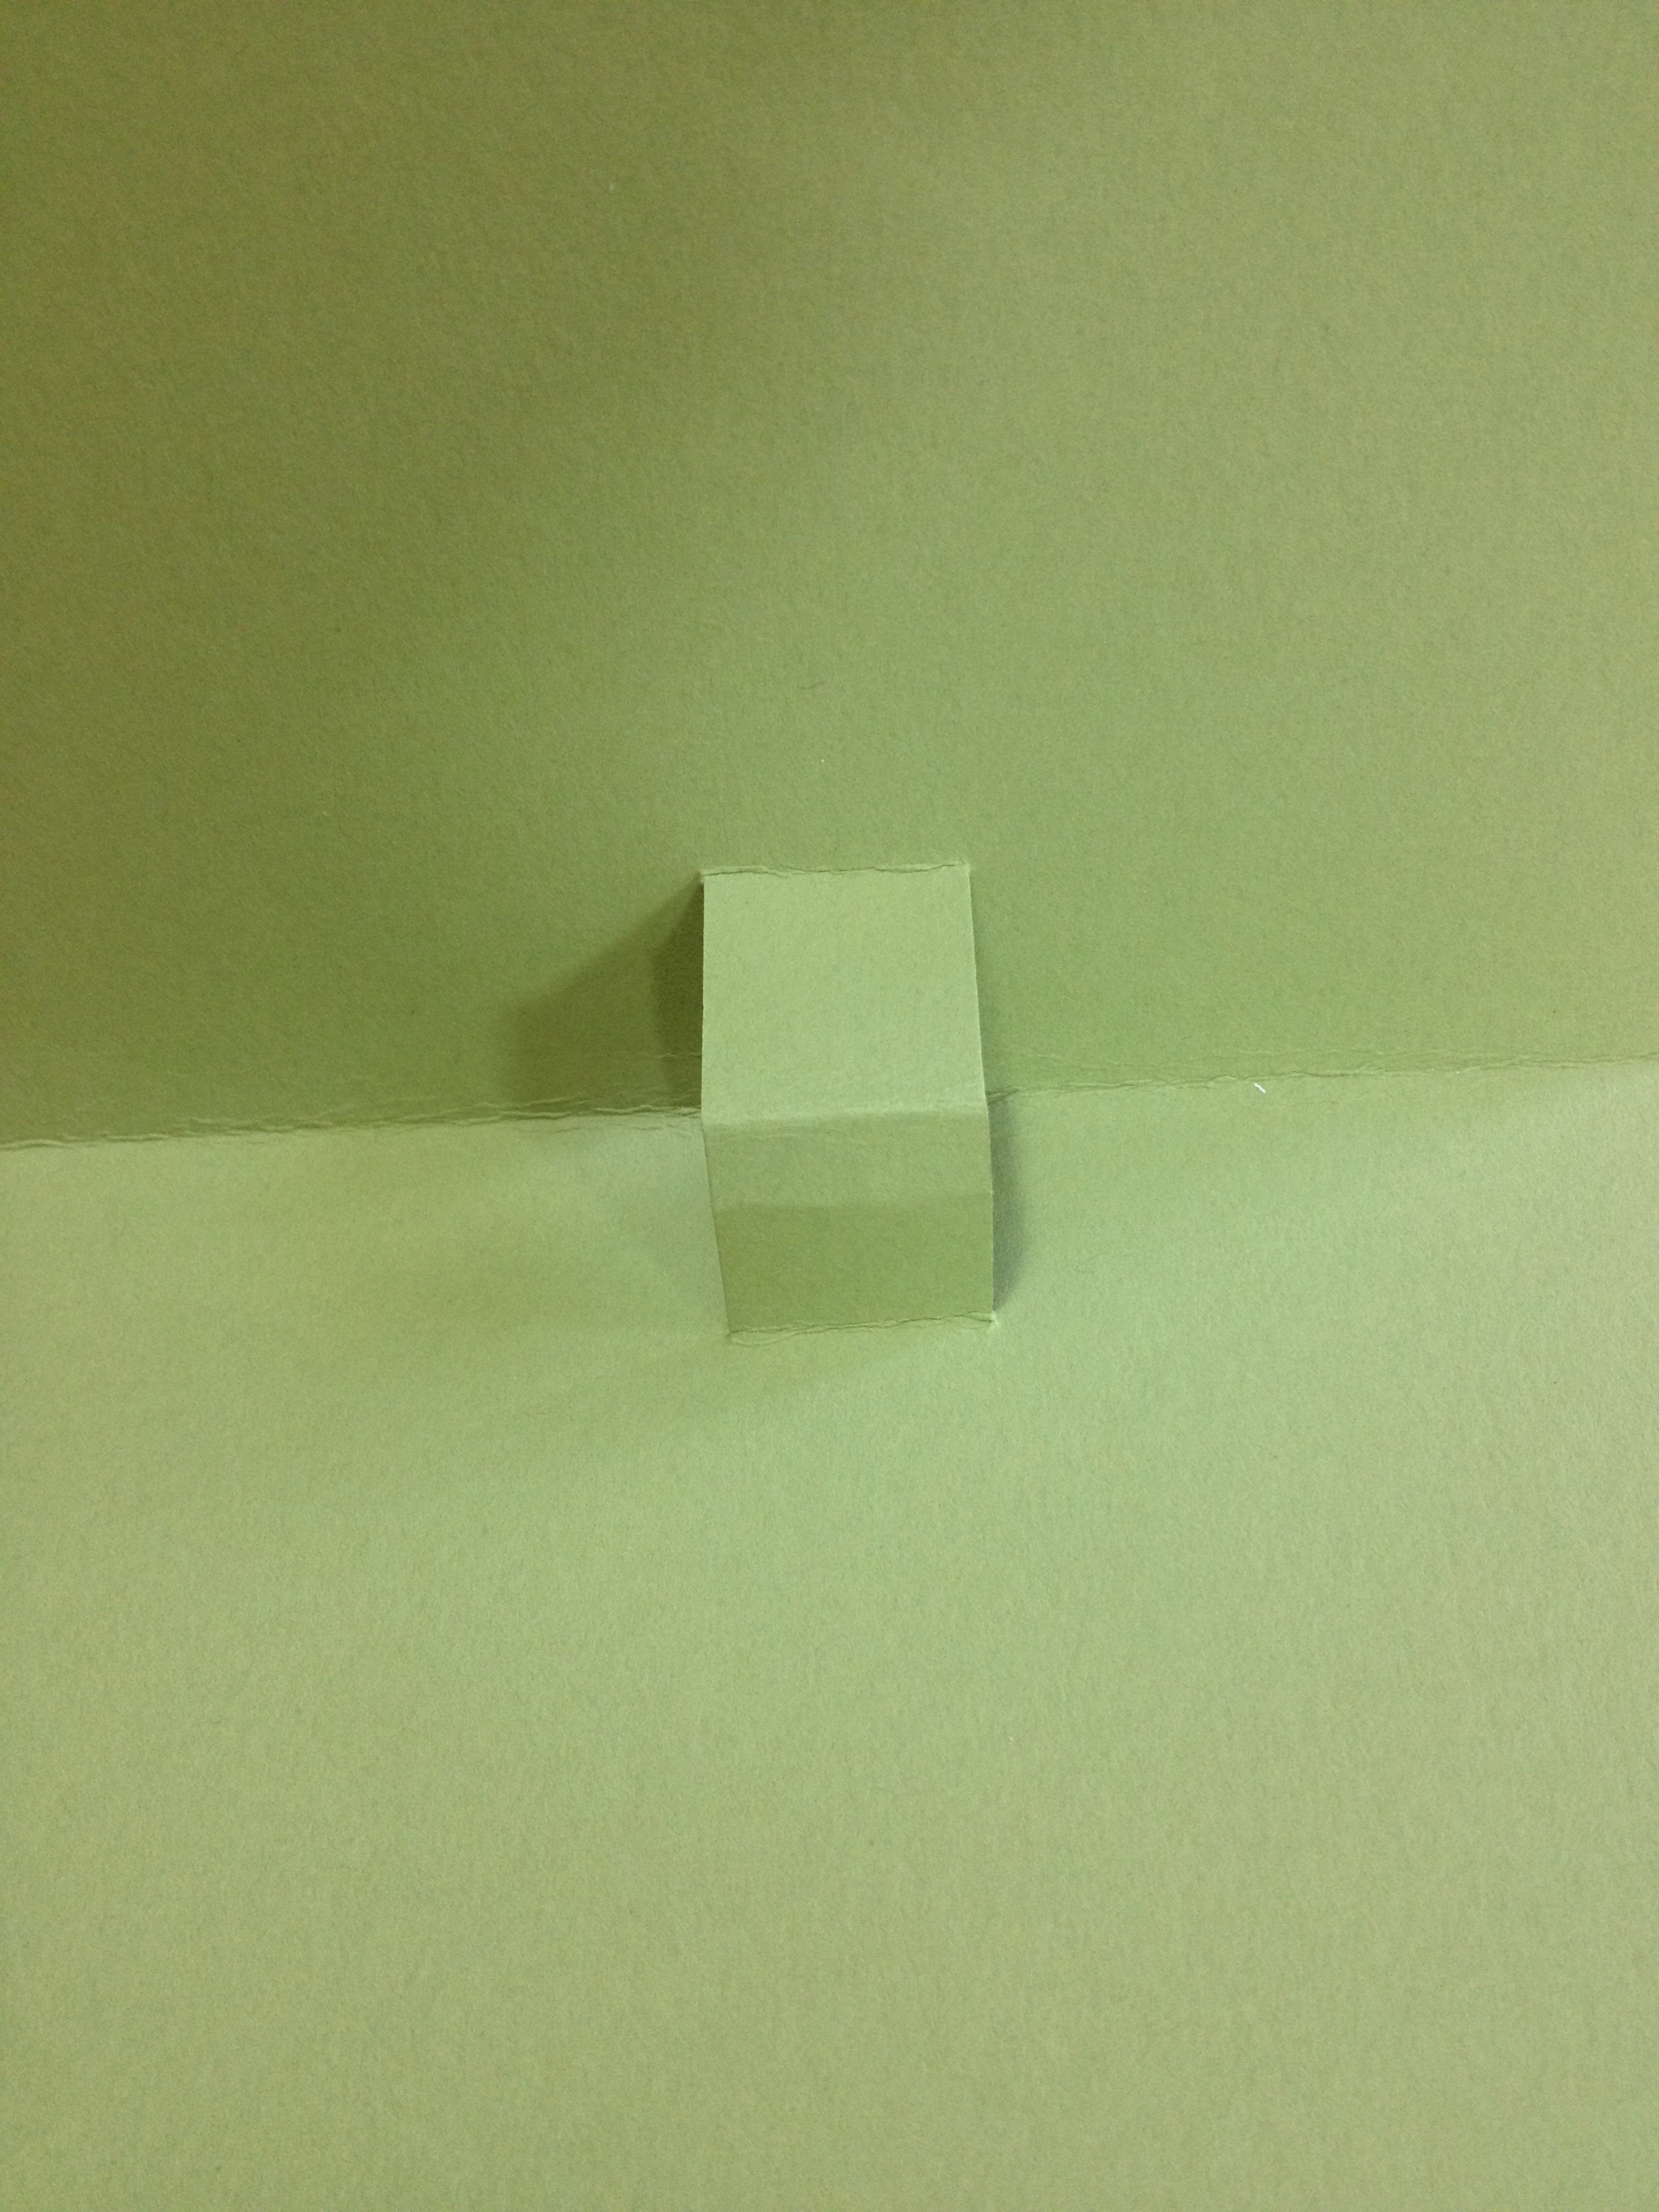
You then want to score the length of the paper where the fold for the spine would be.  (Using these example measurements, you would score at 8.2cm in from either side of the long end of the card stock, leaving a .5cm fold in the centre of the card stock which would go around the spine of your notebook.)

Fold and make sharp creases on the score lines.  I use a bone folder to get a really nice crease line.

Attach the card stock to the front and back covers of the notebook and stick down over the spine.  You can use glue (eg Snail adhesive) to do this, but I found that using Sticky Strip (Stampin’ Up!’s uber strong double sided tape) gives a stronger hold.

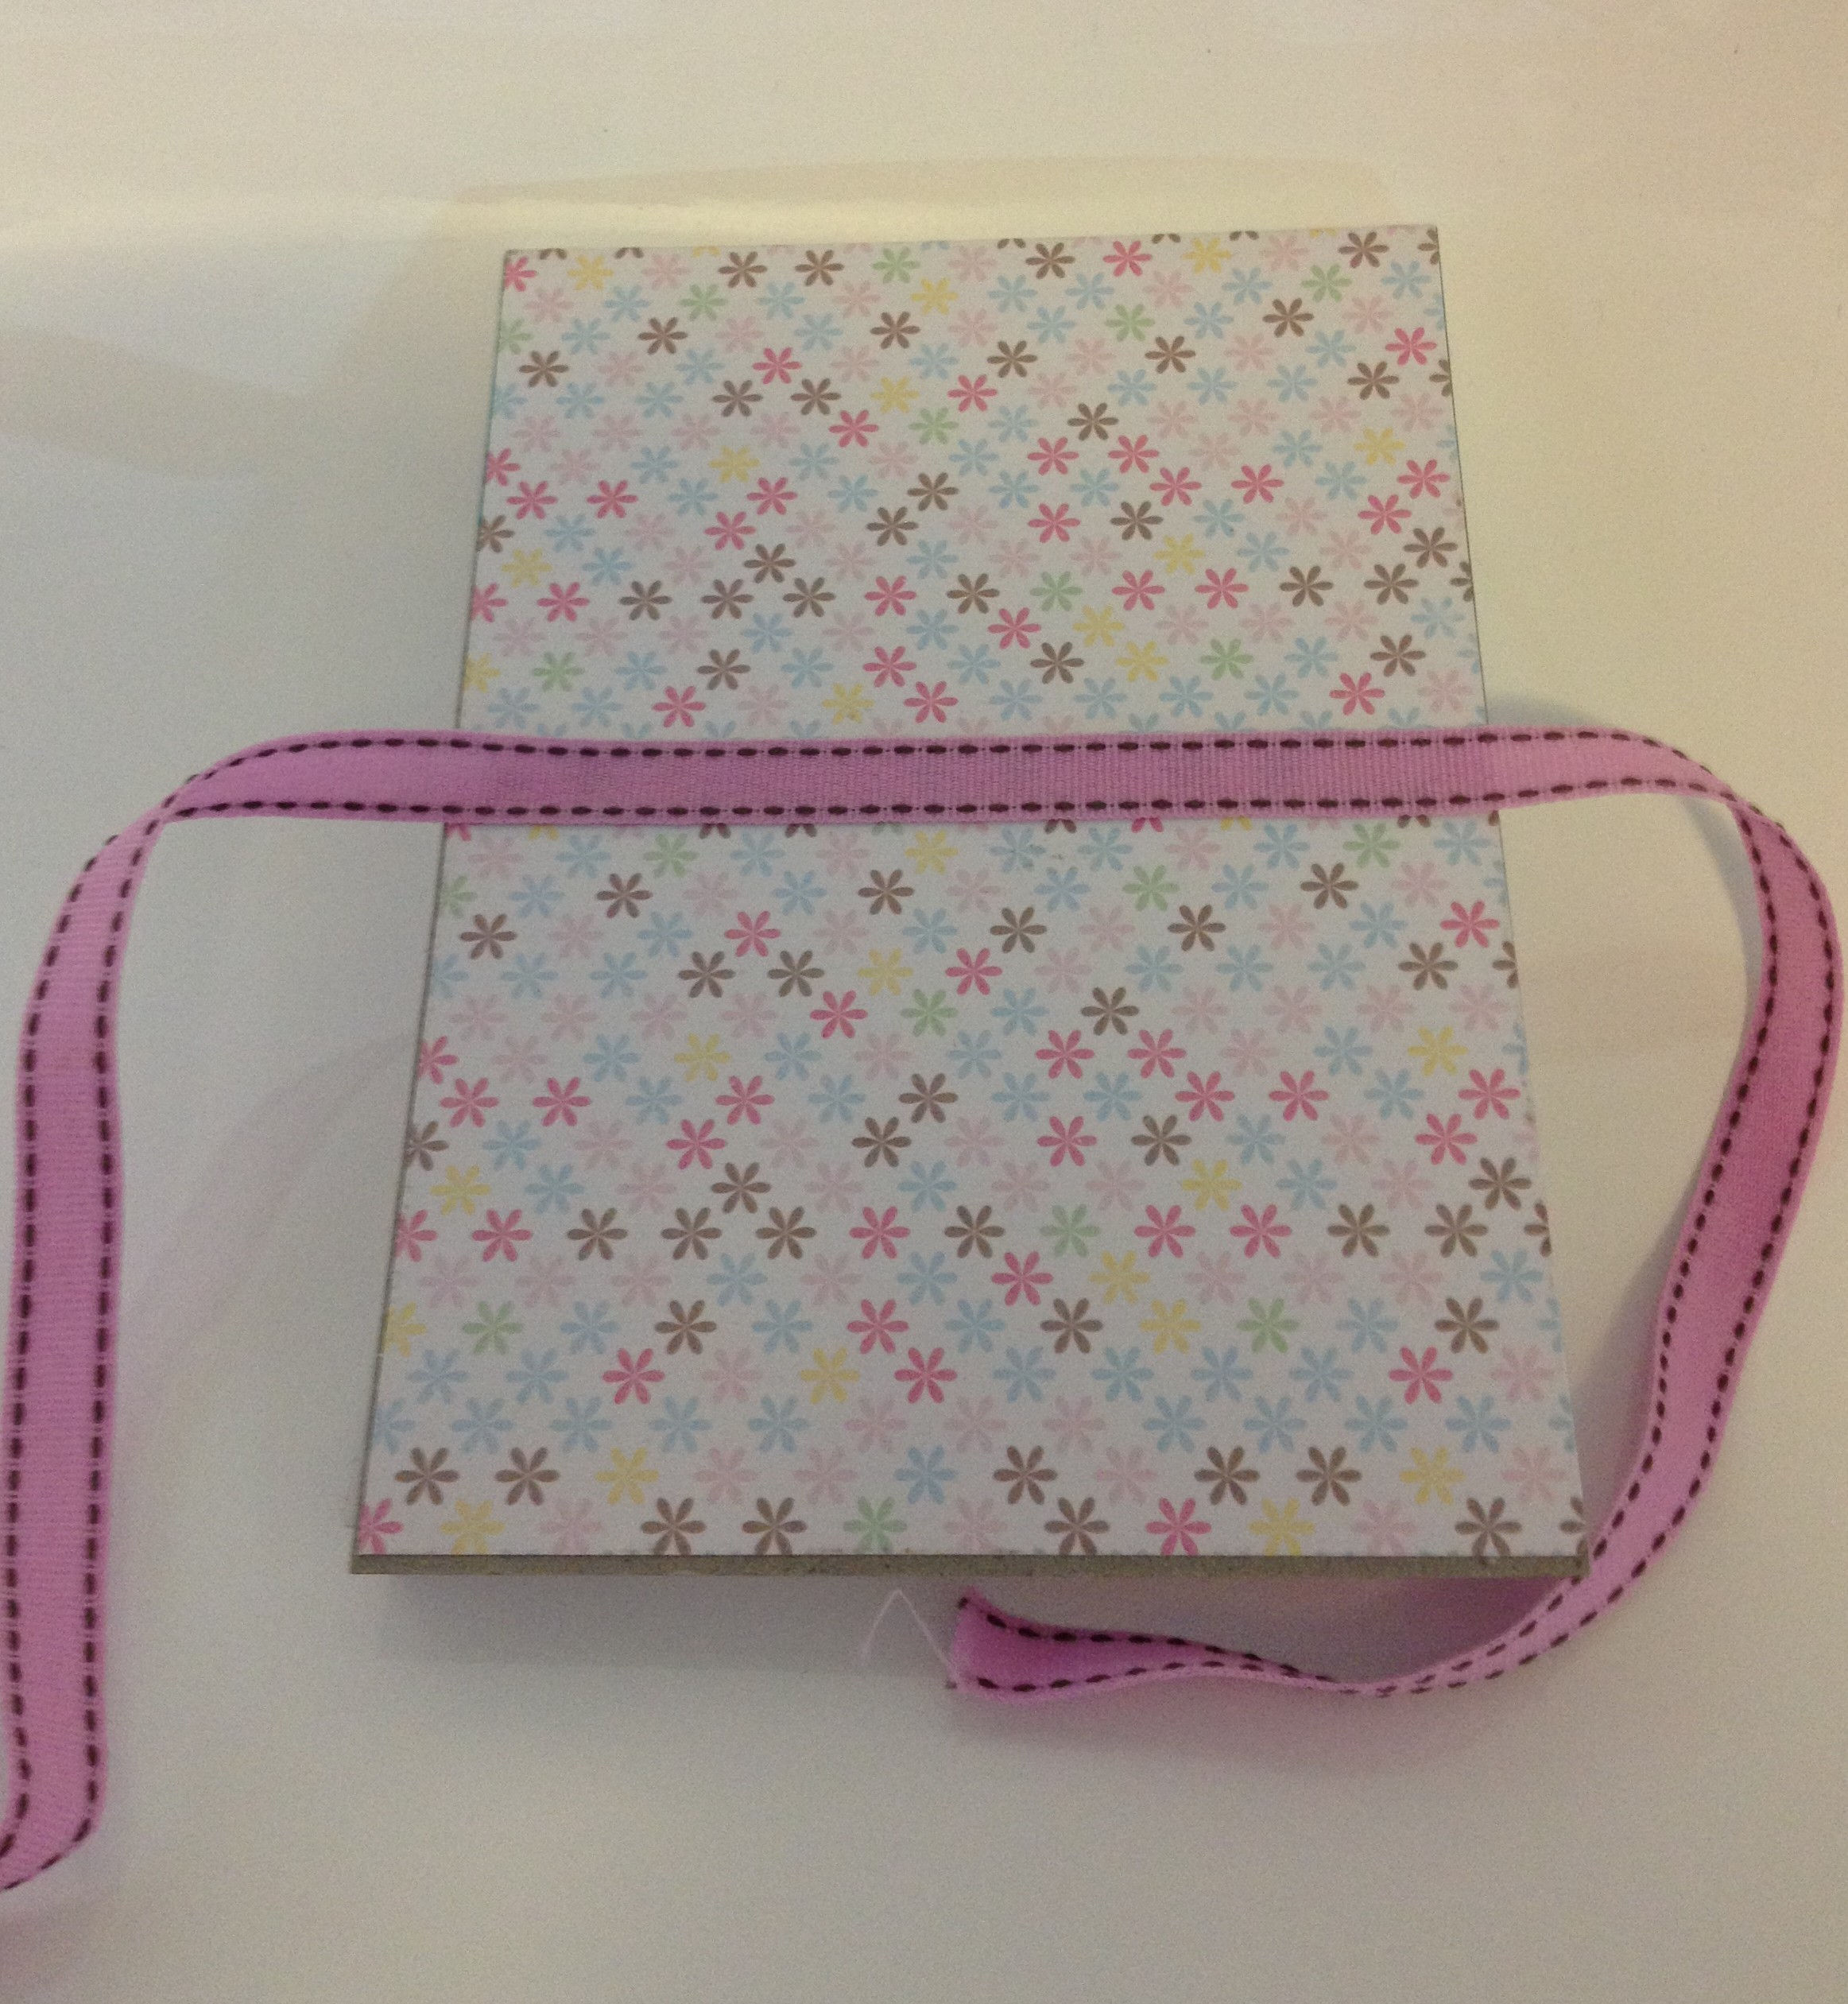
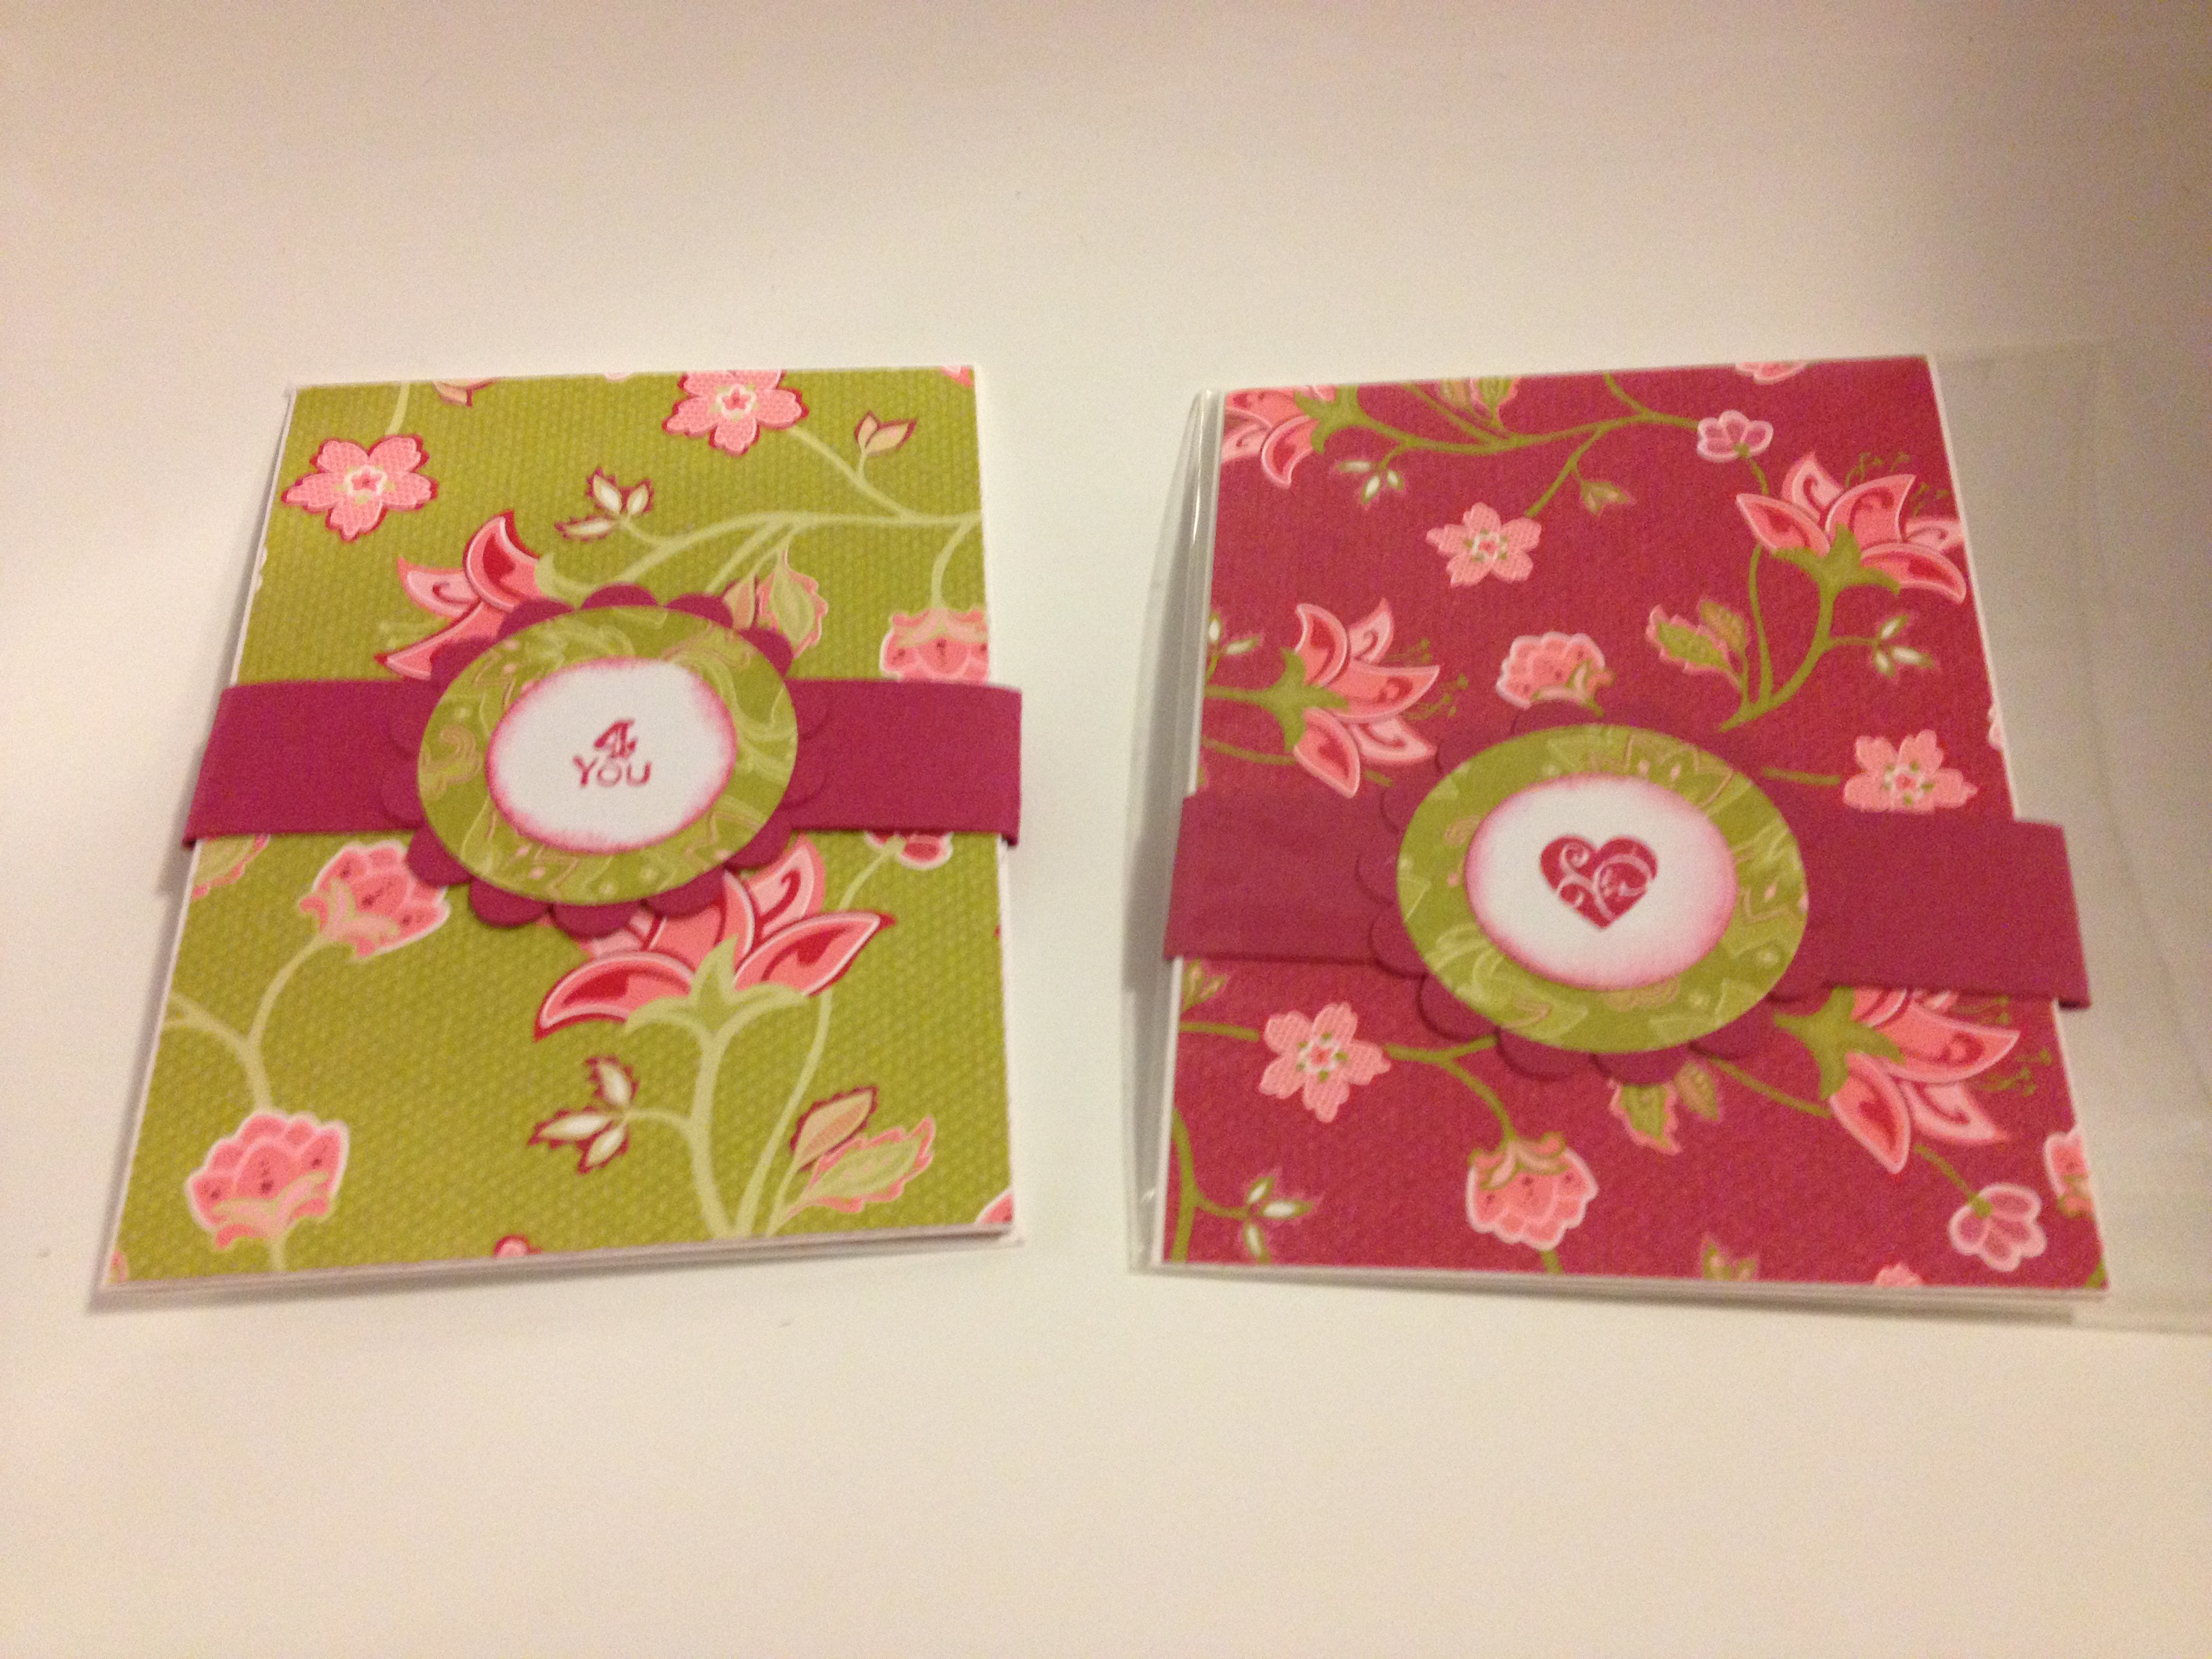
To decorate the cover I used some leftover DSP and the snail image from the Button Buddies stamp set, with a button on the snail attached with a glue dot.

I have made these notebooks with all sorts of decorations.   Butterfly punches can make them look especially gorgeous!

photo

photo-5

photo-1 copy 2

I have also used DSP and various punches and stamps to decorate plain spiral notebooks.  These are super easy – just measure the front of the spiral notebook just to the edge of the spiral, then cut and glue on the DSP.

20120727_185607I decorated these ones with the Stampin’ Up! Blossom punch in Daffodil Delight card stock, and I used the wings from the Bird Builder punch to create leaves.  A 1 inch circle punch made the centre of the flower and a cute button in Daffodil Delight finished it off.

These are so easy to make I hope you have a go.   I’d love to see a photo of anything you make!

Thanks for reading

Caro

Share this:

  • Click to share on Pinterest (Opens in new window) Pinterest
  • Click to share on X (Opens in new window) X
  • Click to share on Facebook (Opens in new window) Facebook
  • Click to email a link to a friend (Opens in new window) Email
  • More
  • Click to share on Reddit (Opens in new window) Reddit
  • Click to share on Tumblr (Opens in new window) Tumblr
Like Loading...

Updated – some more pictures of envelope gift card holders

26 Sunday May 2013

Posted by Carolyn in Gift card holders, Gift tags & wrapping, Uncategorized

≈ Leave a comment

Tags

gift cards

Hi

I hope you saw my post on Thursday showing you how to make gift card holders out of envelopes.   These are some of my favourite things to make – so quick and easy but always get a ‘wow’ from the person who receives them.

I mentioned in the post I also like to make them out of florals, spots, stripes etc.   I was just sorting through some photos and found a couple of some gift cards I made a year or so ago so thought I’d share them too.

photo-1

Enjoy!

Share this:

  • Click to share on Pinterest (Opens in new window) Pinterest
  • Click to share on X (Opens in new window) X
  • Click to share on Facebook (Opens in new window) Facebook
  • Click to email a link to a friend (Opens in new window) Email
  • More
  • Click to share on Reddit (Opens in new window) Reddit
  • Click to share on Tumblr (Opens in new window) Tumblr
Like Loading...

Pop up rugby themed birthday party invitations

21 Tuesday May 2013

Posted by Carolyn in 3D / pop up, Invitations, Uncategorized

≈ 4 Comments

Tags

cards, invitations, kids birthday, pop up, rugby, stampinup

My 3 year old son is obsessed with rugby union.  And I mean obsessed.  Instead of a story, he wants me to read him the Brumbies rugby season guide most nights.    And for his birthday party he wants a – you guessed it! – rugby themed birthday party, with rugby themed invitations.

After much thought, I came up with a pop-up rugby themed birthday party invitation for my little rugby obsessed munchkin.    I thought I would share the steps in case anyone else needs to come up with a football related card or invitation anytime soon.

I made a C6 sized card blank in Stampin Up! Night of Navy, which is pretty close to the Brumbies team colours of navy, white and yellow.   I cut and pasted some rugby jerseys on Whisper White card stock for the front of the card – and we wrote the names of the people invited on the jerseys.

IMG_1349

For the pop up card I cut a 20.5 x 14 cm piece of Stampin Up! Old Olive card stock for the inside ‘pop up’.   Here is a photo of my rough sketch in case my instructions aren’t clear!

IMG_1351

I folded the Old Olive piece in half and scored it, then made a 2cm cut at 6 cm and 8cm to make the pop up.

IMG_1345

Now for the “field!”

I used my white Signo pen to mark the side lines – 0.5cm all around the inside, and then try lines, centre lines and “22” lines as shown in this photo (I did the solid lines with a ruler and the dashed lines by hand)

IMG_1337

I added 2 Stampin’ Dimensionals onto the pop up to hold the “piece de resistance” – the pop up rugby ball!     I made this on my computer so I could add his name on the ball, but you could equally use an oval cut from the extra large oval punch or an ovals die.

IMG_1348

James had a fantastic time sticking on the dimensionals and adding the balls to the inside of the cards.   Just like magic!   One tip: make sure the base of the rugby ball is just touching the base of the pop up section so it can close easily.

We wrote the party details on the “field”, stuck the Old Olive insert inside the Night of Navy card base and we were done.

I’m posting them tomorrow so here’s hoping they’re a hit!

Enjoy!

Share this:

  • Click to share on Pinterest (Opens in new window) Pinterest
  • Click to share on X (Opens in new window) X
  • Click to share on Facebook (Opens in new window) Facebook
  • Click to email a link to a friend (Opens in new window) Email
  • More
  • Click to share on Reddit (Opens in new window) Reddit
  • Click to share on Tumblr (Opens in new window) Tumblr
Like Loading...

Using up some scrap paper

21 Tuesday May 2013

Posted by Carolyn in 1 inch circle, Blossom, Cards, Gift tags & wrapping, Love notes, Uncategorized

≈ 2 Comments

Tags

3/4 circle punch, blossom punch, cards, gift cards, love notes

If you’re anything like me, you probably have a ton of left over paper lying around that is too pretty to throw away, but you’re also not quite sure what to do with?

I’ve recently started donating some of my extra paper to my son’s daycare – the kids love using it in their craft and I’m sure they get more happiness out of using it than having it stashed away in my stash!

I’ve also started hunting around for ways to use up small bits of paper in my crafting.    One really simple idea is these small gift cards made out of some scrap paper and the Stampin Up blossom punch.

Blossomflower1

I made a 7 cm x 7 cm card in Whisper White and punched a blossom shape out of some retired Stampin Up designer series paper (DSP).   I then used my 3/4 inch circle punch and a spare button I had lying around to make the centre of a flower.

Another variation is to us a scrap of DSP (I used 6 cm x 6 cm) and overlay with a white punched blossom image.    A small circle of DSP in the middle (3/4 or 1 inch punches work best) and you’re done.  You could add a button or another punched flower in the middle to give it some extra dimension.

Blossomflower2

Very simple, but I think they are quite effective.  What do you think?

Blossomflowersgroup

I’ll try to always put the ‘ingredients’ for any cards at the bottom of a post.  If you would like to buy any of the products I use on the blog, please email me at caroprettythings@gmail.com

Thanks for reading 🙂

Ingredients:

Whisper White card stock

DSP (retired)

Blossom Punch (item no 125603 Stampin Up! Annual Catalogue p185)

3/4 inch circle punch (item no 119873, catalogue p184)

Share this:

  • Click to share on Pinterest (Opens in new window) Pinterest
  • Click to share on X (Opens in new window) X
  • Click to share on Facebook (Opens in new window) Facebook
  • Click to email a link to a friend (Opens in new window) Email
  • More
  • Click to share on Reddit (Opens in new window) Reddit
  • Click to share on Tumblr (Opens in new window) Tumblr
Like Loading...
Newer posts →

Carolyn Dalton

Independent Stampin Up! Demonstrator

Recent Posts

  • Pretty butterfly birthday card 
  • Adding an extra touch to a homemade envelope
  • Quick and easy masculine card 
  • Quick and easy kids card
  • Butterfly soap card

Archives

  • March 2016
  • February 2016
  • January 2016
  • December 2015
  • November 2015
  • October 2015
  • September 2015
  • August 2015
  • July 2015
  • June 2015
  • May 2015
  • April 2015
  • September 2014
  • July 2014
  • April 2014
  • March 2014
  • February 2014
  • November 2013
  • October 2013
  • September 2013
  • August 2013
  • July 2013
  • June 2013
  • May 2013
  • May 2012

Categories

  • 1 1/4 inch circle
  • 1 3/4 circle
  • 1 3/4 inch scallop circle
  • 1 3/8 circle
  • 1 inch circle
  • 1 inch square
  • 2 3/8 inch scallop punch
  • 3/4 inch circle
  • 3D / pop up
  • 3D projects
  • Anniversary
  • Baby cards
  • Beautiful Butterflies
  • Big Shot
  • Bird Builder
  • Birthday
  • Bitty Butterfly
  • Blossom
  • Blossom Builder
  • Boho Blossoms
  • Boxes
  • Butterfly (retired)
  • Candy Wrapper
  • Card sets
  • Cards
  • Chalk Talk
  • Christmas
  • Circle Thinlits
  • Circle treat cups
  • Circles #2
  • Corner rounder
  • Cupcake Builder
  • Cupcakes and other tasty treats
  • Curly label
  • Decorative Label
  • Dies
  • Elegant Butterly
  • Embossing folders
  • Envelopes
  • Extra Large Oval
  • Fancy Flower
  • Framelits
  • Full heart
  • General occasion
  • Gift bags
  • Gift bow
  • Gift card holders
  • Gift tags & wrapping
  • Home decorating
  • Horizontal Slot
  • Invitations
  • Jewellery tag
  • Kids cards
  • Kids craft ideas
  • Kids party
  • Labels collection
  • Large Oval
  • Love notes
  • Masculine
  • Mini scallop
  • Modern Label
  • Music Notes
  • Notebooks
  • Owl
  • Perfect Polka Dots
  • Petite curly label
  • Pinwheel die
  • Punches
  • Scallop circle
  • Scallop edge
  • Scallop envelope
  • Scallop oval
  • Scallop Tag Topper
  • Small Heart
  • Square Lattice
  • Star
  • Sweet treat cups
  • Tag
  • Tasteful Trim
  • Thank you
  • Thoughts and comments
  • Top Note
  • Tutorial
  • Uncategorized
  • Using up scraps
  • Washi tape
  • Wedding cards
  • Wheels
  • Wildflower Meadow
  • Word Window

Pinterest

Follow Me on Pinterest

Follow me on Twitter

My Tweets

Enter your email address to follow this blog and receive notifications of new posts by email.

Join 26 other subscribers

Blog at WordPress.com.

Privacy & Cookies: This site uses cookies. By continuing to use this website, you agree to their use.
To find out more, including how to control cookies, see here: Cookie Policy
  • Subscribe Subscribed
    • Caro's Pretty Things
    • Join 26 other subscribers
    • Already have a WordPress.com account? Log in now.
    • Caro's Pretty Things
    • Subscribe Subscribed
    • Sign up
    • Log in
    • Report this content
    • View site in Reader
    • Manage subscriptions
    • Collapse this bar
 

Loading Comments...
 

    %d