• About

Caro's Pretty Things

~ My papercraft blog

Category Archives: Birthday

What to do with all this colouring in?

29 Saturday Aug 2015

Posted by Carolyn in Birthday, Bitty Butterfly, Elegant Butterly, General occasion, Punches, Small Heart, Thoughts and comments, Tutorial, Using up scraps

≈ Leave a comment

Tags

cards from colouring in, Punches, tips for punching small paper

I’m pleased to report in finally starting to feel a little better! Still off work, but I’ve graduated from lying down all day to being able to sit up for a few hours at a time. Progress!!!

Today I realised how many notebooks of scribbles and coloured in pictures I have lying around the house. 

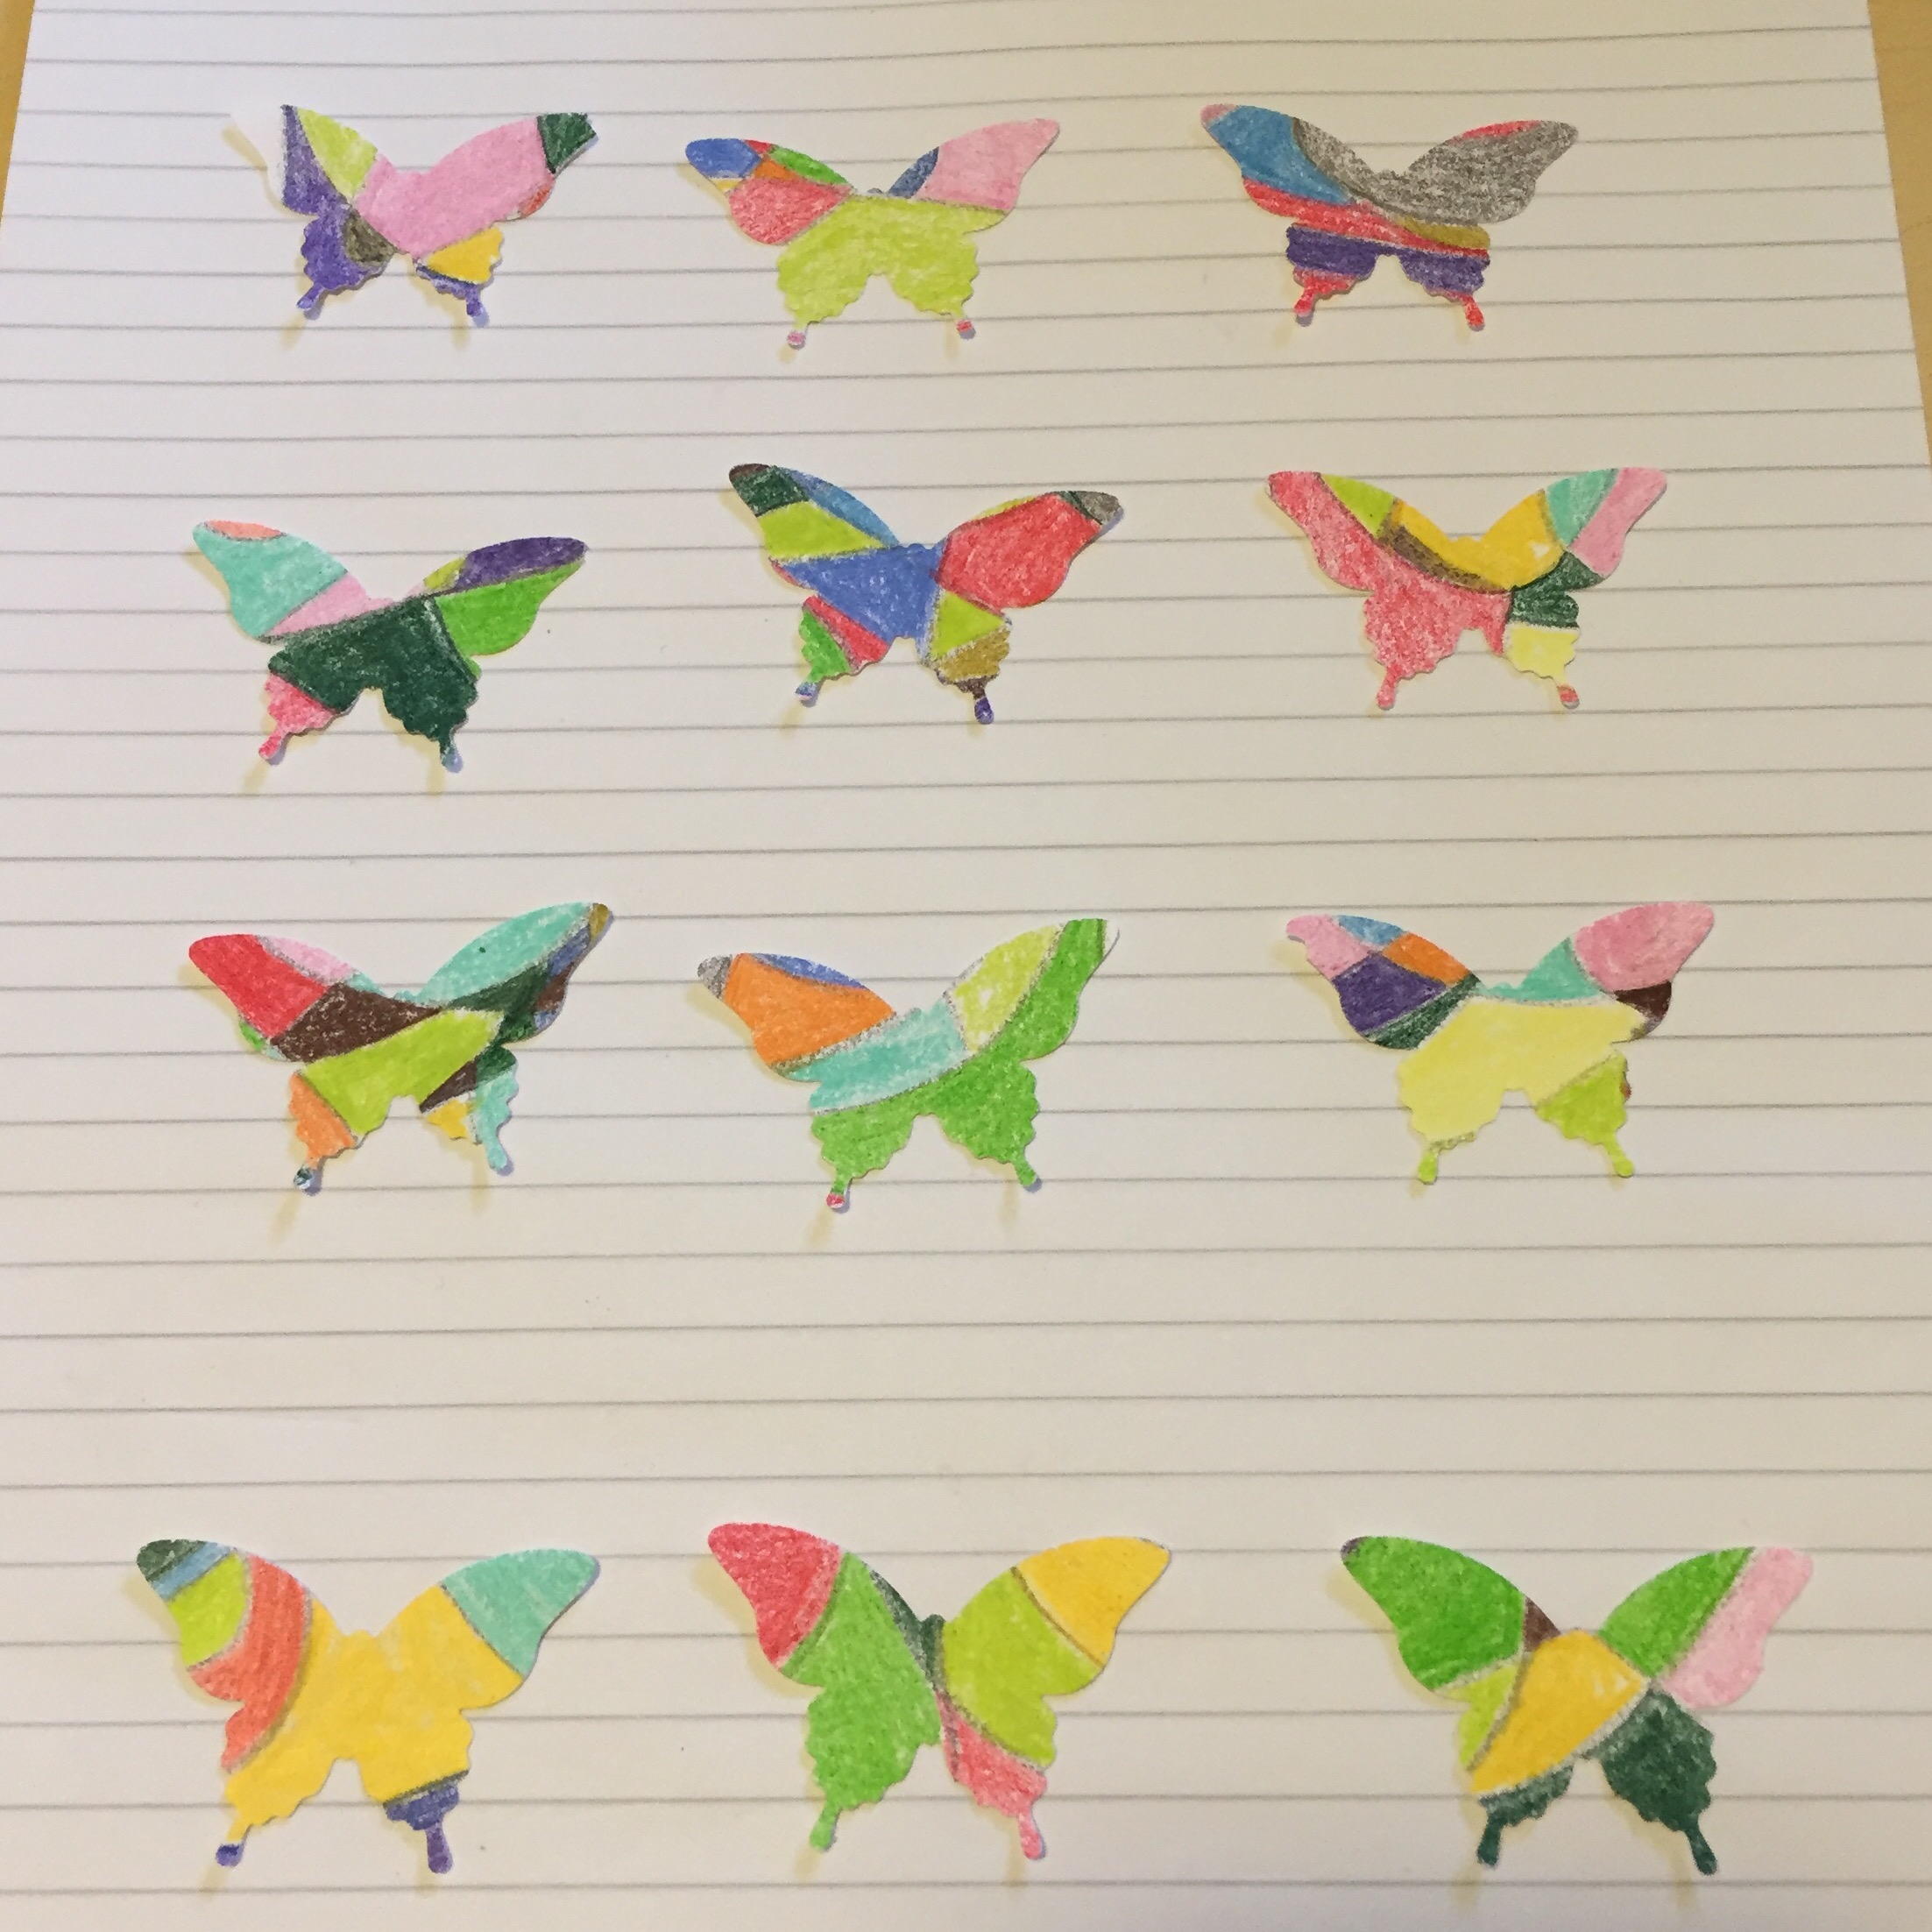
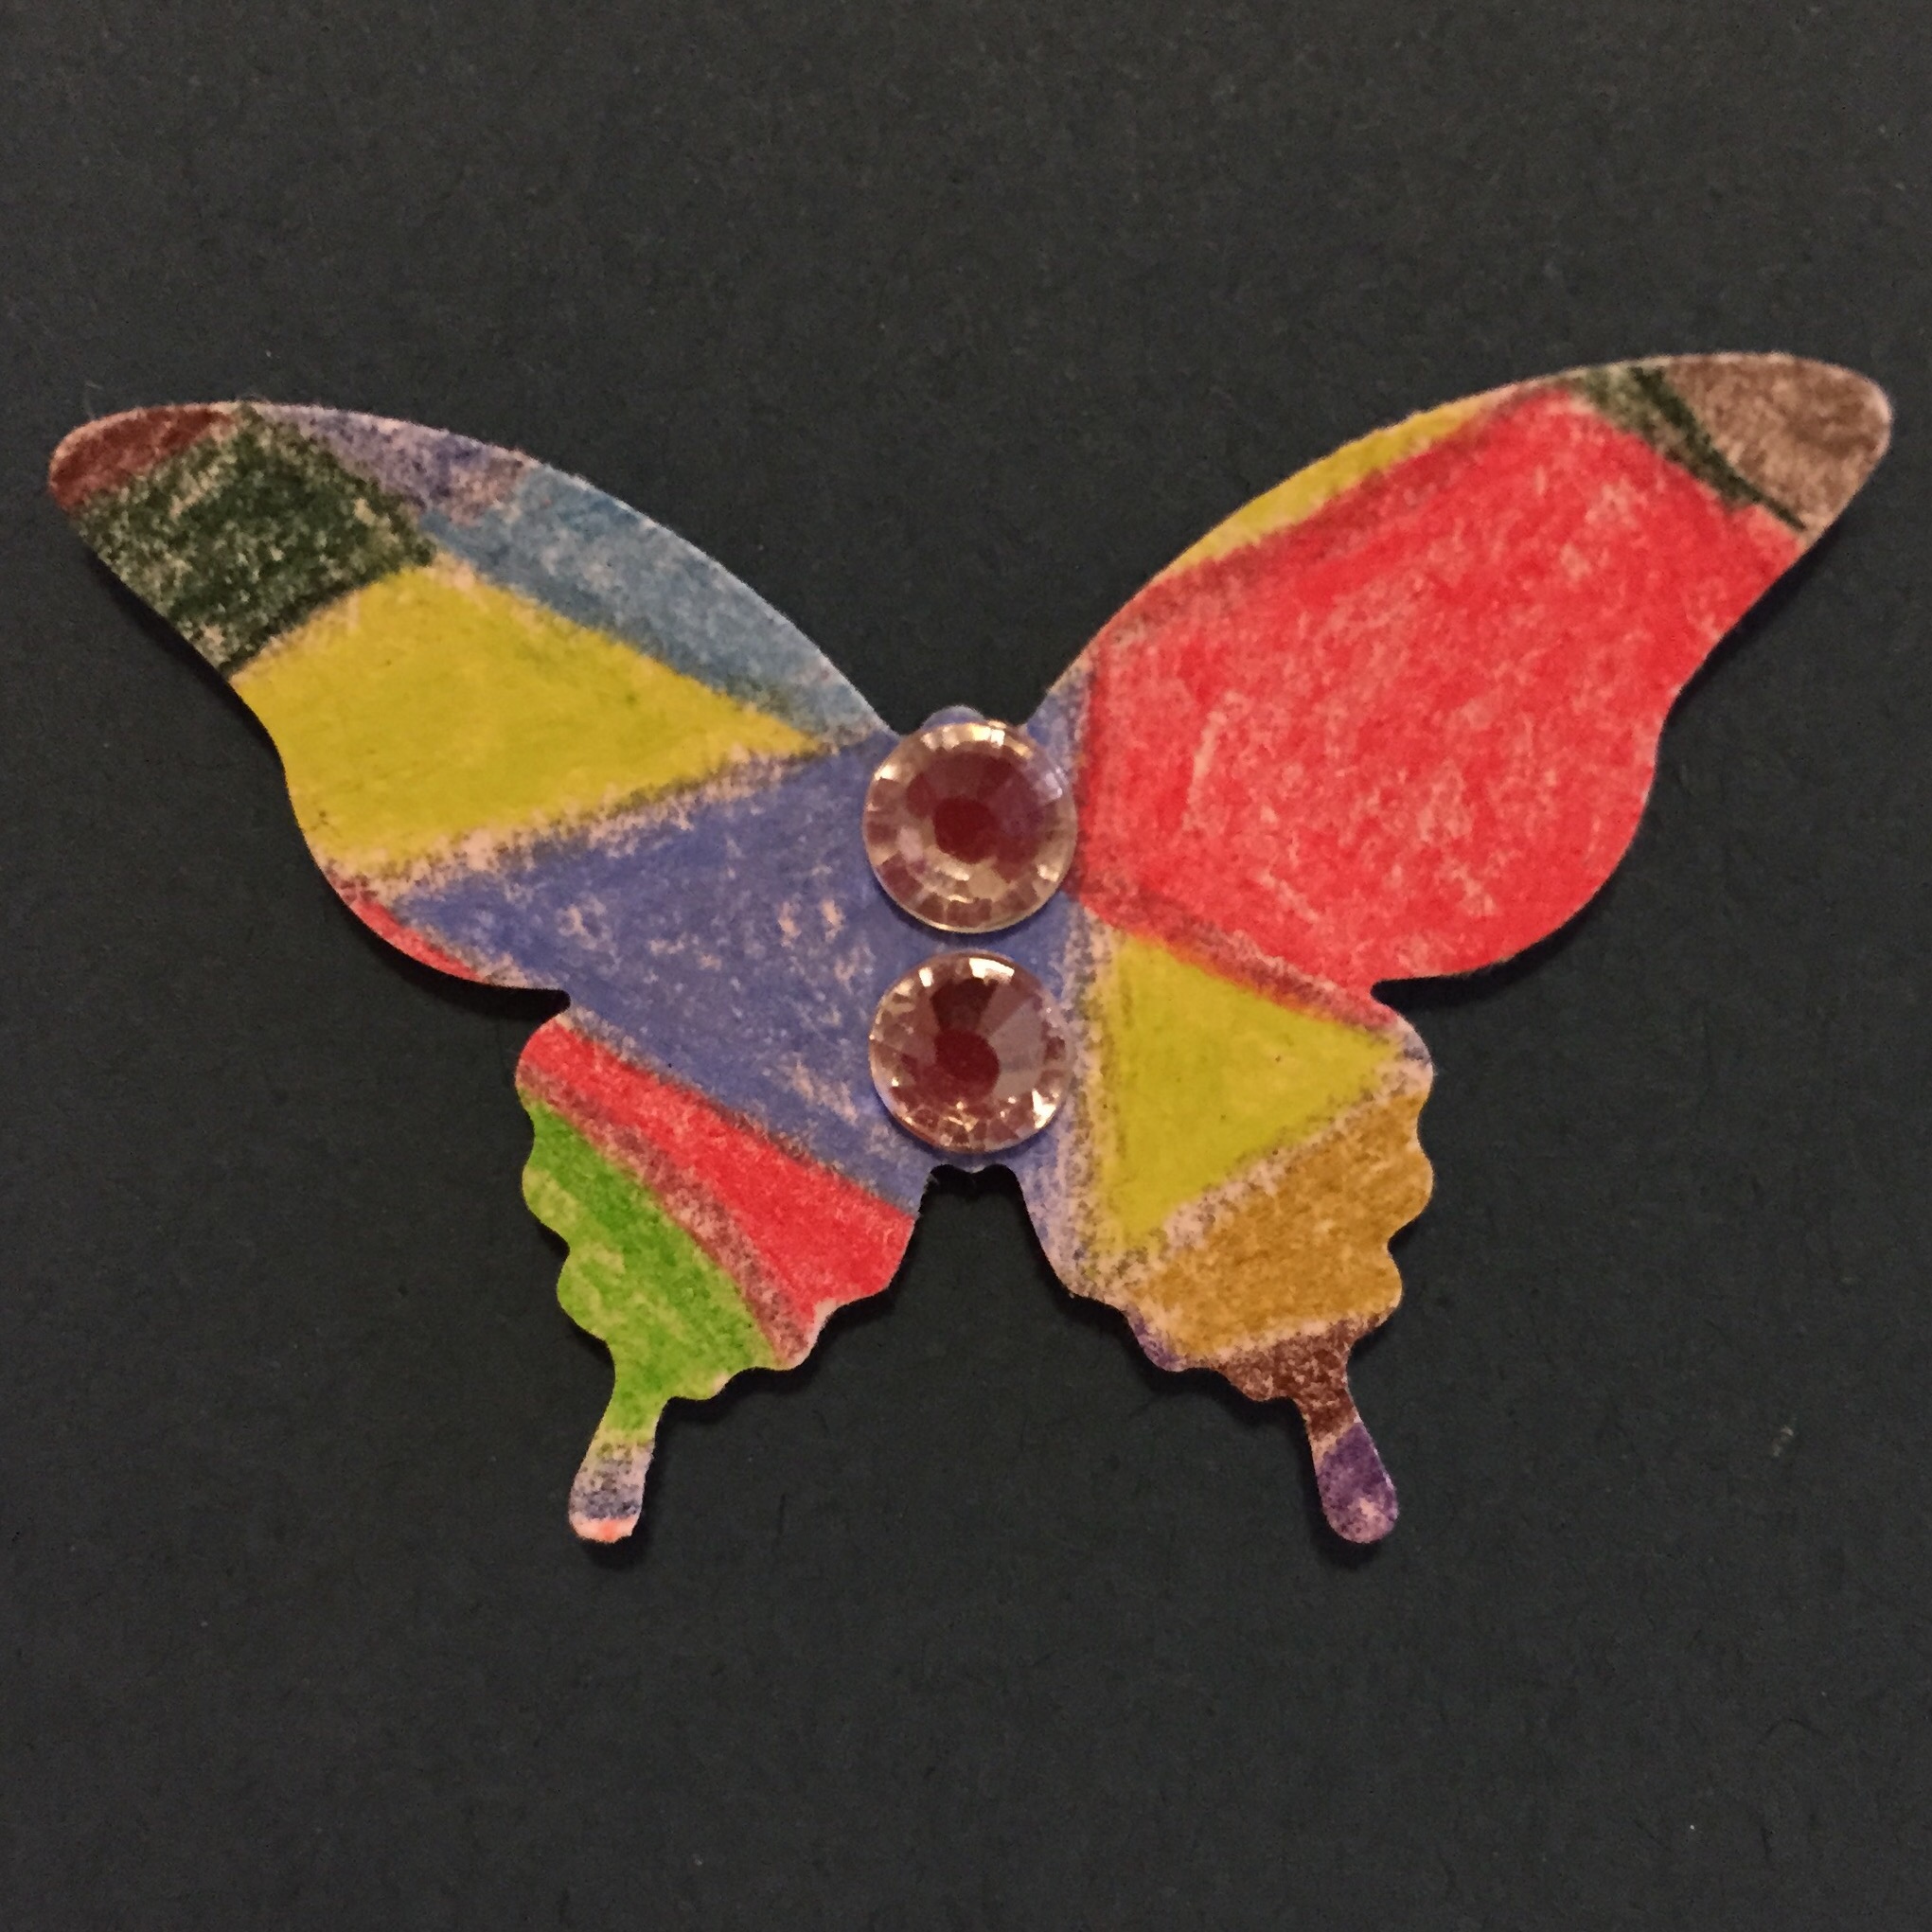
I have a lot of long teleconferences in my job. One of my favourite things to do while listening on long calls is some doodling/colouring in that my son likes to call my “scribble scrabbles”.  

  
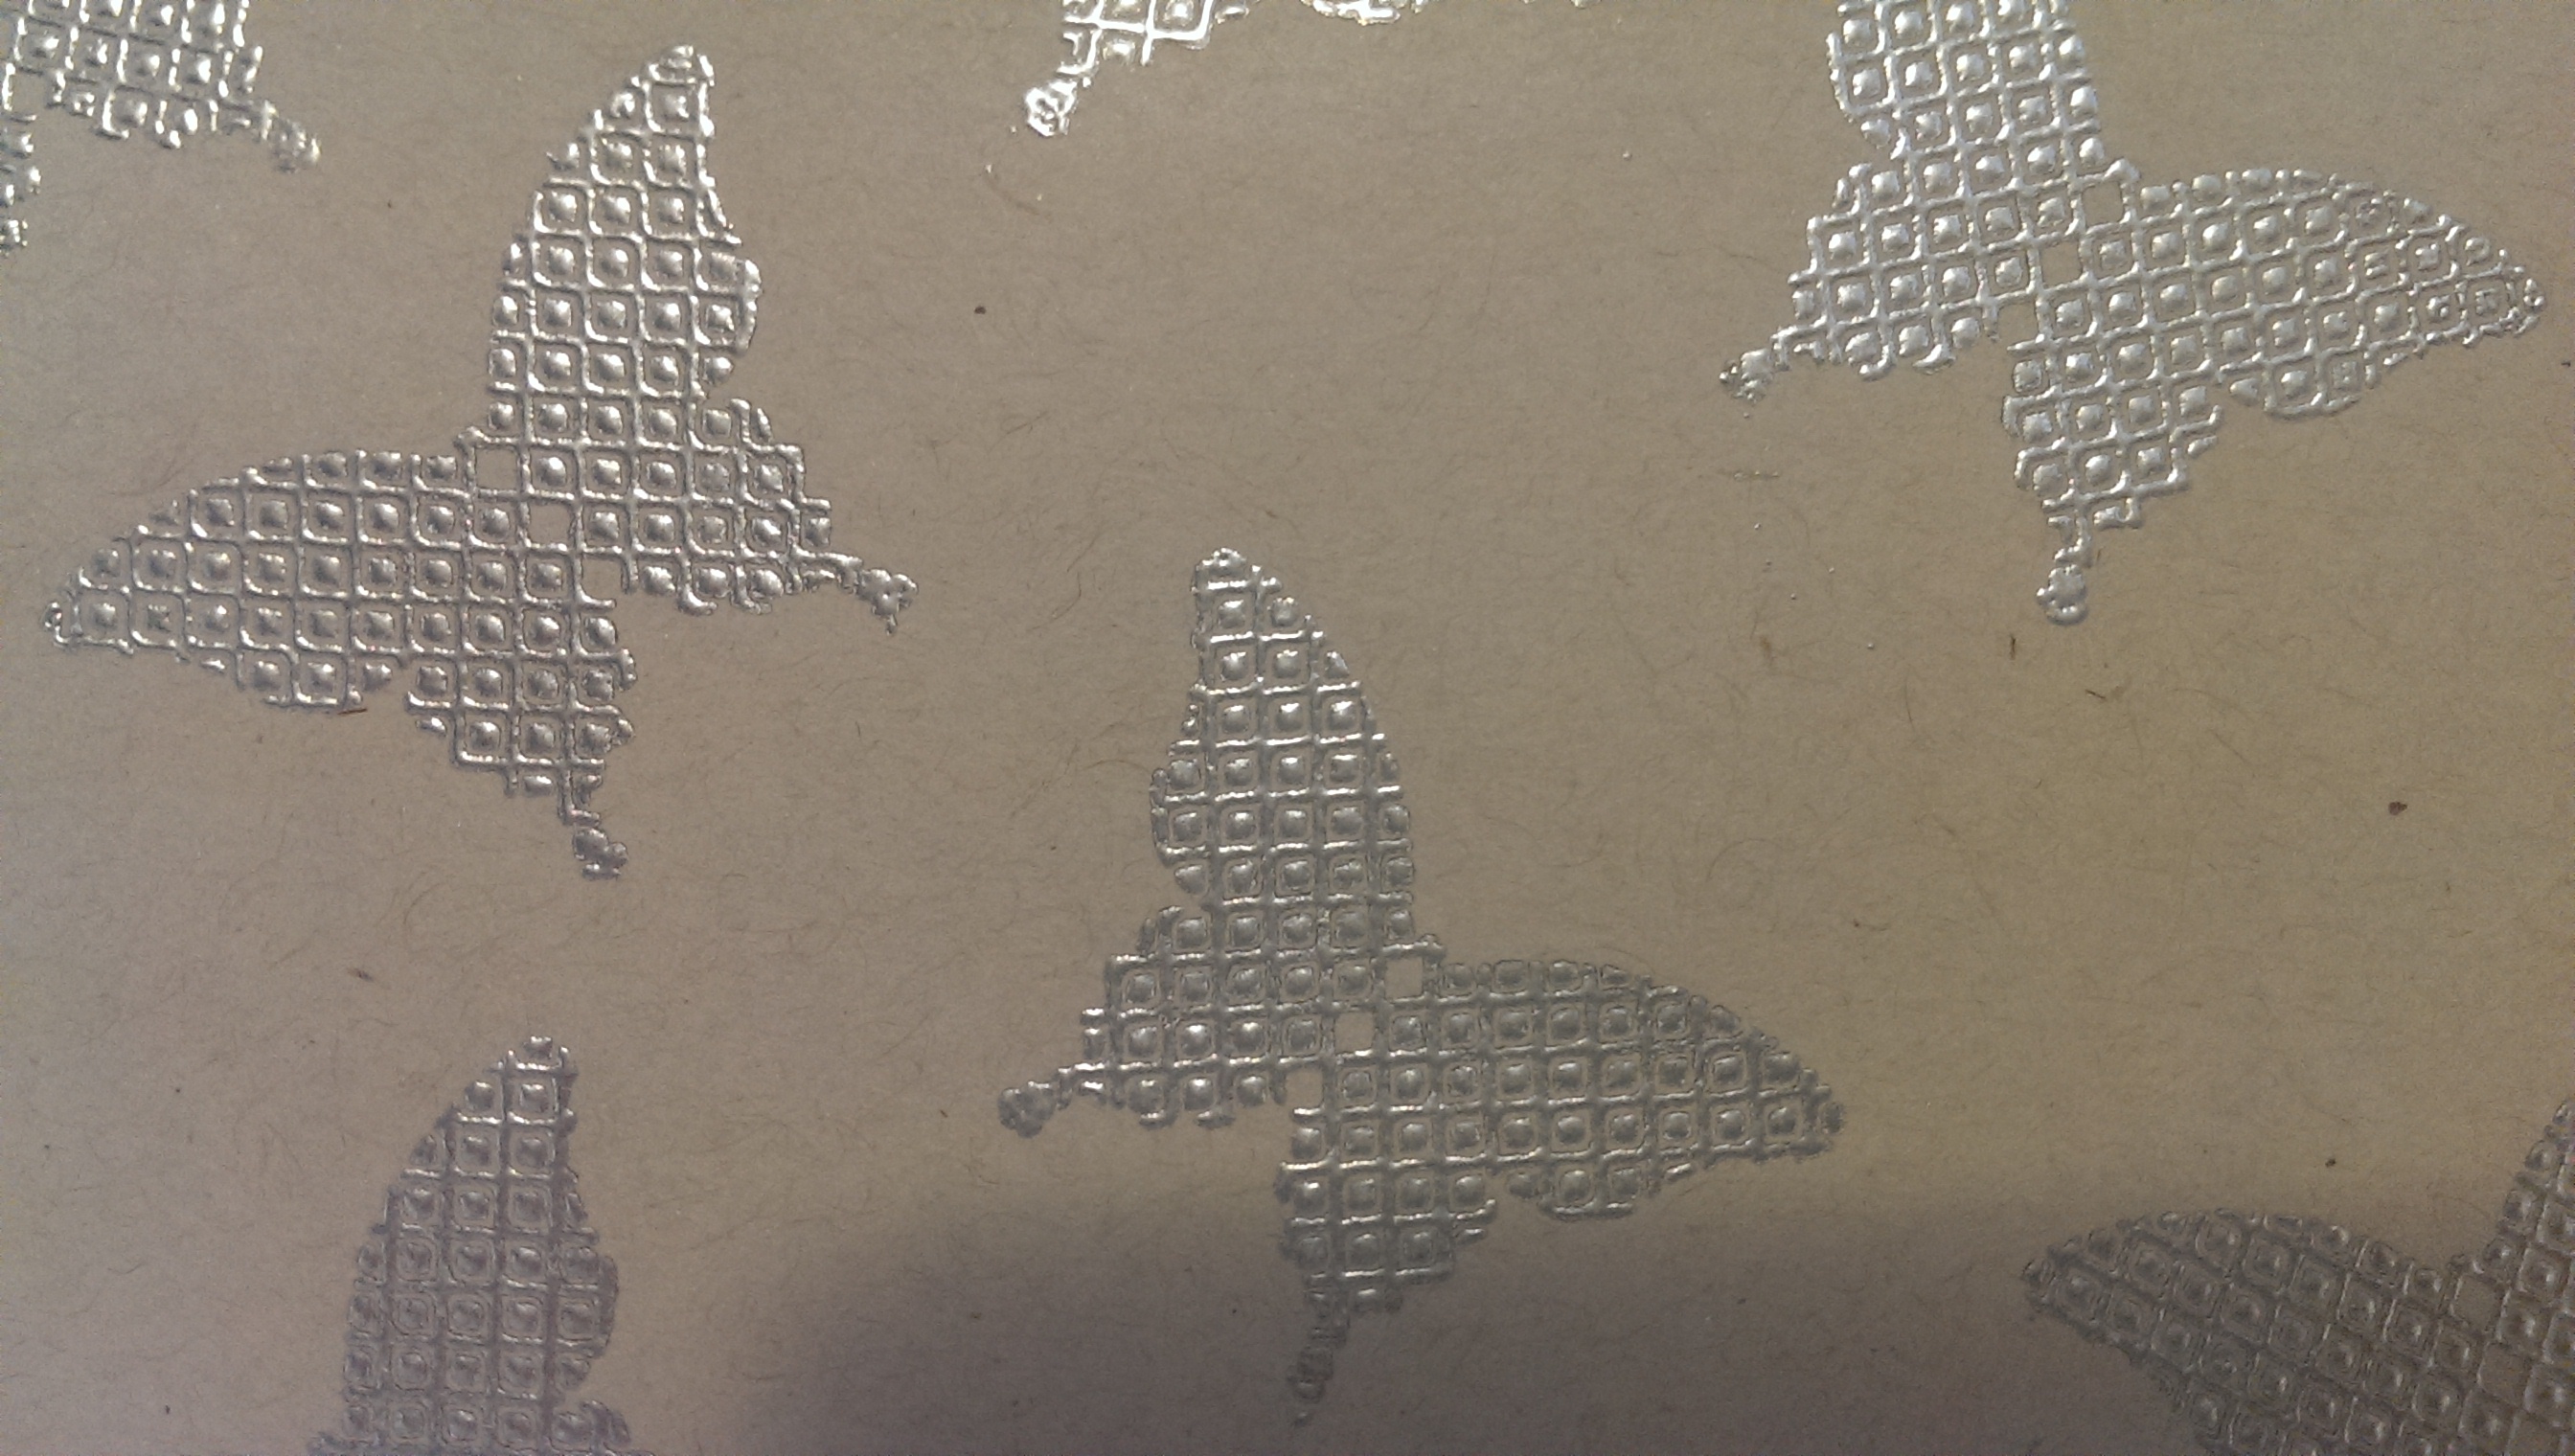
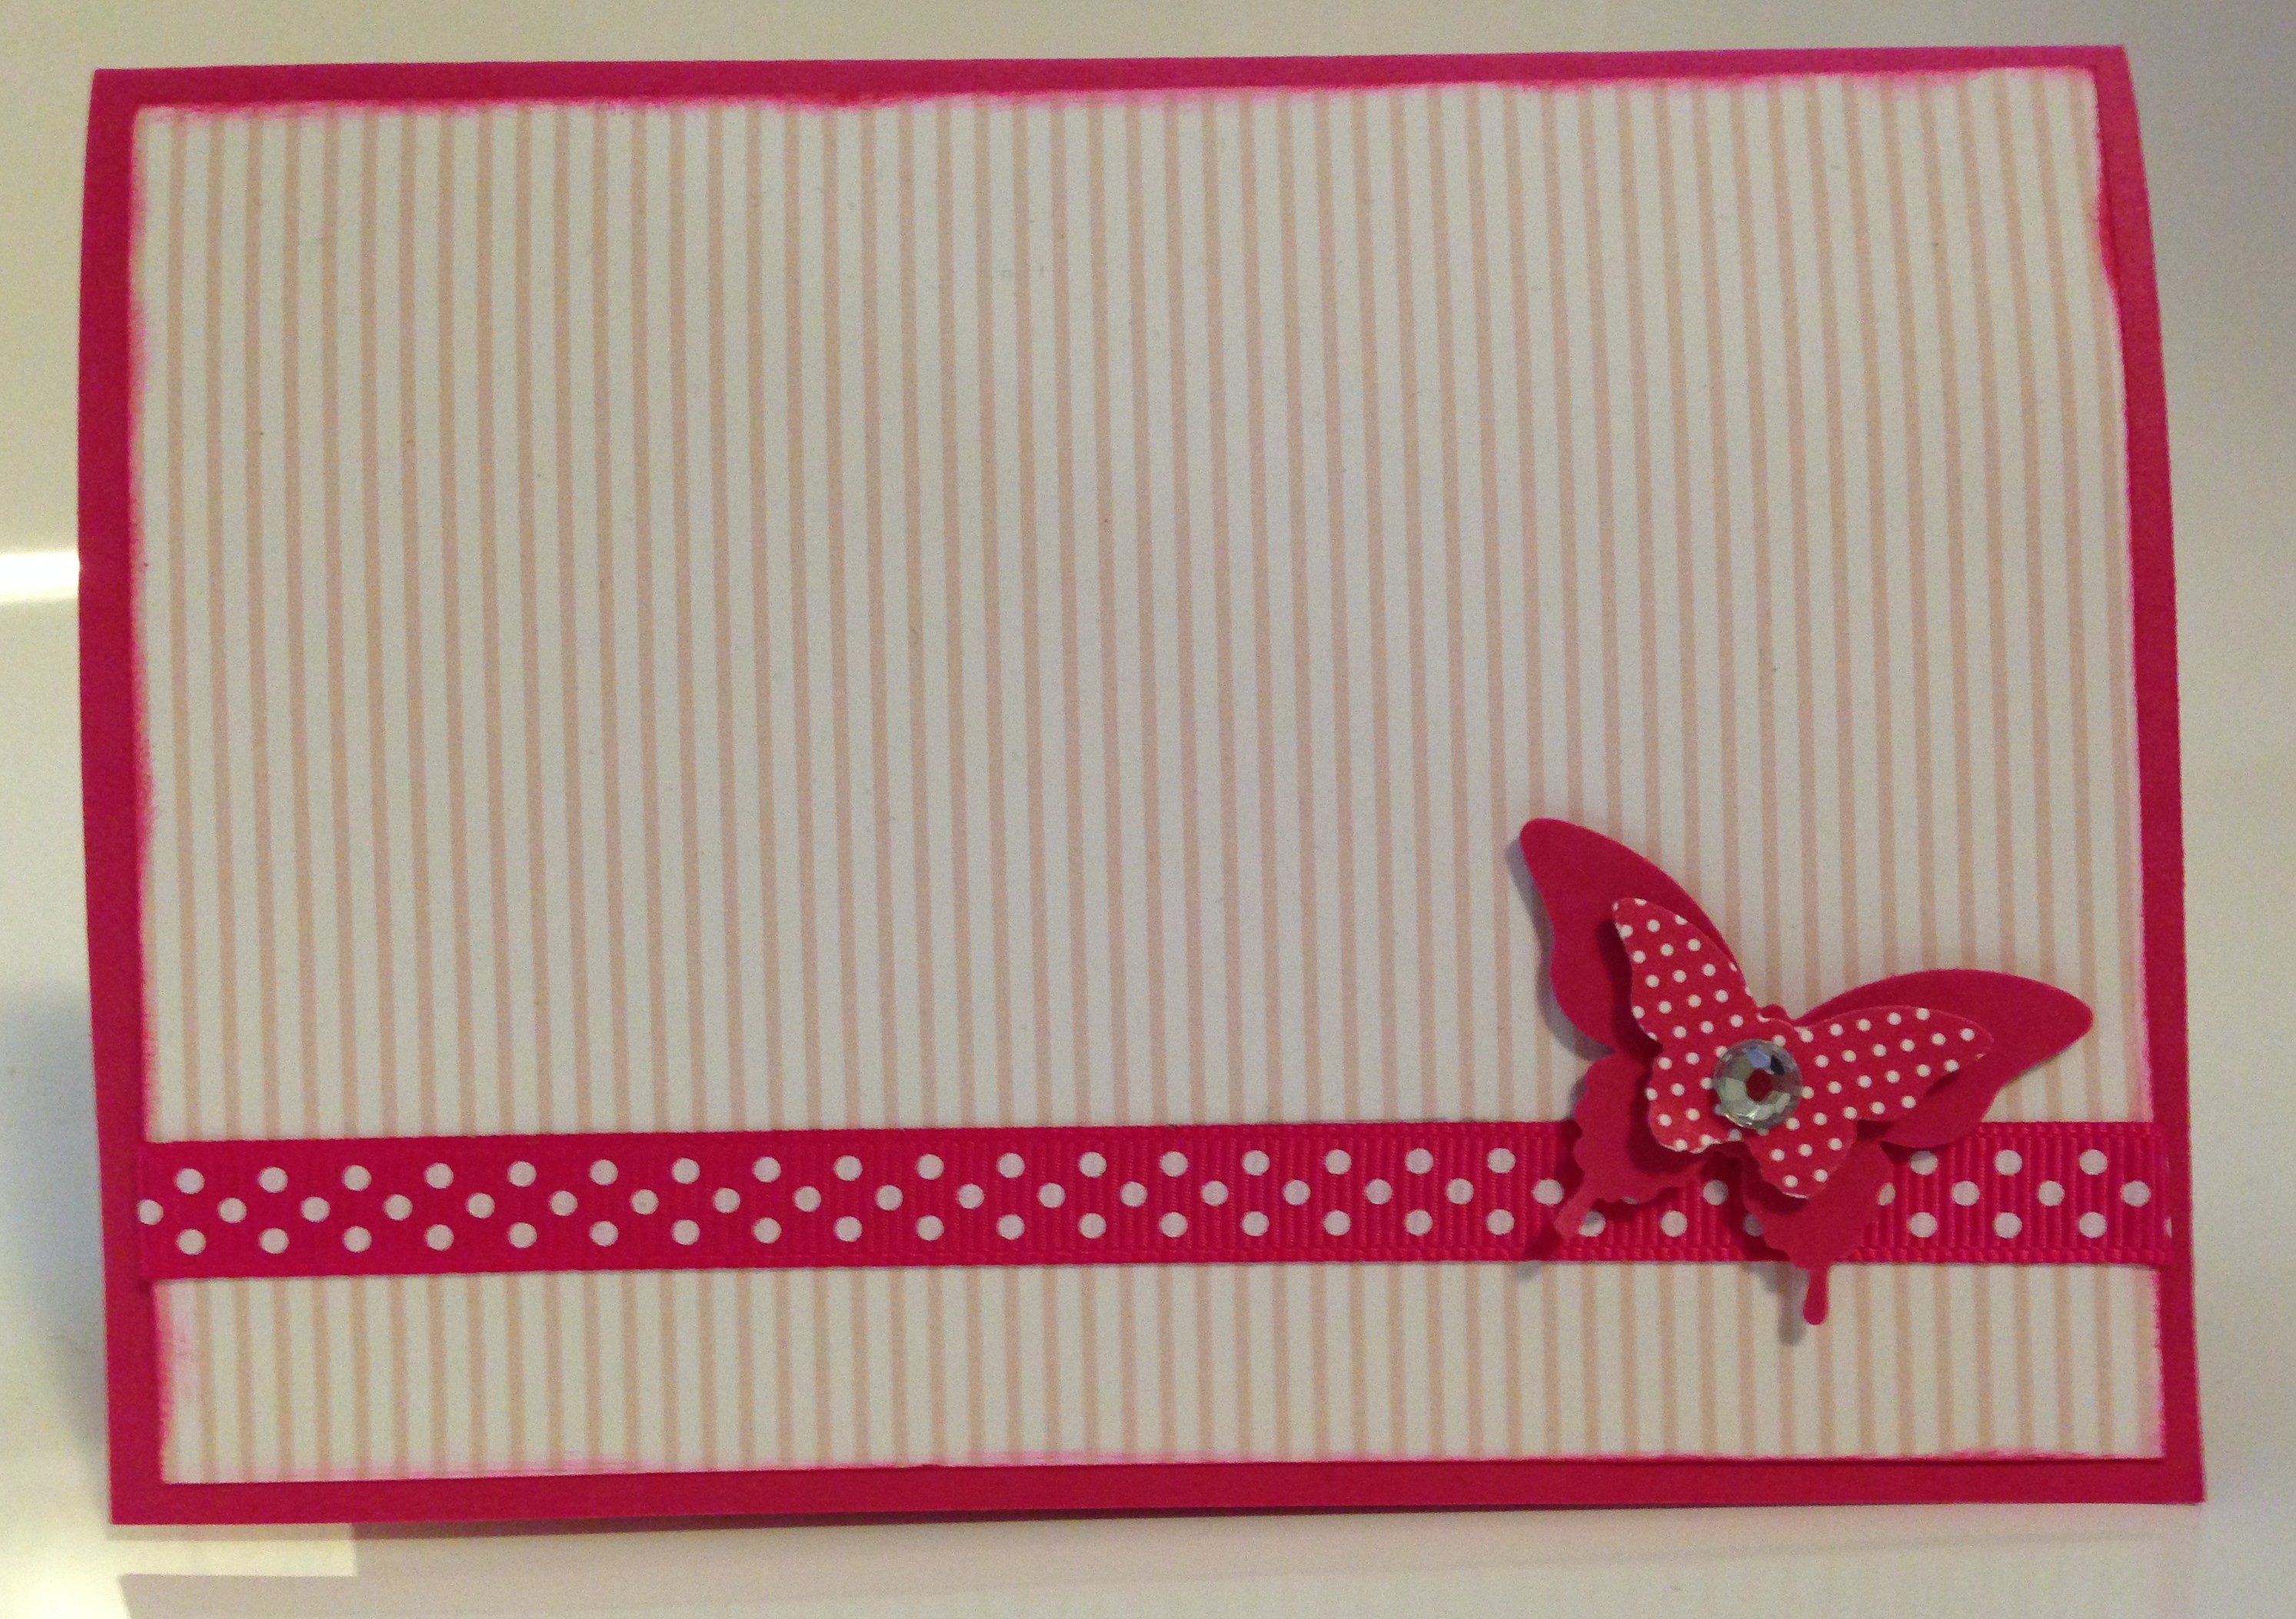
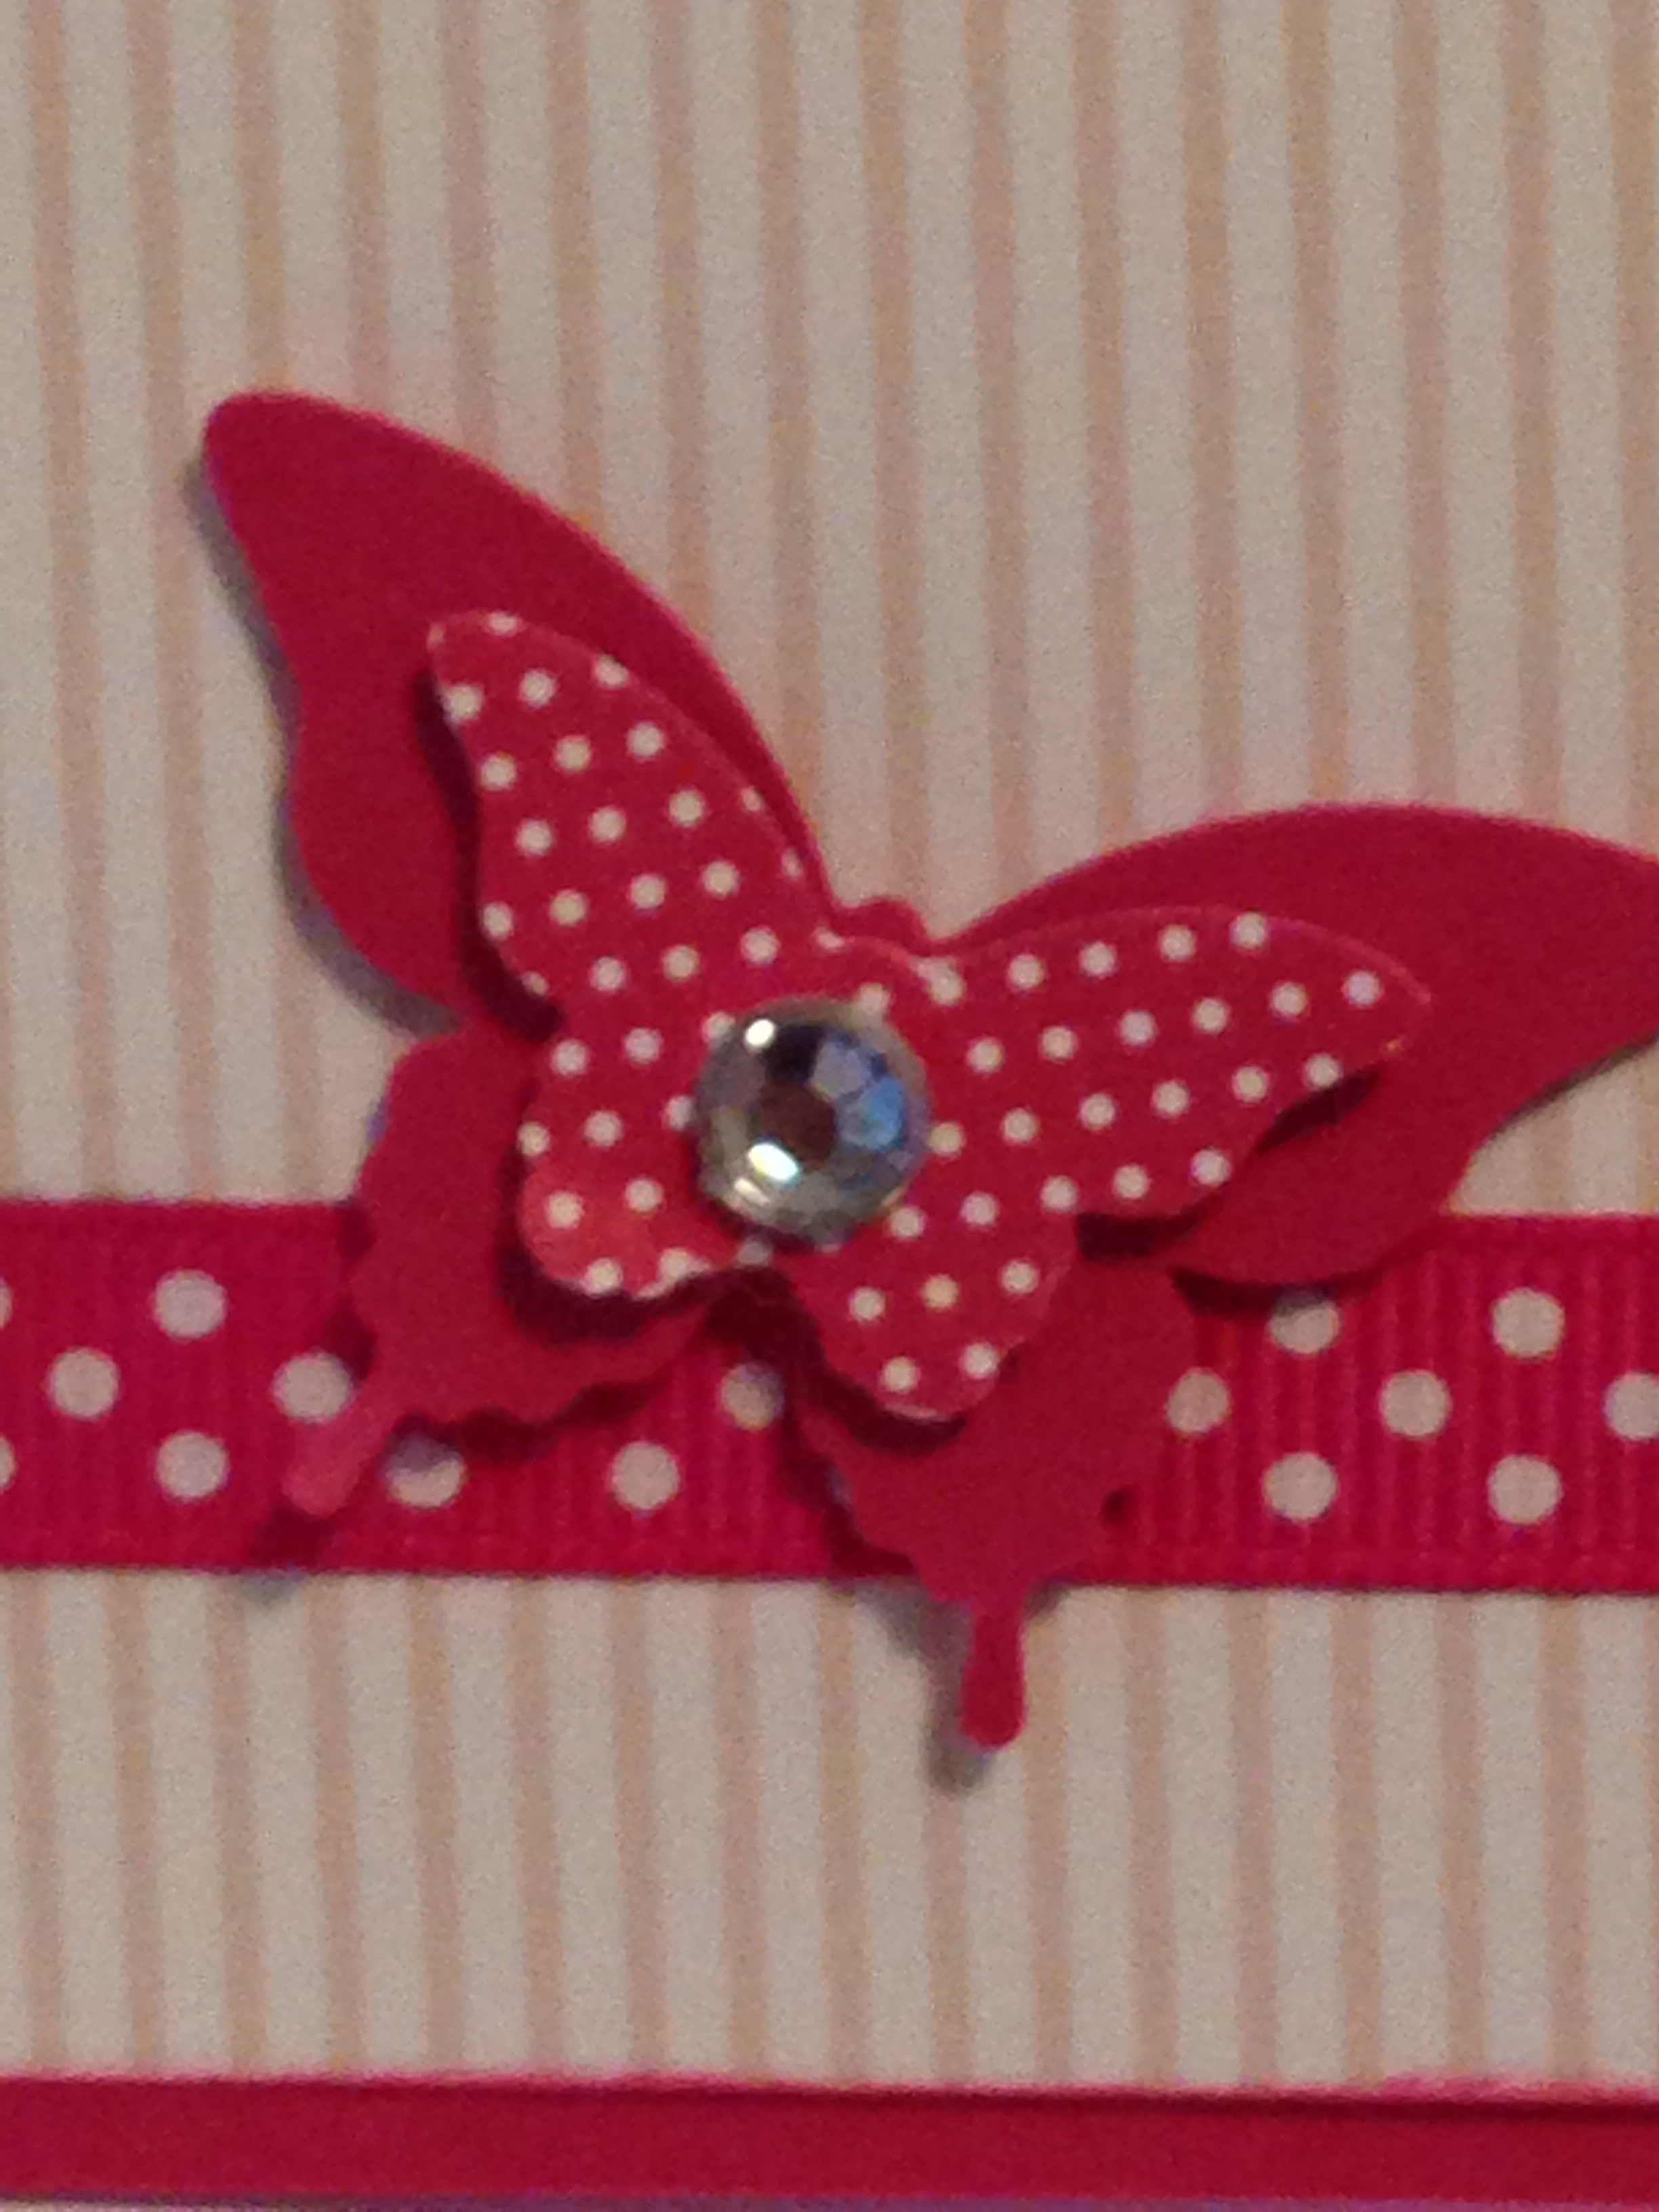
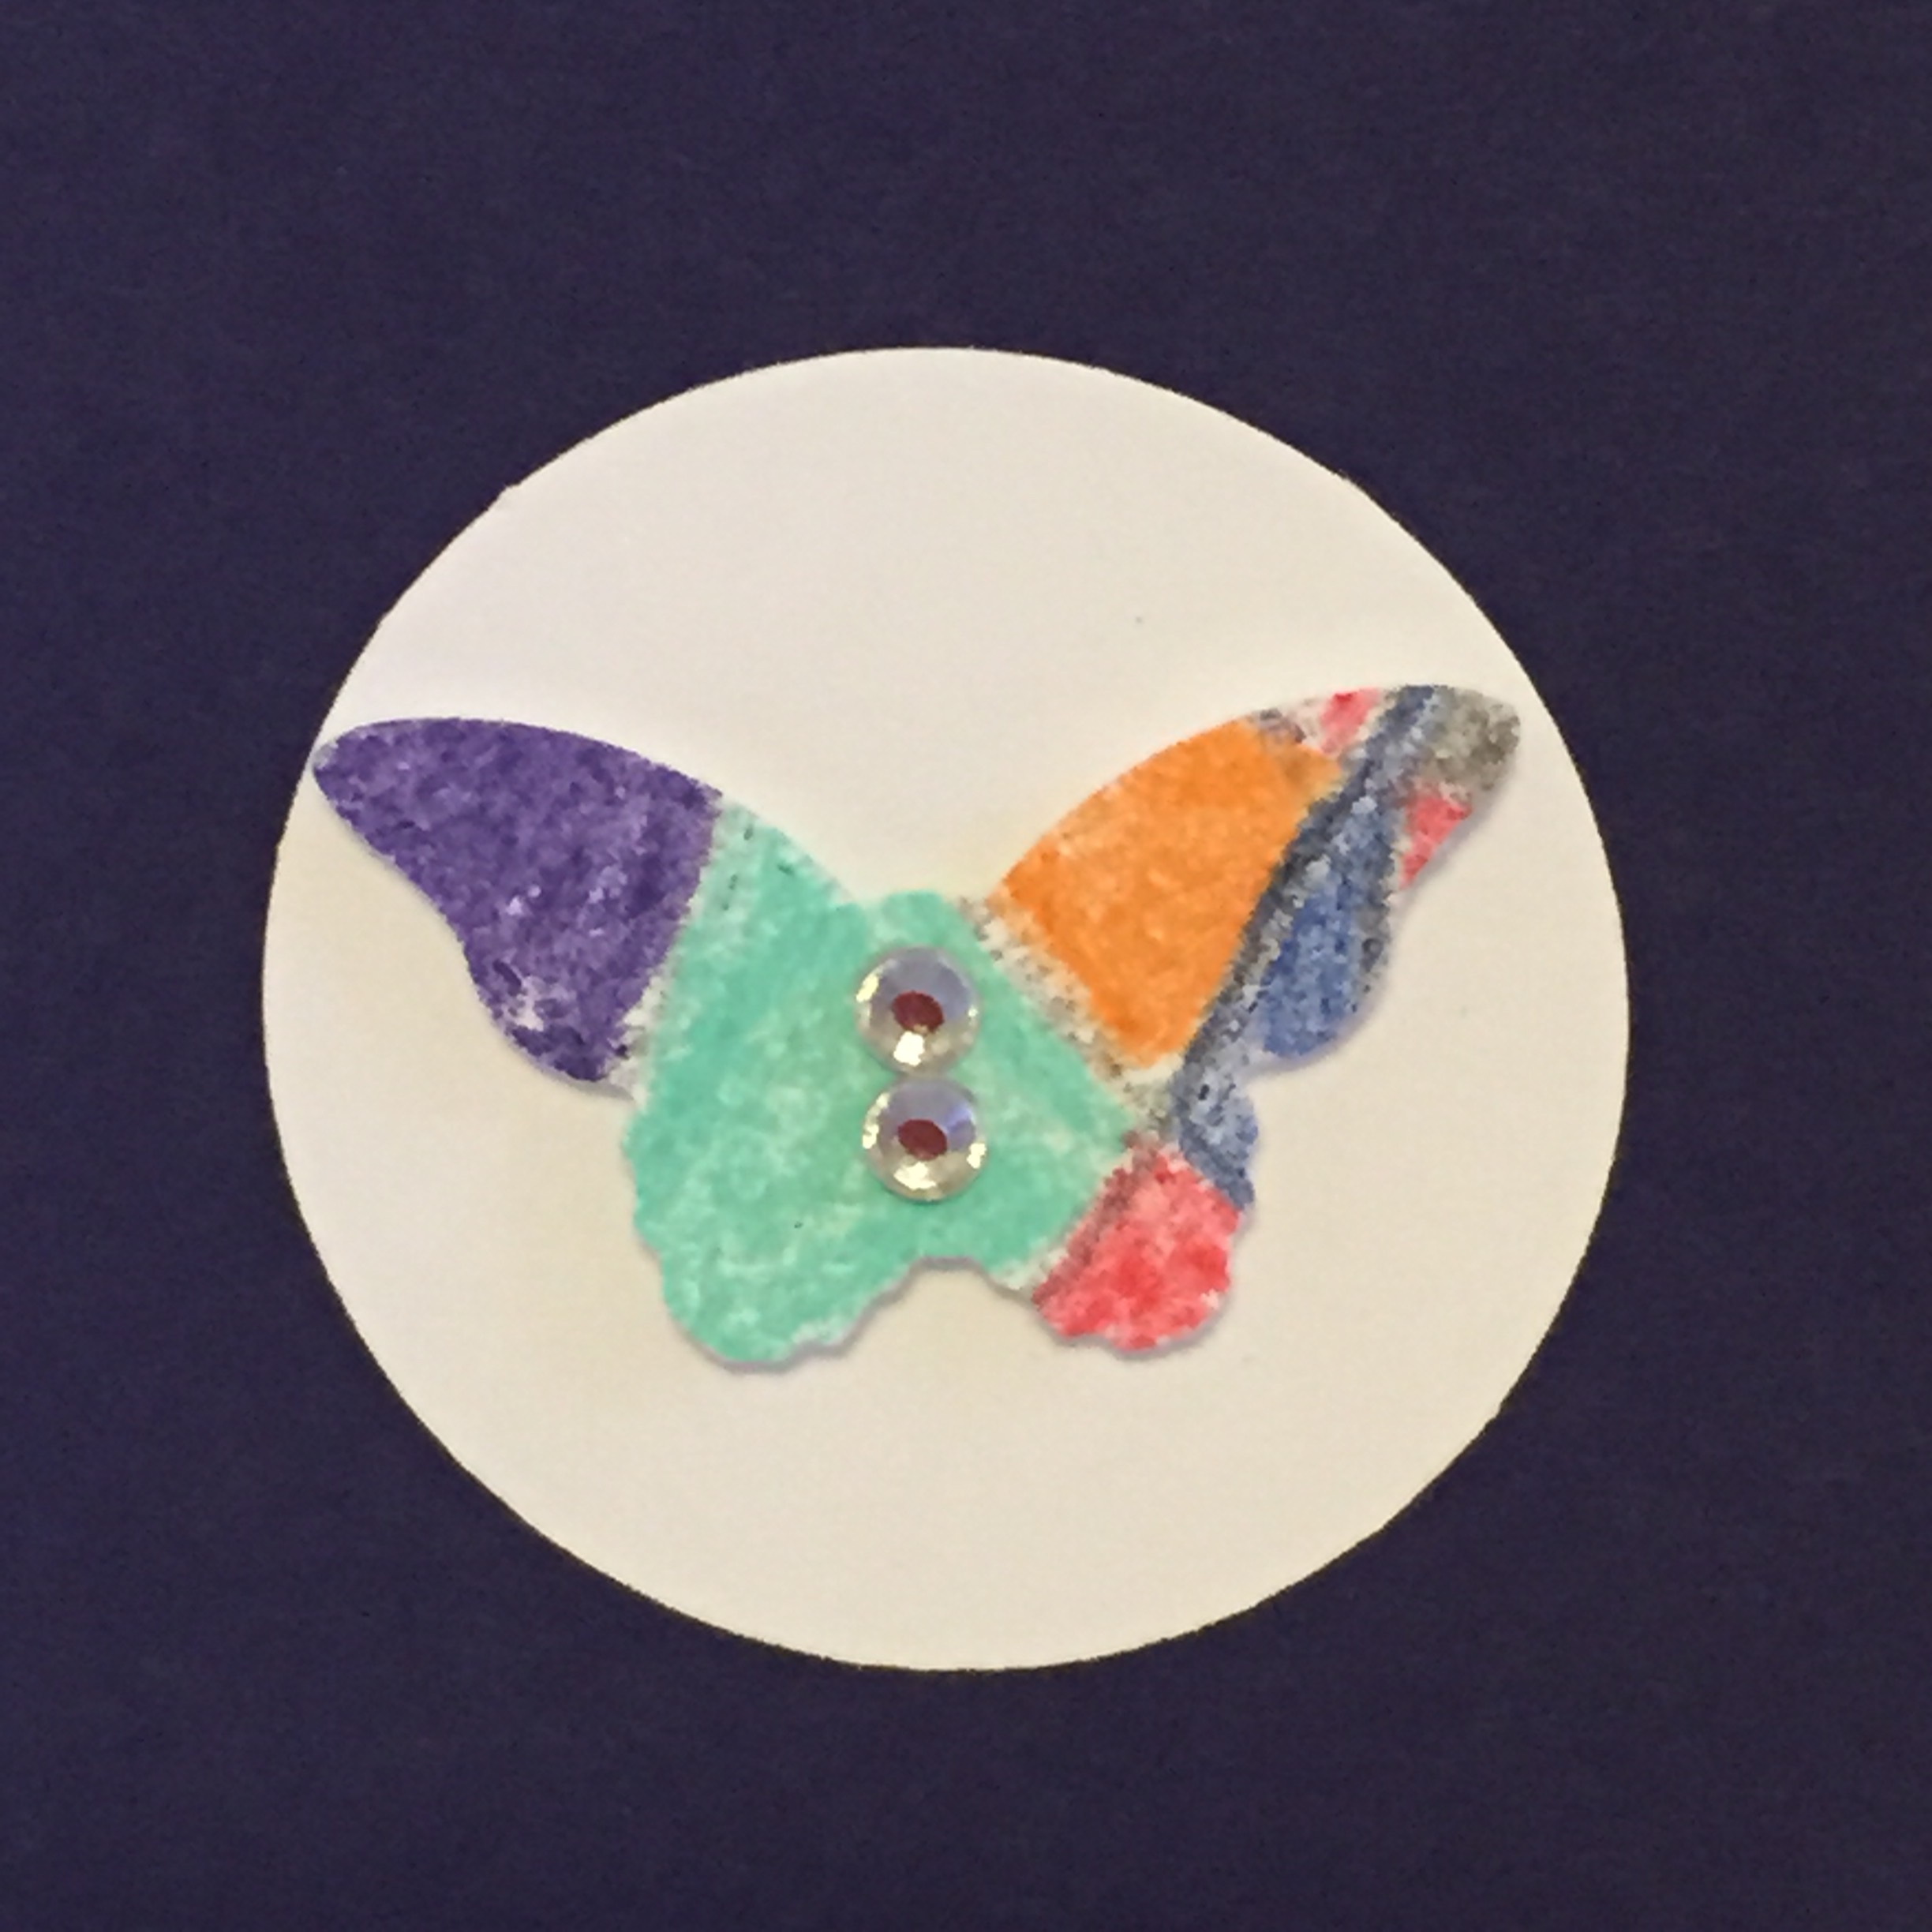
Today I decided to make some cards out of one of my “scribble scrabbles”.  First – to my punches!  Today I used large and small butterfly punches and a small heart punch:


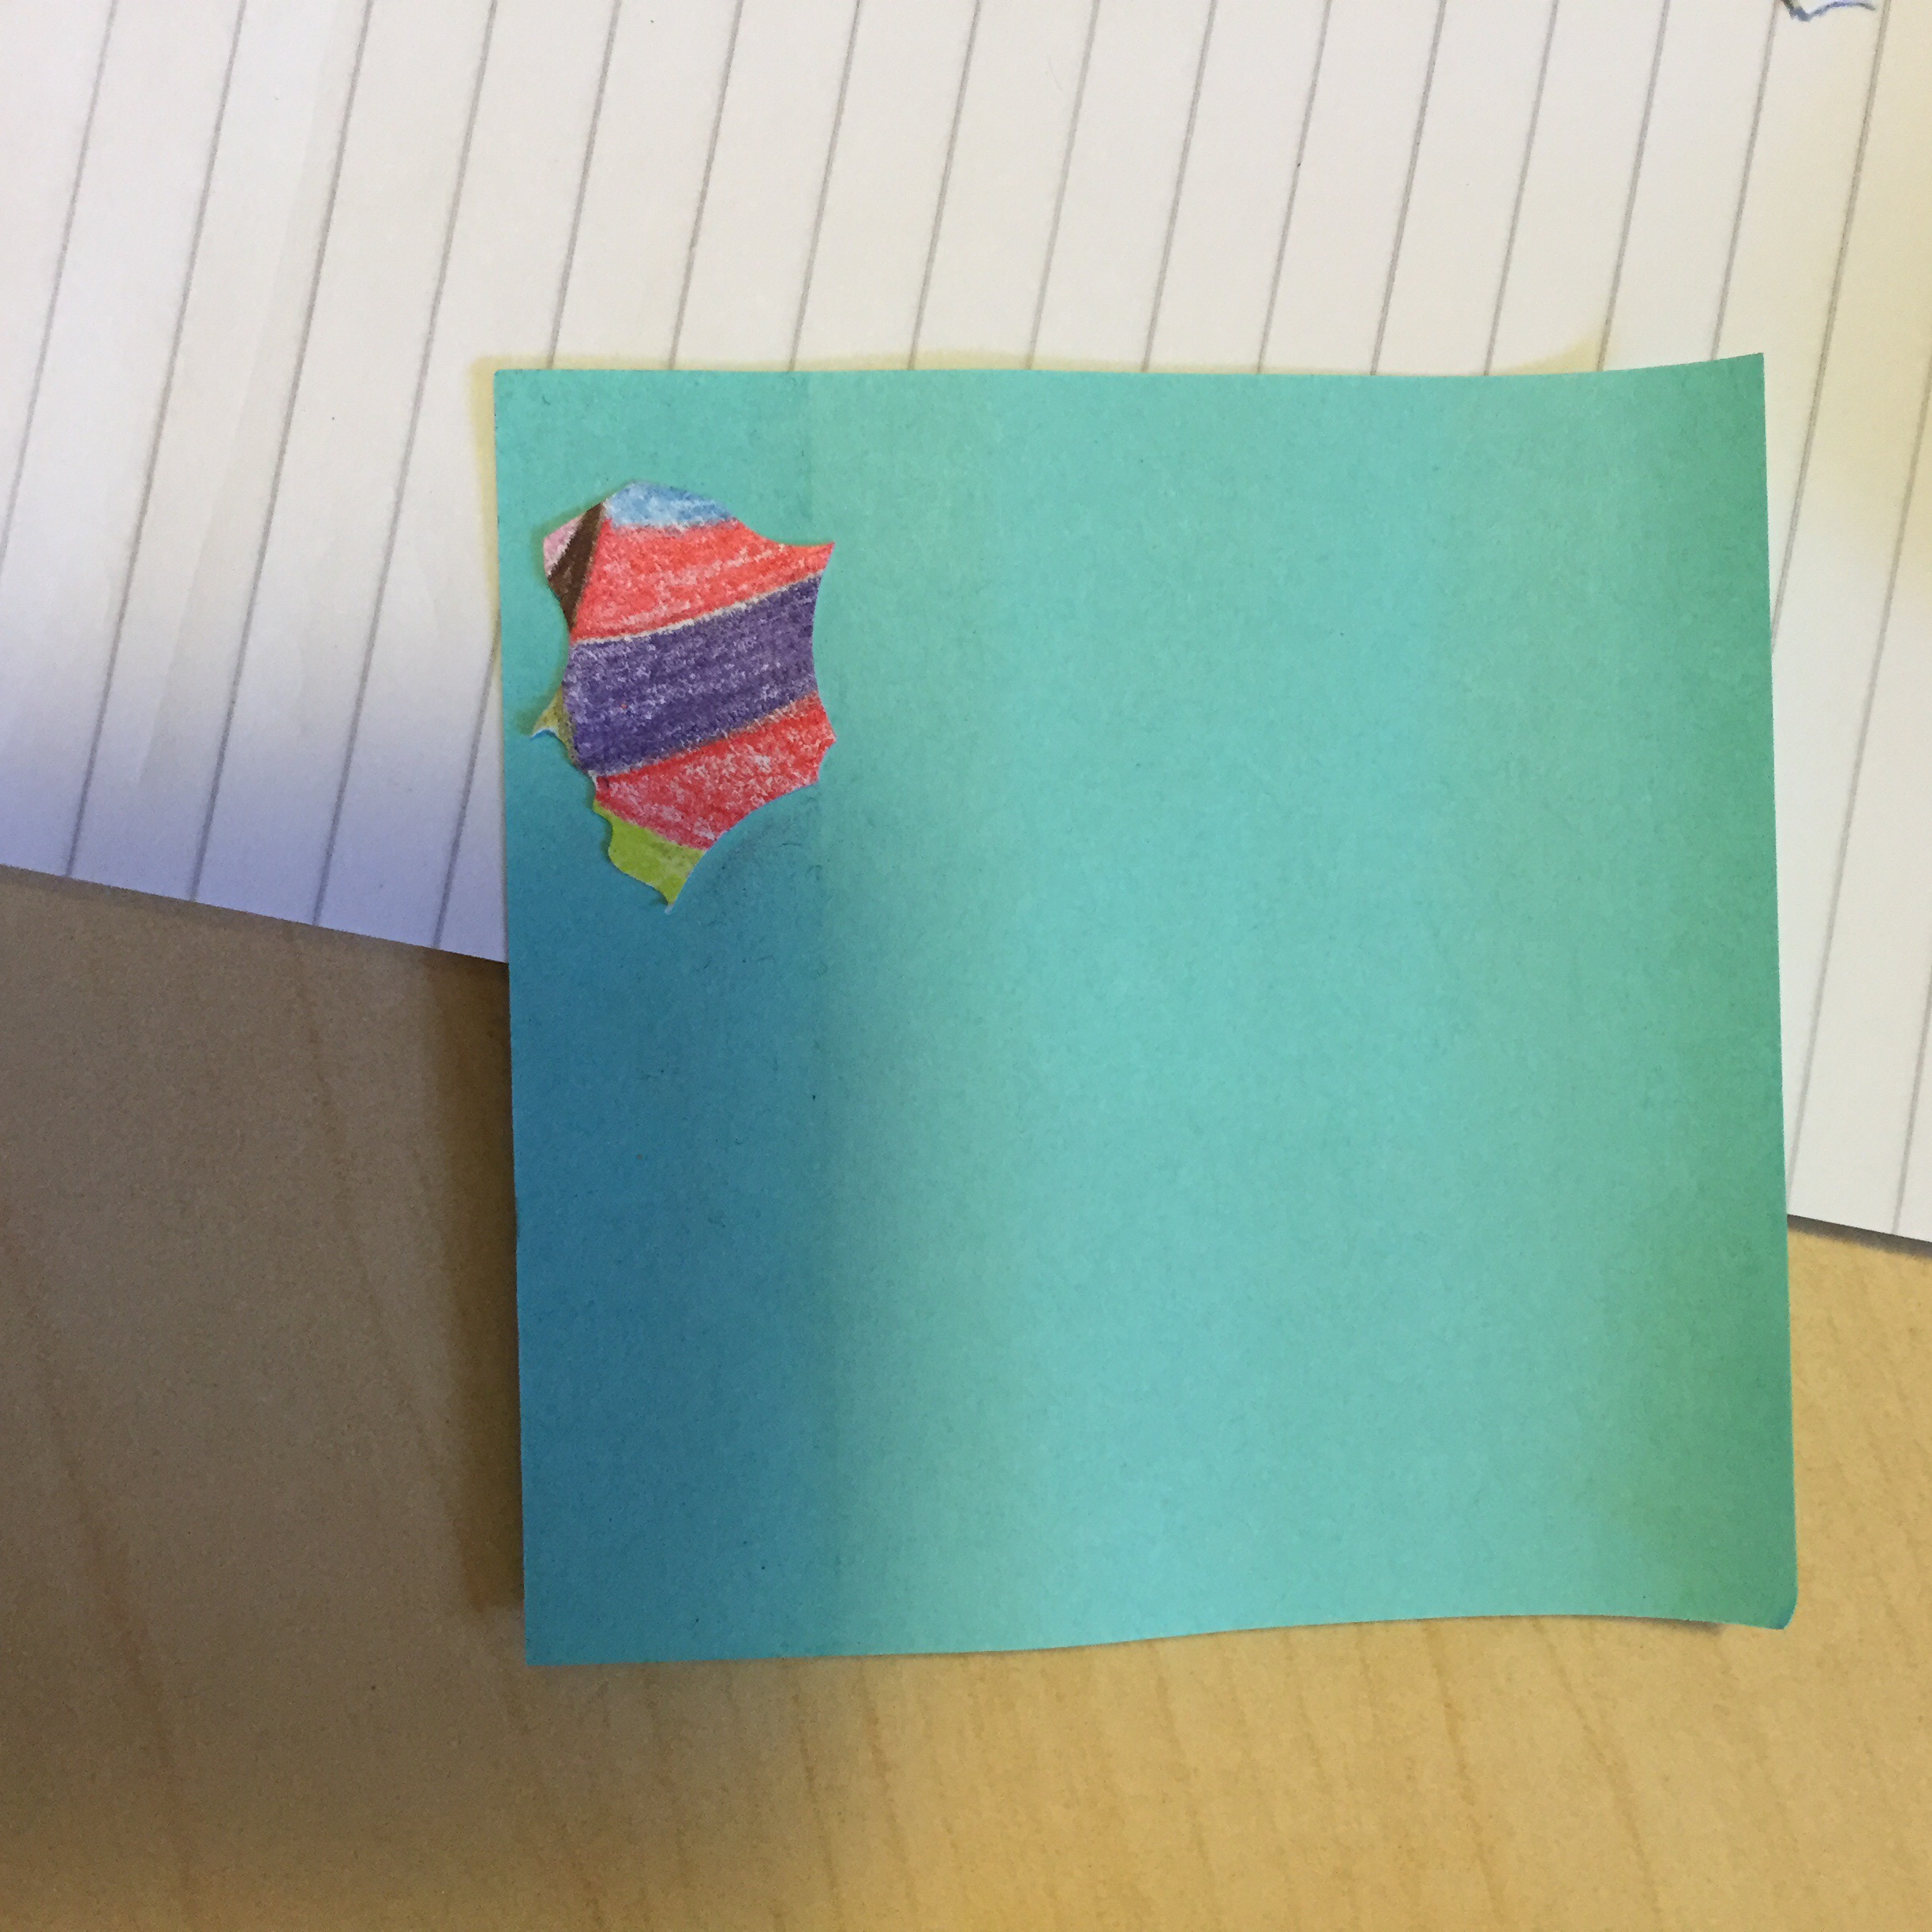
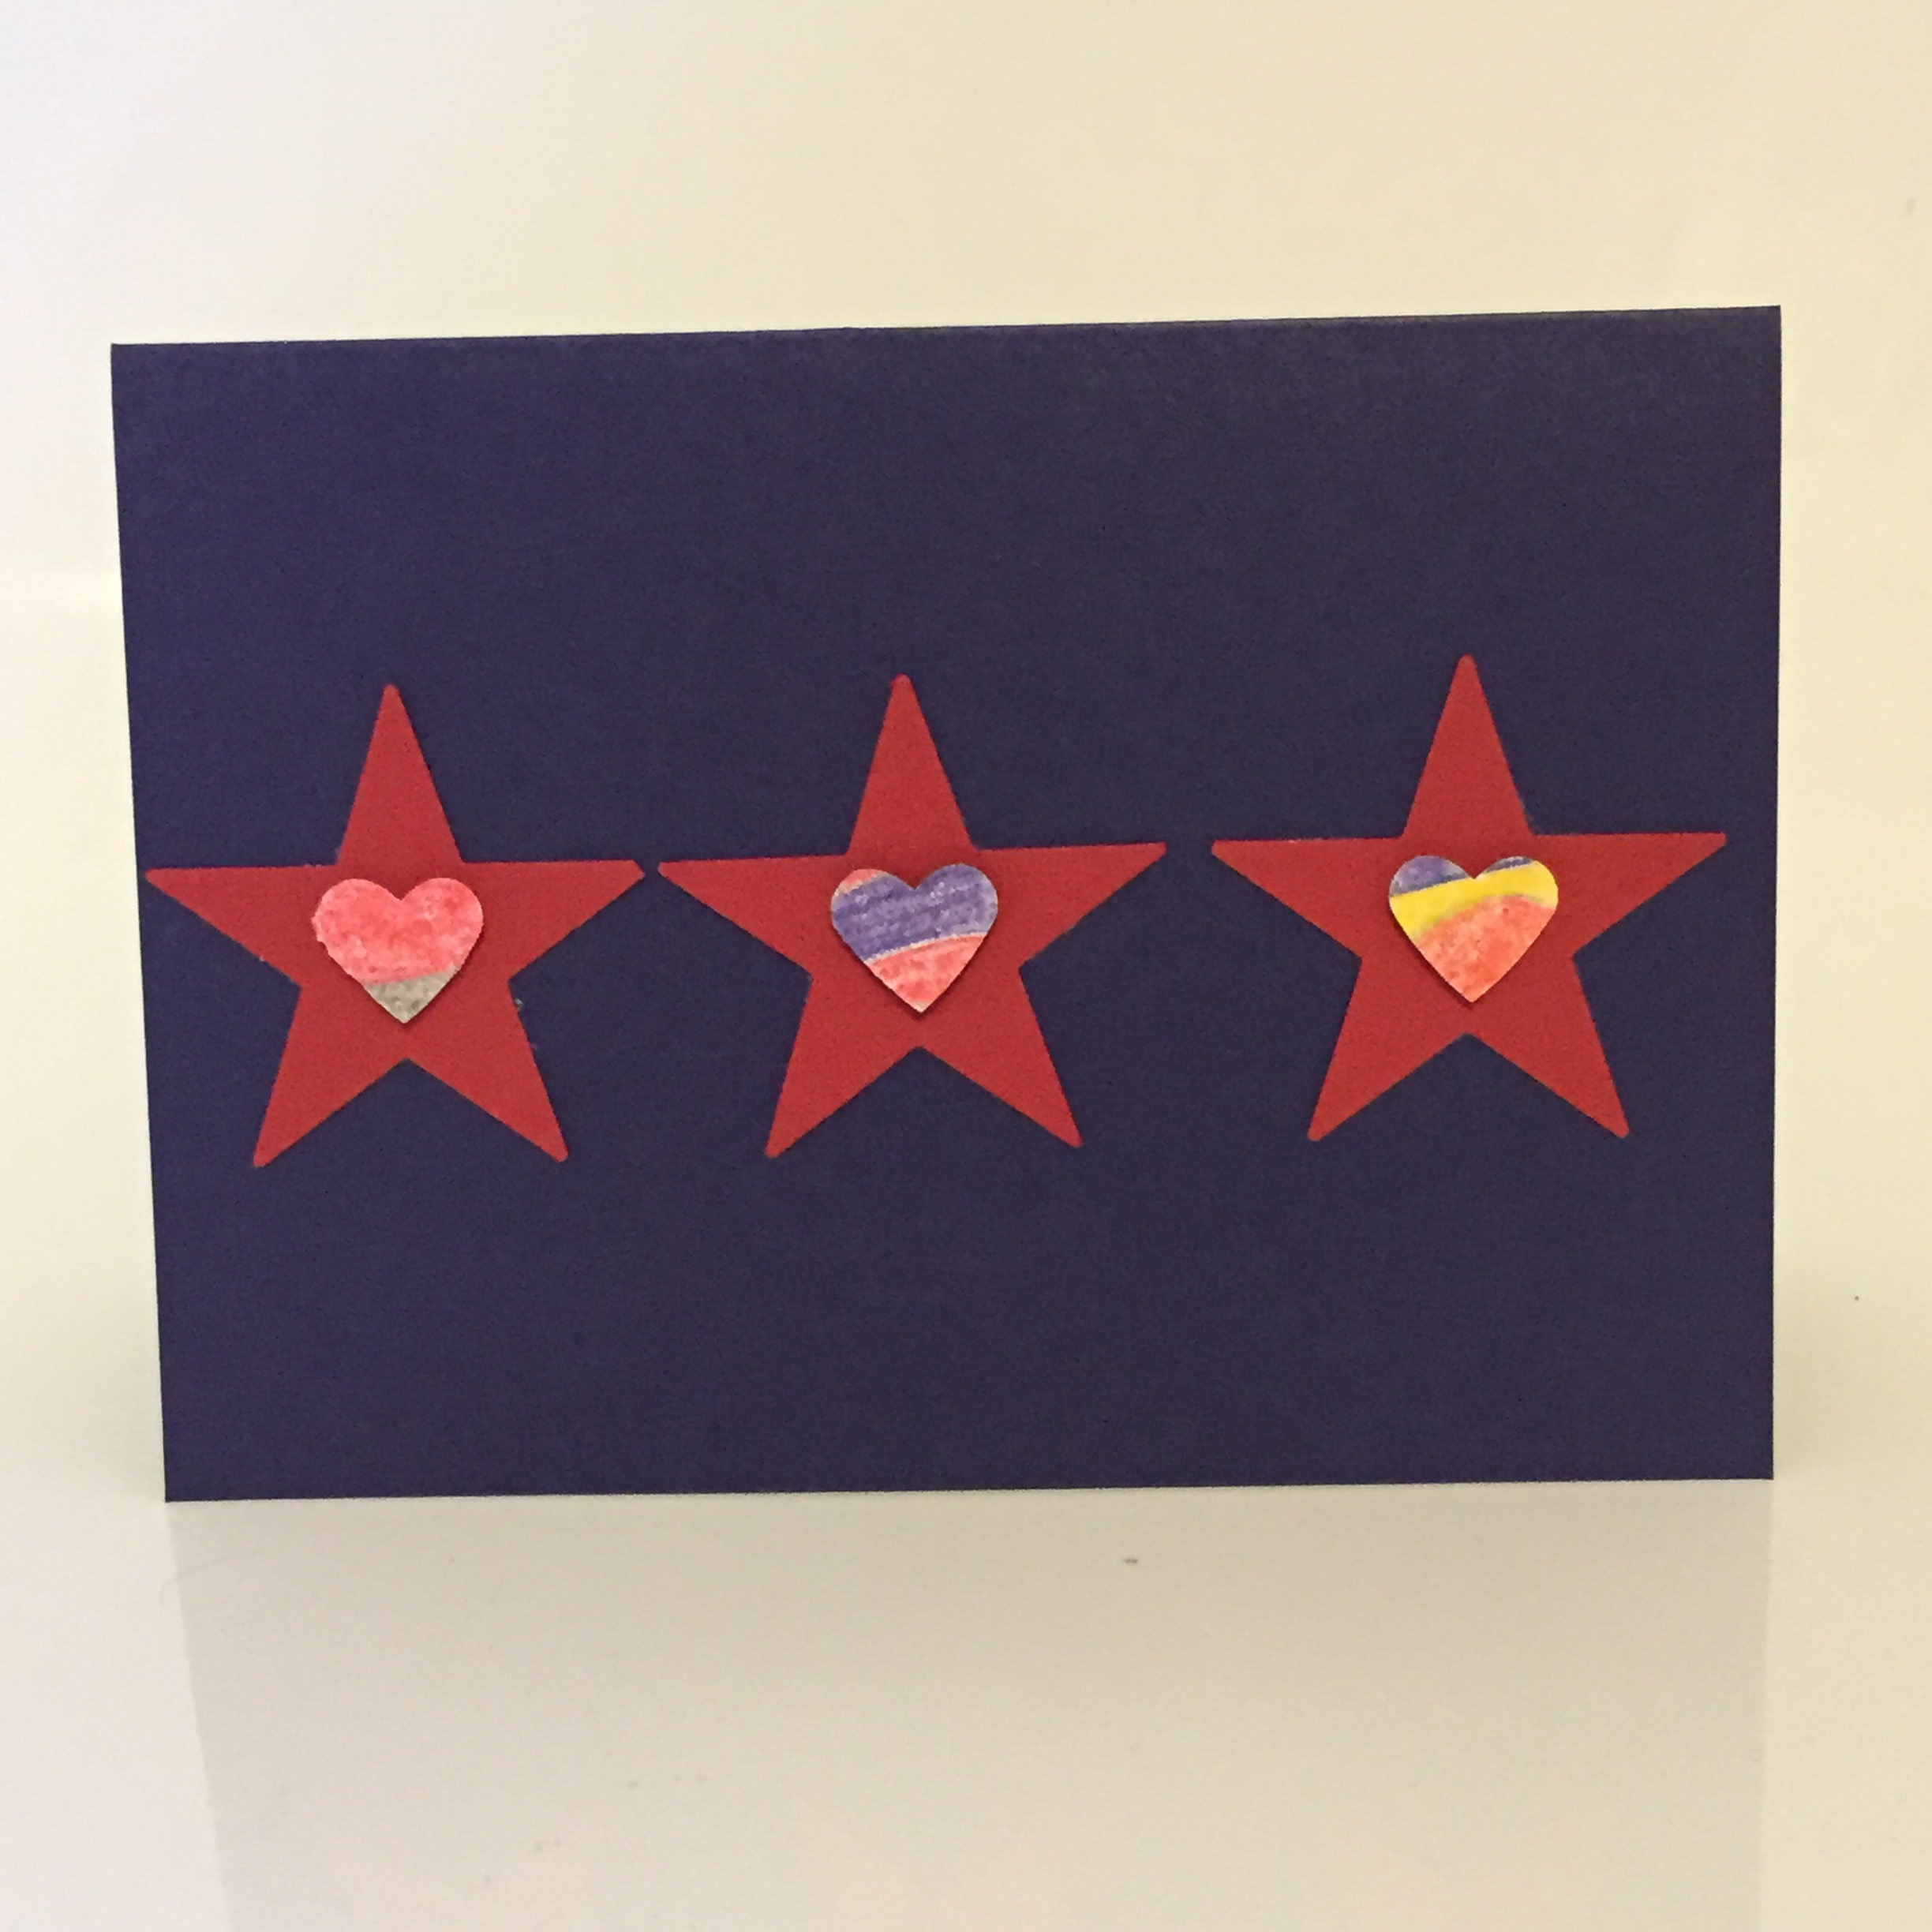
Tip: the small heart punch is brilliant for using up the edges from paper where you’ve needed to leave spaces between larger punches.  However it can be tricky to use the punch with very small pieces of paper!  Here’s a quick tip: put the small piece you want to punch on the sticky side of a post it note. Too easy!


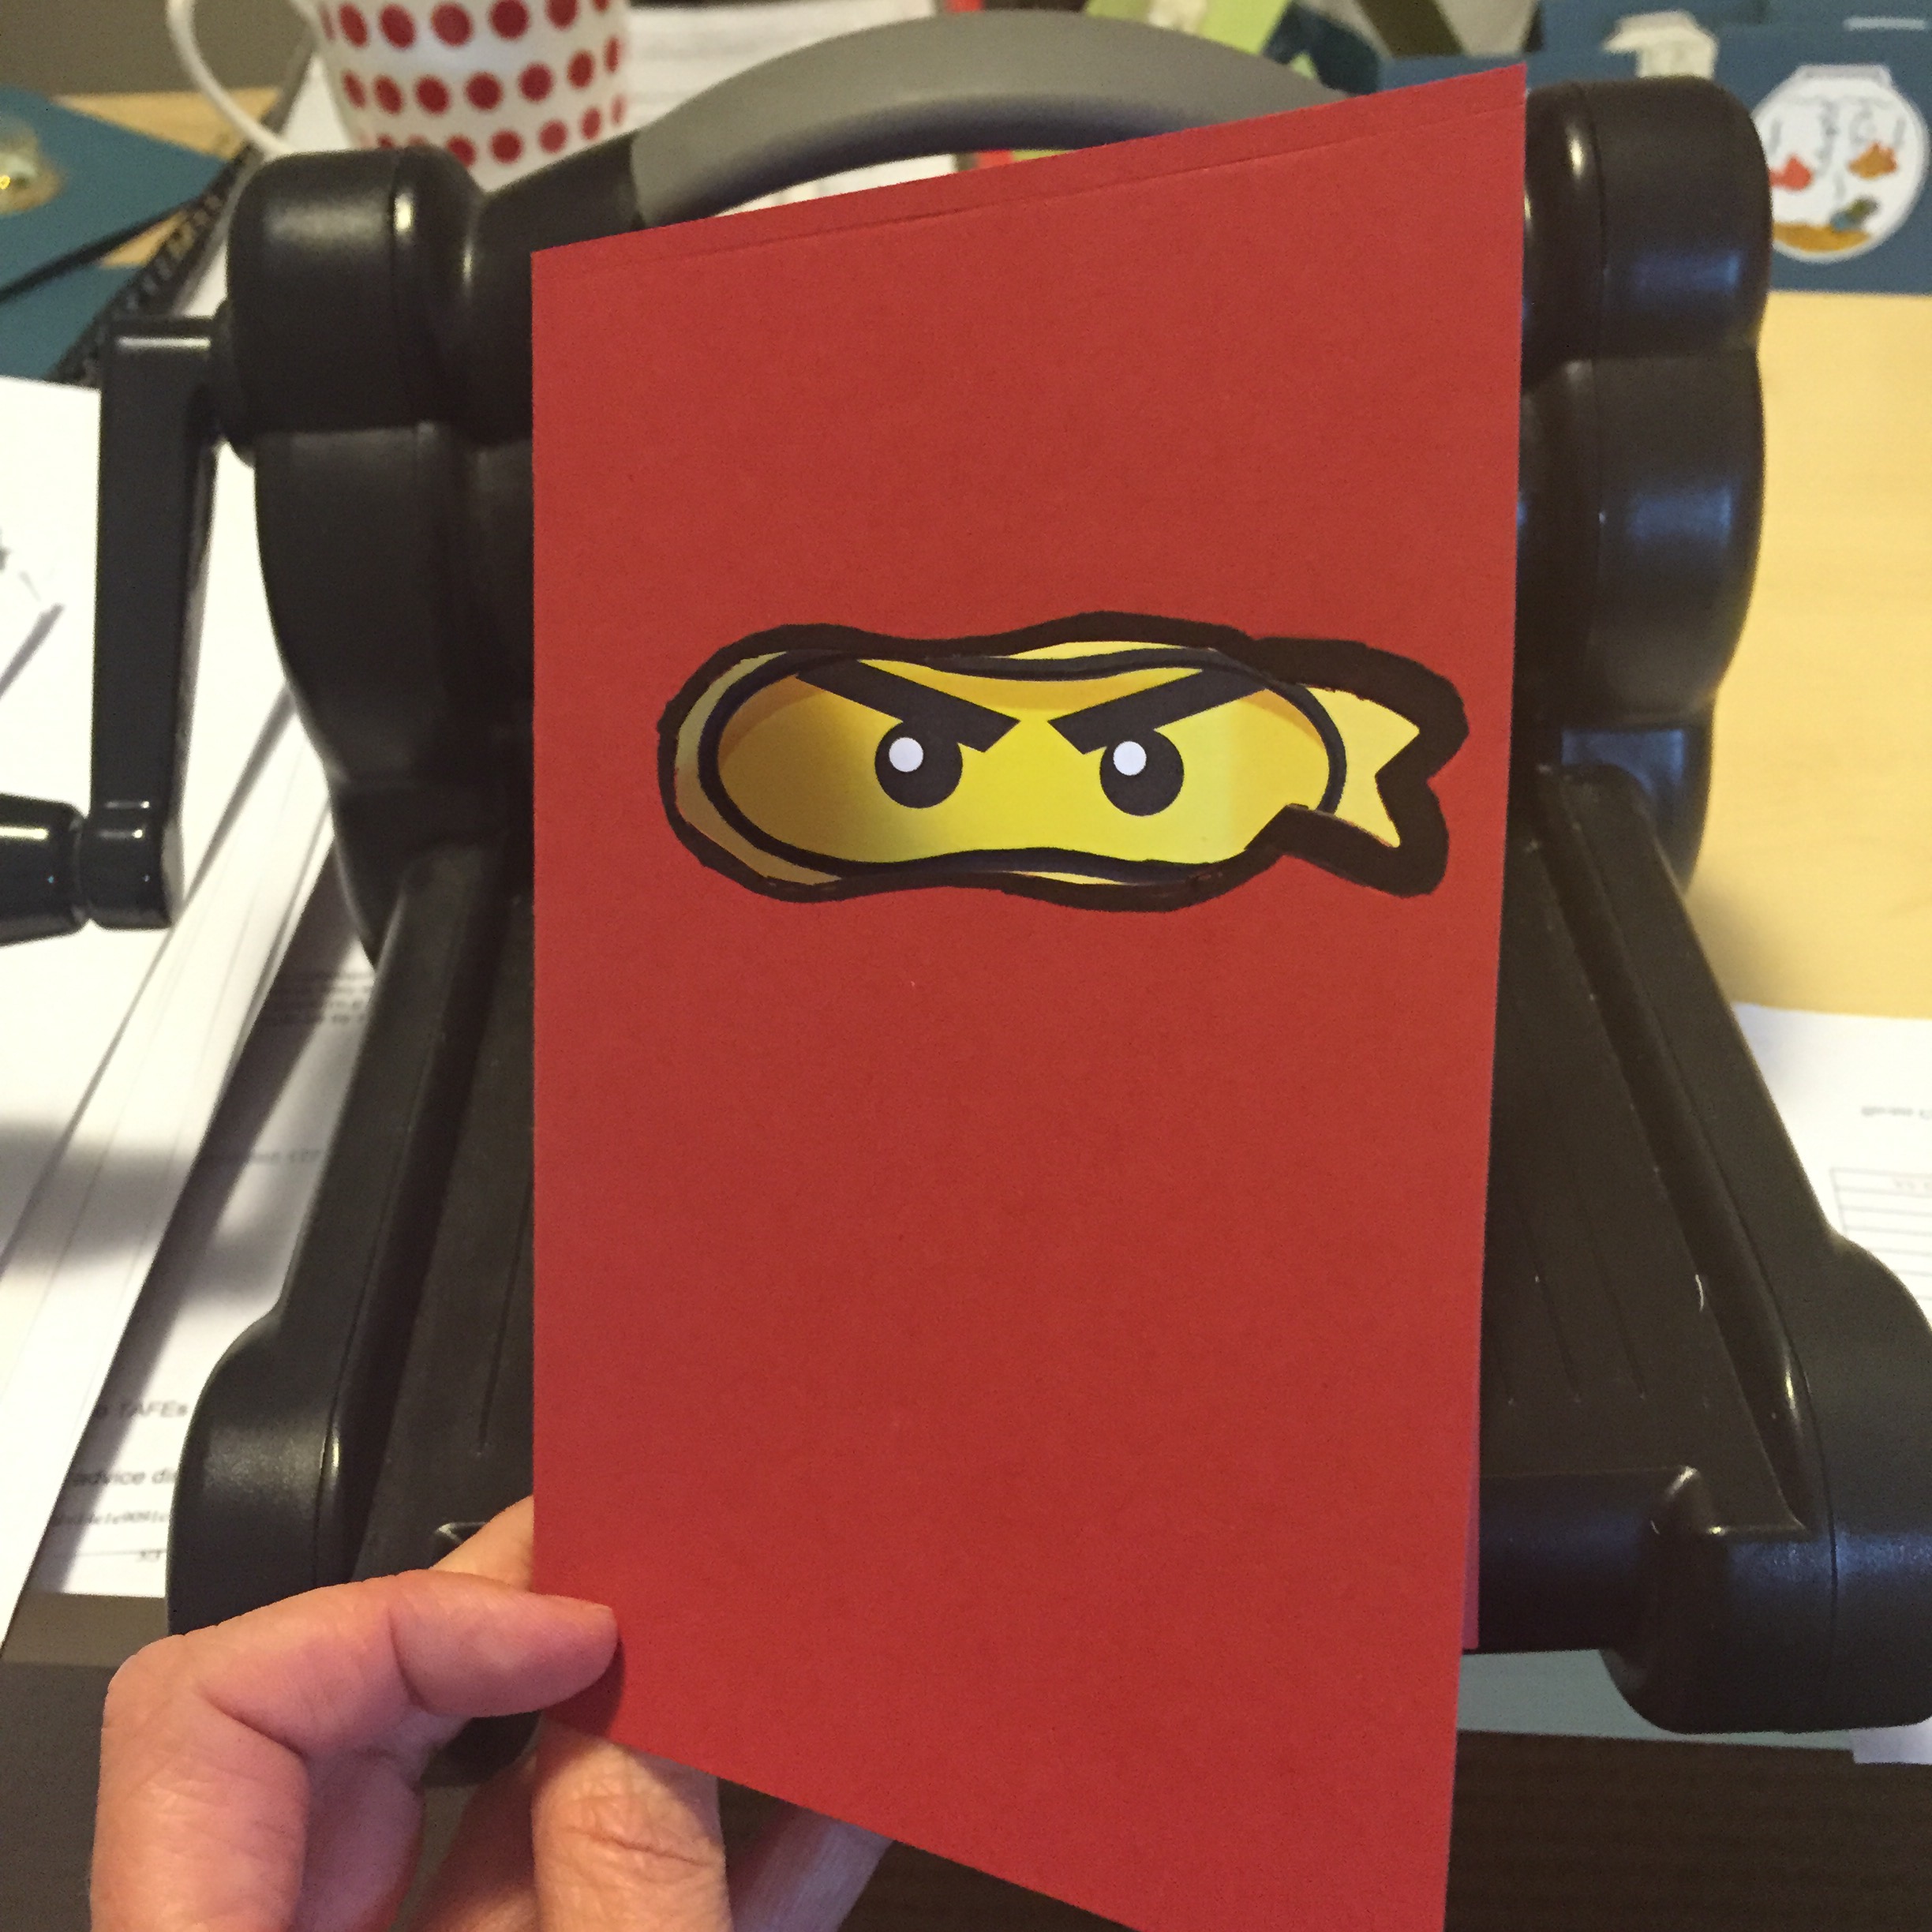
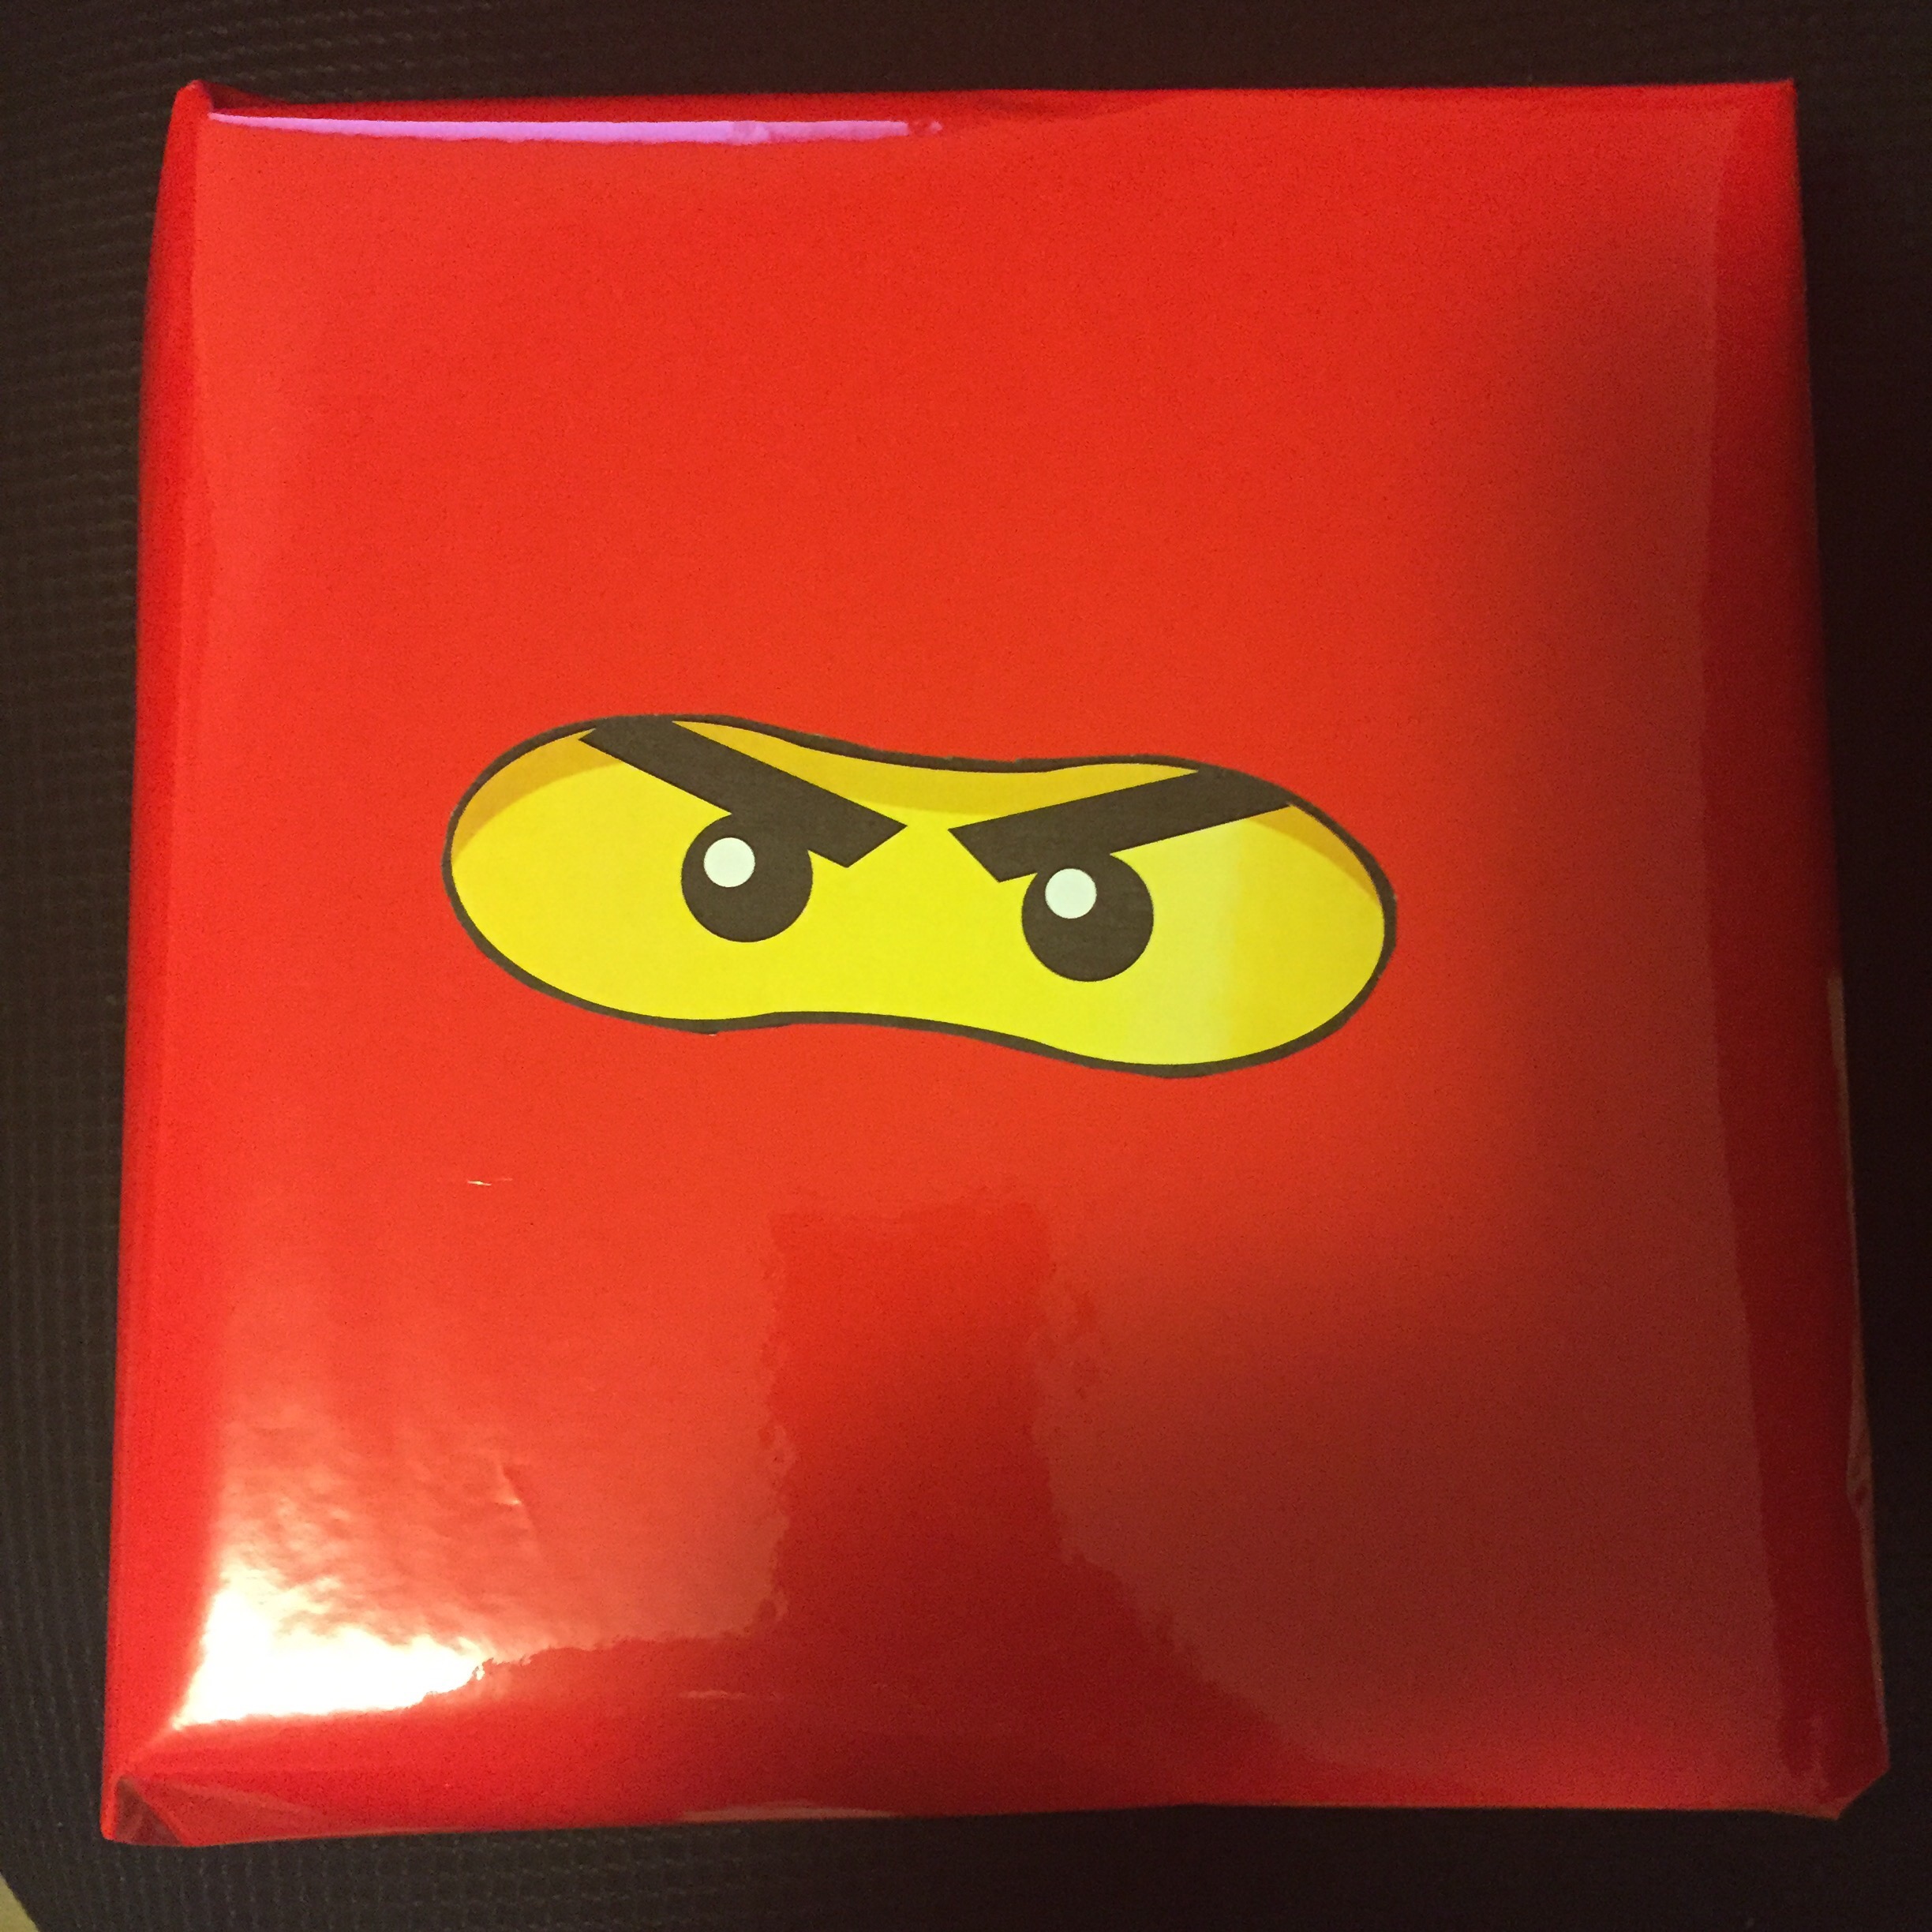
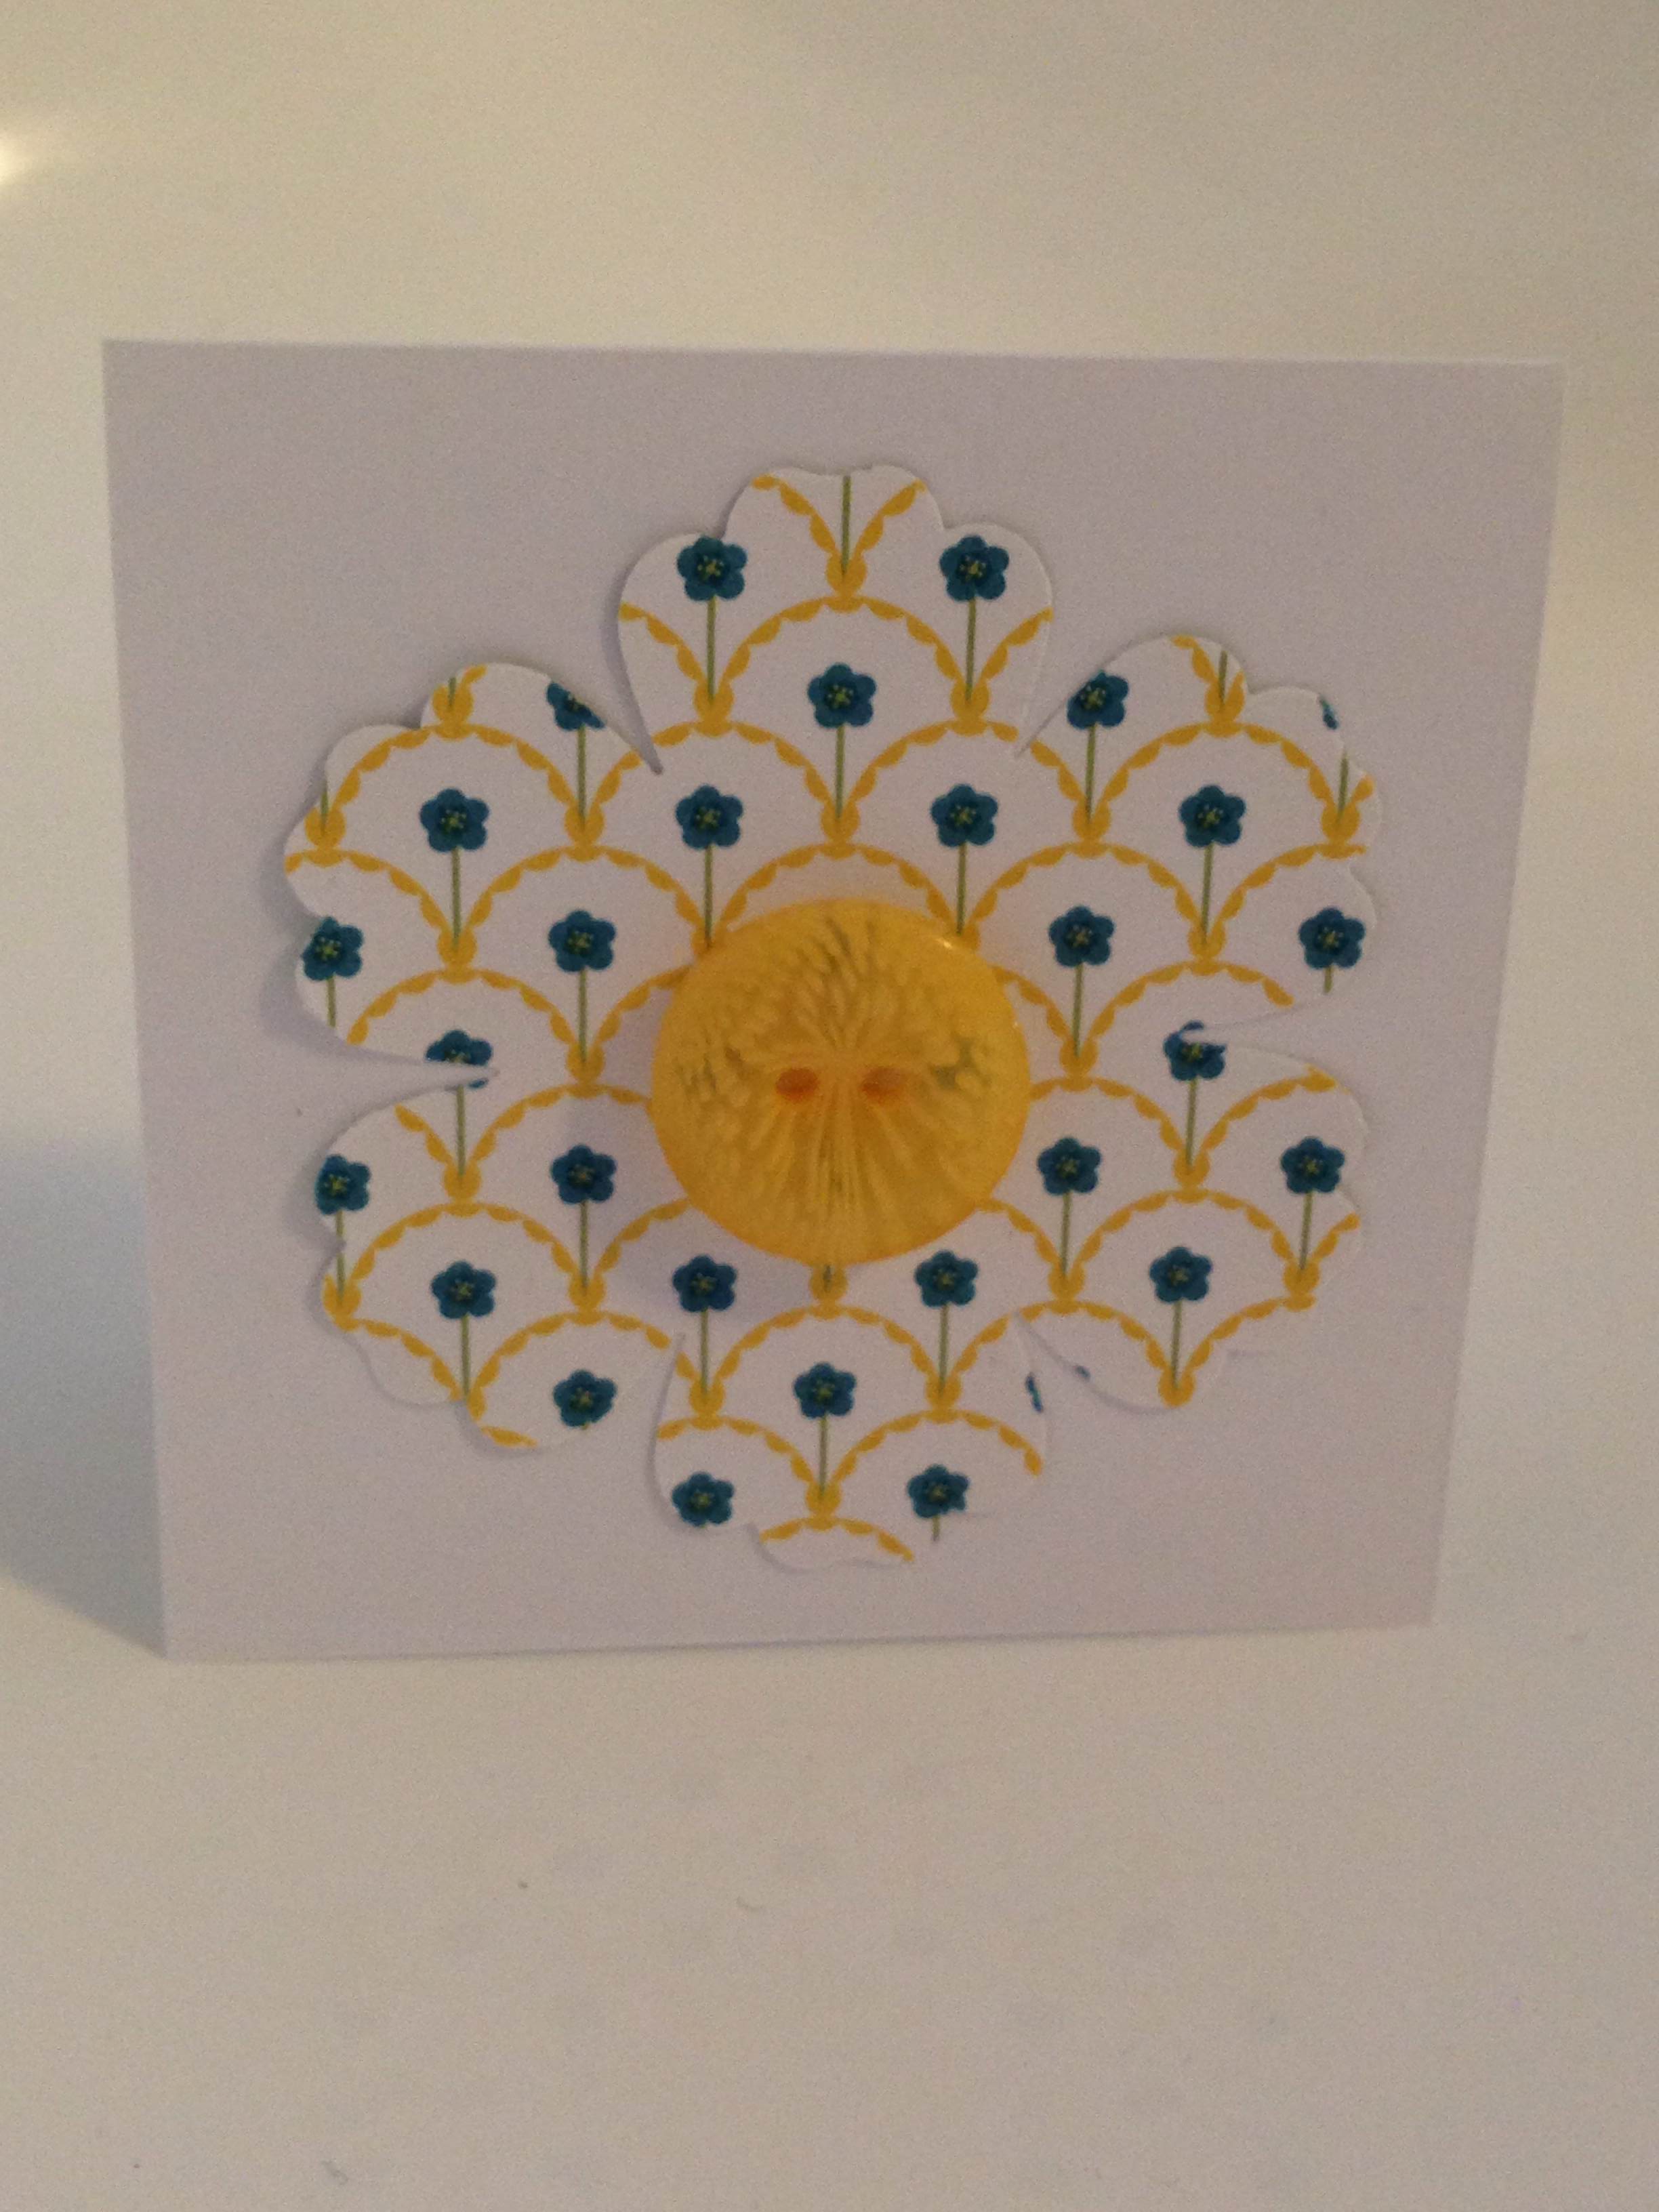
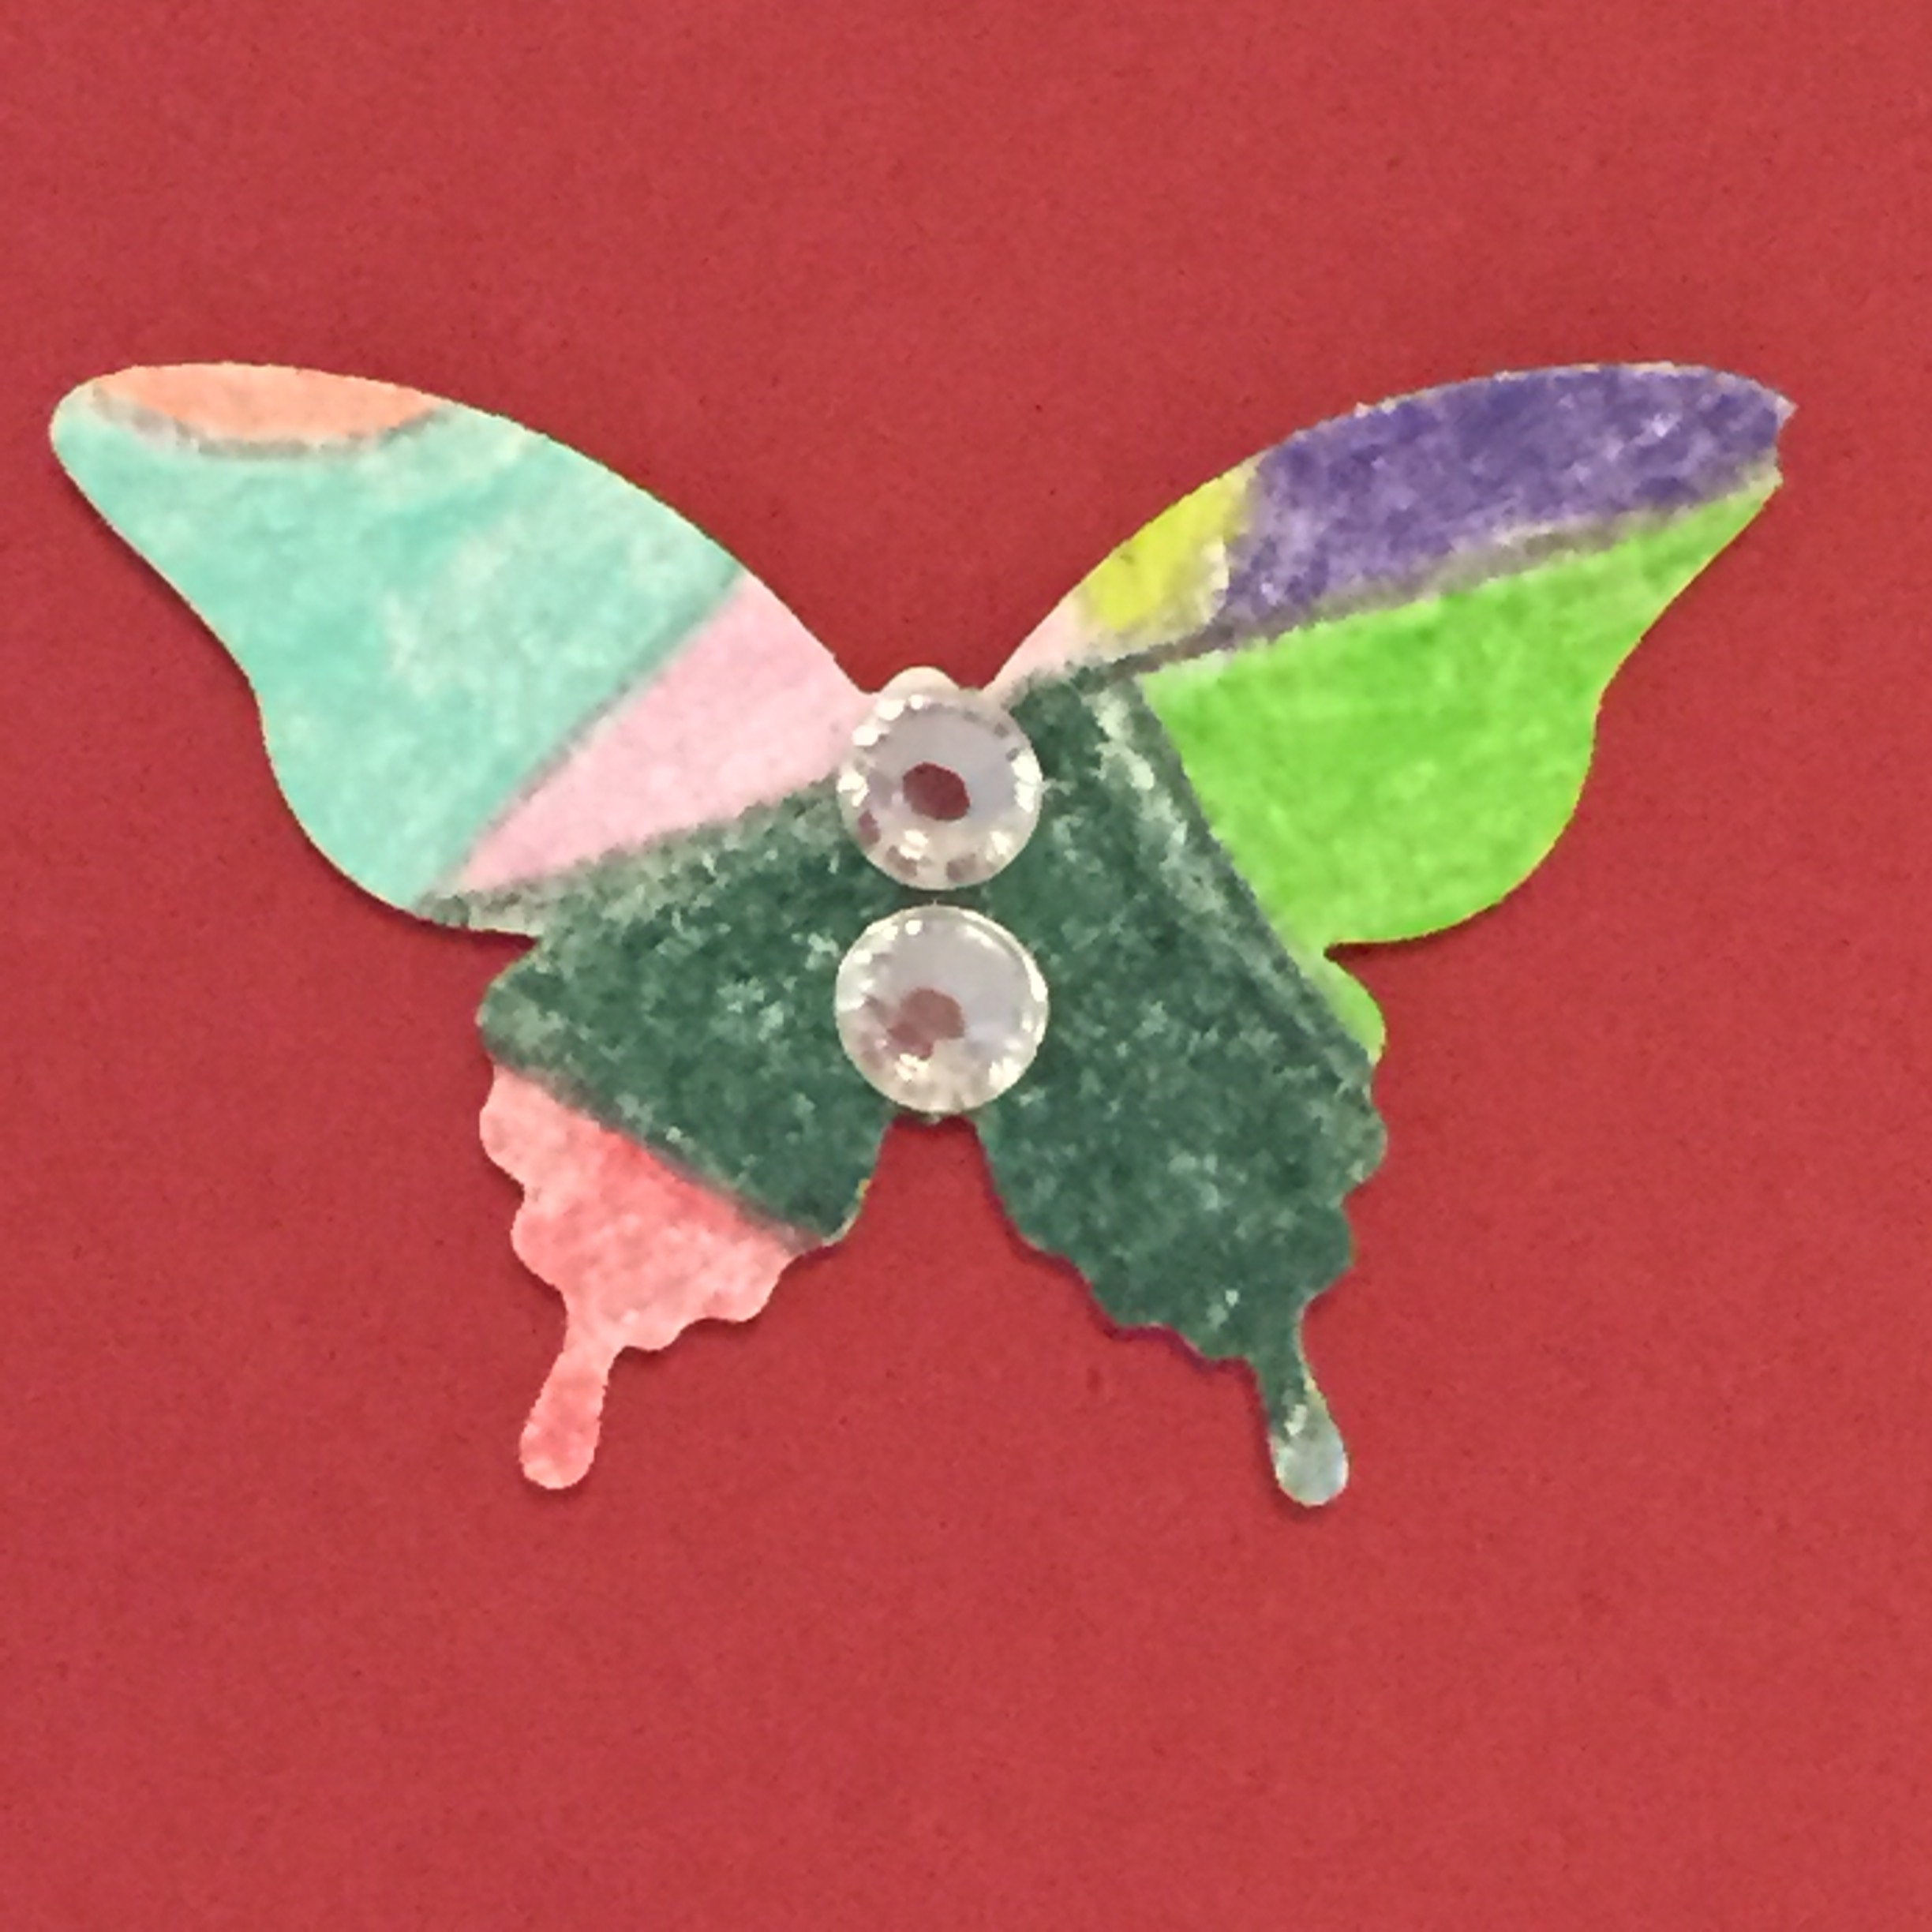
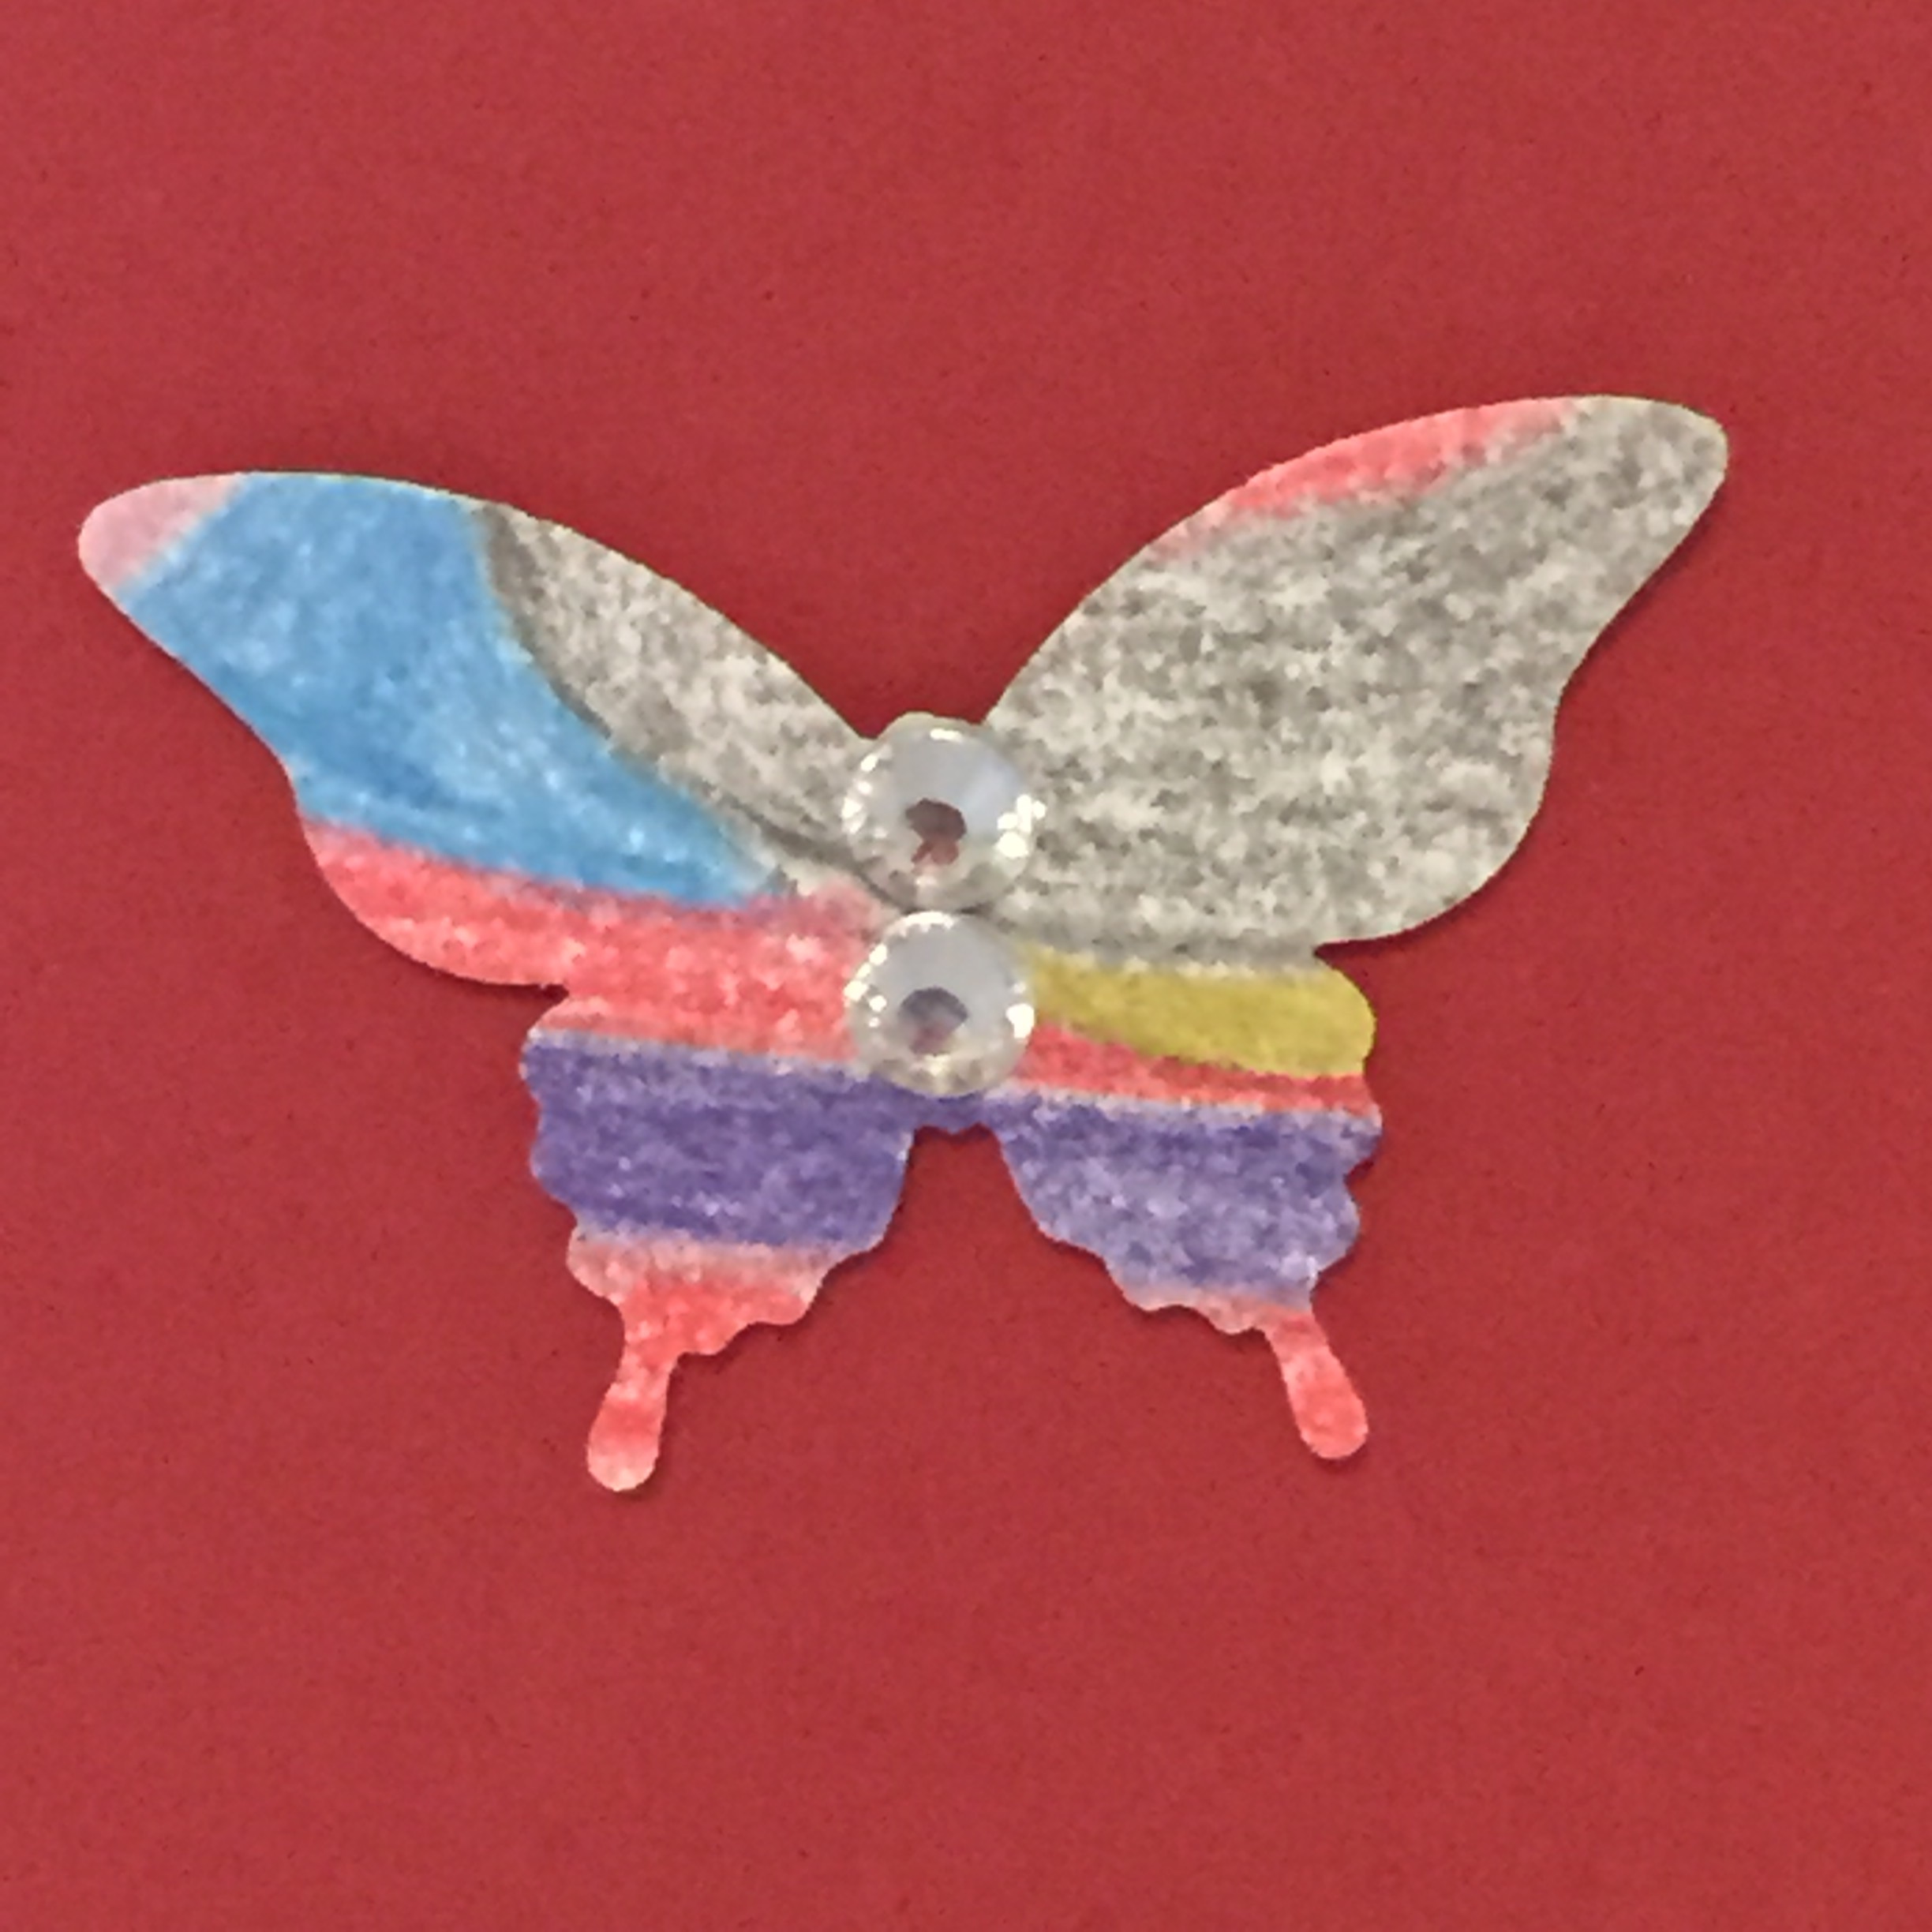
I had a lovely time sorting through my pile of old card stock and mixing and matching with punches. A great way to use up scraps! Here are some of the results of my playing today:


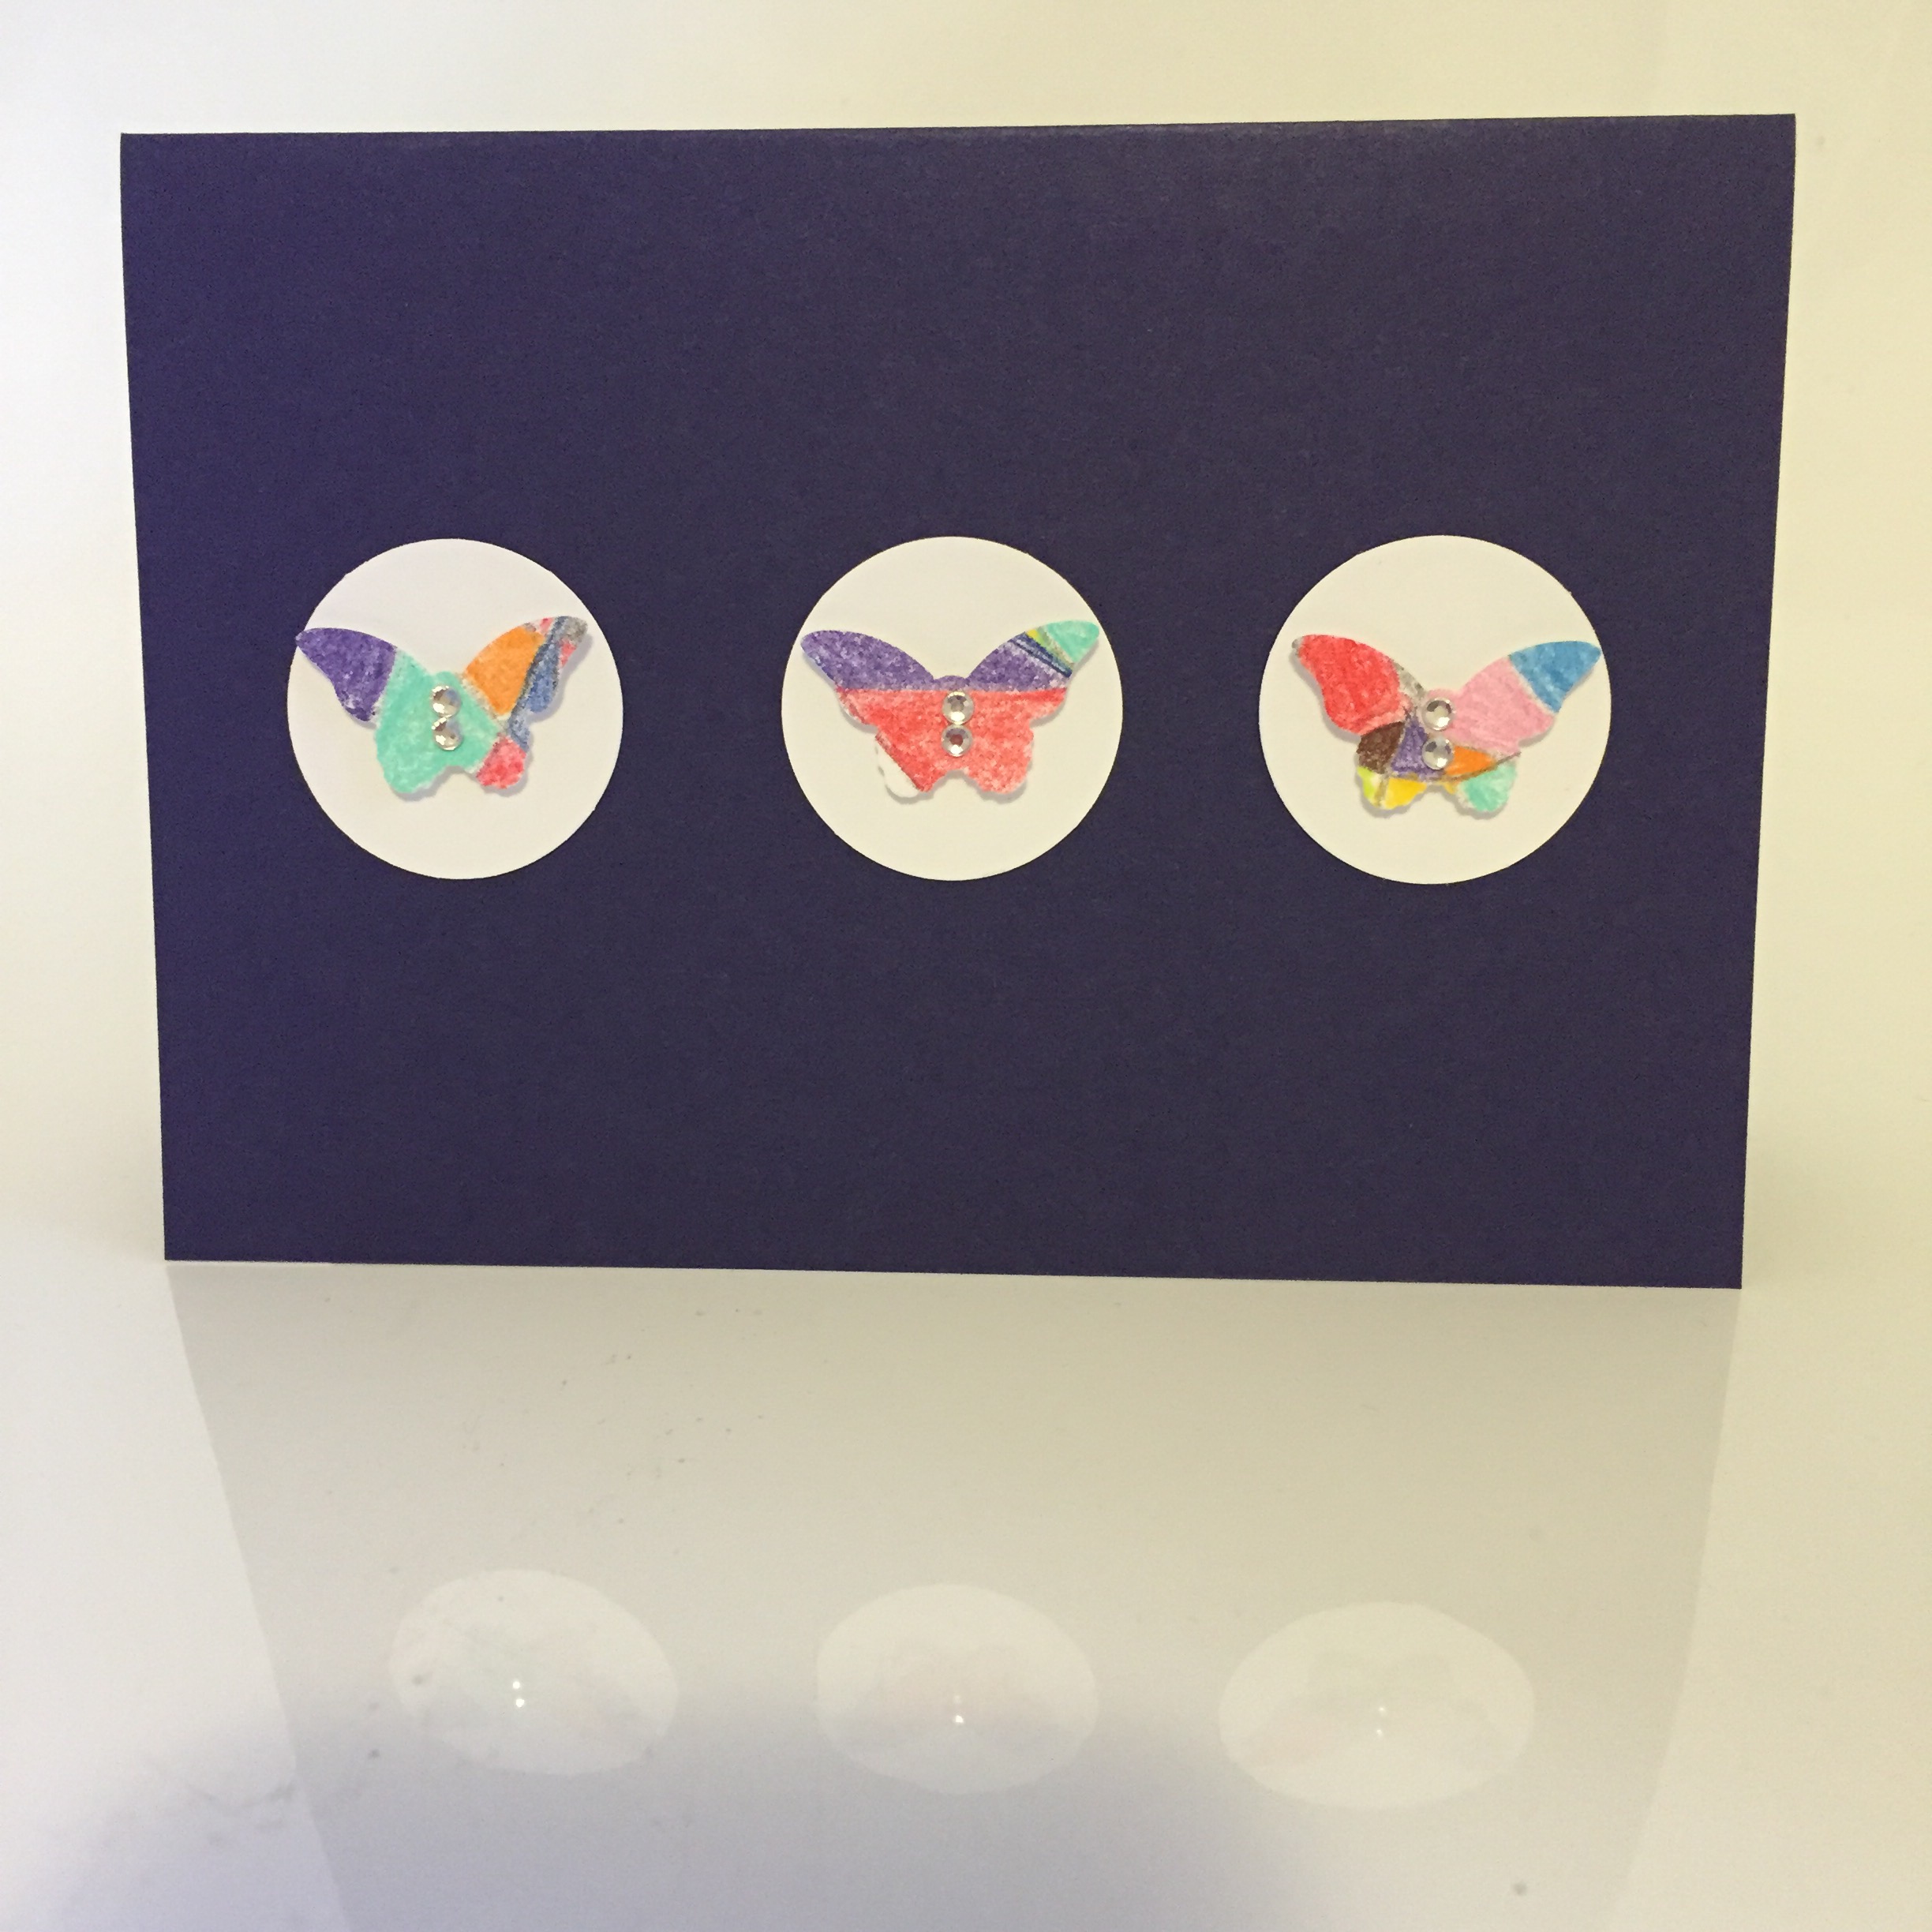
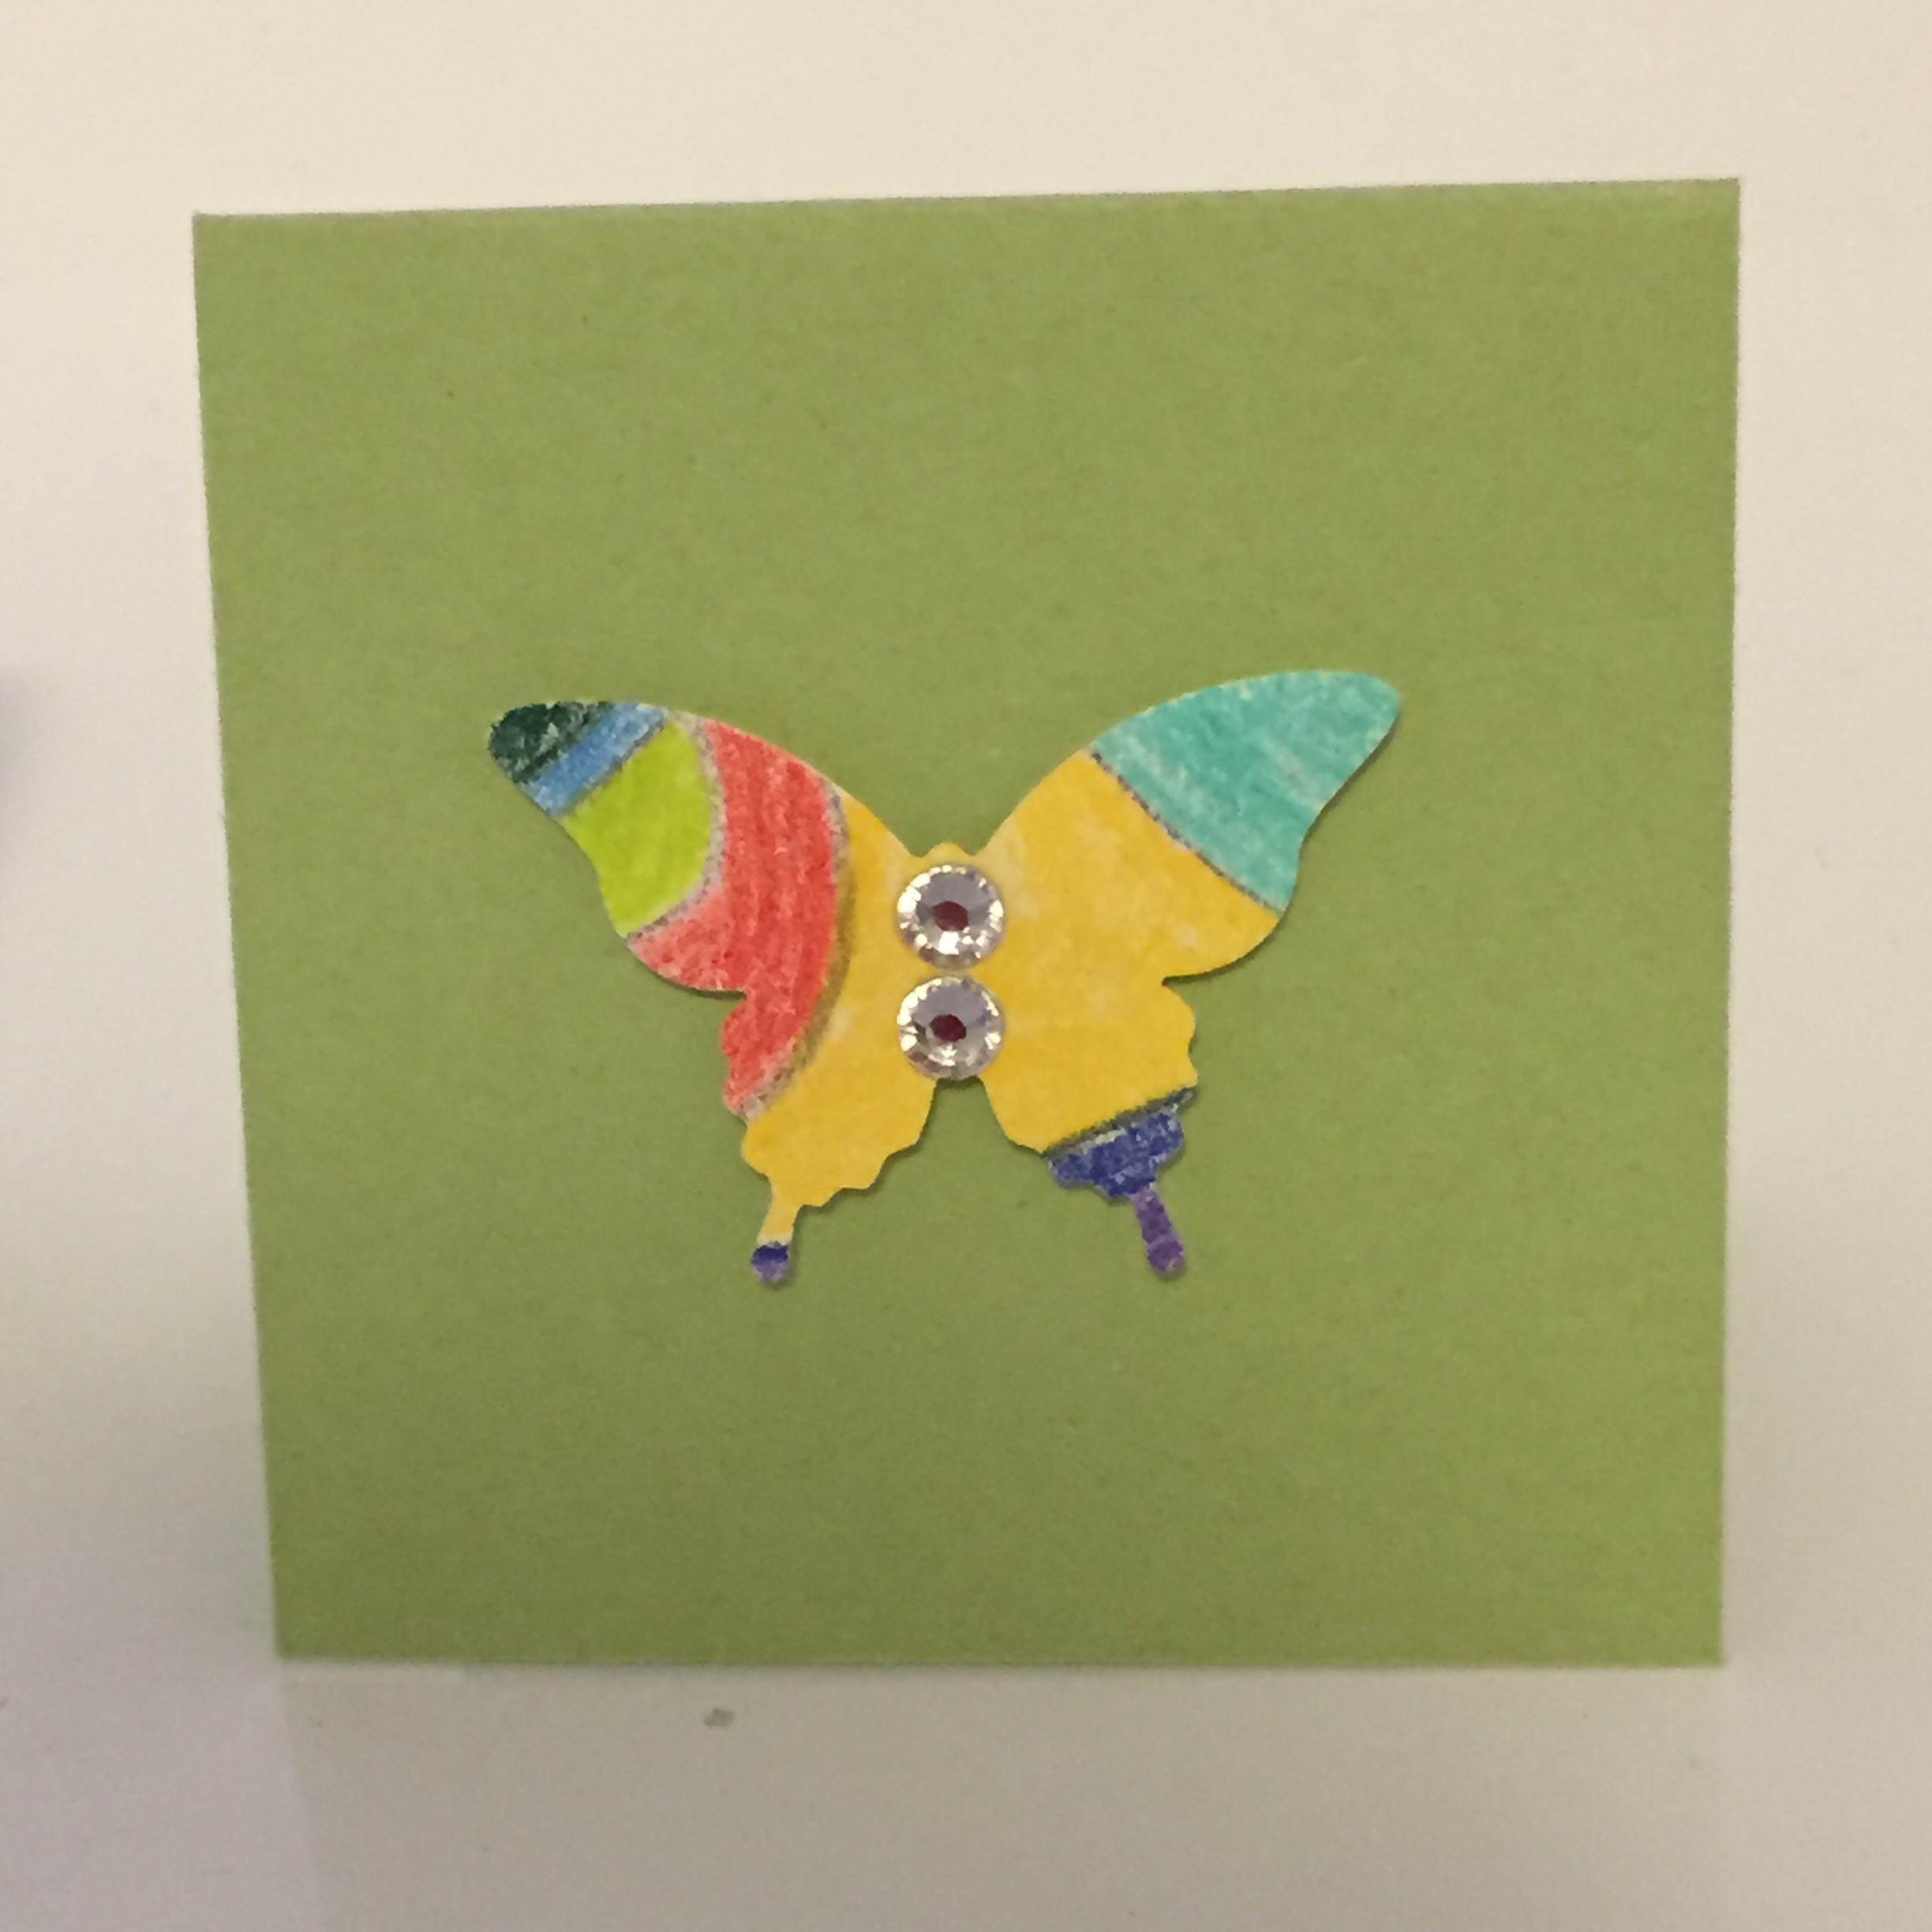
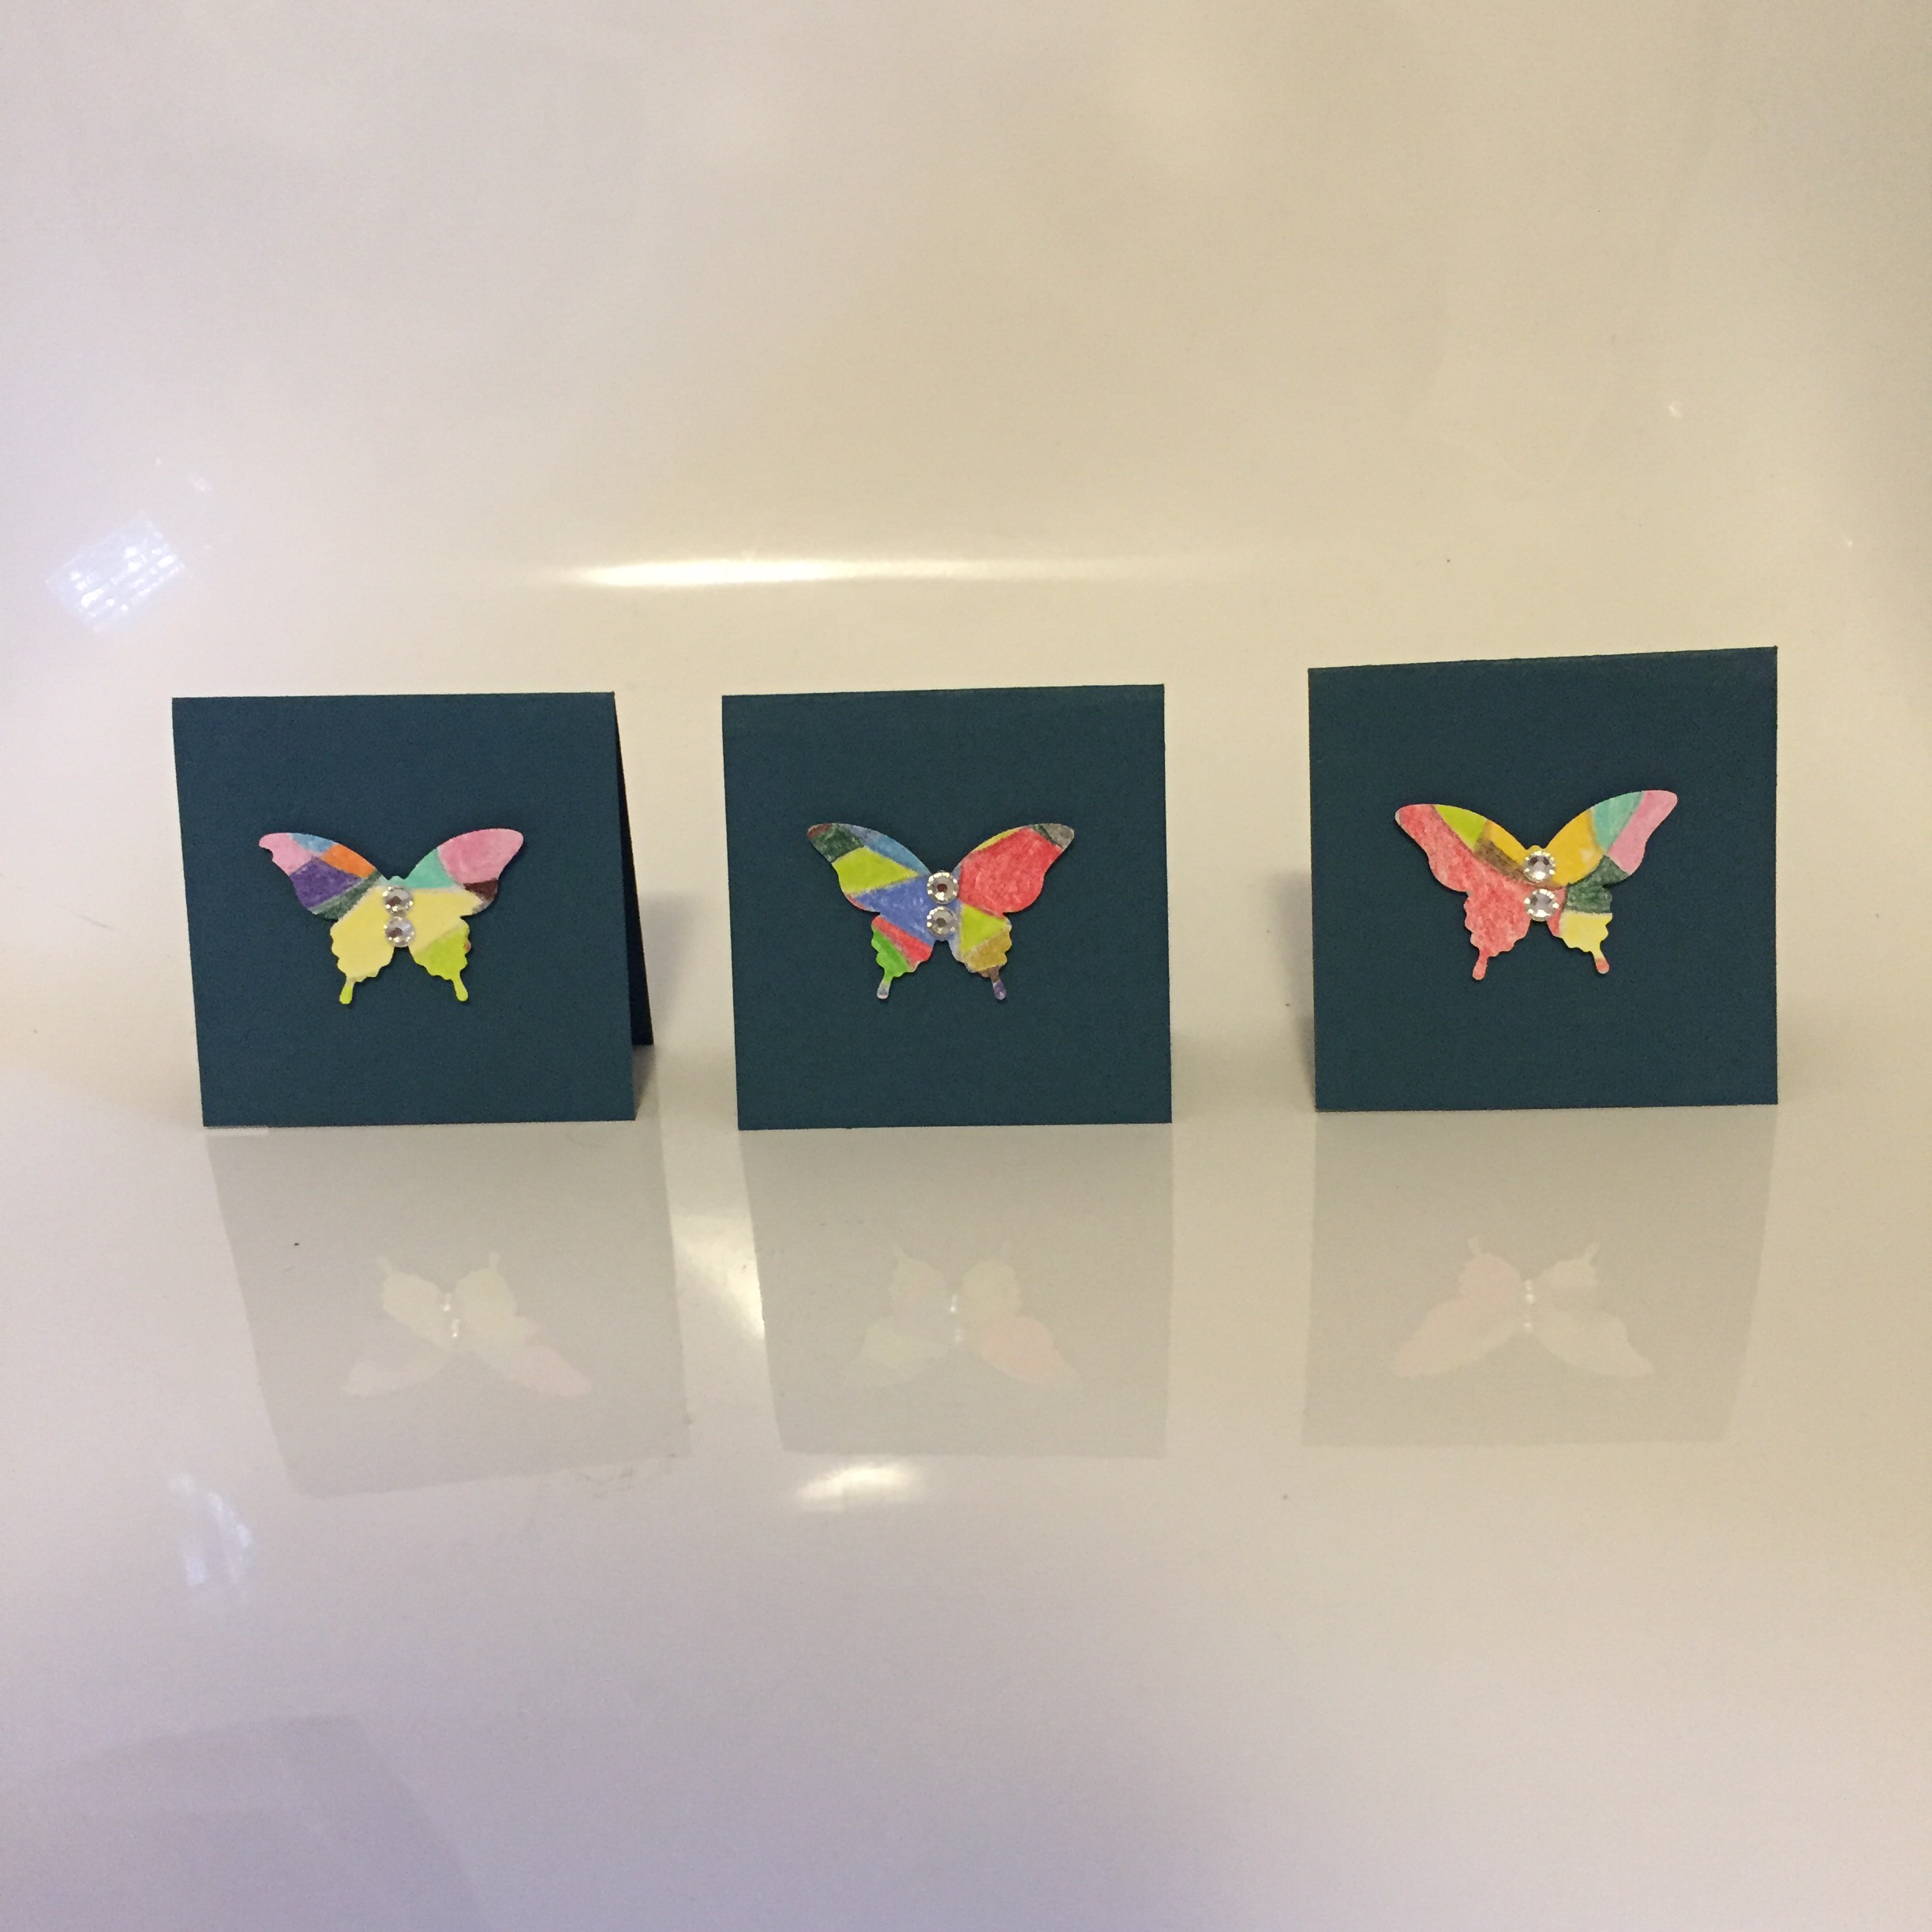
It felt so nice to be making something today!

Thanks for reading

Caro 

Share this:

  • Pinterest
  • Twitter
  • Facebook
  • Email
  • More
  • Reddit
  • Tumblr

Like this:

Like Loading...

Yoda birthday card 

13 Monday Jul 2015

Posted by Carolyn in 1 3/4 circle, Bird Builder, Birthday, Jewellery tag, Kids cards, Kids party, Masculine, Owl, Tag, Word Window

≈ 2 Comments

Tags

birthday cards, masculine birthday, Star Wars card, Star Wars Punch Art, Yoda card

It’s a good friend of mine’s birthday tomorrow and he is a bit of a Star Wars fan.  So I decided to update a Yoda card I made a few months ago for his birthday.  


All of the instructions you need to make Yoda are in my previous post here.  

Here is a close up of Yoda, as well as some of my jewel stars and planets:

  
And a close up of the greeting, written over an image of the Death Star.  

  
I am a little bit chuffed with this – I made it in Microsoft Word to fit inside my 1 3/4 inch circle punch.  I’ve uploaded the image to Dropbox in case you’d like to use it yourself.  The text in the image is white, and I printed it out on Very Vanilla card stock to match Yoda’s robe.  

A 12 x 12 cm Very Vanilla piece on the inside sponged in silver ink finished the card off. 

  
I hope you enjoy!

  
Caro x 

Share this:

  • Pinterest
  • Twitter
  • Facebook
  • Email
  • More
  • Reddit
  • Tumblr

Like this:

Like Loading...

Ninjago birthday card

01 Wednesday Jul 2015

Posted by Carolyn in Birthday, Framelits, Gift tags & wrapping, Kids cards, Kids craft ideas, Kids party

≈ Leave a comment

Tags

kid's birthday cards, Kids cards, Ninjago birthday card, Ninjago card

Today I want to share with you the card I made for my son’s birthday.  We’ve had Ninjago invitations, Ninjago cupcakes, and Ninjago party stuff – so there’s no way I was going to get away without a Ninjago birthday card!   


After being a bit “Ninjago’d out”, I wanted to step it up a notch for the birthday card, and I’m pretty happy with how it turned out. 
It took me a little while to figure out how I was going to get the peek-a-boo effect so I’ll show you how I did it. 

I used a normal C6 card base and cut a 9 x 13cm piece of yellow for the inside. 

 
I was thinking about just drawing / using circle punches for the eyes on the inside of the card, but had some printable eyes left over from the party (web address in the photo)


First I cut out an eye mask, then traced around the shape onto the front of the card  (I recommend you cut two – one to trace around and one that will still be neat to use inside the card) 


I then needed to be able to cut out the shape. I thought I would use my big shot with a small die just to cut a hole in the centre of the traced area to be able to start cutting out neatly.   


Then inspiration struck! The curvy image from the Banner framelits set worked perfectly to get a “tie” at the edge of the face mask area! So instead of just cutting out some space for starting off my cutting, I shifted it off to the side to get this shape: 


Cutting out the rest and voila! 


The next step was to grab a Sharpie and trace around the edges to neaten them up  – but also to colour in the area marked by the impression of the edge of the die (you can see the faint impression in this next picture)

 
And the end result!


And of course, no little Ninjago fan’s birthday present could be complete without Ninjago wrapping on his present!

 
(I dropped the glued eyes on the present, so they are not straight, but I’m pretty sure he won’t mind!)

I think it will be a while before I feel like making Ninjago themed anything again, but the little guy has absolutely loved everything,  so it’s all been worth it. I can’t wait to give him his card tomorrow on his actual birthday!

Thanks for reading. 

Caro x

Share this:

  • Pinterest
  • Twitter
  • Facebook
  • Email
  • More
  • Reddit
  • Tumblr

Like this:

Like Loading...

Olaf birthday card (from Frozen)

01 Tuesday Jul 2014

Posted by Carolyn in 1 1/4 inch circle, 1 3/8 circle, 1 inch circle, Bird Builder, Birthday, Cards, Cupcake Builder, Jewellery tag, Kids cards, Kids party, Modern Label, Owl, Punches, Tutorial, Word Window

≈ Leave a comment

Tags

Birthday card, Coastal Cabana, Dazzling Details, Frozen crafts, kids birthday, Kids cards, Olaf, Olaf the Snowman, punch art, stampinup, Winter Frost

Hello

Sorry I haven’t posted to my blog in a while.  I’ve been pretty busy with not much time for crafting.   I finally got a chance to make some stuff recently though, so I will show you a few things over the next little while.

It is my little boy’s 5th birthday today (where did that time go?!?) and, like seemingly most children, he is currently quite obsessed with the movie Frozen.   So I decided to tackle Olaf the snowman for his birthday card.   Here is the end result:

Olaf the Snowman card (Frozen)


The card background is on Coastal Cabana card stock with some (retired) Winter Frost designer series paper.  I used my dazzling details glitter to add some sparkly snowflakes in the background.  I wrote the greeting (“I like warm hugs” with my Coastal Cabana Stampin’ Write marker and punched it out with the word window punch.  I used the modern label punch to do the background, also in Coastal Cabana.  I put a couple of dots of dazzling details glitter on either side of the greeting for some extra sparkle.

Here’s how I made Olaf (all pieces punched from Whisper White unless otherwise specified):

The base of the snowman – 1 3/4 inch circle punch, with approximately 1/2 cm cut off the bottom

The middle of the snowman – 1 3/8 inch circle punch, with approximately 1/4 cm cut off the bottom

Head – the large oval punch

Feet – the two large circles from the owl builder punch

Buttons – the middle sized circles from the owl builder punch (Basic Black)

Arms – 2 x branches from the bird builder punch (Chocolate Chip).  I thought about trimming the leaves down to make the arms look slightly more twig like, but I decided that was far too much effort!)

Mouth – oval punch (cut off about 1/3 from the top)

Teeth – the base of the jewellery tag punch (retired).  If you don’t have this punch you could easily cut a small rectangle freehand.

Nose – I punched a 1 inch circle punch and then cut it down to an oval freehand

Nose – the candle from the cupcake builder punch (I also thought about using the candle from the same punch, I think either would work) (Tangerine Tango)

Eyes – I glued on some goggly eyes with some mini glue dots.

I drew on the eyebrows with a black texta and have since been informed by Mr 5 that I should have drawn on his hair as well.   Feedback was noted, hair has now been drawn on (although I don’t have a picture of that!).

Apart from the minor criticism about my attention to hair detail, Olaf was received with much excitement today!

Thanks for reading, and I’ll try not to be so long between posts next time

Caro x


Share this:

  • Pinterest
  • Twitter
  • Facebook
  • Email
  • More
  • Reddit
  • Tumblr

Like this:

Like Loading...

Embossed butterfly cards

19 Wednesday Mar 2014

Posted by Carolyn in Birthday, Cards, General occasion

≈ Leave a comment

Tags

butterflies, cards, embossing, embossing powder, heat embossing, Papillon Potpourri, Stampin Up, Versamark

hello – thanks for reading Caro’s Pretty Things 🙂

Today I wanted to show you a really simple card using one stamp and some embossing.

Embossed Papillon Potpourri butterlyThis is simply a piece of Crumb Cake card stock, with a butterfly from the Papillon Potpourri stamp set stamped over the front in Versamark ink, then heat embossed with silver embossing powder.

Tip: when you are making a card with one repeated image, it’s a good idea to stamp some of the images partially off the edge.  It looks more authentic and just seems to make the pattern “work”.    (You can also use this technique to make your own gift wrap)

The butterflies look so beautiful embossed!

Silver embossed Papillon Potpourri butterfliesI also have to show you a card that my 4 year old made** – a special card for his grandma’s birthday.   He did an amazing job!

Embossed butterflies card - by Mr 4 :-)Although he did a brilliant job for a 4 year old, you can see here that he got some of the versamark ink around the edge of the stamp – which is made more obvious when the embossing powder sticks to it!   This is a good reminder to press gently when stamping!

Thanks for reading

Caro

** Although Mr 4 did the stamping himself, I held the heat tool with him and we did the embossing together.  Heat tools and unsupervised 4 year olds don’t mix!!!


Share this:

  • Pinterest
  • Twitter
  • Facebook
  • Email
  • More
  • Reddit
  • Tumblr

Like this:

Like Loading...

Sweet Sorbet Circle Thinlit card

17 Monday Mar 2014

Posted by Carolyn in 1 inch circle, Big Shot, Birthday, Blossom, Cards, Circle Thinlits, Circles #2, Dies, General occasion

≈ 3 Comments

Tags

blossom punch, card base, cards, Circle Thinlits, Crisp Cantaloupe, DSP, flip cards, Mixed Bunch, Pistachio Pudding, Stampin Up, Sweet Sorbet

Hello

I’m really excited to show you today’s card.  I wanted to make a special card for my Mum’s birthday and I’m really pleased how it turned out.   It is my favourite card I’ve made in a long time – and I finally got to play with my Circle Thinlits die which was an added bonus!

Sweet Sorbet Circle Thinlits 'flip' card

(I bought Mum the Circle Thinlits die as her birthday present so wanted to make the card with my die so she’d see an example of her present in action!)

The card base is die cut from Pistachio Pudding and I’ve used the Sweet Sorbet DSP you can get for free from Stampin’ Up! during Sale-A-Bration.   I followed the instructions on Sara’s Crafting & Stamping Studio blog to die cut the DSP layers – thanks Sara!

I cut 2 Whisper White circles from the Circles #2 originals die (largest circle) to stick on the circle ‘flip’ part.   I sponged around the edge in Crisp Cantaloupe to bring out the colours in the DSP.

Inside of Sweet Sorbet 'flip' card

The flower on the front of the card was stamped in Crisp Cantaloupe from the Mixed Bunch stamp set , and punched out with the Blossom Punch.   I used Pistachio Pudding to stamp the flower centre (also from the Mixed Blossom set) and punched it out with the 1 inch circle punch.  I stuck the layers onto the card with Stampin’ Dimensionals and added a pearl for added effect.

Mixed Blossom flower


I really loved how this card turned out.   I think I see a few more flip cards in my future!

Thanks for reading – and happy birthday Mum!

Caro x

Share this:

  • Pinterest
  • Twitter
  • Facebook
  • Email
  • More
  • Reddit
  • Tumblr

Like this:

Like Loading...

Blossom punch gift cards

09 Sunday Mar 2014

Posted by Carolyn in Birthday, Blossom, Cards, General occasion, Gift tags & wrapping, Love notes, Using up scraps

≈ Leave a comment

Tags

blossom punch, cards, DSP, Garden Party, gift cards, Stampin Up

Hi

The other day I had an idea for a gift card set which is just a little bit genius (if I do say so myself!!!).   I’ll show you that idea tomorrow.

But first I needed some gift cards …  so, it was off to my craft desk to make some!    I have been wanting to use my pack of Garden Party DSP from the current Stampin’ UP! catalogue for months so I started with that for inspiration.   I pulled out my Blossom Punch and some buttons, and voila!!  Here are some of the cards I made:

Blossom punch Garden Party gift cardBlossom punch Garden Party gift cardBlossom punch Garden Party gift cardBlossom punch Garden Party gift cardThey looked so cute all lined up together!

Blossom Punch gift card setBlossom Punch gift card setCome back tomorrow and I’ll show you my clever idea for packaging them up 🙂

Thanks for reading

Caro x


Share this:

  • Pinterest
  • Twitter
  • Facebook
  • Email
  • More
  • Reddit
  • Tumblr

Like this:

Like Loading...

Fishin’ Around cards

18 Tuesday Feb 2014

Posted by Carolyn in Baby cards, Birthday, Cards, Circle treat cups, Kids cards

≈ Leave a comment

Tags

Banner Greetings, cards, Fishin' Around, Stampin Up, Stampin' Write Markers

Hello – thanks for reading my blog!

When I first got this year’s Stampin’ Up! catalogue, one of the first stamps that jumped out at me was the Fishin’ Around one.  At only $15.95 – bargain!    It is perfect for a kid’s card (which I make a LOT of!) or even for an engagement, Valentines Day or wedding card.    It is also great for colouring in – one of my favourite things to do when I’m relaxing.

I needed a special card for a very special 1 year old’s birthday recently, so finally inked up this stamp.

Fishin' Around birthday cardThis is a 13 x 13 cm Bermuda Bay square card with a 12.5 x 12.5 cm Whisper White layer.  I sponged around the white edge in Calypso Coral to match the fish.  I stuck a circle treat cup over the coloured in image to make it look like a fish bowl.   The stamped tag is from the Banner Greetings hostess set.     I wrote the birthday boy’s name with my Dazzling Details glitter glue.   I also put a couple of dots of this in the treasure chest to make it sparkle.

I’ve had lots of fun making these cards in various colour schemes.   Here is a picture of some of my coloured in images (all using Stampin’ Write markers)

Fishin' Around colouringYou can probably see I’ve tried to add some ‘treasure’ to the treasure chests.  Here are a few close up pictures to give you a better idea:

Fishin' Around with treasure :-)

Fishin' Around with glitter treasureI don’t have pictures of this I’m sorry, but I’ve also made a few where I’ve used rhinestones or glitter in the bubbles against a lightly shaded blue background.

Thanks for reading!

Caro x

Share this:

  • Pinterest
  • Twitter
  • Facebook
  • Email
  • More
  • Reddit
  • Tumblr

Like this:

Like Loading...

Star Wars punch art Yoda birthday card

17 Monday Feb 2014

Posted by Carolyn in 1 3/8 circle, Bird Builder, Birthday, Cards, Jewellery tag, Kids cards, Masculine, Owl, Punches, Tag, Word Window

≈ 1 Comment

Tags

cards, punch art, Star Wars, Yoda

Yesterday I mentioned a card I’d made I was just a little bit excited about.   This is it – a Star Wars Yoda card for my Star Wars obsessed brother.

Yoda punch art card I got the basic idea from this post on a blog called Little Miss Scrappy.

It took me a while to figure out all the bits and pieces so I thought I’d share the ‘card menu’ with you in case you want to make it yourself.   I used a retired colour called Certainly Celery for Yoda’s body as I have so much of it still, but there are lots of greens in the current Stampin’ Up! catalogue that would work well.

Yoda

Yoda punch art

Head – 1 3/8 inch circle punch.  It is hard to see from the picture, but I used my bone folder to make score lines in the top half of the circle for his wrinkles.

Ears – 2 of the wings from the bird punch in Certainly Celery and 2 wings from Chocolate Chip

Eyes – I used 2 of the medium sized circles from the owl builder punch in Whisper White and 2 of the smallest sized circles in Chocolate Chip.  I also cut one of the medium sized circles in Certainly Celery and cut it in half to make the eyelids.

Mouth – I drew this on with my Chocolate Chip Stampin’ Write marker.

Body – I used a retired extra large tag punch in Crumb Cake (the shape of the top of the tag gives him shoulders).     The ticket duo builder punch, an oval punch or a trimmed off decorative label punch from the current catalogue could also work well.  You could also just cut out a rectangle!

Belt – I used a Word Window punch in Basic Black and trimmed off the ends to fit.

Robe – I cut a tag punch out of Very Vanilla and cut it in half lengthwise.  I then folded each piece in half lengthwise to make the flaps of his robe.  I had to trim the folded part just slightly to make it perfectly match the shoulder line.   The arms of the robe are a word window punch cut in half, with the rounded edges glued behind the main part of the robe.

Hands and feet – I used the feet from the owl in the owl builder punch.  Tip:  don’t try and cut and glue the teeny tiny owl feet!  You will drive yourself mad!   Far better to cut out an owl body and use the body as somewhere to stick the glue on and hide the body behind Yoda’s robe.

Light saber – I used the end of a piece cut from the (retired) jewellery tag punch in Basic Black for the handle.  You could equally use the end of a word window punch.   I used a word window punch in Coastal Cabana for the ‘sword’ part, but sponged it in Old Olive and silver ink to make it look like it was glowing.

Background

I tore a piece of Soft Suede card stock to look like the rough ground.   I used my computer and printer to print the greeting on a piece of Bashful Blue card stock (this is also retired – I am using up my stash!) Soft Sky in the current catalogue would look just as good.

I hope you enjoy making one of these if you have a Star Wars fan in your life!

Caro x

Share this:

  • Pinterest
  • Twitter
  • Facebook
  • Email
  • More
  • Reddit
  • Tumblr

Like this:

Like Loading...

Quick butterfly card

16 Sunday Feb 2014

Posted by Carolyn in Birthday, Bitty Butterfly, Cards, Elegant Butterly, General occasion, Kids cards

≈ Leave a comment

Tags

Butterfly card, card dimensions, Stampin Up

Hello

I am sorry for the long break between blog posts.   I haven’t had a lot of time to craft or blog over the past few months.    I finally had a chance to get back to a little card making today so thought I had better update the blog at the same time!

Like usual, my card making was inspired less by a brilliant idea, and more by the nature of the birthday party my son would be attending that day!   Today he had a 4th birthday party for a little girl who loves all things pink and ‘princess-ey’.

I only had about 5 minutes to make the card, so resorted to one of my stand by card layouts:

Butterfly card

This is really simple – a standard sized card cut from half a piece of A4 card stock, with the stripey paper 10cm x 14.2cm (ie, 0.5 cm smaller than the card dimensions on each side to leave a small border).  This is in Melon Mambo.   I sponged around the paper in Melon Mambo to make it look like it has a border.  A strip of ribbon and an embellishment popped up on a dimensional and you’re done.

Butterfly punch embellishment

For this card I used the Bitty Butterfly and Elegant Butterfly punches with a little ‘diamond’ stuck on top.     You could equally have an oval or circle punch with a greeting.

Just a simple card to show you today.   Stay tuned tomorrow for the other card I’ve made this afternoon, which I’m really rather pleased about!

Thanks for reading

Caro

Share this:

  • Pinterest
  • Twitter
  • Facebook
  • Email
  • More
  • Reddit
  • Tumblr

Like this:

Like Loading...
← Older posts
Newer posts →

Carolyn Dalton

Independent Stampin Up! Demonstrator

Recent Posts

  • Pretty butterfly birthday card 
  • Adding an extra touch to a homemade envelope
  • Quick and easy masculine card 
  • Quick and easy kids card
  • Butterfly soap card

Archives

  • March 2016
  • February 2016
  • January 2016
  • December 2015
  • November 2015
  • October 2015
  • September 2015
  • August 2015
  • July 2015
  • June 2015
  • May 2015
  • April 2015
  • September 2014
  • July 2014
  • April 2014
  • March 2014
  • February 2014
  • November 2013
  • October 2013
  • September 2013
  • August 2013
  • July 2013
  • June 2013
  • May 2013
  • May 2012

Categories

  • 1 1/4 inch circle
  • 1 3/4 circle
  • 1 3/4 inch scallop circle
  • 1 3/8 circle
  • 1 inch circle
  • 1 inch square
  • 2 3/8 inch scallop punch
  • 3/4 inch circle
  • 3D / pop up
  • 3D projects
  • Anniversary
  • Baby cards
  • Beautiful Butterflies
  • Big Shot
  • Bird Builder
  • Birthday
  • Bitty Butterfly
  • Blossom
  • Blossom Builder
  • Boho Blossoms
  • Boxes
  • Butterfly (retired)
  • Candy Wrapper
  • Card sets
  • Cards
  • Chalk Talk
  • Christmas
  • Circle Thinlits
  • Circle treat cups
  • Circles #2
  • Corner rounder
  • Cupcake Builder
  • Cupcakes and other tasty treats
  • Curly label
  • Decorative Label
  • Dies
  • Elegant Butterly
  • Embossing folders
  • Envelopes
  • Extra Large Oval
  • Fancy Flower
  • Framelits
  • Full heart
  • General occasion
  • Gift bags
  • Gift bow
  • Gift card holders
  • Gift tags & wrapping
  • Home decorating
  • Horizontal Slot
  • Invitations
  • Jewellery tag
  • Kids cards
  • Kids craft ideas
  • Kids party
  • Labels collection
  • Large Oval
  • Love notes
  • Masculine
  • Mini scallop
  • Modern Label
  • Music Notes
  • Notebooks
  • Owl
  • Perfect Polka Dots
  • Petite curly label
  • Pinwheel die
  • Punches
  • Scallop circle
  • Scallop edge
  • Scallop envelope
  • Scallop oval
  • Scallop Tag Topper
  • Small Heart
  • Square Lattice
  • Star
  • Sweet treat cups
  • Tag
  • Tasteful Trim
  • Thank you
  • Thoughts and comments
  • Top Note
  • Tutorial
  • Uncategorized
  • Using up scraps
  • Washi tape
  • Wedding cards
  • Wheels
  • Wildflower Meadow
  • Word Window

Pinterest

Follow Me on Pinterest

Follow me on Twitter

My Tweets

Enter your email address to follow this blog and receive notifications of new posts by email.

Join 37 other subscribers

Blog at WordPress.com.

Privacy & Cookies: This site uses cookies. By continuing to use this website, you agree to their use.
To find out more, including how to control cookies, see here: Cookie Policy
  • Follow Following
    • Caro's Pretty Things
    • Join 26 other followers
    • Already have a WordPress.com account? Log in now.
    • Caro's Pretty Things
    • Customize
    • Follow Following
    • Sign up
    • Log in
    • Report this content
    • View site in Reader
    • Manage subscriptions
    • Collapse this bar
 

Loading Comments...
 

    %d bloggers like this: